Archive › Journals: Log Your Ski Building Progress
Jonrezz’s Build Log
Journals: Log Your Ski Building Progress · 64 posts
JonrezzFri Apr 17, 2020 5:49 pm
After years of reading these forums I finally have the space to give it a go! Thank you all for the wonderful resources and info in these forums, we would’ve never gotten this far this fast without you!
I started out in January with my buddy and feel like were getting close to pressing our first pair
. He hasn’t been over in a while because of the circumstances, but I’ve been busy progressing the shop.
Gotta finish up the vacuum table and figure out heat for it. I was thinking about getting a motorcycle tyre warmer for the heat and place it on top of the silicone sheet (idea from OACs post)
Also gotta figure out graphics and edgebending. Was thinking about trying a fretbender and either veneer or a printer
I live on the east coast US and do a lot of hard pack/groomer skiing. I used to race GS & slalom in college and HS, and my SL skis are 10+ years old and shot, so my first pair is inspired by my Fischer RC4 Sl’s. 165 cm, 113-64-98, full camber. Poplar core with oak stringers, full width titanol top and bottom, CF under the core and FG over the core.
Here’s some photos of my progress:
https://imgur.com/gallery/YK75nzK
Looking forward to sharing more as I keep going!
chrismpSat Apr 18, 2020 11:01 pm
Try the modified tile nippers for bending edges. Cheap, quick to make and works well.
Dr. DelamSun Apr 19, 2020 12:45 am
Or cut your edges short and skip the full wrap edges. Quick and easy.
skidesmondWed Apr 22, 2020 3:03 pm
That’s a lot of laminates in a short ski. What thickness are you planning for the core? Having 2 layers of titanal, FG and CF will make for a really stiff ski which you’ll want but if the tip area doesn’t bend enough the ski won’t want to release out of the turn. And since the ski is short at 165cm, you want it to bend but be damp. If this is your first ski I’d stick to the basics. I’d skip the CF. And for the FG might be better off with a light weight biax weave. The core thickness plays a huge part also.
HannesThu Apr 23, 2020 8:10 pm
That CNC looks nice! I am thinking about building one but I am still in the mode of getting the right ideas to keep the dimensions, the stiffness, the price, the amount of time and the peace with my wife in the right order.
JonrezzFri Apr 24, 2020 9:33 am
Thanks for the feedback!
Chris/Delam - I ordered some nippers to make a simple edge bending tool. I also ordered one of those drill press vices that others have used to make the wheeled version of edge benders - but not sure when i'm going to get around to that. seems like a whole project in itself. I also want to stop my edges at the ends of the running length instead of wrapping around the front of the ski - but my buddy thinks its a mistake to do it that way because it will be less resilient and cause a premature failure/delam. Since he says that, now of course I have to do it that way to prove him wrong
skidesmond - Honestly i'm a bit concerned that they will come out too stiff too. Looking at my RC4's, it's clear that they have 2 full titanol layers and the core is on the thick side, but I'm not sure what composites they use as far as fiberglass, carbon, etc. I wanted to keep both sheets of titanol in the design because from what i read it will make them nice and damp and allow good edge holding capability - which is super important to me because I spend a lot of my time on the slopes carving groomers at gore, okemo, killington, etc. For core thickness, my plan was to go with 2 mm at the tip and tail and 12 mm underfoot. I think I will take your advice though and choose weaker composites. I don't want the skis to be too soft and not be able to perform at speed, but I definitely don't want them too stiff either.
Hannes - Thanks! if it's any help the CNC in the photos is about as affordable as I could find - it gets the job done with enough accuracy; I just run it more slowly than one would on a stiffer machine. To give a general idea of the performance - on hardwood I run a 1/4" bit at 75 in/min and 1/8" step-down. I've tried to go more aggressive than that before but it didn't end well lol.
Another thing I'm really hung up on is - I'm working on CAD and CAM for my camber mold while I wait for other materials to arrive - gonna cut it on the CNC - but I'm really nervous about where to start as far as accounting for the camber relaxation after pressing - some threads on here say to double the design camber (ie if you want 9 mm of ski camber - make the mold with 18 mm of camber) - but in some places I see people getting results true to their mold (ie 9 mm camber in the mold - 9 mm camber in the ski). I plan on heating from the top-only during pressing which makes me think I should go with a mold more true to the camber I want since the top will expand faster than the bottom while the epoxy is curing - but I have a feeling Its going to take multiple attempts to get it right. My thought process regarding heat from the top only is it will be a lot more affordable to do a 120 volt setup / single heating pad. I wonder if I'm better off in the long run just spending the extra cash to run a 240 volt outlet and do two heating pads - one on top and one on bottom. If i destroy 3-400 bucks worth of materials doing trial and error with the single heat pad work - then it would've made sense to just get the dual heat setup in the first place.
BS TechFri Apr 24, 2020 11:03 am
its been our experience that camber runs from heat...
meaning.. top heat only= less camber
bottom heat only= more camber
assuming a symmetrical build.
skidesmondFri Apr 24, 2020 11:13 am
We’re basically skiing the same areas and we are both carvers. IMHO no need to run the edges all round the tip or tail. I run my edges about half up the tip and tail. No problems with delams. Make sure you pre bend the tips and tails after you attach the edges. This helps prevent the edges from pulling away in the tips/tails.
Keep the 2 layers of metal, ditch the CF. As for the FG I think you’re better off with a very light weight triax or med weight biax. You’ll get the torsional stiffness from the Titanal so biax will work ok. As for the camber I would go true to what you want. If you end up with too much camber and a stiff ski it will chatter like hell on hard pack.
As for the core thickness 12mm for a 165cm ski is pretty thick when you’re adding titanal. I made 180cm GS cheater ski. I’ll include the details and review in a link at the end. But in short my wood core is ash in the binding area, poplar fore and aft, for tip fill I used ash veneer about 1.6-1.8mm thick. I used 2 layers of titanal that is .6mm thick. And Flax instead of FG. The flax is a biax weave and around 10.35 ounces. The wood core is 10.5mm thick tapered down to about 1.8mm. I use Ipe wood sidewalls which really stiffens the ski also. The length of the binding area also is a big factor in the stiffness of the ski, generally the binding area is a consistent thickness.
If you have digital calipers take some measurements of your RC4 and do a little bit of reverse engineering. I did this to a pair of 180cm Fischer RC4. The max thickness of the was about 15mm. Then I started subtracting out the laminate thickness. The wood core came out to be about 10-10.2mm tapered down to 2mm. The binding area was a lot smaller than I normally make mine. I think it was about 100mm in front and behind boot center.
I made 165cm ski and made the wood core 9.4mm and binding area 265mm/355mm tapering to 1.8mm. I used flax and CF strip 2inchs wide above and below the core. The CF was uni weave and super light at 4.4oz. Ski came out really nice. I made this ski once before and the tip area was way to stiff and the core was about 11mm thick. The ski would not release out of a turn unless you were going really fast and flexing the ski hard. It wasn’t fun skiing on it and ended up pulling the bindings off.
Here’s the details on my 180cm ski:
http://www.exoticskis.com/Forum/default ... osts&t=585
skidesmondFri Apr 24, 2020 11:19 am
Here’s a couple of pics of my planer crib. Hope this helps. I’m working on a new version however.
6917D19D-9C24-4521-AC92-71AB17228989.jpeg (85.12 KiB) Viewed 4014 times
334B964E-A473-47ED-9874-C75F5FEC6616.jpeg (92.96 KiB) Viewed 4014 times
PheepsThu Aug 13, 2020 10:08 am
any progress? Wondering what you're trying to develop.
JonrezzWed Aug 26, 2020 5:38 am
Hey Pheeps
Not as much progress as I was hoping to make this summer, but the vacuum table has come along nicely.
The silicone sheet is from https://deerhunter.en.alibaba.com/produ ... 6999FCz38s - the DH2211 material 1mm thick. Seems like it will work well
for the top frame of the press - I used openbuilds.com aluminum extrusions 40mmX20mm and attached the silicone by pressing finishing strips into the grooves with the silicone sheet. The hinges and latches are from amazon/lowes.
the vacuum pump piping/fittings are from veneersupplies.com
here's some update photos: https://imgur.com/gallery/Xcg3yL5
I'm hoping to get the rest of the hardware attached and vacuum test this week. one thing I'm still thinking about is where to attach the vacuum hose - I have an old-style vacuum connector fitting I got from veneer supplies.com that i was thinking about using - but I'm wondering if installing it in the stretchy silicone material will cause it to wear/tear quickly. Other people I saw online do the vacuum connector through the table itself, but doing it that way seems much more difficult to get a good seal.
JonrezzFri Aug 28, 2020 8:07 am
Another update! Finished up the vac table and took it for a test run:
Pics of course:
https://imgur.com/gallery/a75Dzvn
Now it has a small leak somewhere, I suspect in the quick connect fitting under the table. seems to be pulling -27 inhg and keeping up with the leak. I will try to find and seal the leak, but is -27 inhg going to result in delam and air pockets or will it work? what pressure are you guys pressing at?
Thanks!
JonrezzWed Sep 02, 2020 6:39 pm
Completed Ski Molds with base and core laying in them! getting close to pressing now!
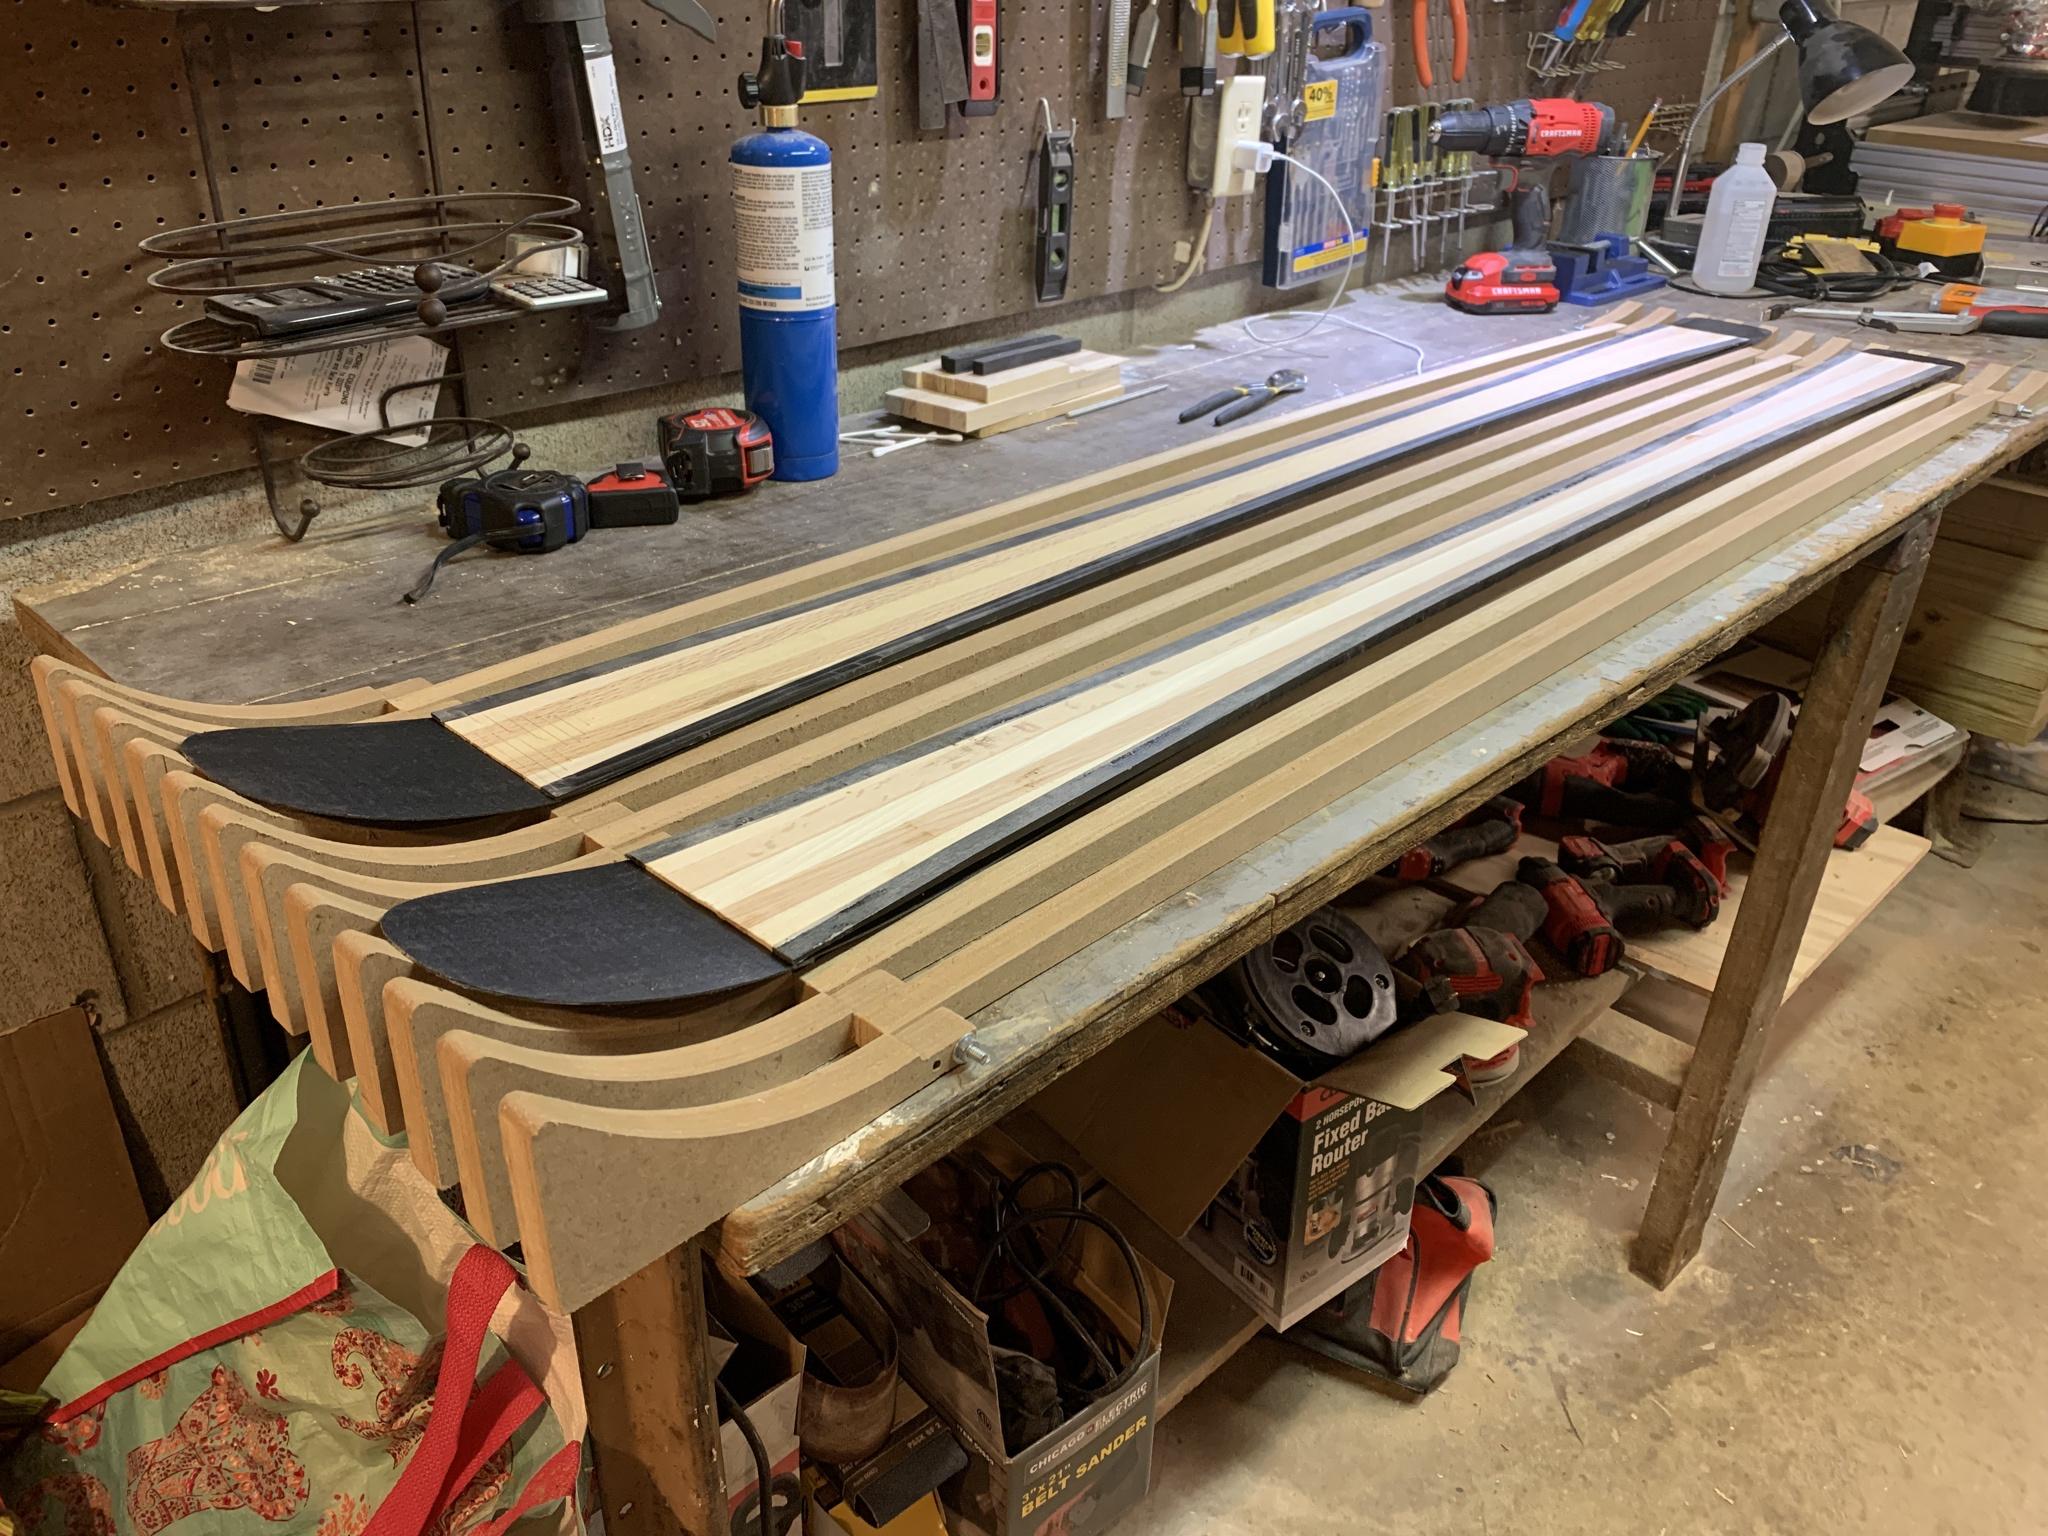
PheepsSun Sep 13, 2020 11:37 am
Lookin good Jonrezz; you're making progress for sure.
Especially with the silicone blanket and the way you have that sealed, I too would assume the leak is from the hose connection. That's where I had a leak using the vacuum bag last year. My pump had little issue keeping up, but I would rather avoid that next time myself.
My questions was originally asked because I used vacuum press last year, will do that again this year and thought I'd refine the process and continue in the future. But my firefighter brother dropped off a huge roll of wide fire hose, so now I have to decide whether or not to build a press or follow with the vacuum press table. choices.
So, those cores look a bit like a groomer, carving type ski. What you going to use for the lay-up?
JonrezzSat Oct 03, 2020 2:22 pm
Nice! looks like you definitely need to make a press now! One day I want to when finances allow.
They are intended to be replacements for my 10 year old pair of 165 cm fischer RC4 sl's that are beat to death and delaminating- the ones I'm making share dimensions with them. Originally I was planning on using carbon fiber between the vds, then fiberglass, core, fiberglass, titanol, topsheet (with the veils where required). but the further I get into this build the more I think i should keep it simple until I've gone through the motions of laying up my first pair - see what goes wrong, then proceed to more expensive and complex layups on pair 2.
anyway - here's some photos of what I've been up to:
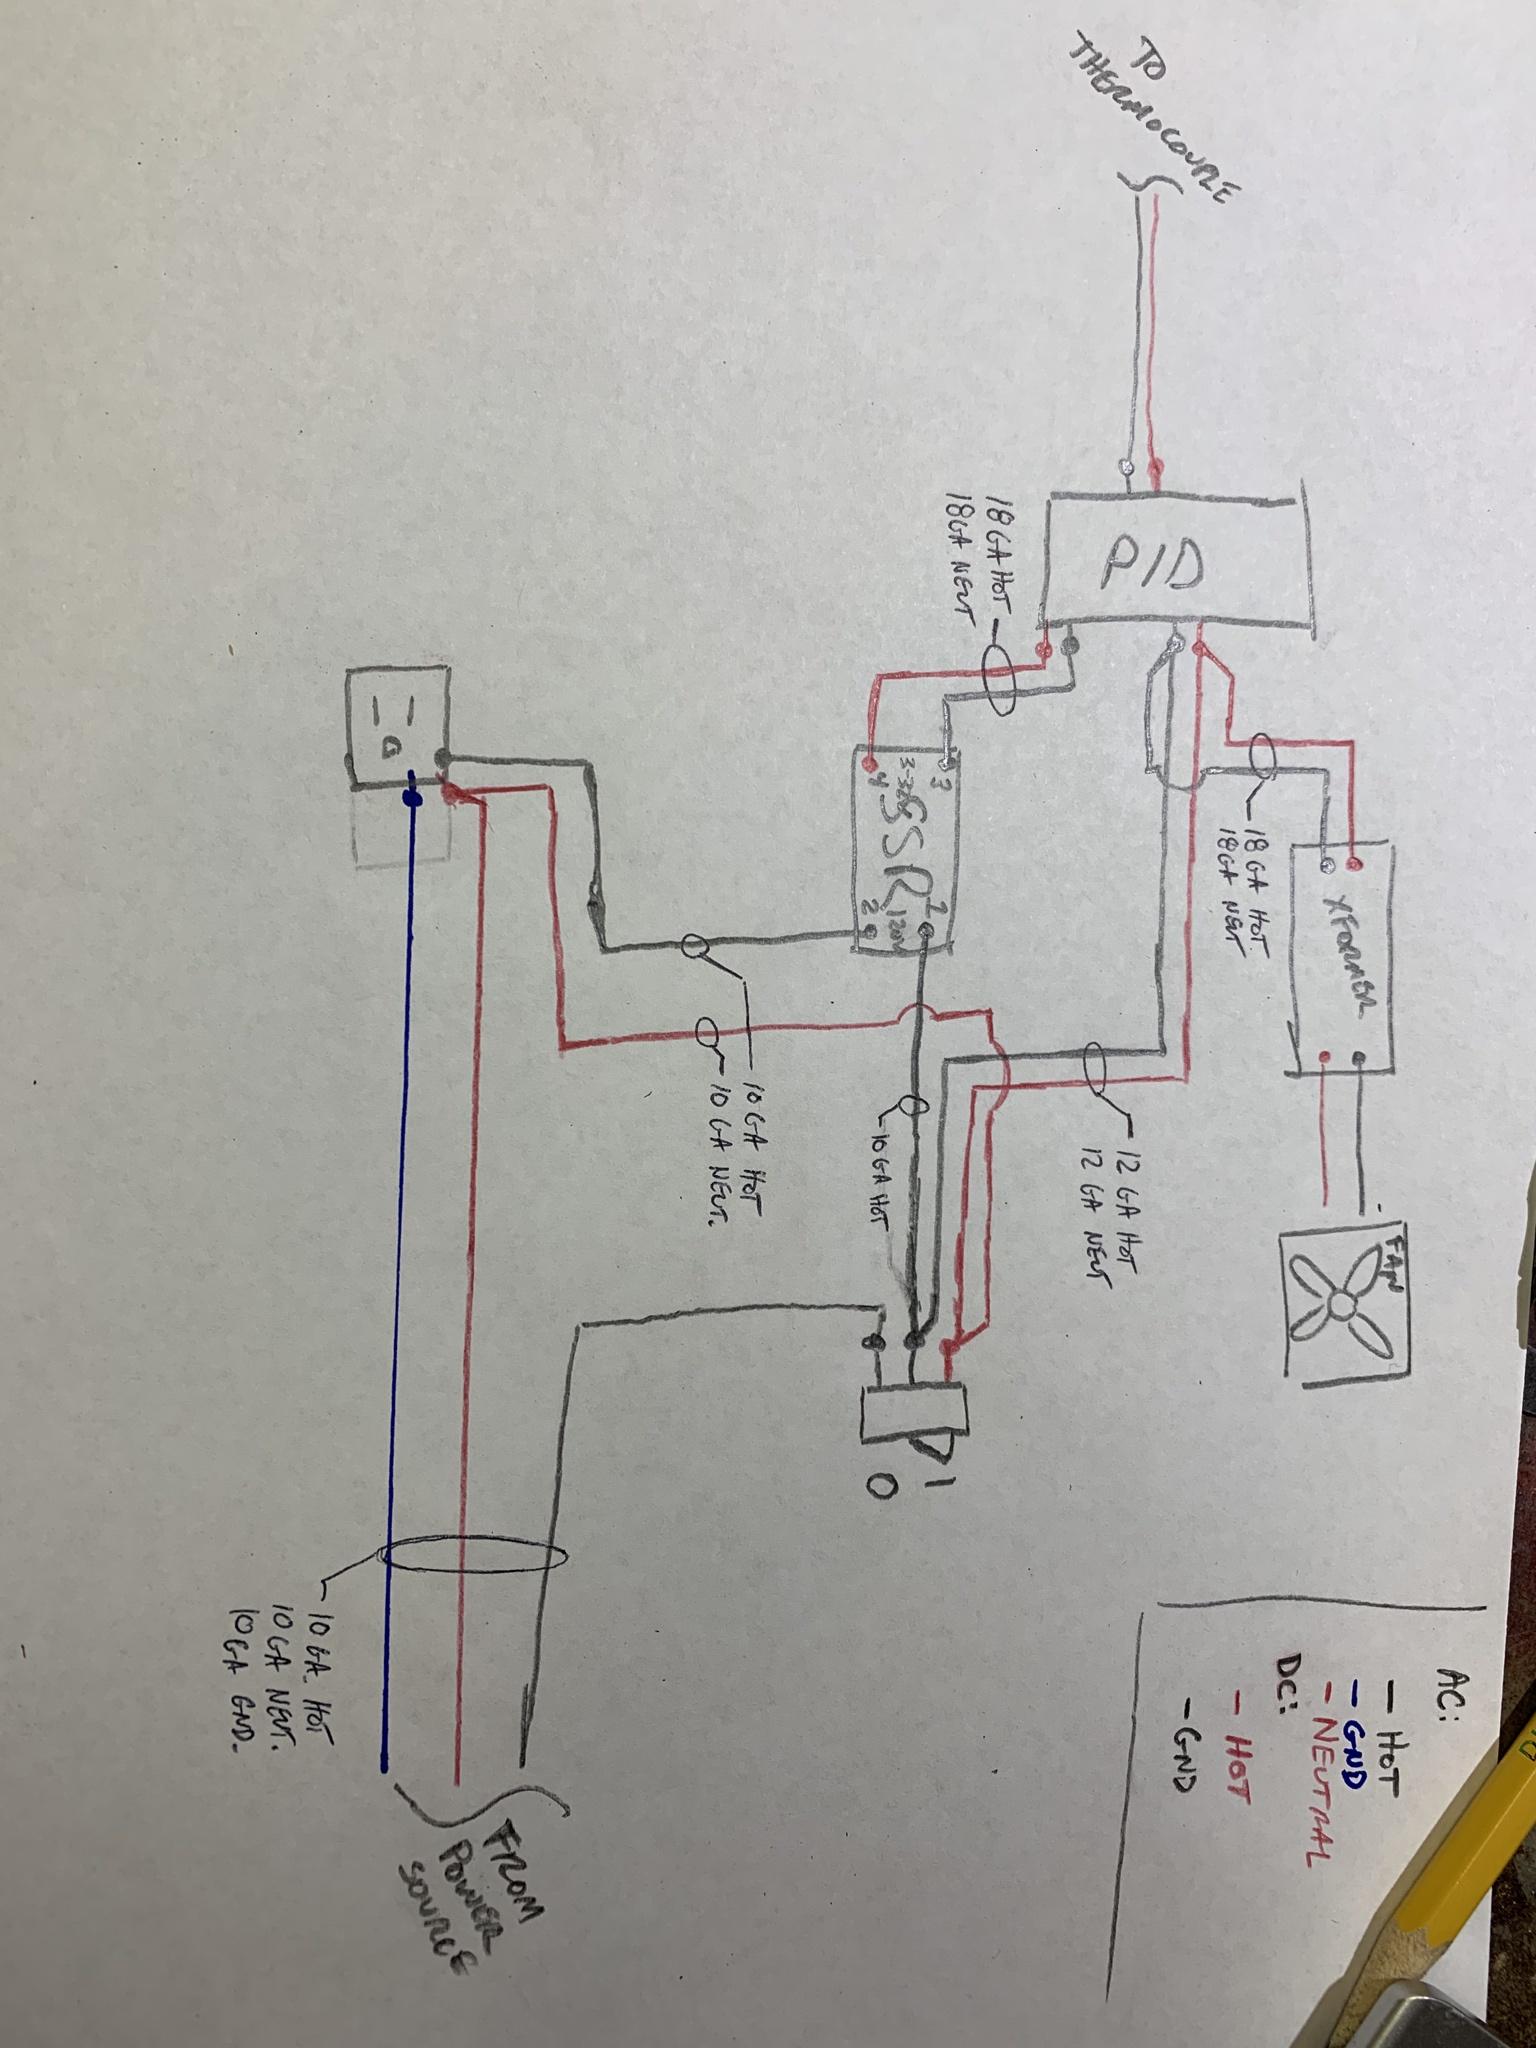
Planned a heat controller for a heating pad I ordered on alibaba - 2 kw 120 VAC - I used 10 ga wire out of an abundance of caution - really 12 ga would've been fine I think..
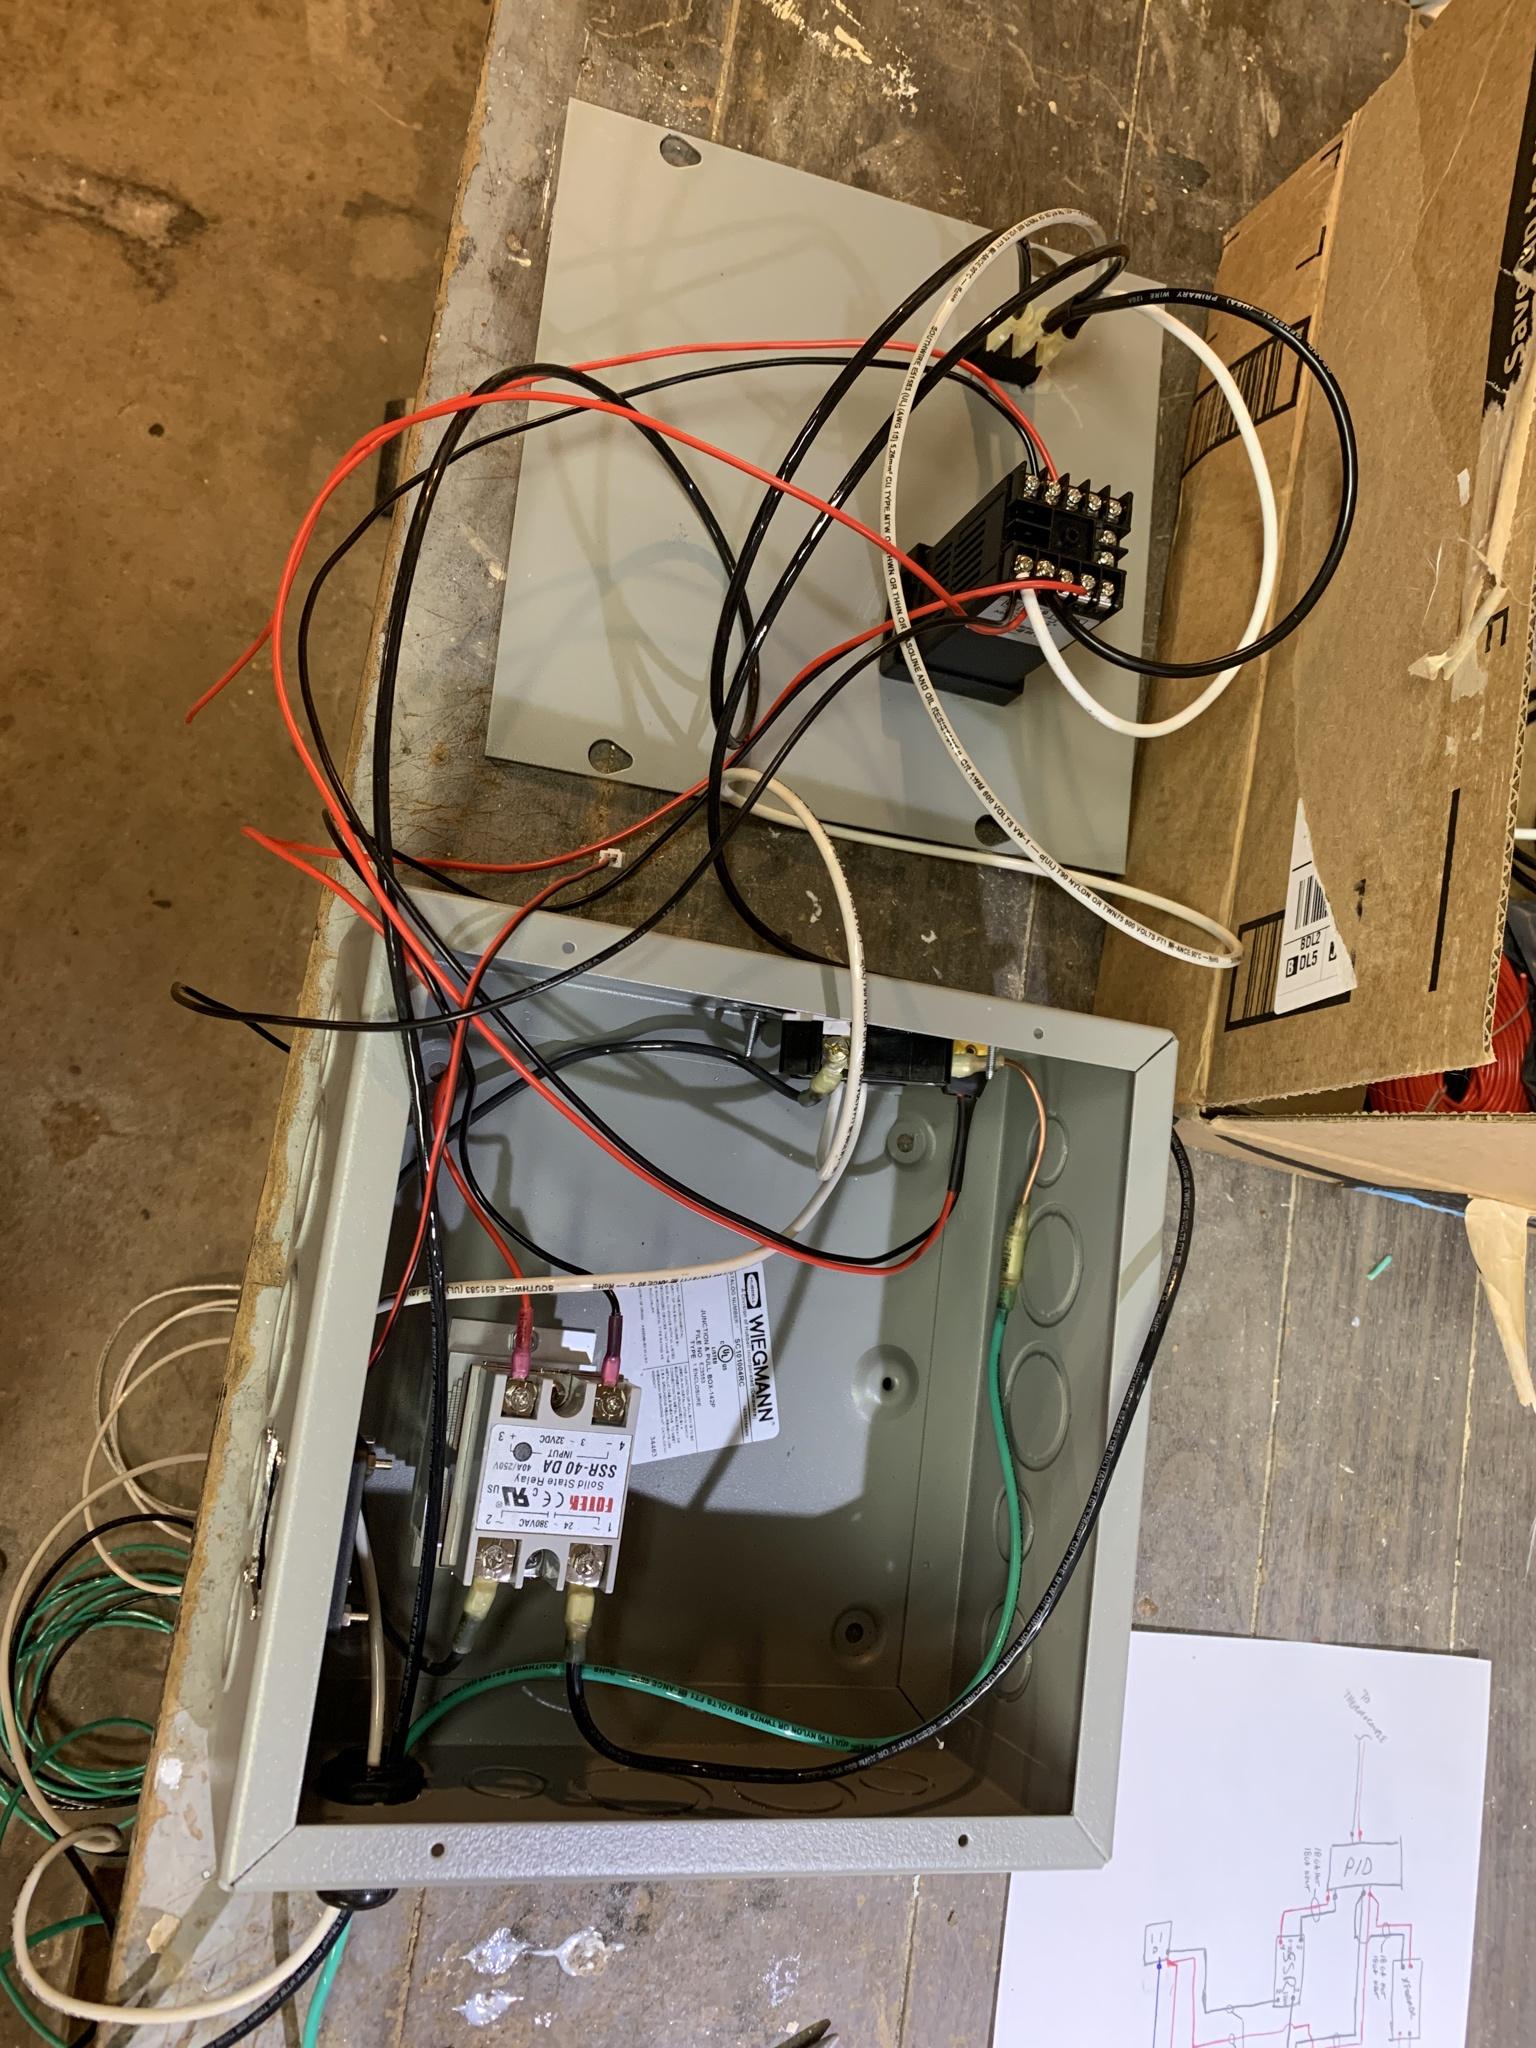
In-progress - not as neat as I'd like - in hindsight, I would avoid putting any of the electronics on the removable face of the junction box - the long wires turned into a bit of a rats nest.
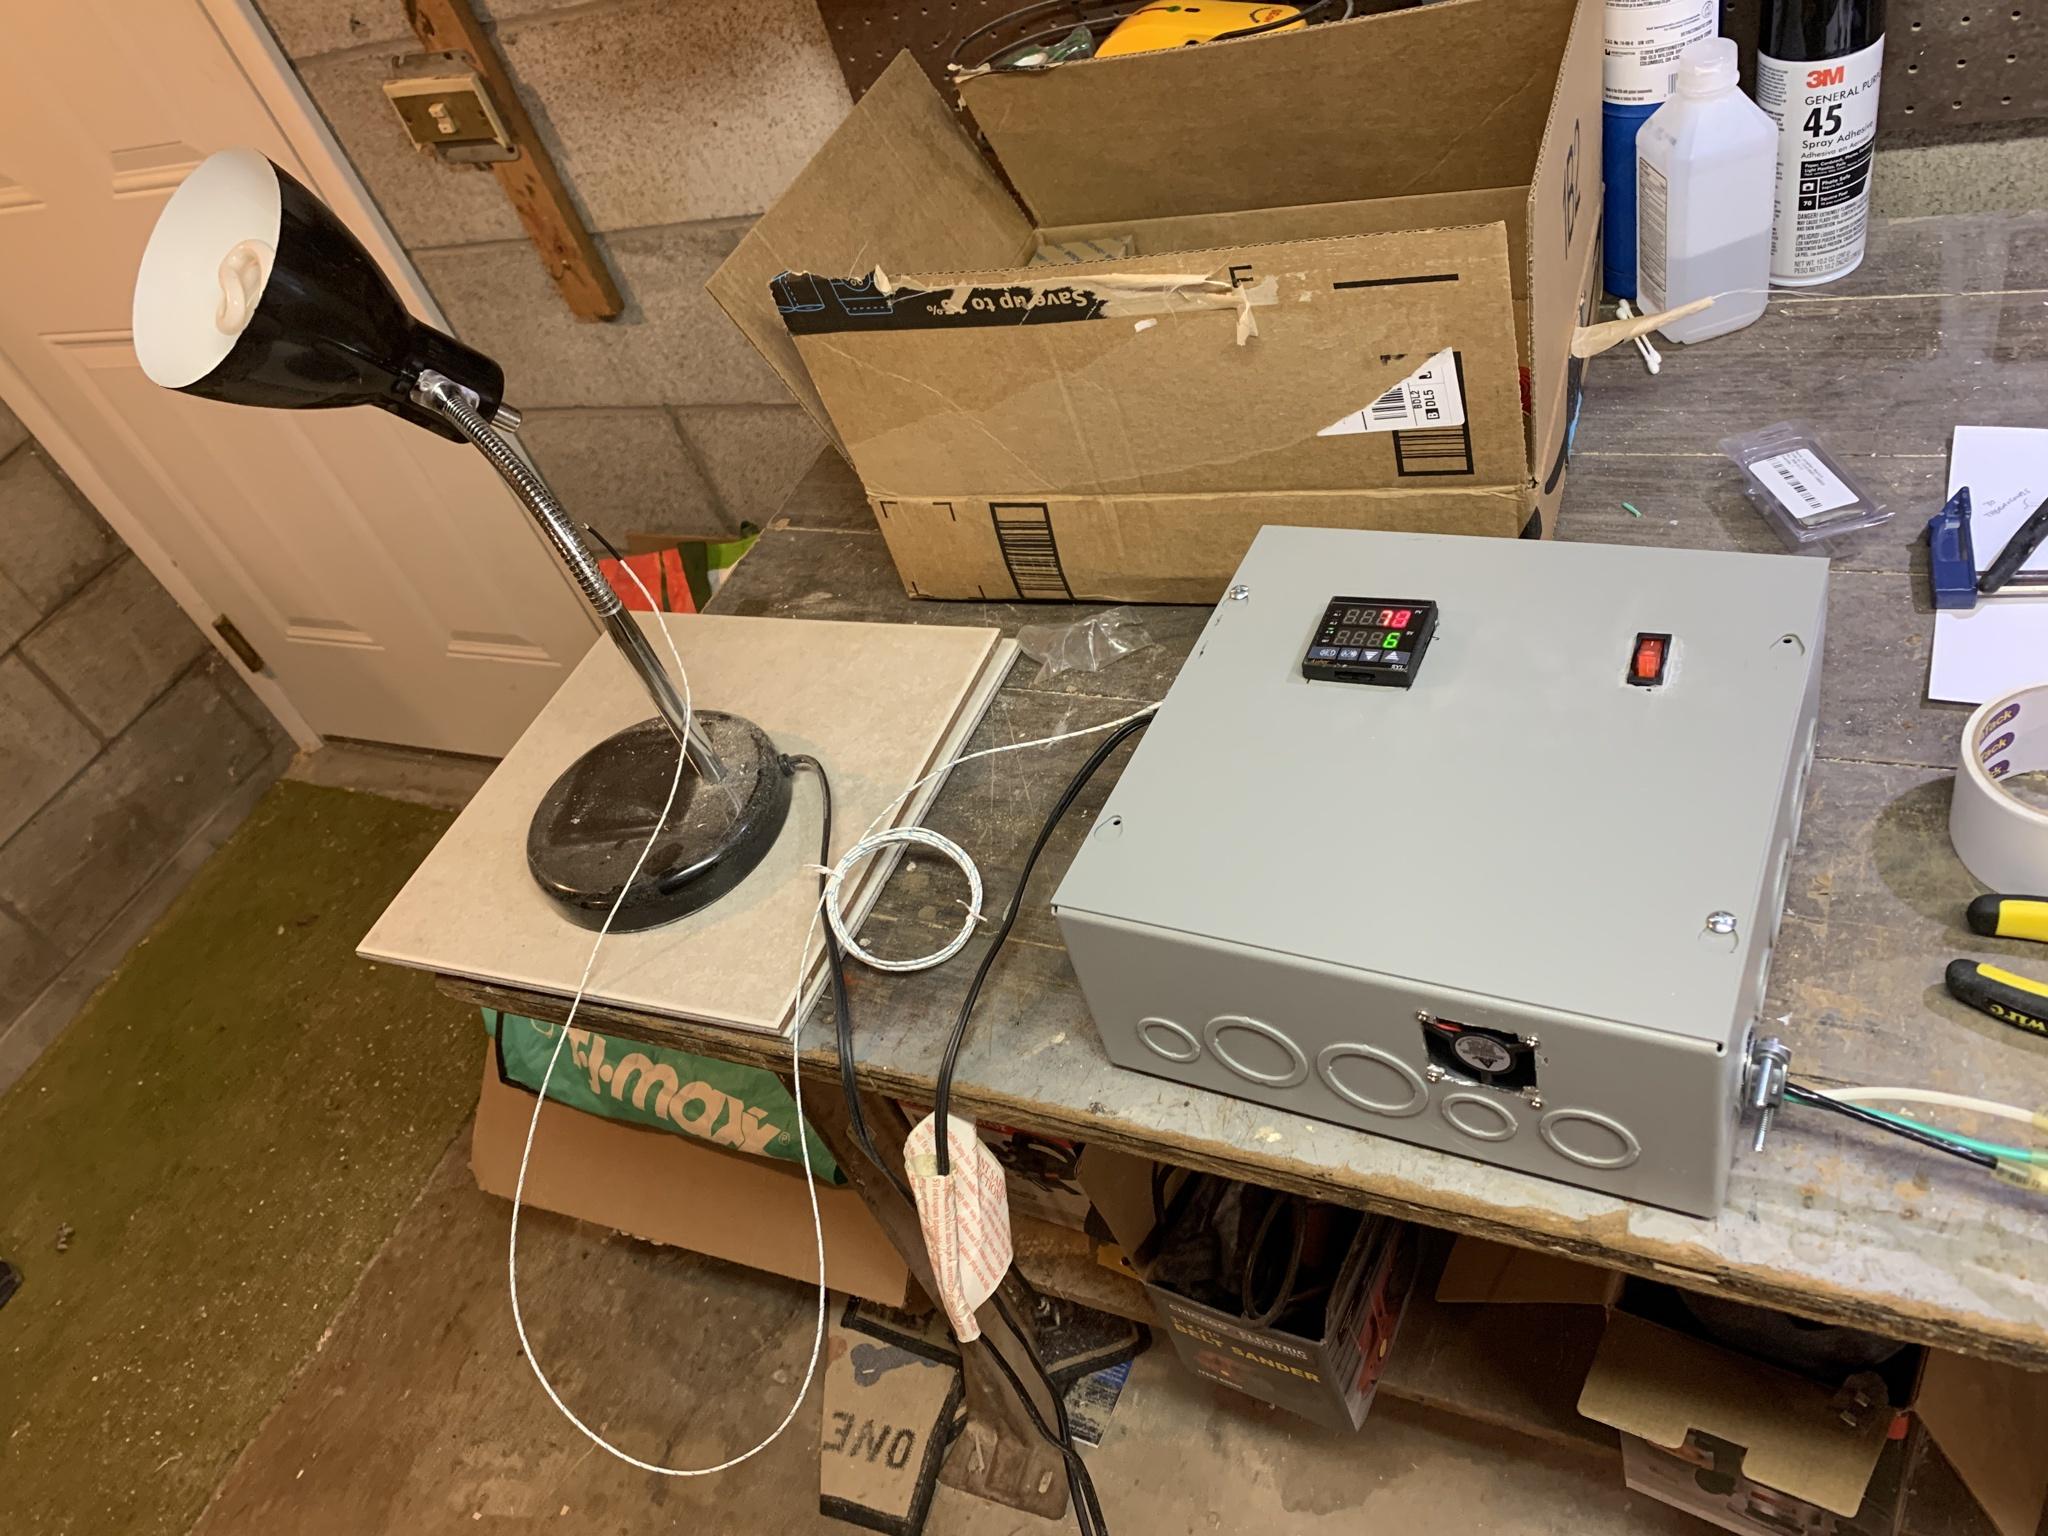
Tested it out on a lamp - works! just need to run a circuit to the panel for it with a 20A breaker and should be good to go
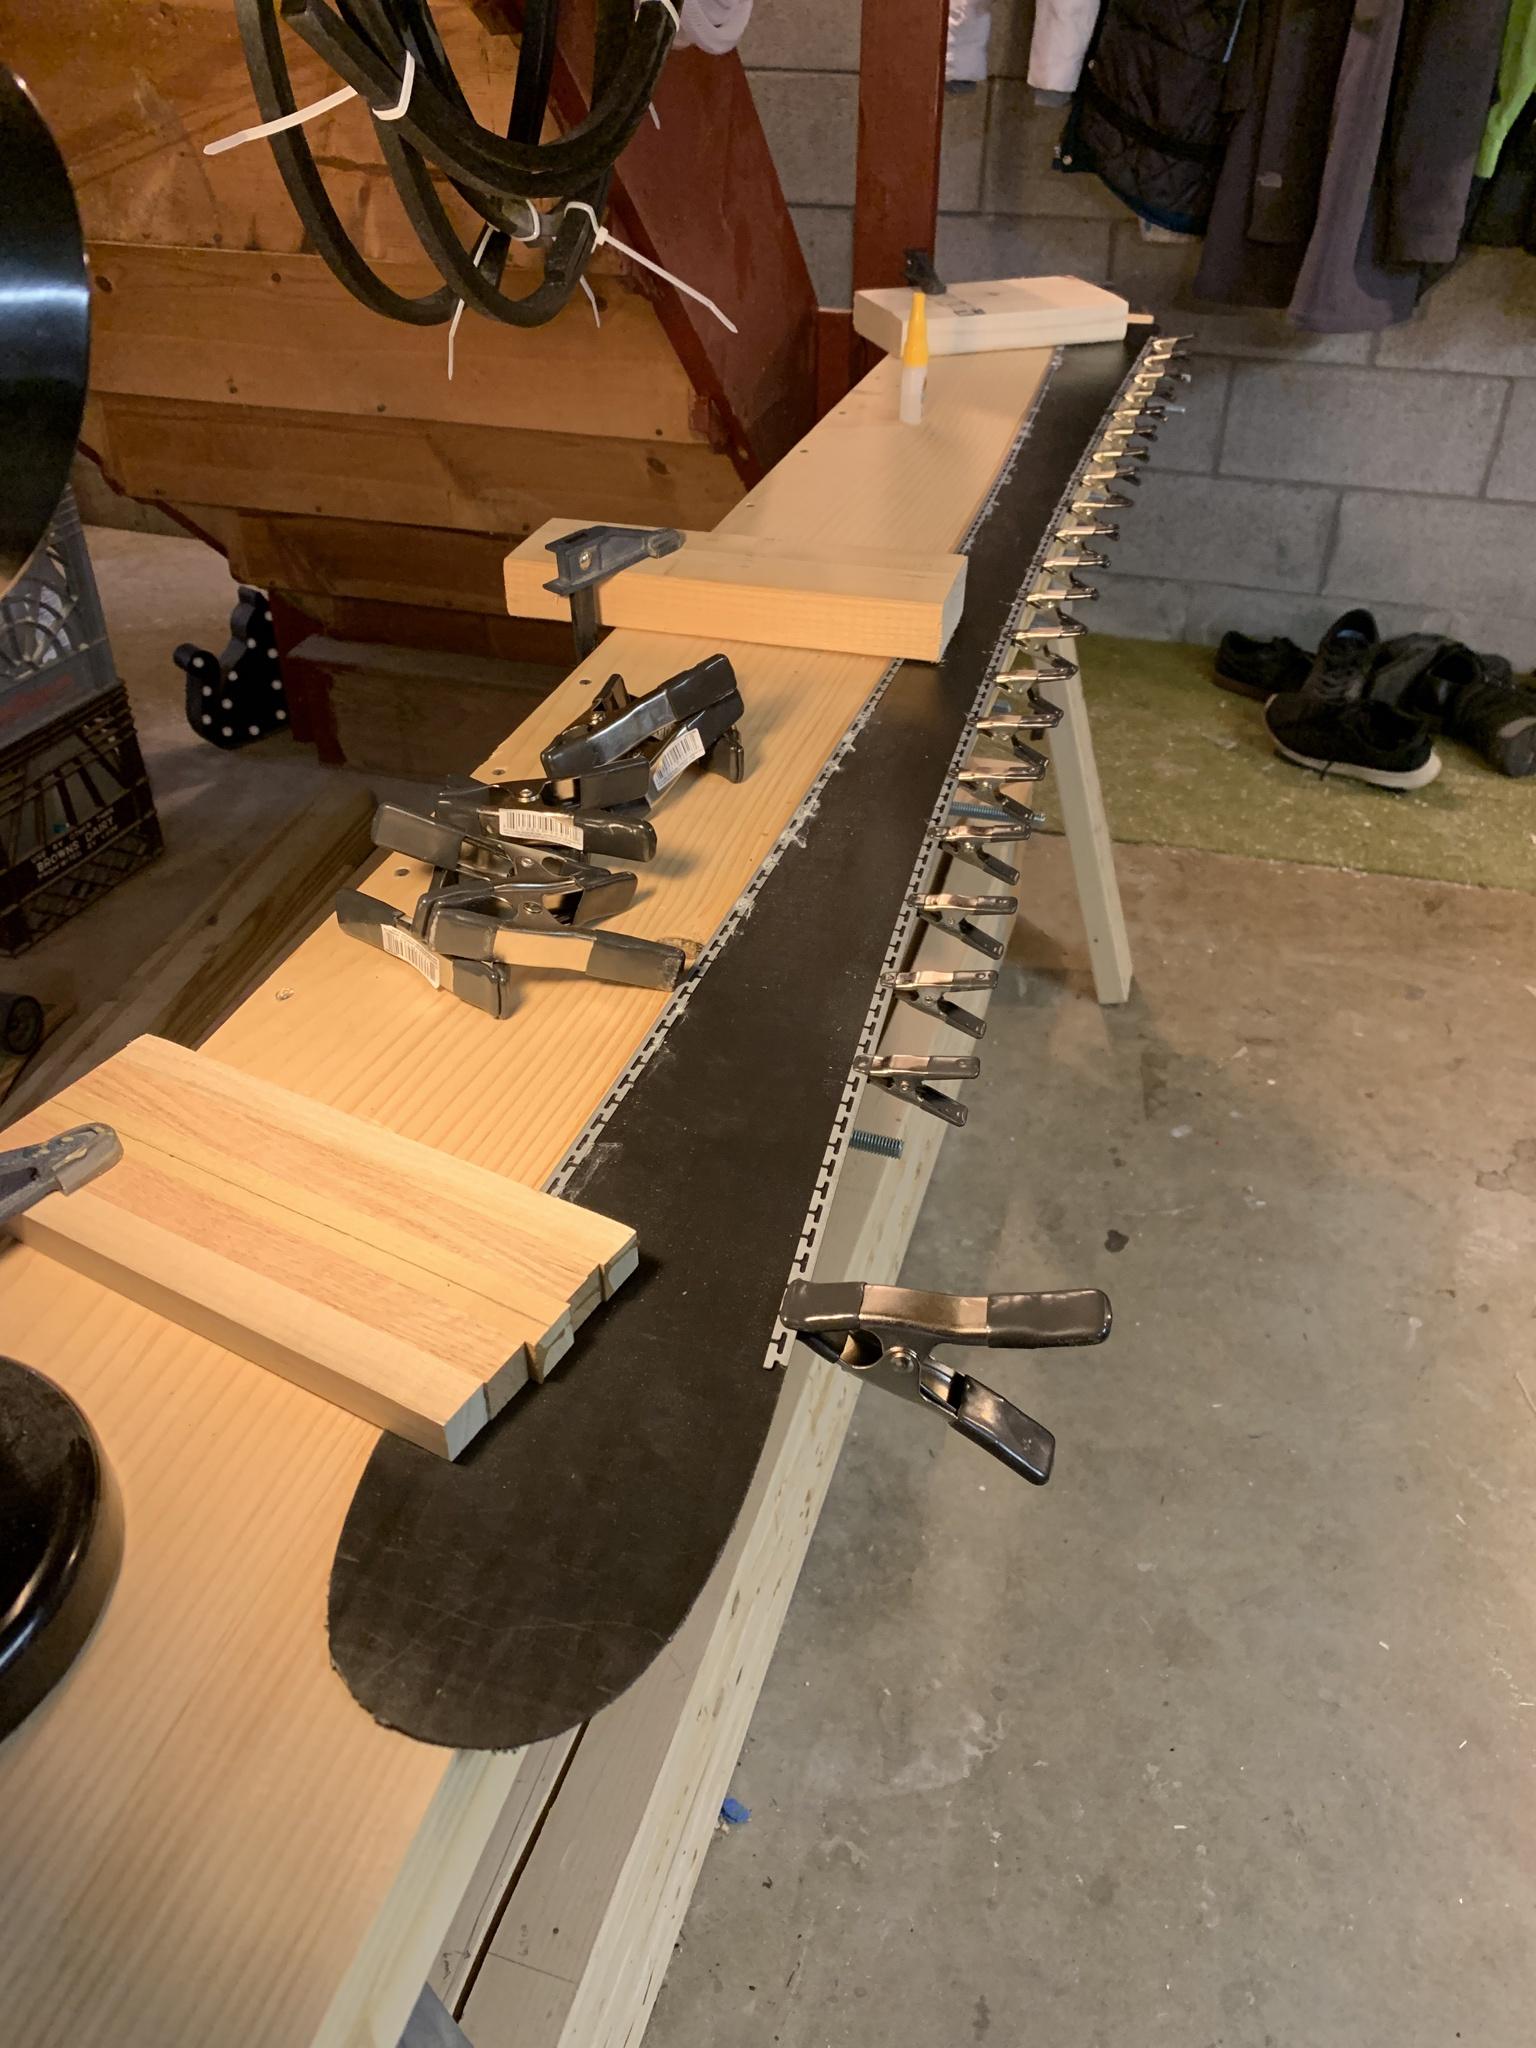
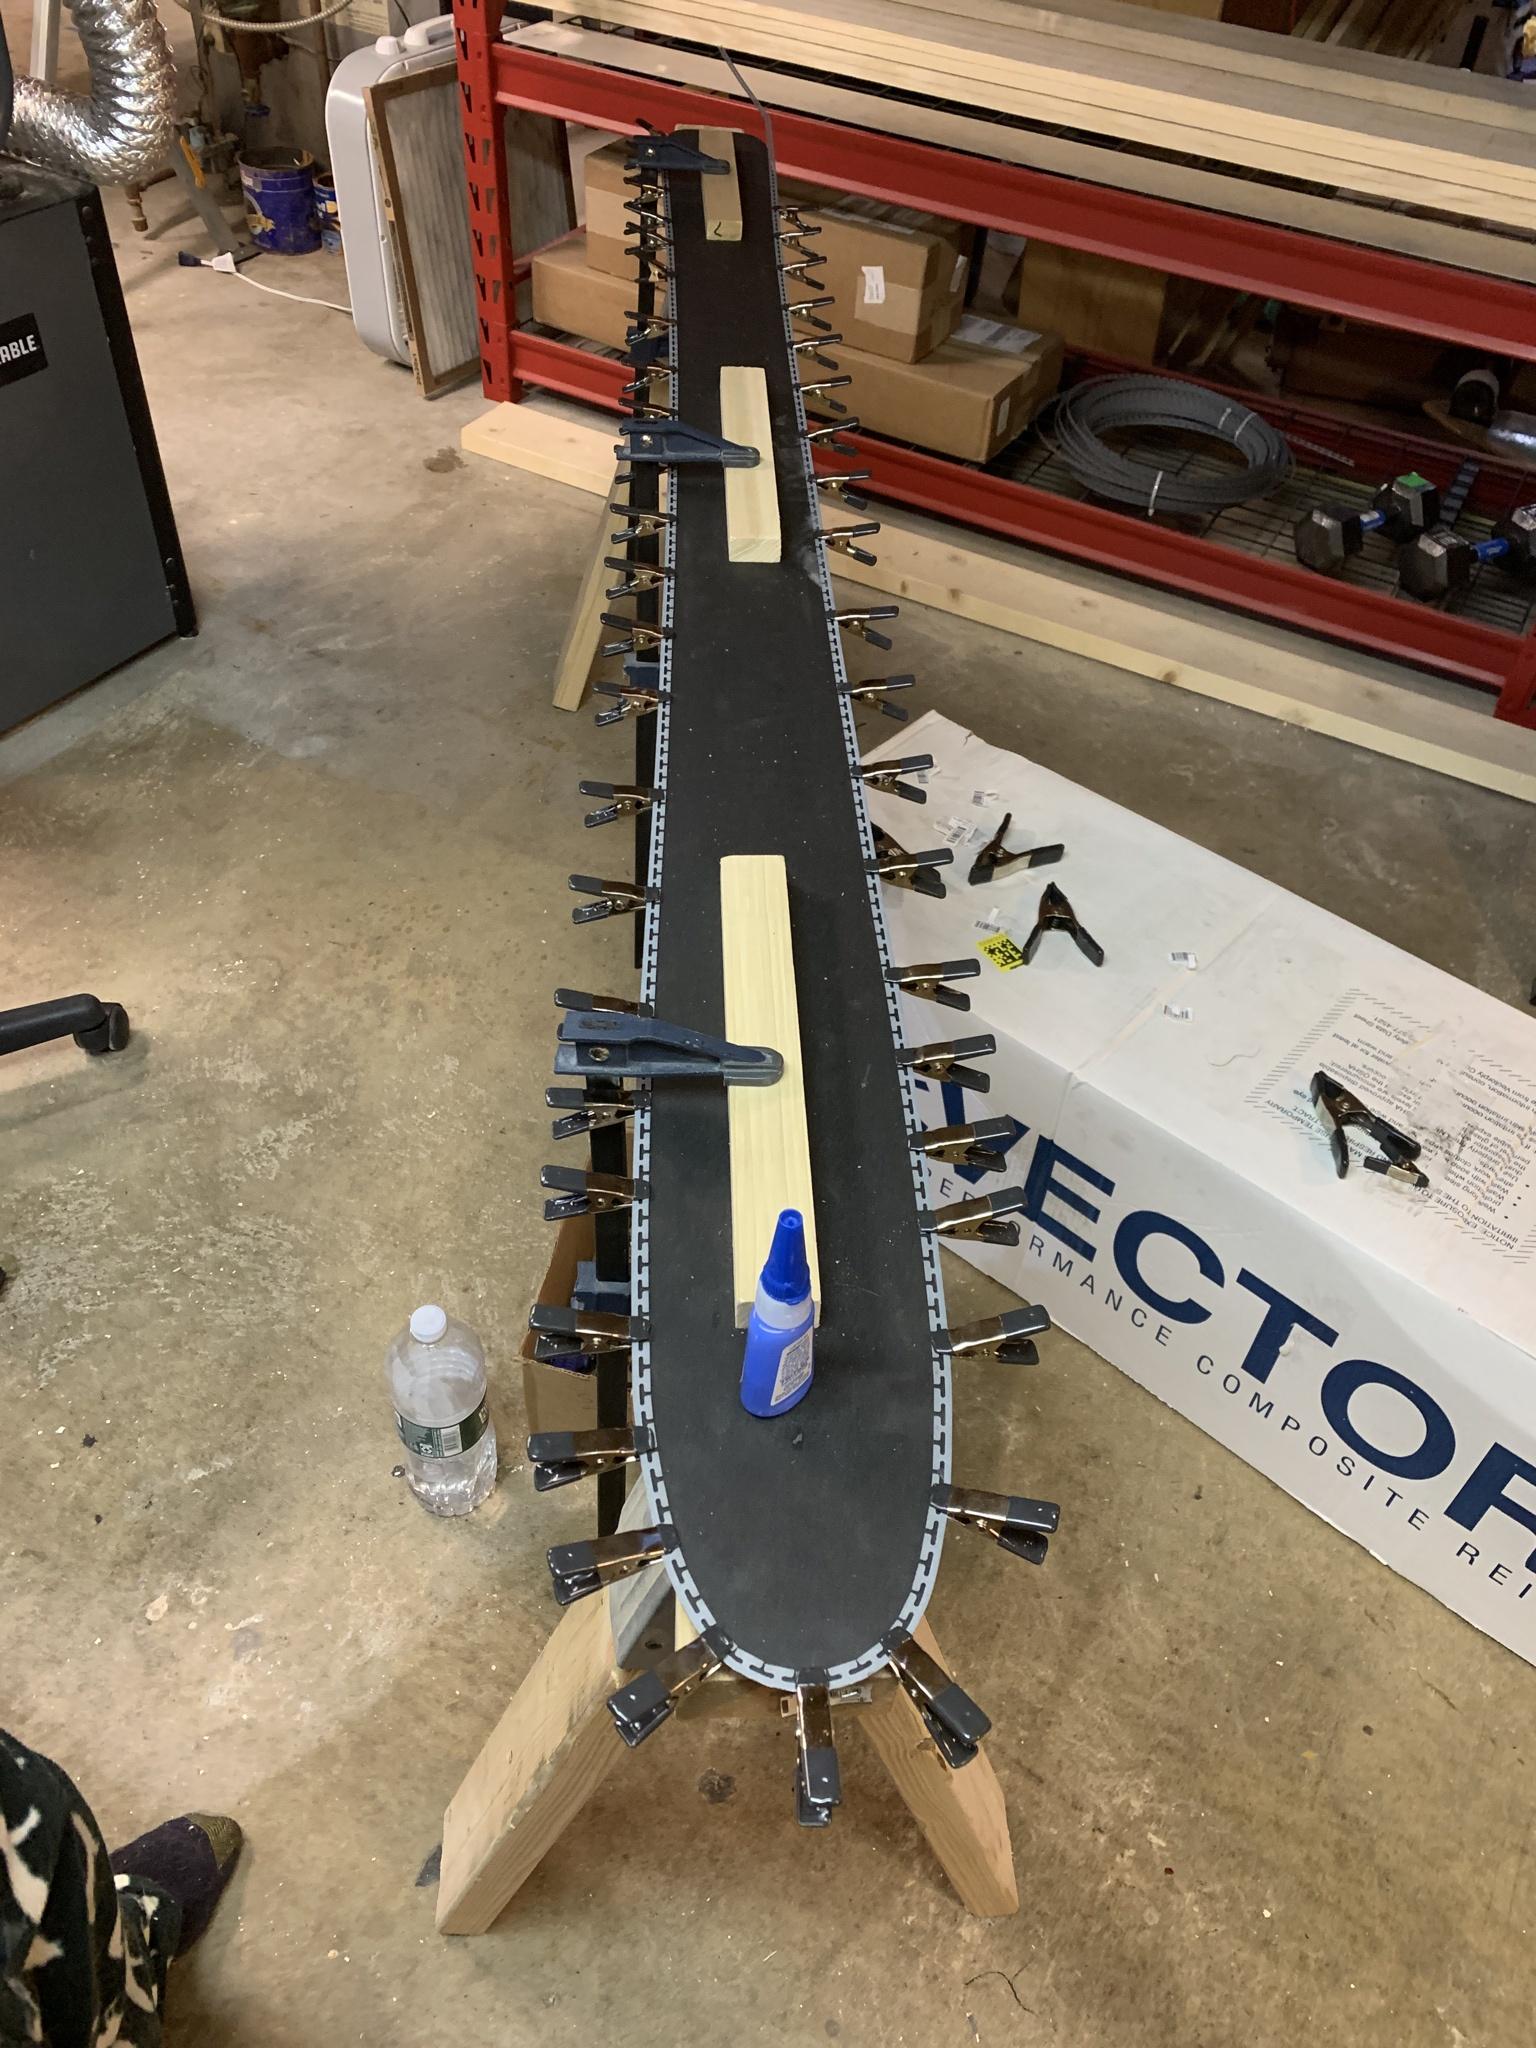
Started gluing edges on - learned the hard way that double sided tape isn't the way to go for this because the superglue failed when I tried to pry the base free - ended up coming up with a quick clamping jig after redoing side 1
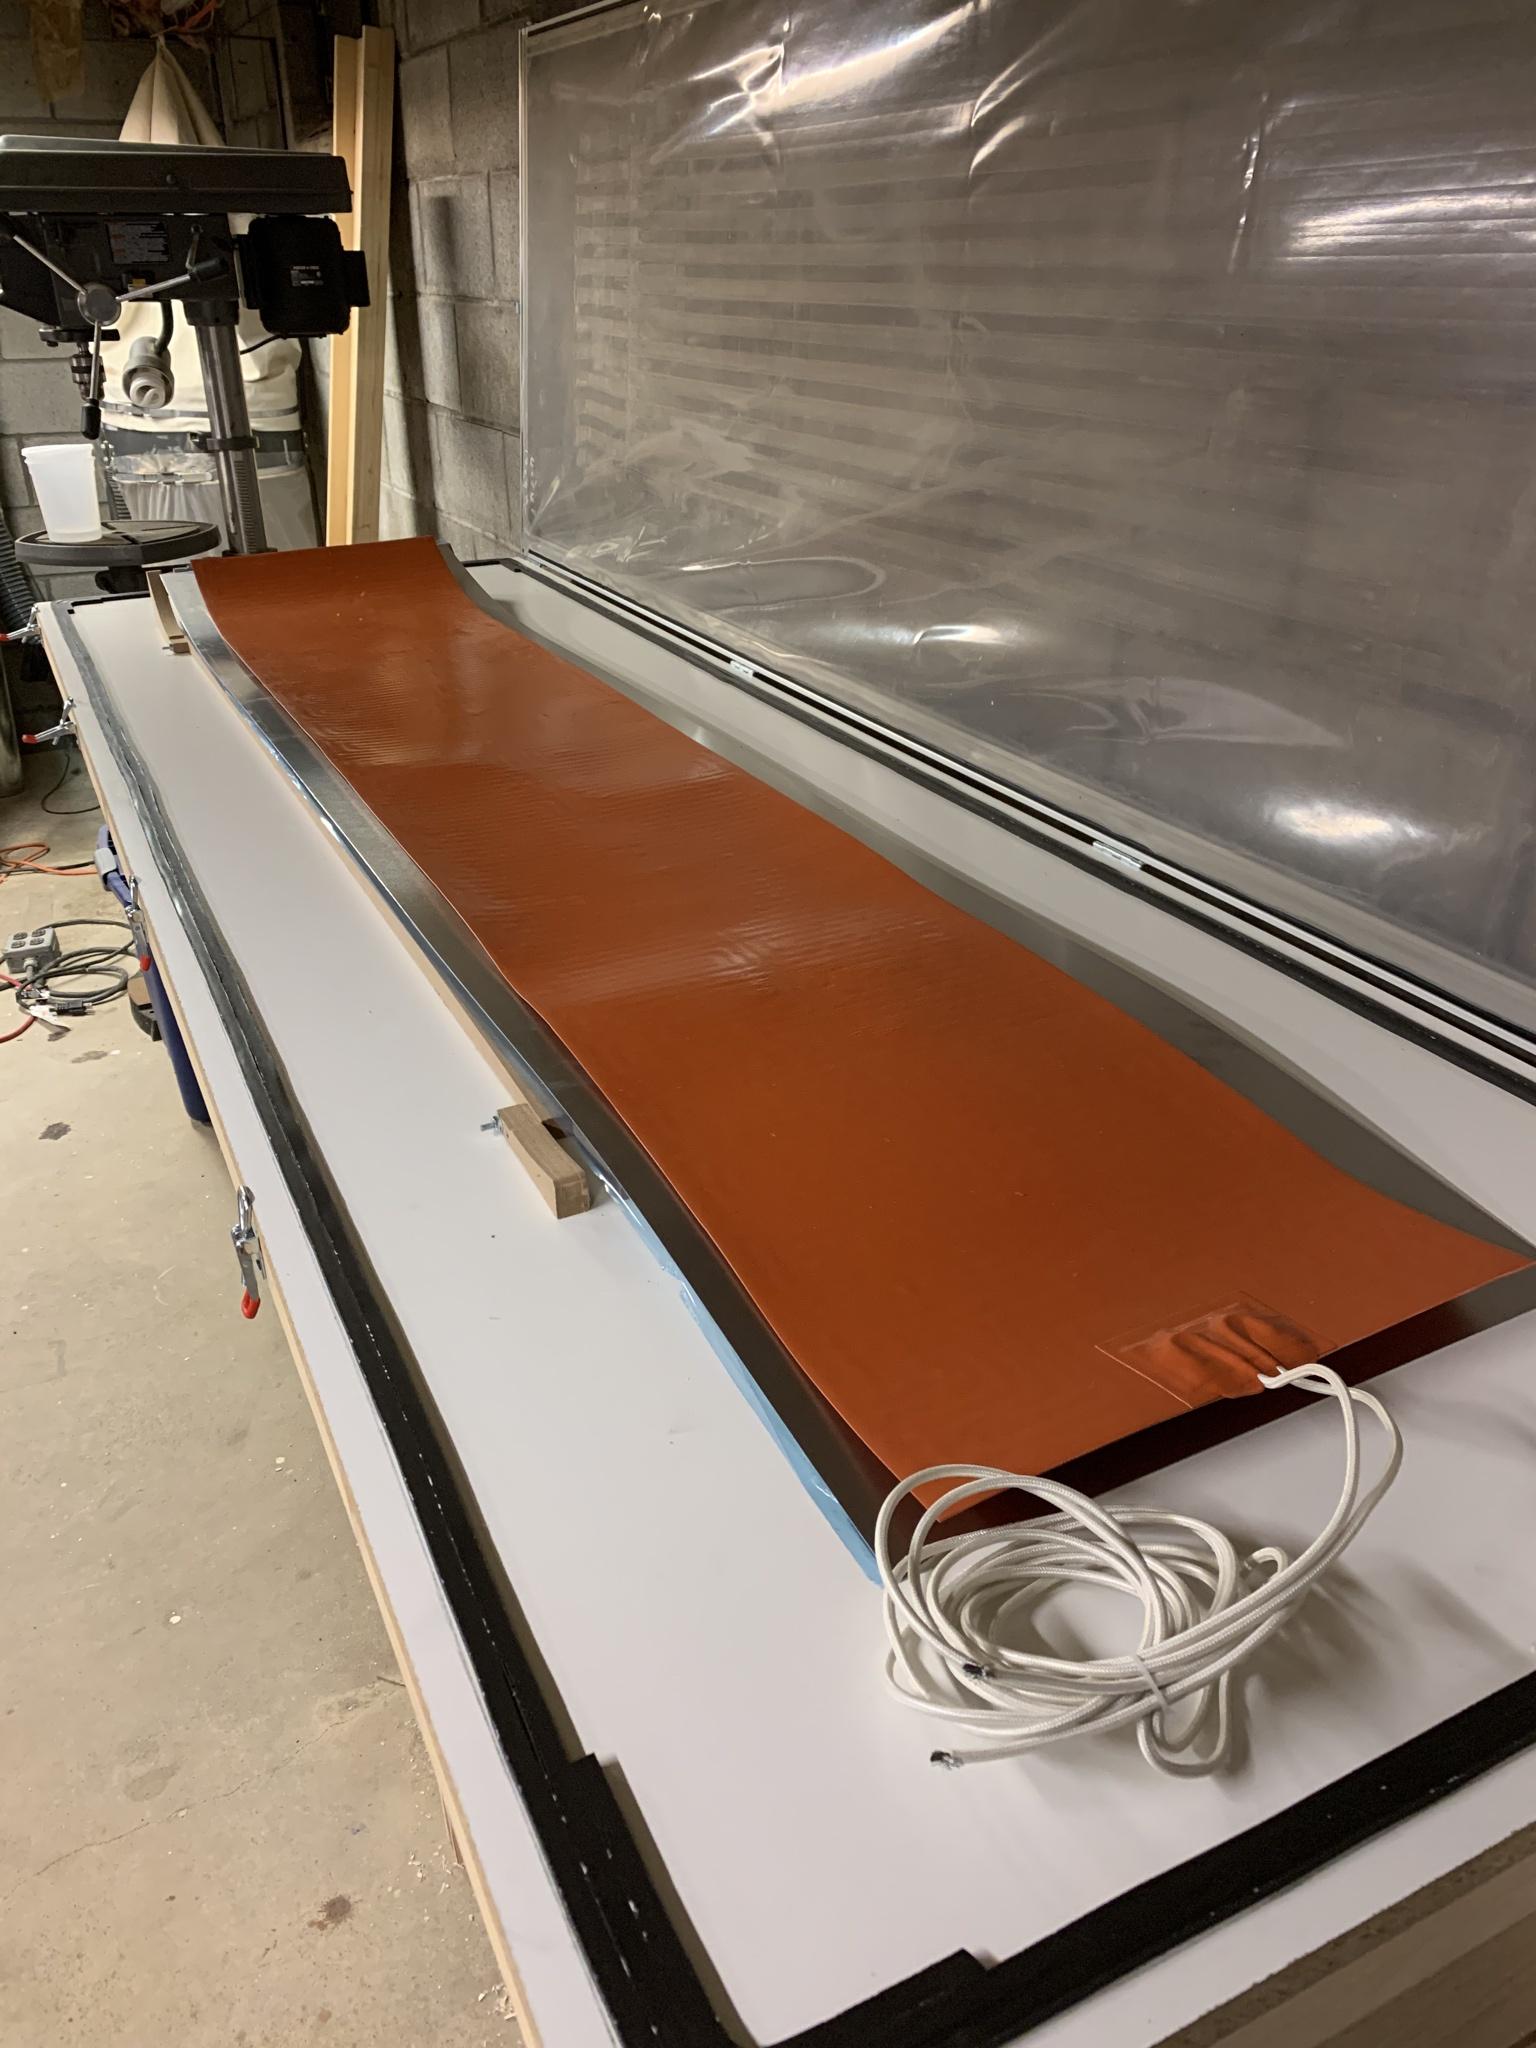
Heat pad and aluminum sheet came in!
JonrezzTue Nov 10, 2020 9:35 am
Thanks! Yeah I am going to try that this time, attach the base to a piece of wood a bit narrower than the ski and not unclamp it before both edges are on. My buddy suggested attaching the bases right to the aluminum cassette and cnc the shape/ do the edges / lay it up without ever removing the bases from the aluminum, but I have my reservations with that method, especially after we do our first press I have a feeling the aluminum won’t sit flat on the spoilboard the next time.
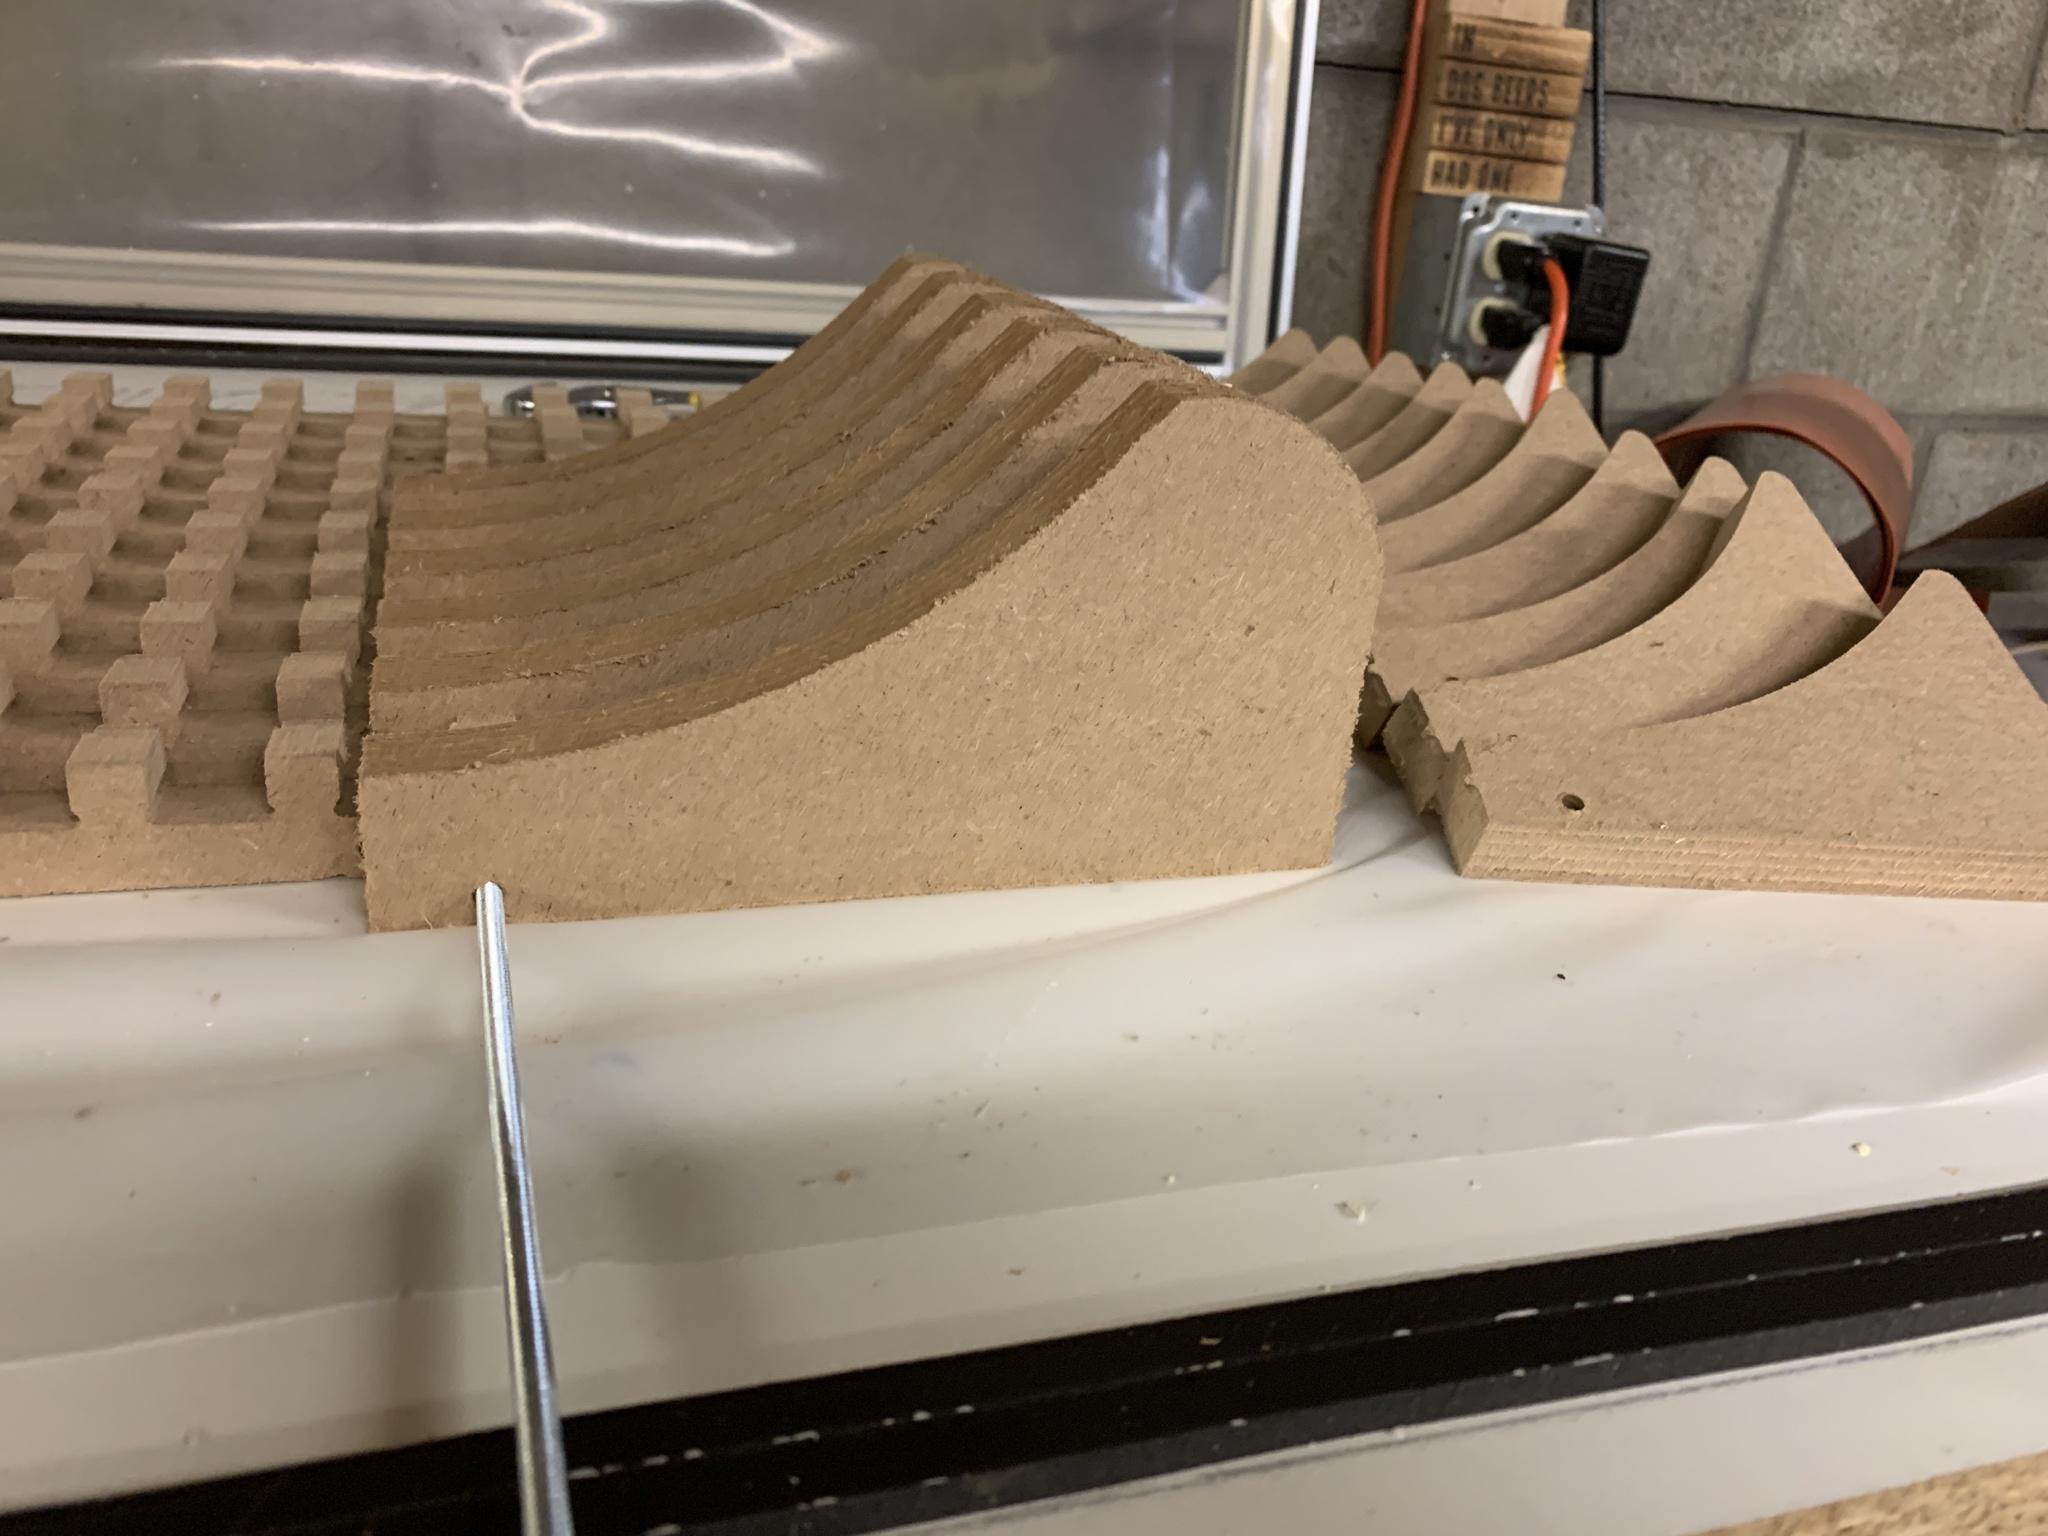
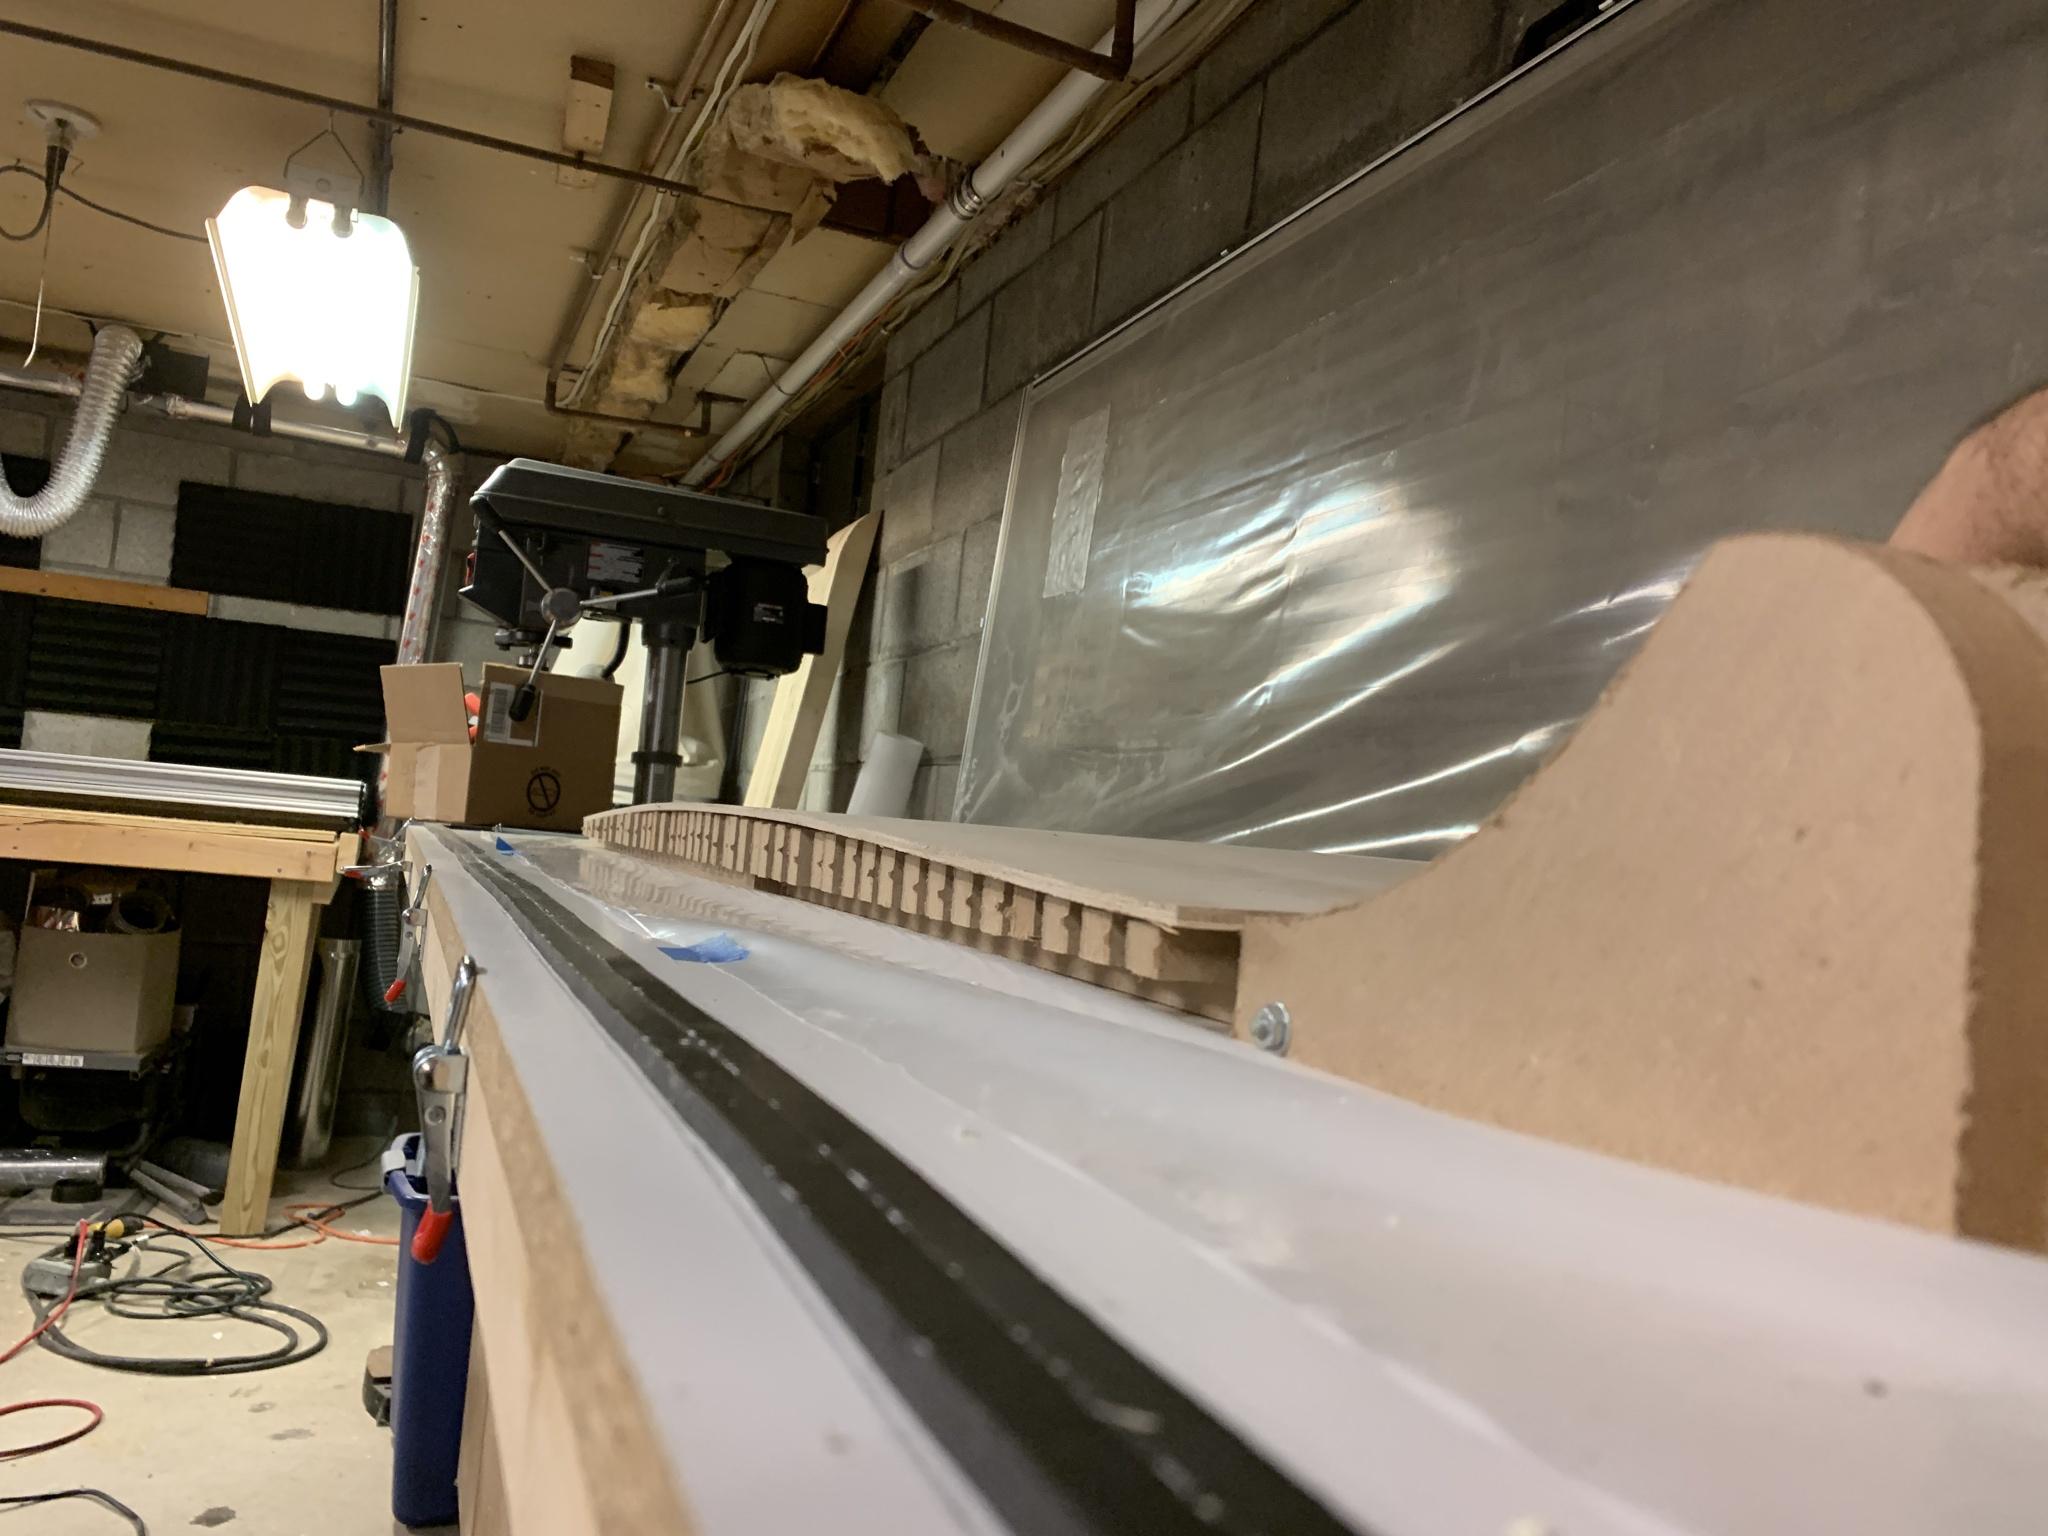
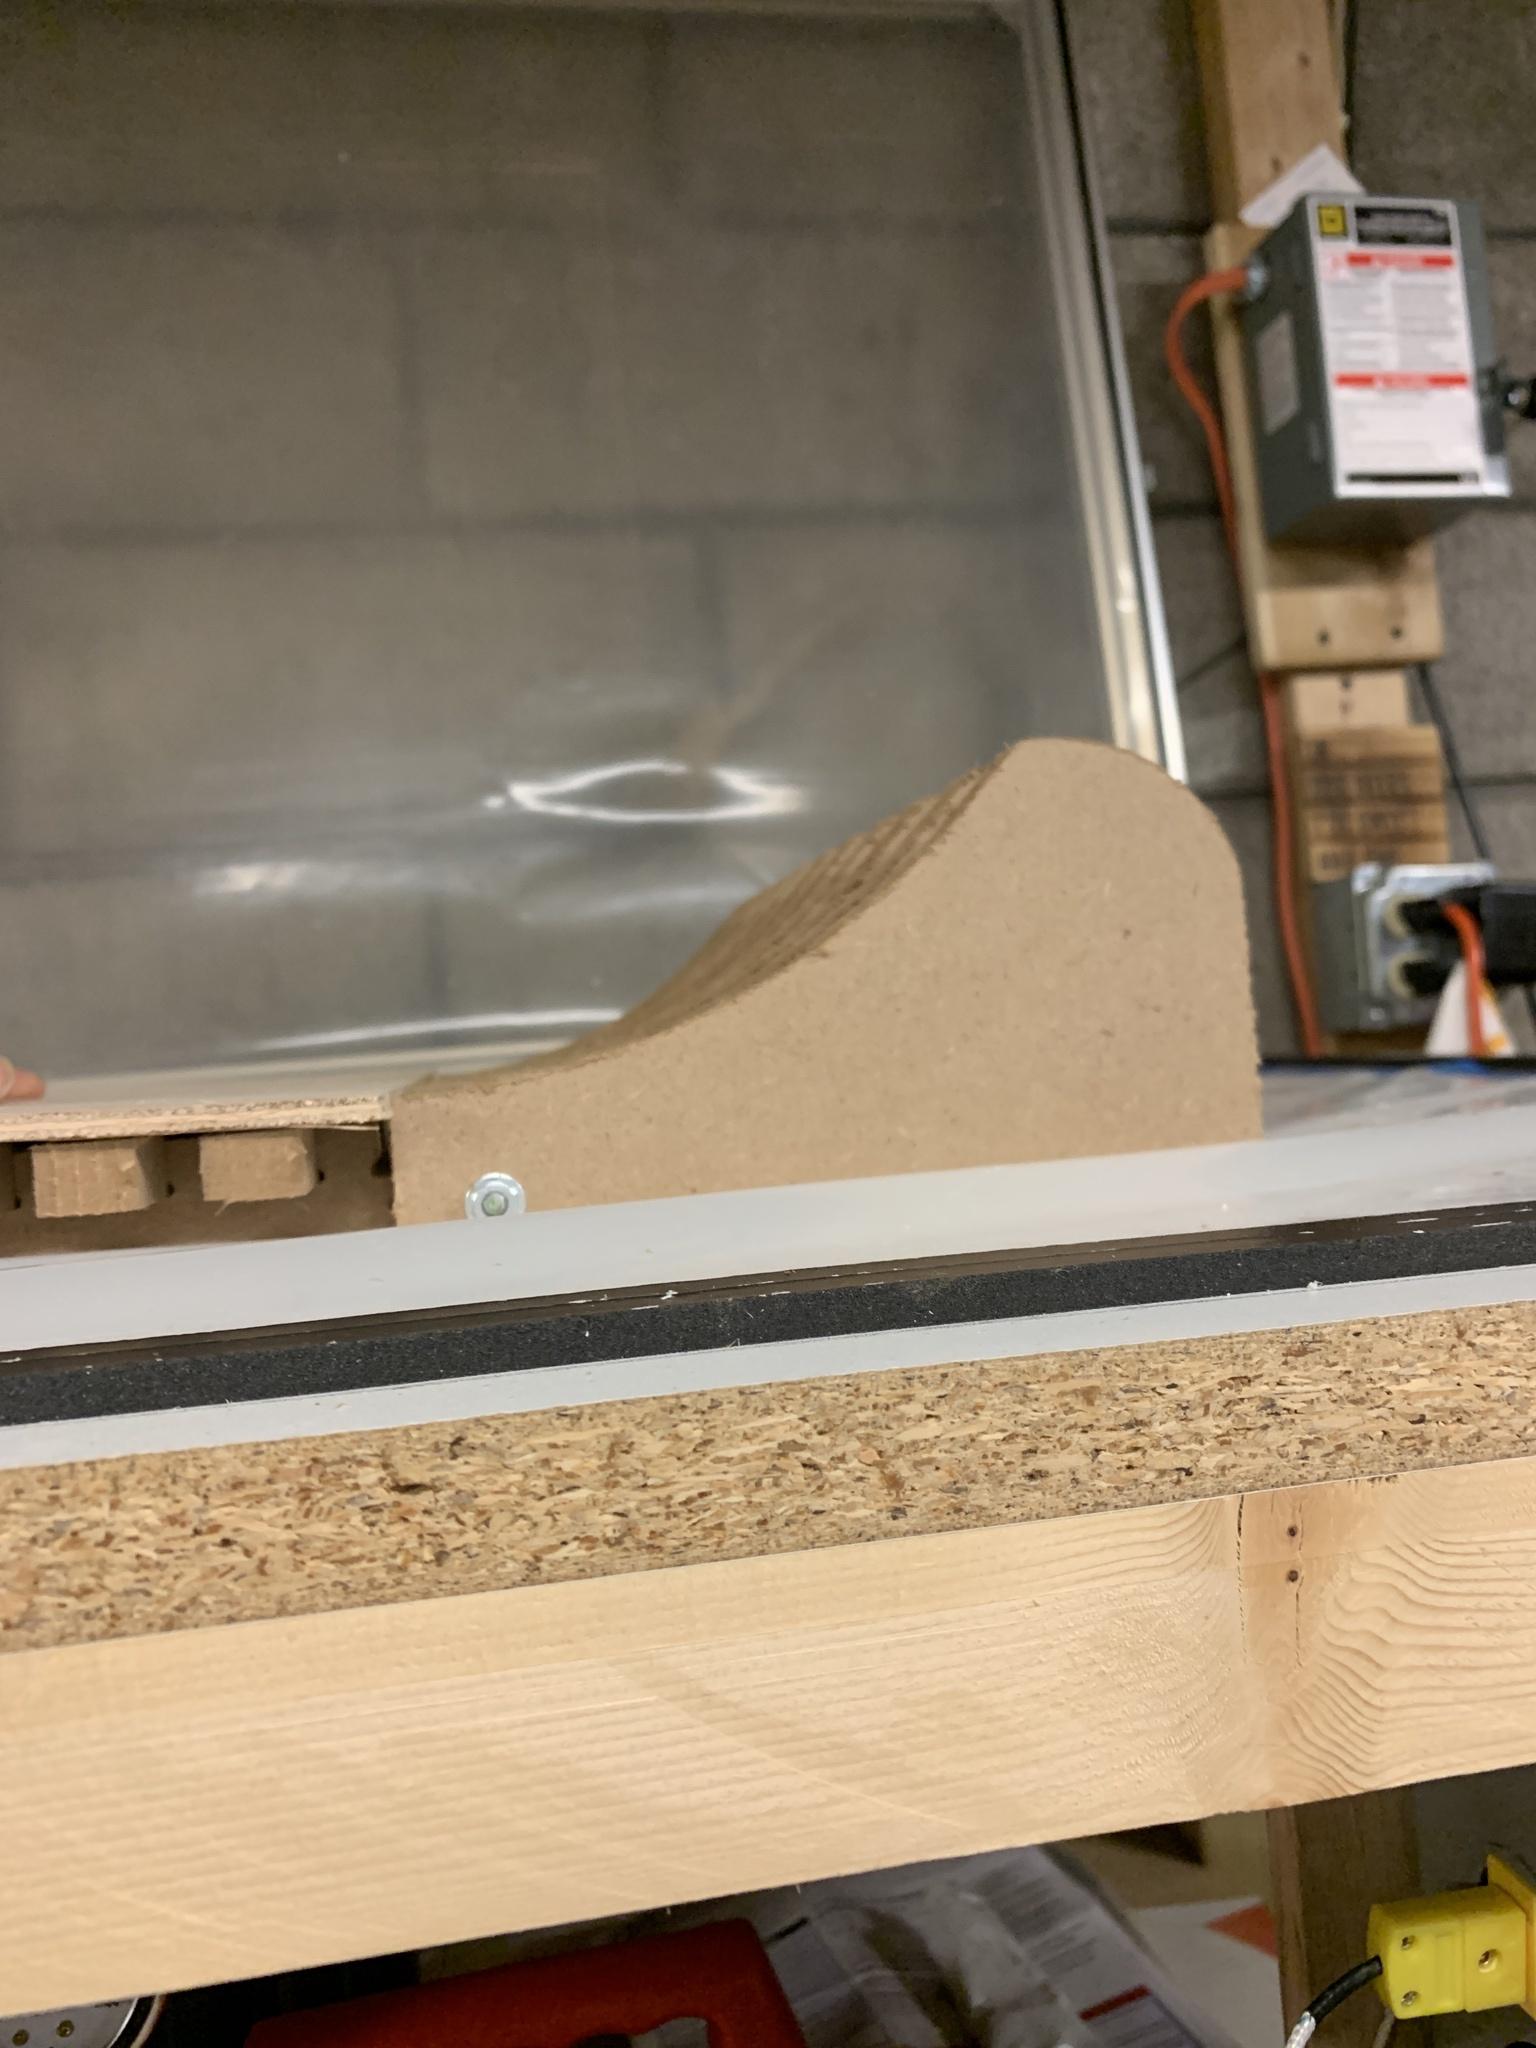
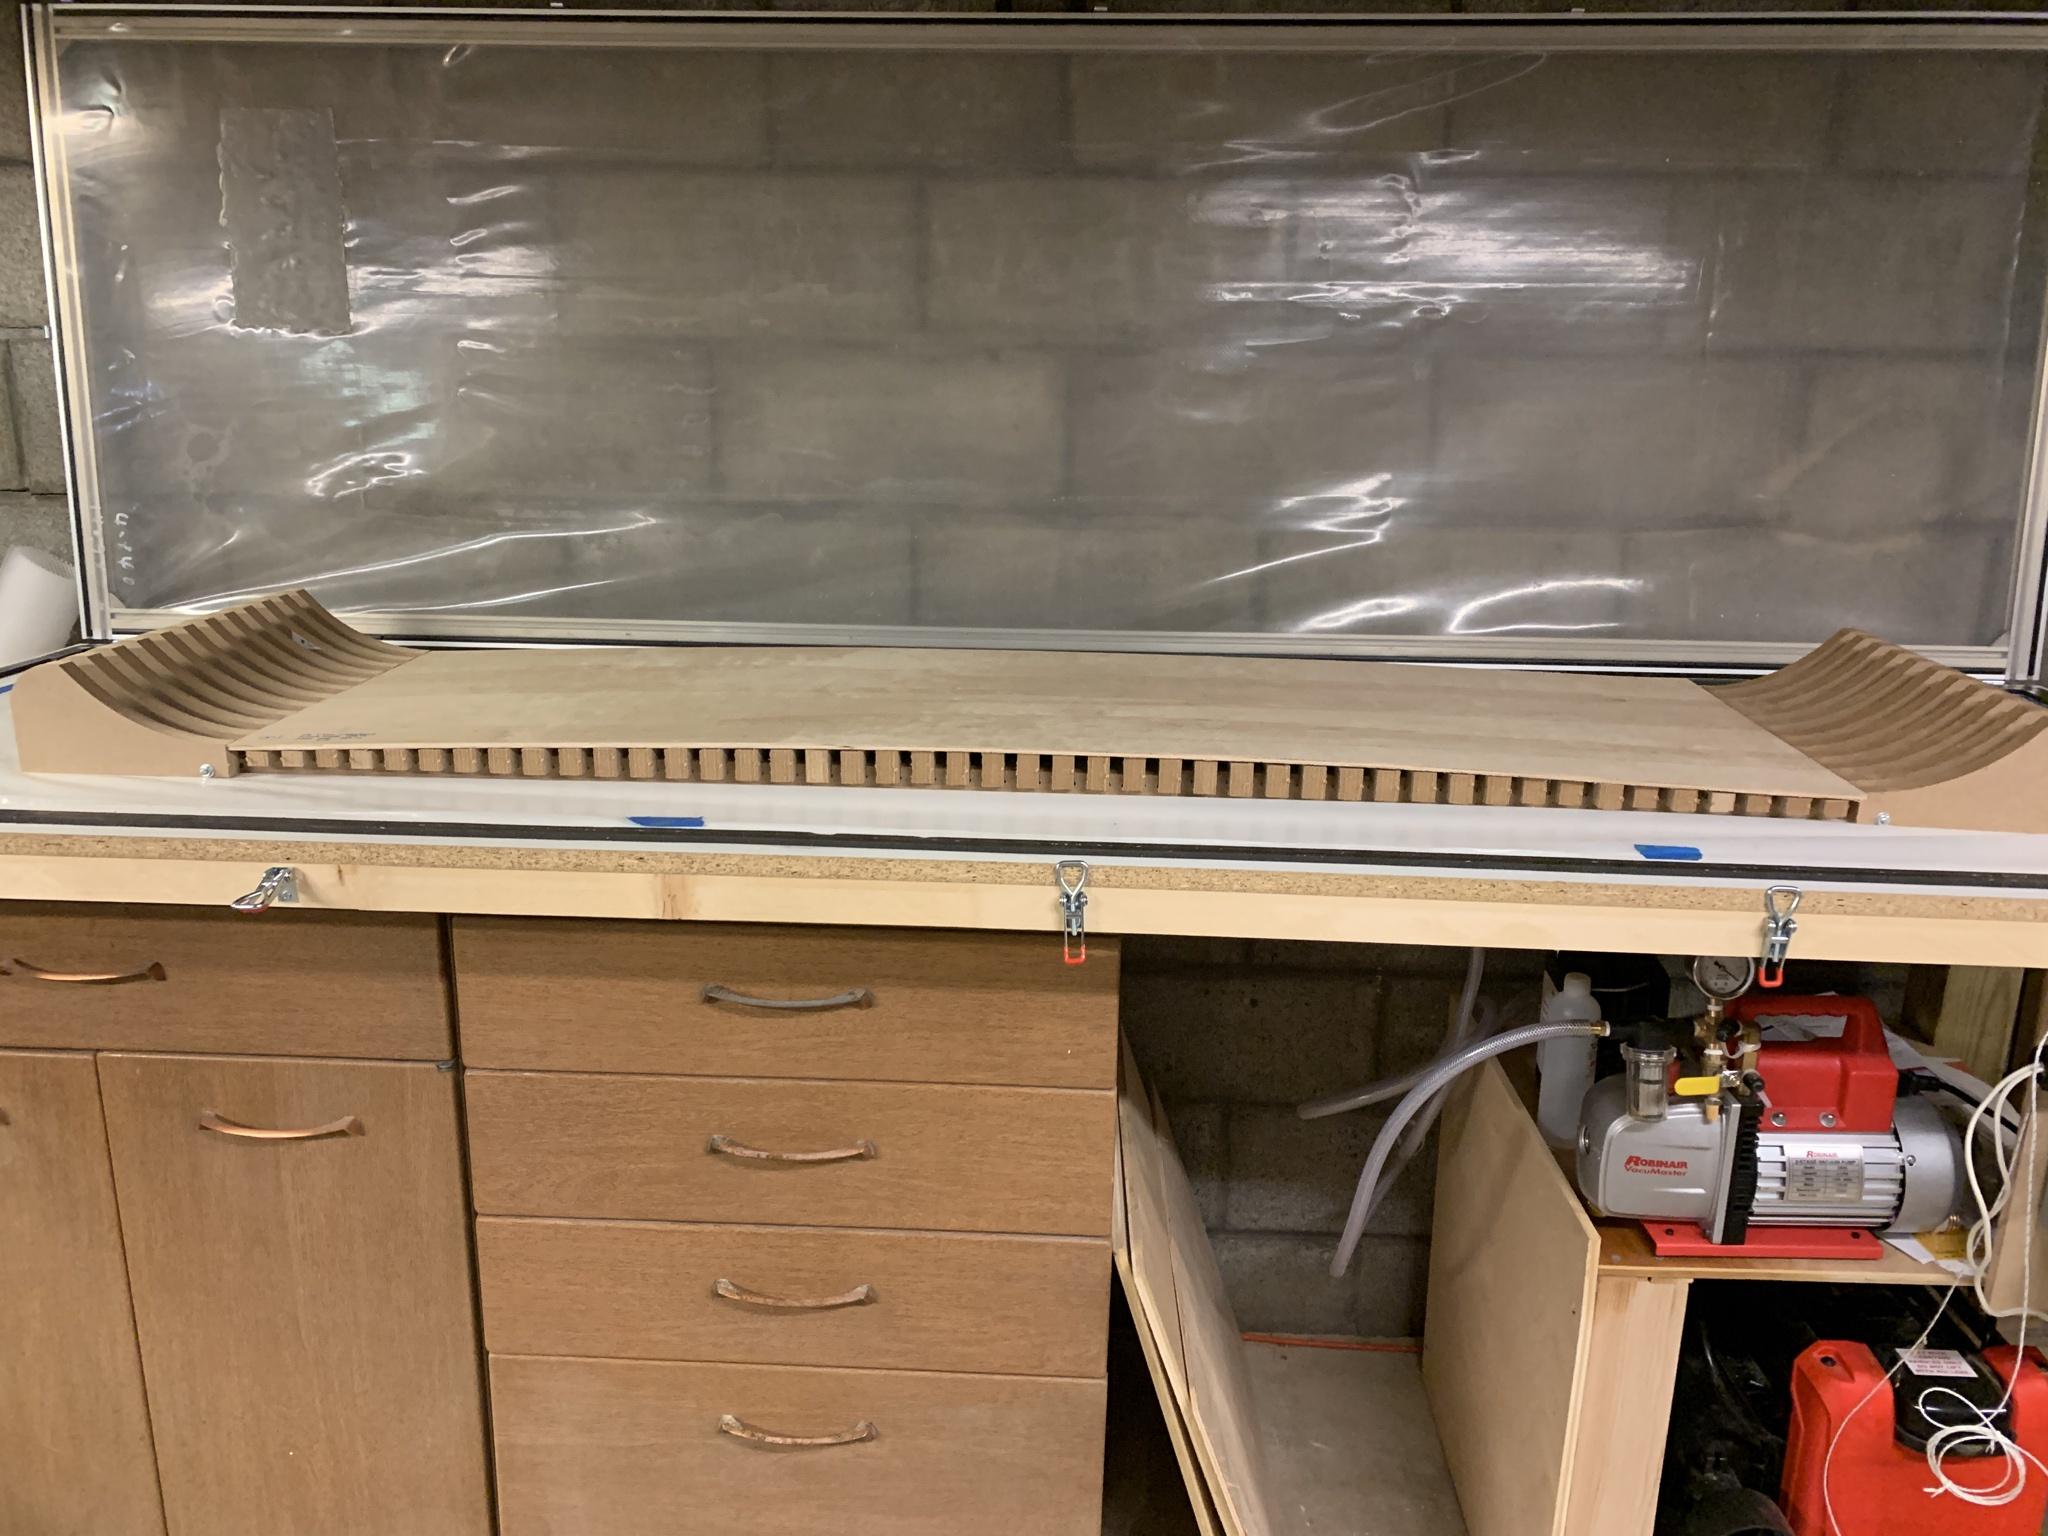
I’ve been waiting for some new materials to come in, bases, edges, top sheet etc. so I decided to redo my tip and tail blocks as chrismp suggested in the meantime, as well as made them sit taller to allow a piece of 5.5mm underlayment go between them, on which the aluminum cassette will sit. I realize that I will need to replace the underlayment for various mold lengths but it’s cheap material and easy to work with, I think it’ll help smooth out the aluminum on ribs a lot under pressure. Also I’m thinking about covering the tip and tail blocks with some spare aluminum or something to stop epoxy from getting between them if it does drip over the end like last time.
I got my veneer layer in, went with some gray dyed oak veneer. Might try to do some type of graphic too, undecided there on how to approach that. Gonna be a green base so maybe some green stripes or lettering/clip art on rice paper? Anyway, here’s some pics:
The redone tip/tail mold shape:
The 5.5mm wood sitting on the mold:
And an overall:
JonrezzSun Nov 22, 2020 12:16 pm
So I was at it again this weekend! pressed my first actual pair to bring to the mountain! The skis are 165cm with a slalom shape. The composition was base, veil, uniaxial carbon fiber stringer between the edge tangs, full triax fiberglass layer, maple/poplar core, triax fiber binding mount pad, full triax fiber layer, uniaxial carbon stringer, grey dyed oak veneer, matte/clear topsheet. I left out the titanol because i was worried about how stiff it would become. turned out to be a good decision, these skis came out about right, actually a bit stiffer than the Fischer rc4's, but hard to compare because the ones I have are over 10 years old and probably lost some of their strength.
To address base warp, I glued both edges on at the same time and didnt remove the base clamps until it was time to move to the cassette:
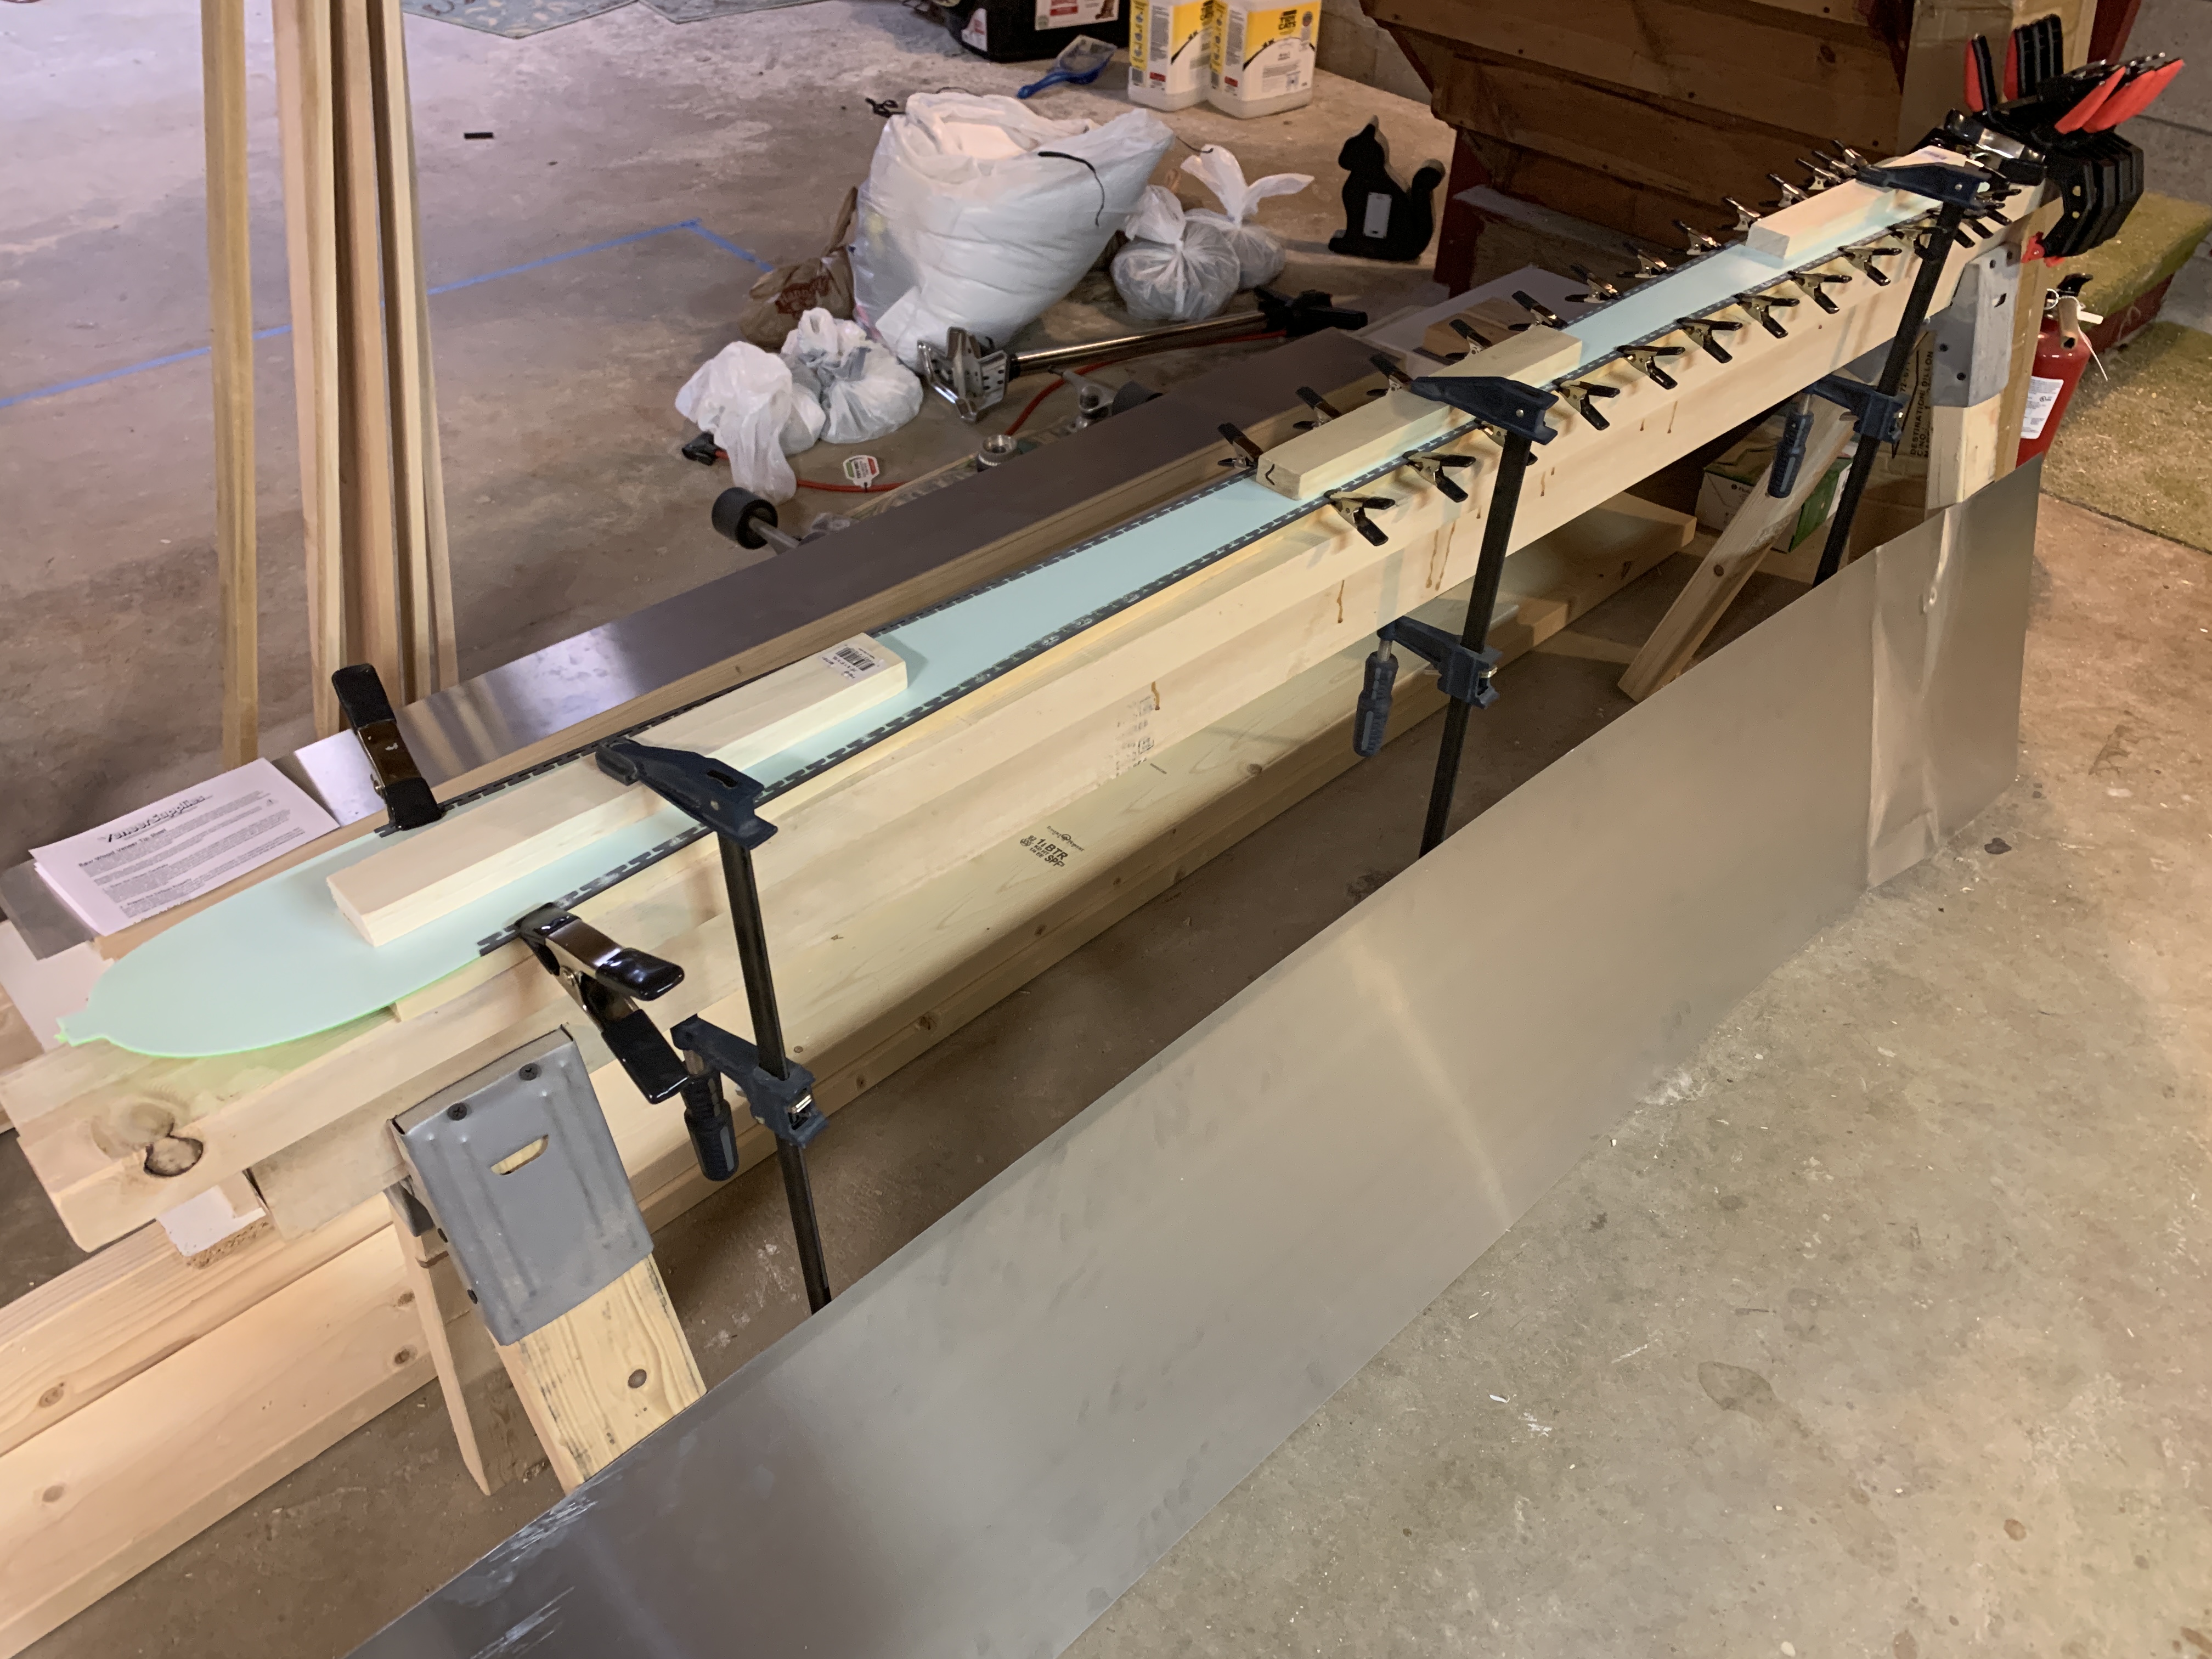
here's the composites and cassette laid out ready to go! I decided to do layup on my saw horses instead of on the mold, laying up on a flat surface then moving it onto the mold was definitely easier than doing layup on top of the mold:
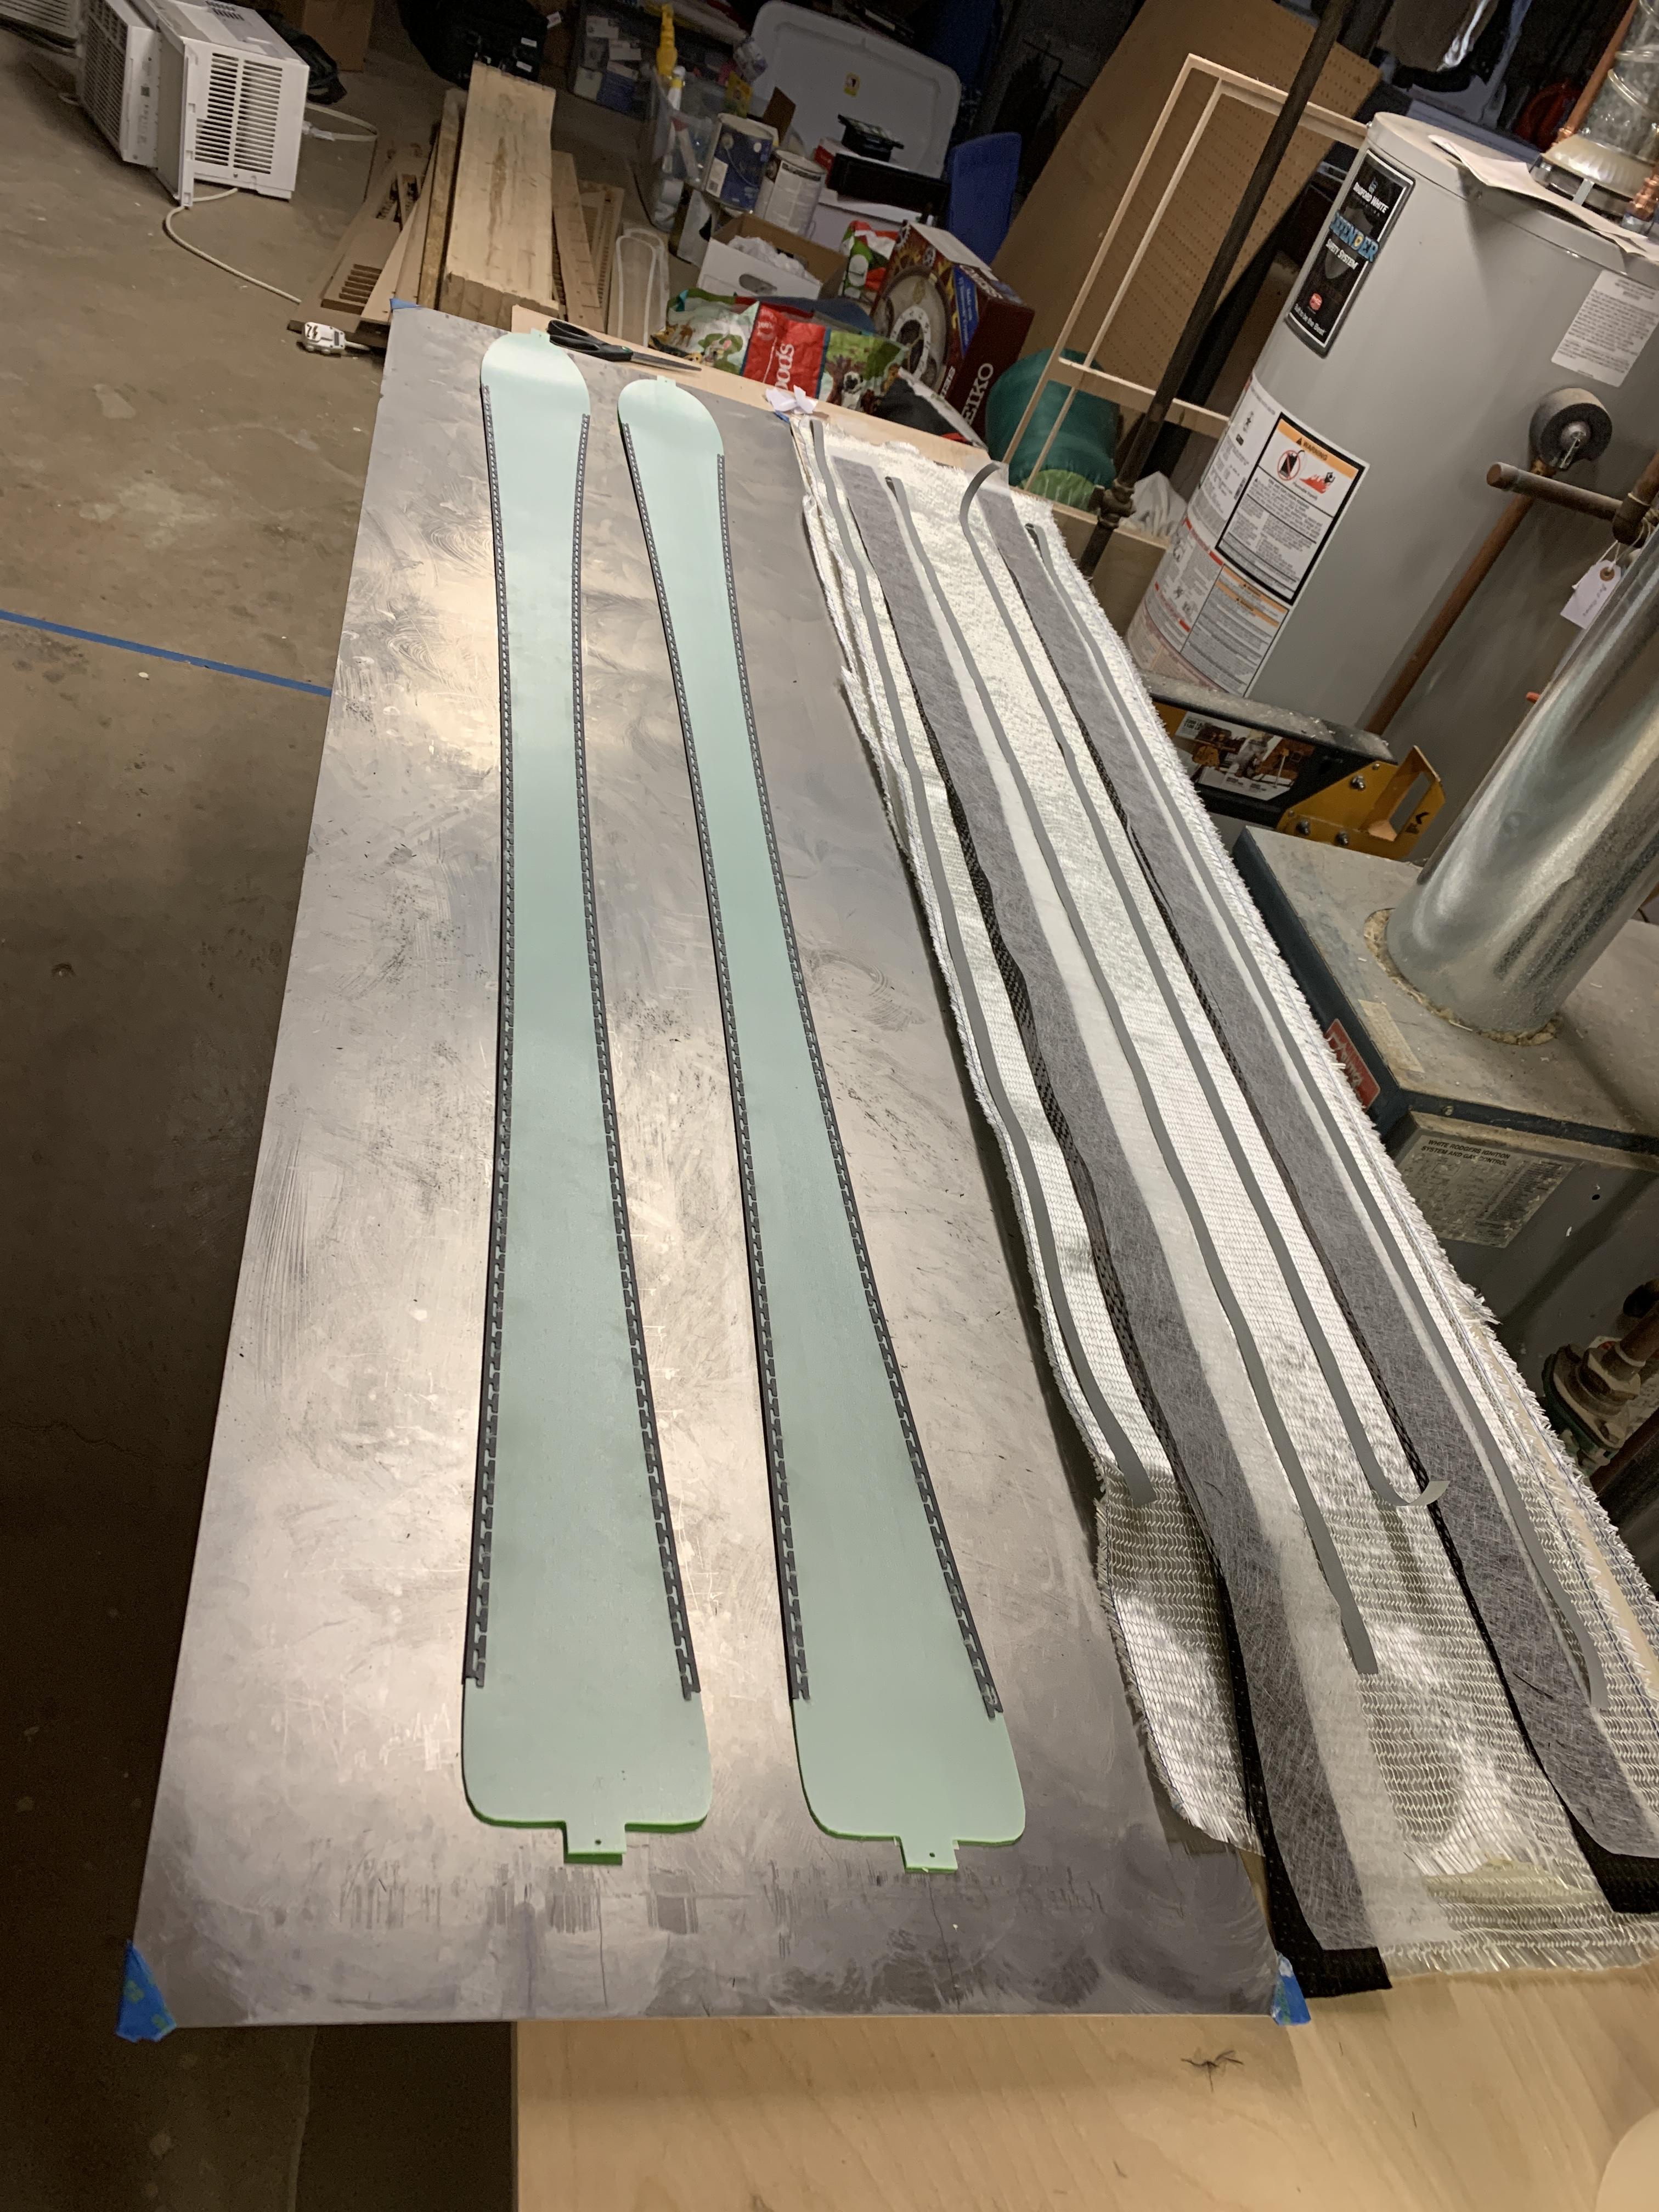
here's the new & improved mold 2.0 in action. the oil mist eliminator is from solberg. worked like a charm:
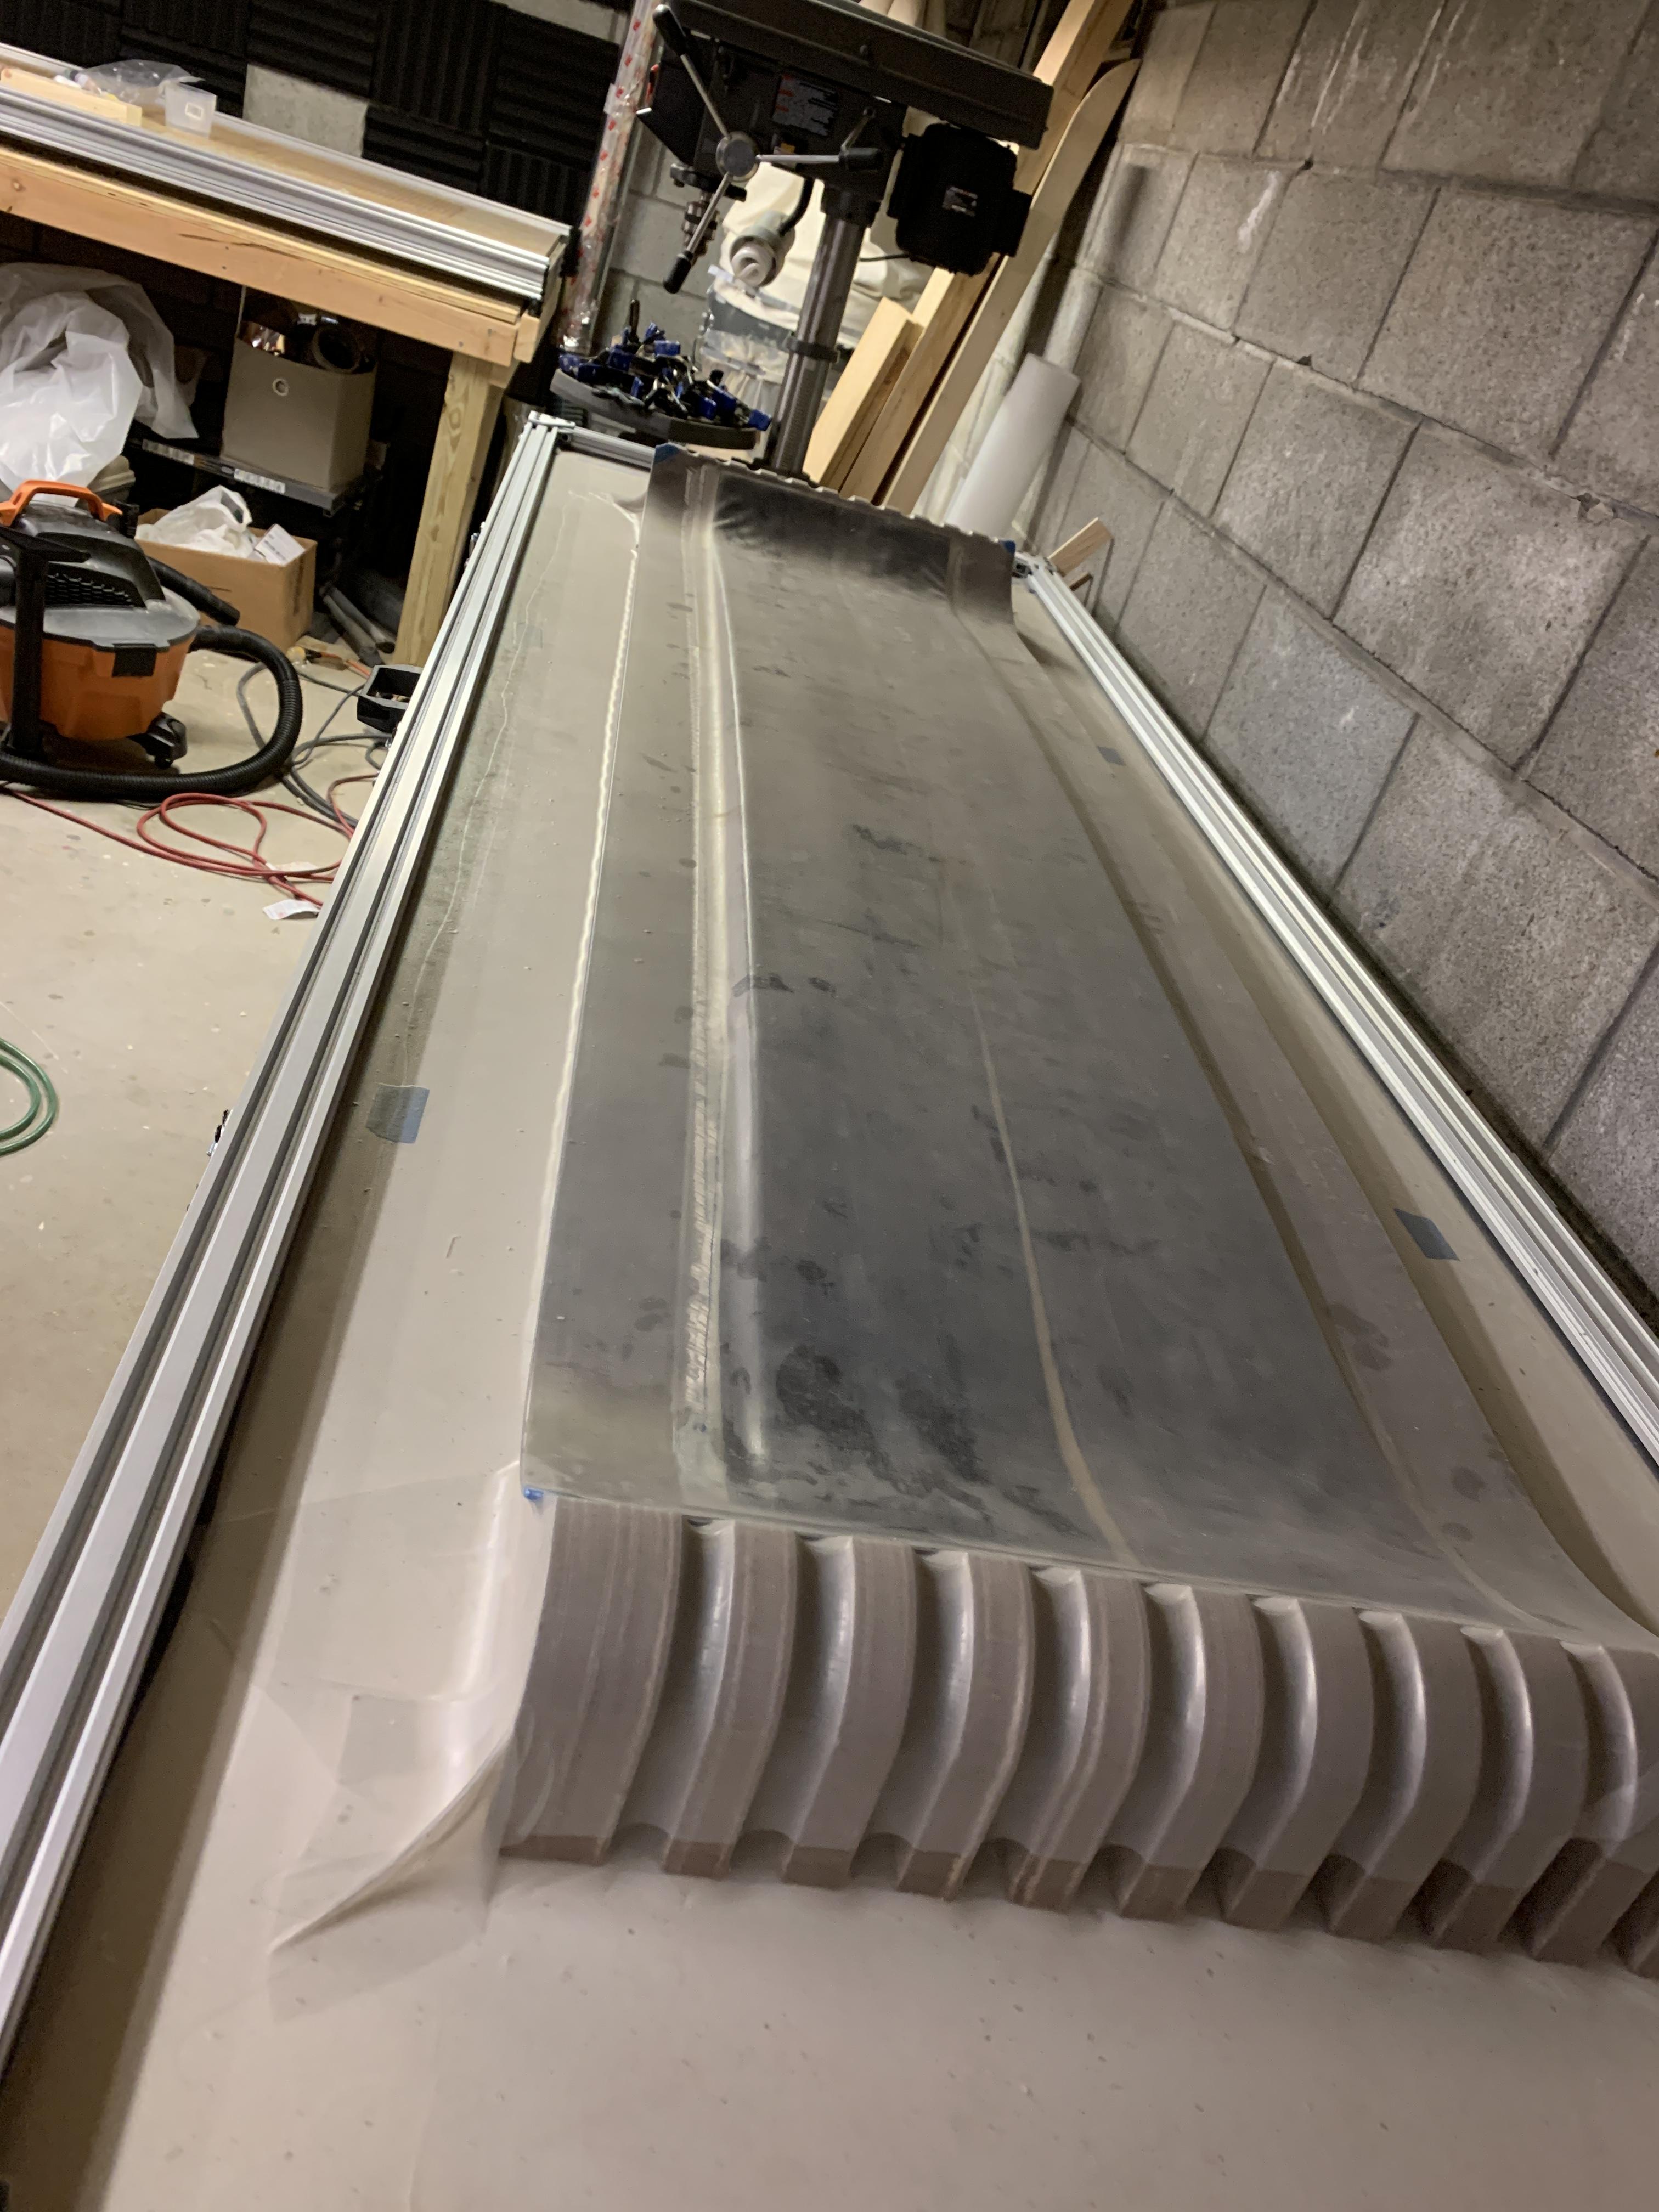
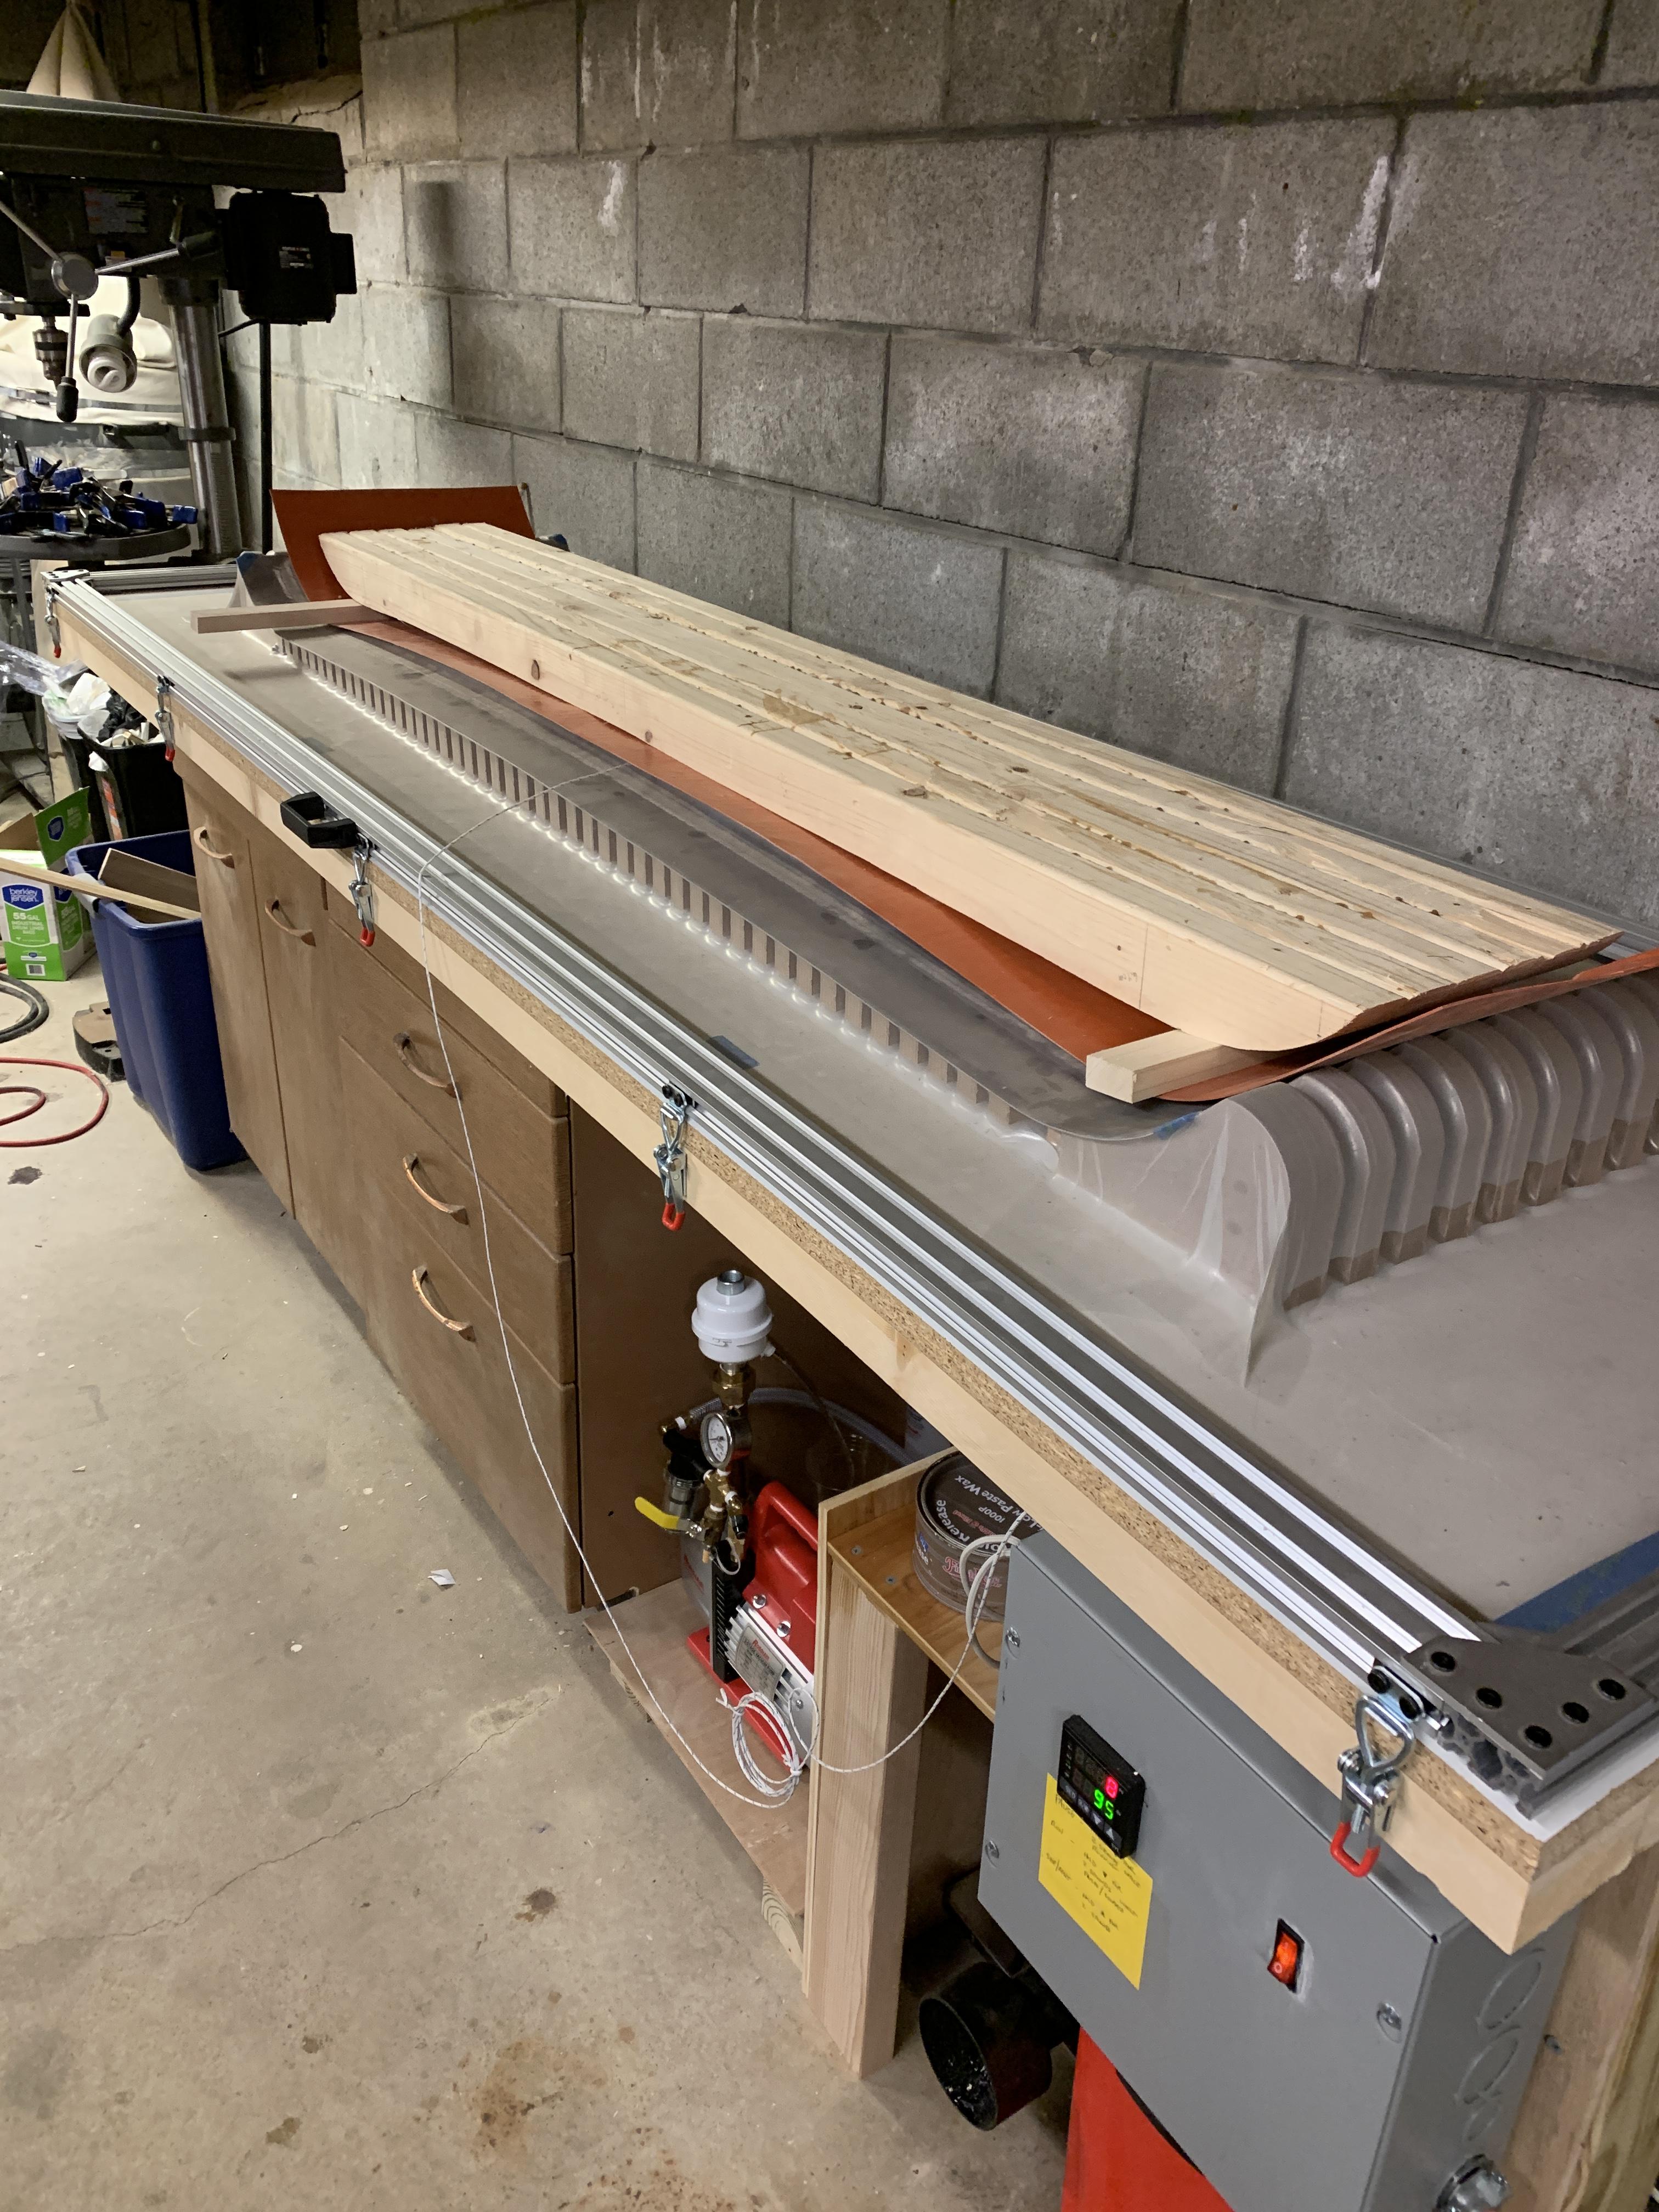
and moment of truth - here's the plank fresh outta the oven:
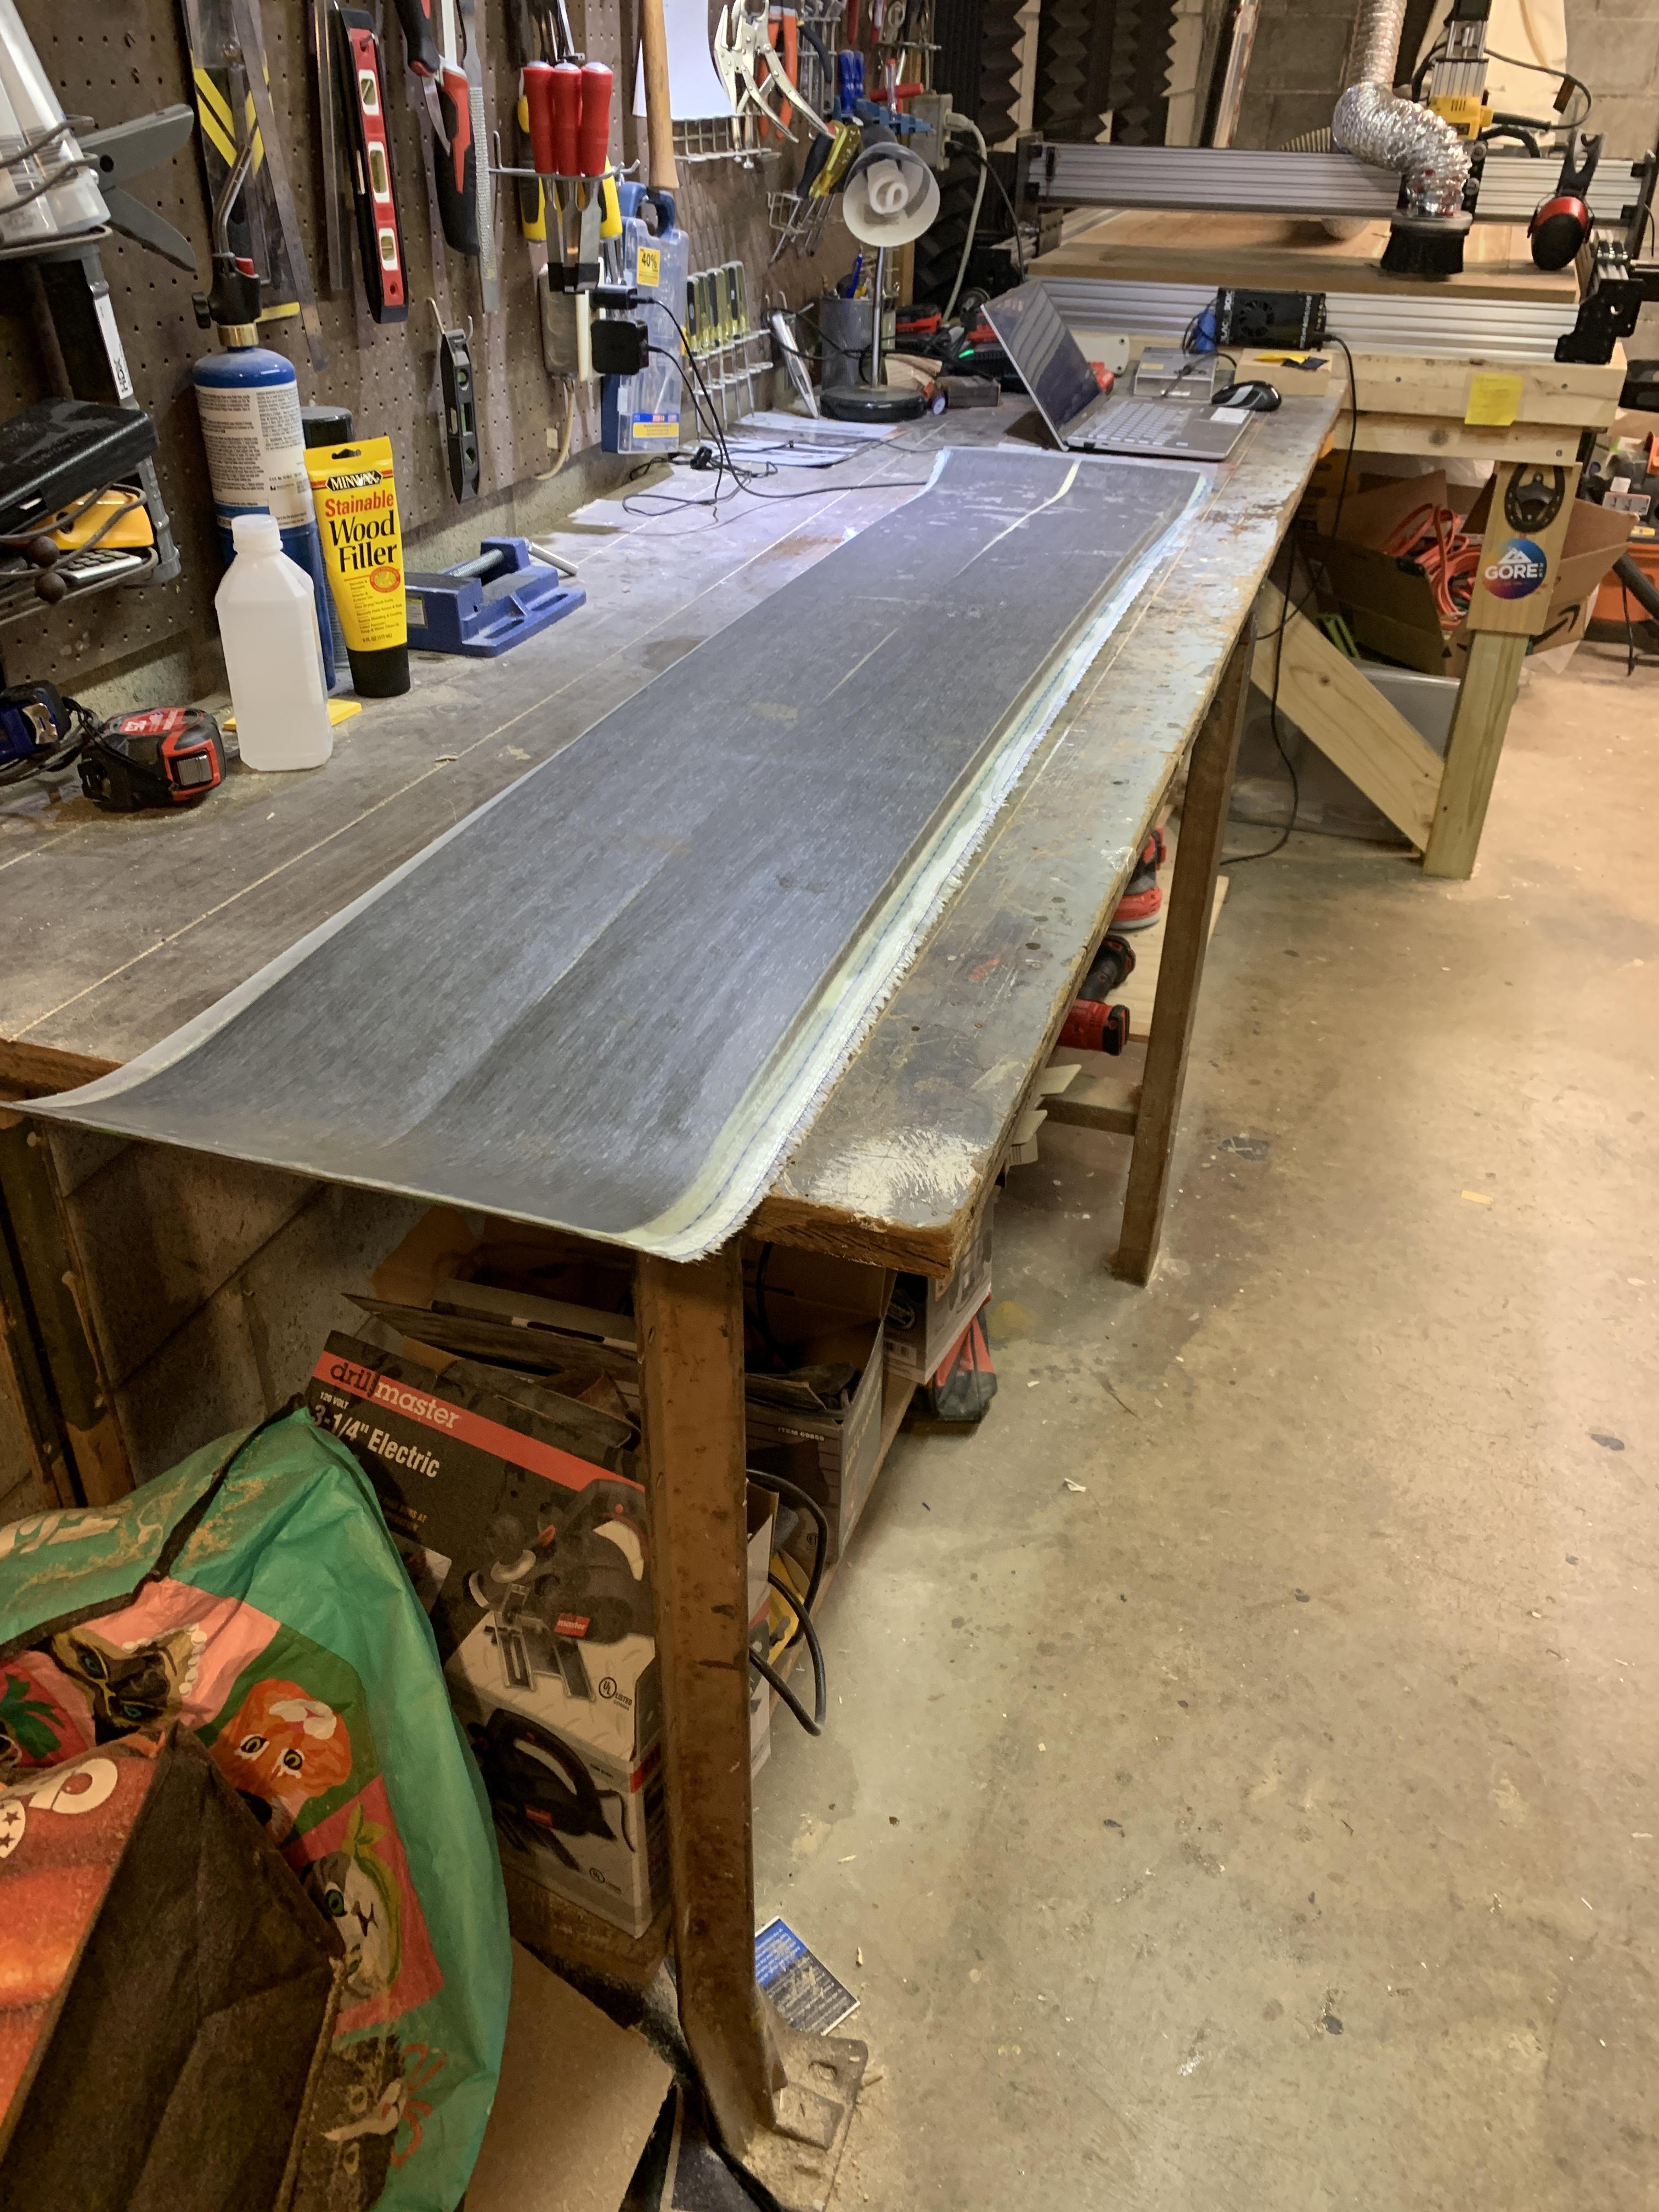
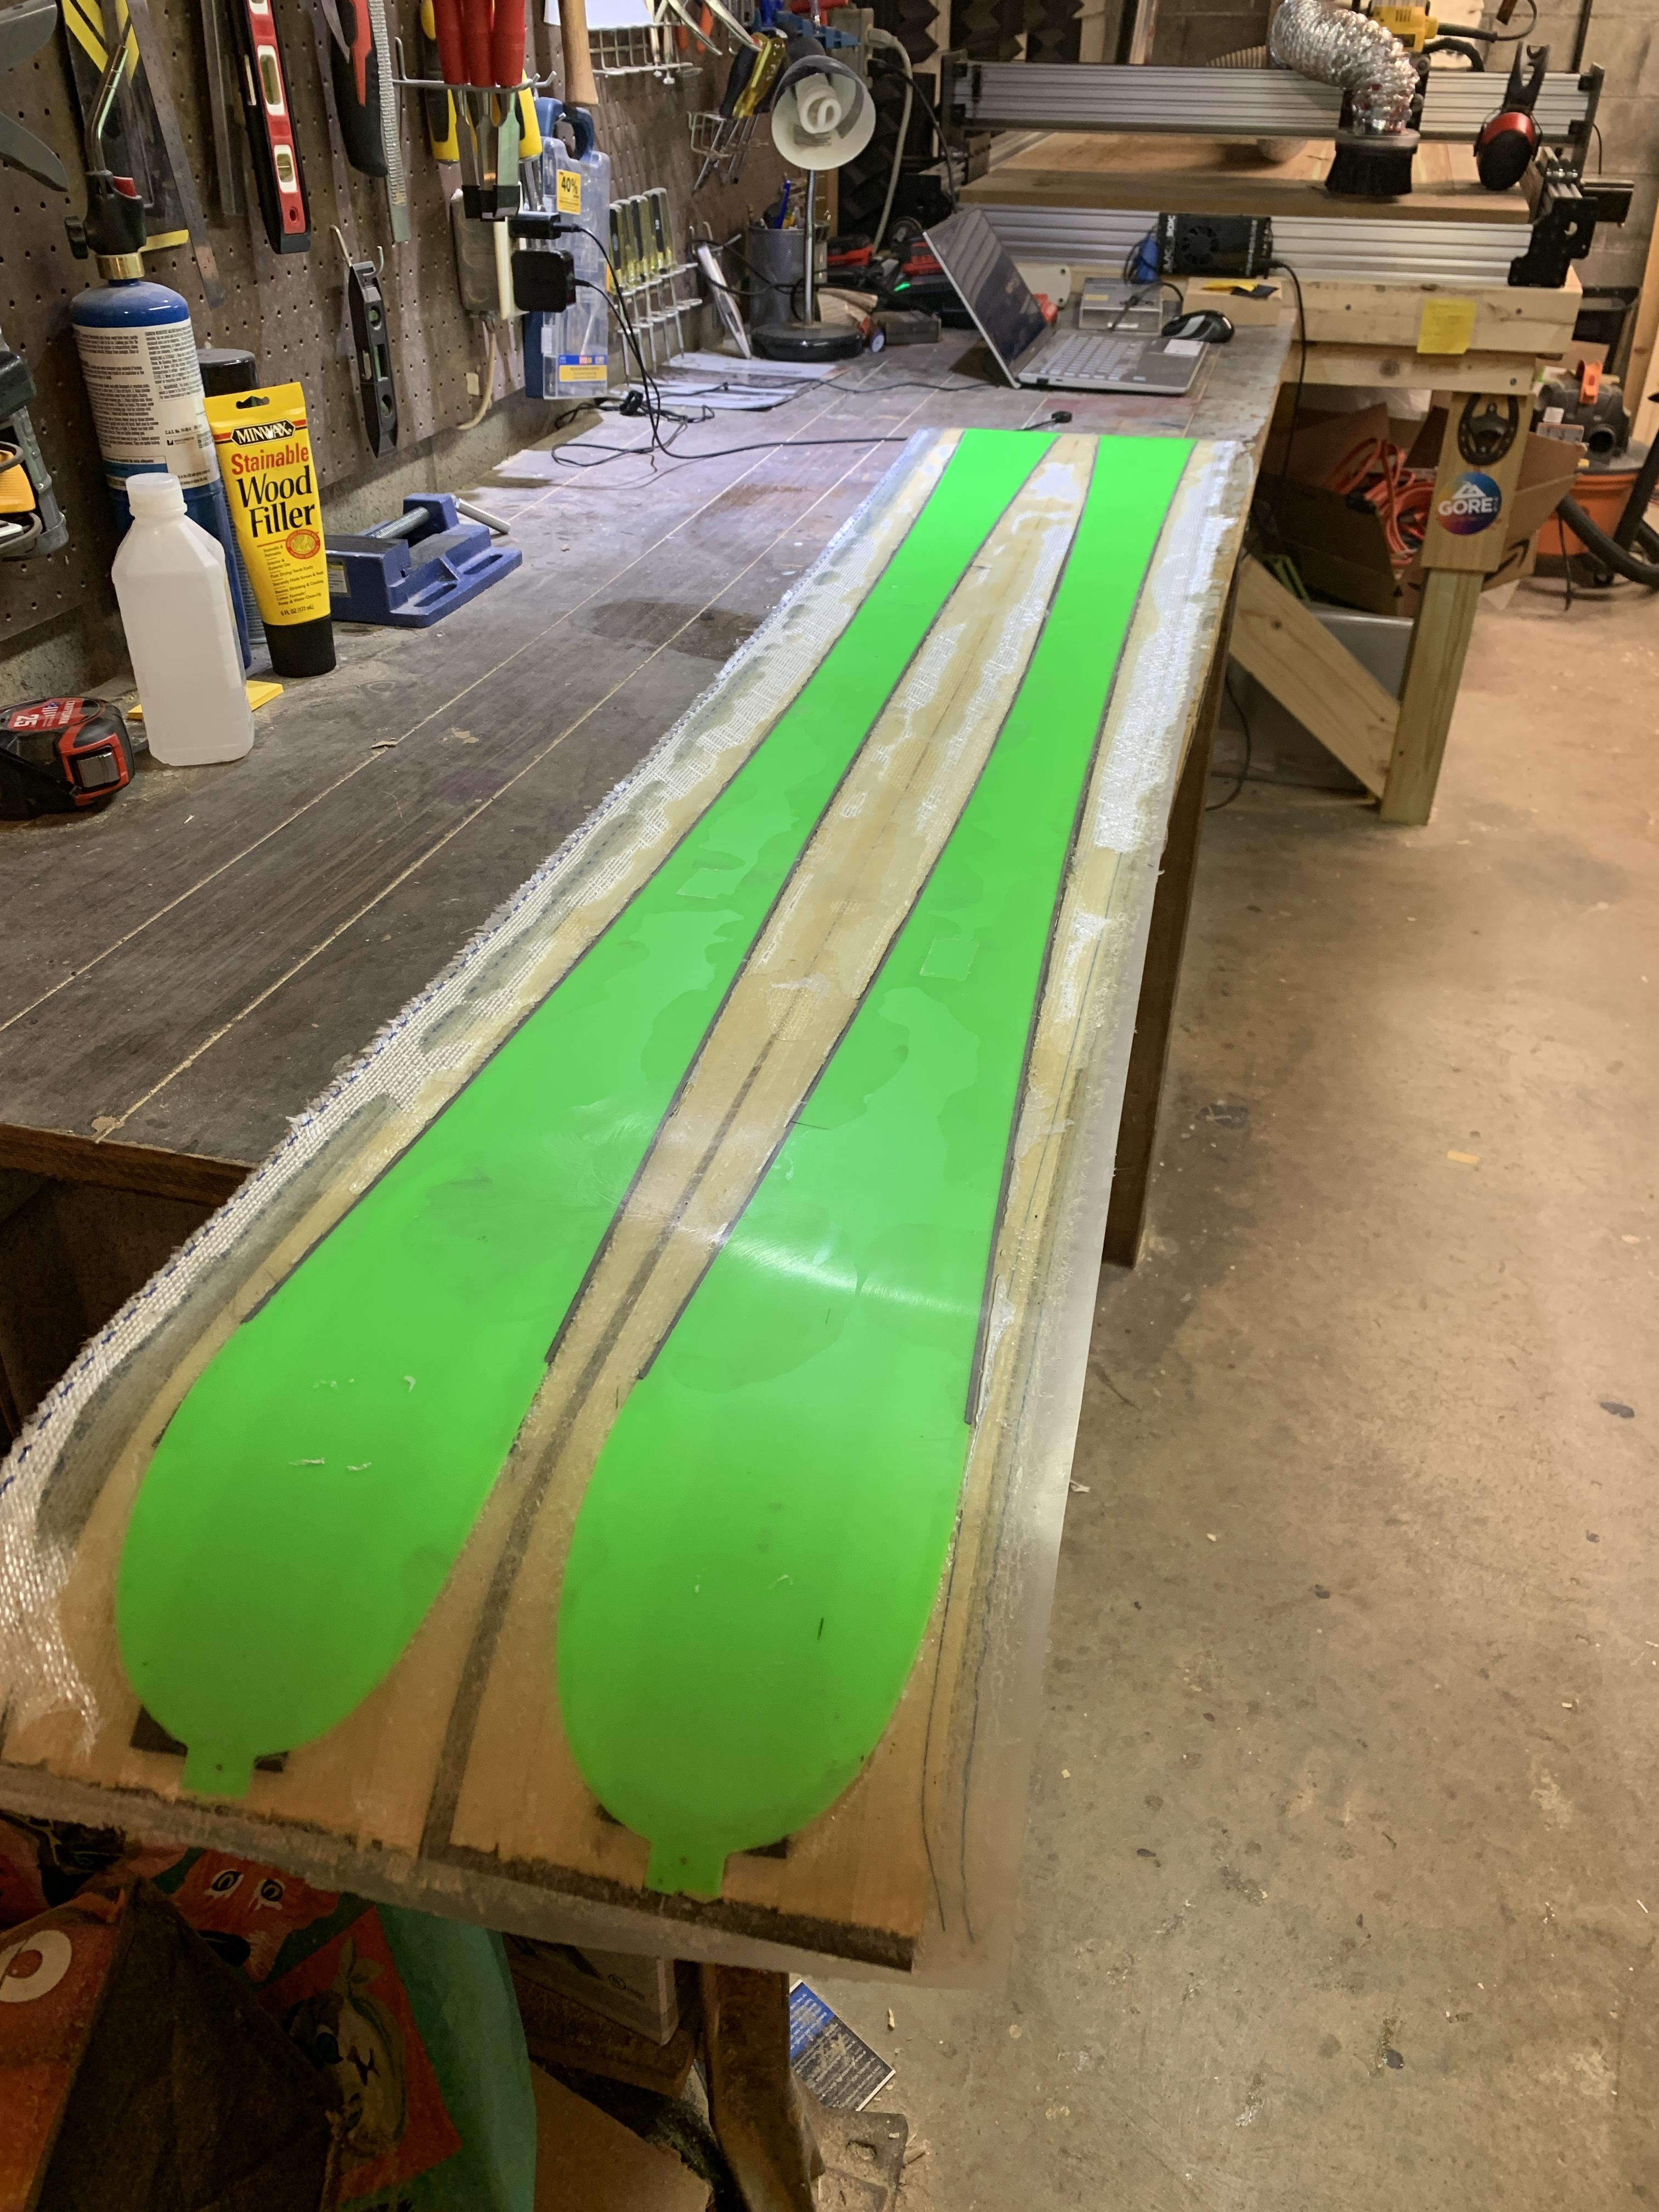
rough cut on the bandsaw:
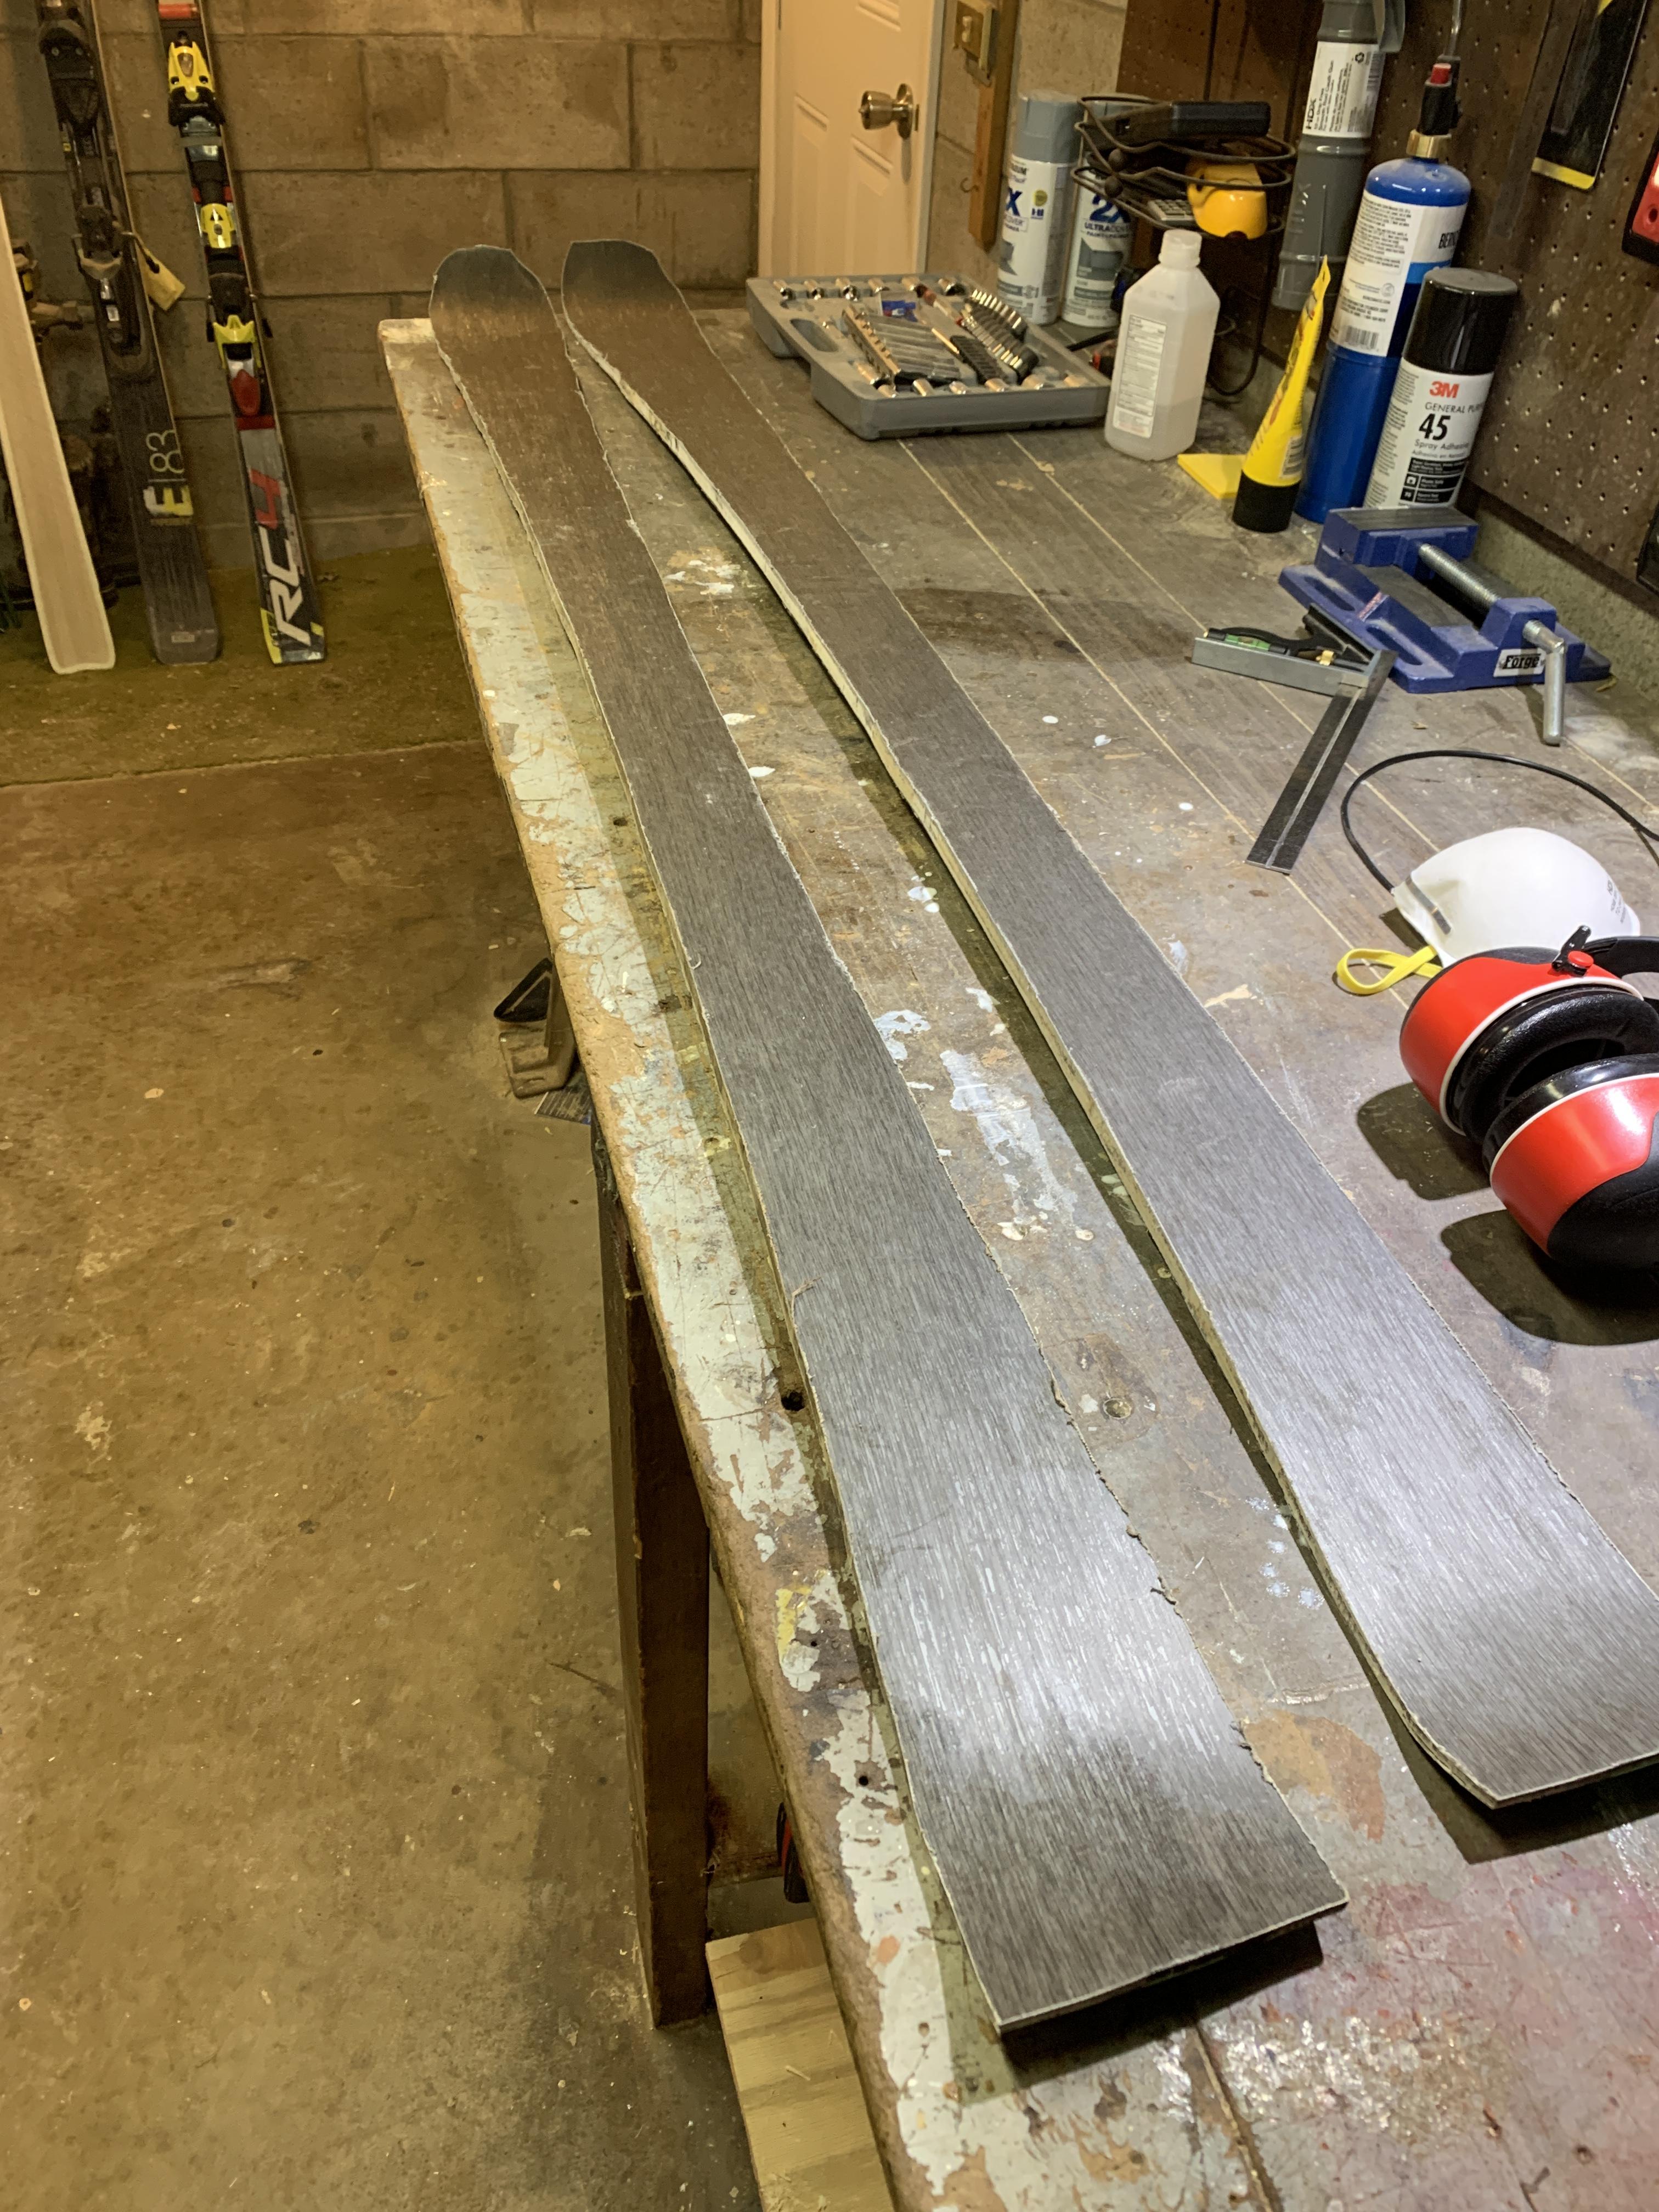
time to clean them up with a belt sander and get to figuring out an edge beveling setup!
The camber came out a bit more than I was expecting this time, 15 mm at the peak, probably because I included carbon fiber, but I'm gonna ride them anyway, hopefully its not a big deal. the bases are flat and didnt warp too much. core alignment was ok, the tails were off by a mm or two but not a huge deal, I poured the sidewalls a bit wider than needed in case that happened.
all in all its shaping up to be a pretty good build I think! looking forward to getting them cleaned up and bindings mounted for a day on the mountain! It's actually snowing out as I type this!
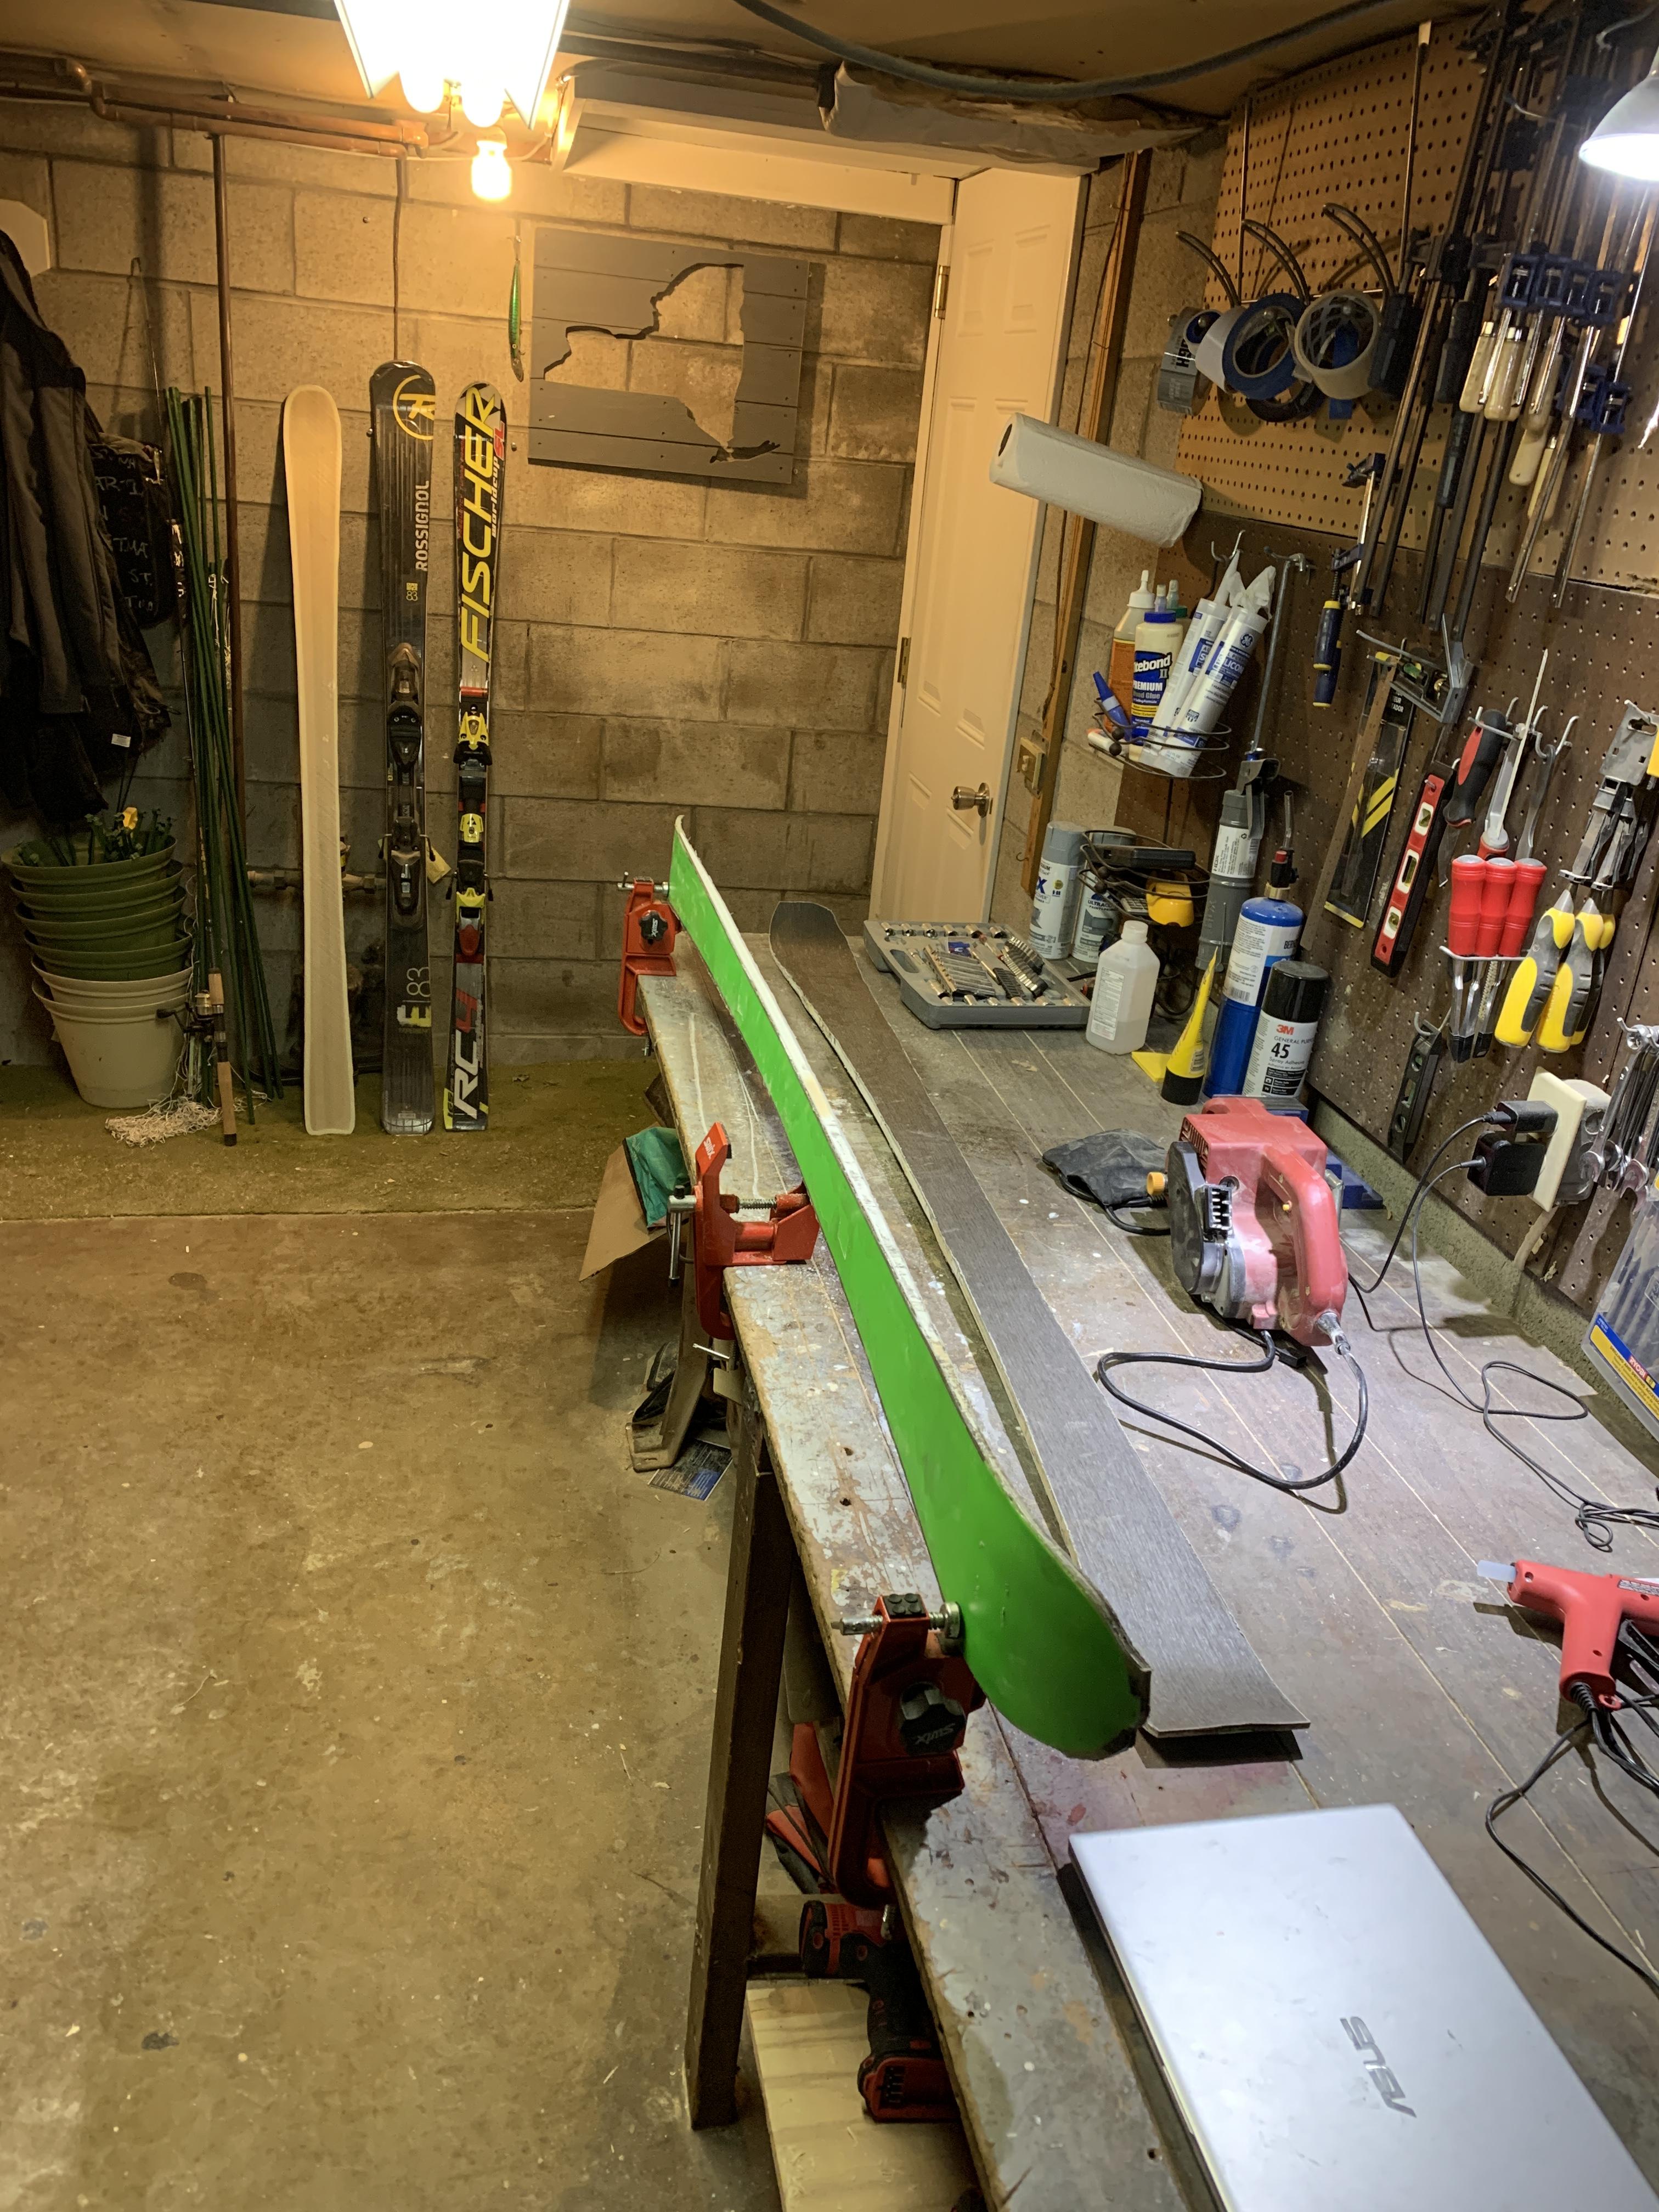
JonrezzSun Nov 22, 2020 7:32 pm
Cleaned them up on a spindle sander! I think I'm just gonna use the spindle sander to bevel the edges too, you can adjust the surface angle from flat to like 45 degrees, its this: https://www.homedepot.com/p/RIDGID-Osci ... /202459151
anyway, here's some pics!
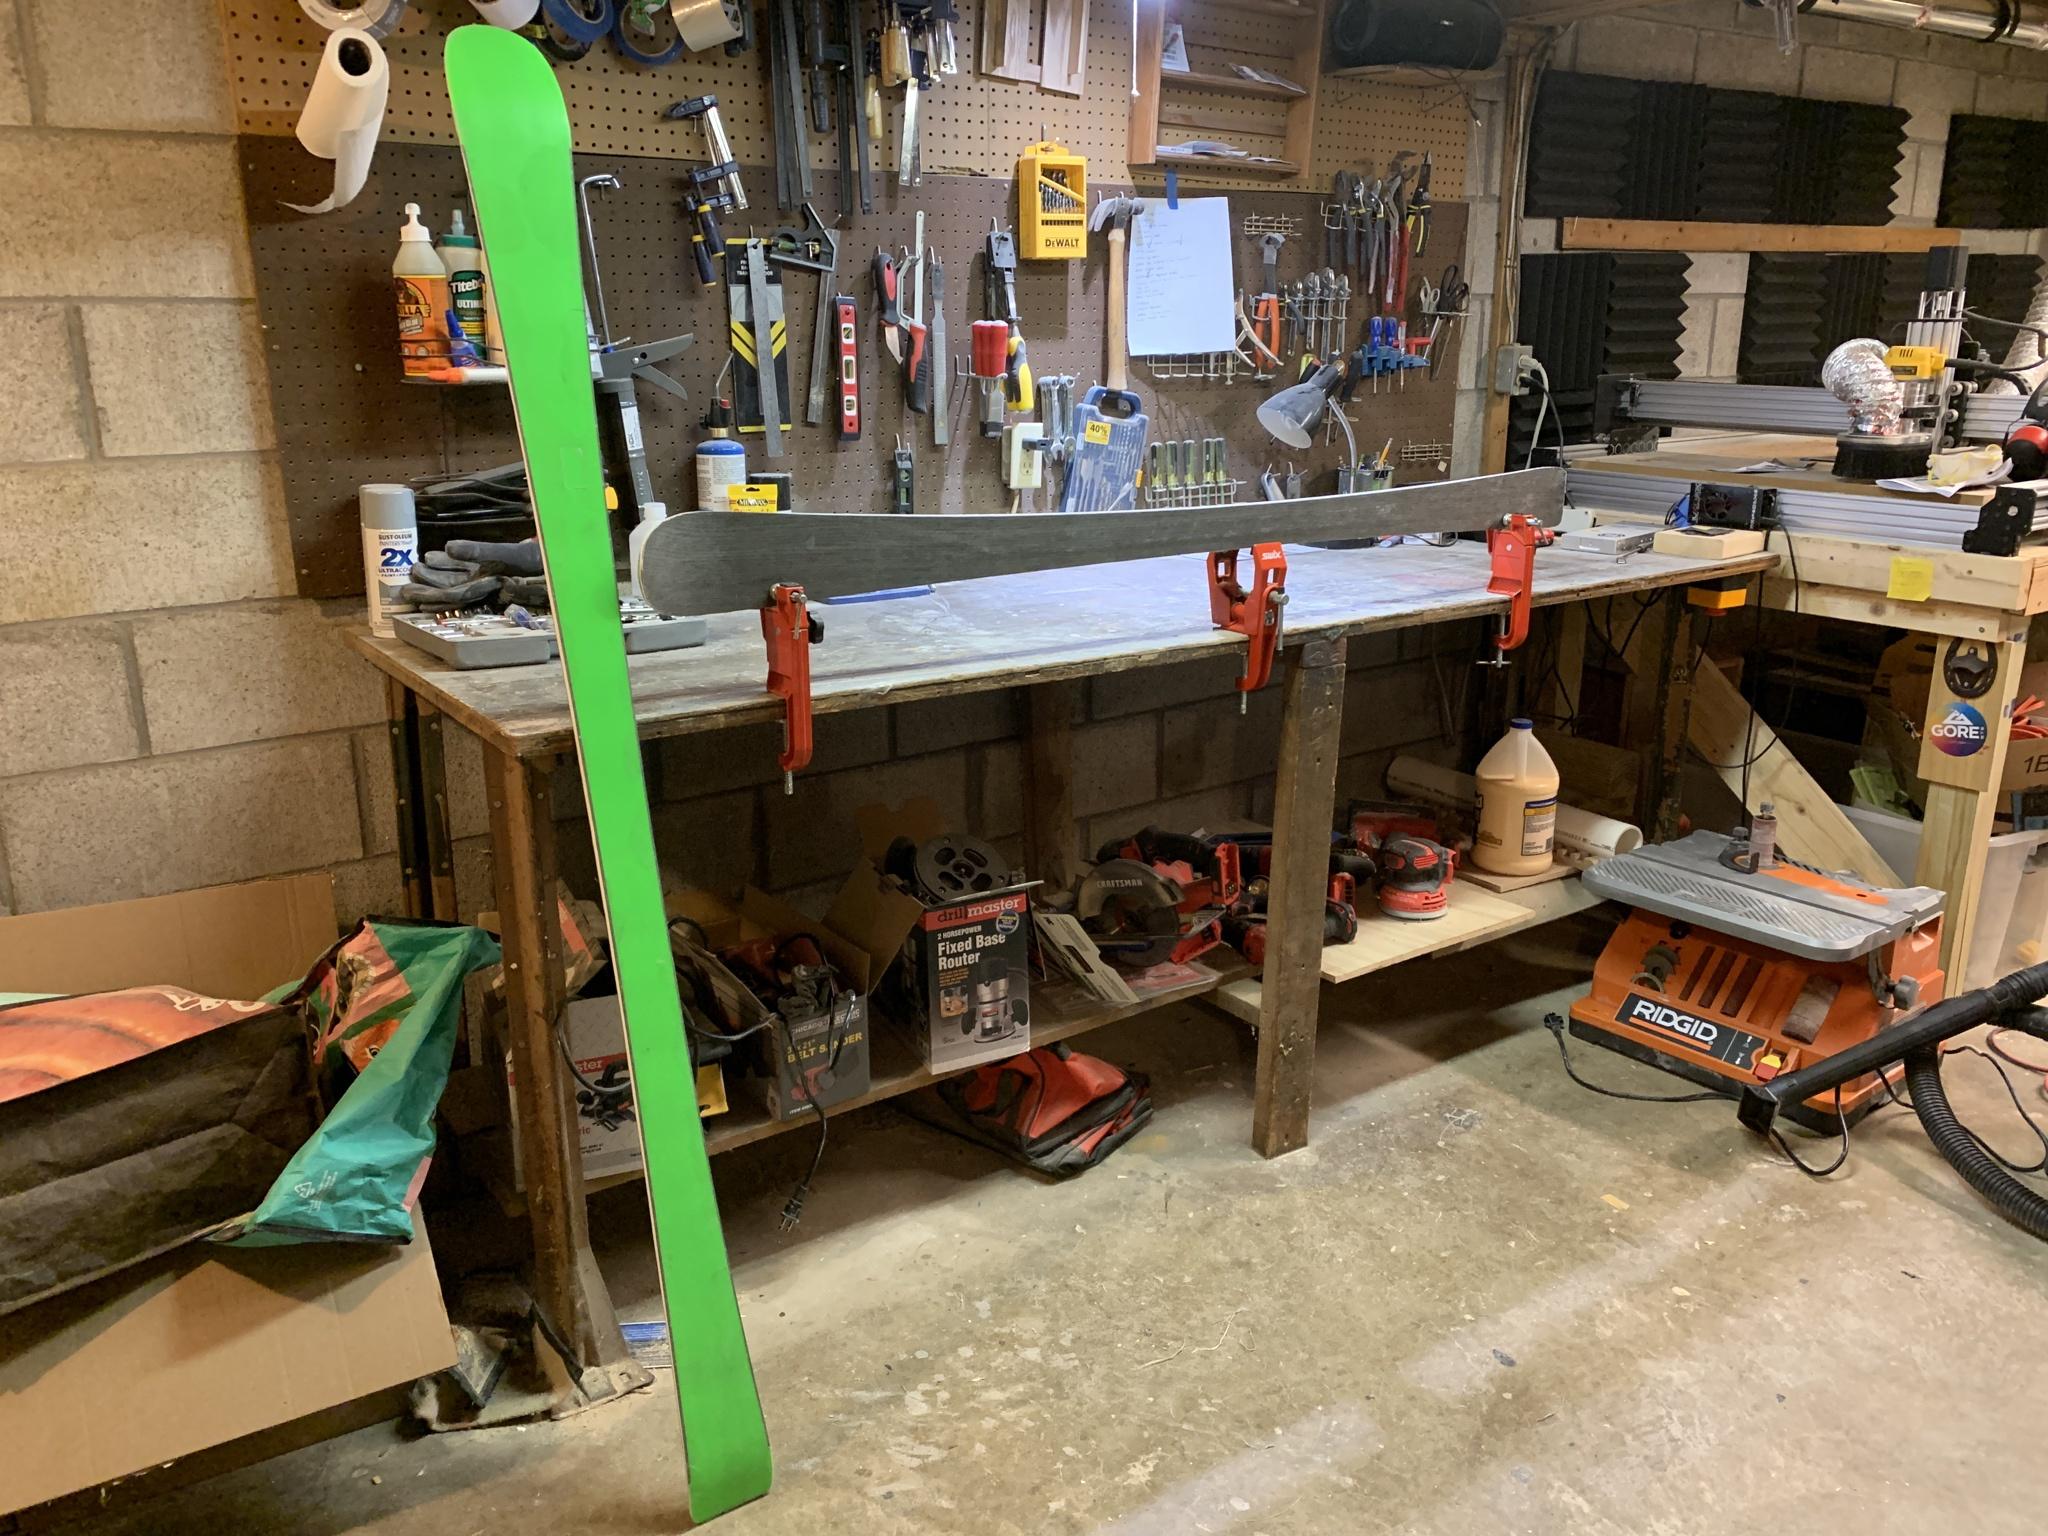
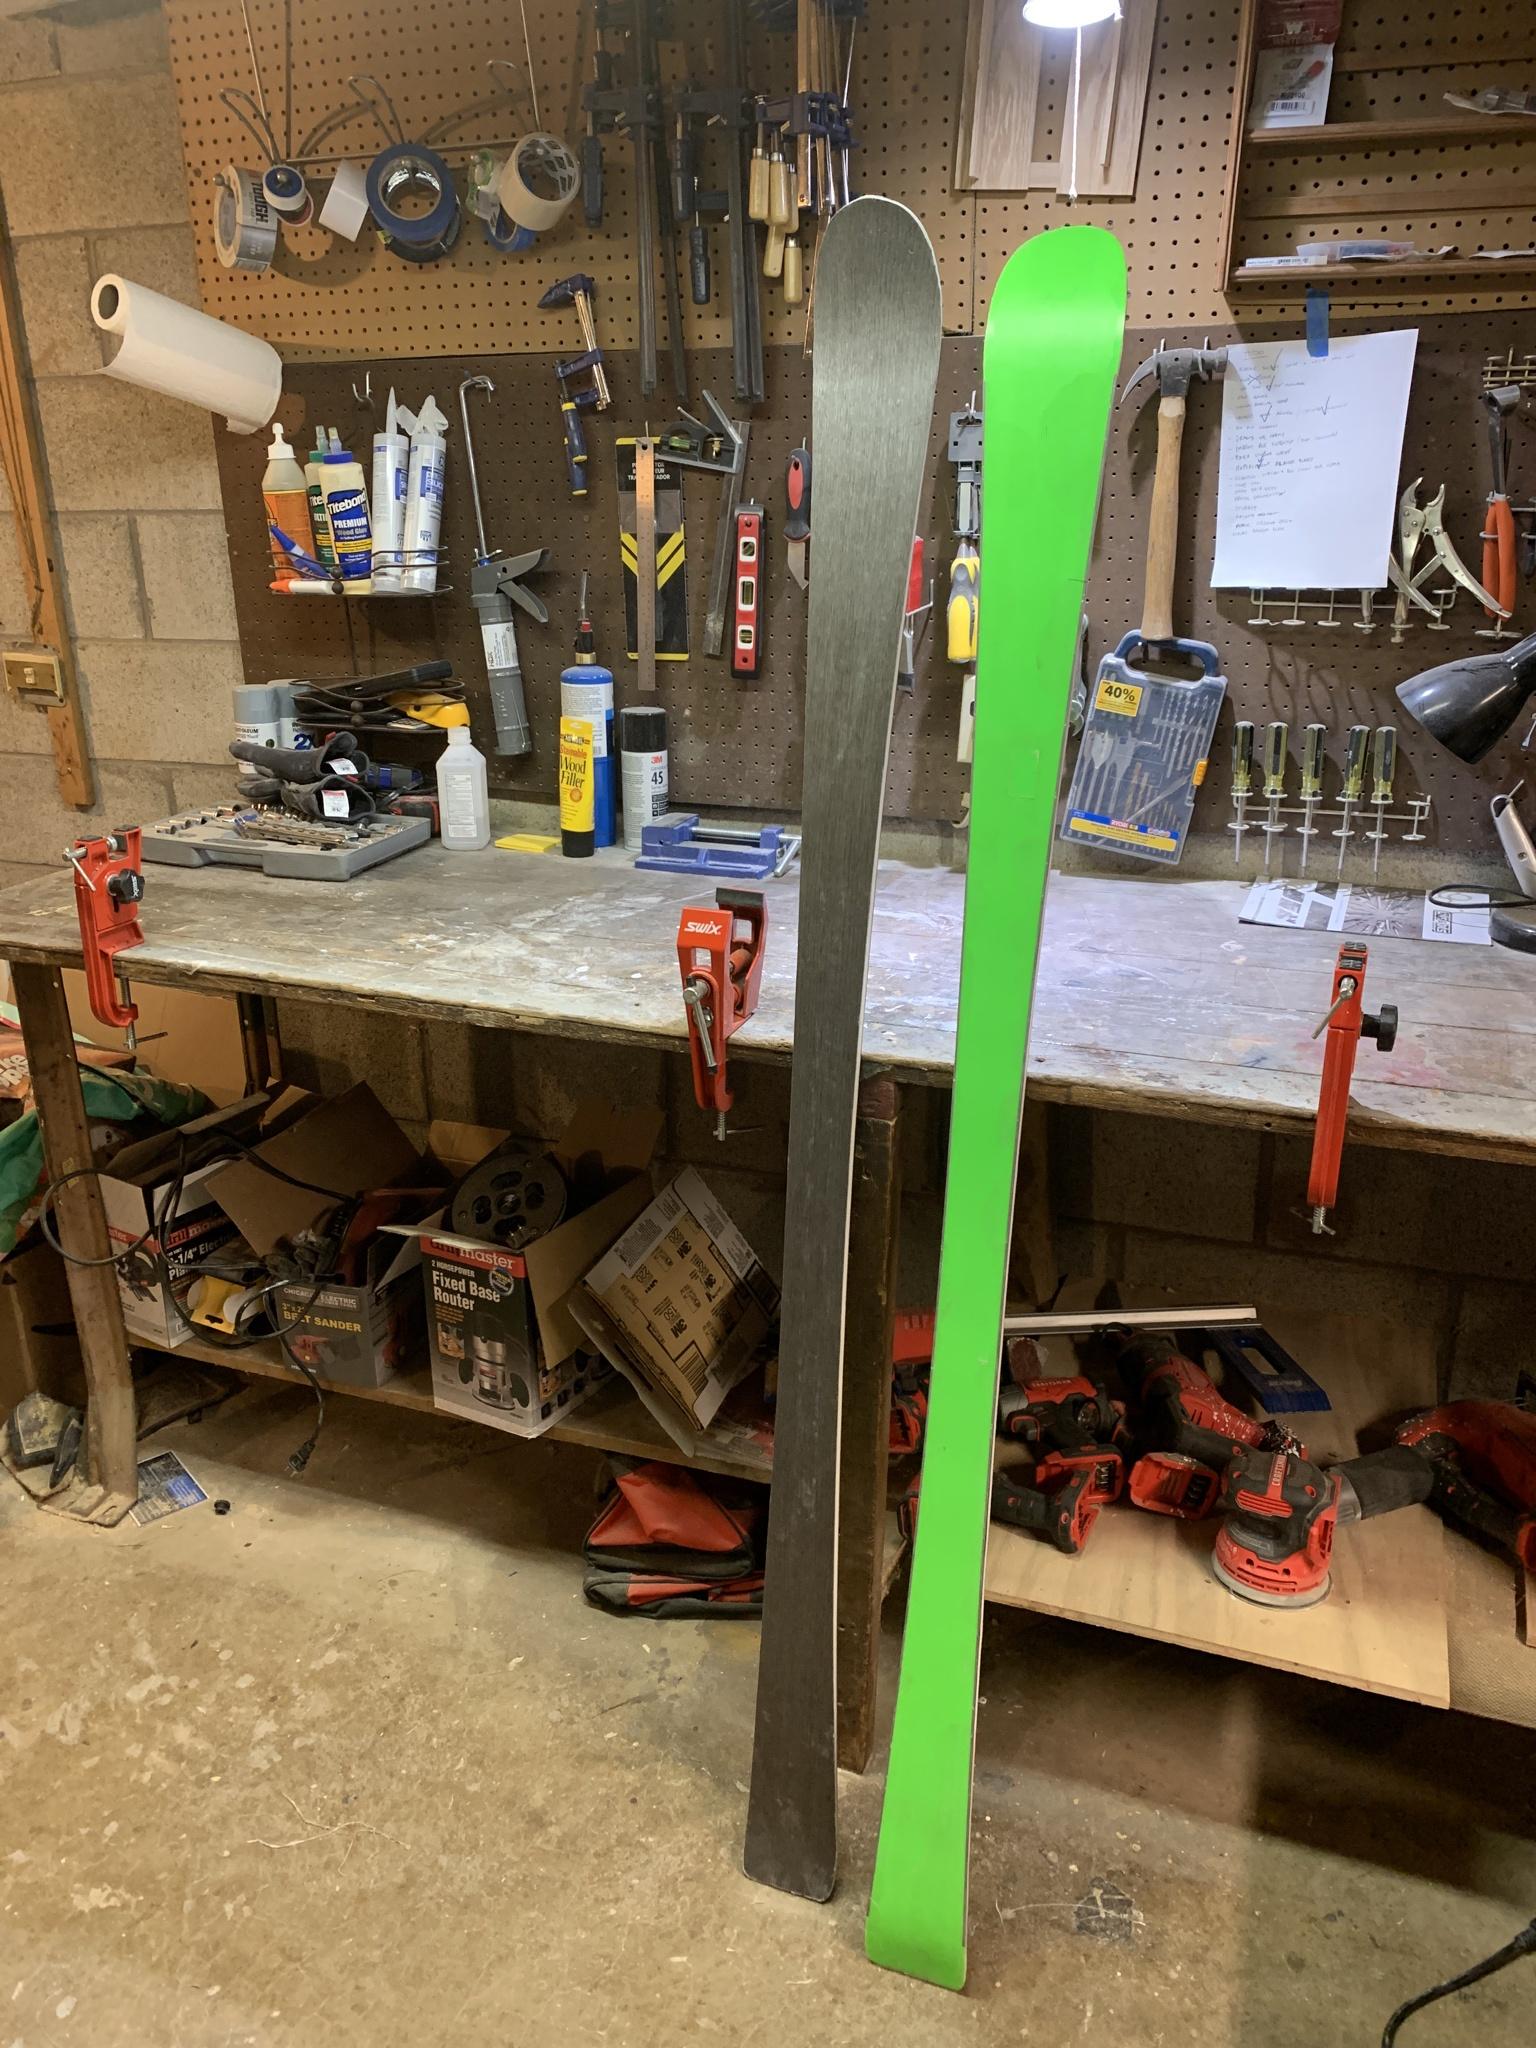
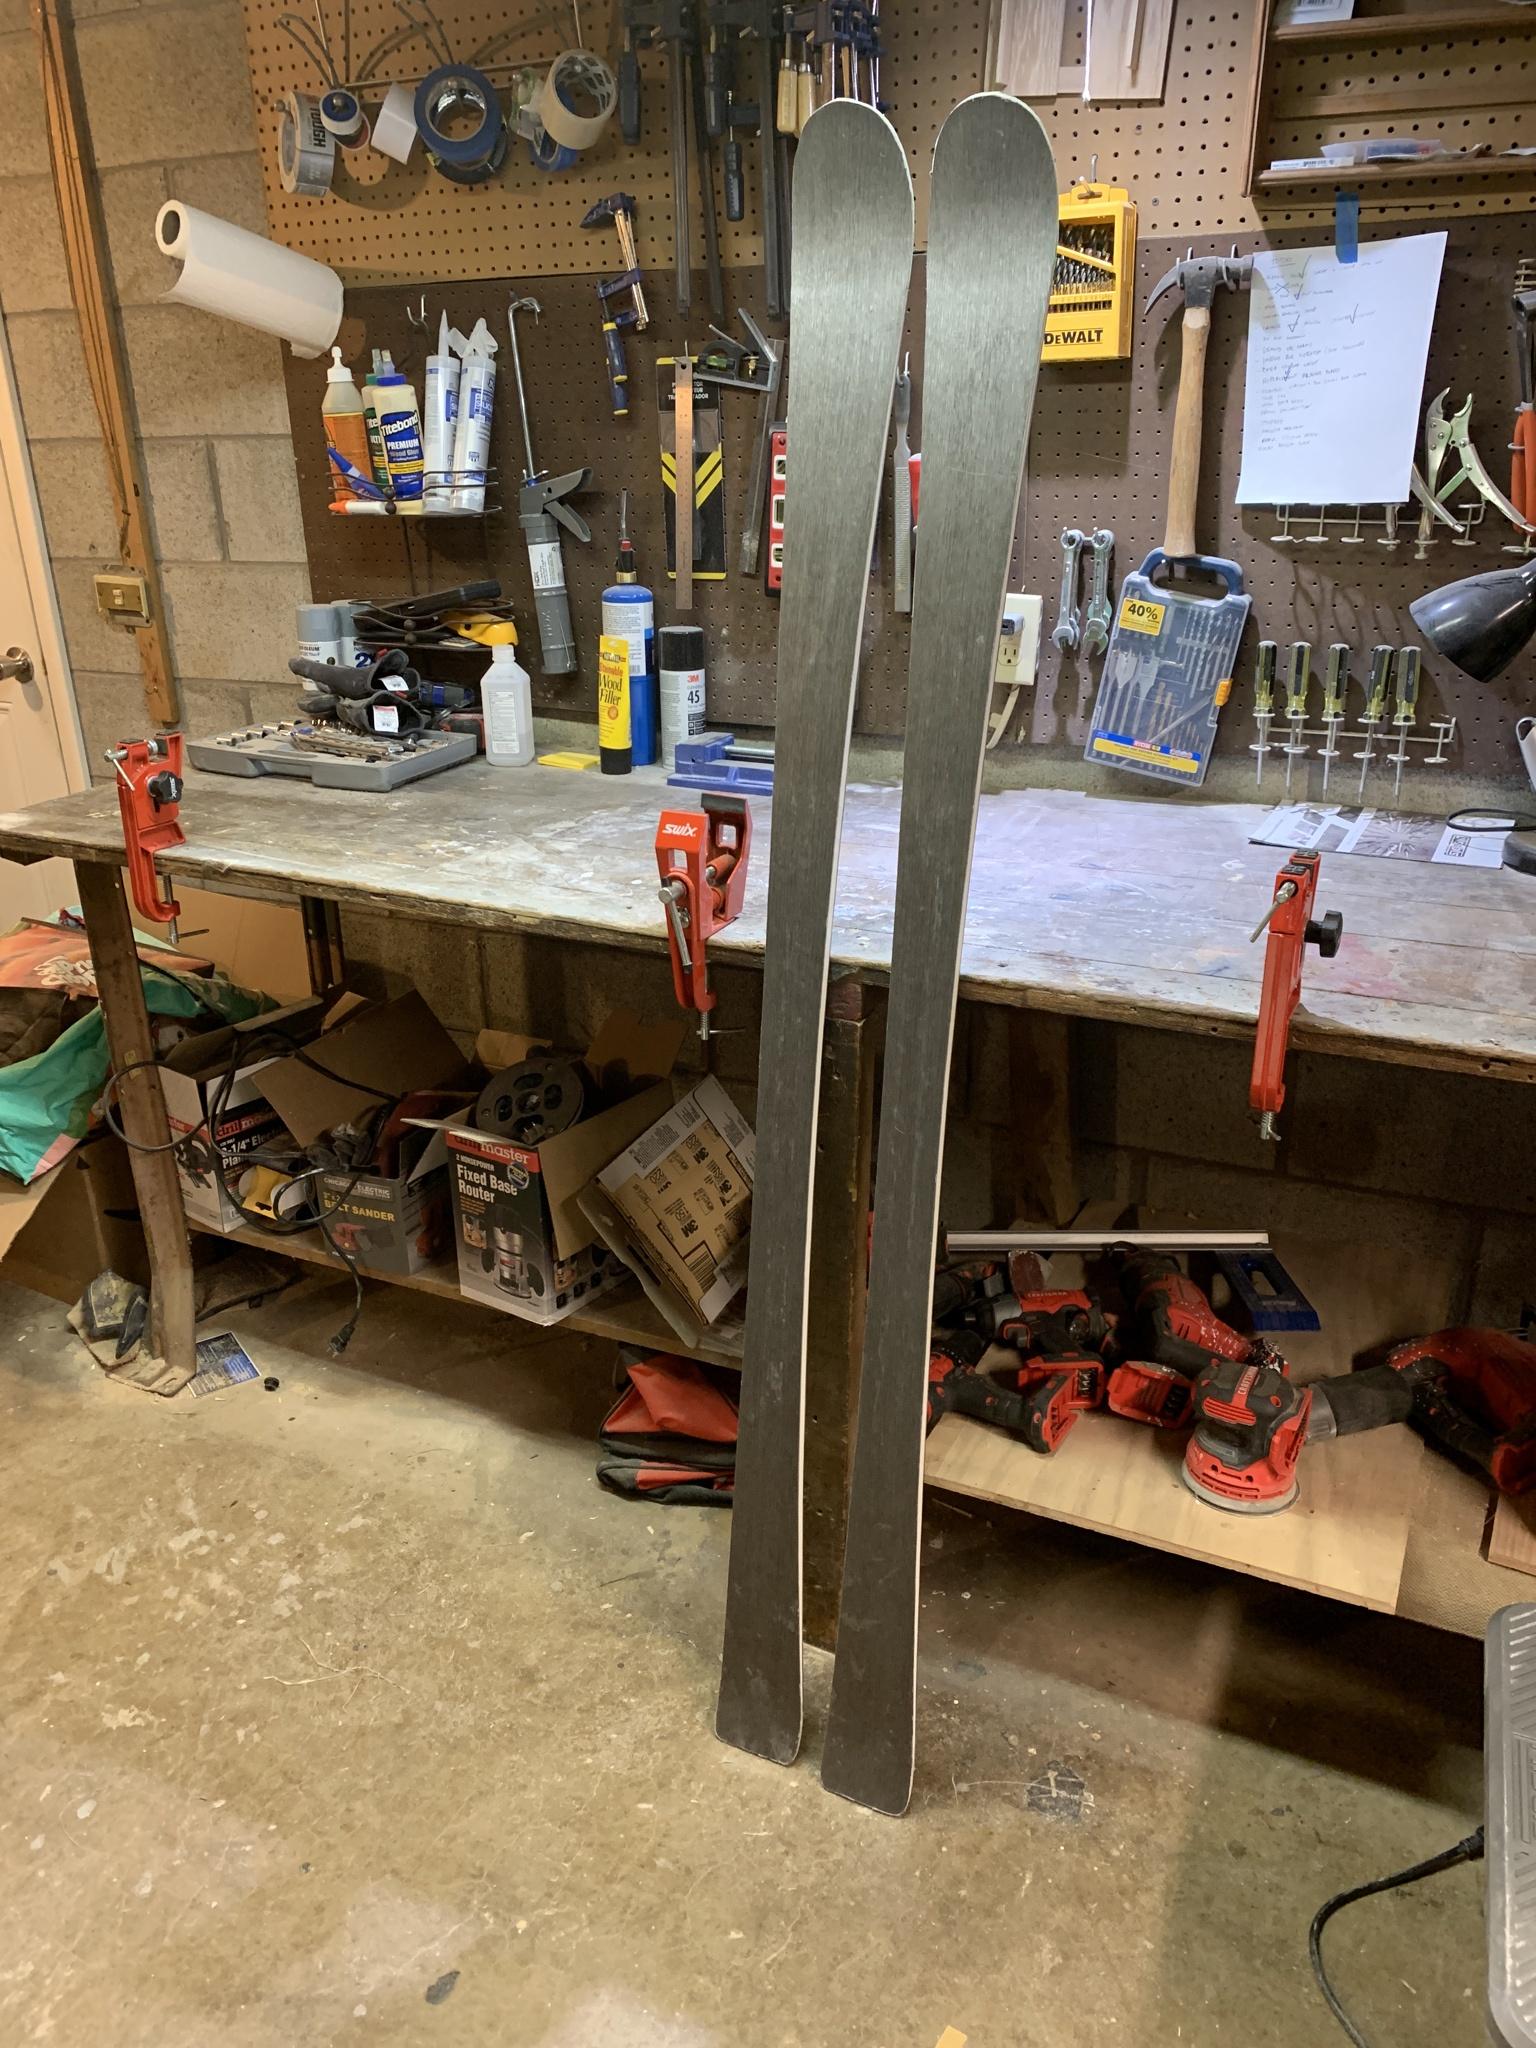
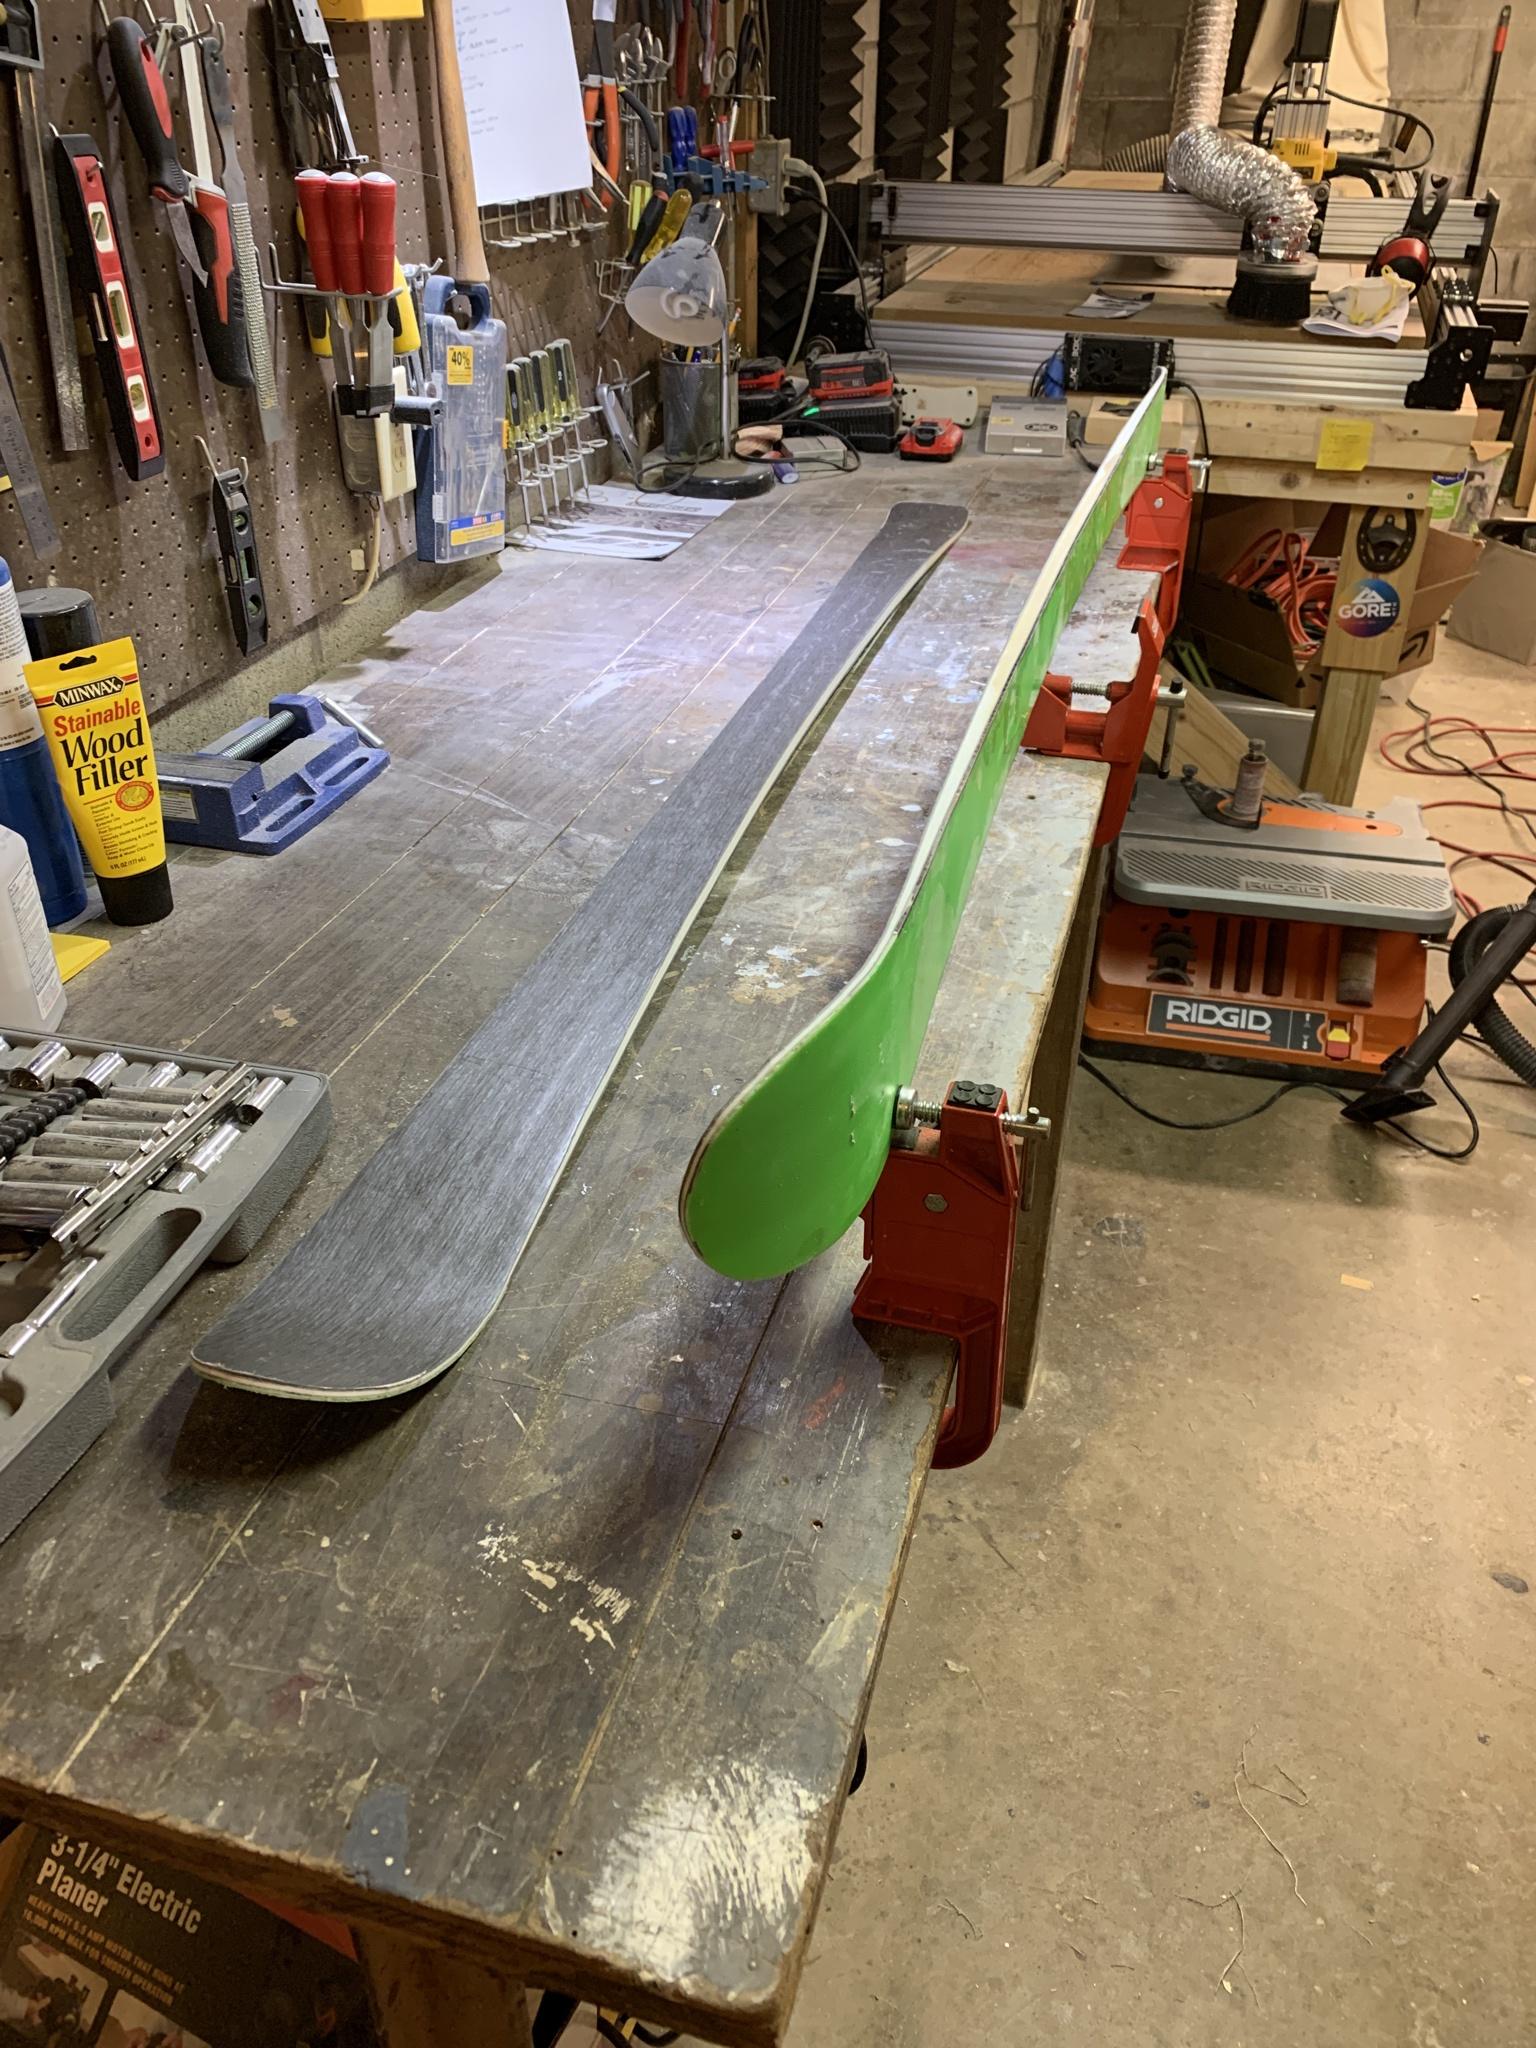
Looking forward to making the next pair and trying these out in a couple weeks! next pair is going to be a more relaxed all mountain shape with rocker camber rocker profile for my friend. another buddy wants a snowboard. gonna be a busy winter!
SleepingAwakeMon Nov 23, 2020 8:00 am
those are looking fantastic!
Congrats!
chrismpTue Nov 24, 2020 12:42 am
Looking great! You can use the spindle sander to bevel the sidewalls, but you should be careful not to grind into the top part of the edge too much as with the spindle sander you are lacking the follower bearing of a router bit running along the edges.
JonrezzTue Nov 24, 2020 10:12 pm
Thanks!
Do you use a router with a beveling bit? the thought of messing up and gouging them will give me nightmares. I've seen some pretty tragic photos of damage caused by people using a router to bevel their sidewall and slipping. I feel like sanding would be a much more slow and controlled process. one thing that's bugging me though is, you can't really get that "step" in the sidewall right above the edge with a sander can you - this:
image no longer available
do you normally ignore that until the bevel is done and then go at it with a swix sidewall cutter or something to get that "step"? do you skip it overall? not really sure how important it is.
I do like the one jig with the skateboard truck on a router table, I have a portable router table laying around, I could try to convert it. Might give that a go and see how it works on the junk ski I pressed before this pair.
My friend who wants the rocker camber rocker ski is still undecided about his composites, graphics and stuff, so looks like my next build is gonna be the snowboard while he makes up his mind. I have the board's core wood laminated together, toolpaths for the cnc are ready, and I'm in the process of adjusting the mold - cutting out some additional ribs and tip/tail blocks to accommodate the profile he wants to go for. not much to show yet as far as photos, all I've done is glue some planks of wood together and computer/cad/design work.
Going to be a146 cm board with medium/soft flex since he's a light guy, 5'6" tall, 120 lbs. I'm thinking 20 oz triax fiber above and below, similar topsheet and base as this last build (as much as I wanted to try something new/different, he liked what I did for my skis, so, we're going to match on the mountain I guess lol). I'm hoping 7mm thick underfoot with 4 maple strips and the rest poplar will produce a good result for him, but I have no real idea how the stiffness will come out since it's going to be twice as wide as a typical pair of skis.
a couple things I'll be doing that are new for me are - green pigment in the sidewalls, binding screw inserts, "magnetration" edge serrations and a camber rocker camber profile (similar to the lib tech banana). Will be cool to see how those play out, and of course I'll post here as I go.
Cheers!
-Jon
SleepingAwakeWed Nov 25, 2020 12:19 am
magne traction is a pain to bend the edges. worth it tho. i made a snowboard with it last season and working on a pair of skis with magne traction right now.
I can share some pictures of my beveling technique when i finish my pair. I basically sand the sidewalls on the belt sander until i touch the edge, and then i use a router with a dovetail bit to make the bevel and step. I make a stop with a wooden block that i clamp to the router to adjust and set the the depth of the step, and how far the tool sticks out will determine the height/position of the step. It is a little bit sketchy, but the results so far have all been great.
7mm seems thick as core thickness for a medium flex, but i would need to have a closer look at my spreadsheets. Maybe other can chime in.
chrismpWed Nov 25, 2020 1:18 am
I use a diy router table with the router mounted below the table at the desired sidewall angle. The bit I use is a rather large (20mm = roughly 3/4") with a follower bearing at the shaft end (often called pattern bit or flush trim bit). The table surface has a bump perpendicular to the router bit on which the ski/snowboard runs, so I don't have to deal with pressing down the camber to avoid hitting the edges with the router bit. I will take a photo later today, as a picture is easier to understand than words in this case.
After cutting the flash, I grind the sidewalls on a vertical belt sander until I lightly hit the edges to get a smooth vertical surface. Then I use my router setup to add an angle to the sidewall. There is a small gap between the bearing and the cutter edges on the router bit that leaves a small portion of vertical sidewall just above the edges. However, it doesn't create the kind of set-back sidewall like in the graphic you posted.
To be honest, I don't really know if the vertical part of the sidewall on some skis serves a purpose or if it's just due to construction methods. All I know is that not all skis/snowboards have this - on some the sidewall bevel starts right at the edge.
chrismpSun Nov 29, 2020 10:51 pm
Here are some photos of my setup:
IMG-20201130-WA0001.jpg (205.65 KiB) Viewed 3577 times
IMG-20201130-WA0000.jpg (138.59 KiB) Viewed 3577 times
What also works quite well according to a friend of mine and others on this forum is using a trim router with a tilting base. For this method you might want to extend the base of the router to one side so it has a larger portion of it base riding on the base of the ski to prevent it from tipping.
JonrezzWed Dec 02, 2020 12:54 pm
Cool setup! thanks for the pics!
I really like the safety/dust enclosure with lighting too.
JonrezzMon Dec 07, 2020 8:11 pm
So the next pair of skis ended up coming first after all! my friend decided to go with a cherry veneer, red base, and full tip wrapped edges! The skis are all mountain style 160 cm with a rocker camber rocker profile. the edges were a huge pain in the butt! after doing these with a pair of pliers, lots of hours later, they were formed, and I was motivated to finally figure out an edge bender, because, lets face it, tip wrapped edges are pretty badass lol. anyway, here's some build pics, starring my friend who was over to help build them:
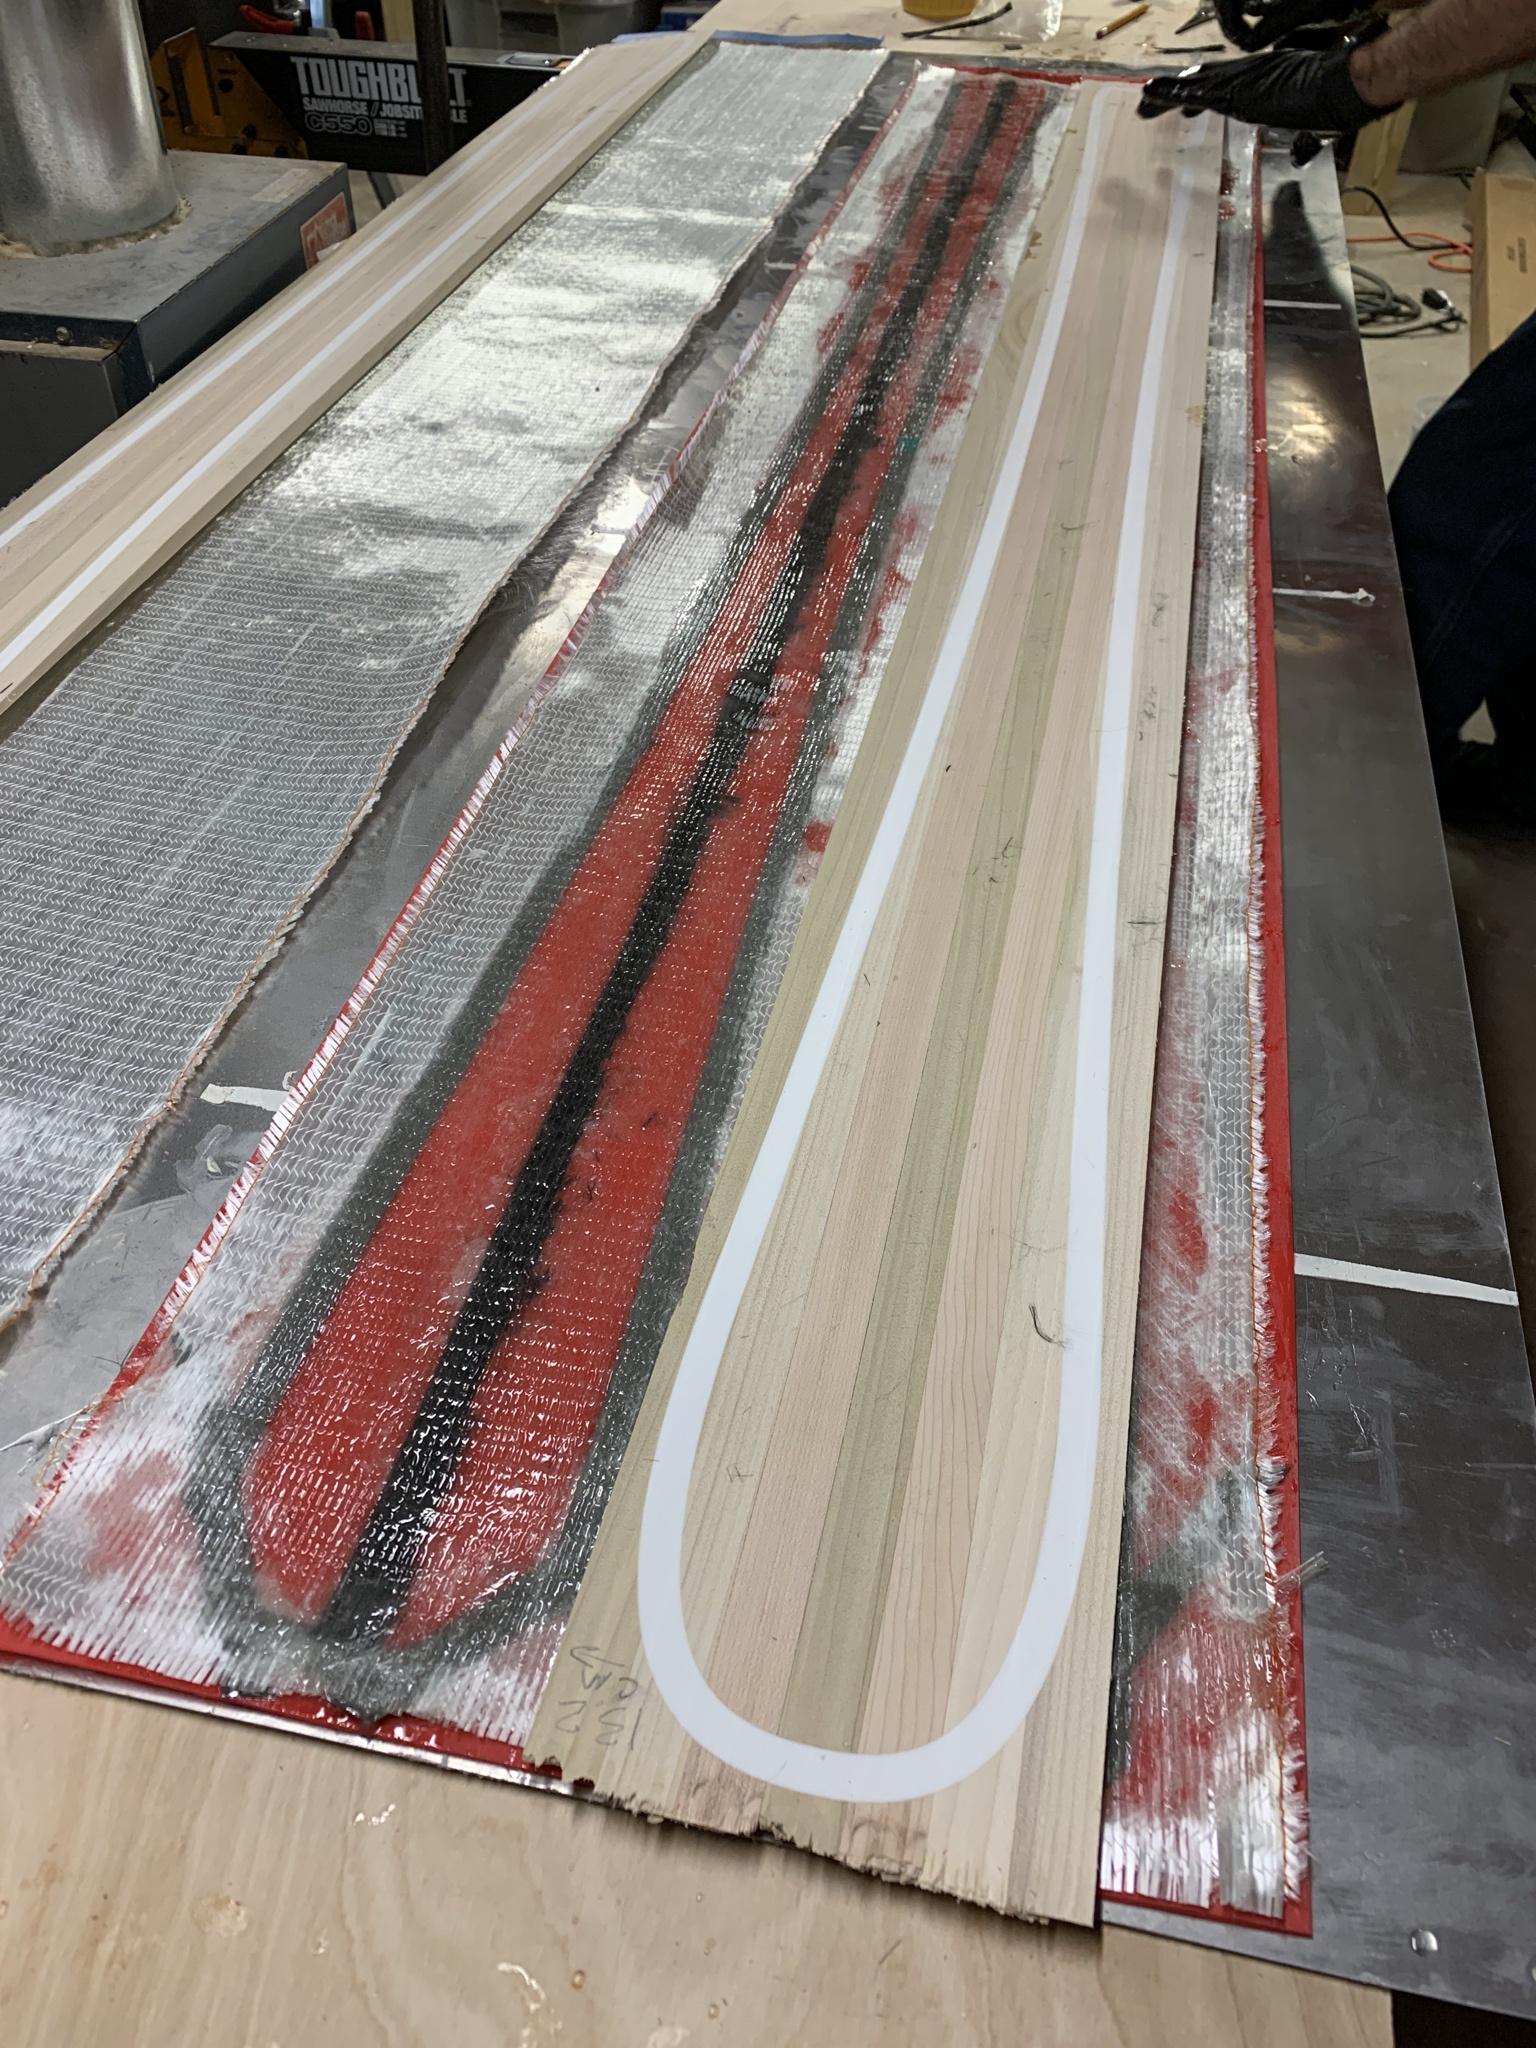
edges and bases on the cassette. since we did a full edge wrap, we used the offcut base material to align the cores and bases during layup with some pencil lines outside the range of the fiberglass:
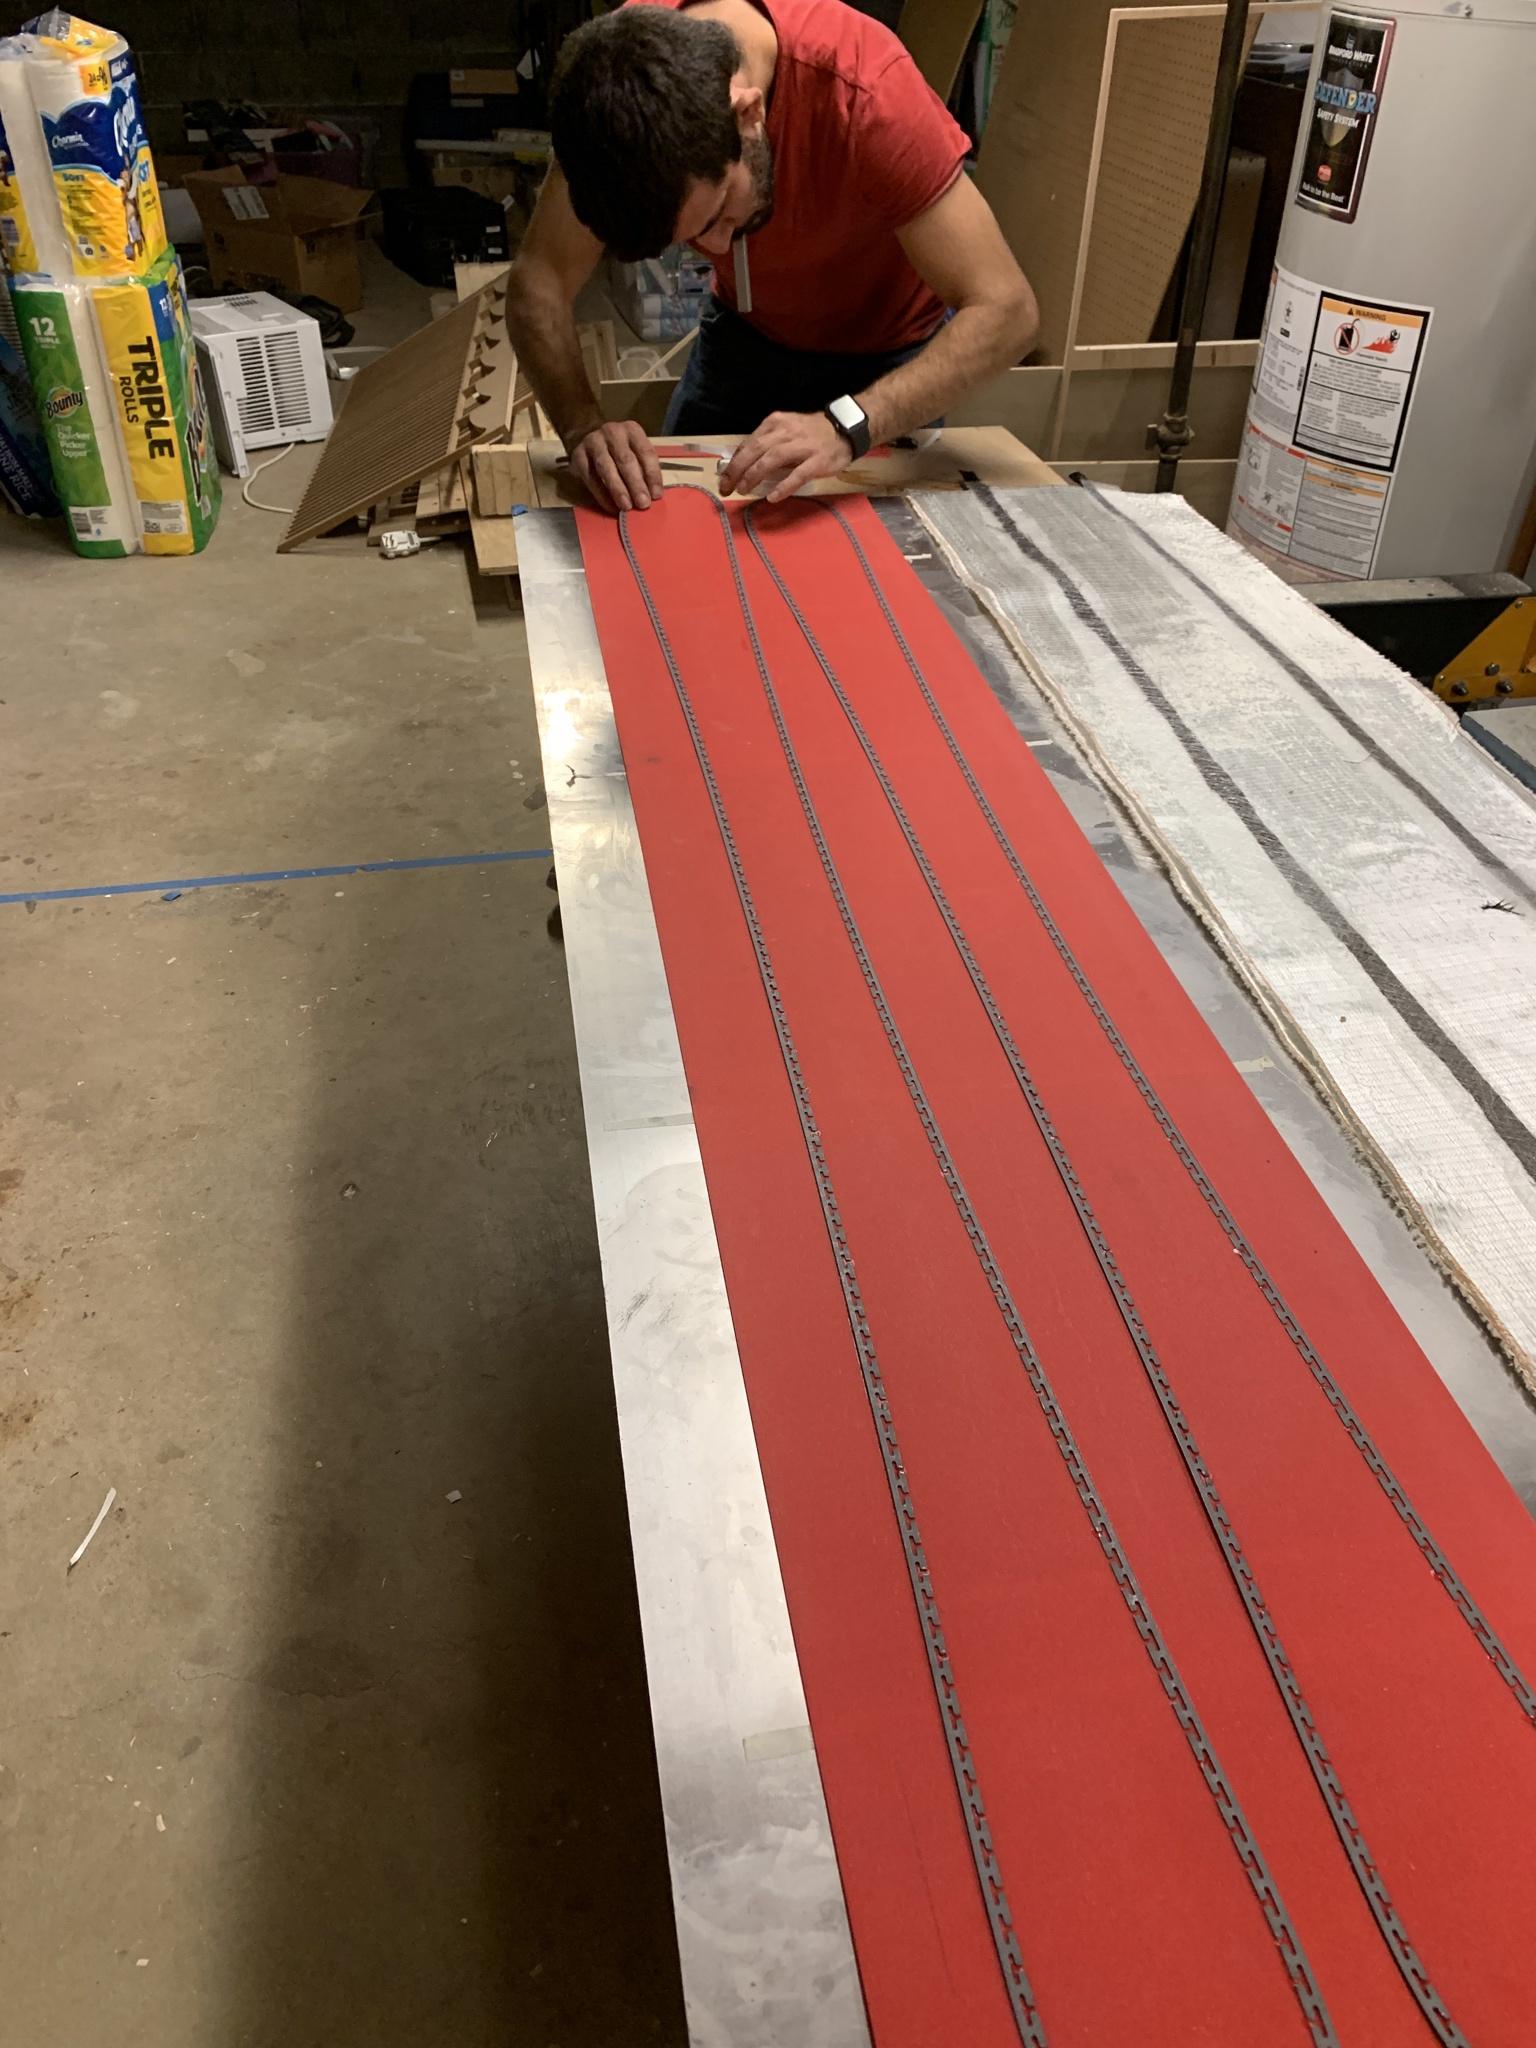
carbon stringers between the edges with veil underneath. please excuse the mess in the background. will clean that up. one day...:
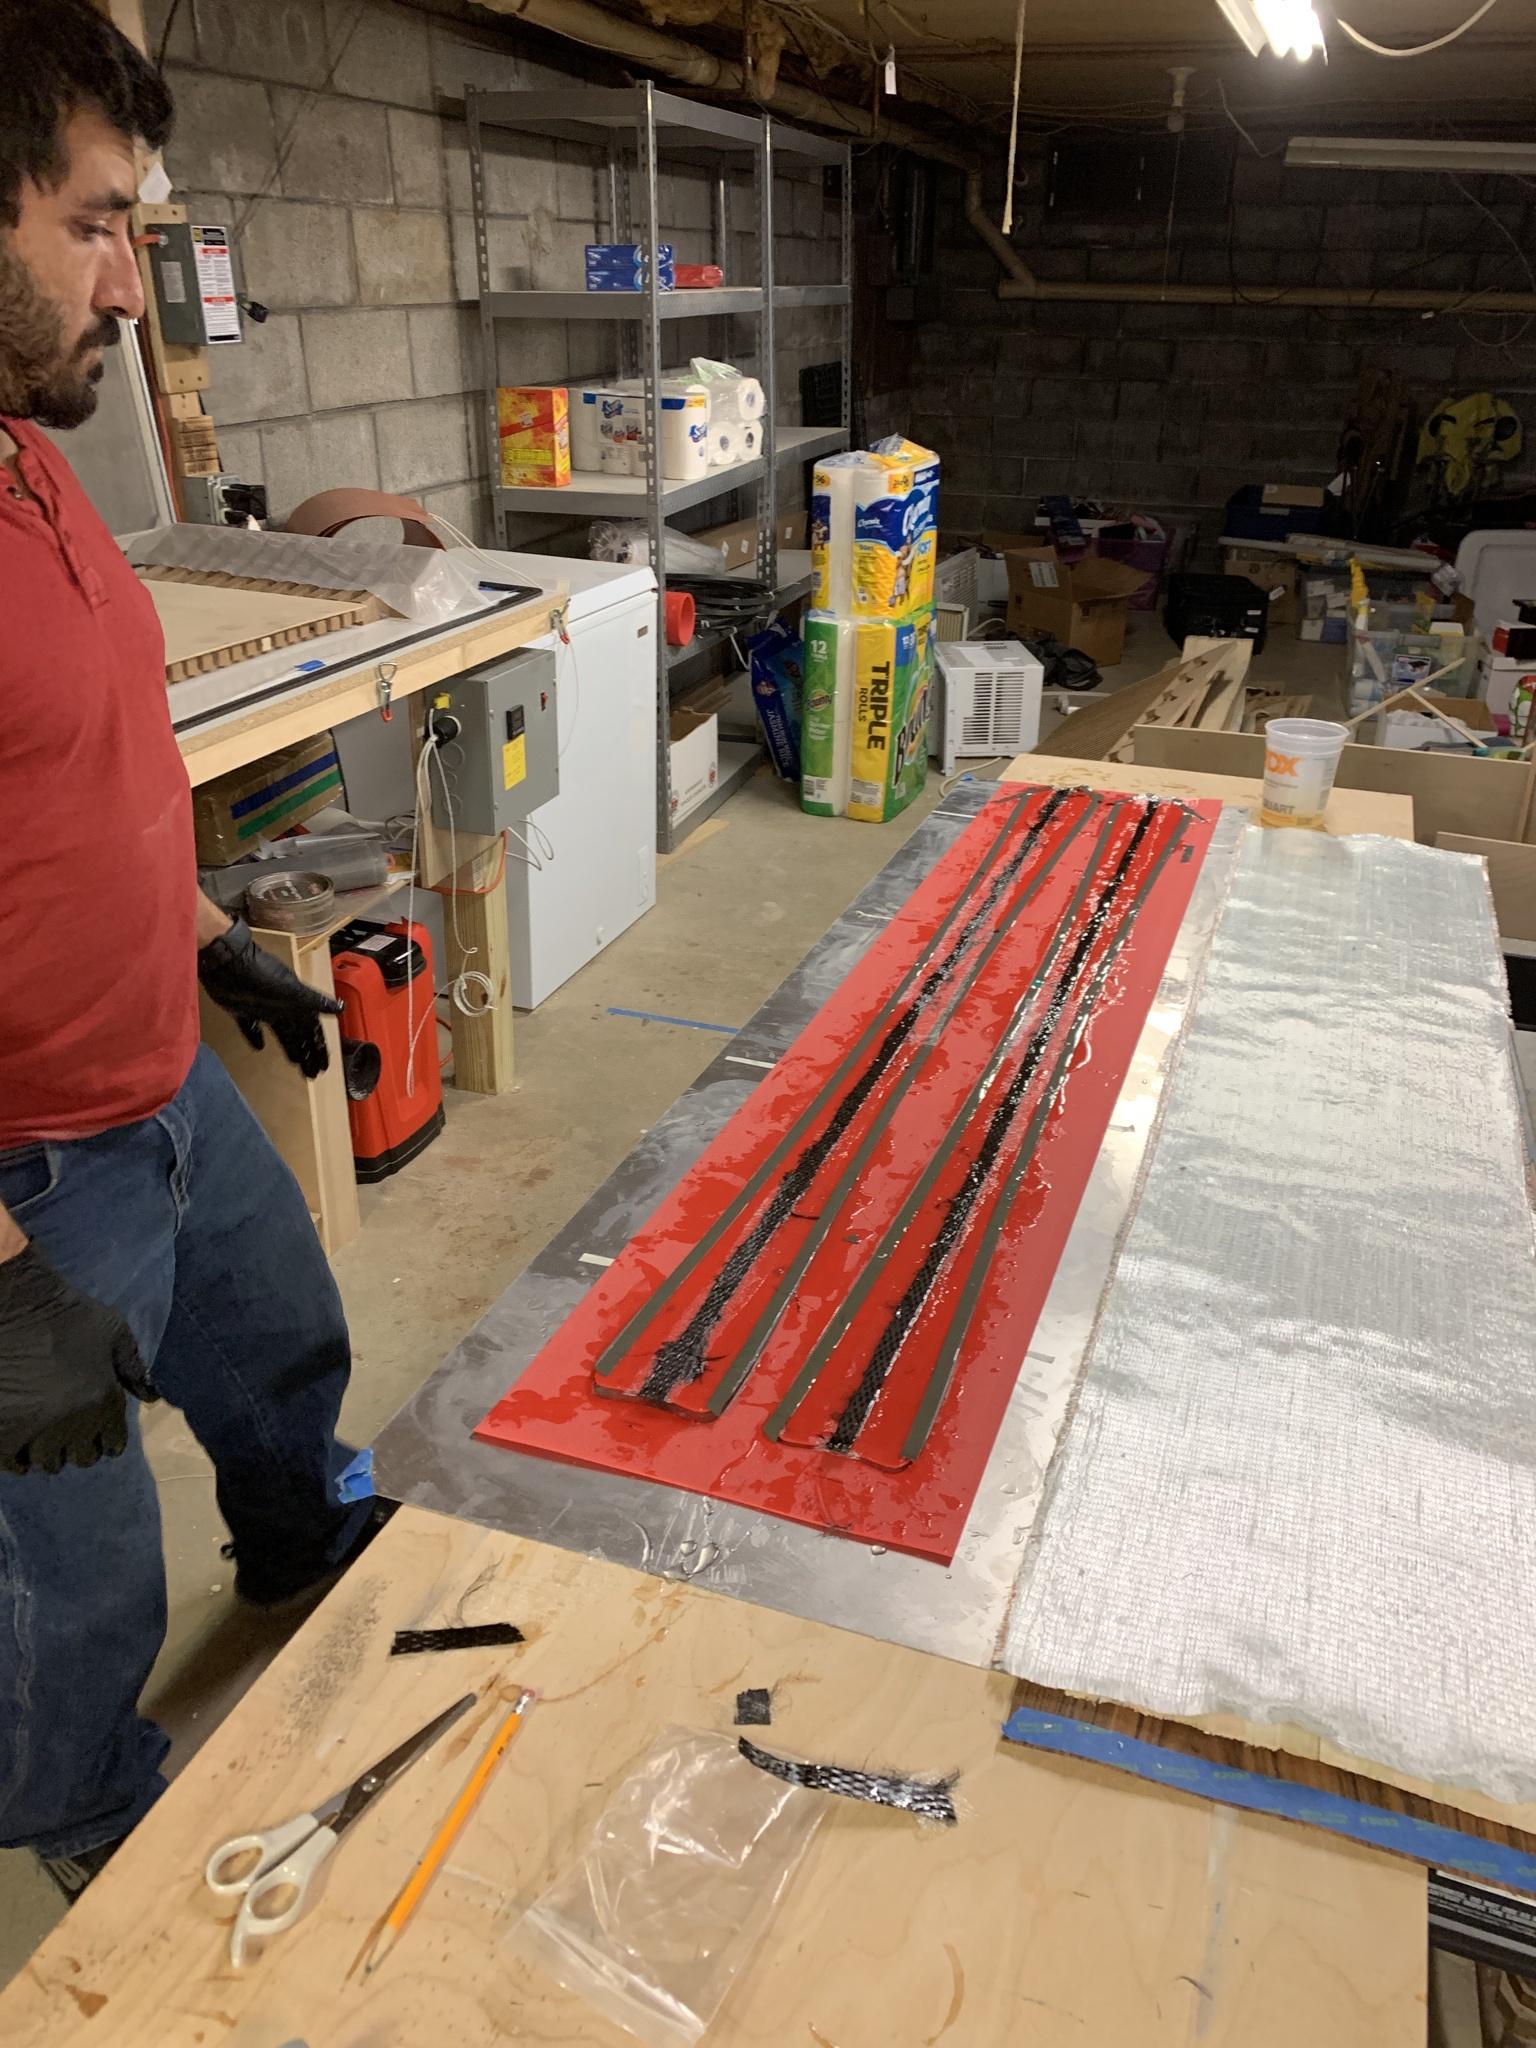
fiberglass and cores going on:
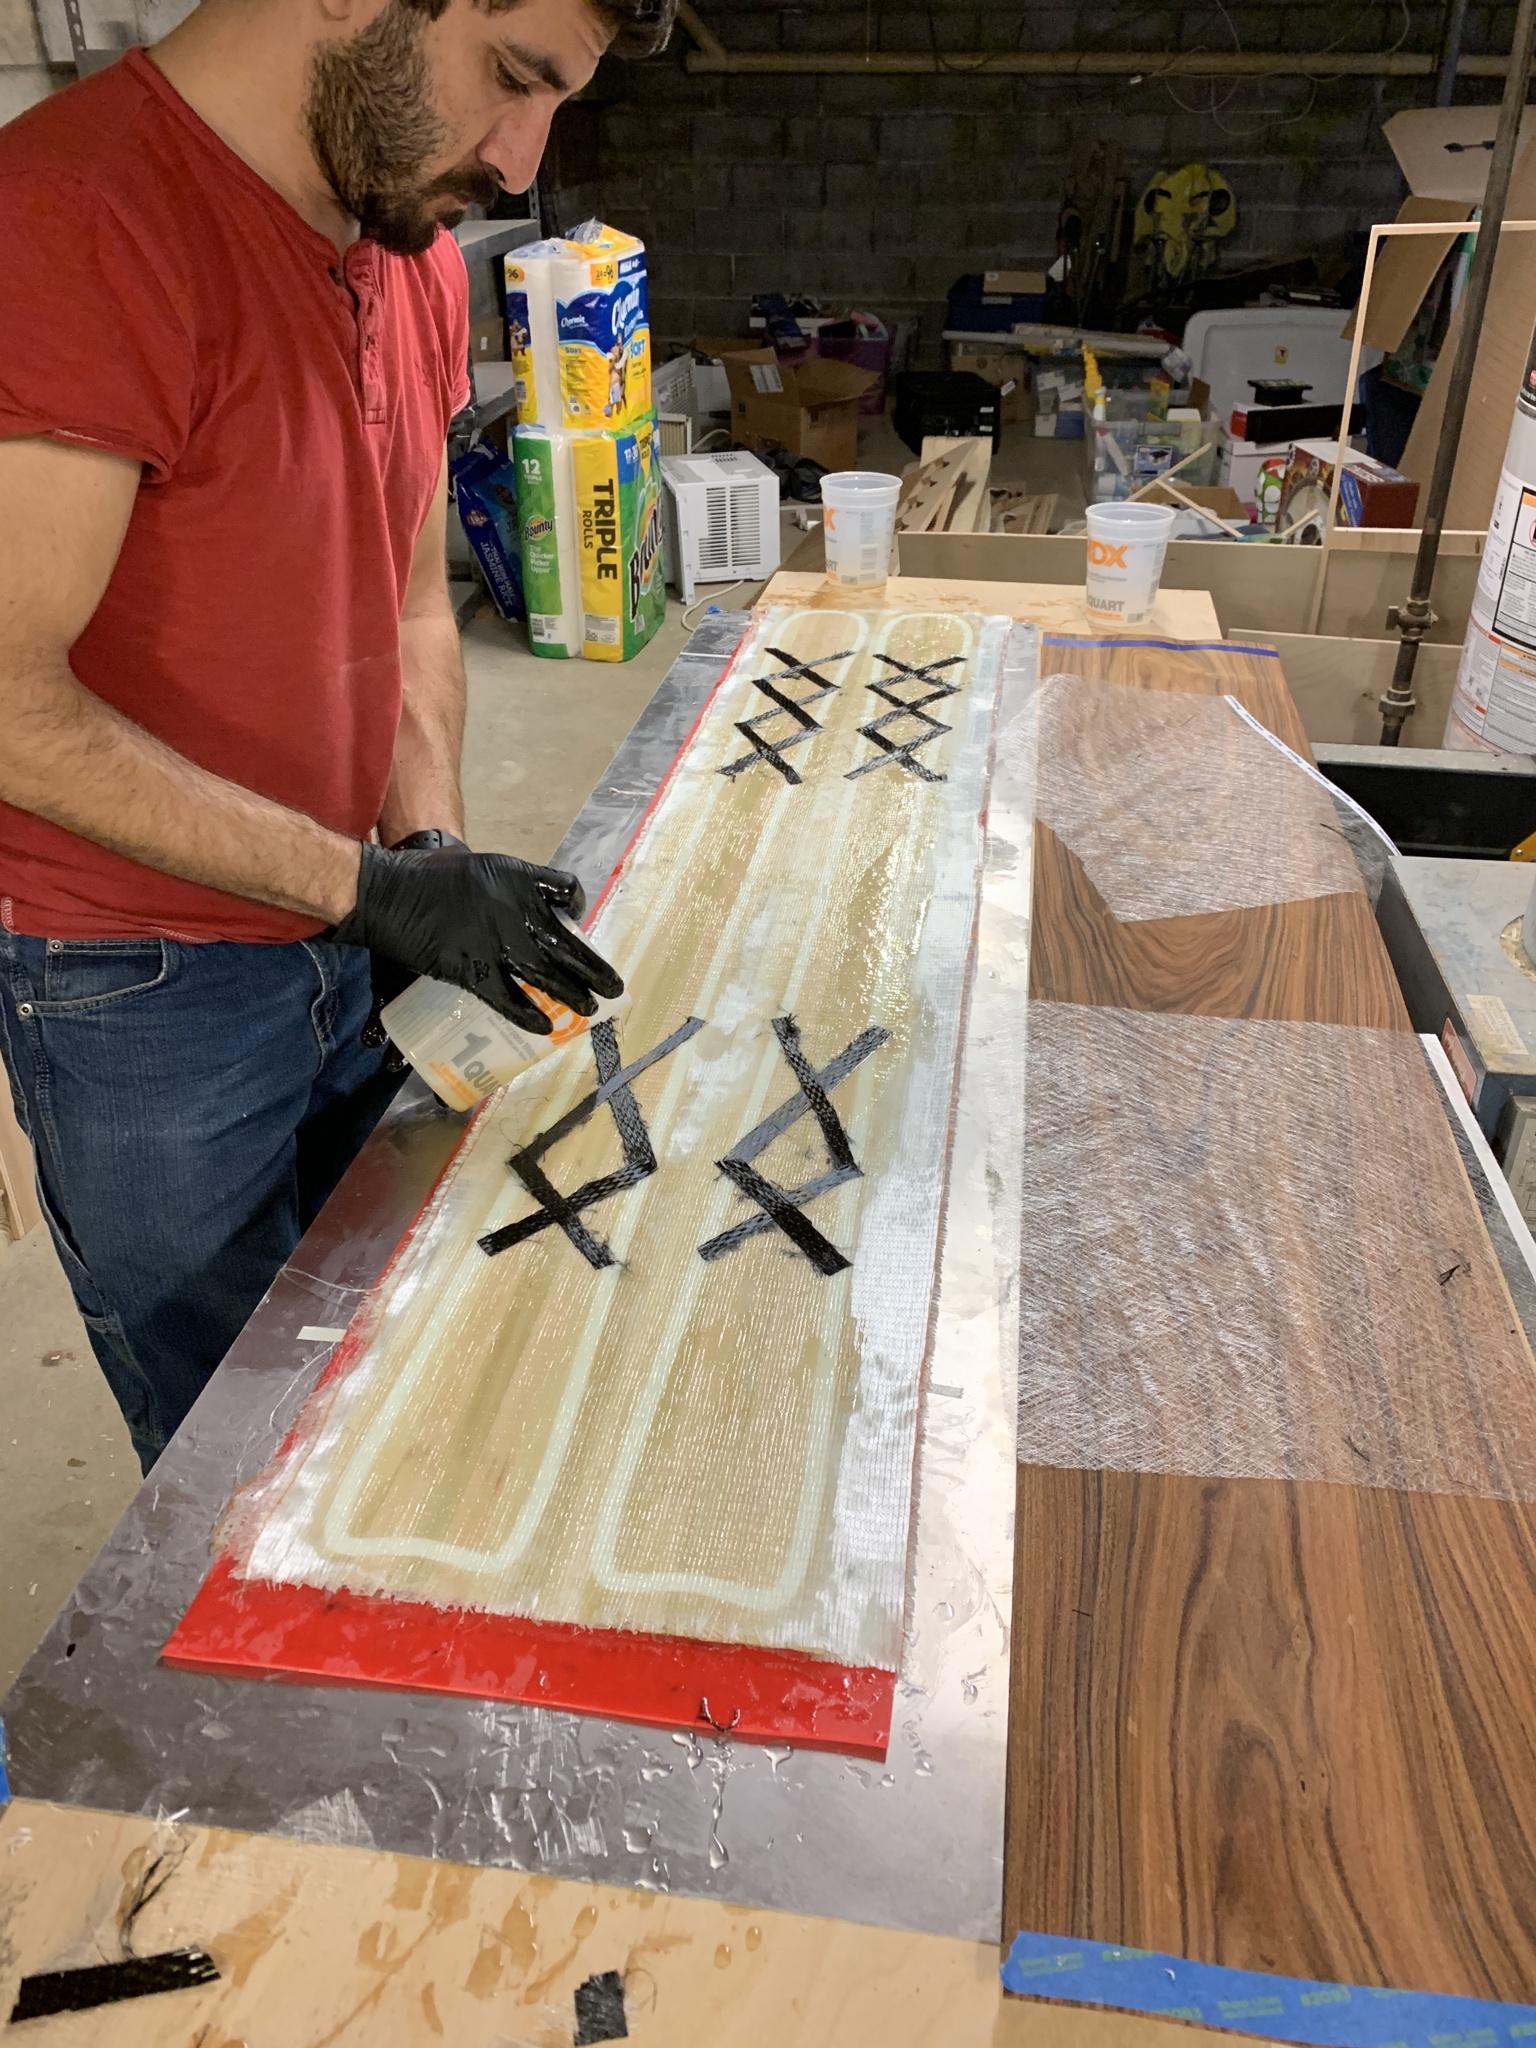
he wanted to do these x shapes above the core with the carbon. I don't know if they're going to do anything, but I guess its cool, I didn't protest lol:
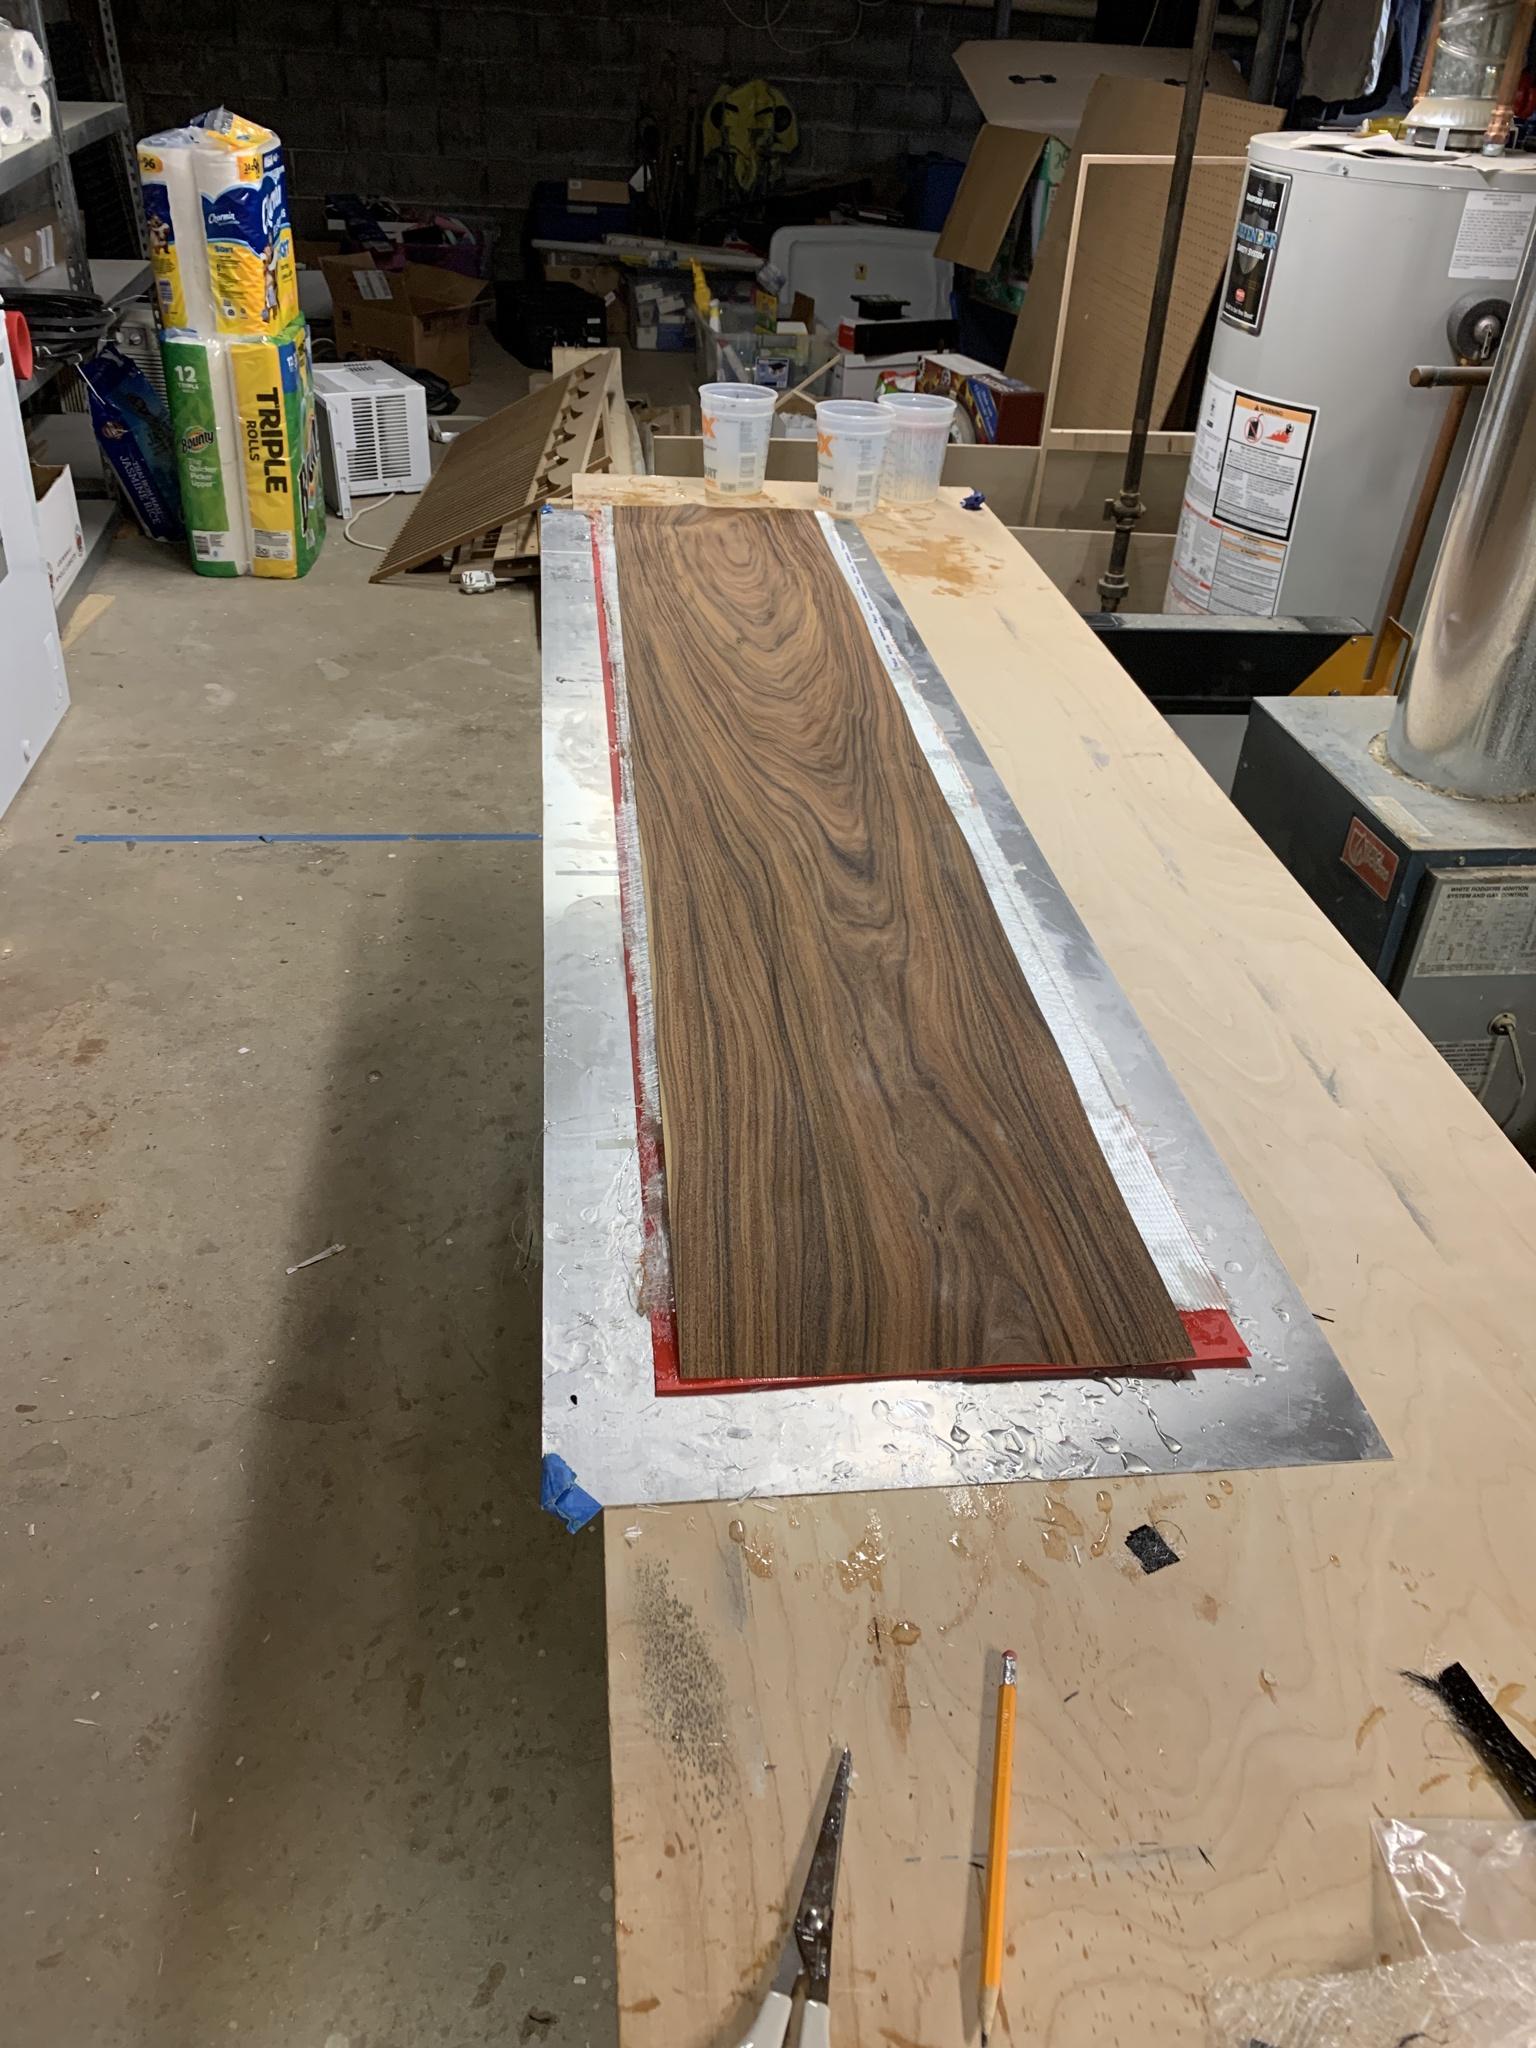
Ready for the oven!
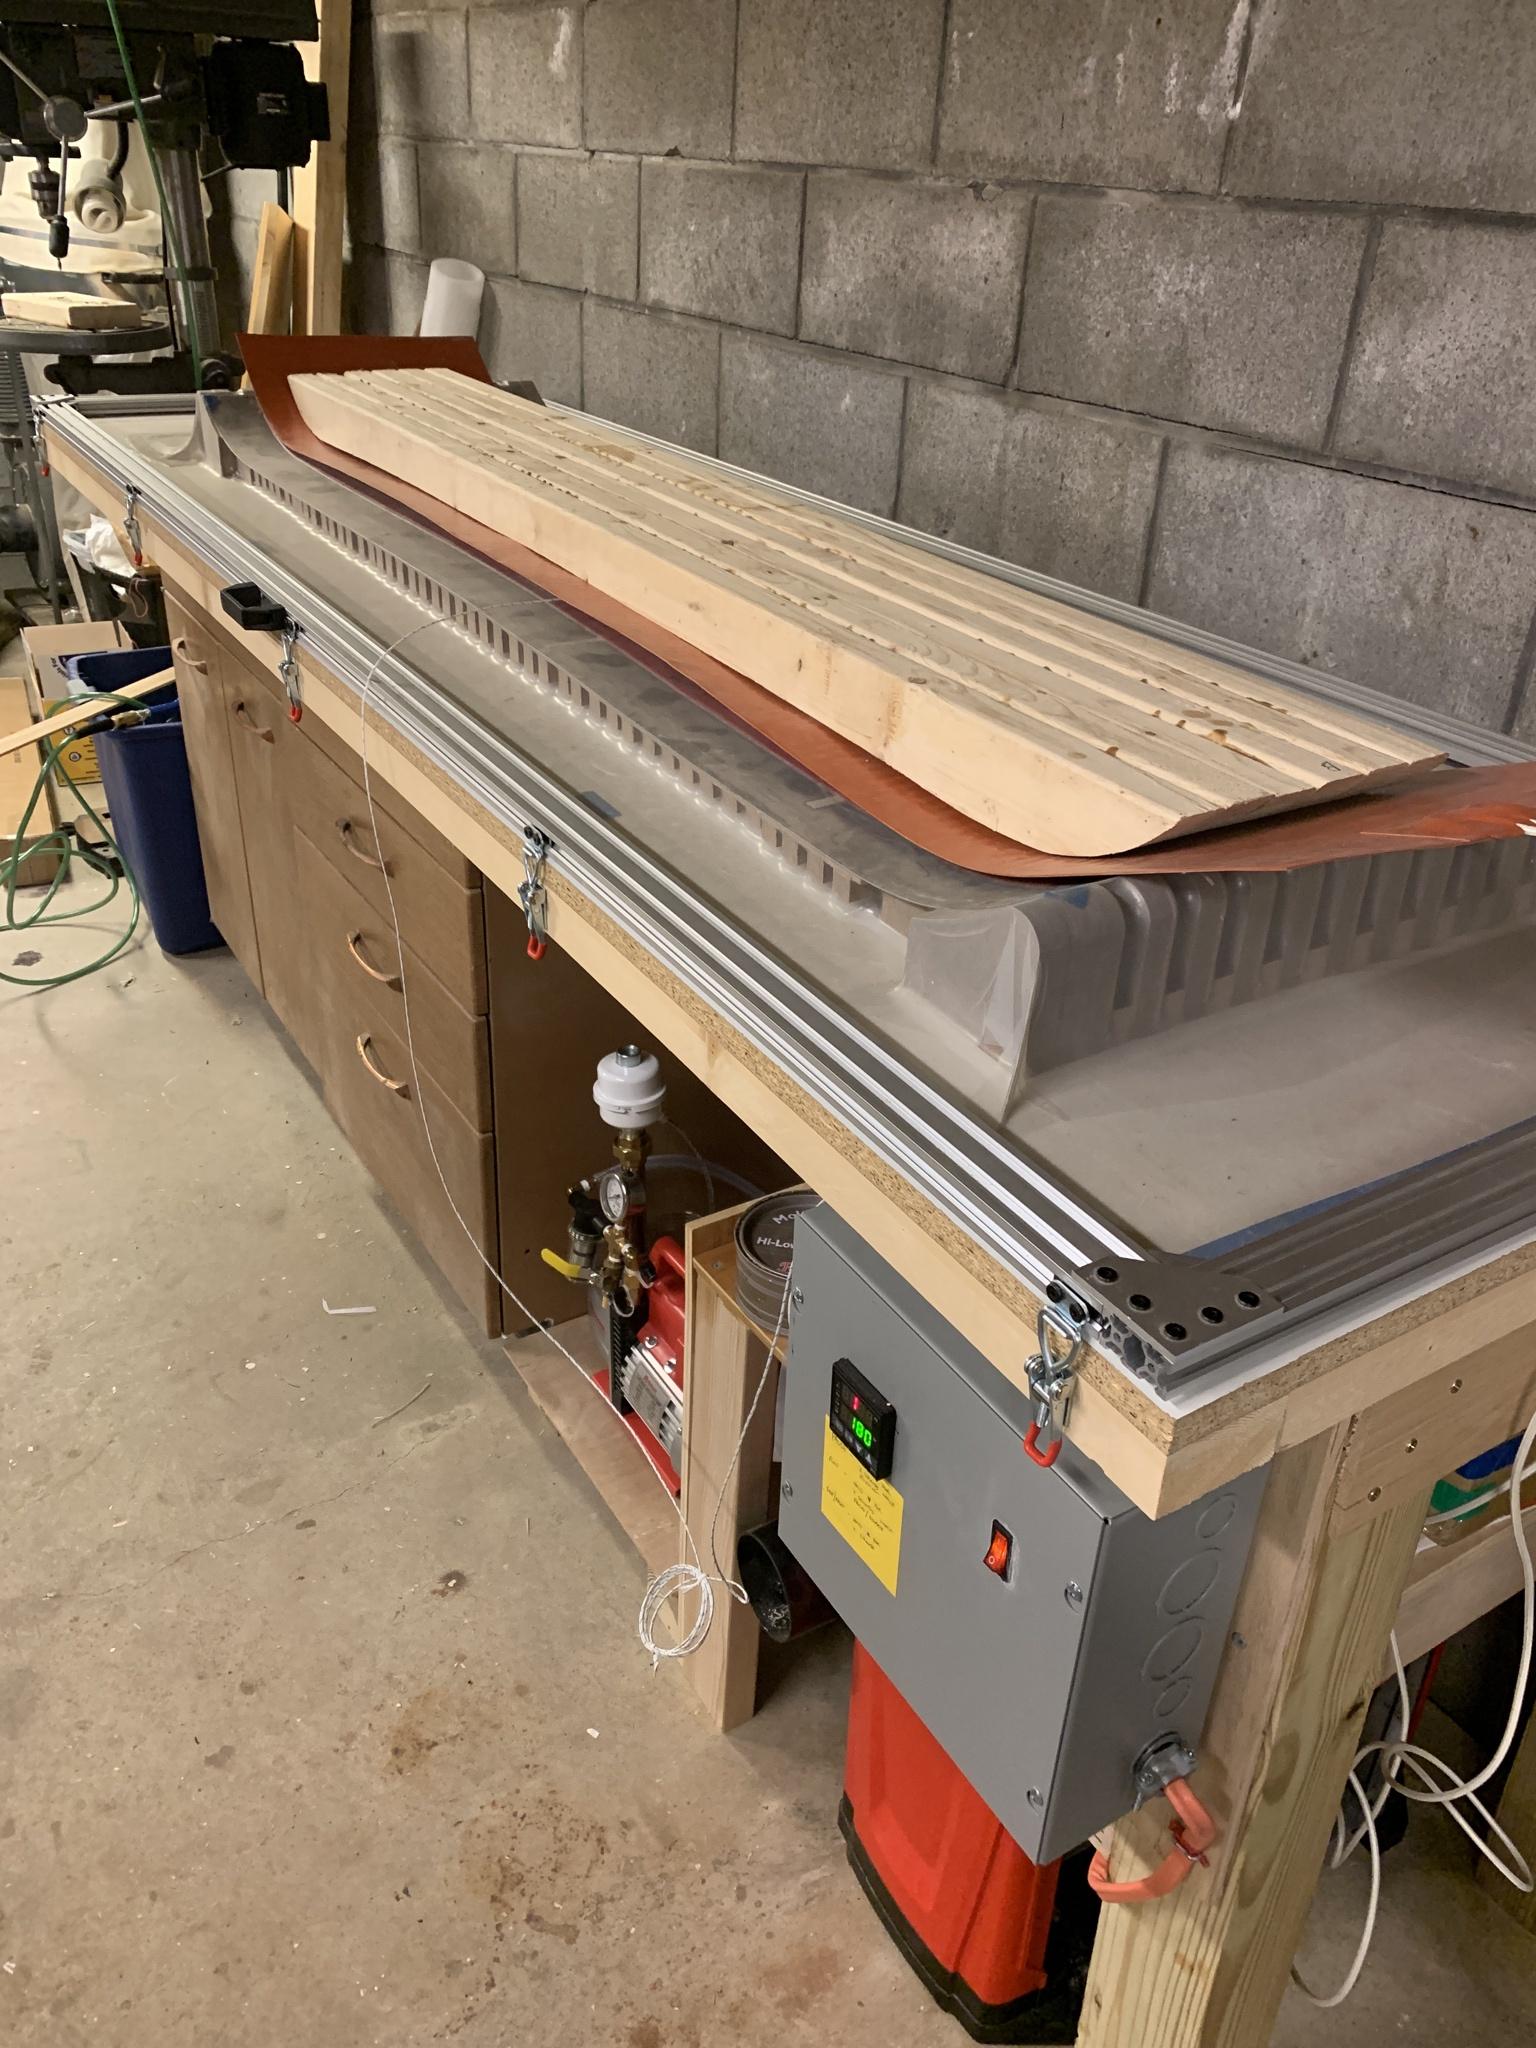
cooking...
here's where we're at. he insisted I wait for him to come visit again to cut out and finish the skis, so they'll be on pause for now:
afterwards we made an ugly, but functional edge bender. fair warning, neither of us are accomplished metalworkers:
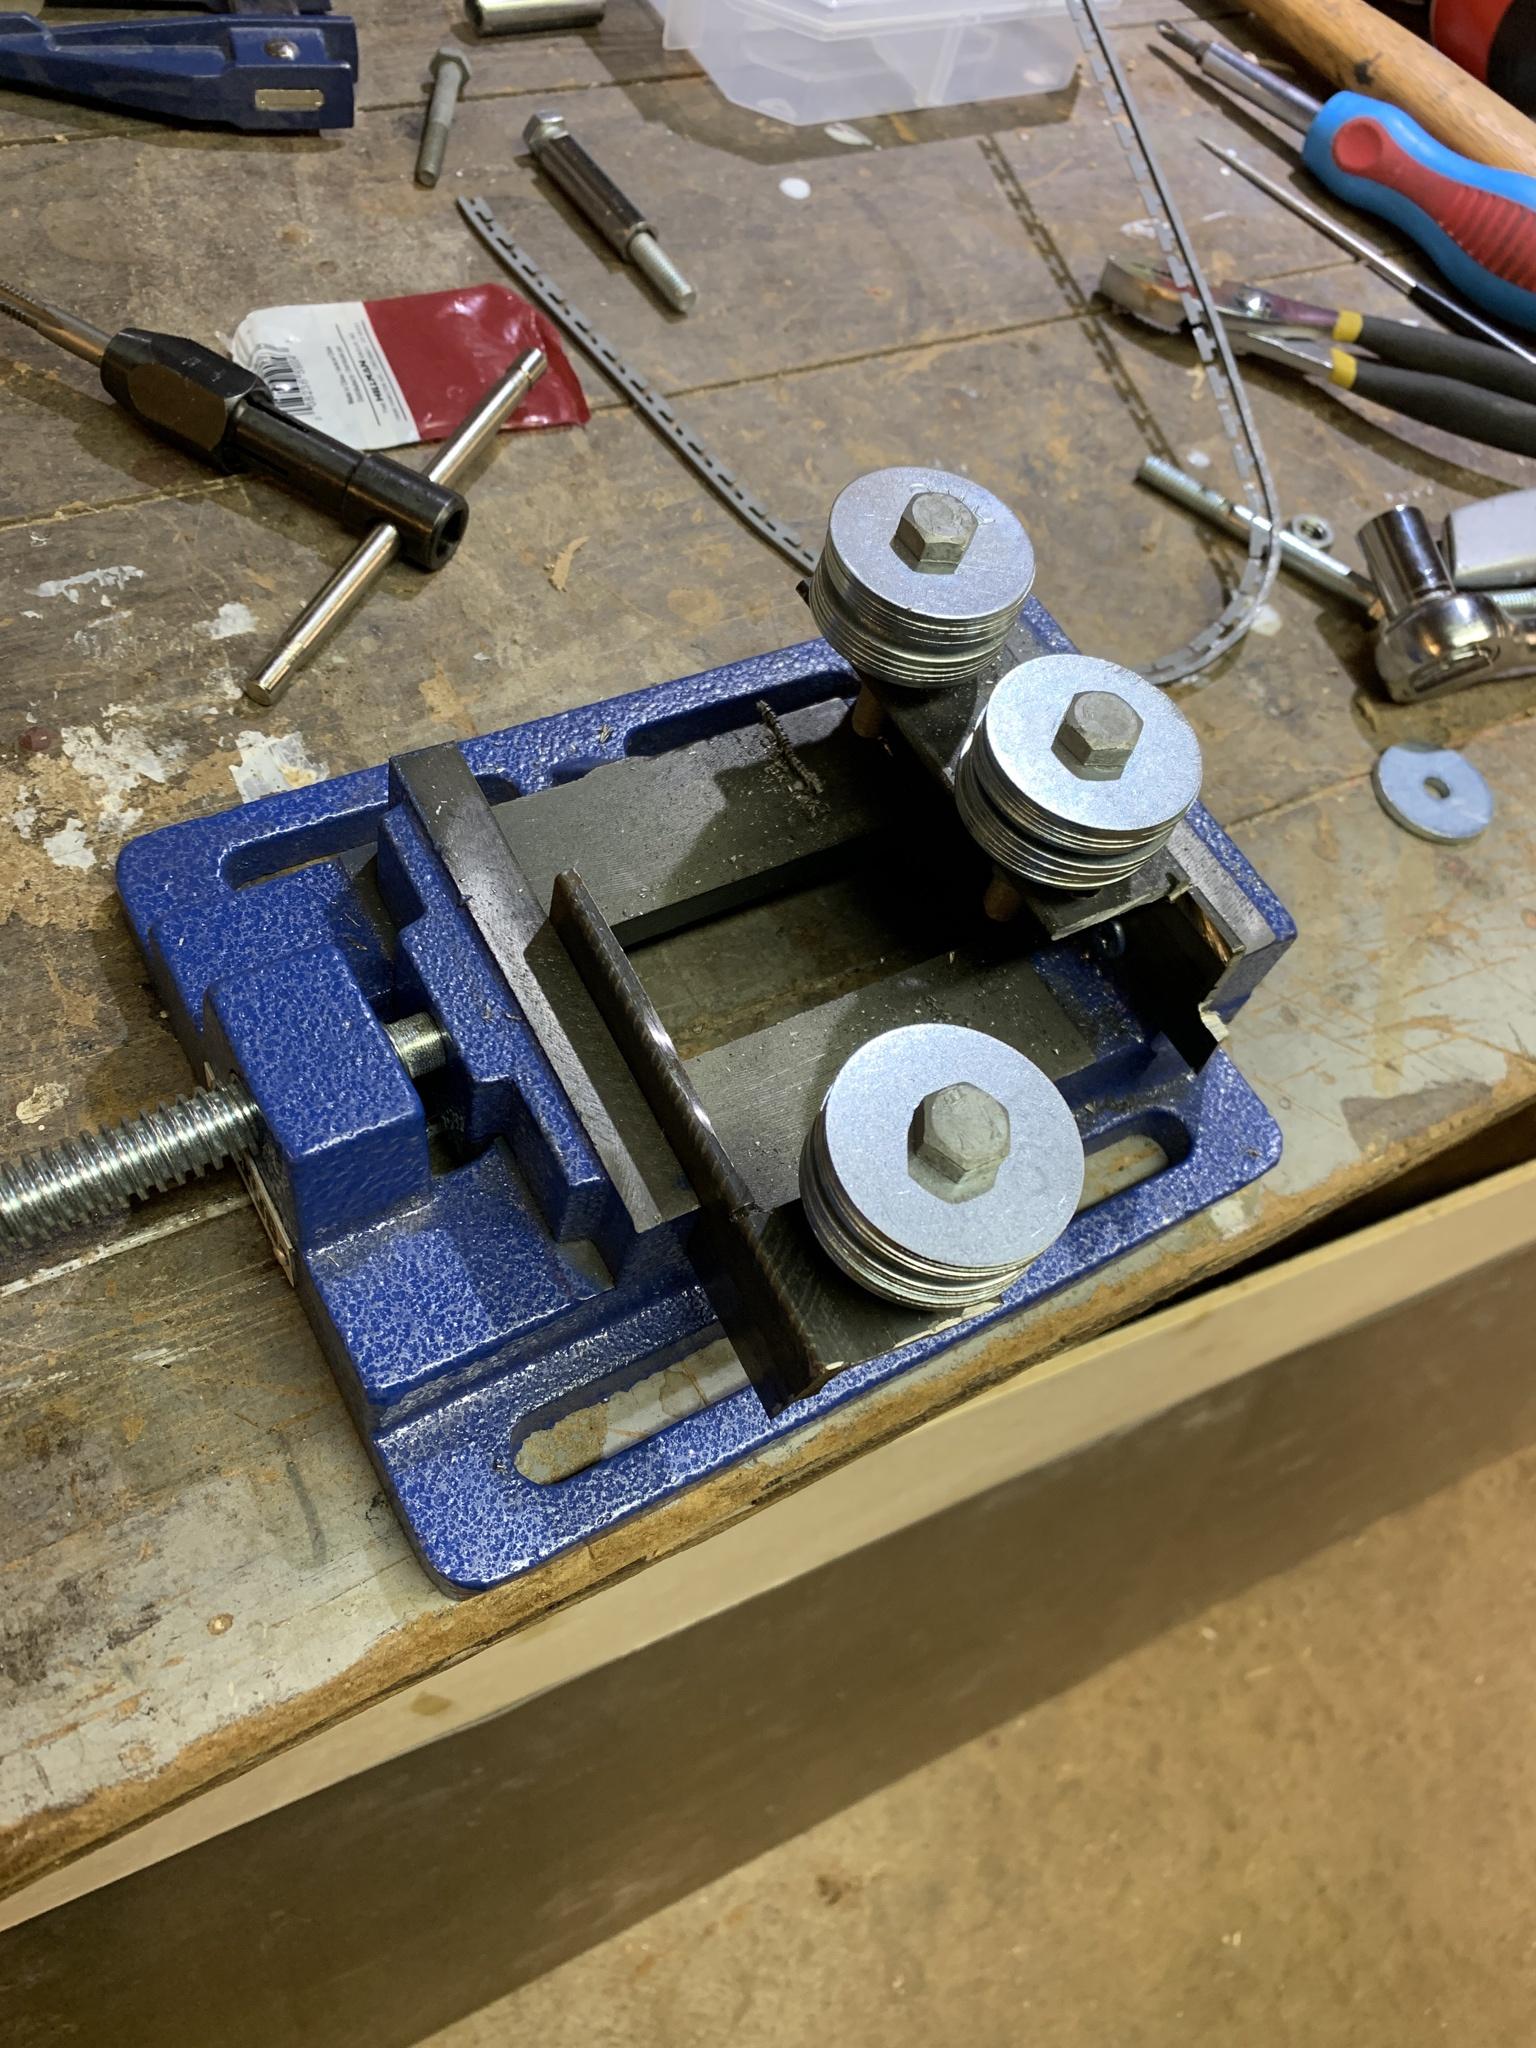
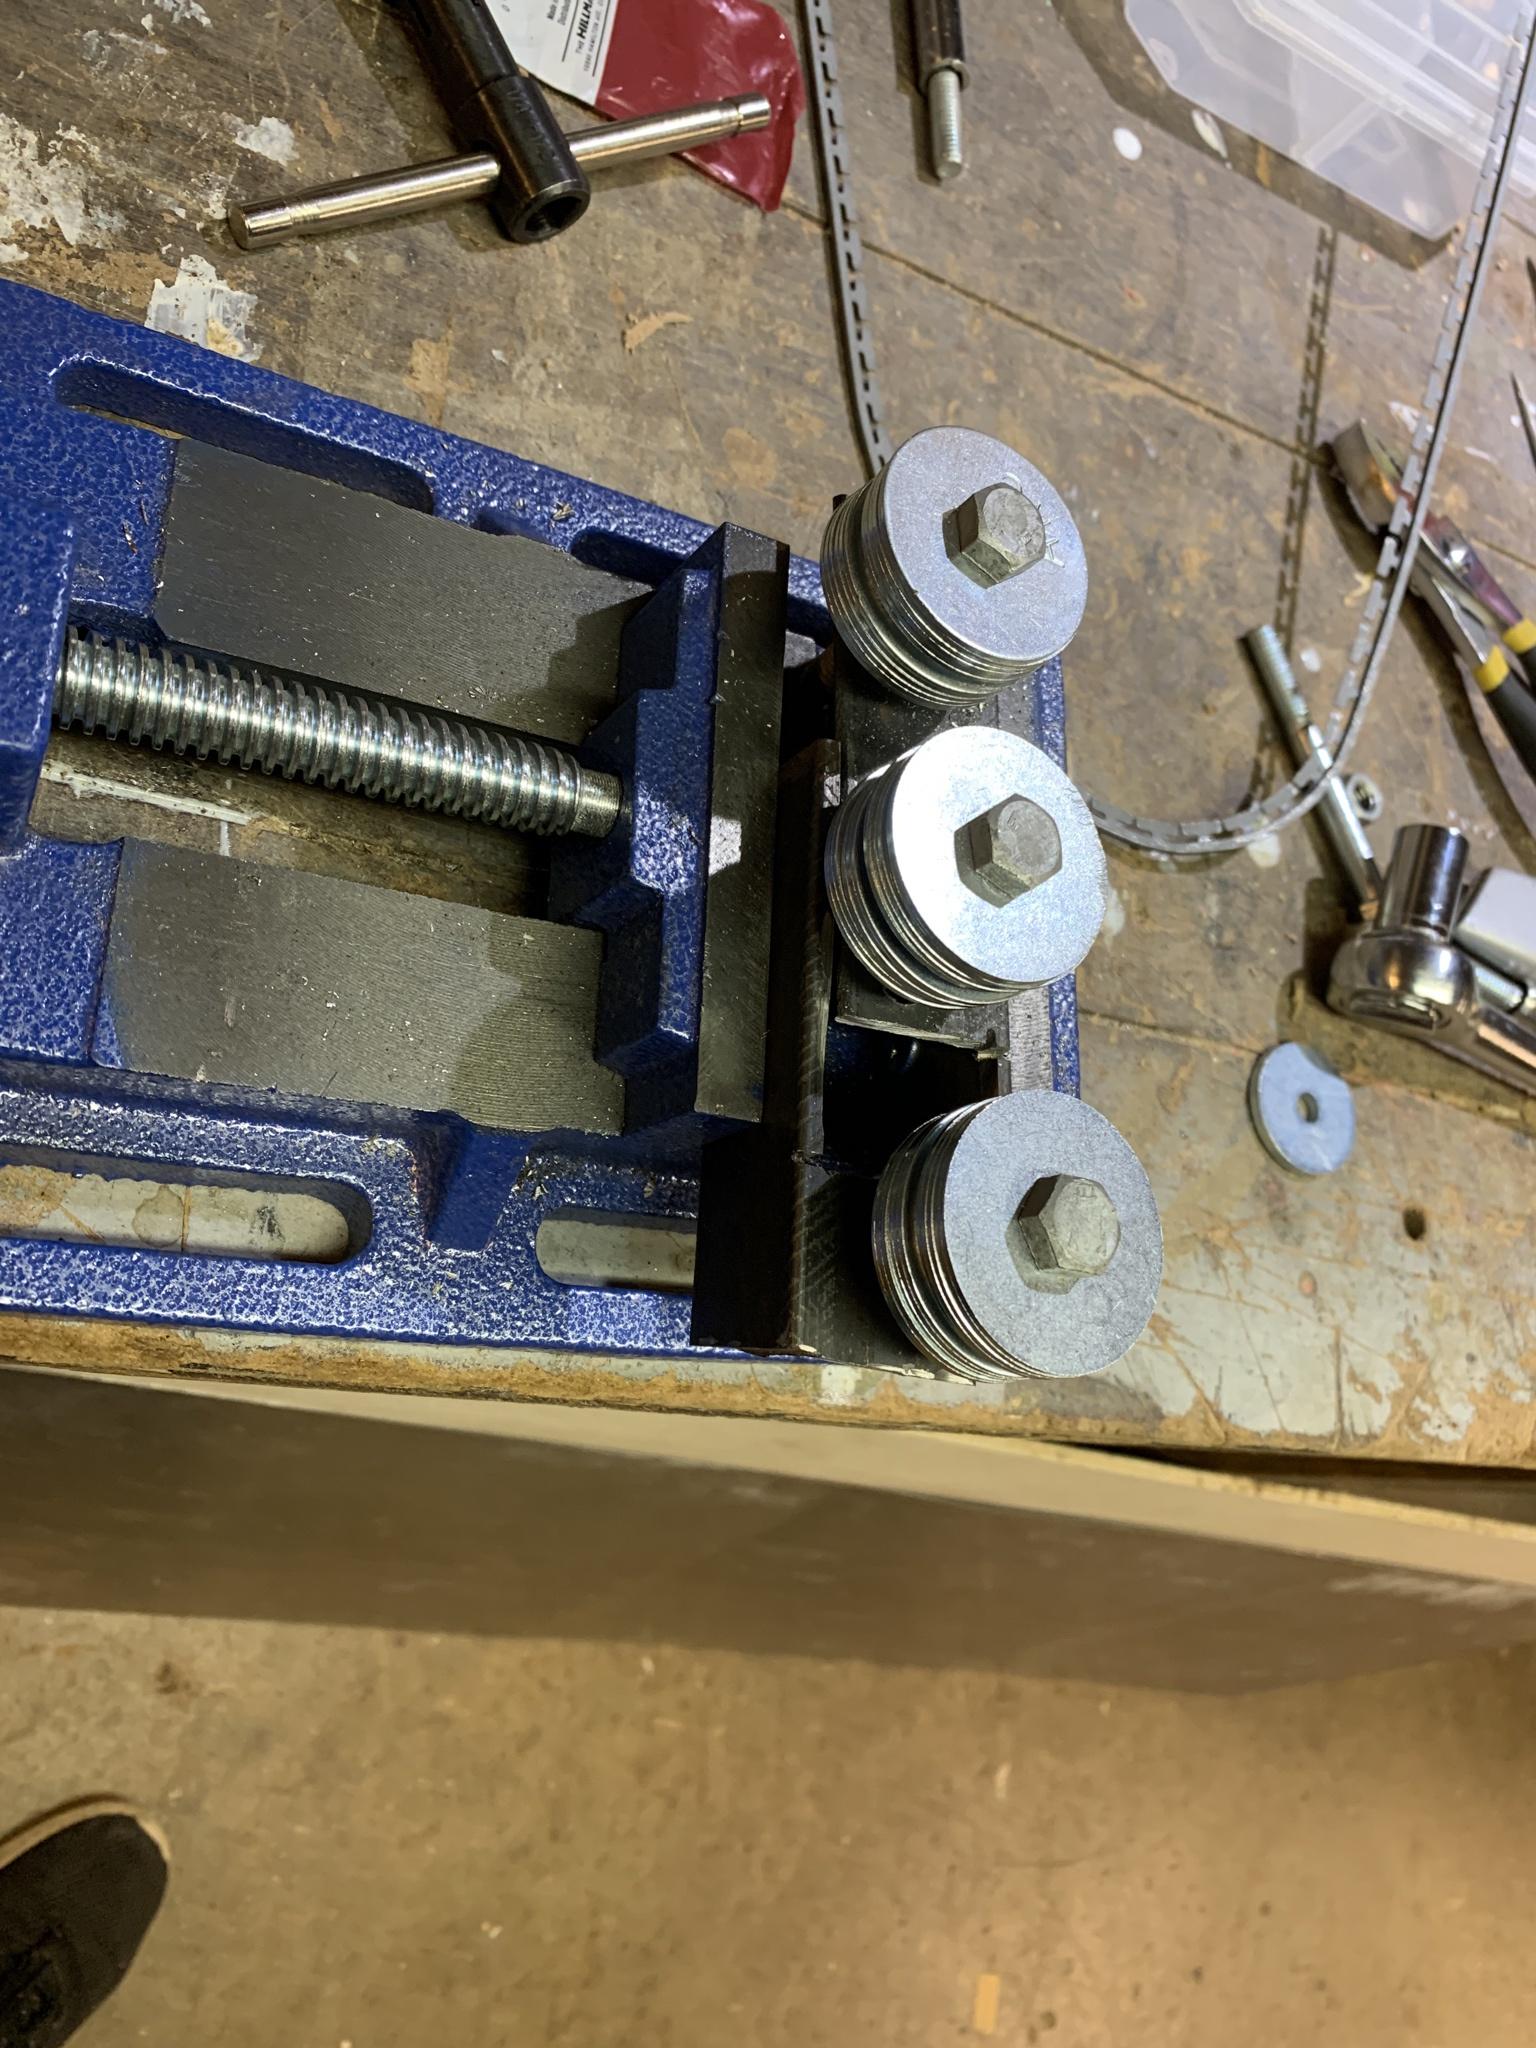
similar design to others that made vise benders on here. some rollers with bearings would be a nice addition, but it still bends straight enough. my solution to the play/wiggle in the harbor freight vise's jaw was to have the moving roller on the side, so when you get an edge in there, it cocks to one side and stays predictable.
..and a couple bonus pics, snowboard core's sidewall trenches are hot off the CNC. was experimenting with some polyurethane dye, but the colors came out too bright. the red looks pink and the green looks more like a seafoam to me. maybe because the plastic cures white? going to need to get that sorted before I proceed:
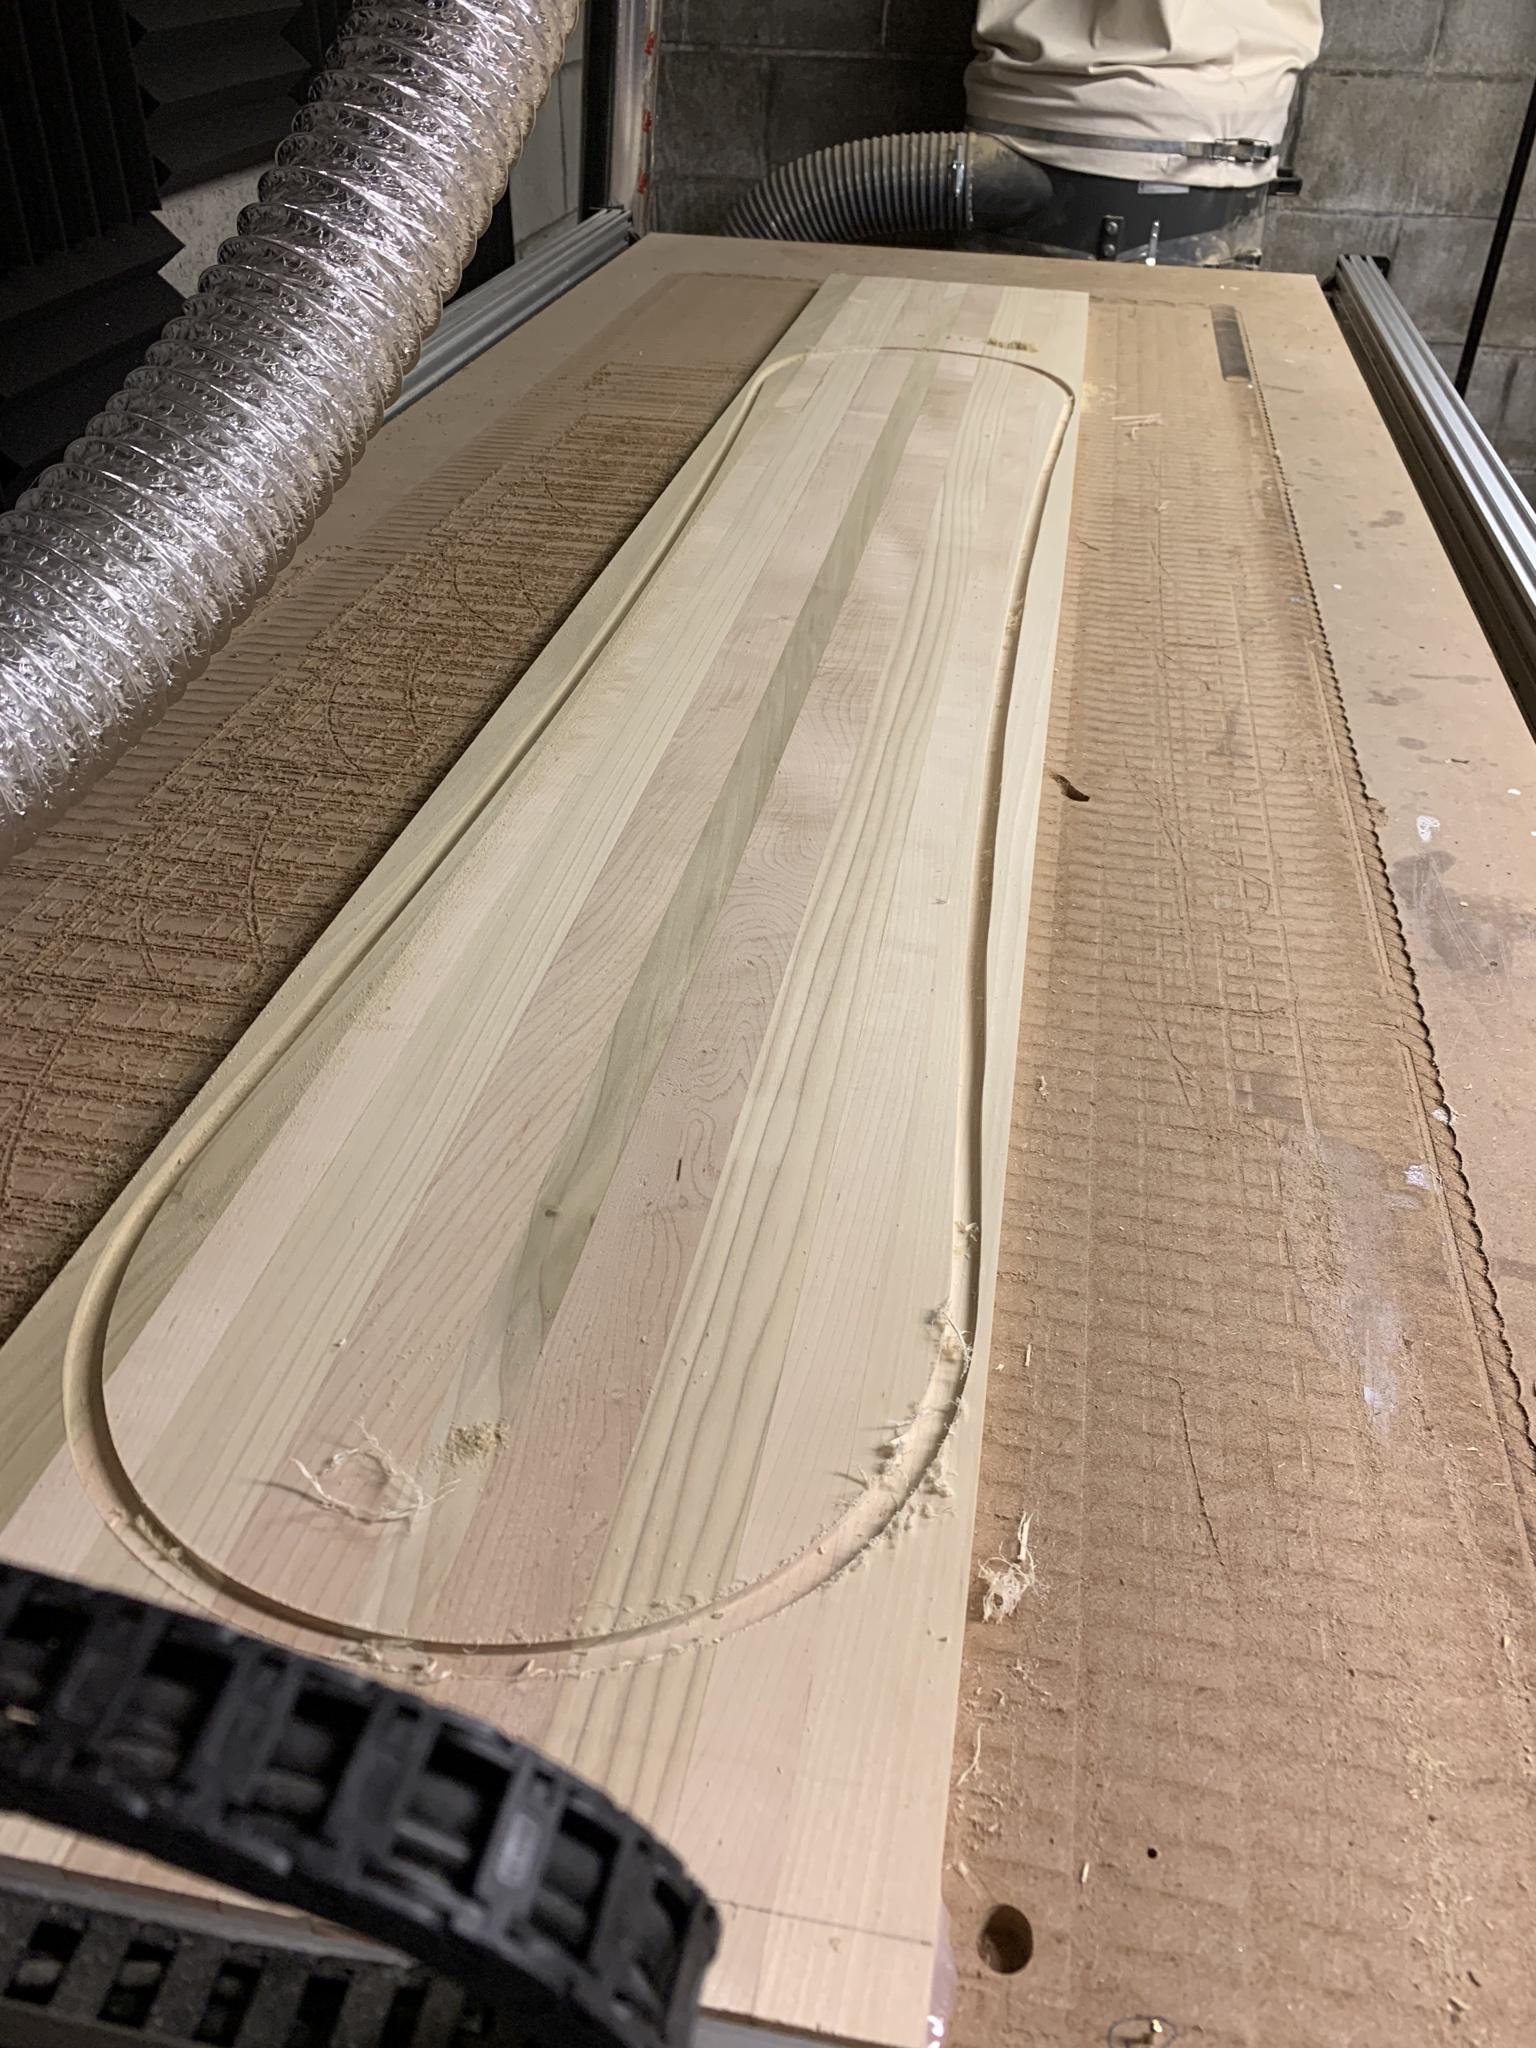
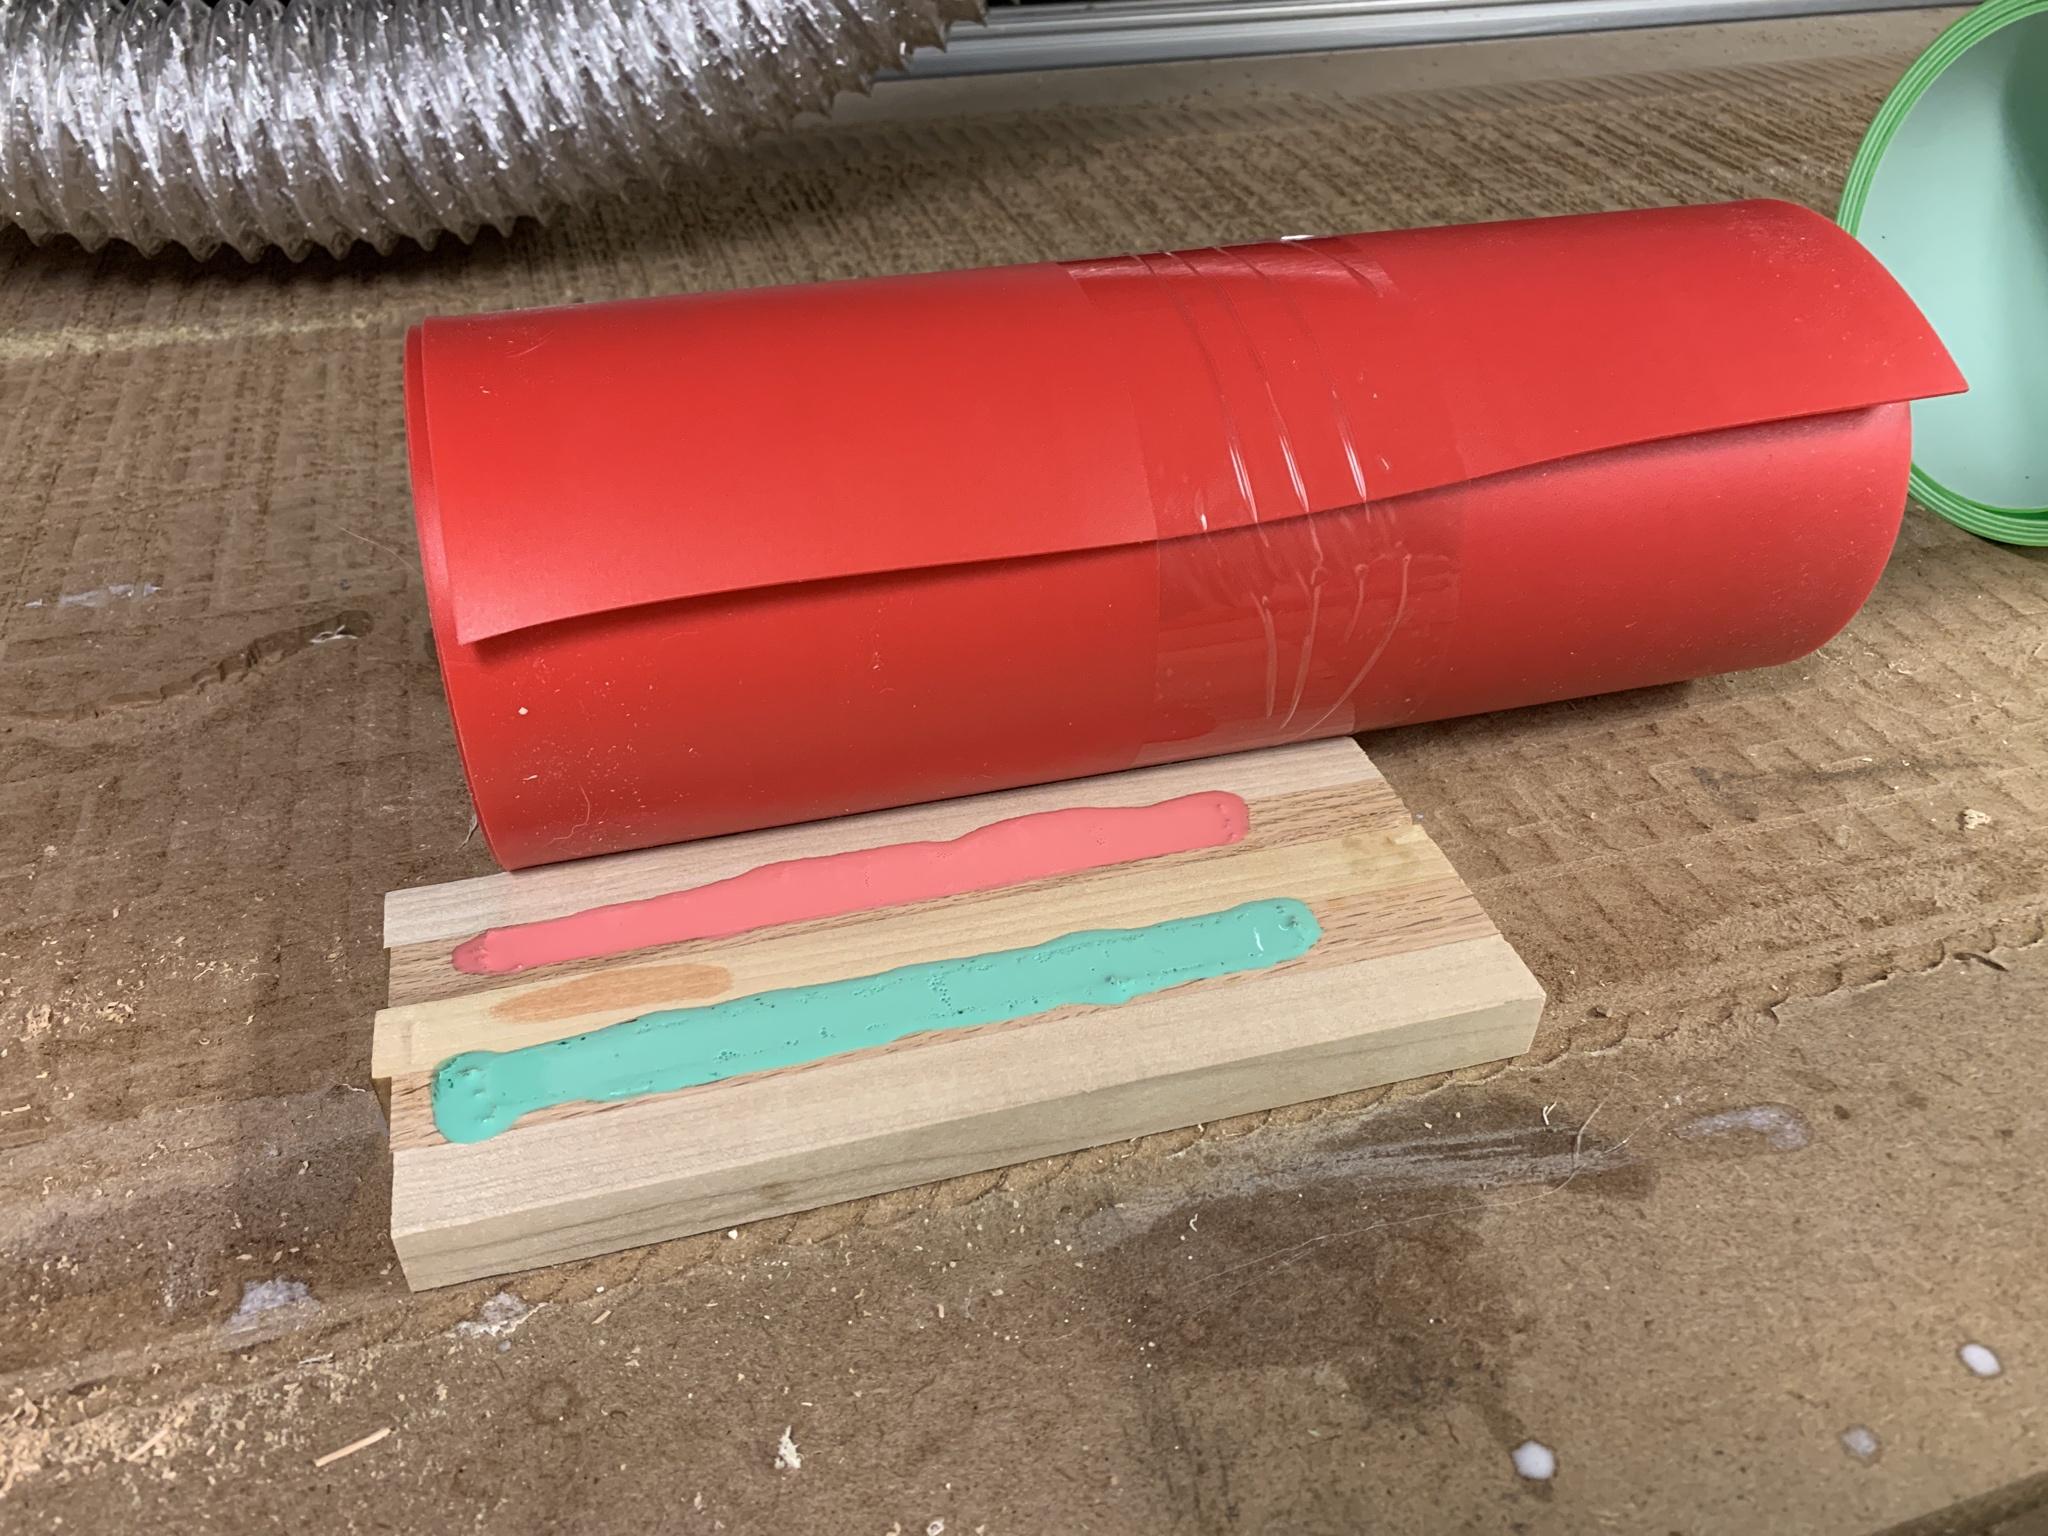
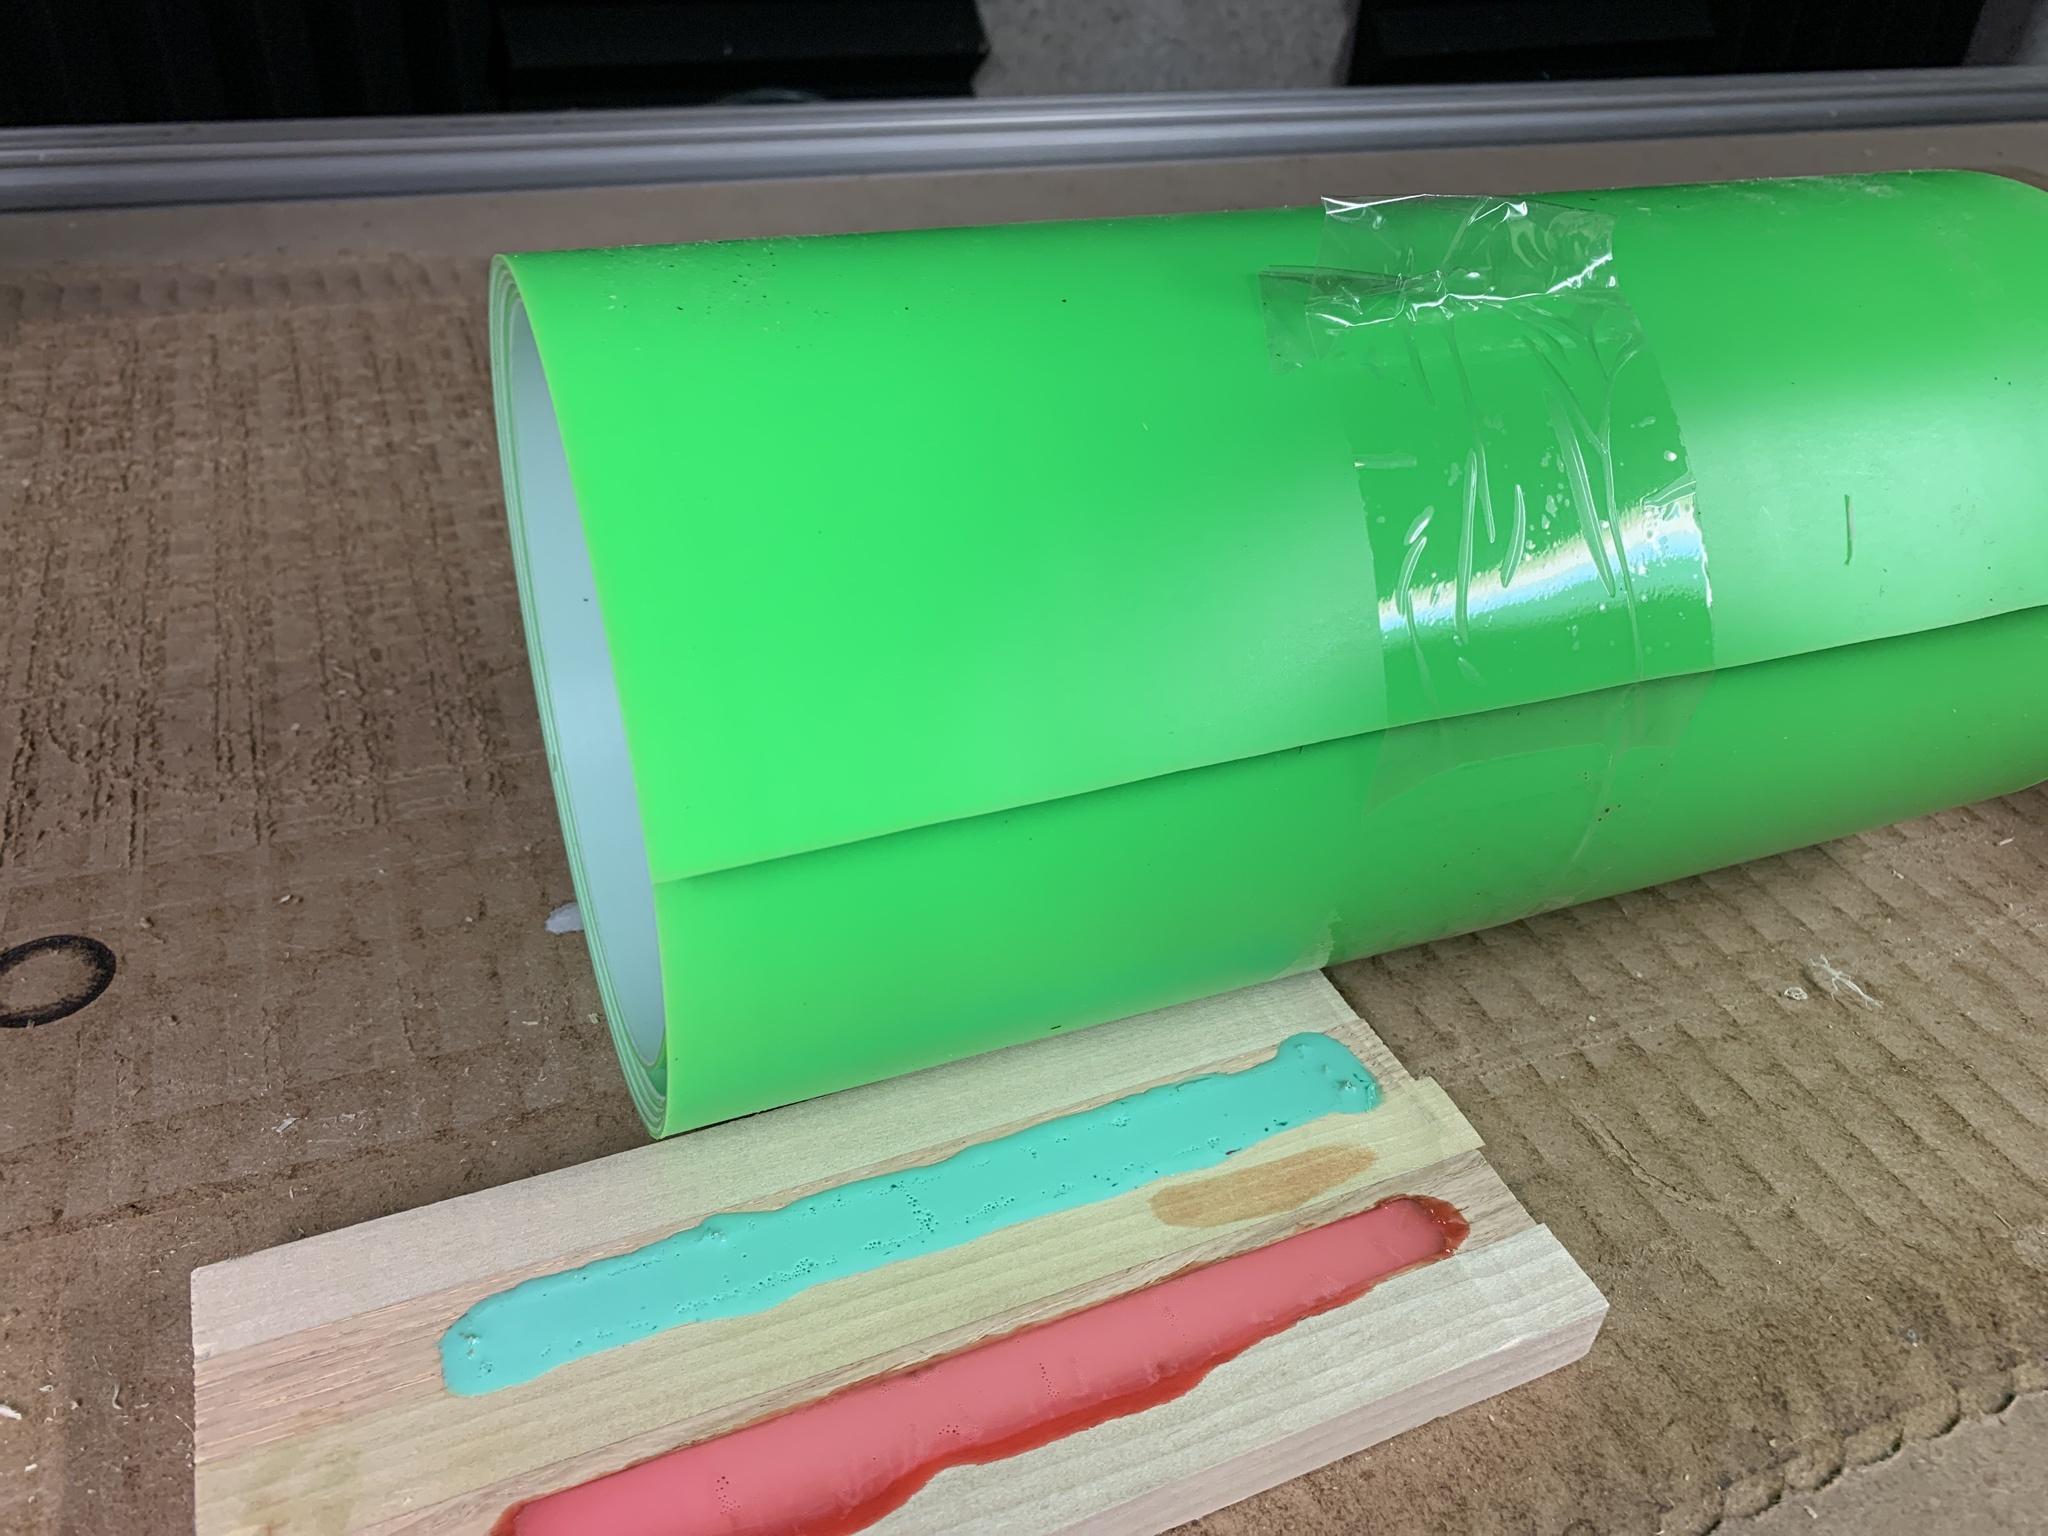
That's the update for tonight! Unfortunately, my green and gray pair of skis are still at the shop getting bindings mounted and bases ground flat so I cant show them off yet. will share when they're ready!
JonrezzThu Dec 10, 2020 7:11 pm
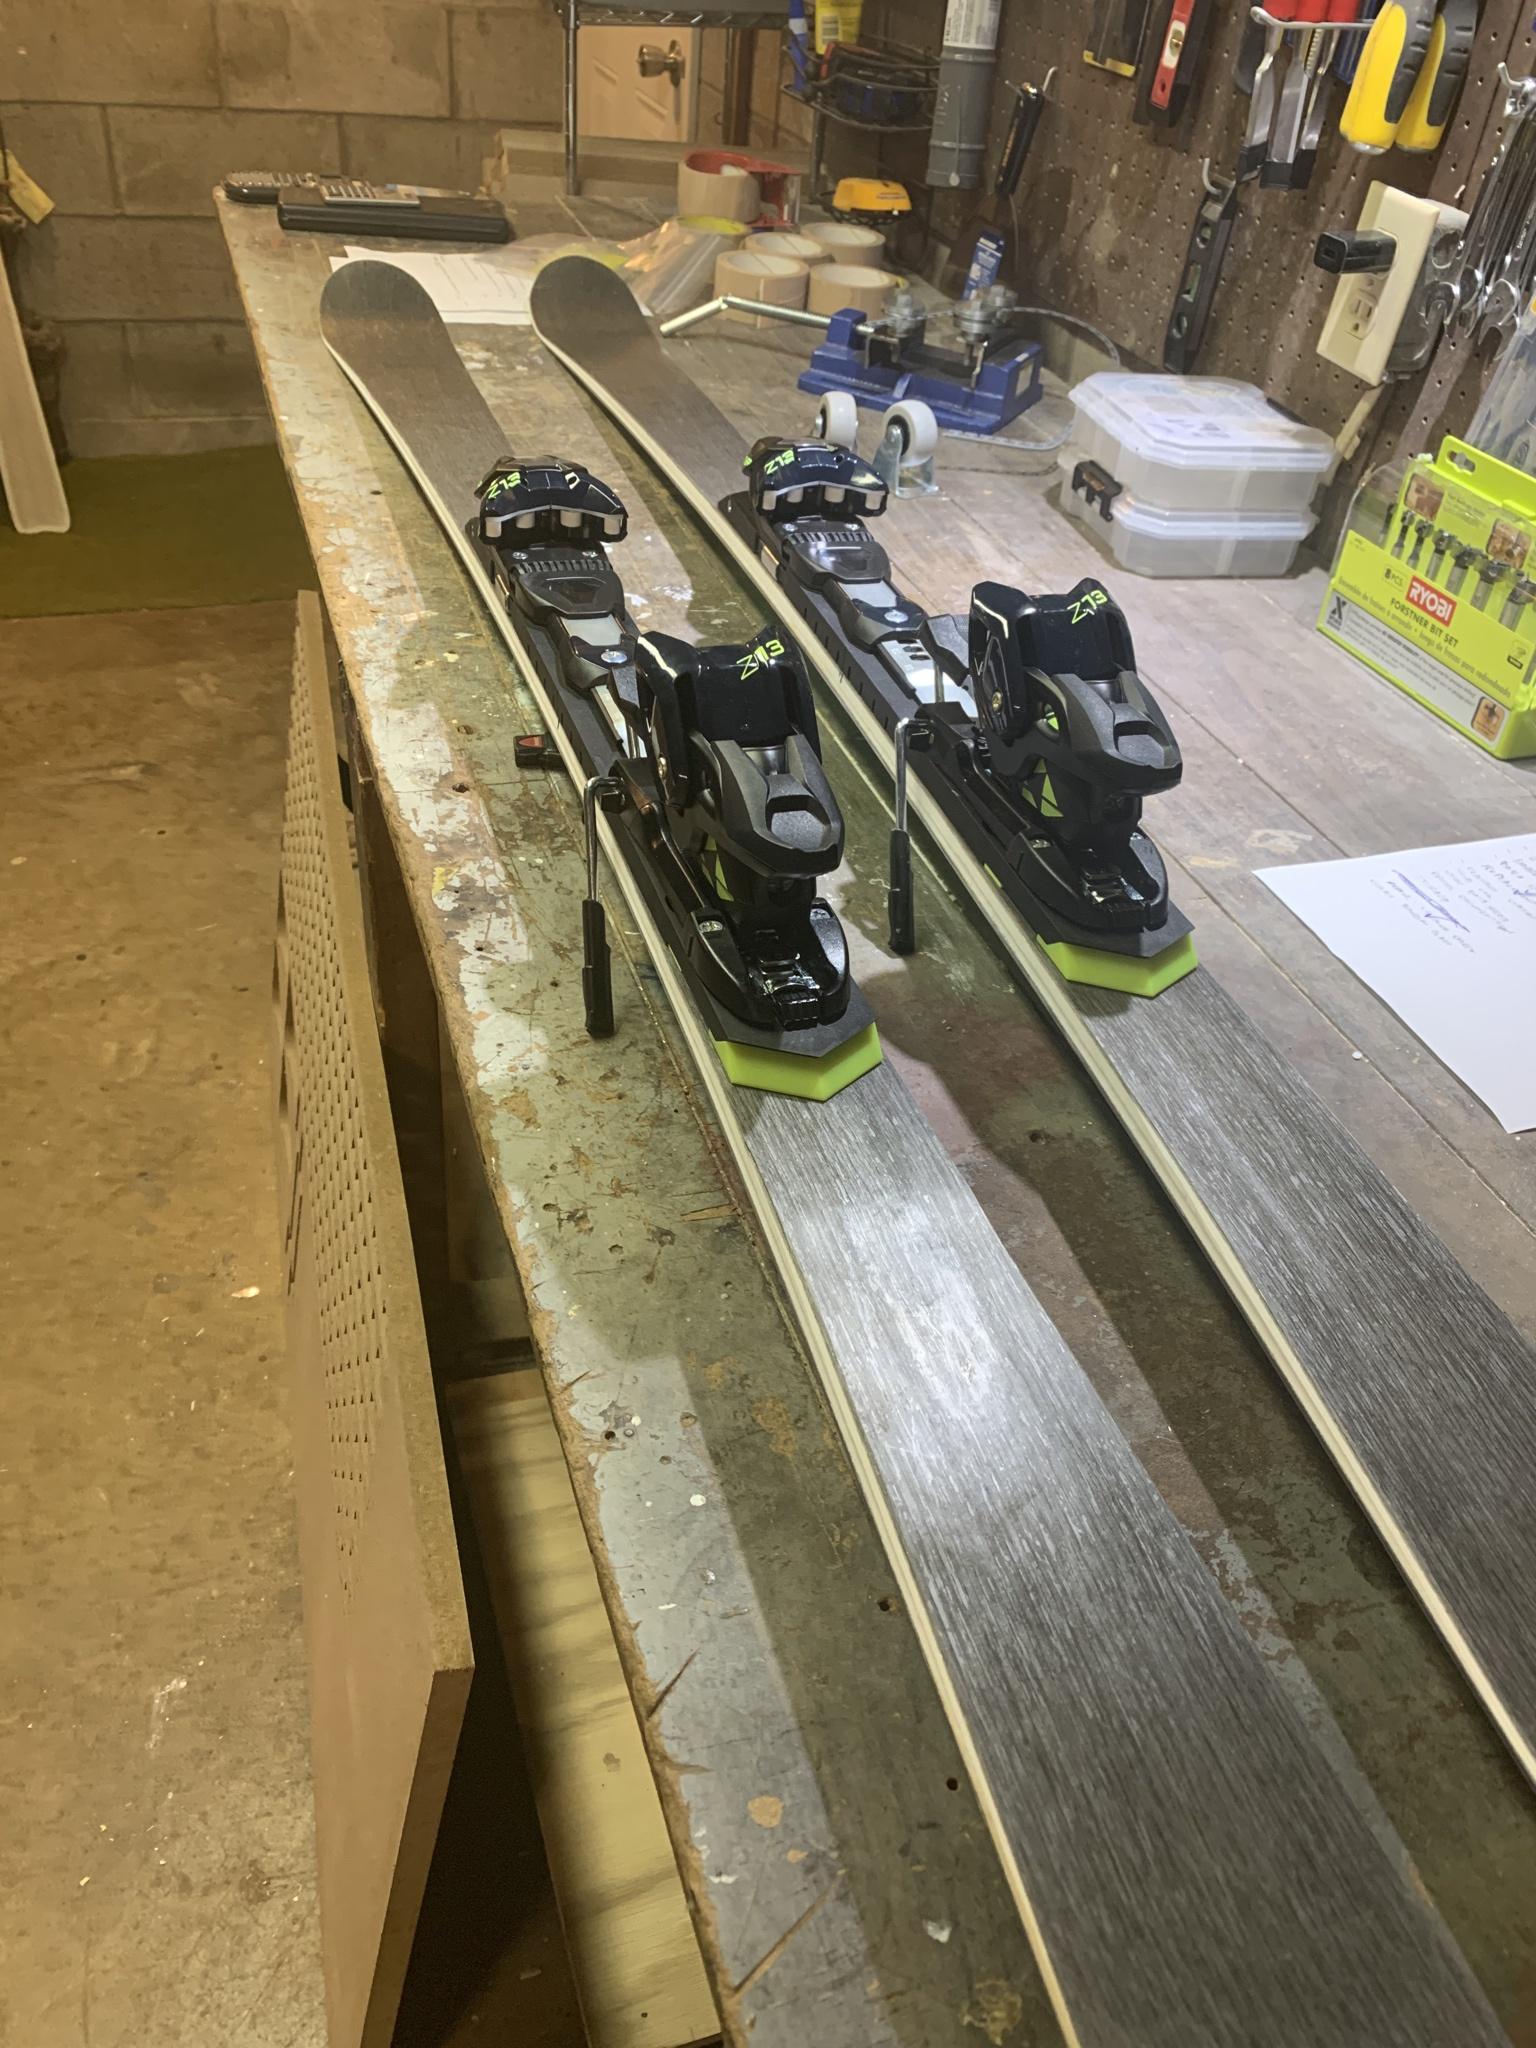
Got my first pair back with the bindings mounted and bases/edges tuned! Some pics:
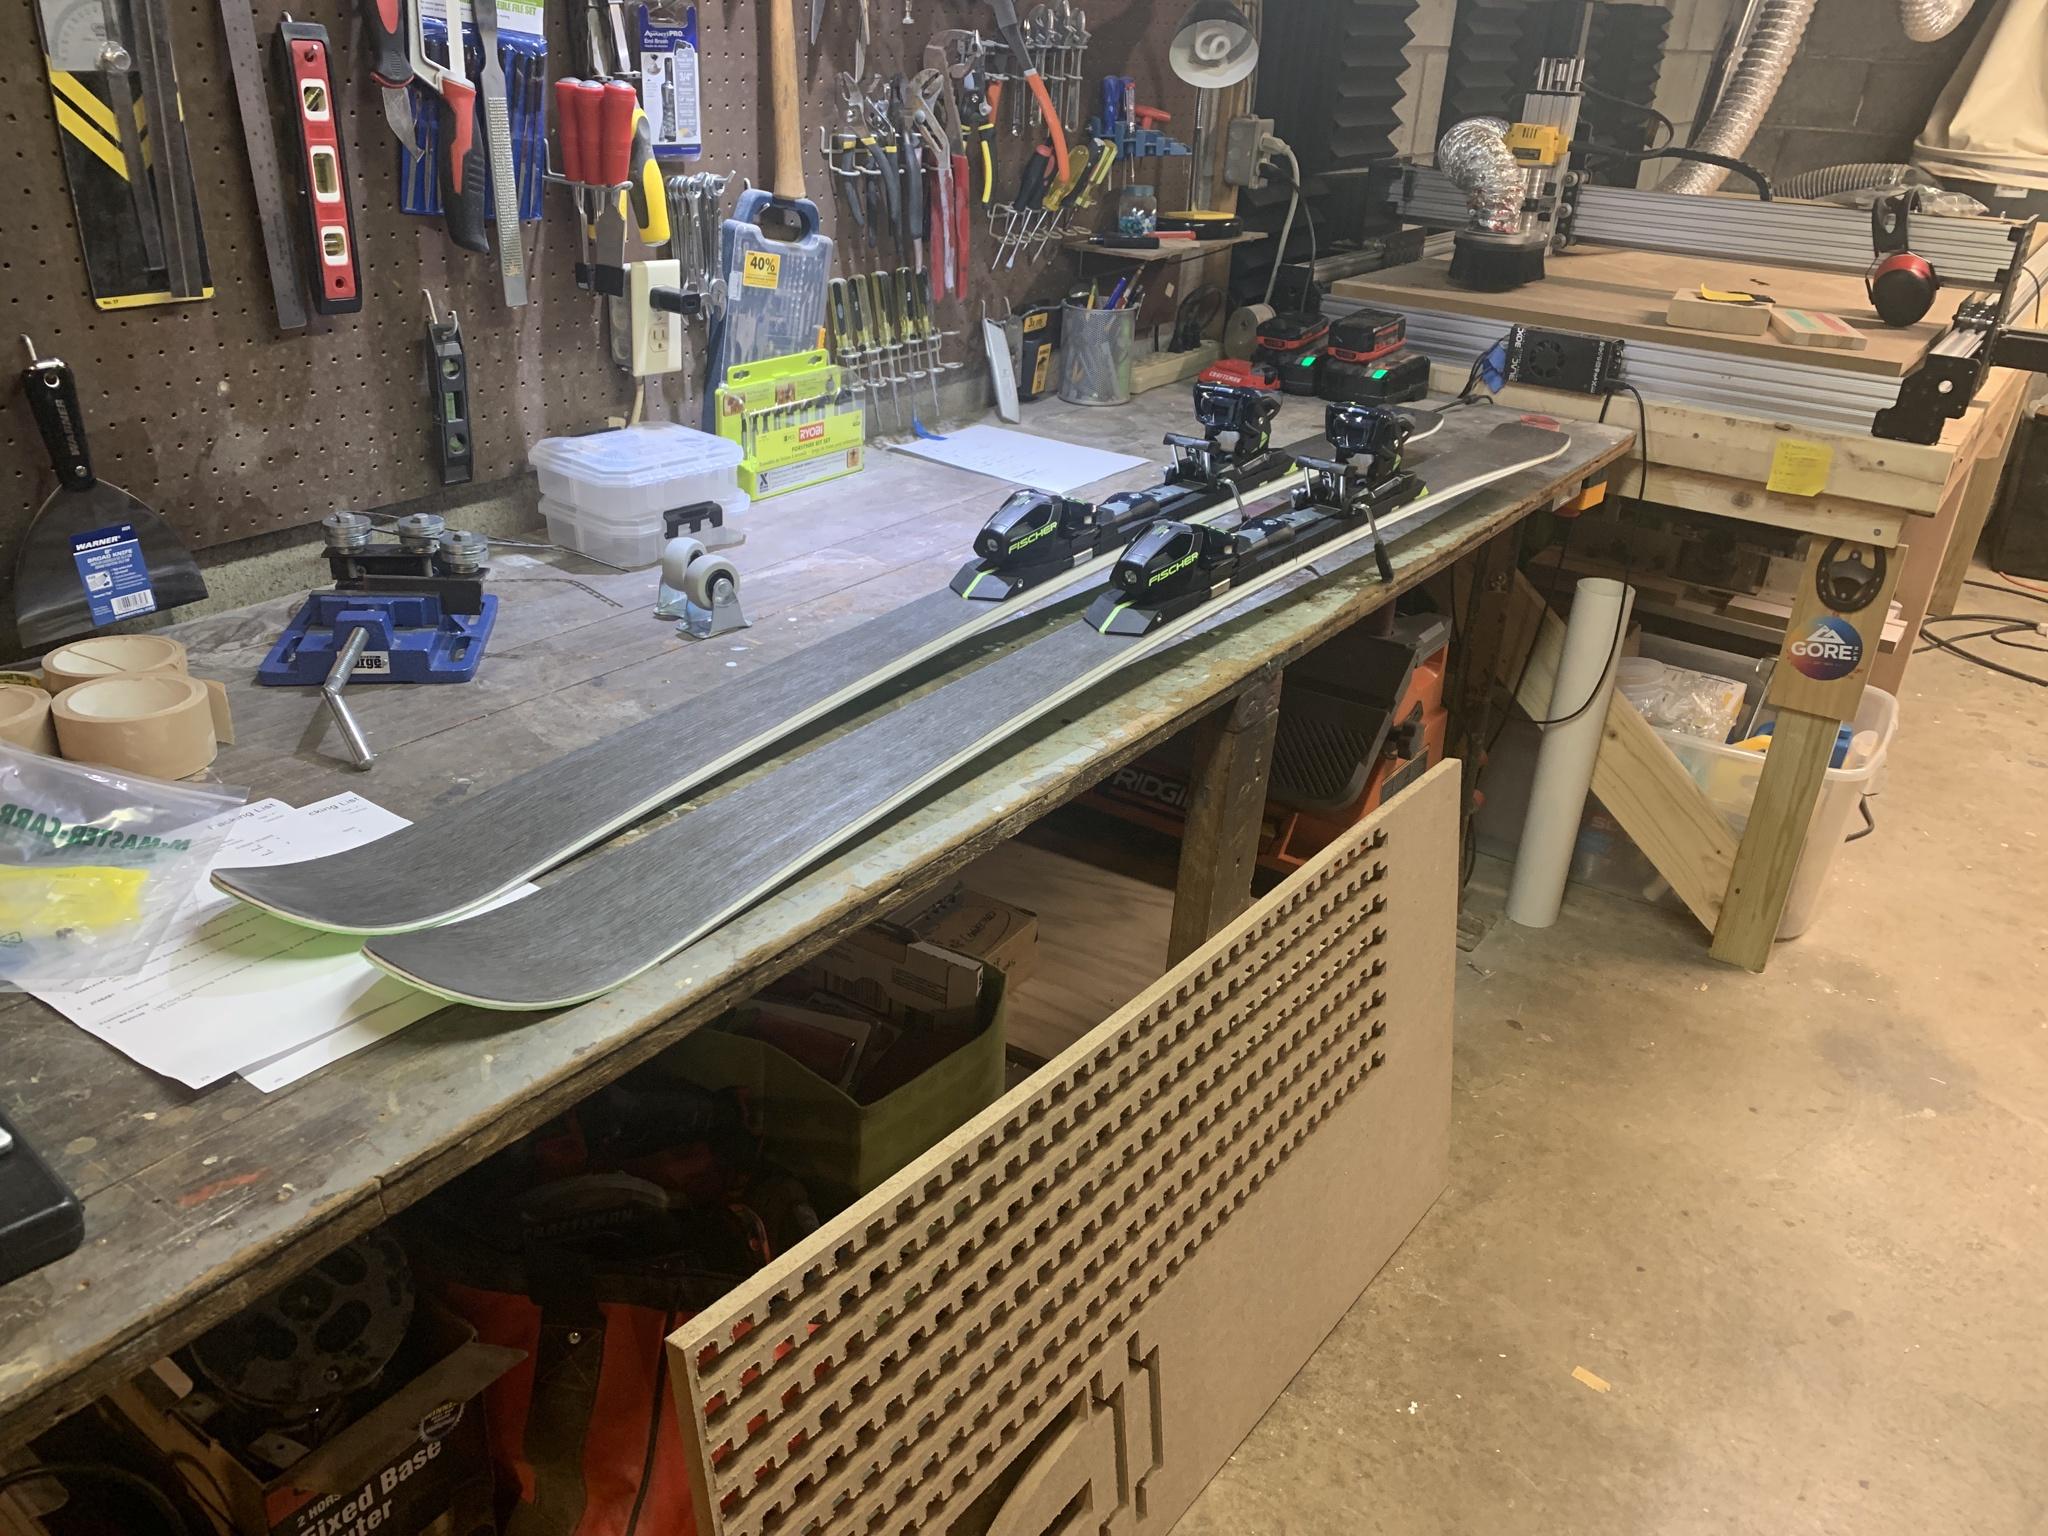
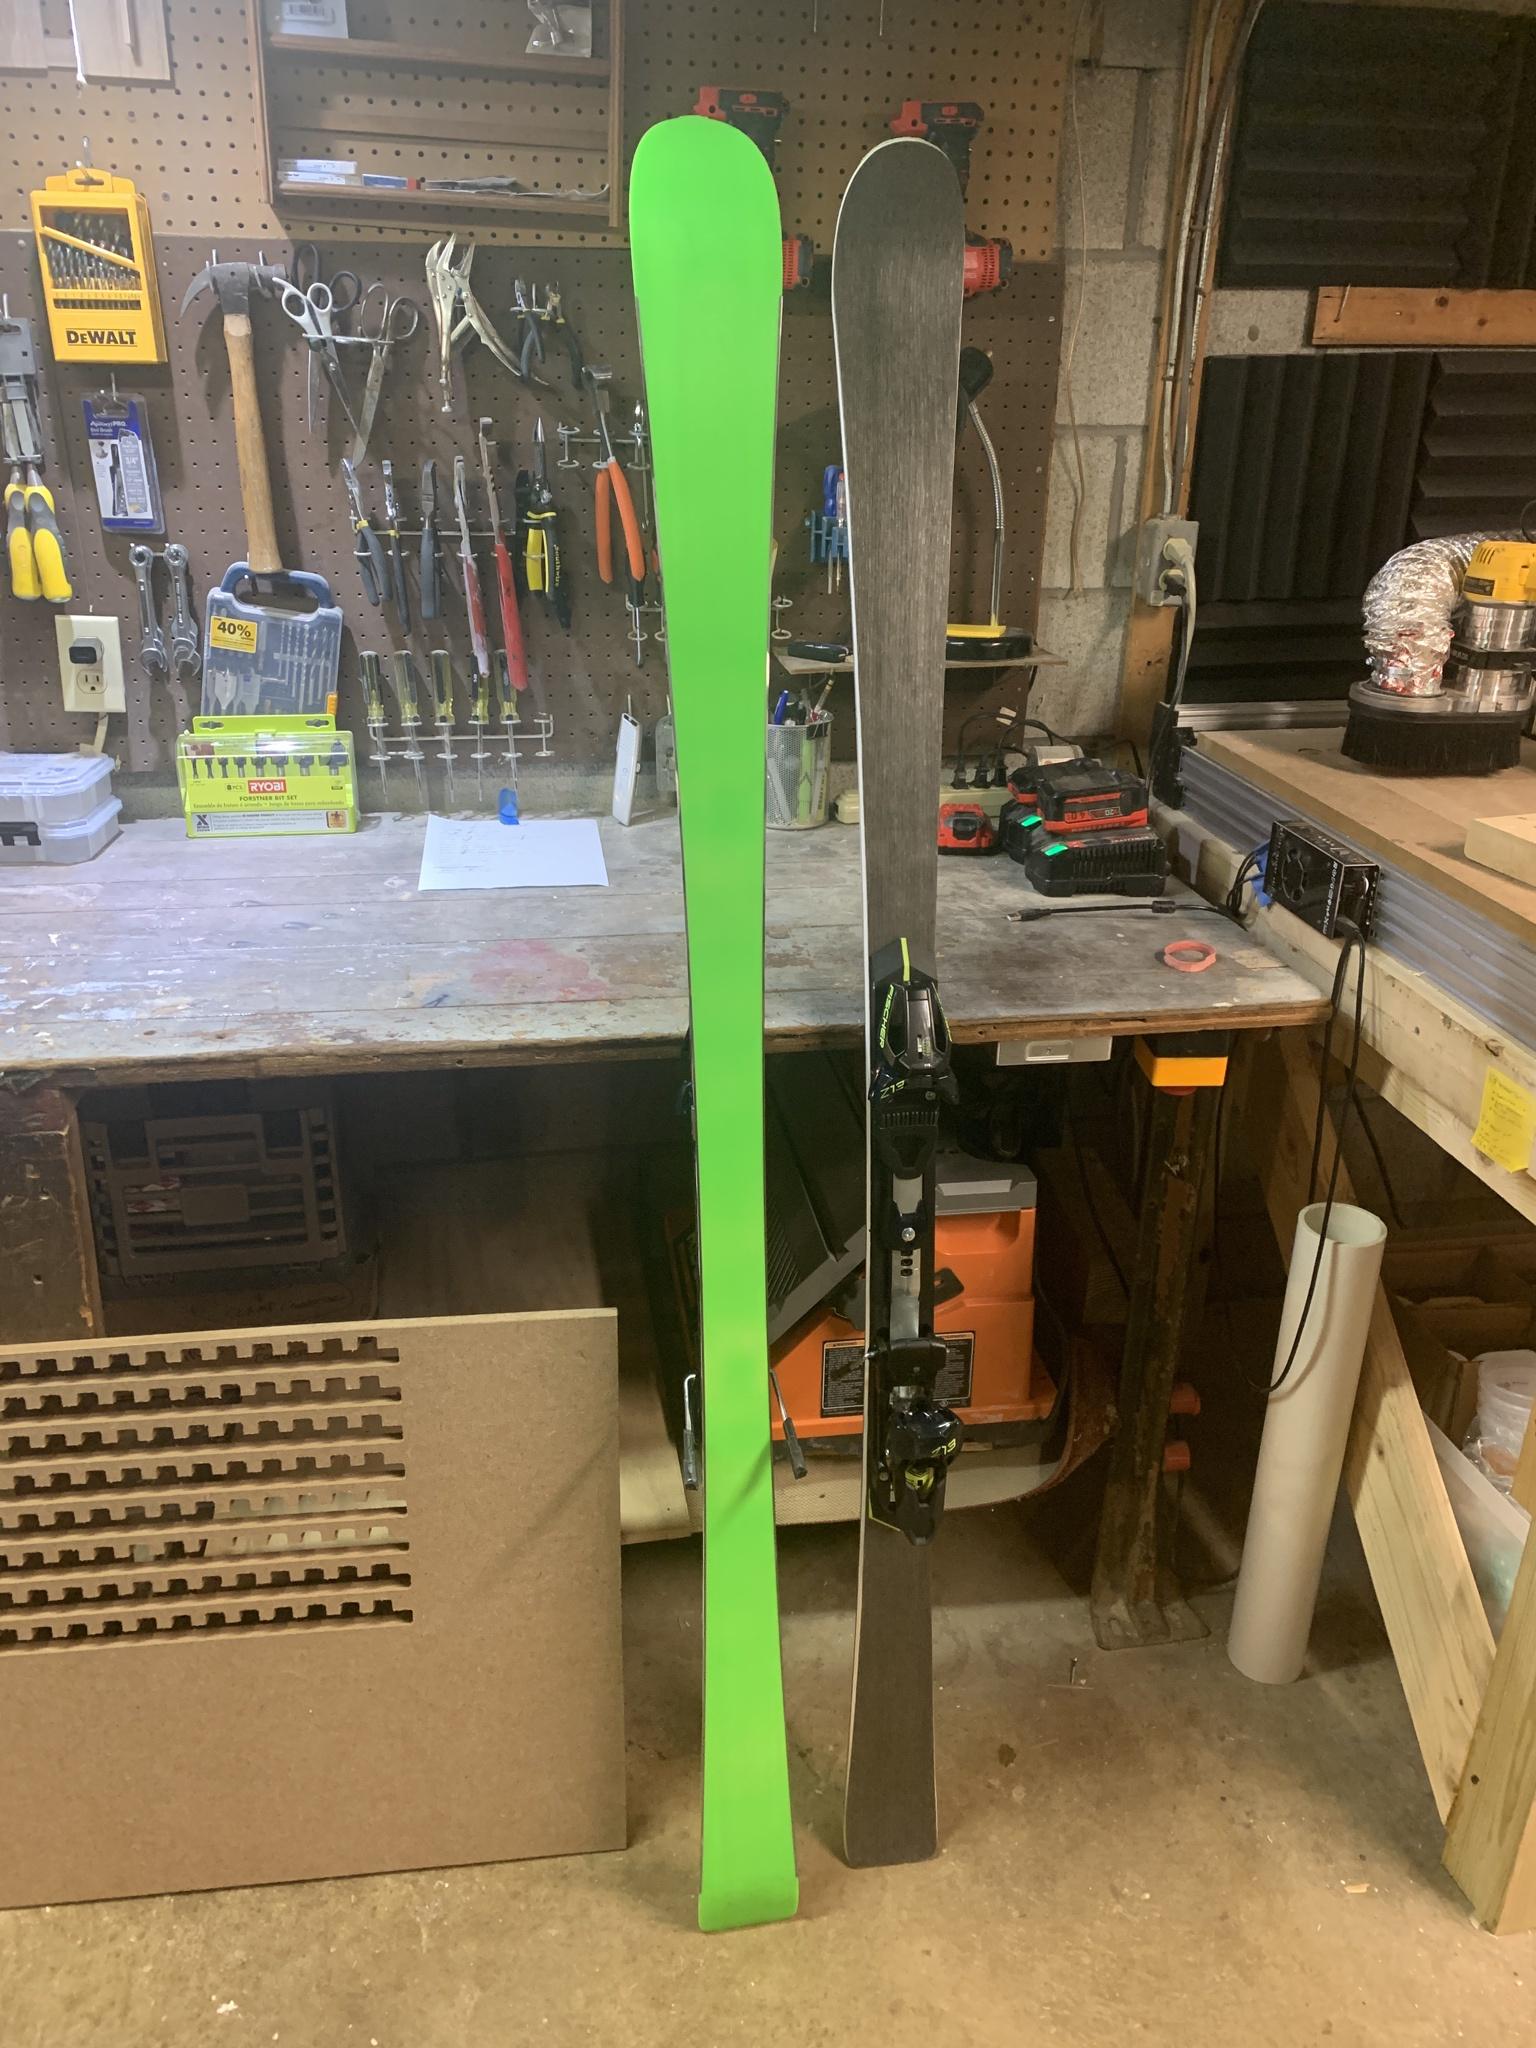
chrismpThu Dec 10, 2020 11:46 pm
Looking great! Is there any particular reason you ended the edges before the contact points in the tip?
JonrezzFri Dec 11, 2020 5:40 am
Thanks! Yeah, in hindsight, I kinda wish I brought them up further - the logic when I did it that way was that usually when I tune, the edges get a detune at the tip and tail anyway to reduce catchy-ness between turns. But now I’m wondering how long the skis will last without edge material protecting the laminates in that area.
Going forward I think I’m going to continue doing the full tip wrapped edges similar to what we did for my friend’s pair.
For this pair, I’m hoping it won’t matter, although I also suspect it might make them more chattery on the hard stuff? I guess there’s one way to find out haha! Going to go beat them up on the mountain tomorrow!
JonrezzMon Dec 14, 2020 8:06 pm
Some progress on the snowboard today! some timelapse videos:
Pouring the sidewalls:
https://www.youtube.com/watch?v=d0ON8KS_Duc
Core Profiling:
https://www.youtube.com/watch?v=lBrctmSQ67w
and some pics:
Planing the core down before CNC profiling:
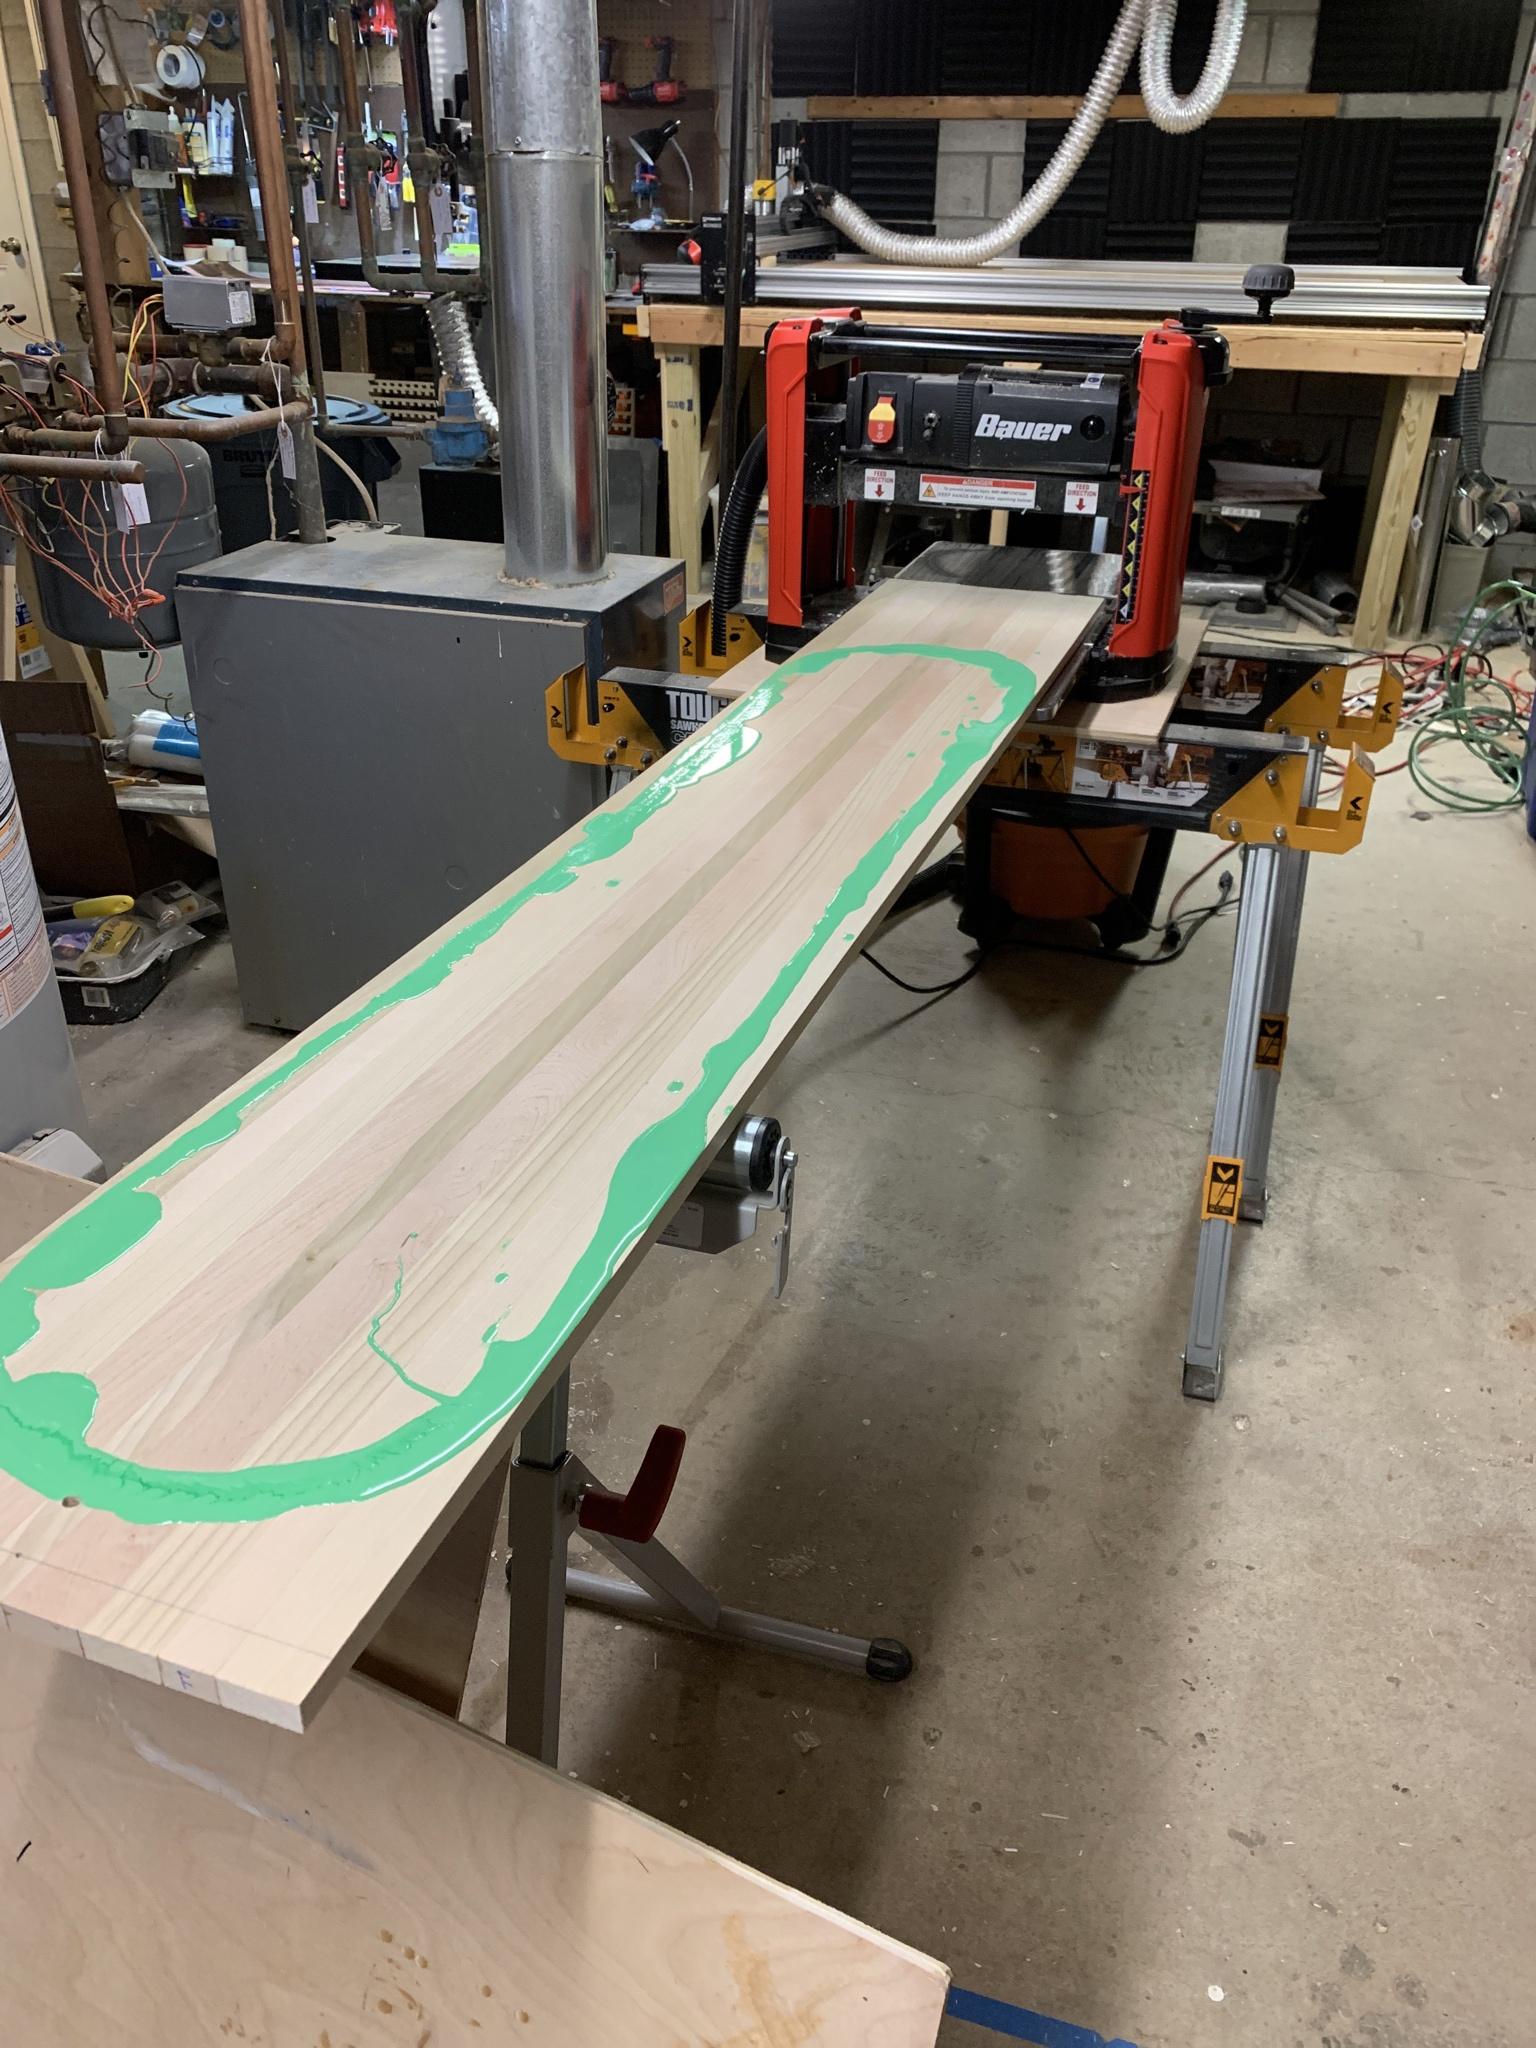
And the profiled core:
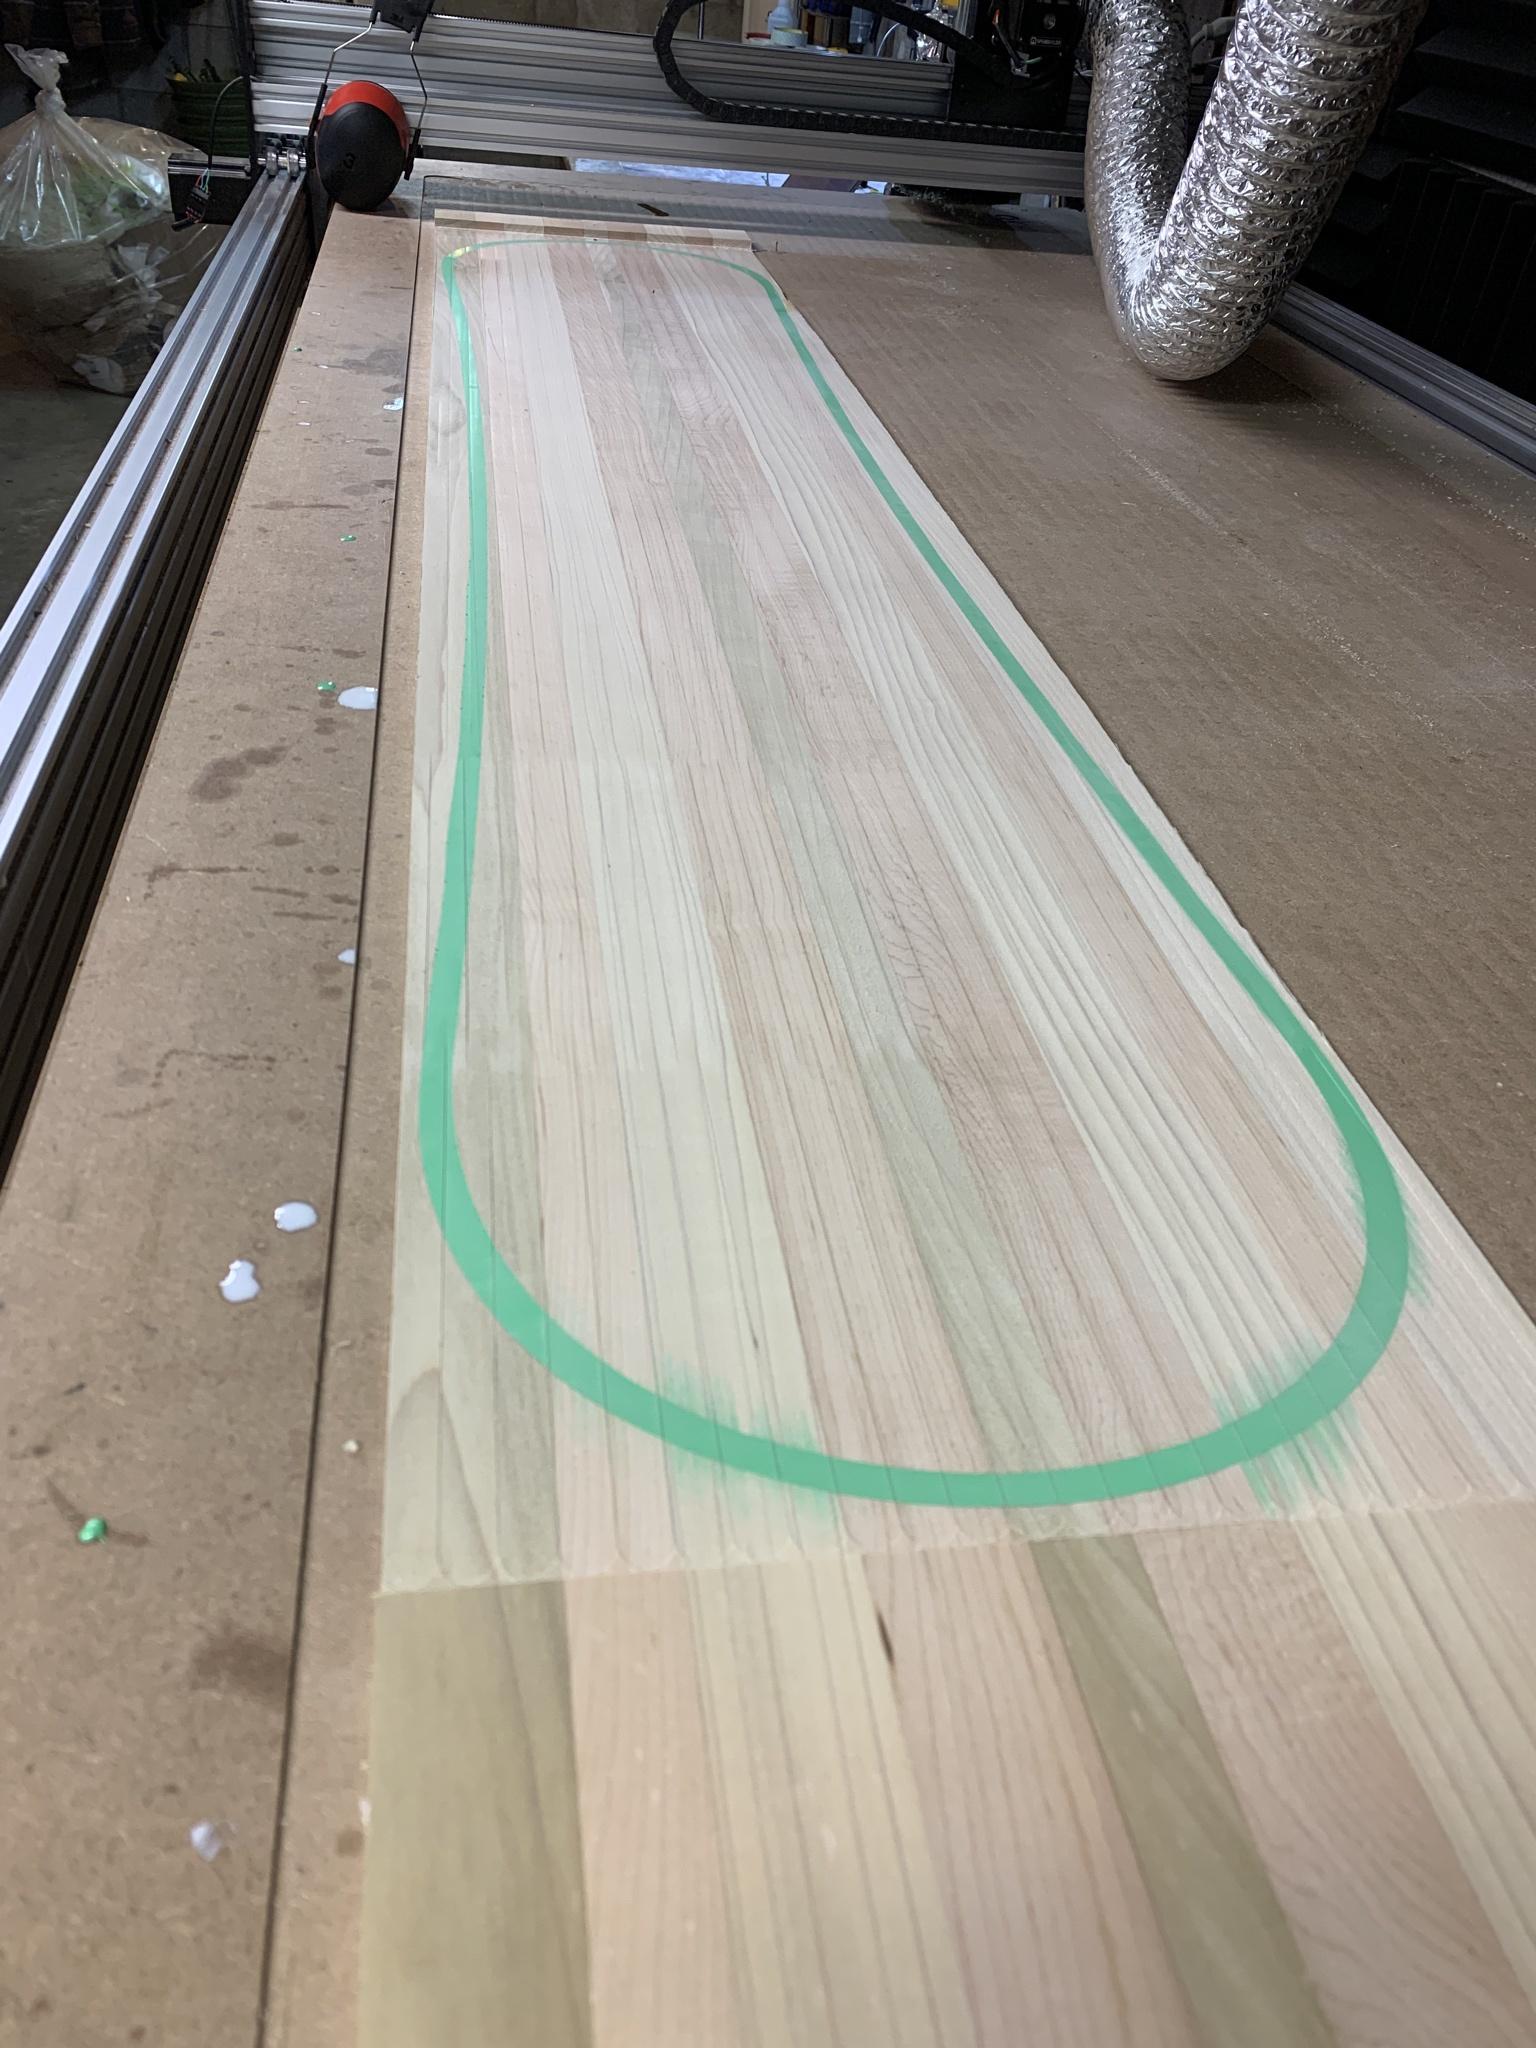
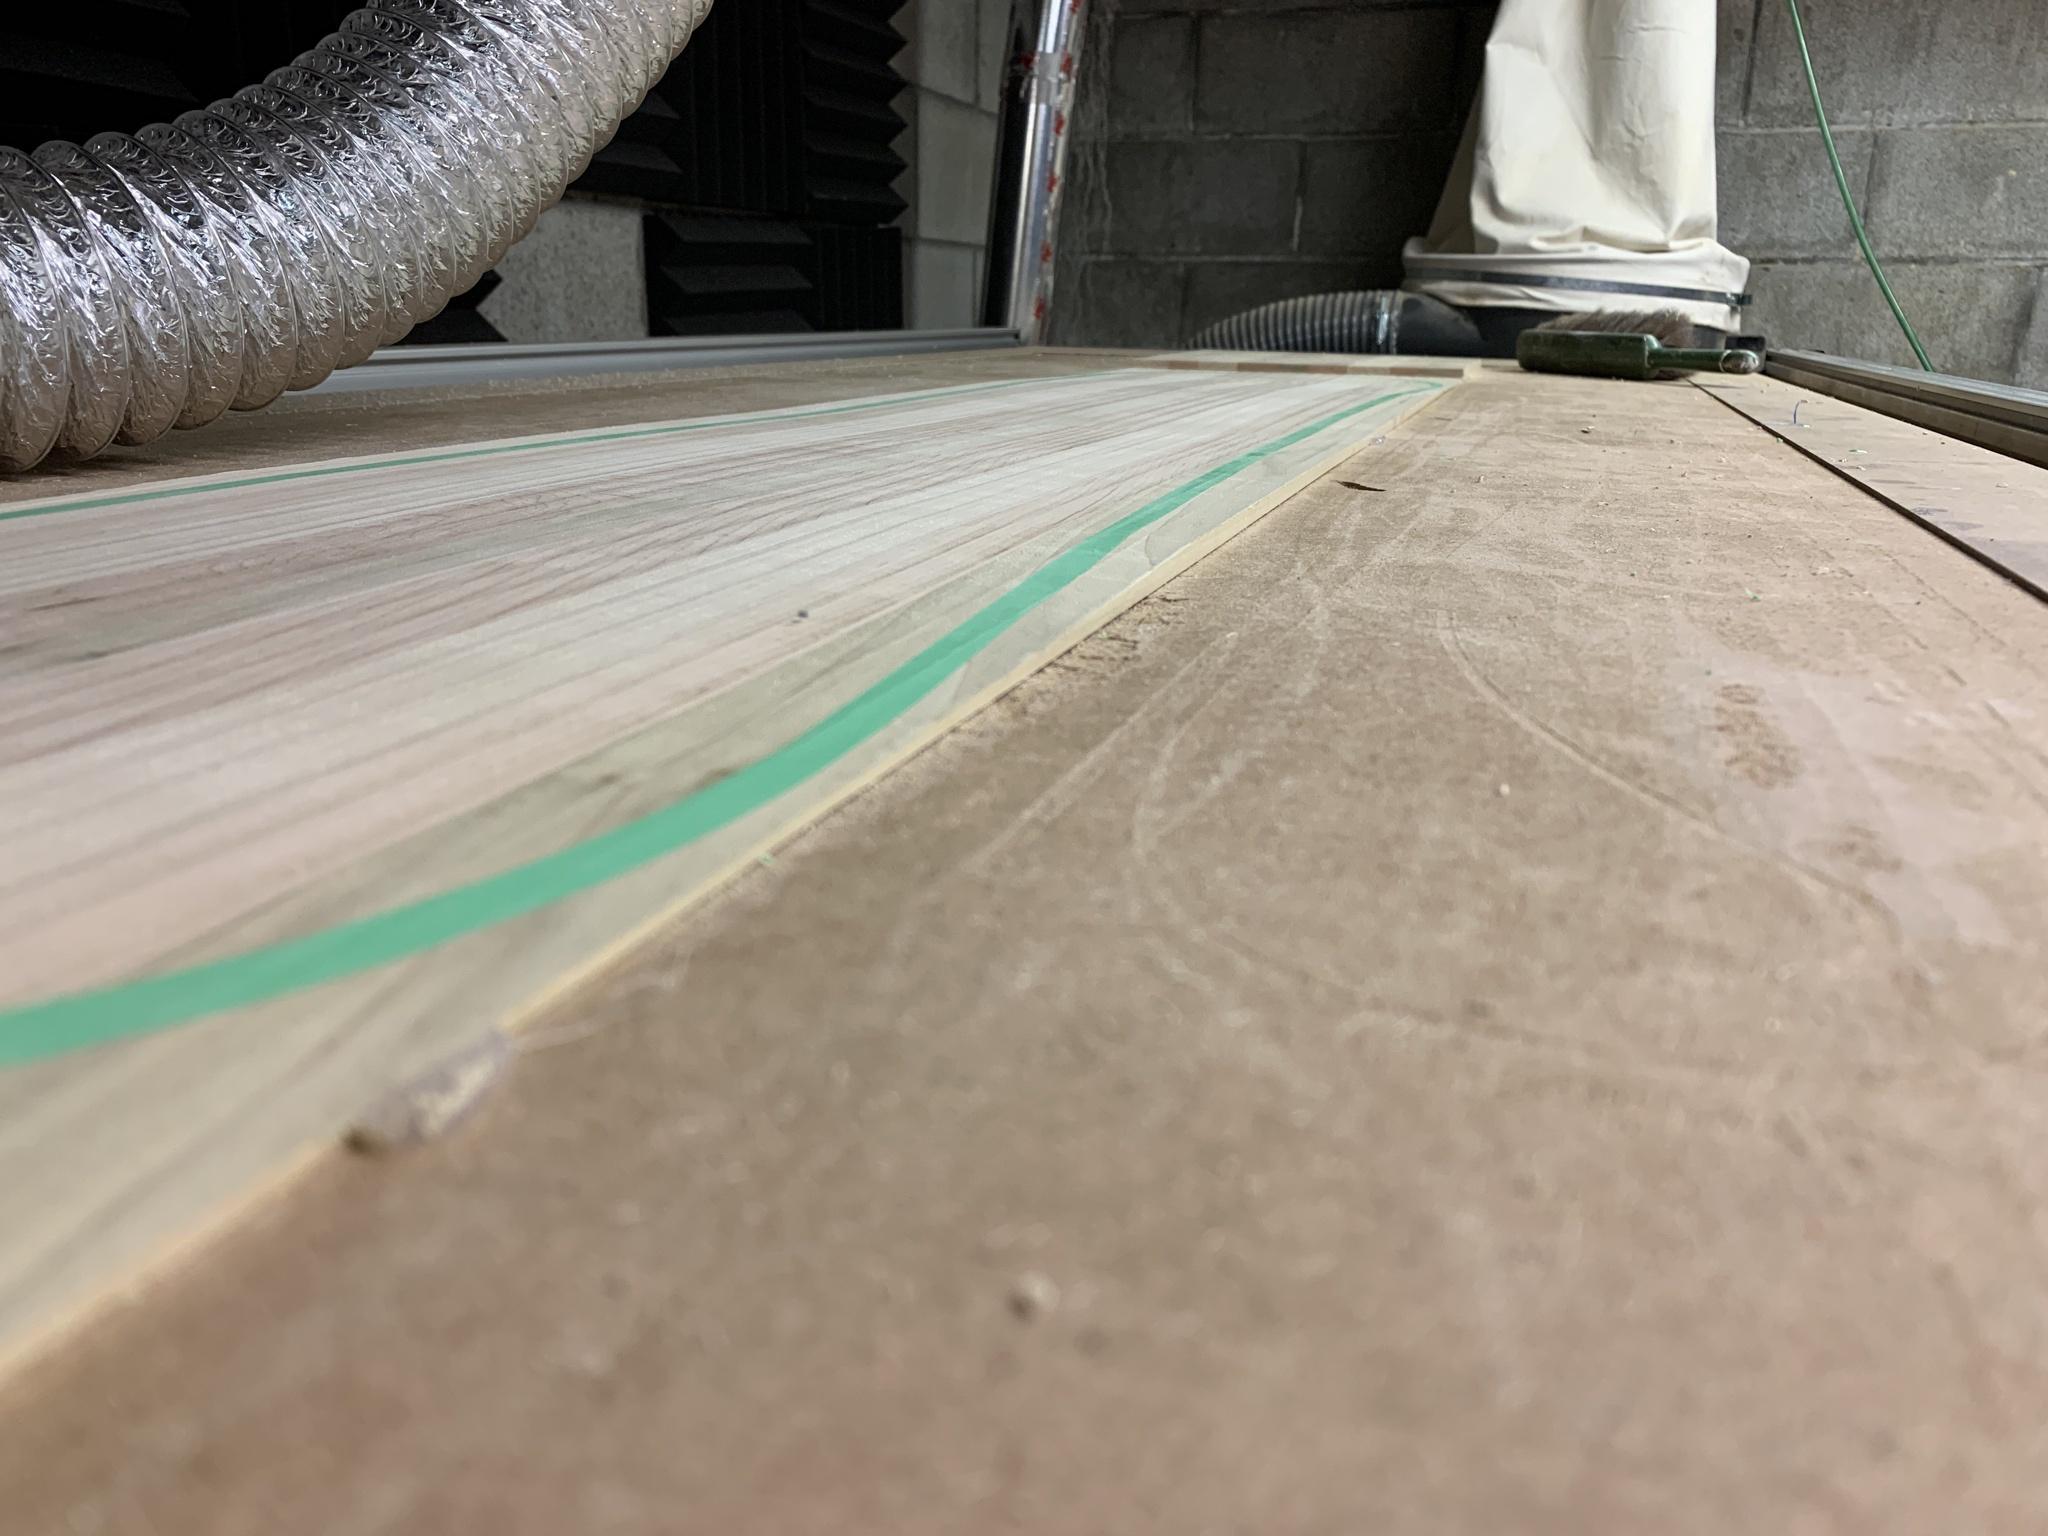
Next up inserts! I got my forstner bits.. will be first time doing these. havent decided yet if i'm going to print templates for the holes or measure it out..
Cheers!
Jon
JonrezzSat Dec 26, 2020 5:42 pm
Snowboard is in the press cooking right now! I made a cool timelapse of the layup, thought I'd share!
https://i.imgur.com/ouiZZAm.mp4
...featuring my dog pajama pants lol!
BuckowSat Jan 02, 2021 7:01 pm
Nice work! How did it come out?
JonrezzMon Jan 11, 2021 9:17 pm
Thanks! So it’s been a while since my last post, but I’ve been hard at work!
The snowboard from the time lapse came out with these crazy epoxy bulges!!! Oof! I must’ve used too much epoxy between the plastic topsheet and the veneer. Never again, I think for now on no plastic over veneer, oil based polyurethane finish instead.
Here’s the pic out of the press:
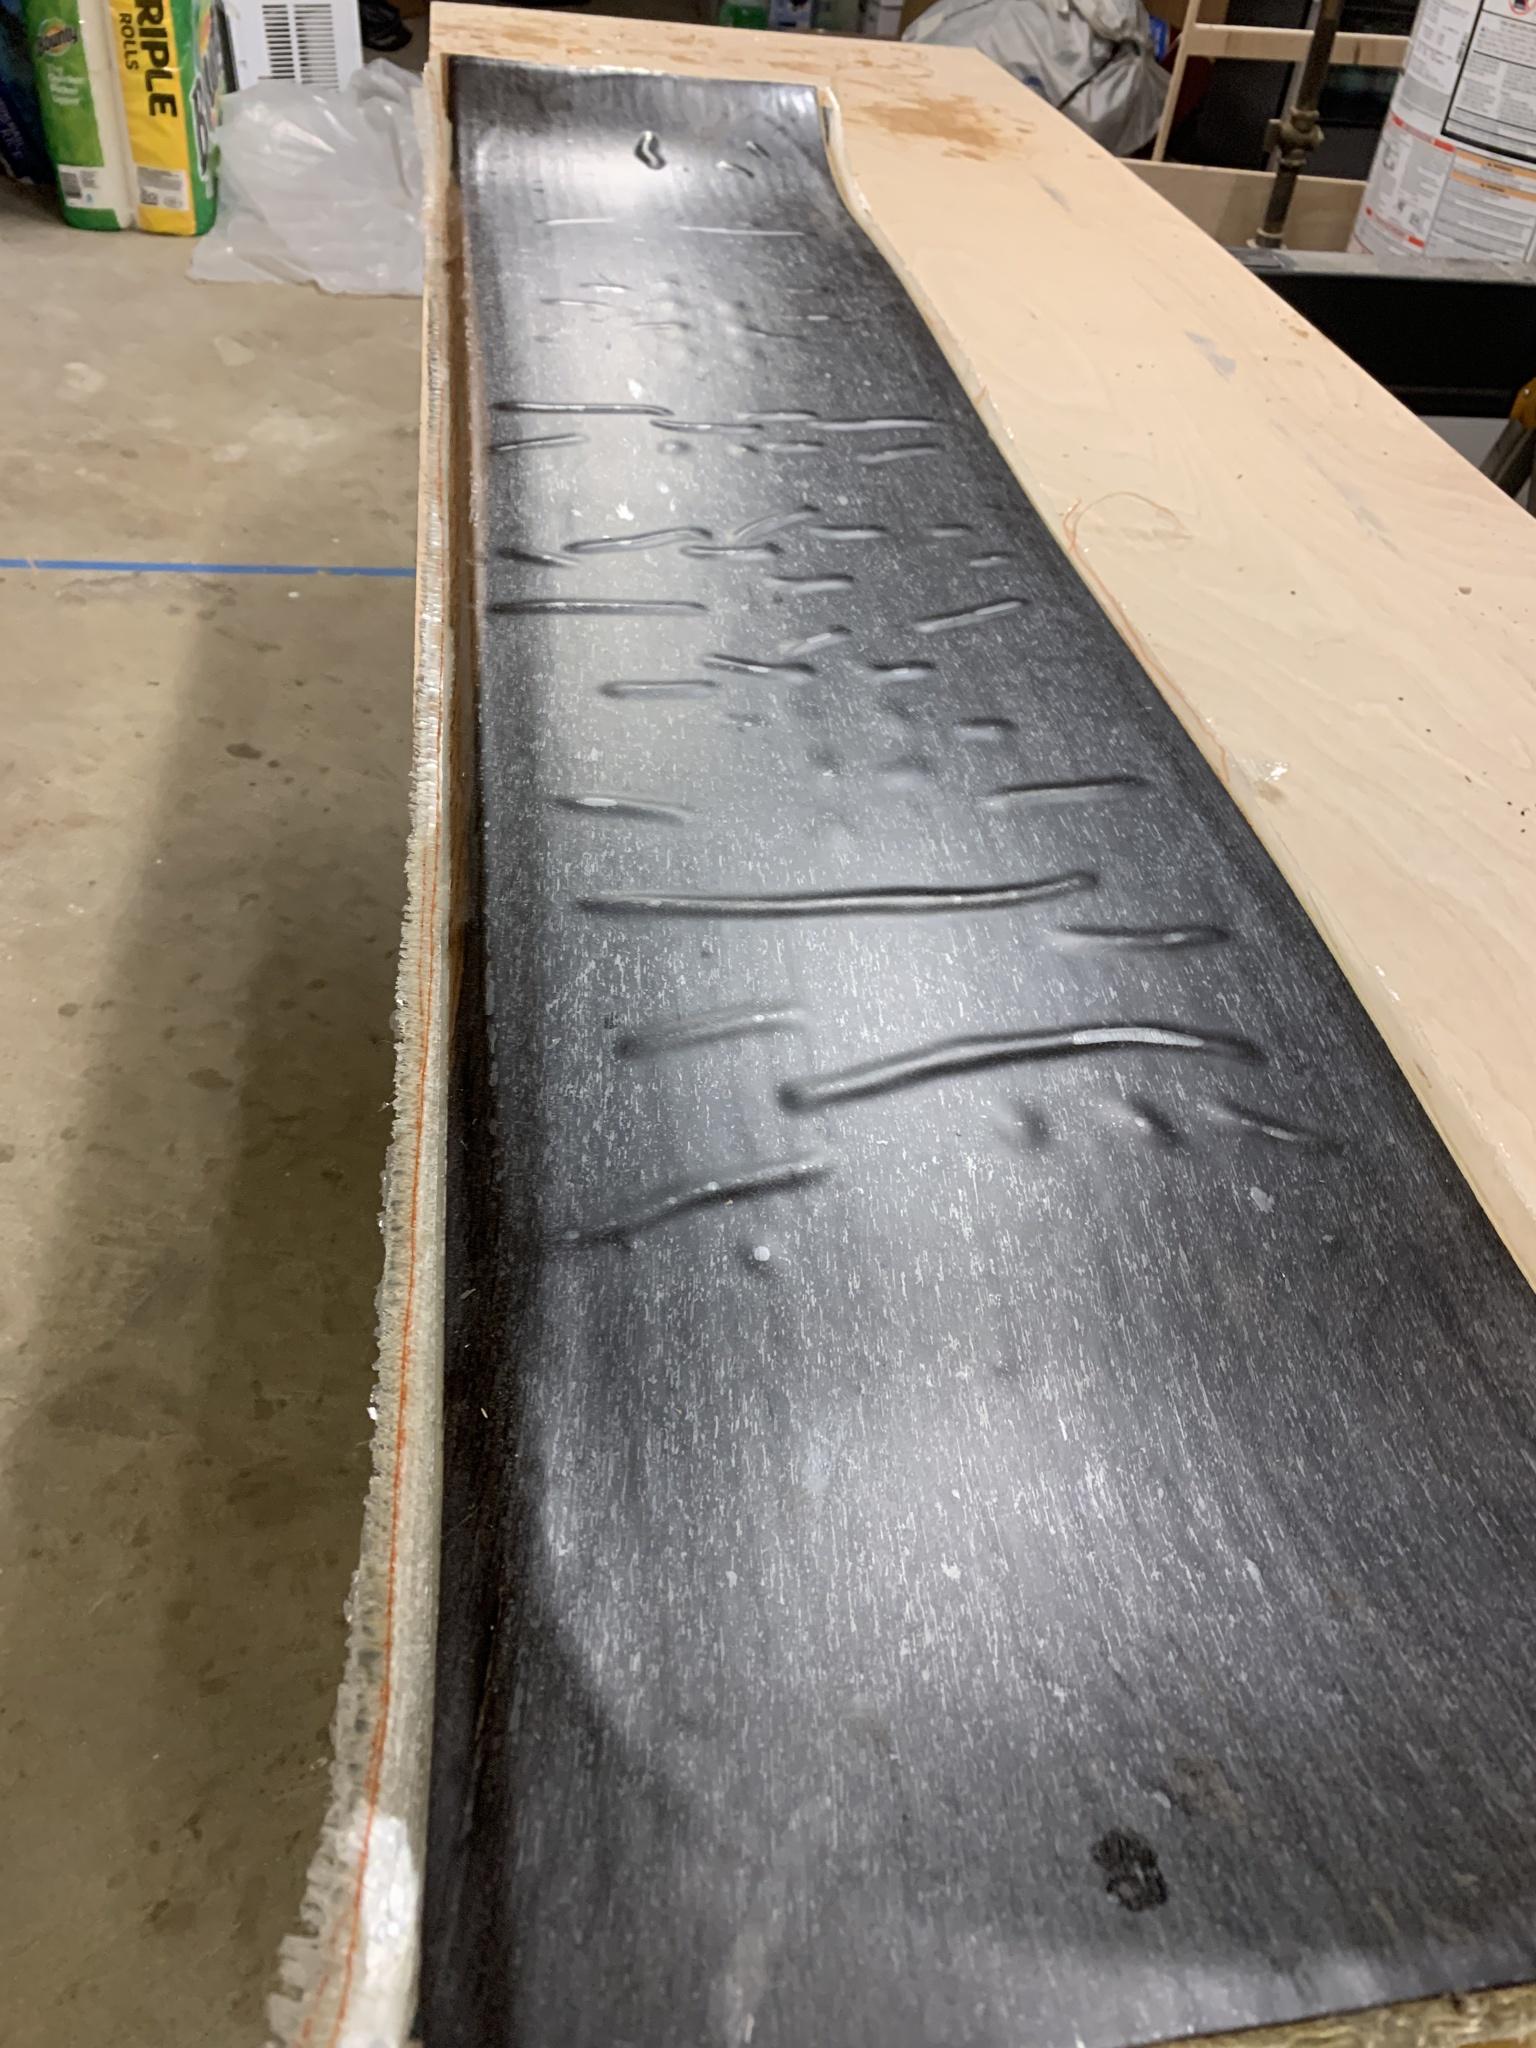
So my attempt to fix it was not the most successful, but not horrible either. I considered repressing a new topsheet onto it, but I decided to just make it rideable, have my friend try it out to see how it rides, and then try again with any changes he may want. Was definitely a learning experience.
Sanding off the plastic topsheet:
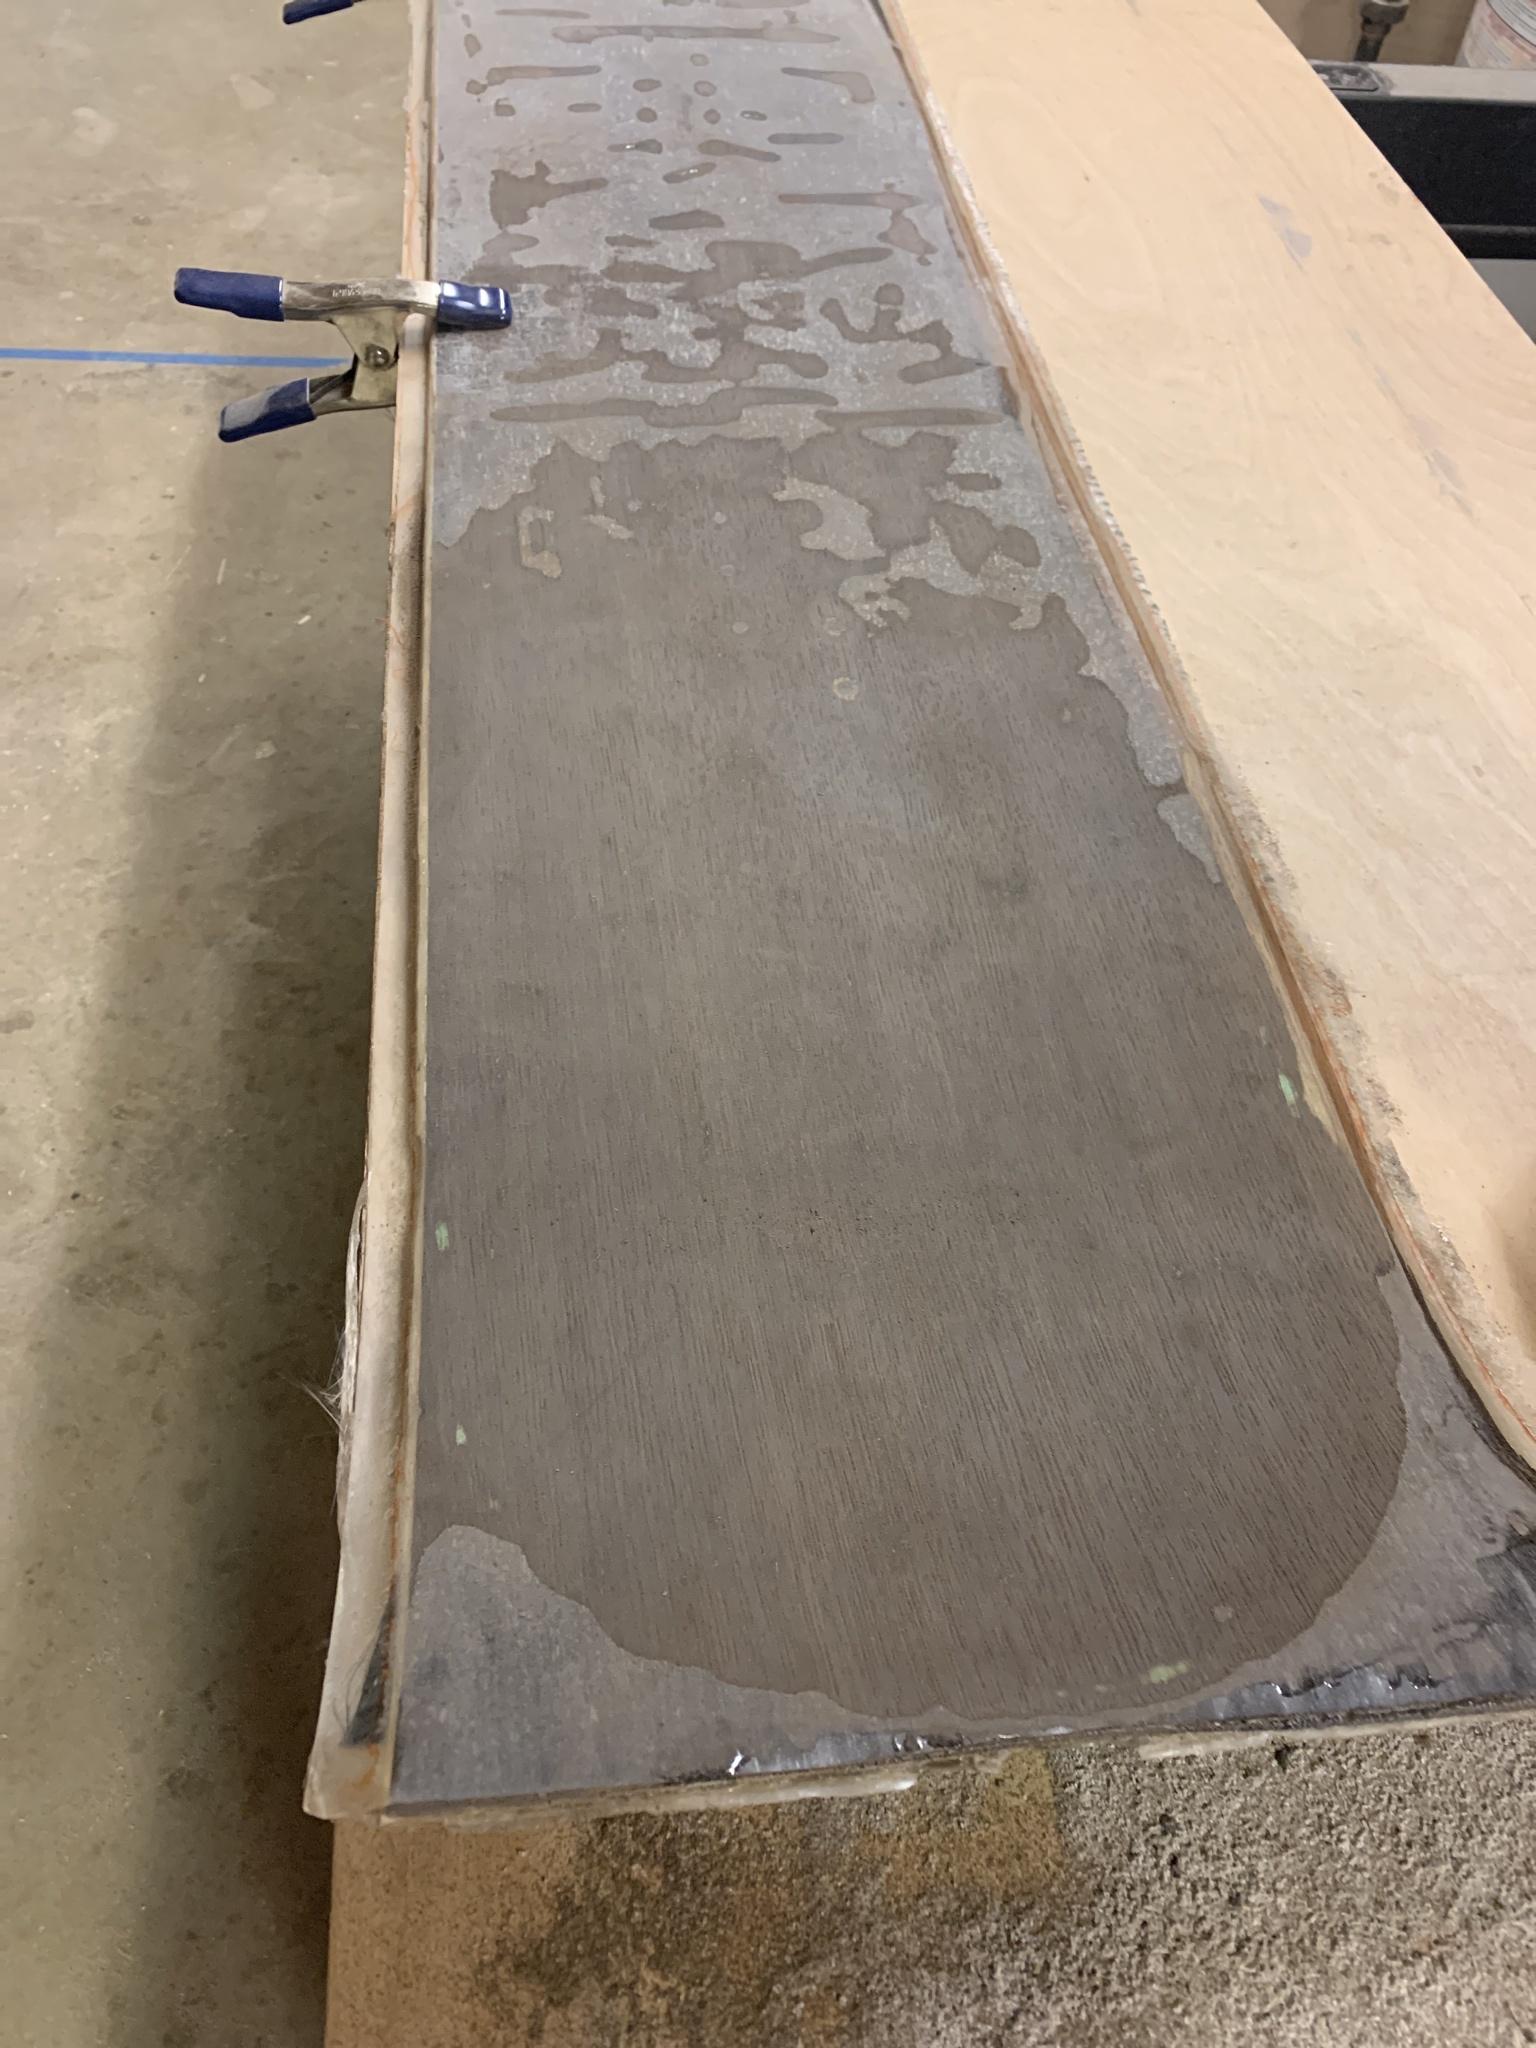
Took a whole day carefully sanding and trying my hardest not to breach the veneer. Unfortunately, there are a few spots I did despite my best efforts not to. The worst one is between the feet, and a couple smaller ones around the edge. I tried to hide it by blending with ebony stain, but it’s not going away.
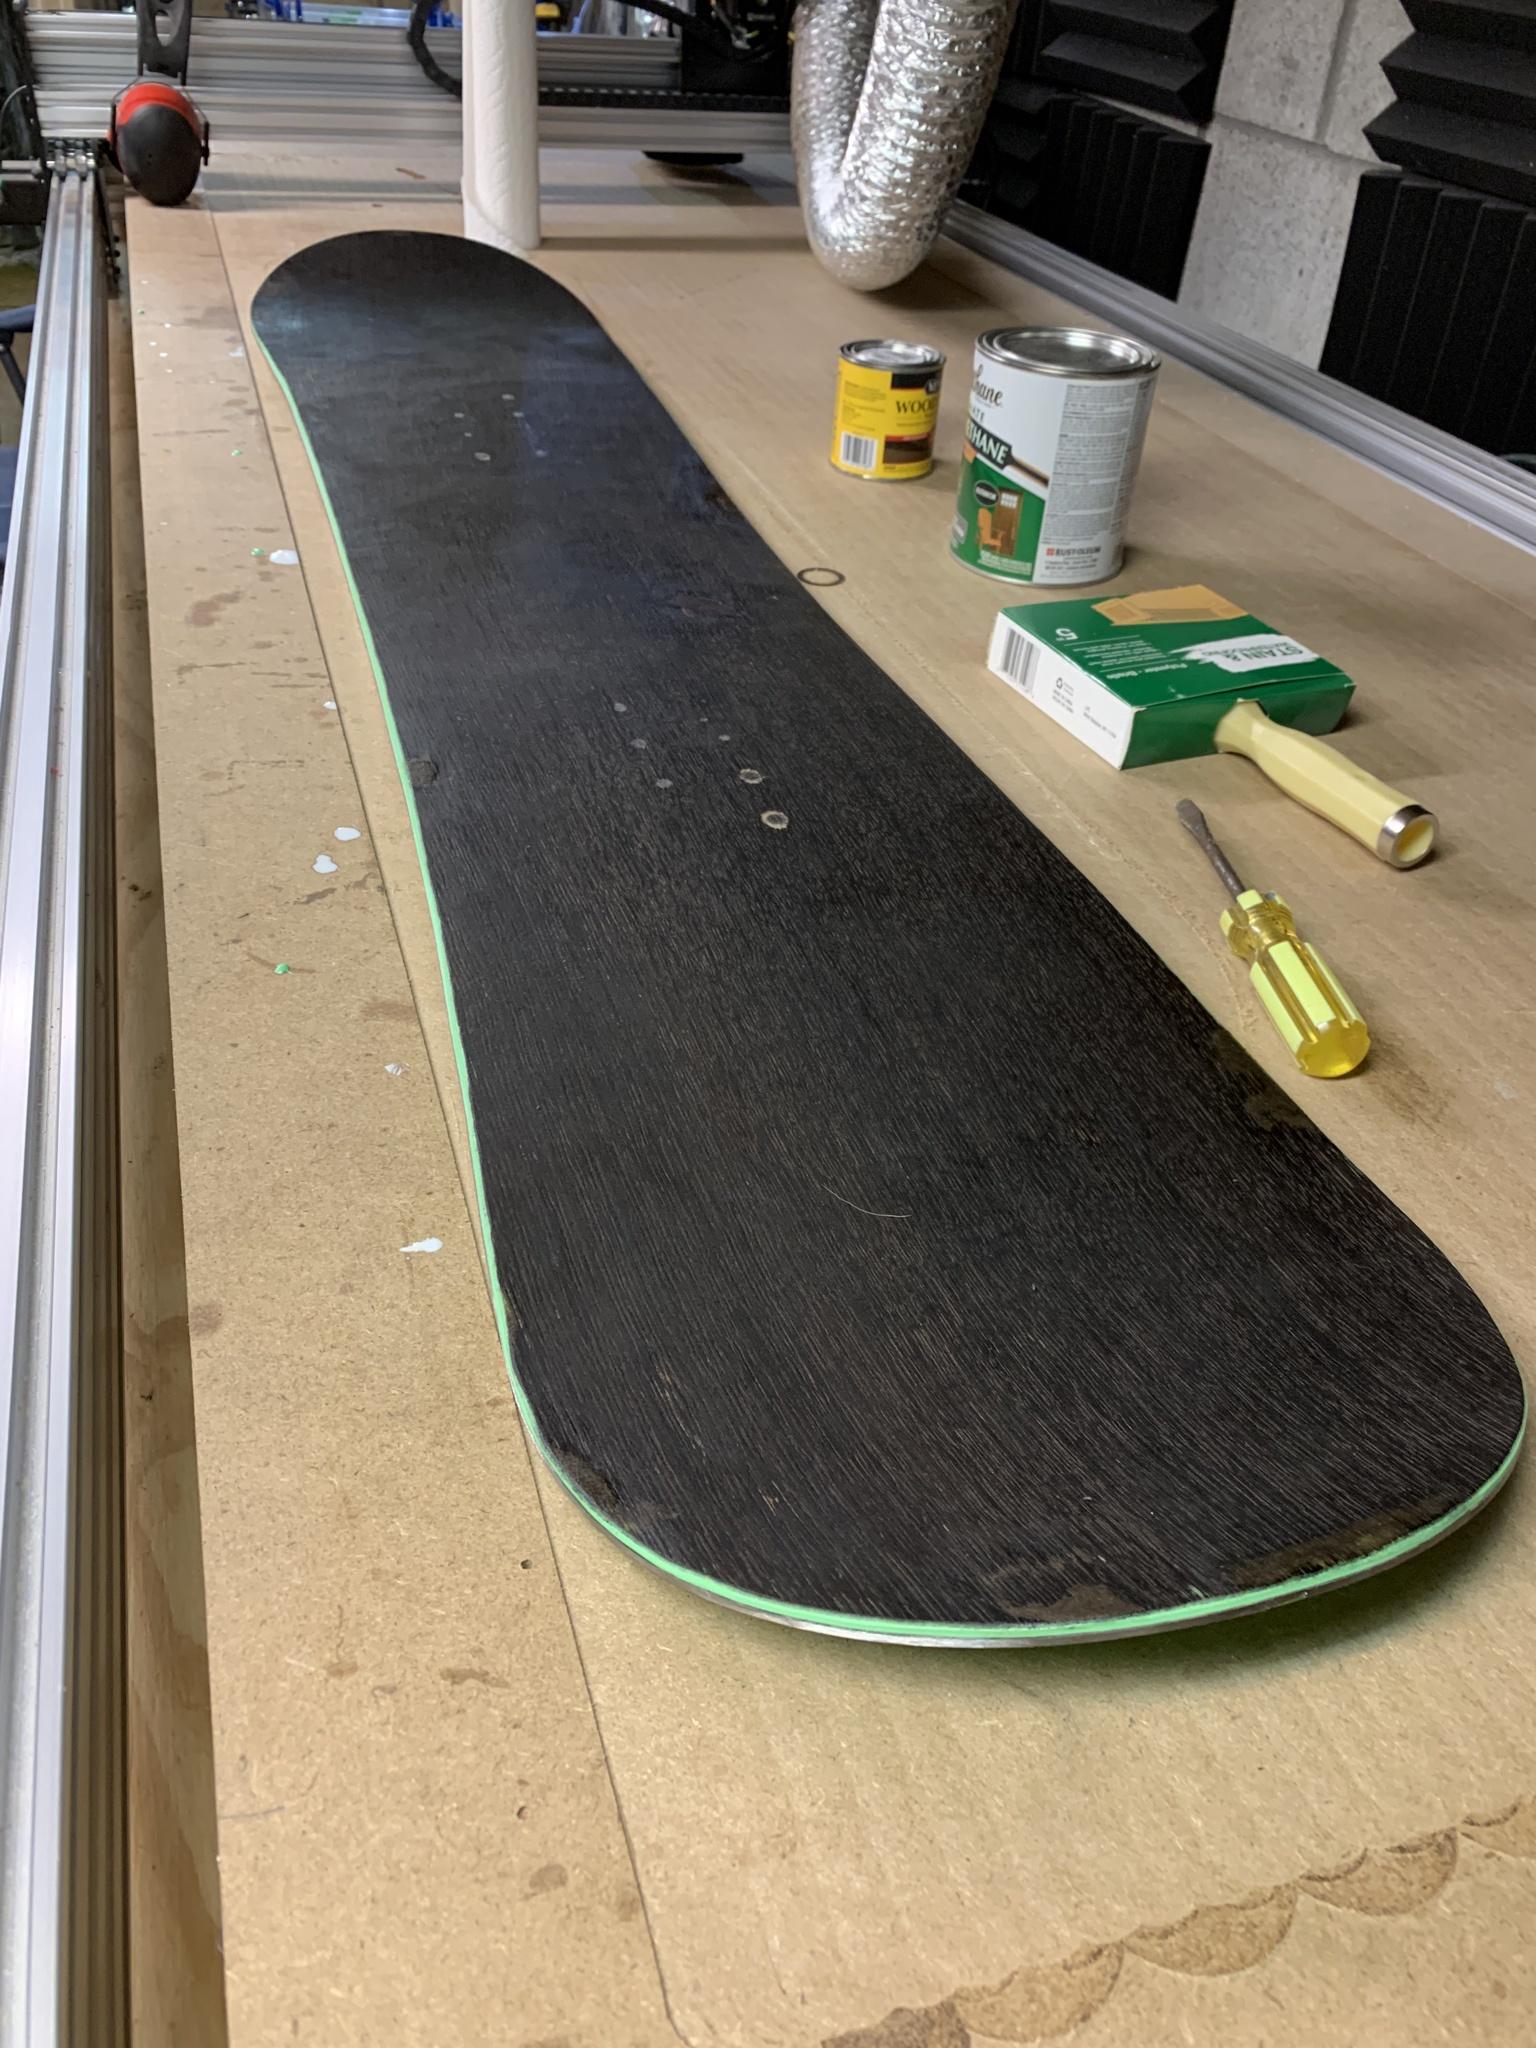
Here she is with a couple coats of polyurethane and mounted bindings:
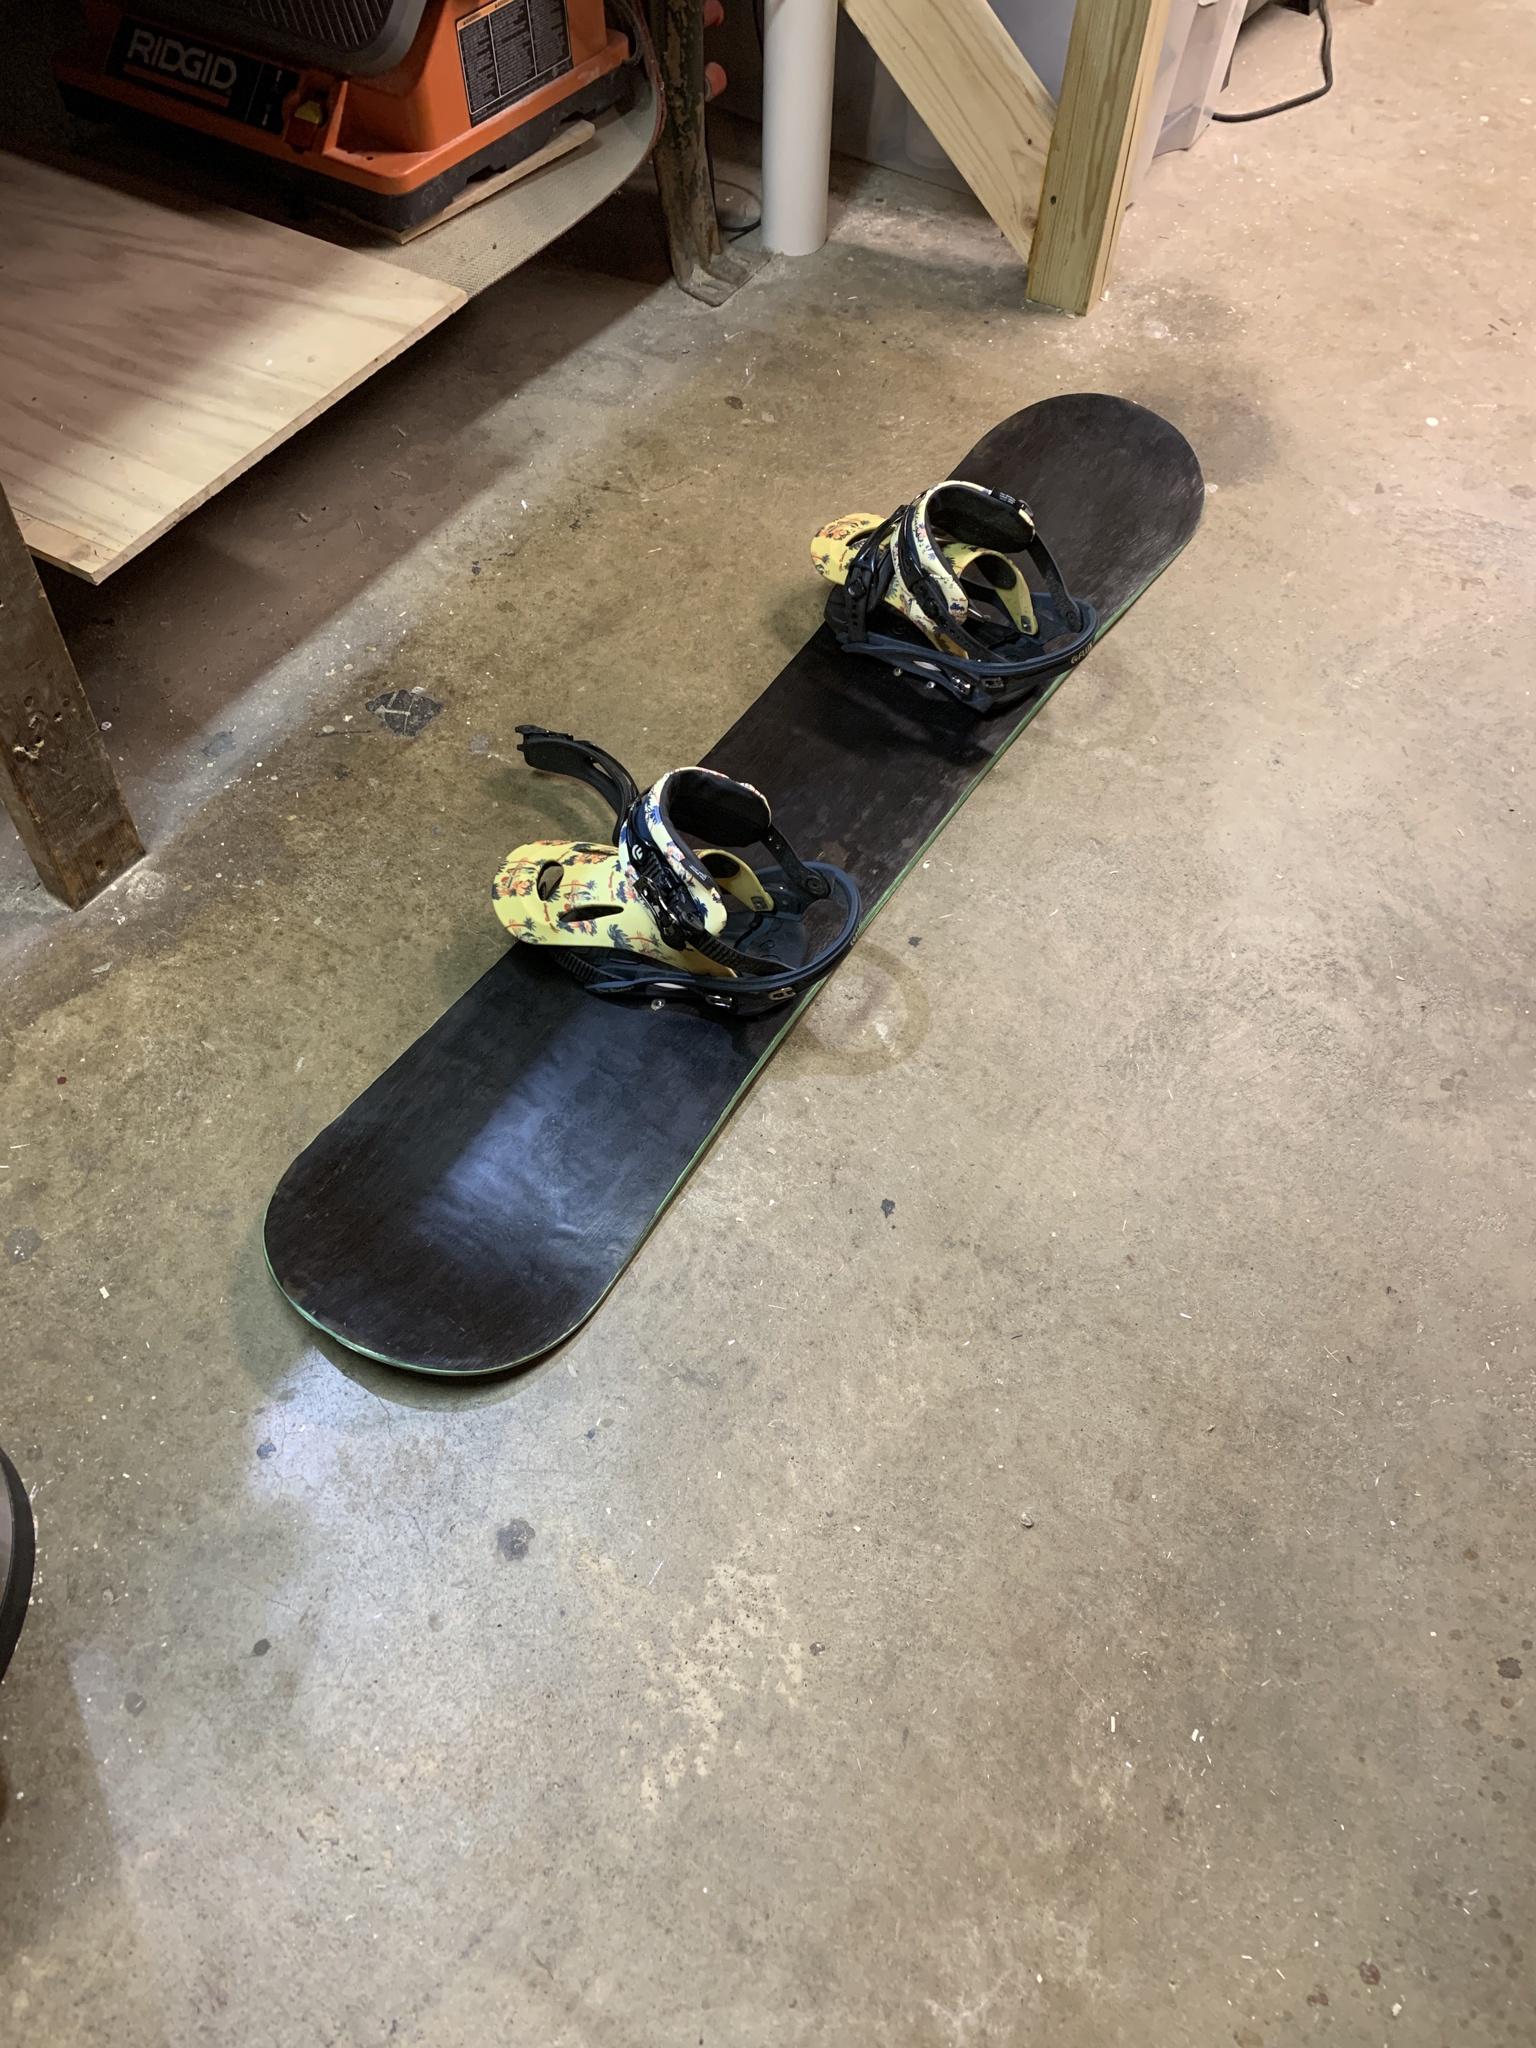
It’s at the tuning shop now getting a base grind and sharpen. One day I’d like a base grinder, but geez are they expensive!
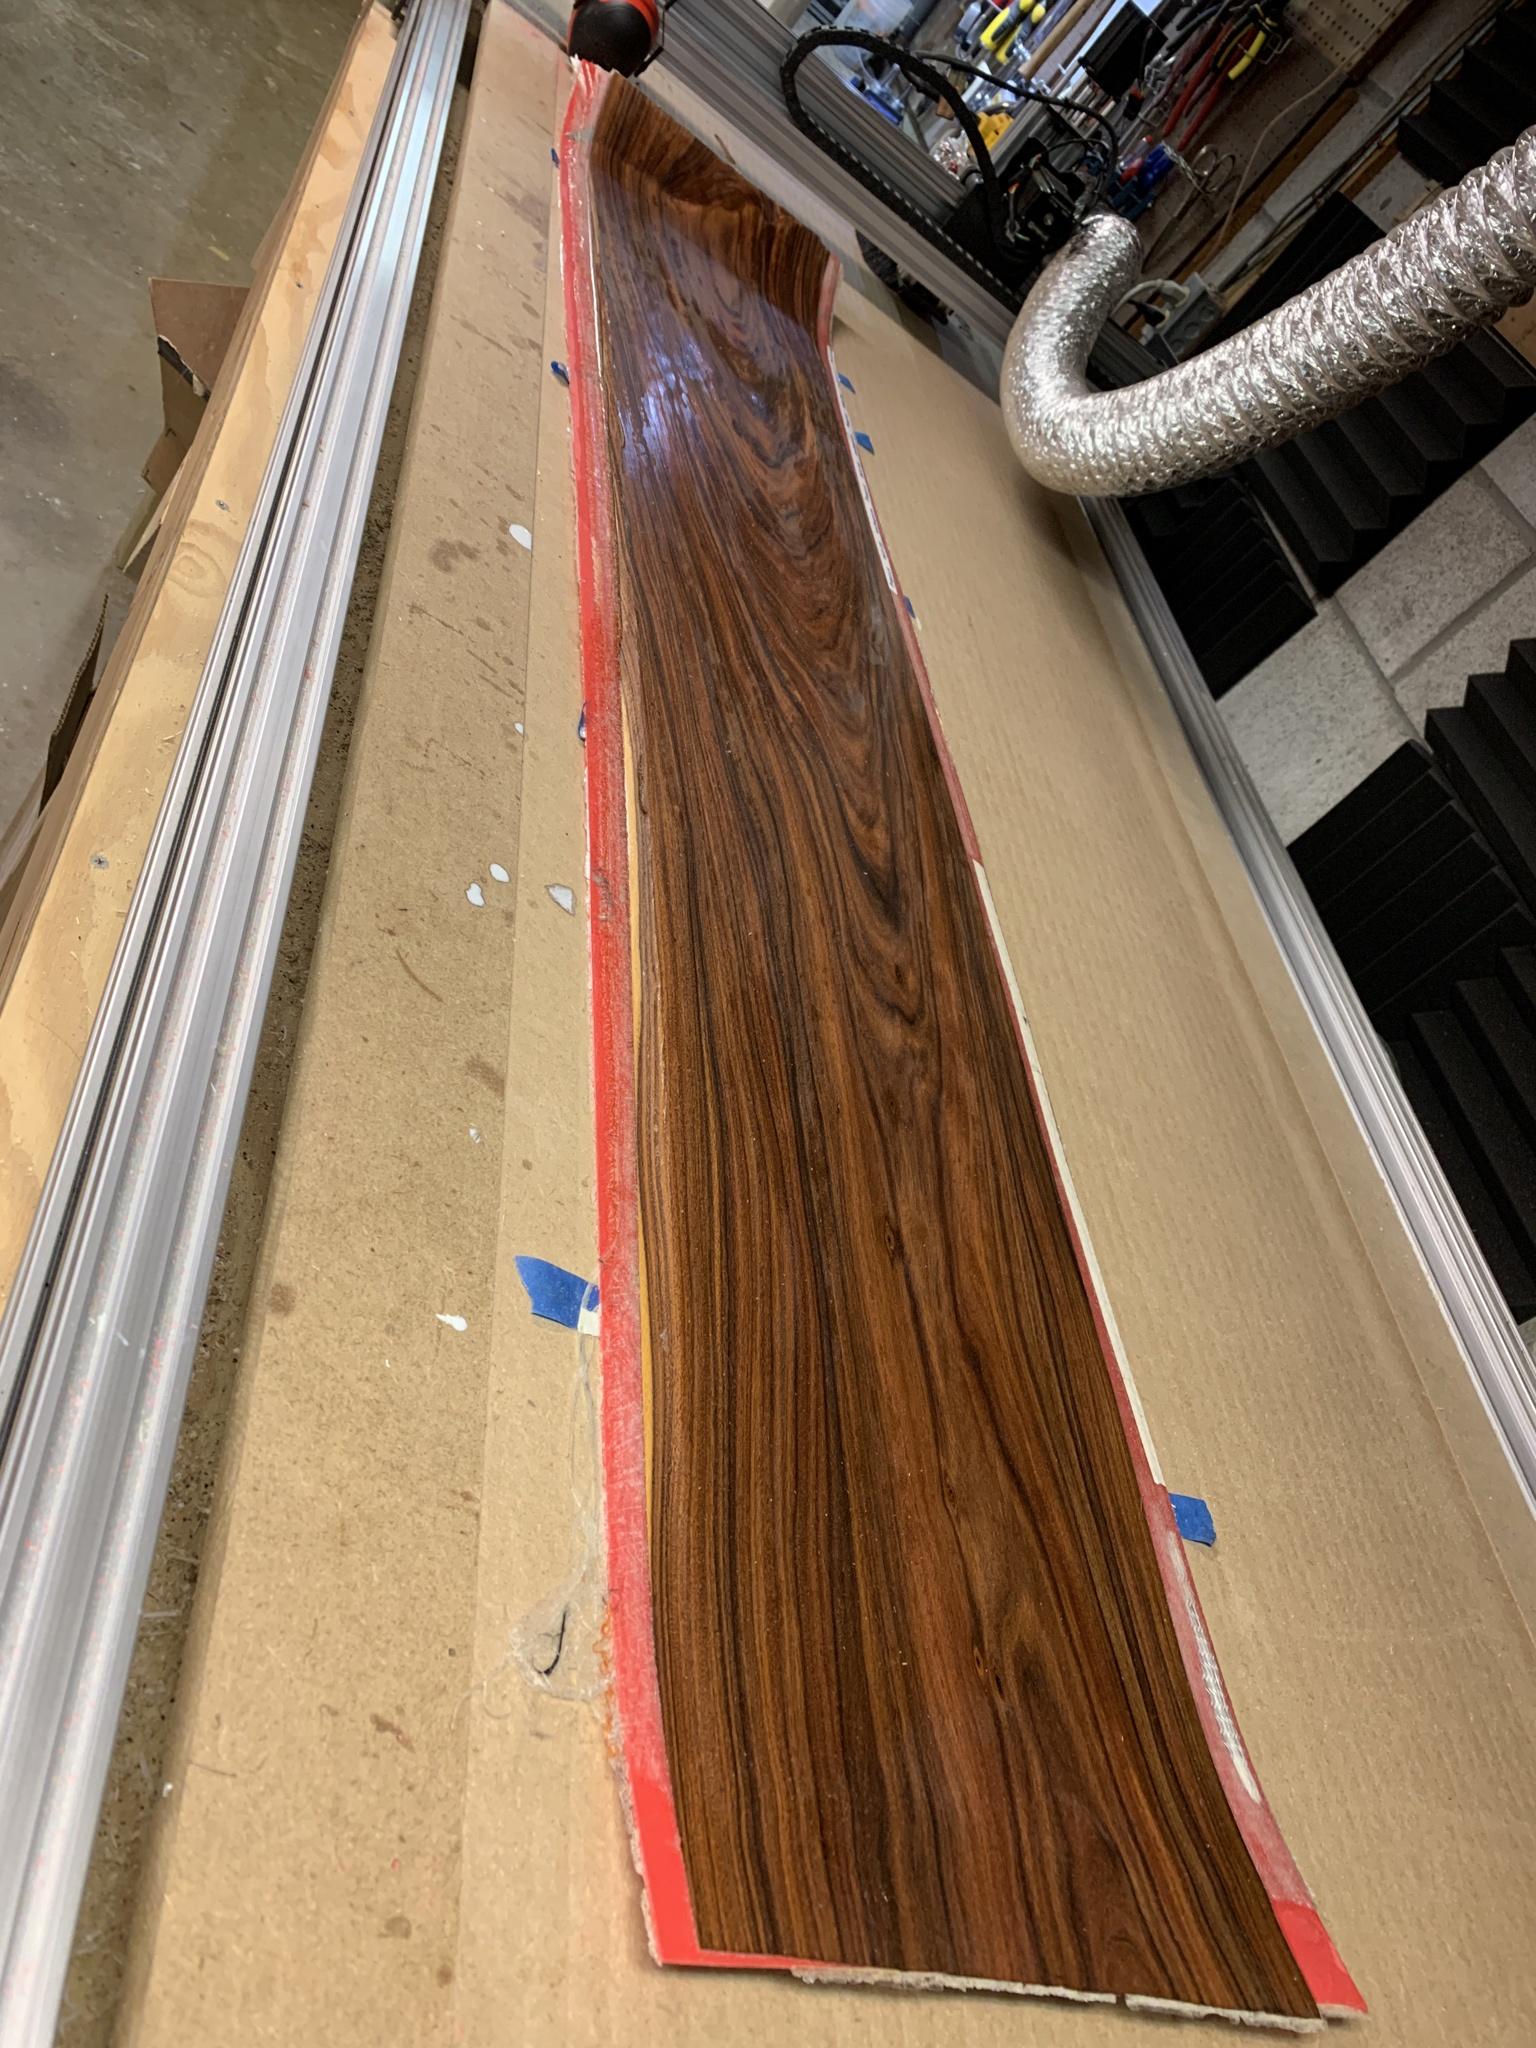
And now on a lighter note, the rosewood skis came out beautiful! Cant wait to see how my other friend likes them!!! Pics of course:
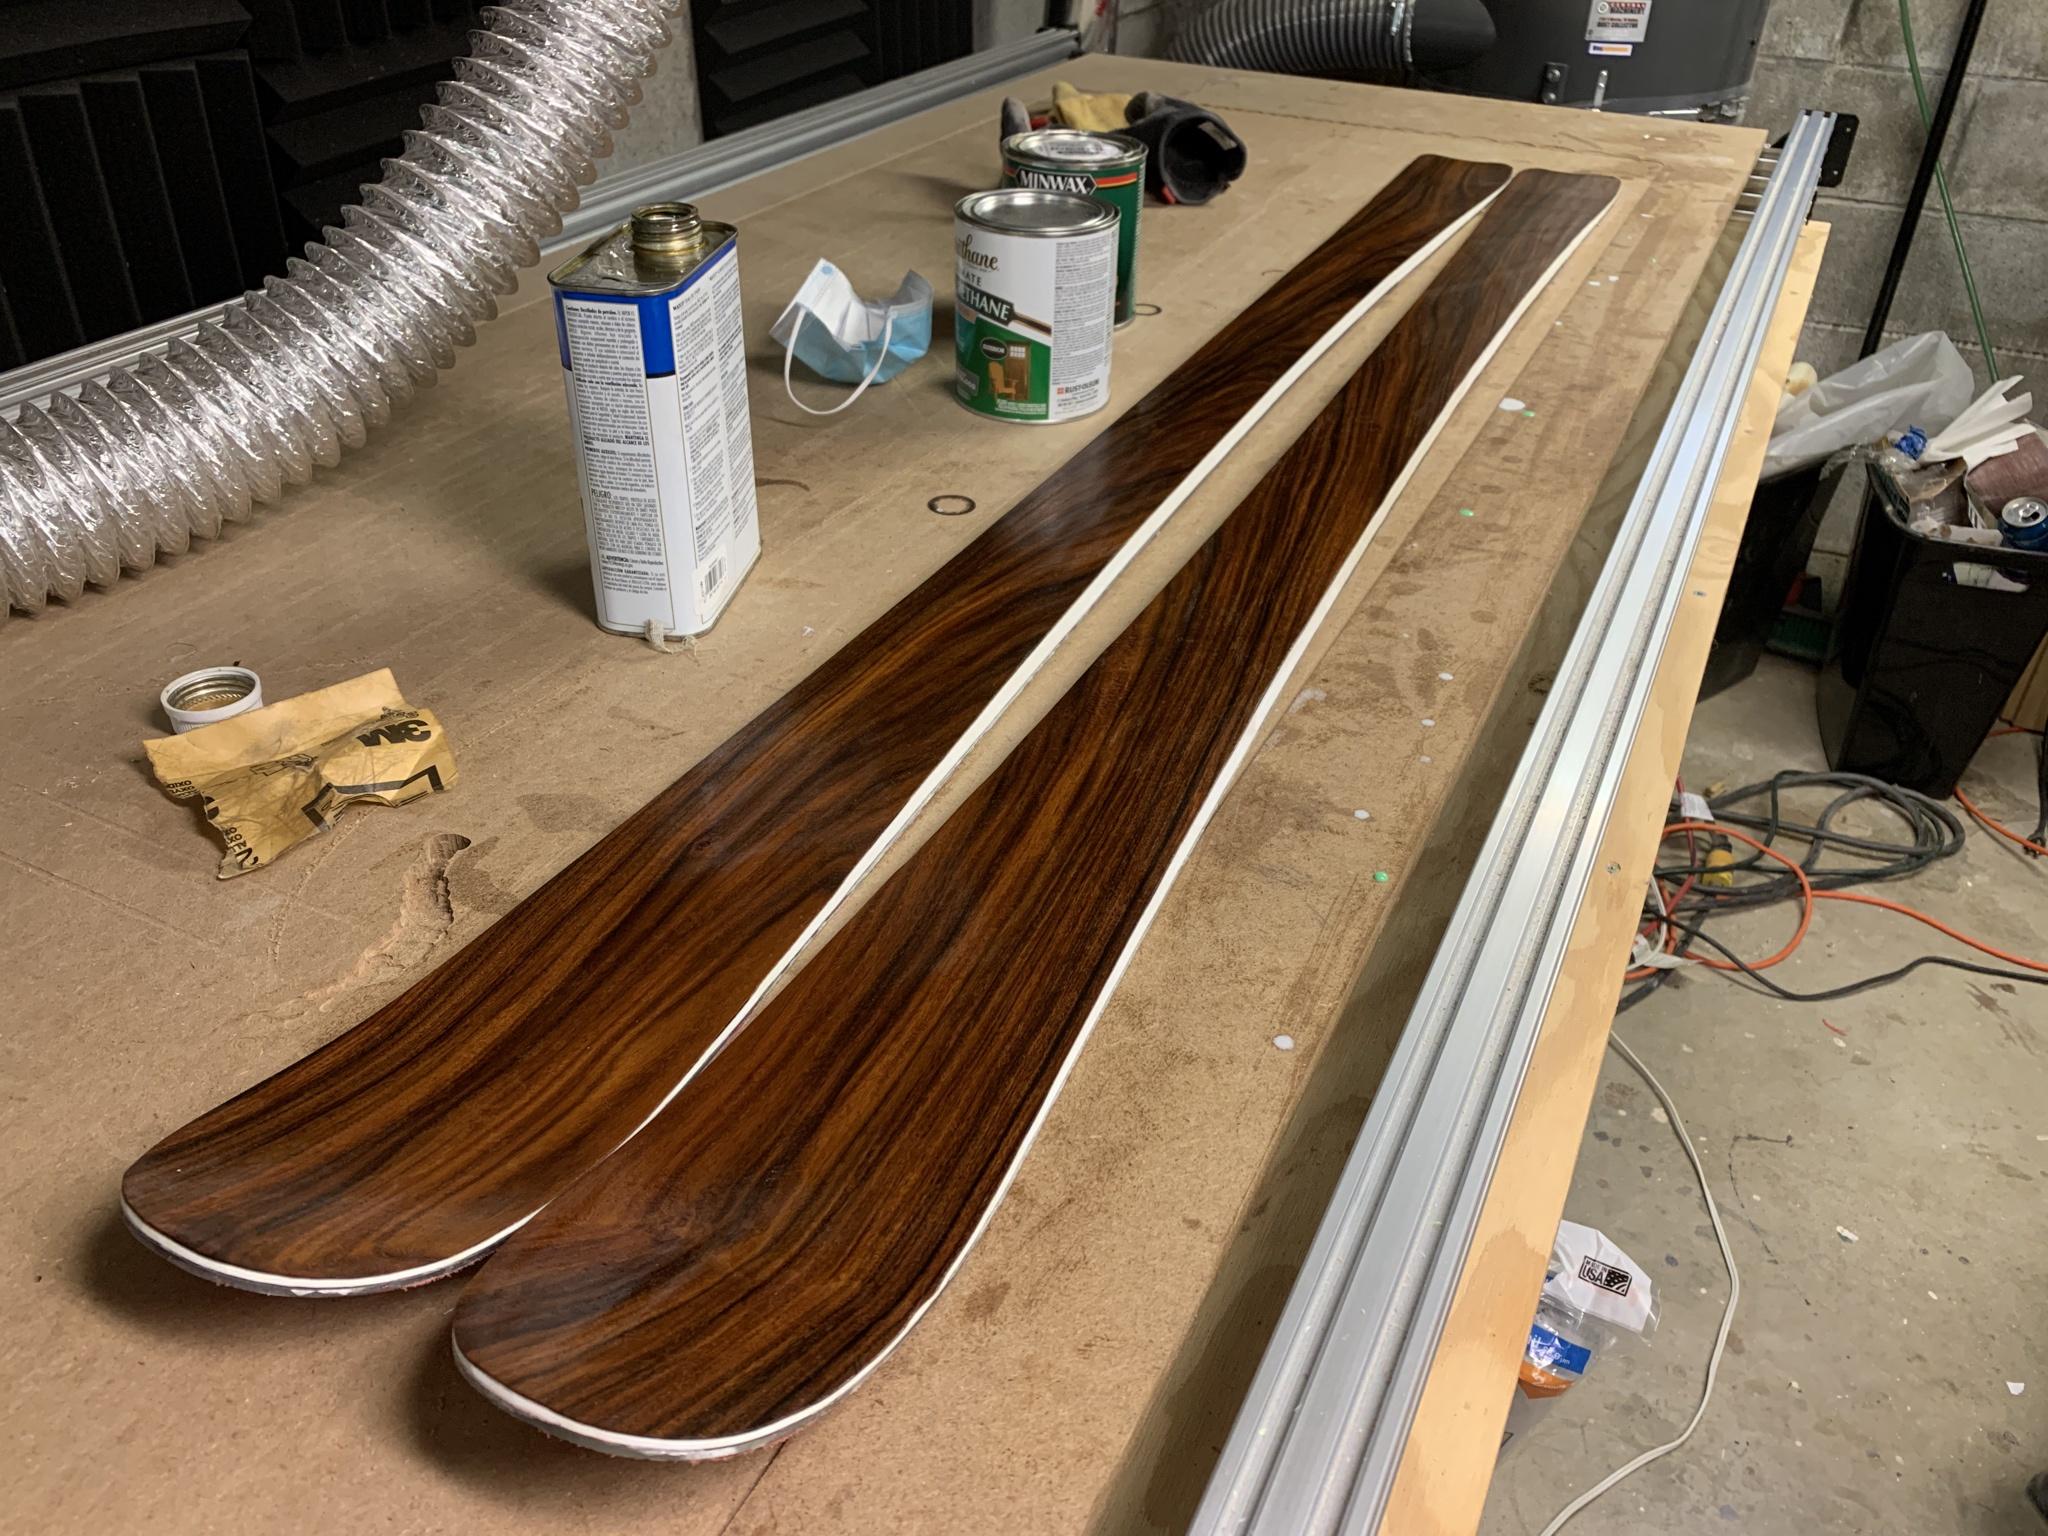
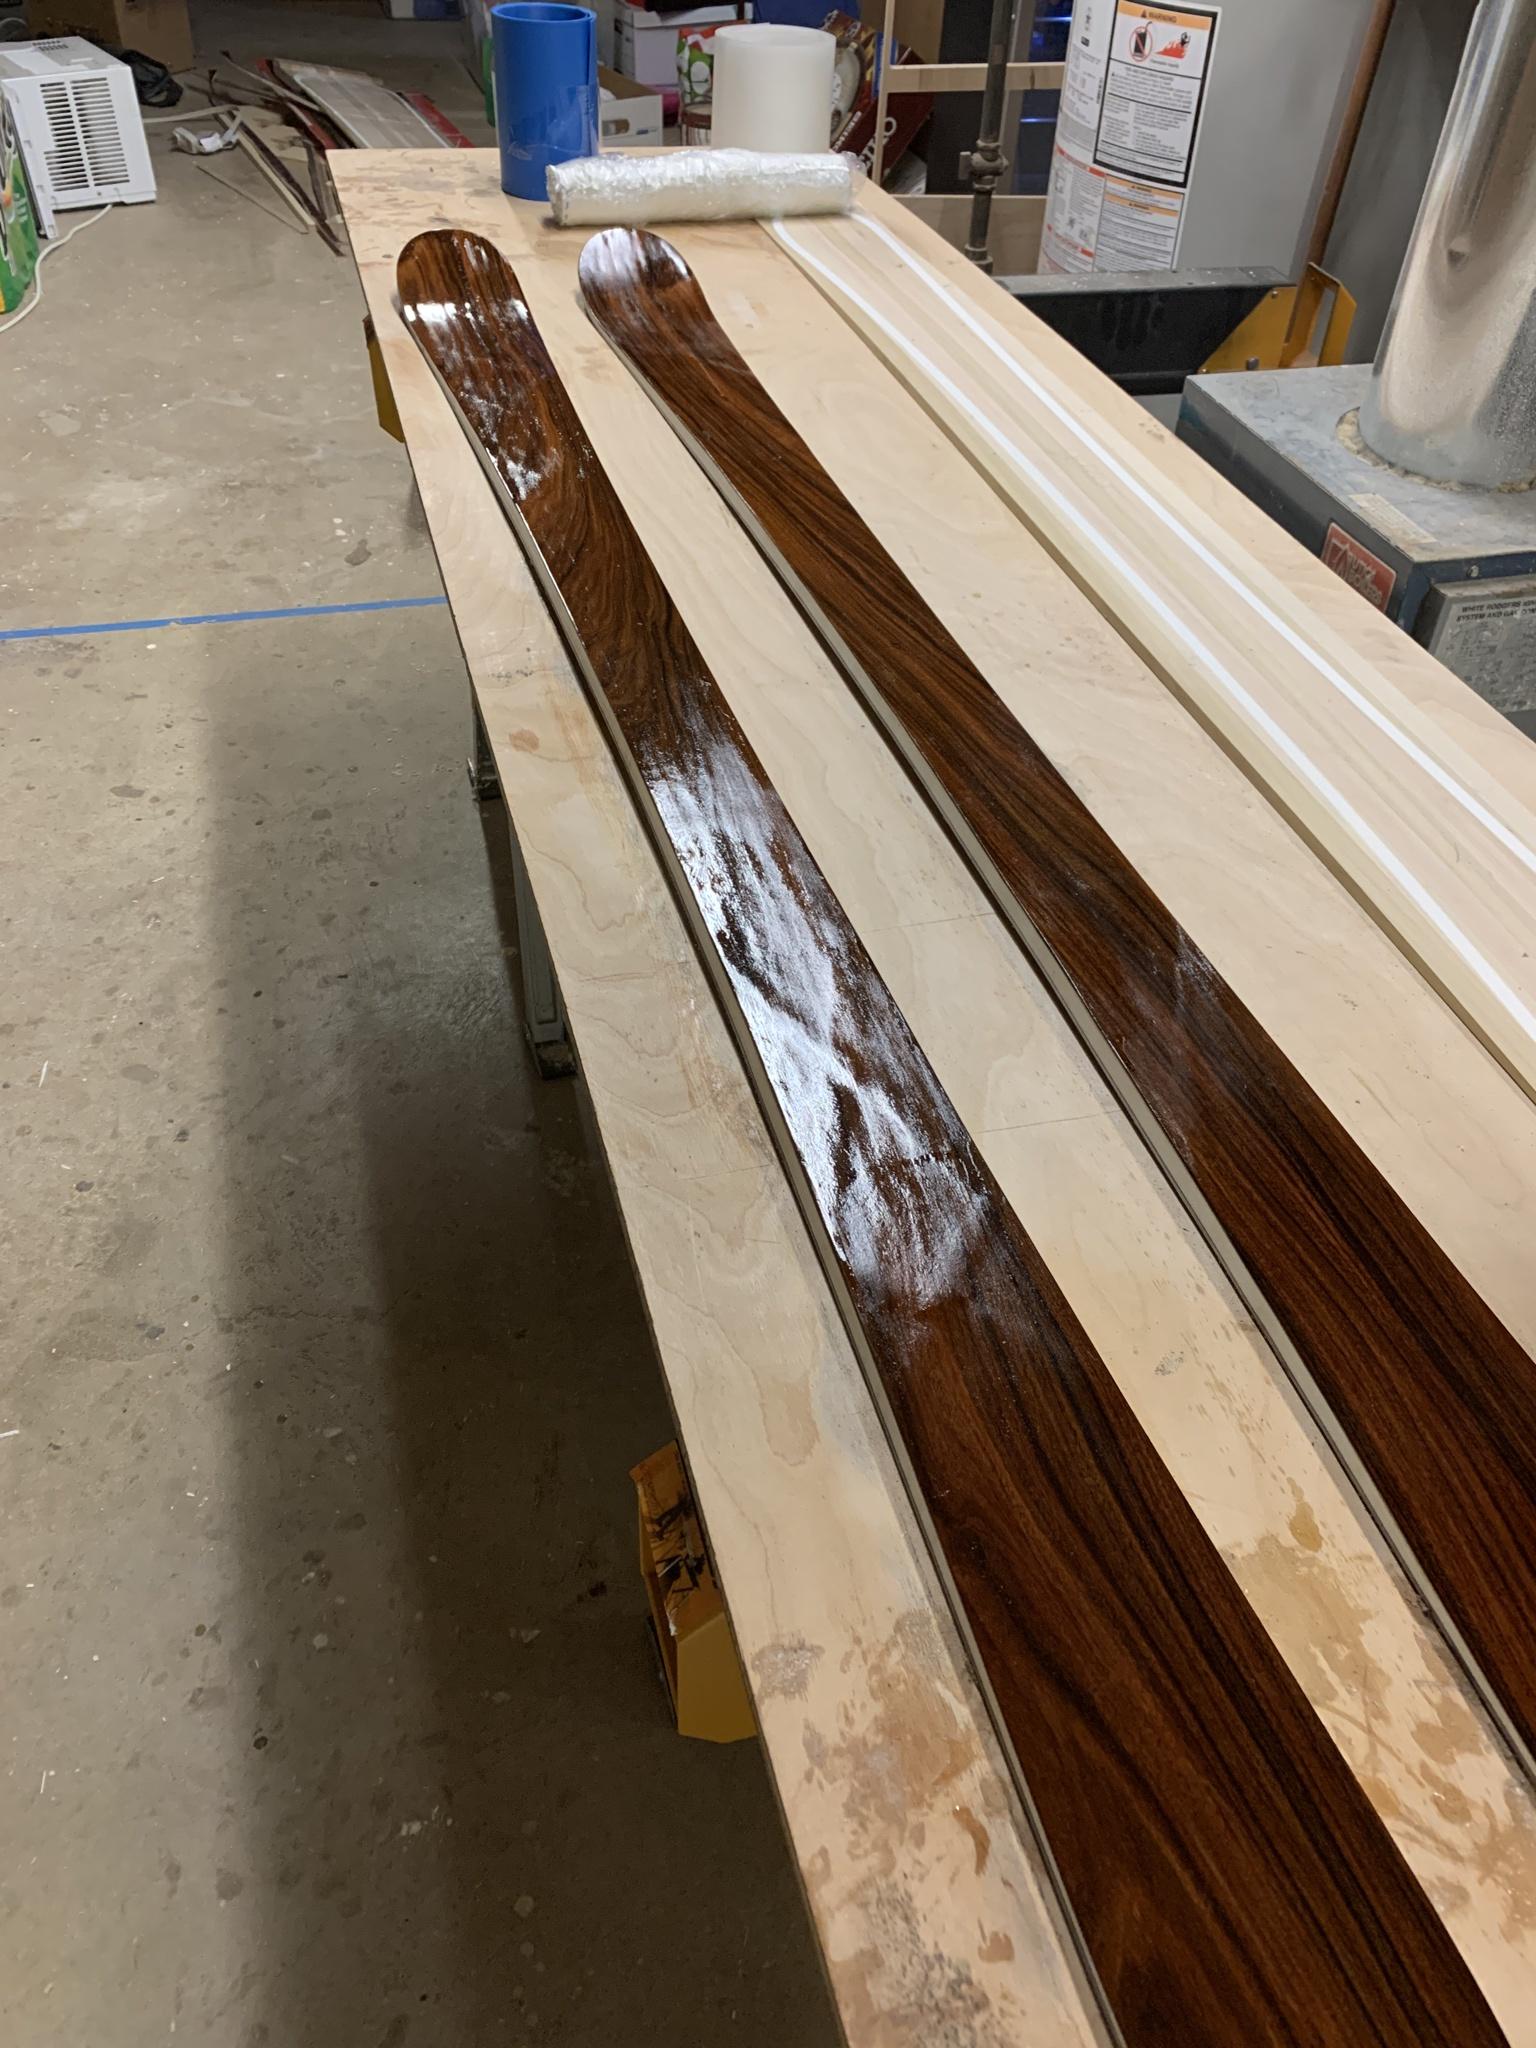
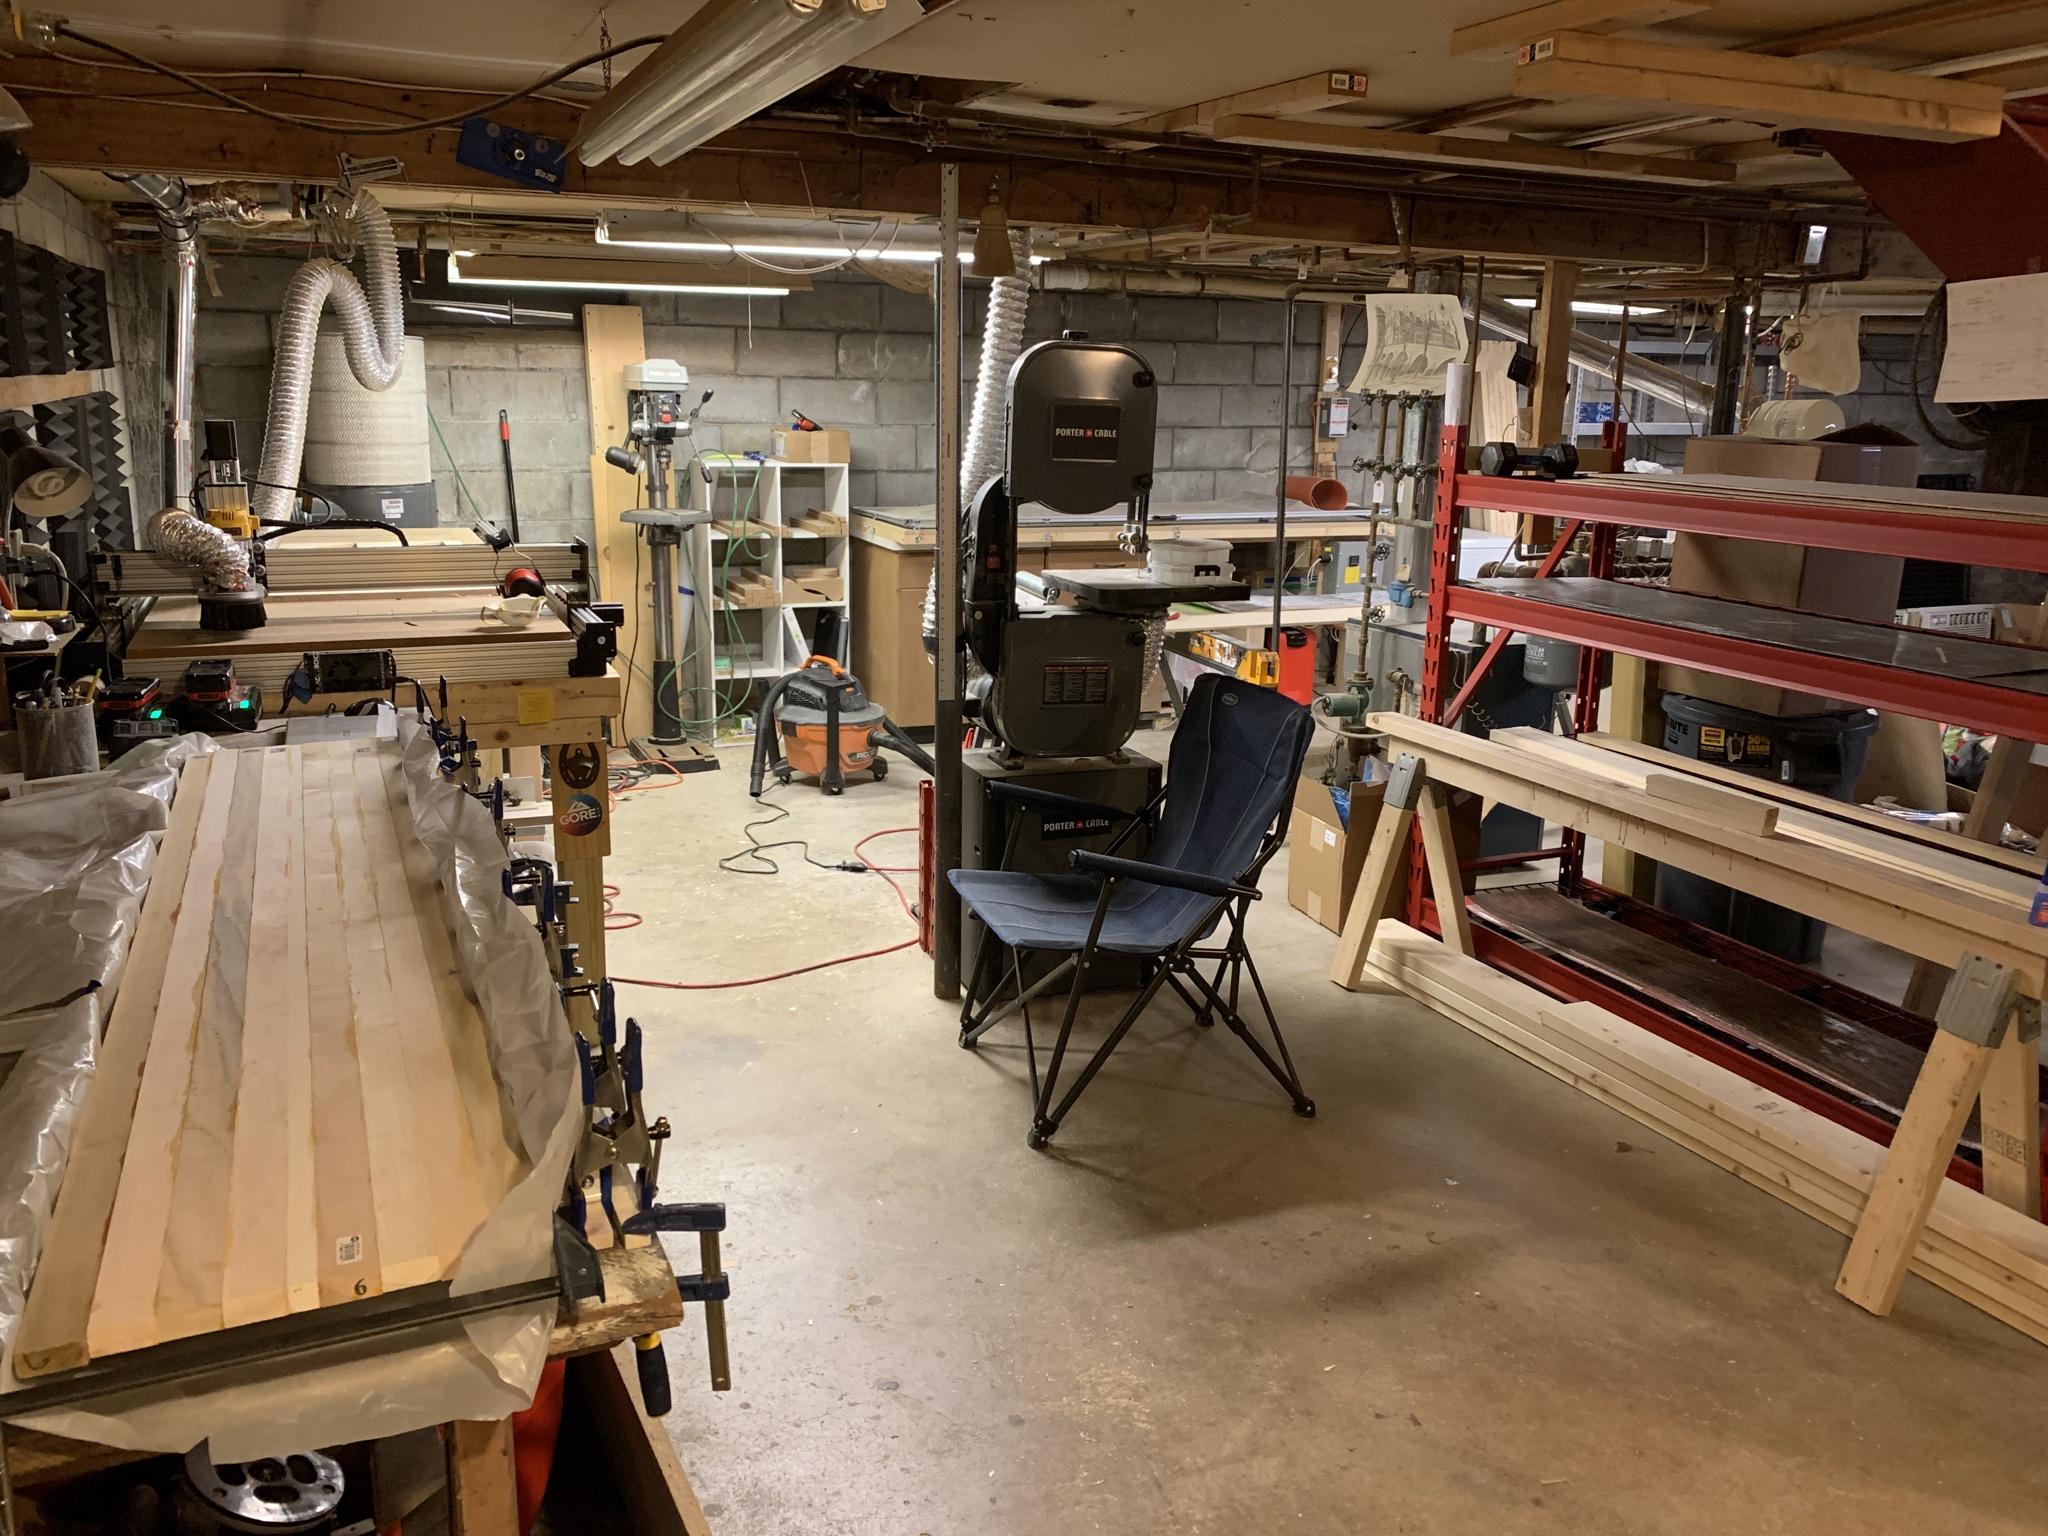
After these builds I spent some time upgrading the shop- new hepa filter mod for the dust collection, new metal blast gates, new outlets in the shop, new storage shelving. It’s really coming together! I’m addicted as heck to this hobby! Here’s a recent pic:
I am currently designing another ski concept, and will update y’all on that build when it begins! I’ve also been researching laser engravers, I thought it would be cool to mess with engraved designs on veneer, and was also thinking about trying Miller studio for some sublimated graphics! One day I would like to figure out sublimation, but gotta let the wallet cool off a bit first..
sammerTue Jan 19, 2021 9:51 am
Use a J-roller to push the excess epoxy out. This will also help smooth out some of the transfer you're getting from your X's of carbon that show in your ski pic.
You need to have somewhere to push that excess to. I've used breather along the sides or at the tip and tails and roller-ed all the excess there.
Start with heavy pressure them lighten up and do full length passes of your layup to equalize anything that's left.
I use quite slow hardener so have lots of time to work.
sam
Edit to add... J-roller after you pull a full vacuum.
JonrezzFri Jan 29, 2021 5:02 pm
Thanks for the tip sammer! and thank you all for all of the help along the way! I'll give the roller a shot on my next pair that gets plastic topsheet.
some additional updates:
I have devised a new plan for sidewall beveling to allow me to get the "step" in the sidewalls like many brand name skis achieve:
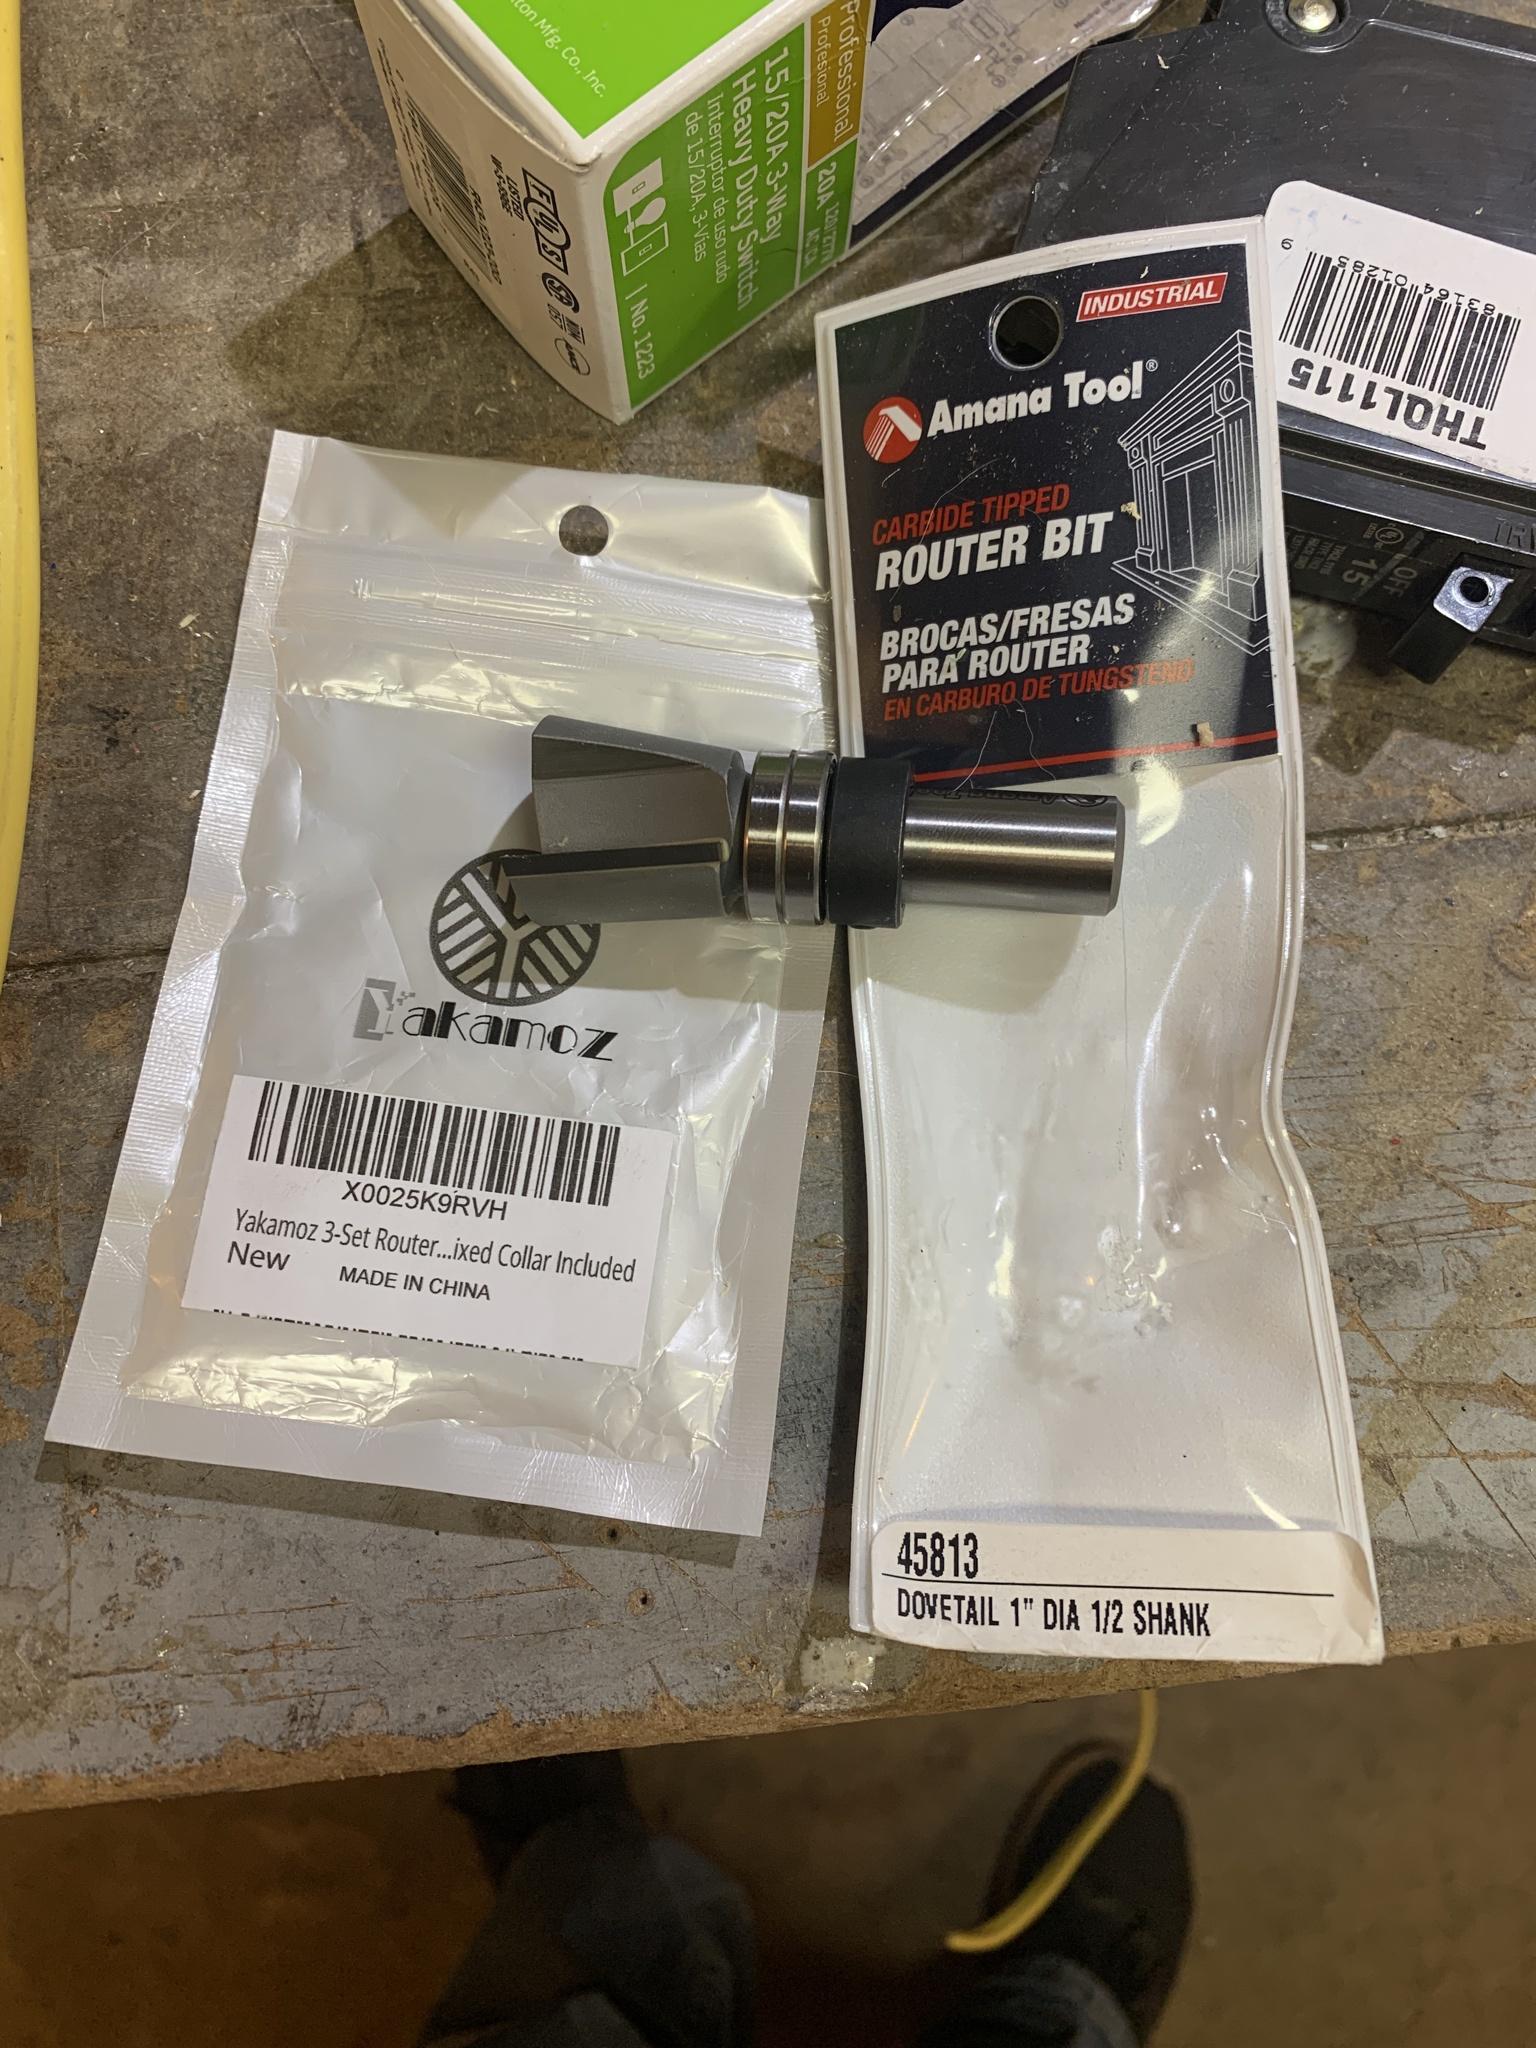
hopefully will get something like this:
image no longer available
I'm going to stick it on a router table and create a wooden ridge for the ski to ride on similar to chrismp's post a while back - very clever solution.
I'm also nearing completion on my 2nd snowboard, and it's the best build yet! no flaws in sight! just need to drill out the binding inserts. I ordered some magnets with holes in them to locate and mark the insert centers.
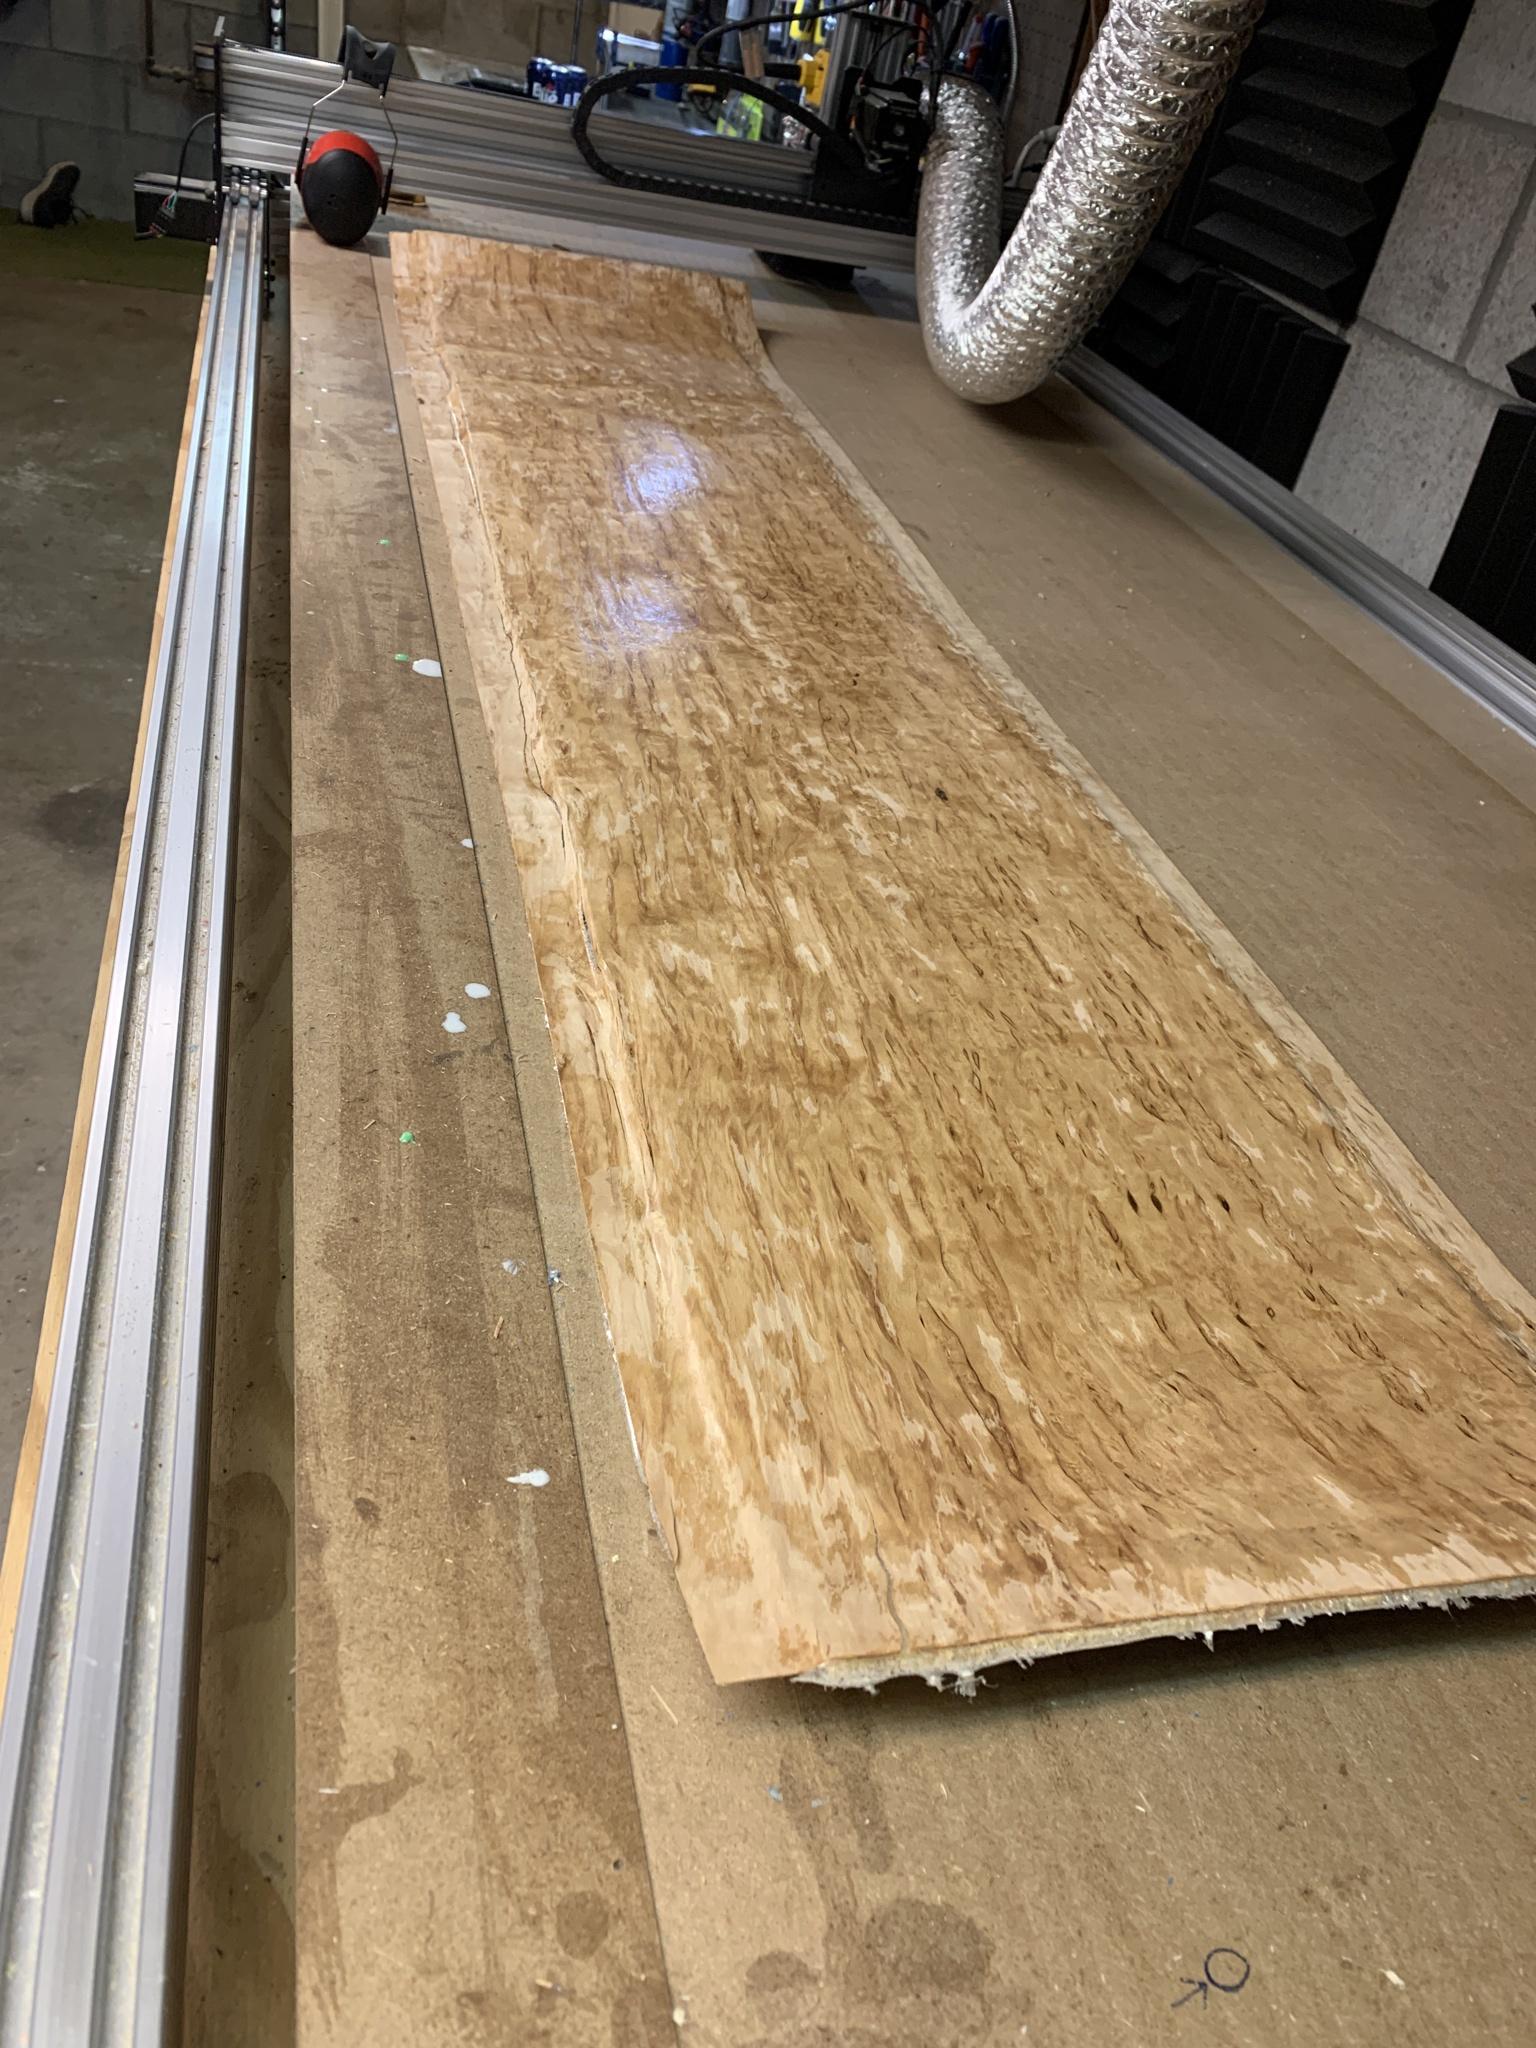
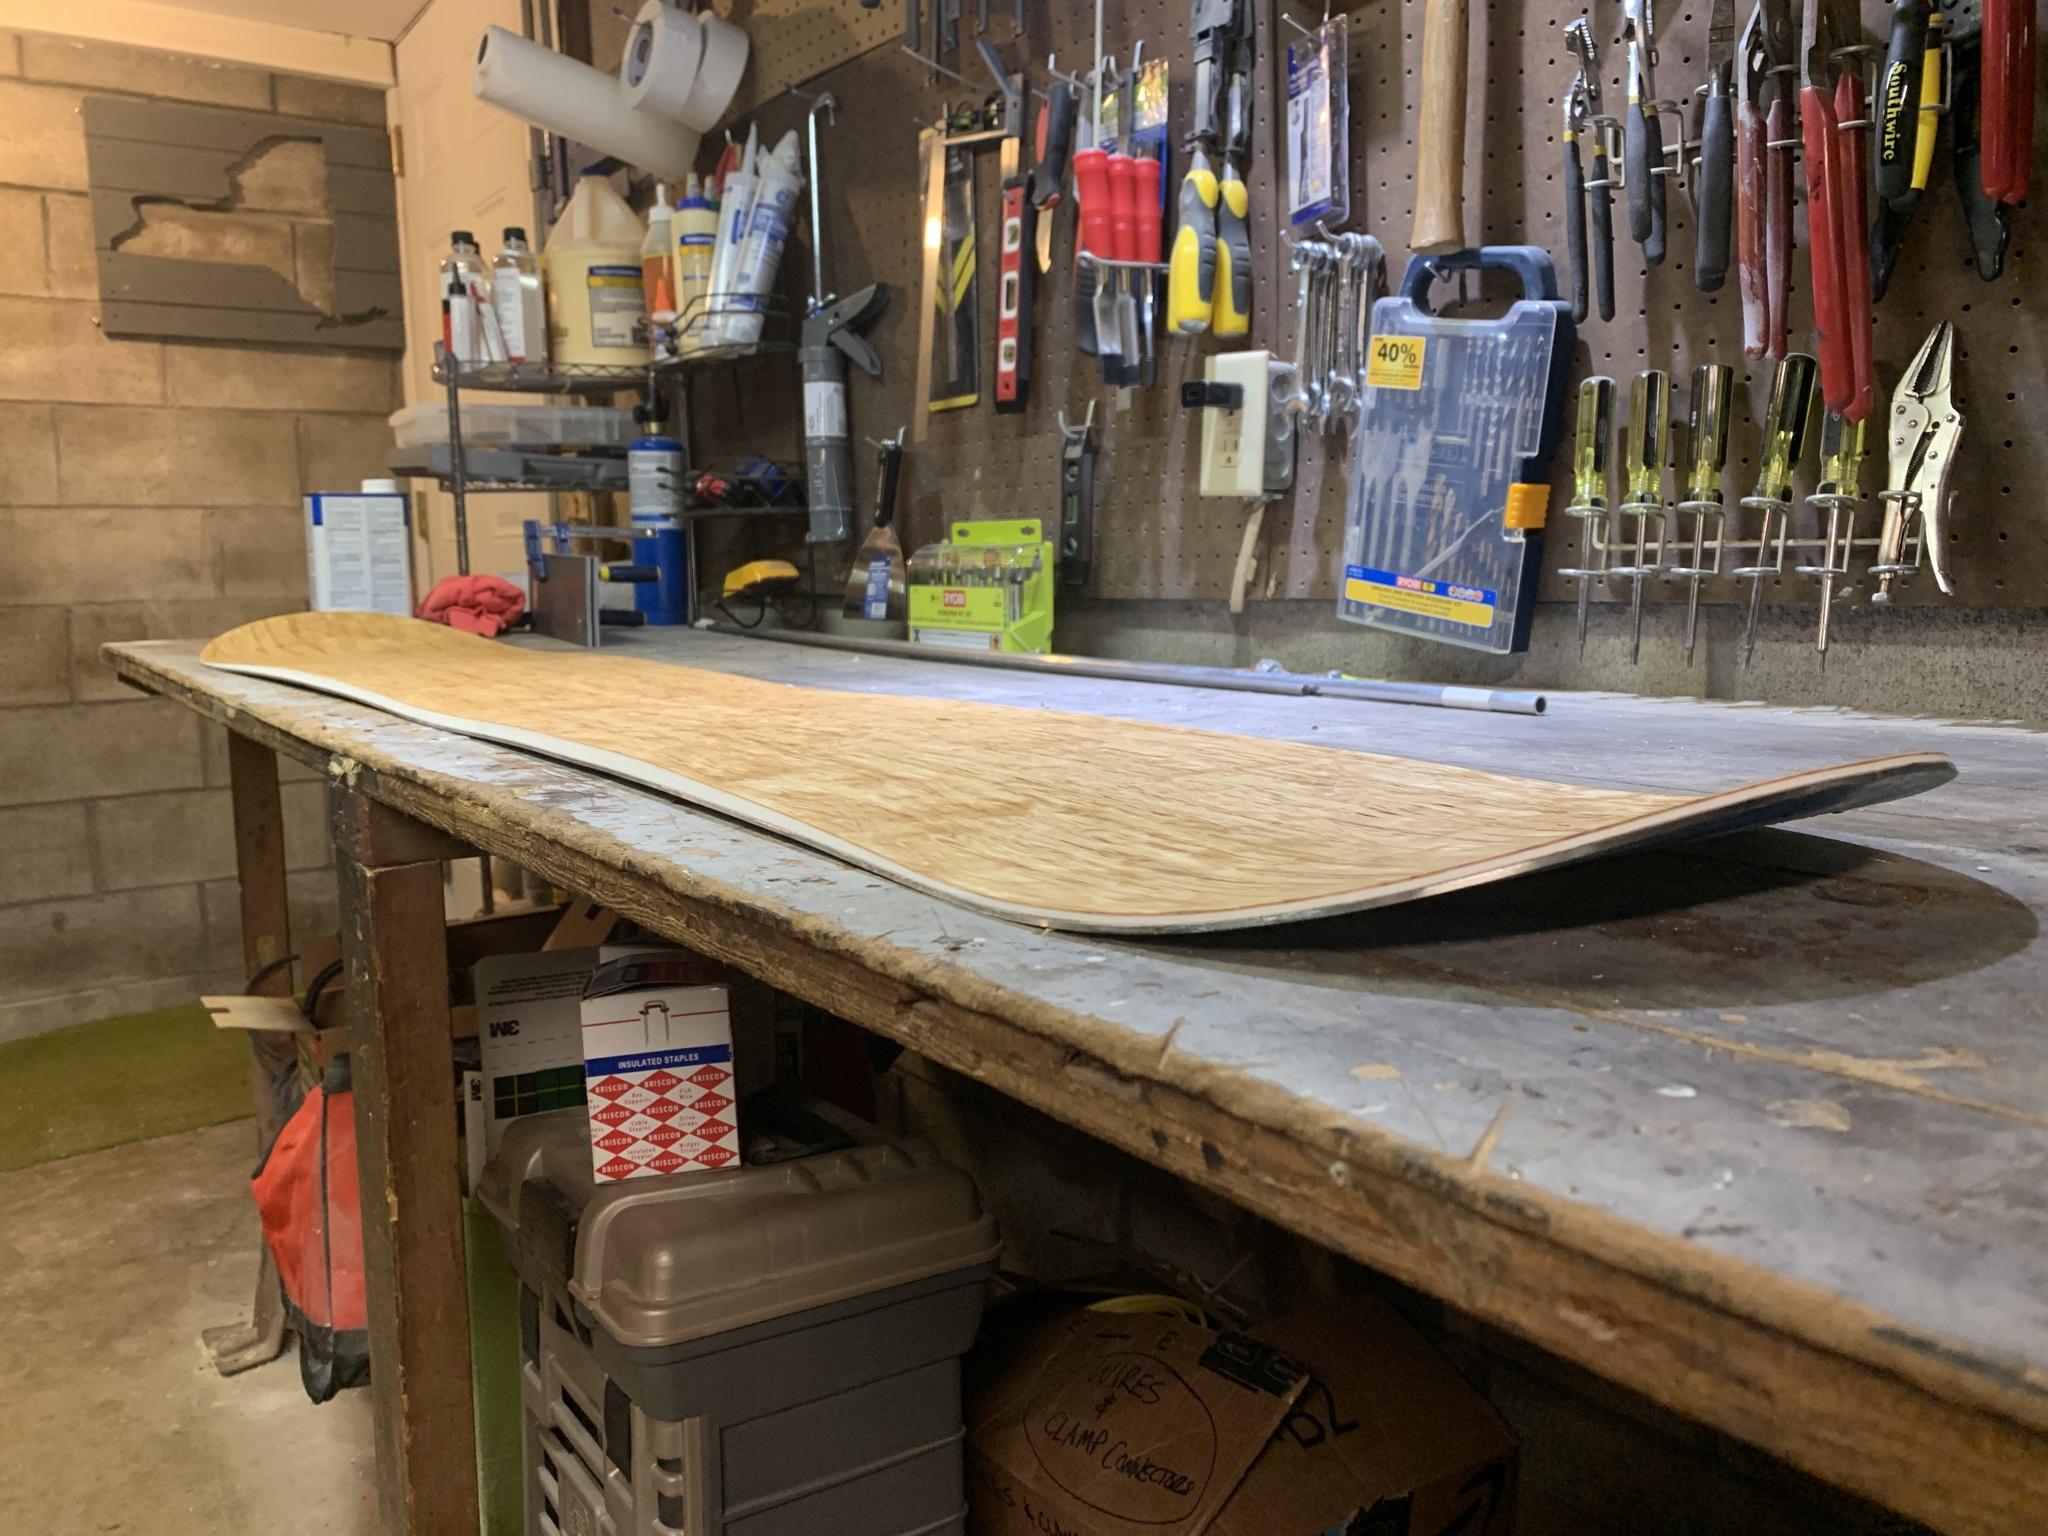
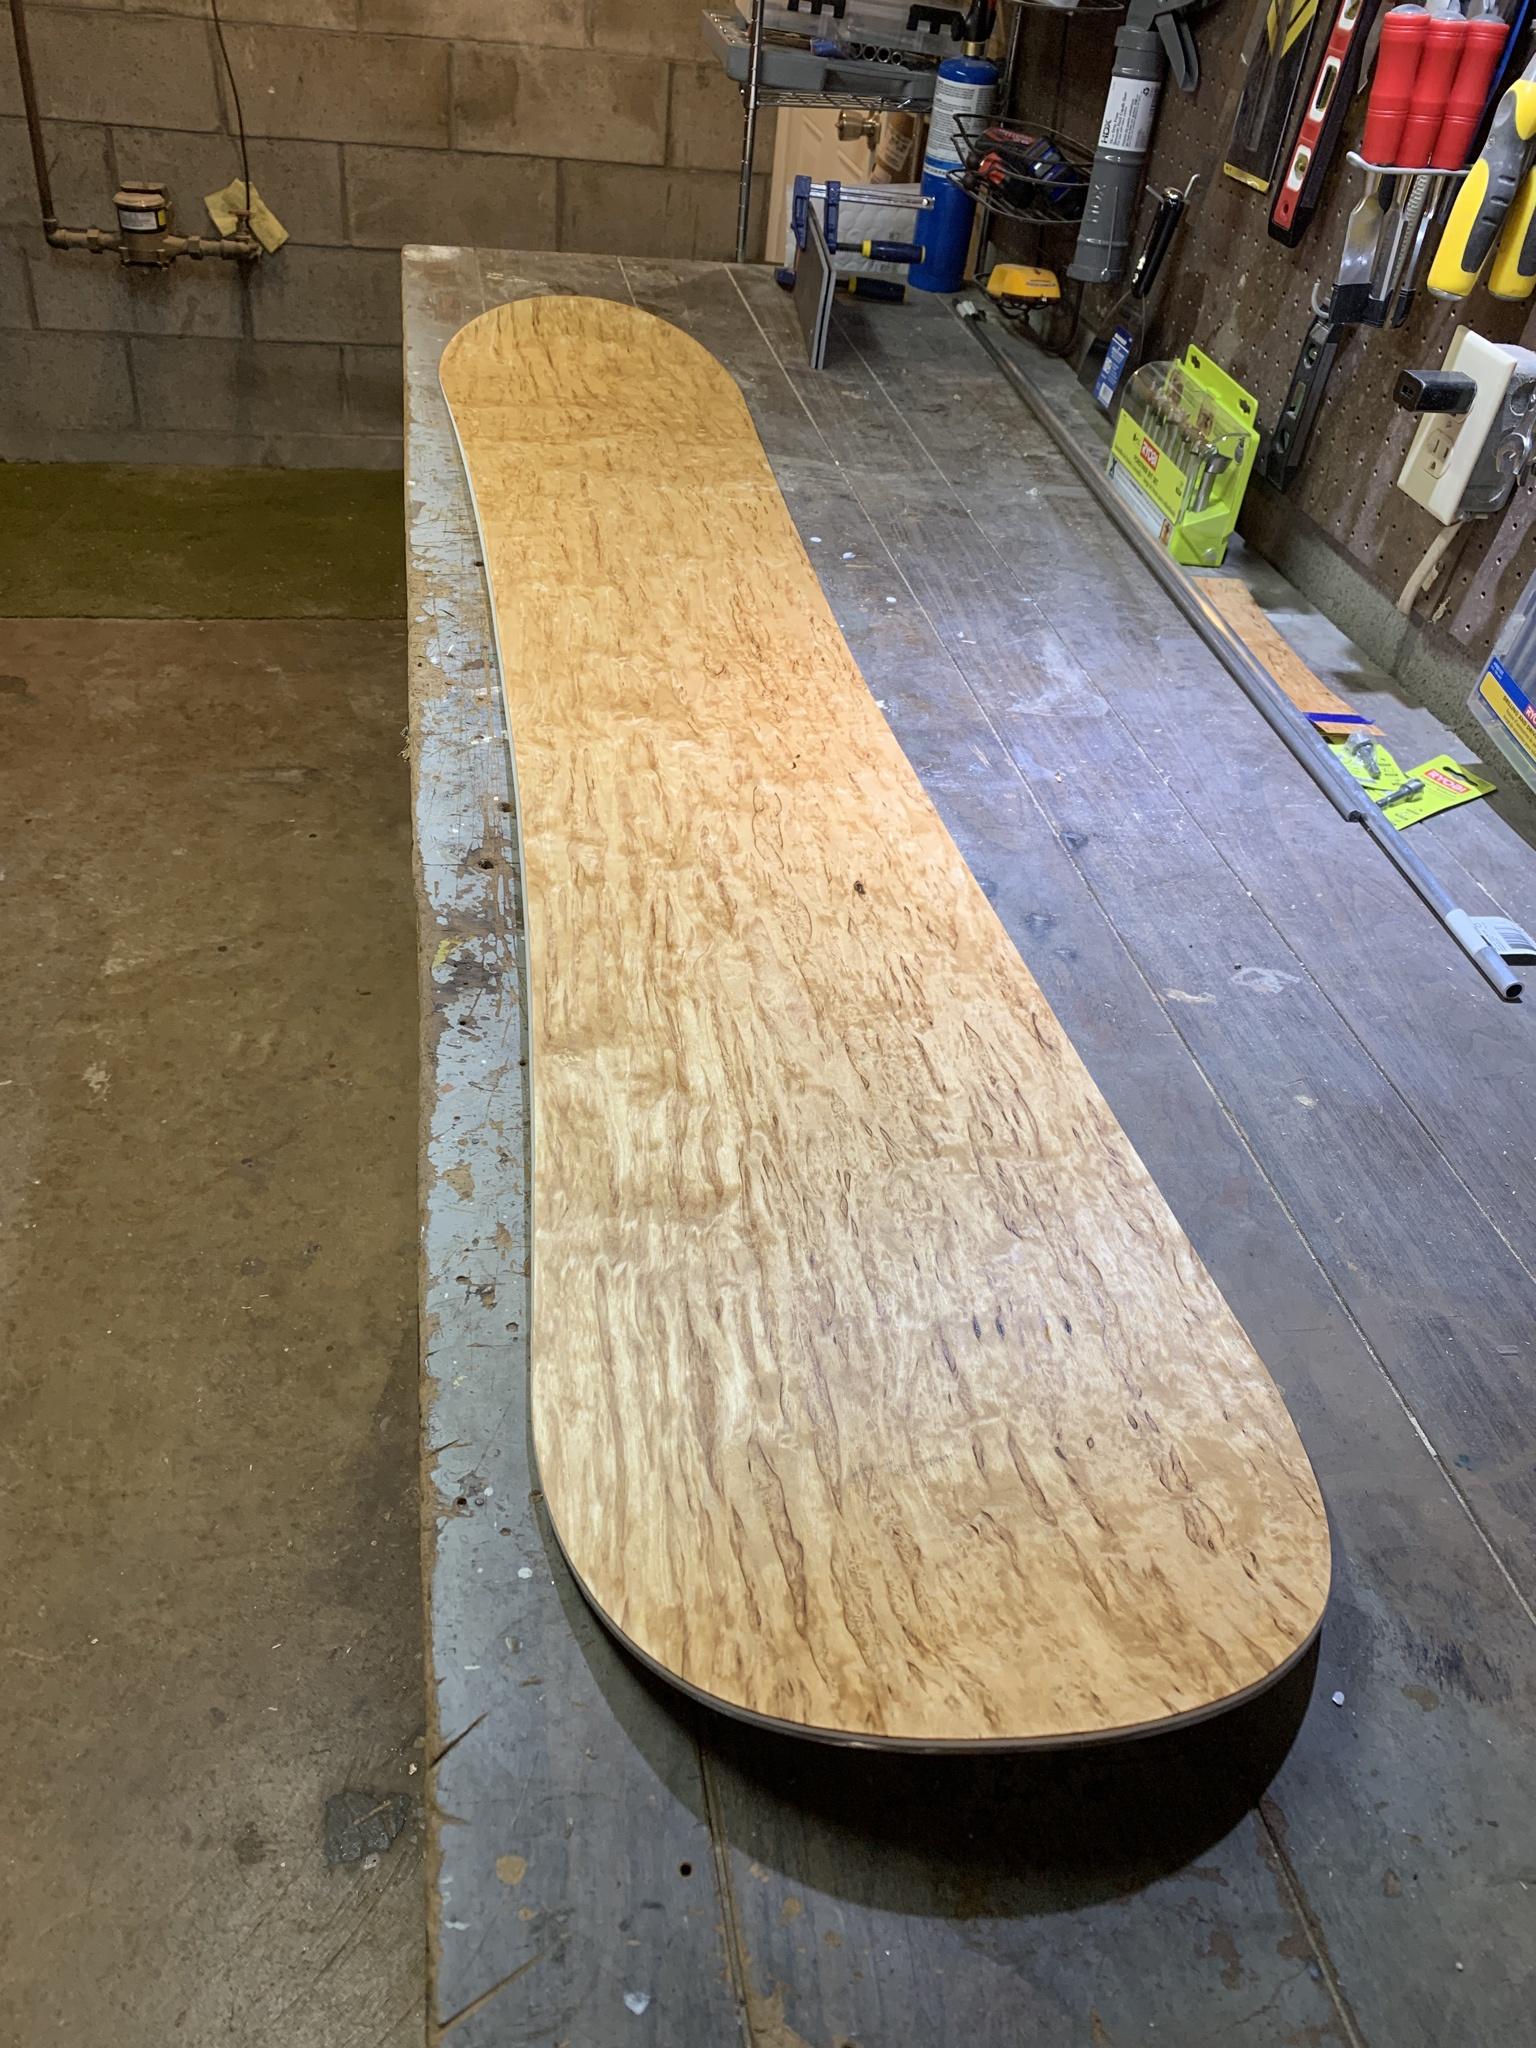
next pair is going to be some skis again! (yay). the plan for this is to try some inlays and laser work instead of just plain veneer for the topsheet. they're going to be 170 cm all mountain skis - about 95mm at the waist and 17m radius.
I got a laser engraver on aliexpress (neje master) and it's been pretty simple to set up! I used the software it came with to control it, and made dxf files in autocad for the vector graphics:
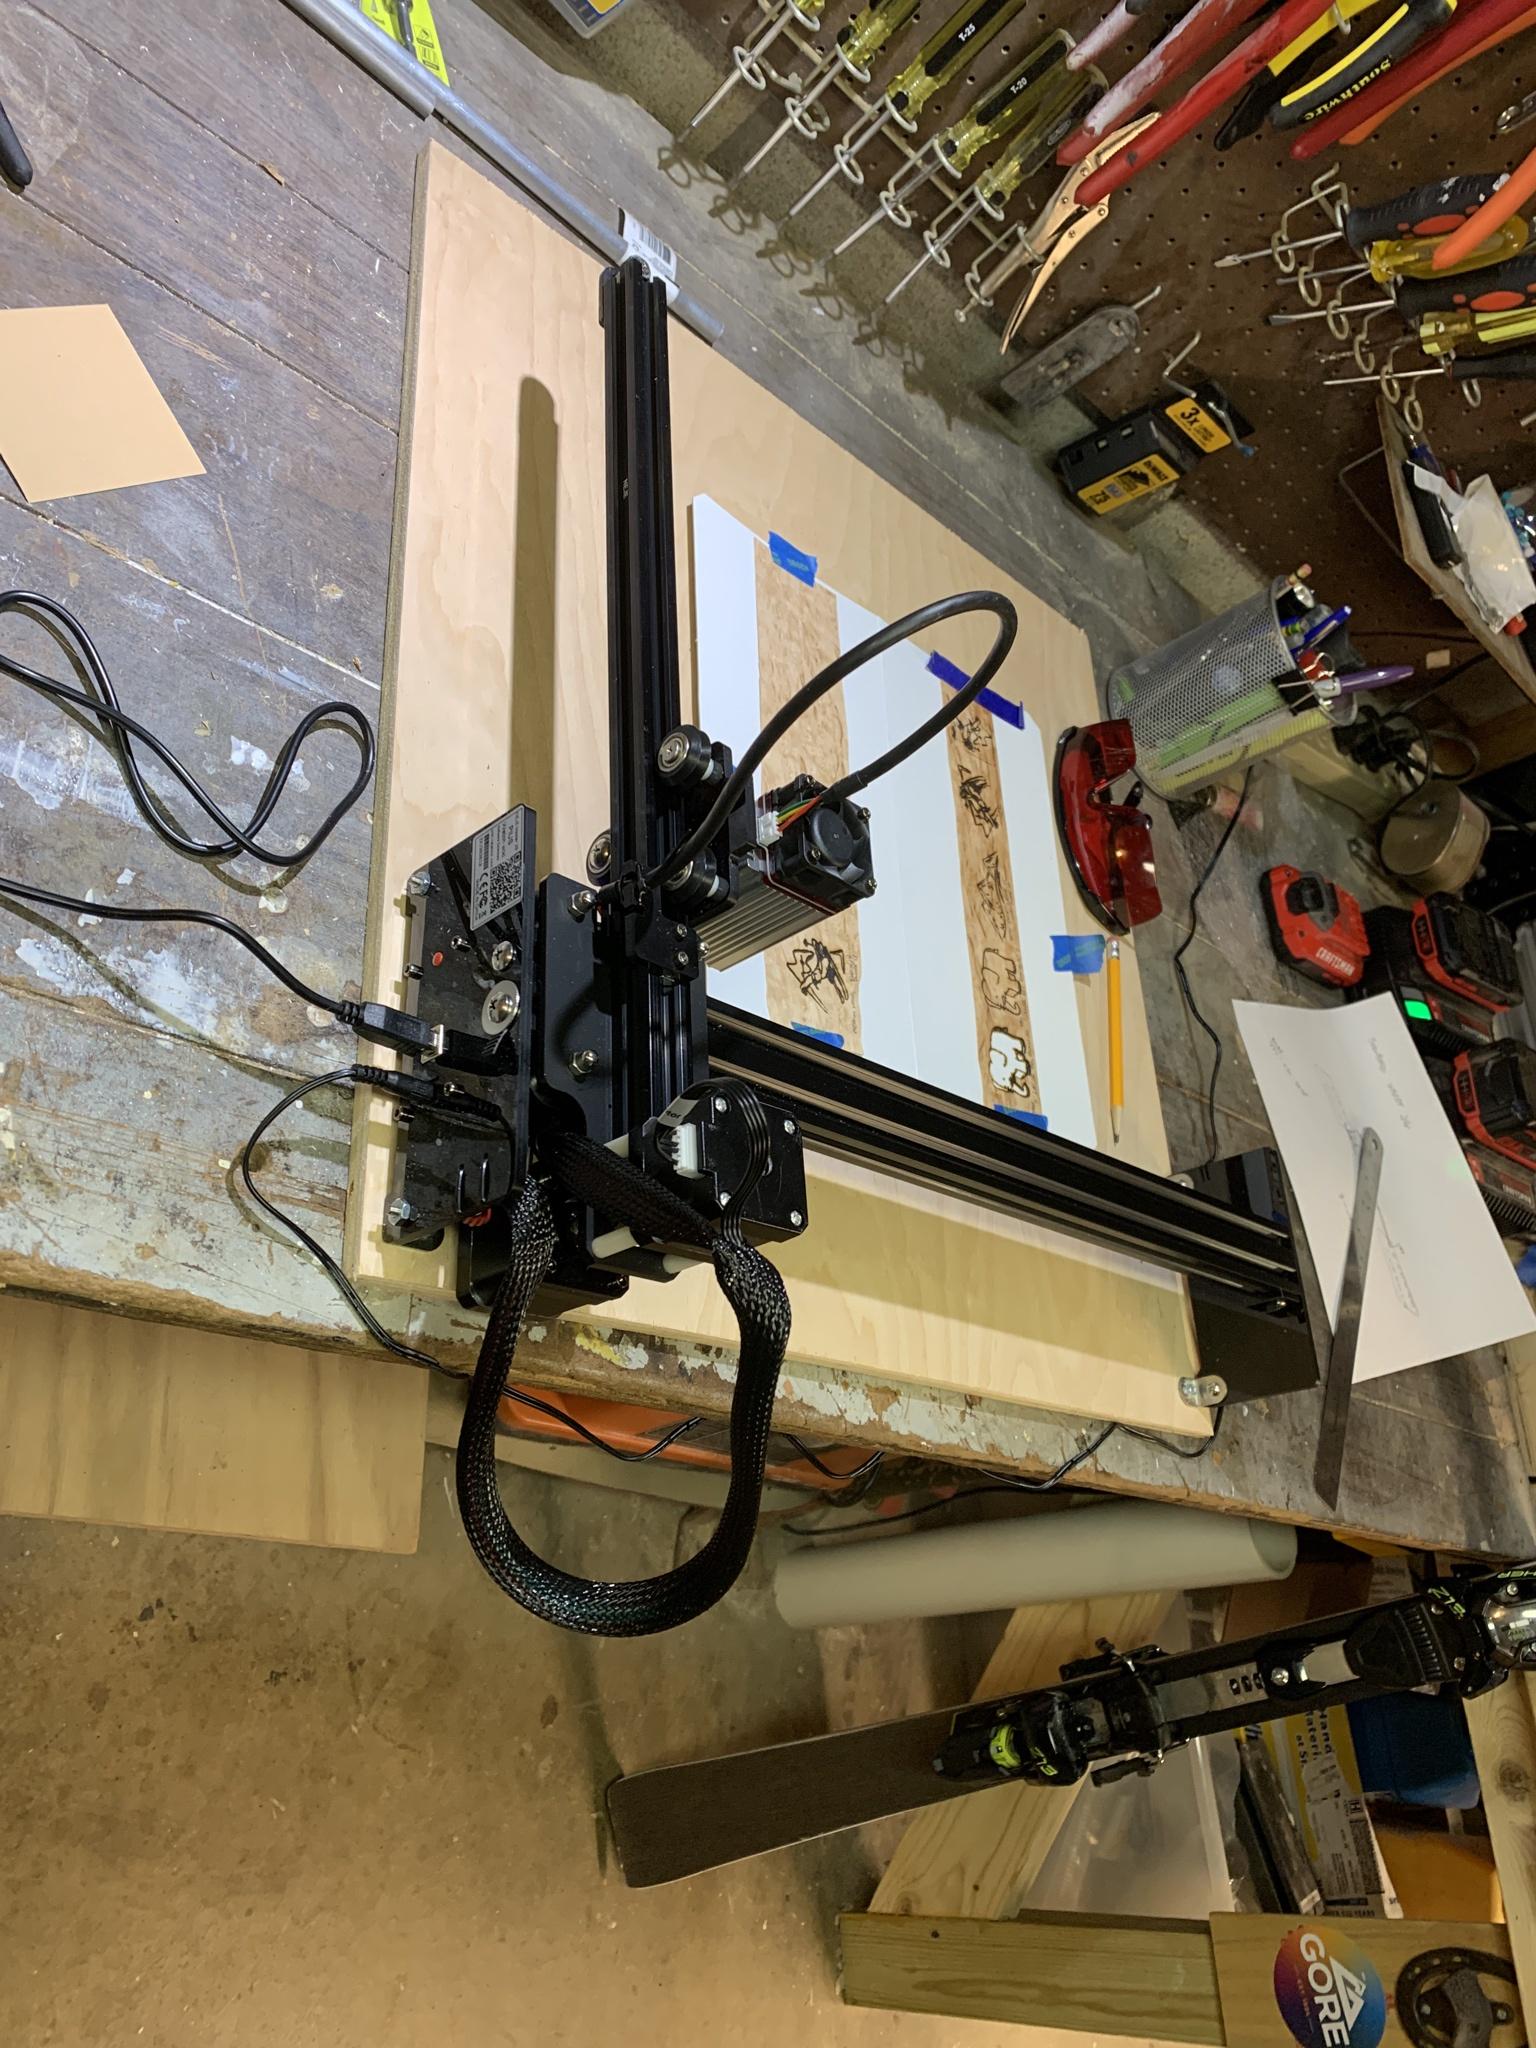
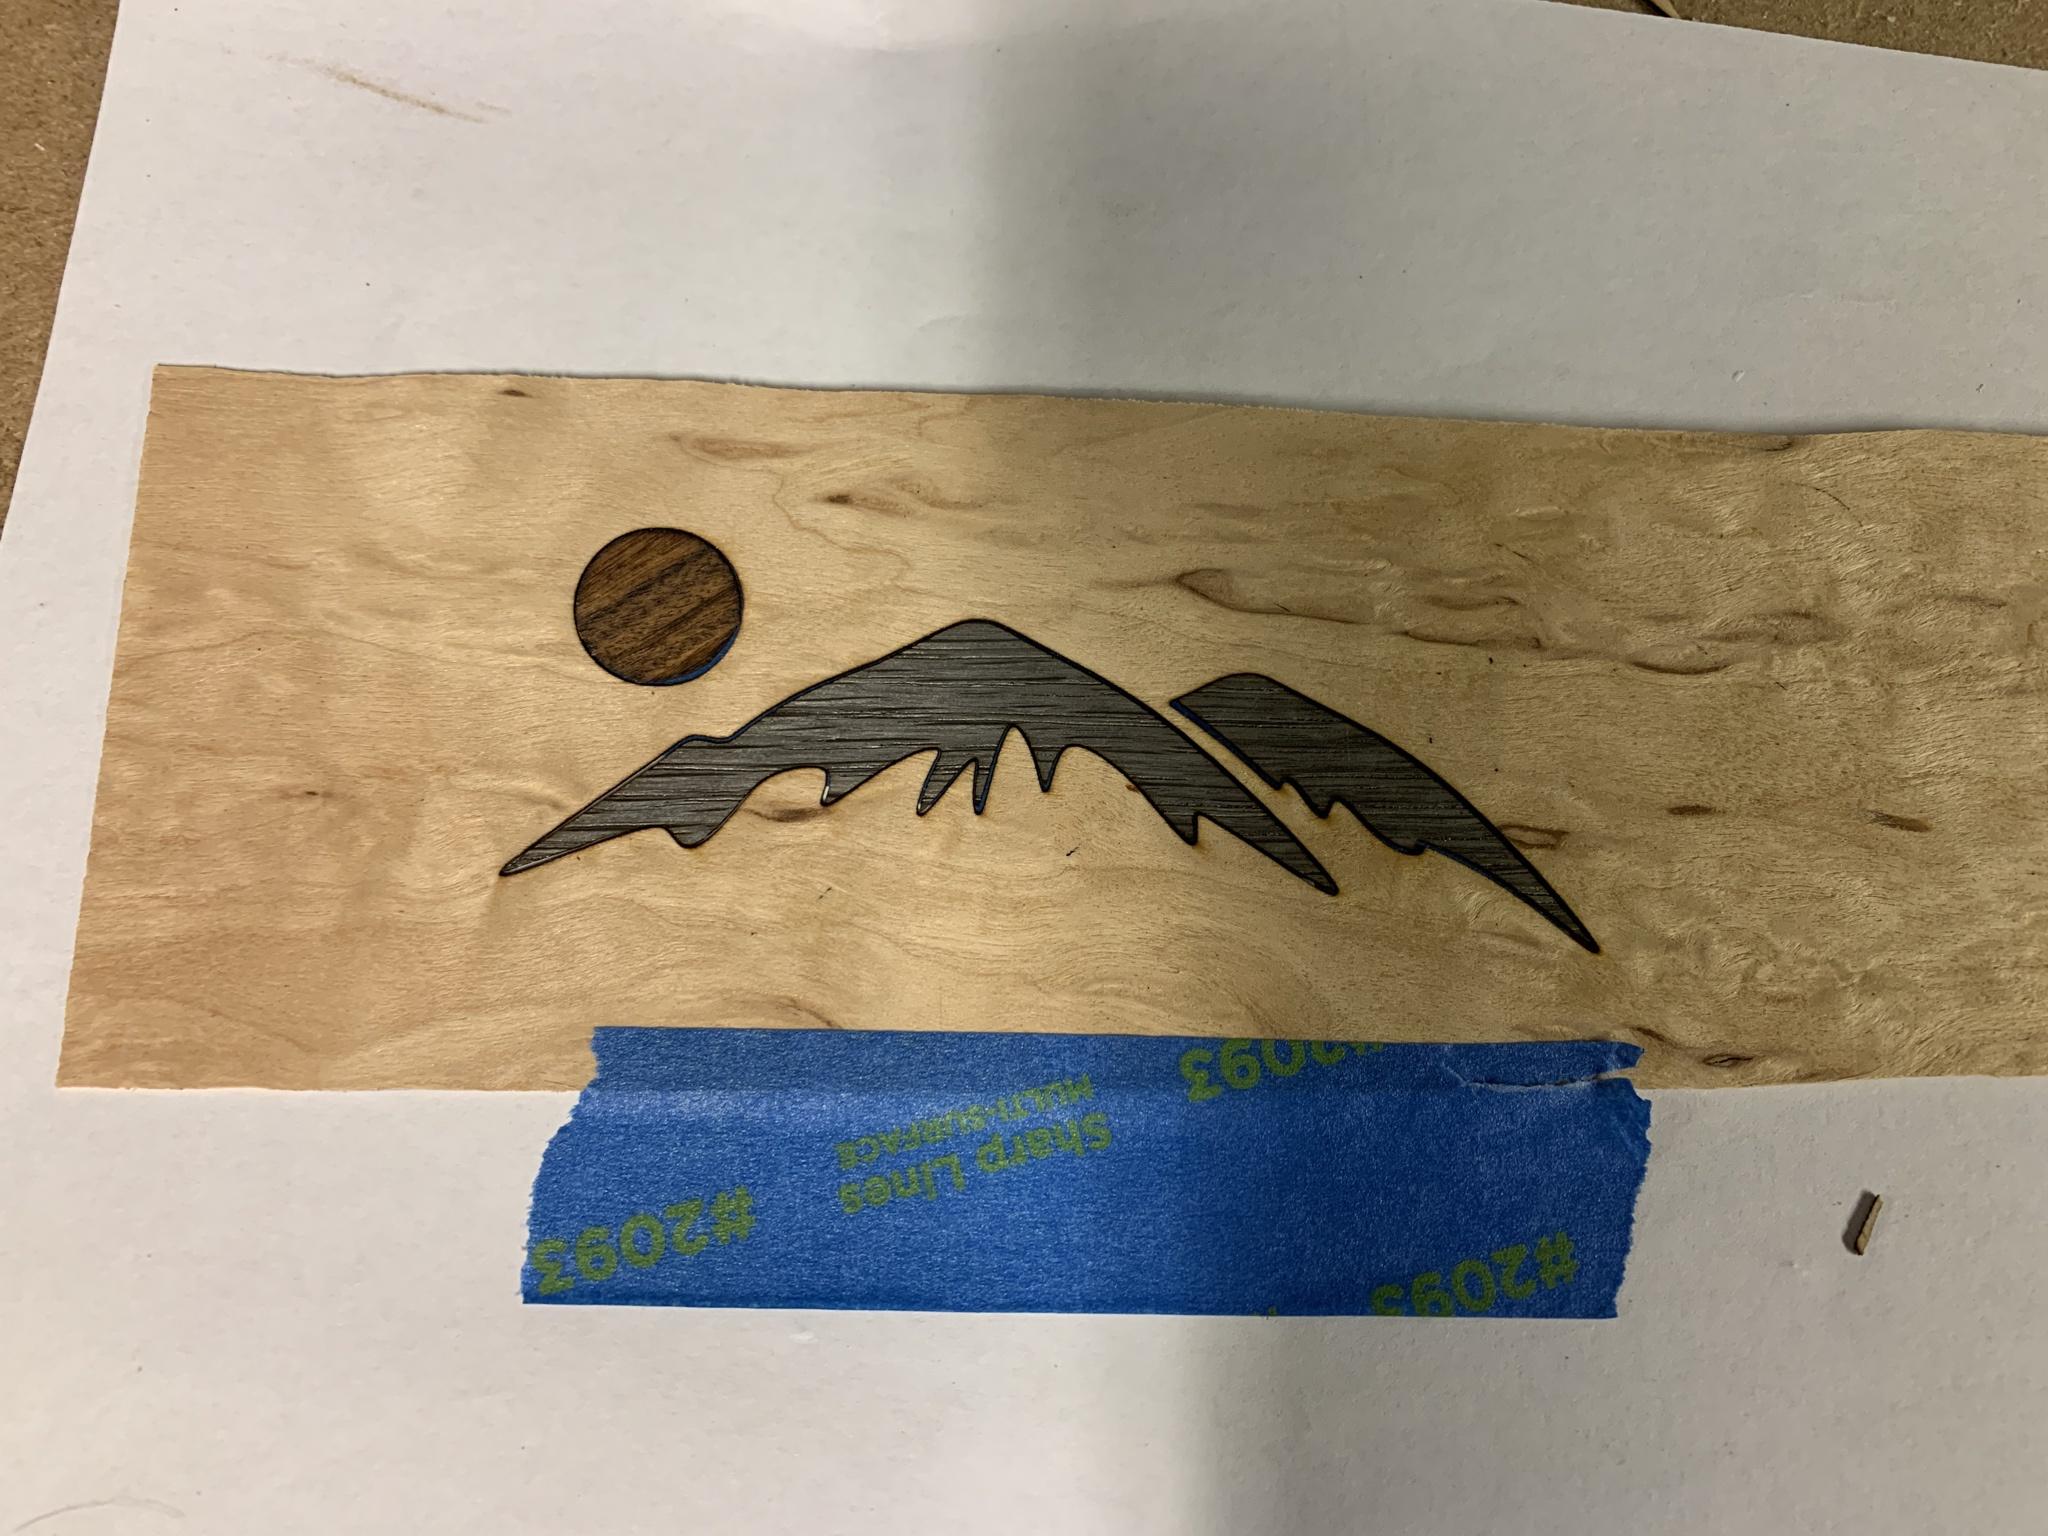
worked pretty well in scrapwood for the tests! I'm hoping to do more large and complex inlays for the the ski, and experiment with stripes as well (gonna try veneer tape and a veneer saw with a straight edge) for the actual build.
in order to sort the base/core alignment issues I've been facing, here's the plan:
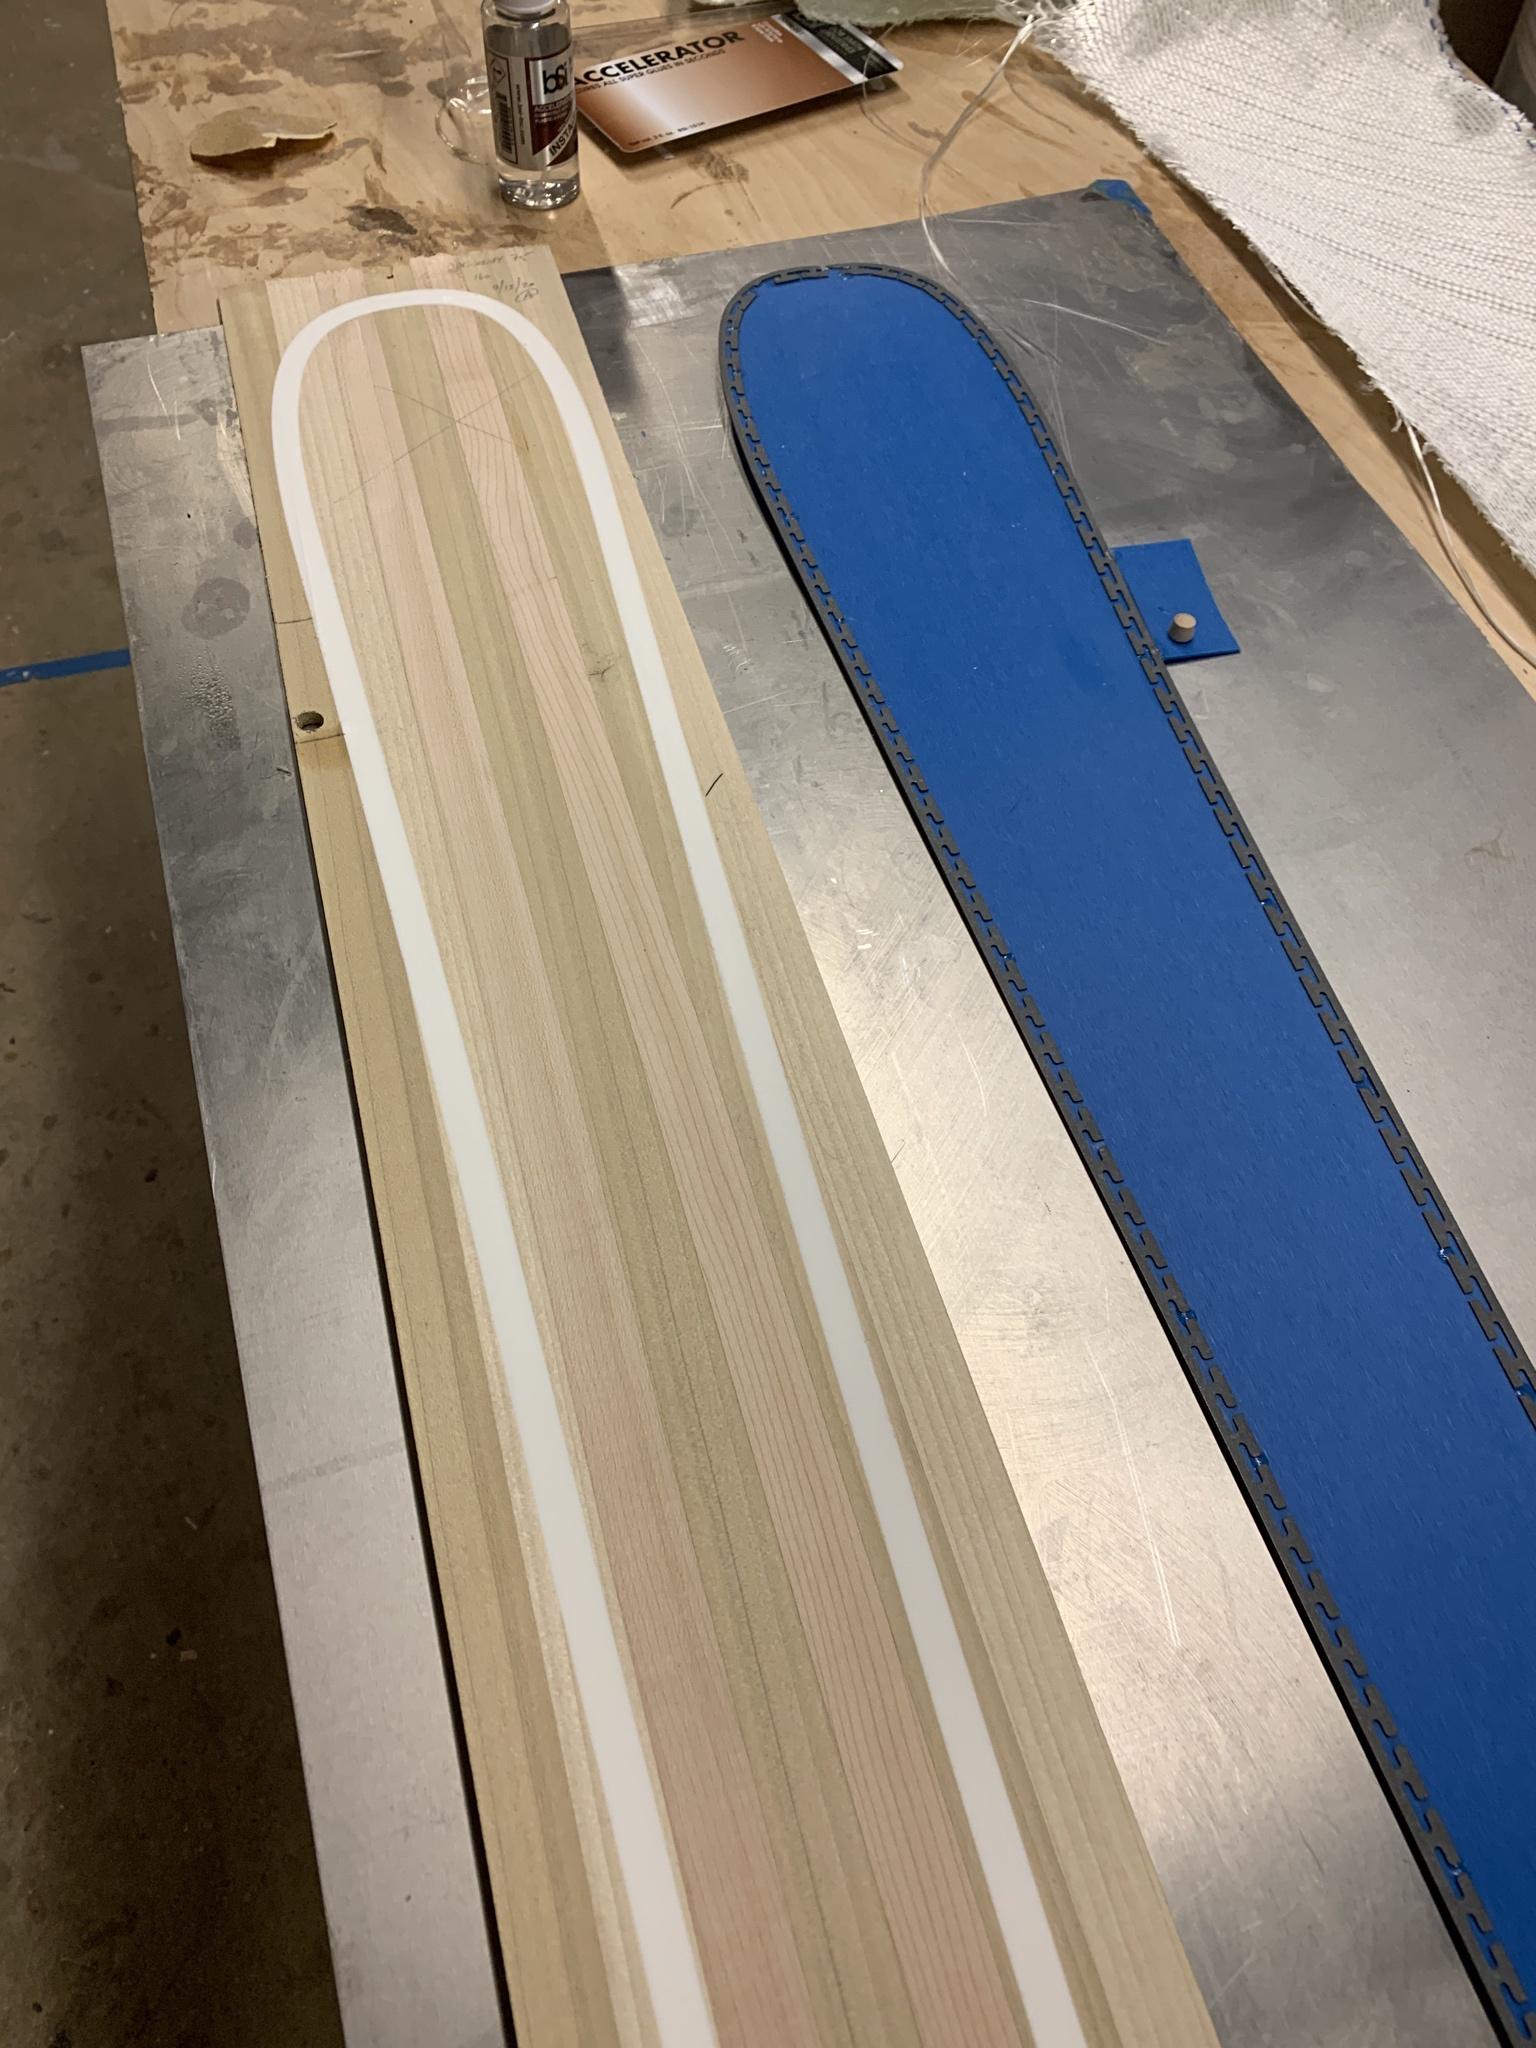
they're just dowel pins from the big box store and I drilled matching holes outside the ski for them to slip into. the pins are superglued into place on some scrap ptex in a similar manner that snowboard binding inserts are used for alignment.
lastly - my friend who I made the last board for and I took our equipment to gore last weekend! he liked the board!
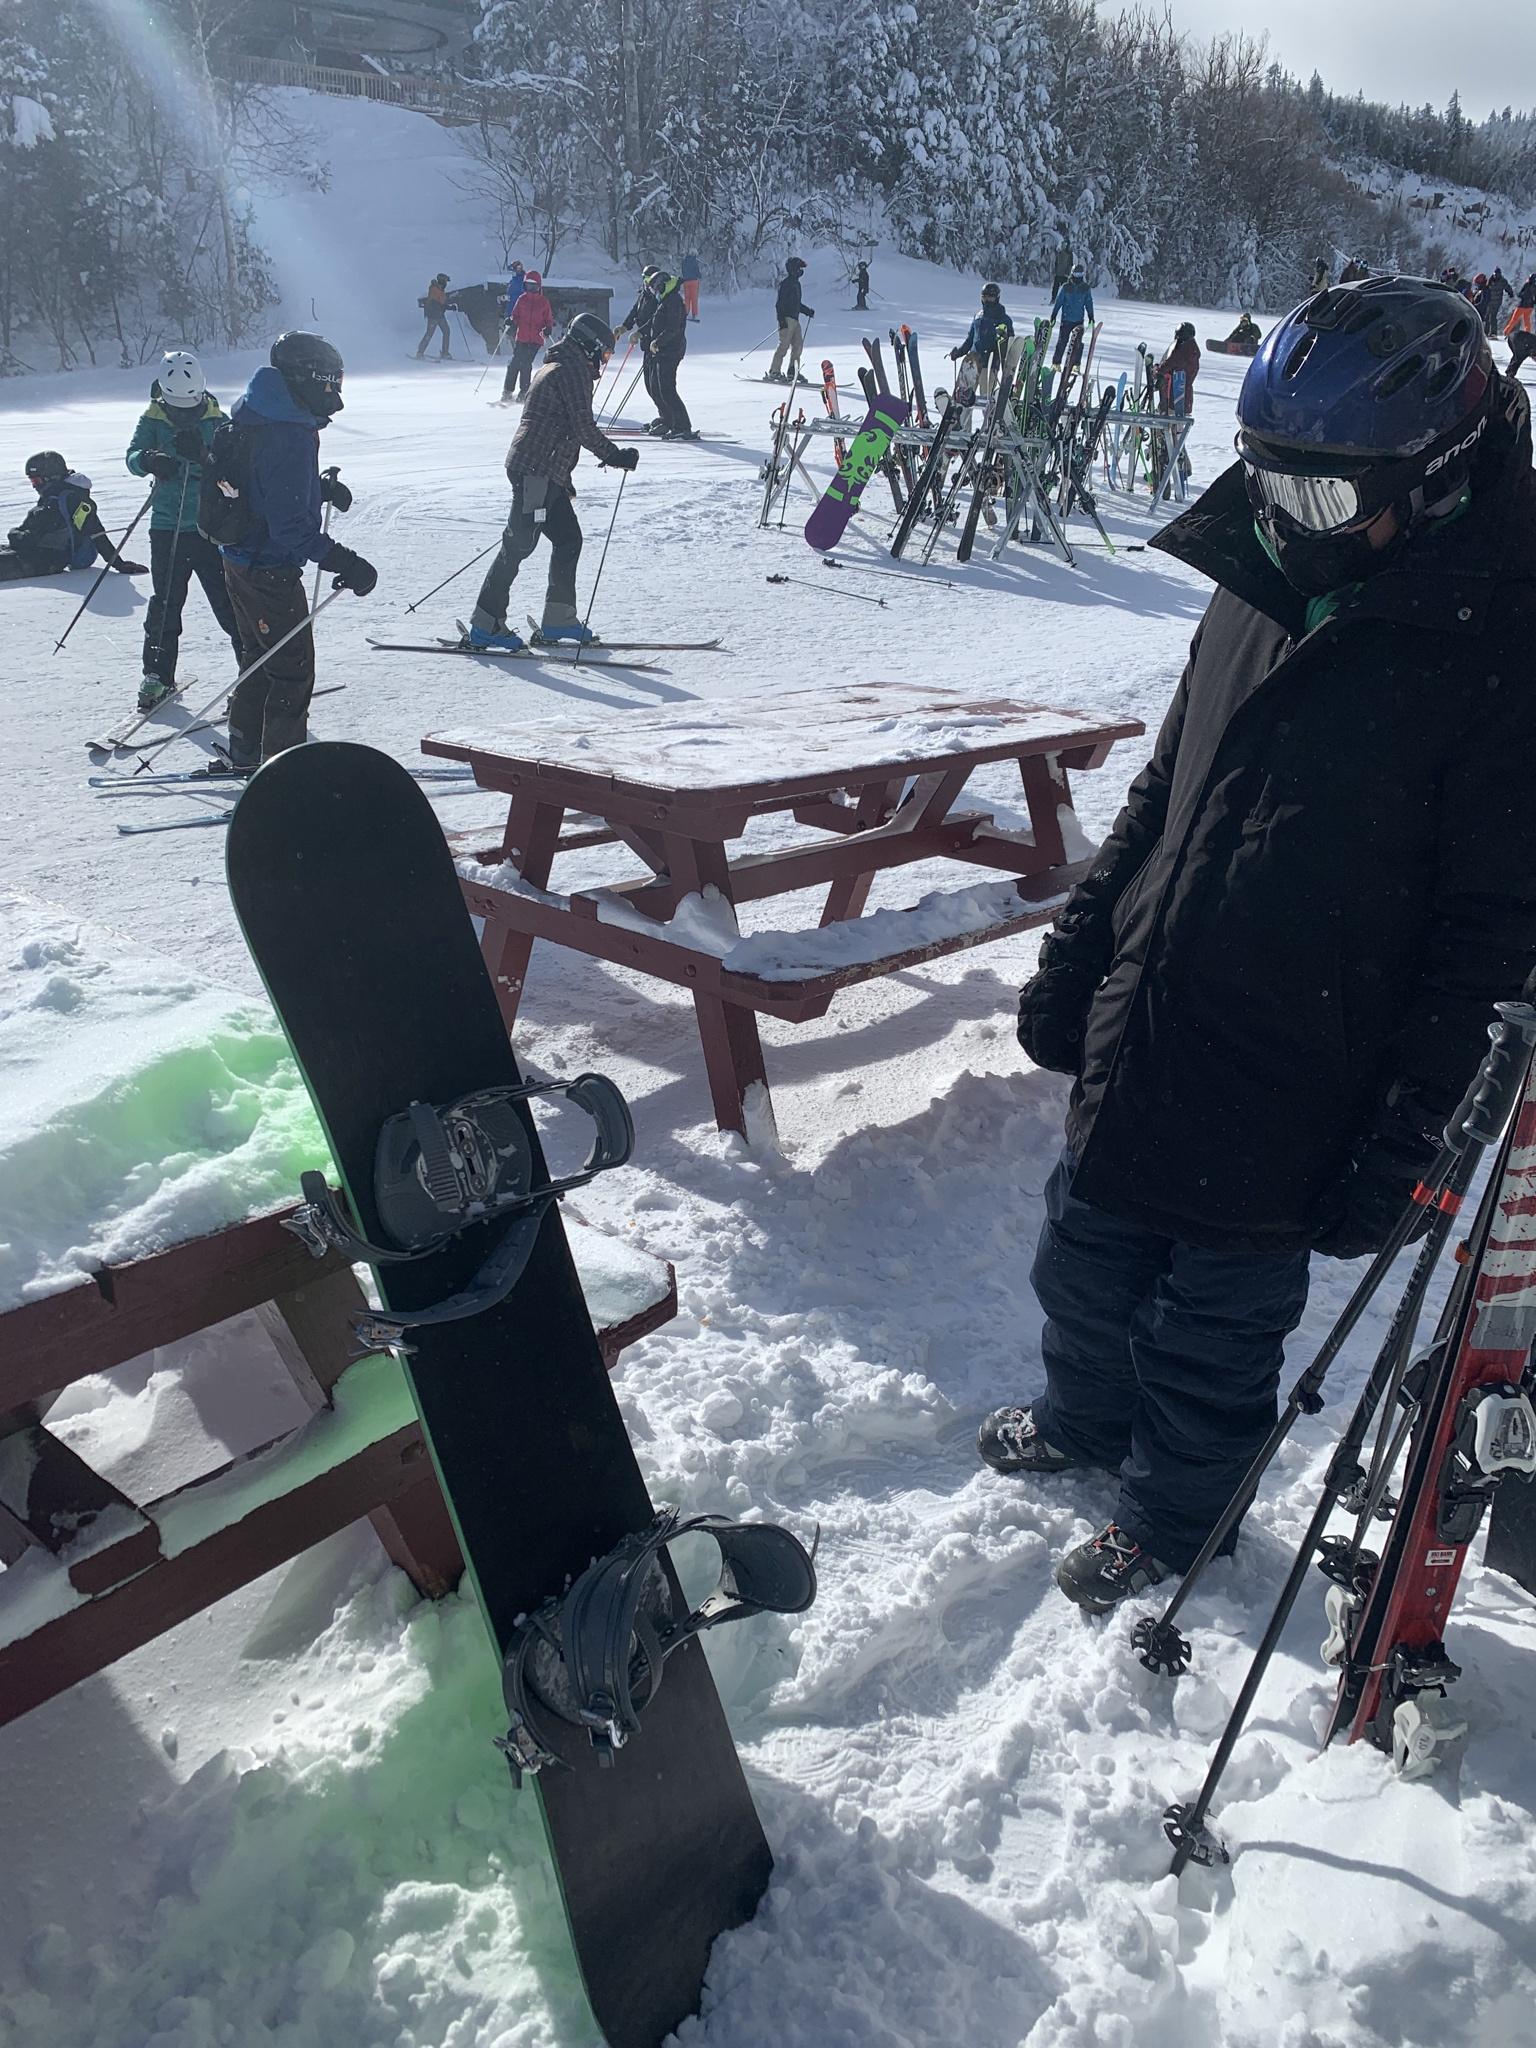
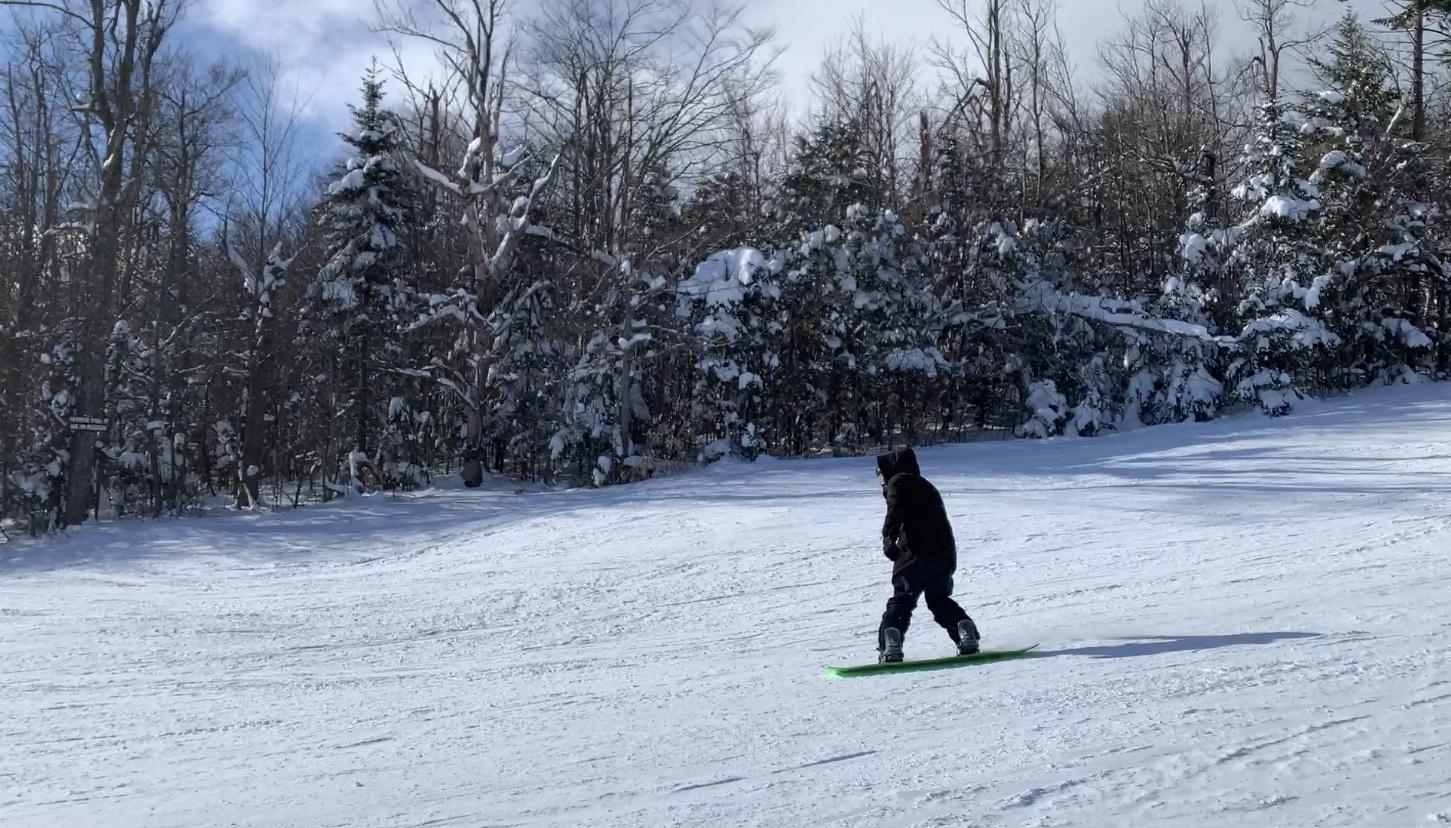
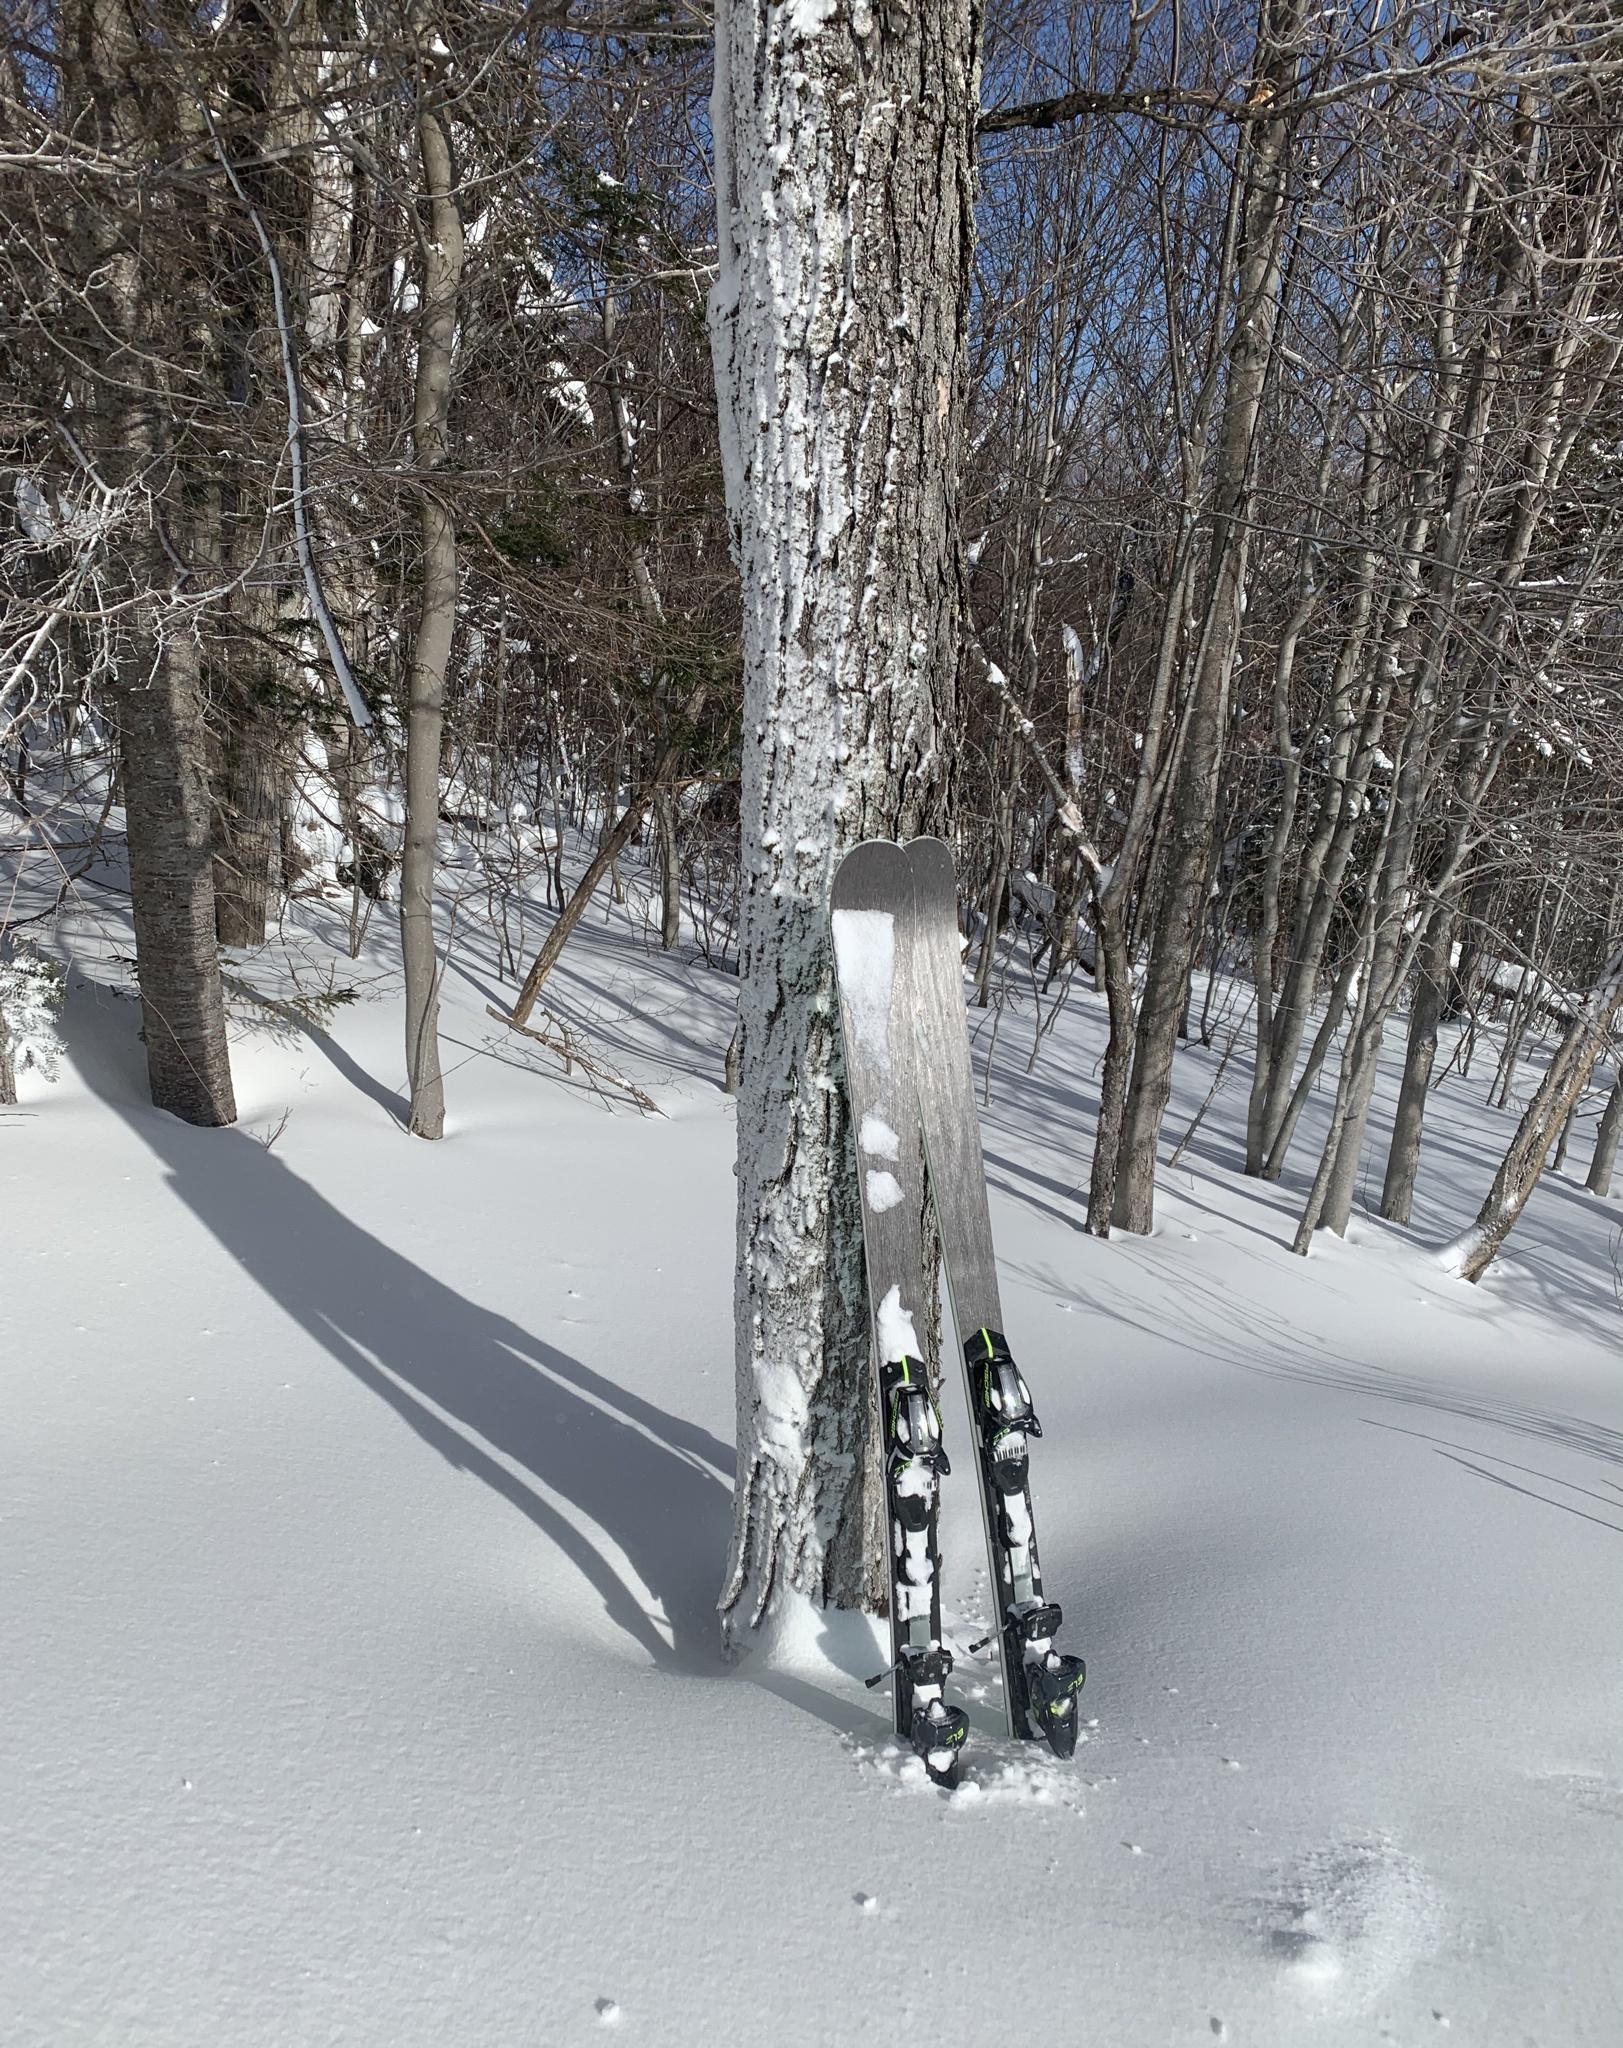
hope you all are having a great winter! Cheers!
SleepingAwakeSun Jan 31, 2021 11:55 am
Man i hope your laser safety goggles are up to snuff. These lasers without enclosure scare the living bejeezus out of me...
JonrezzSun Feb 21, 2021 4:23 pm
Couple of updates!
The laser is a bit scary haha! Ive been using the glasses that come with them, they seem ok. I look forward to incorporating the laser in a build in the near future!
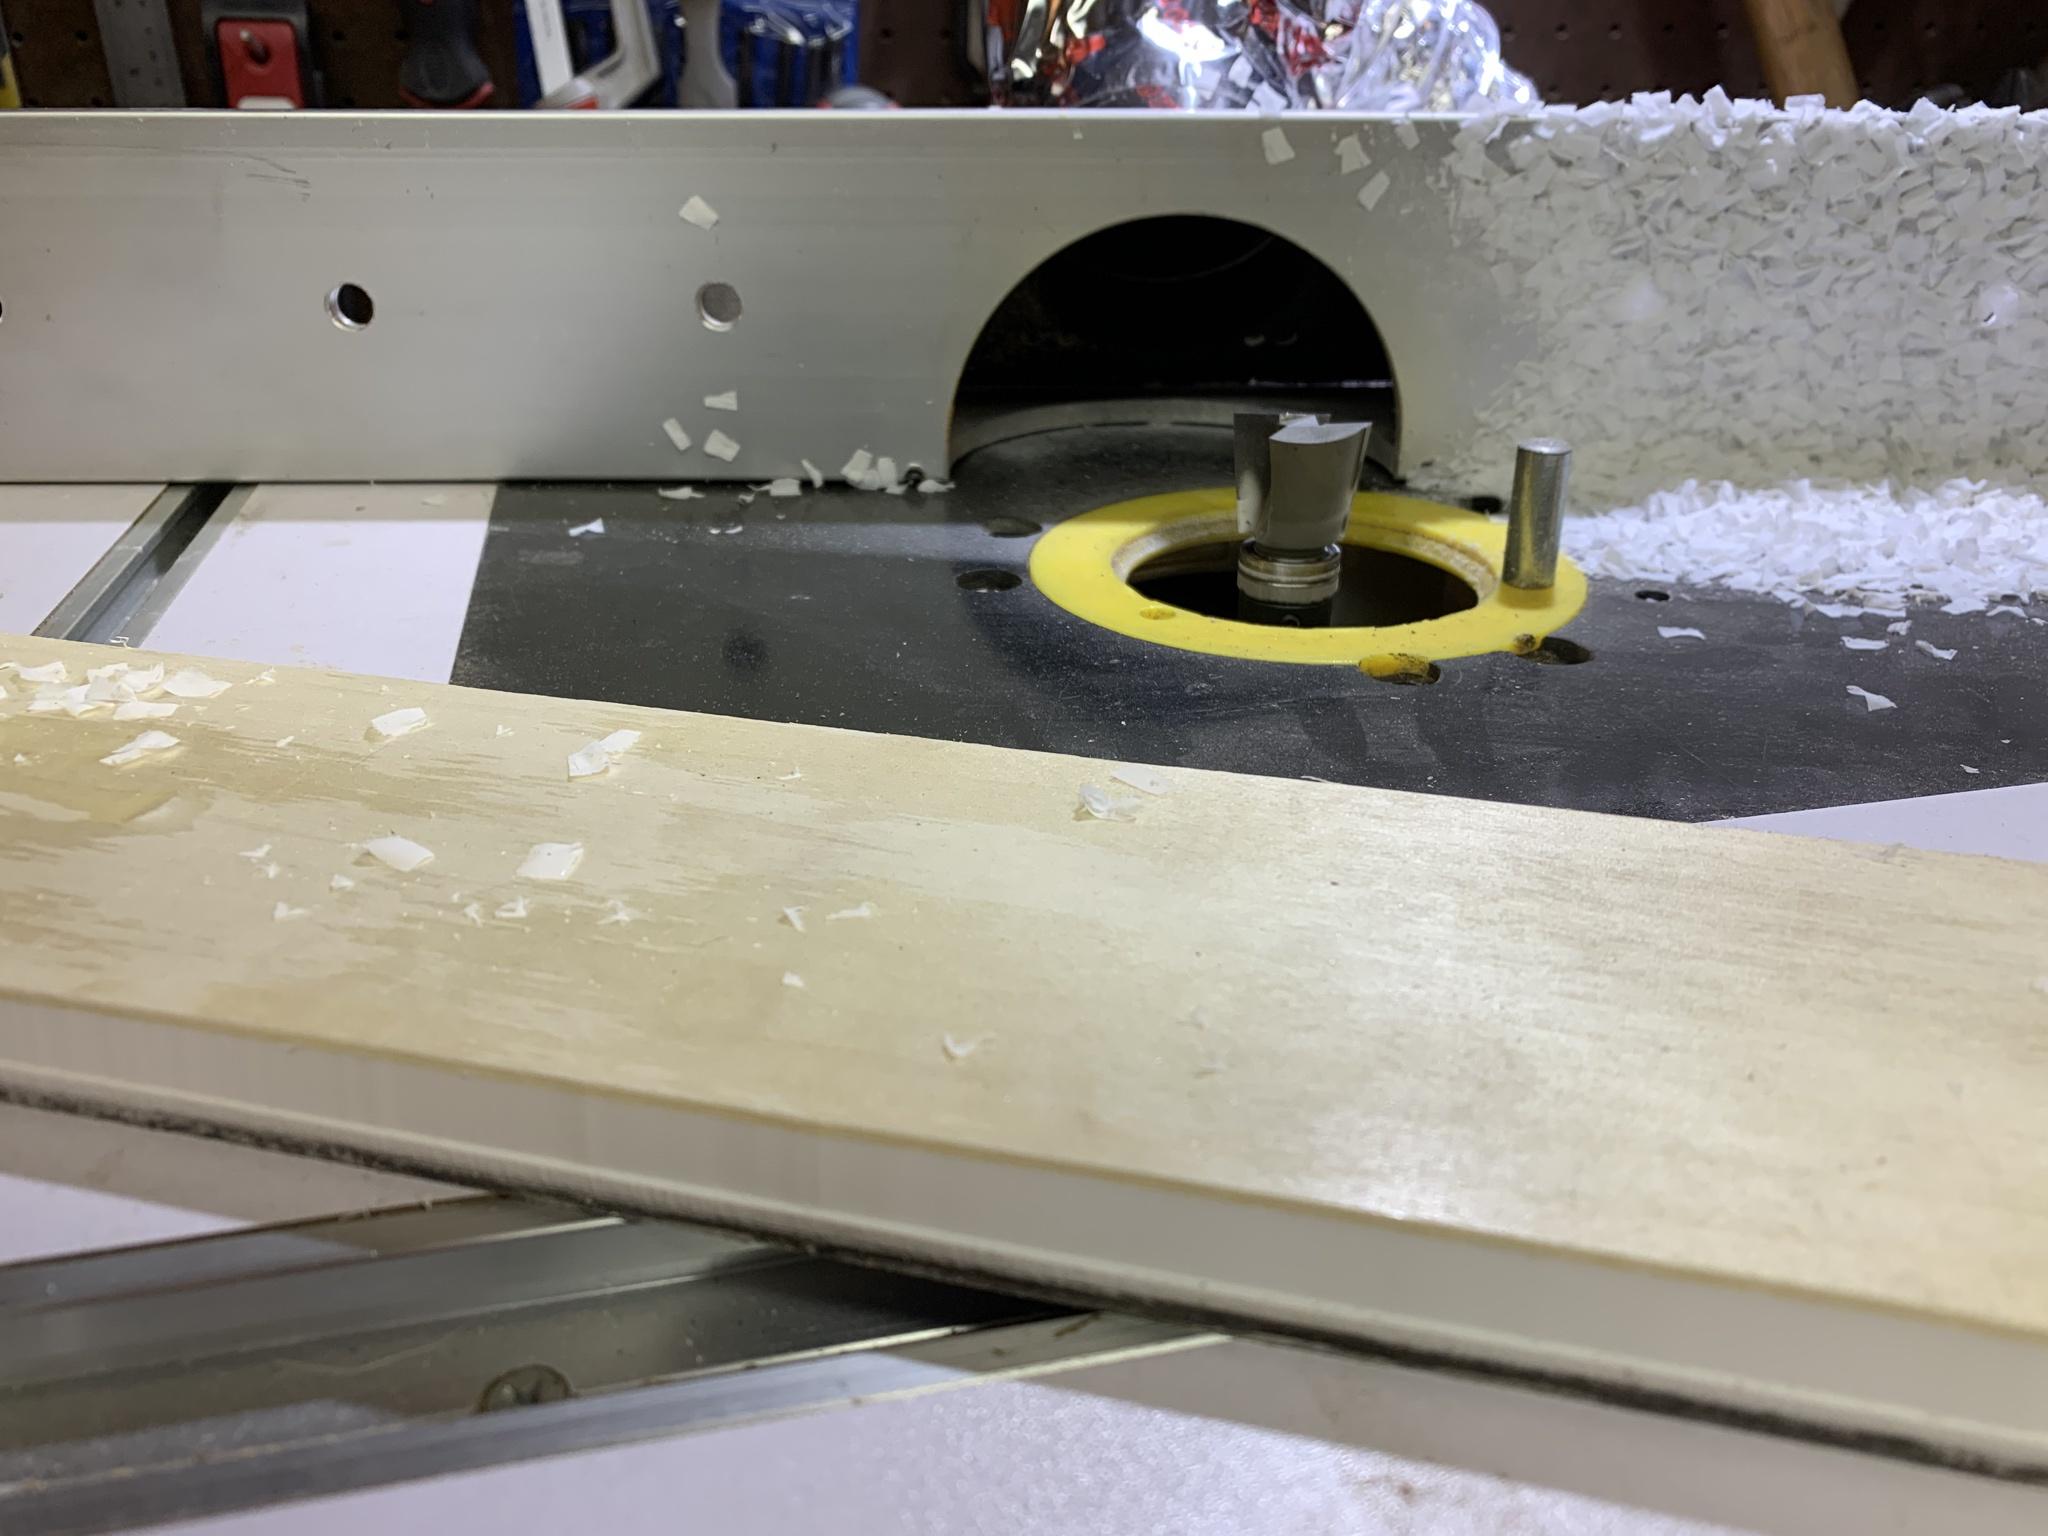
Regarding the sidewall router jig with the bit combination I found, I am pleasantly surprised! check out the result
and here's some progress pics from my latest ski build, it's a 170 cm all mountain for someone who is on the lighter side (155 lb) - 2/8/2 mm poplar core with two 19mm maple stringers, 130/95/121, 1" carbon tape between the base and bottom fiberglass, 20 oz/yd fiber. It's got 7mm of camber and a tip rocker section.
I used some offcut base material with wooden dowel pins for core alignment - worked great!
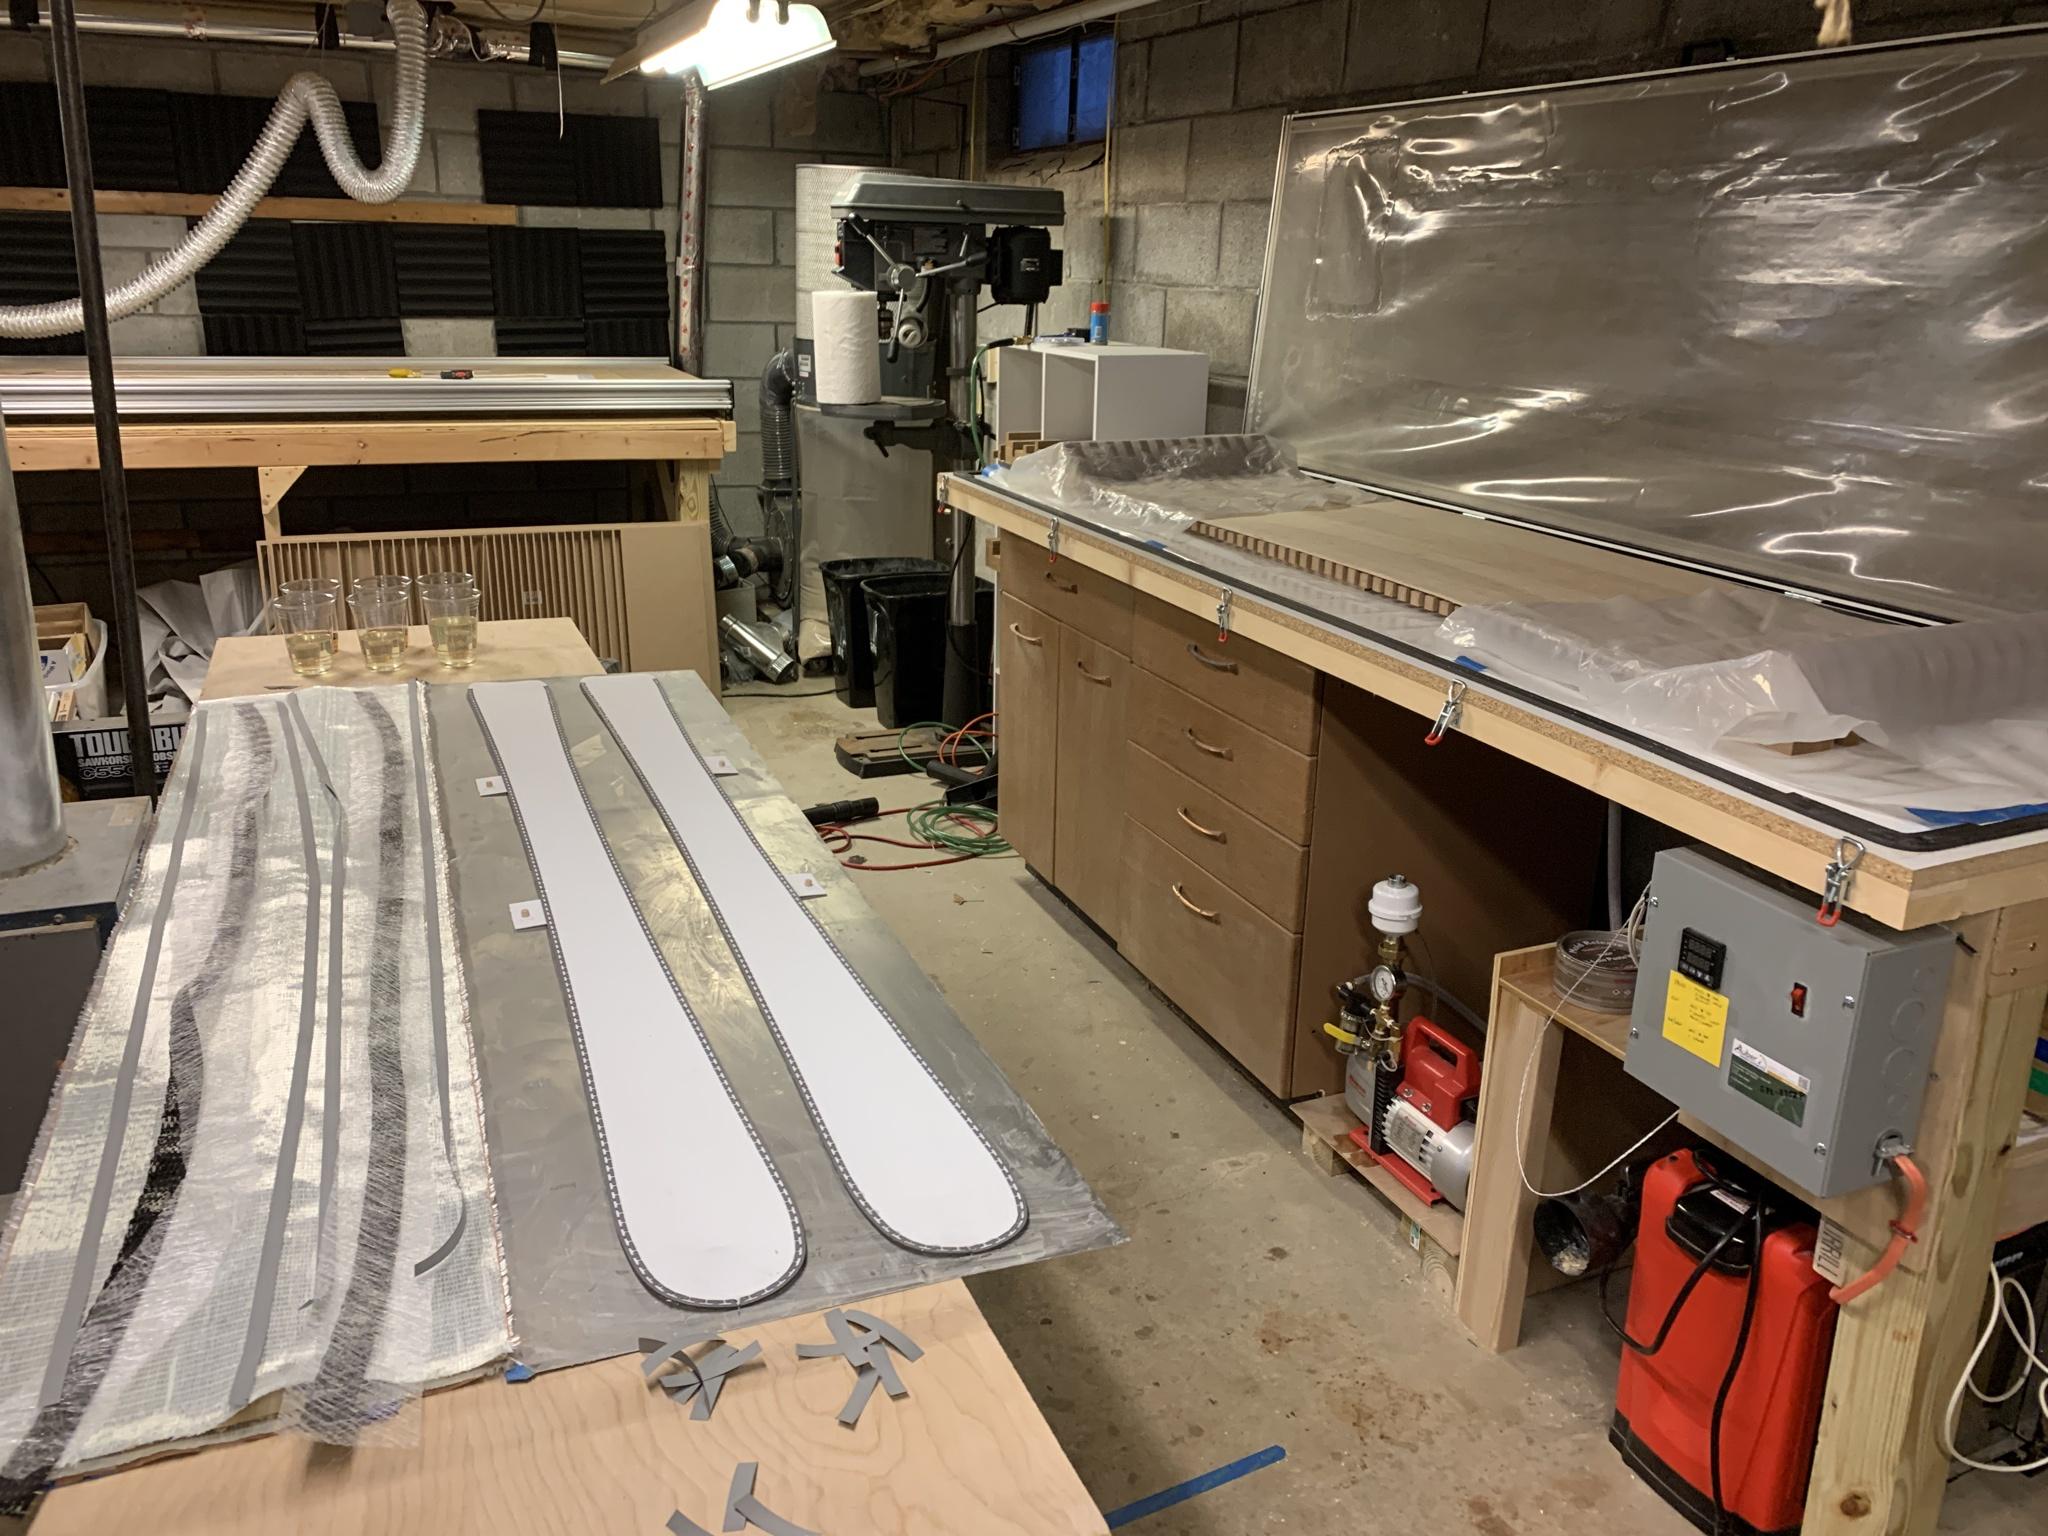
Mid-layup. The sidewalls are smooth-on 300 but I've died them black with PU pigment
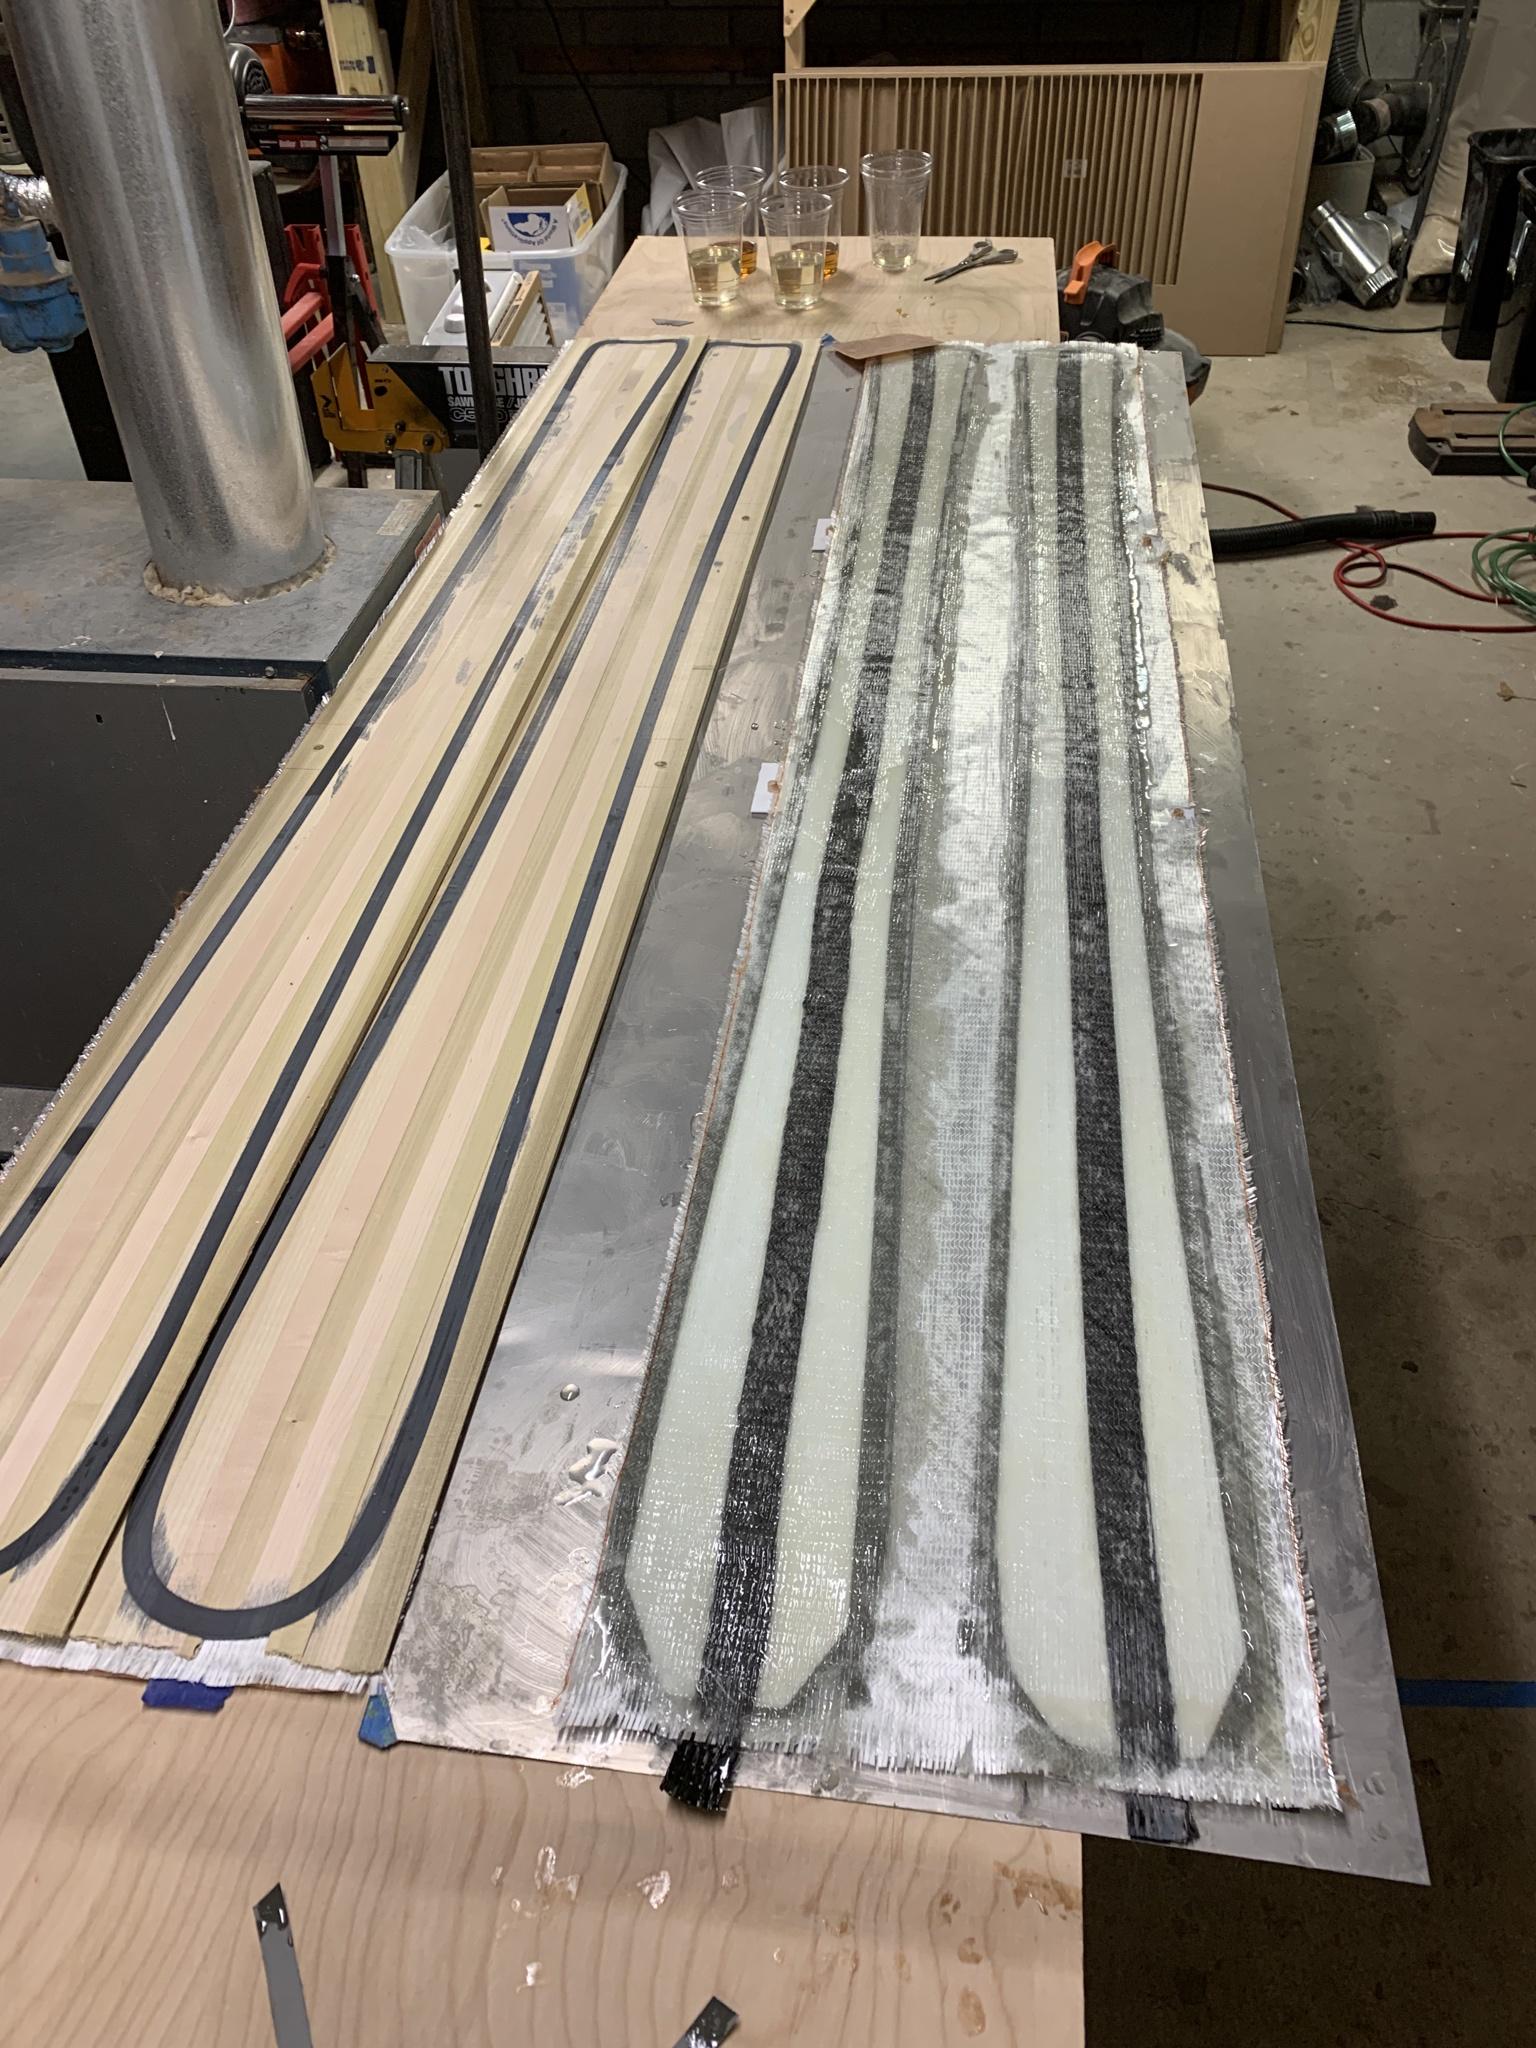
Topsheet has two cherry bands on the outside with a rosewood strip in the middle. Used some veneer tape underneath to joint it:
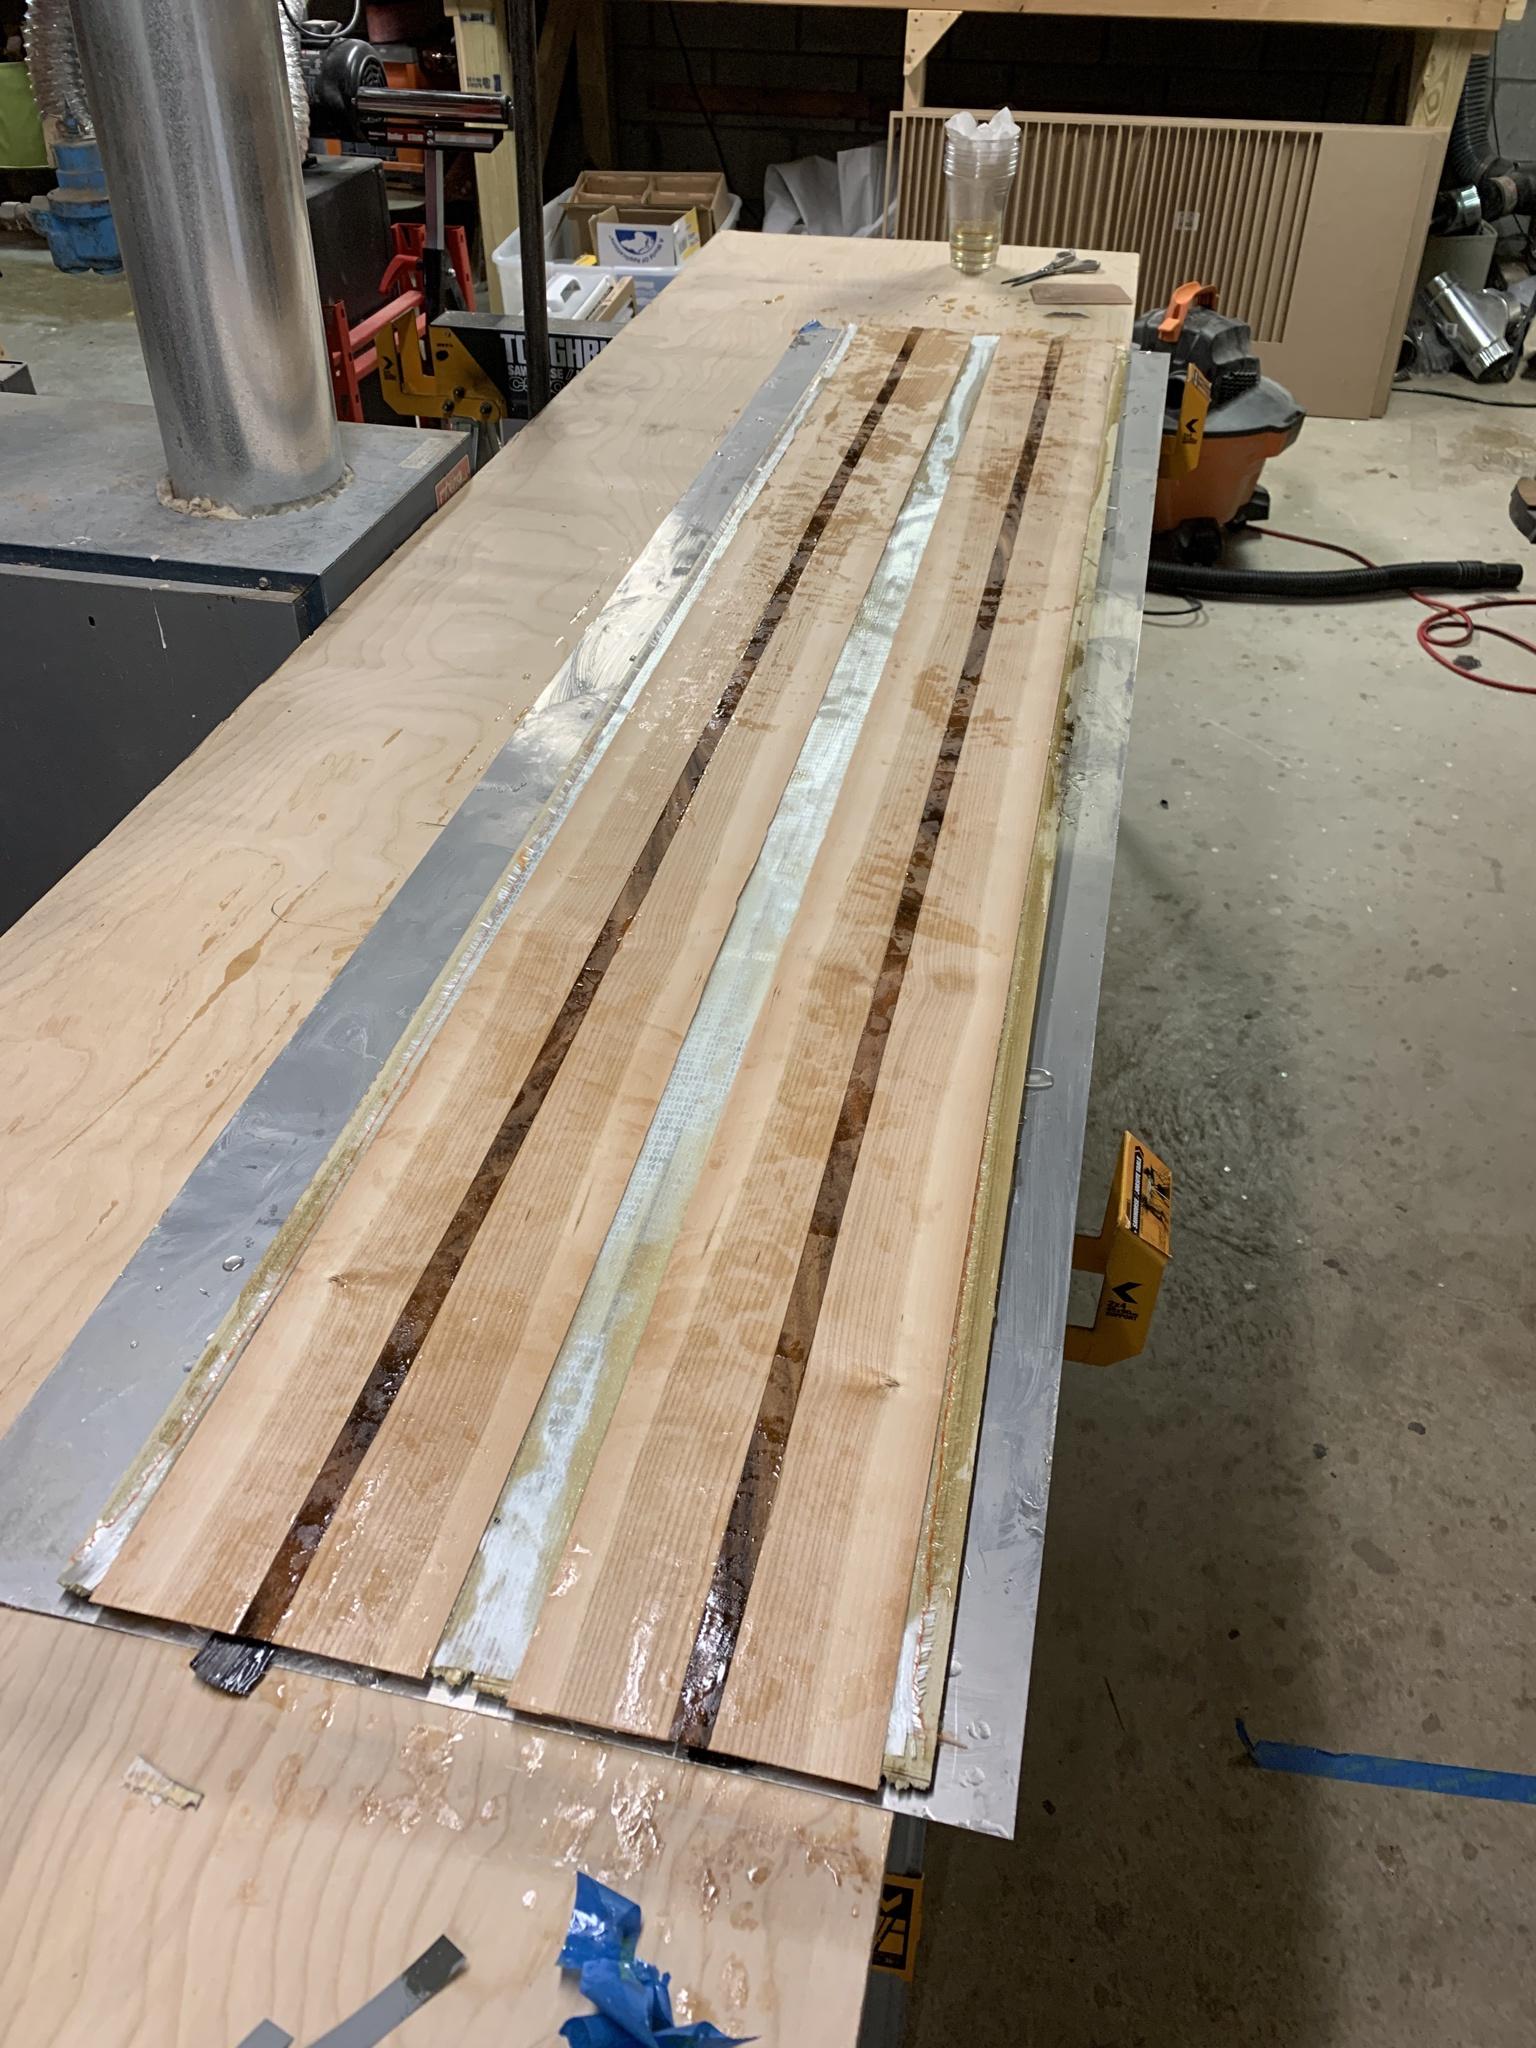
Into the oven:
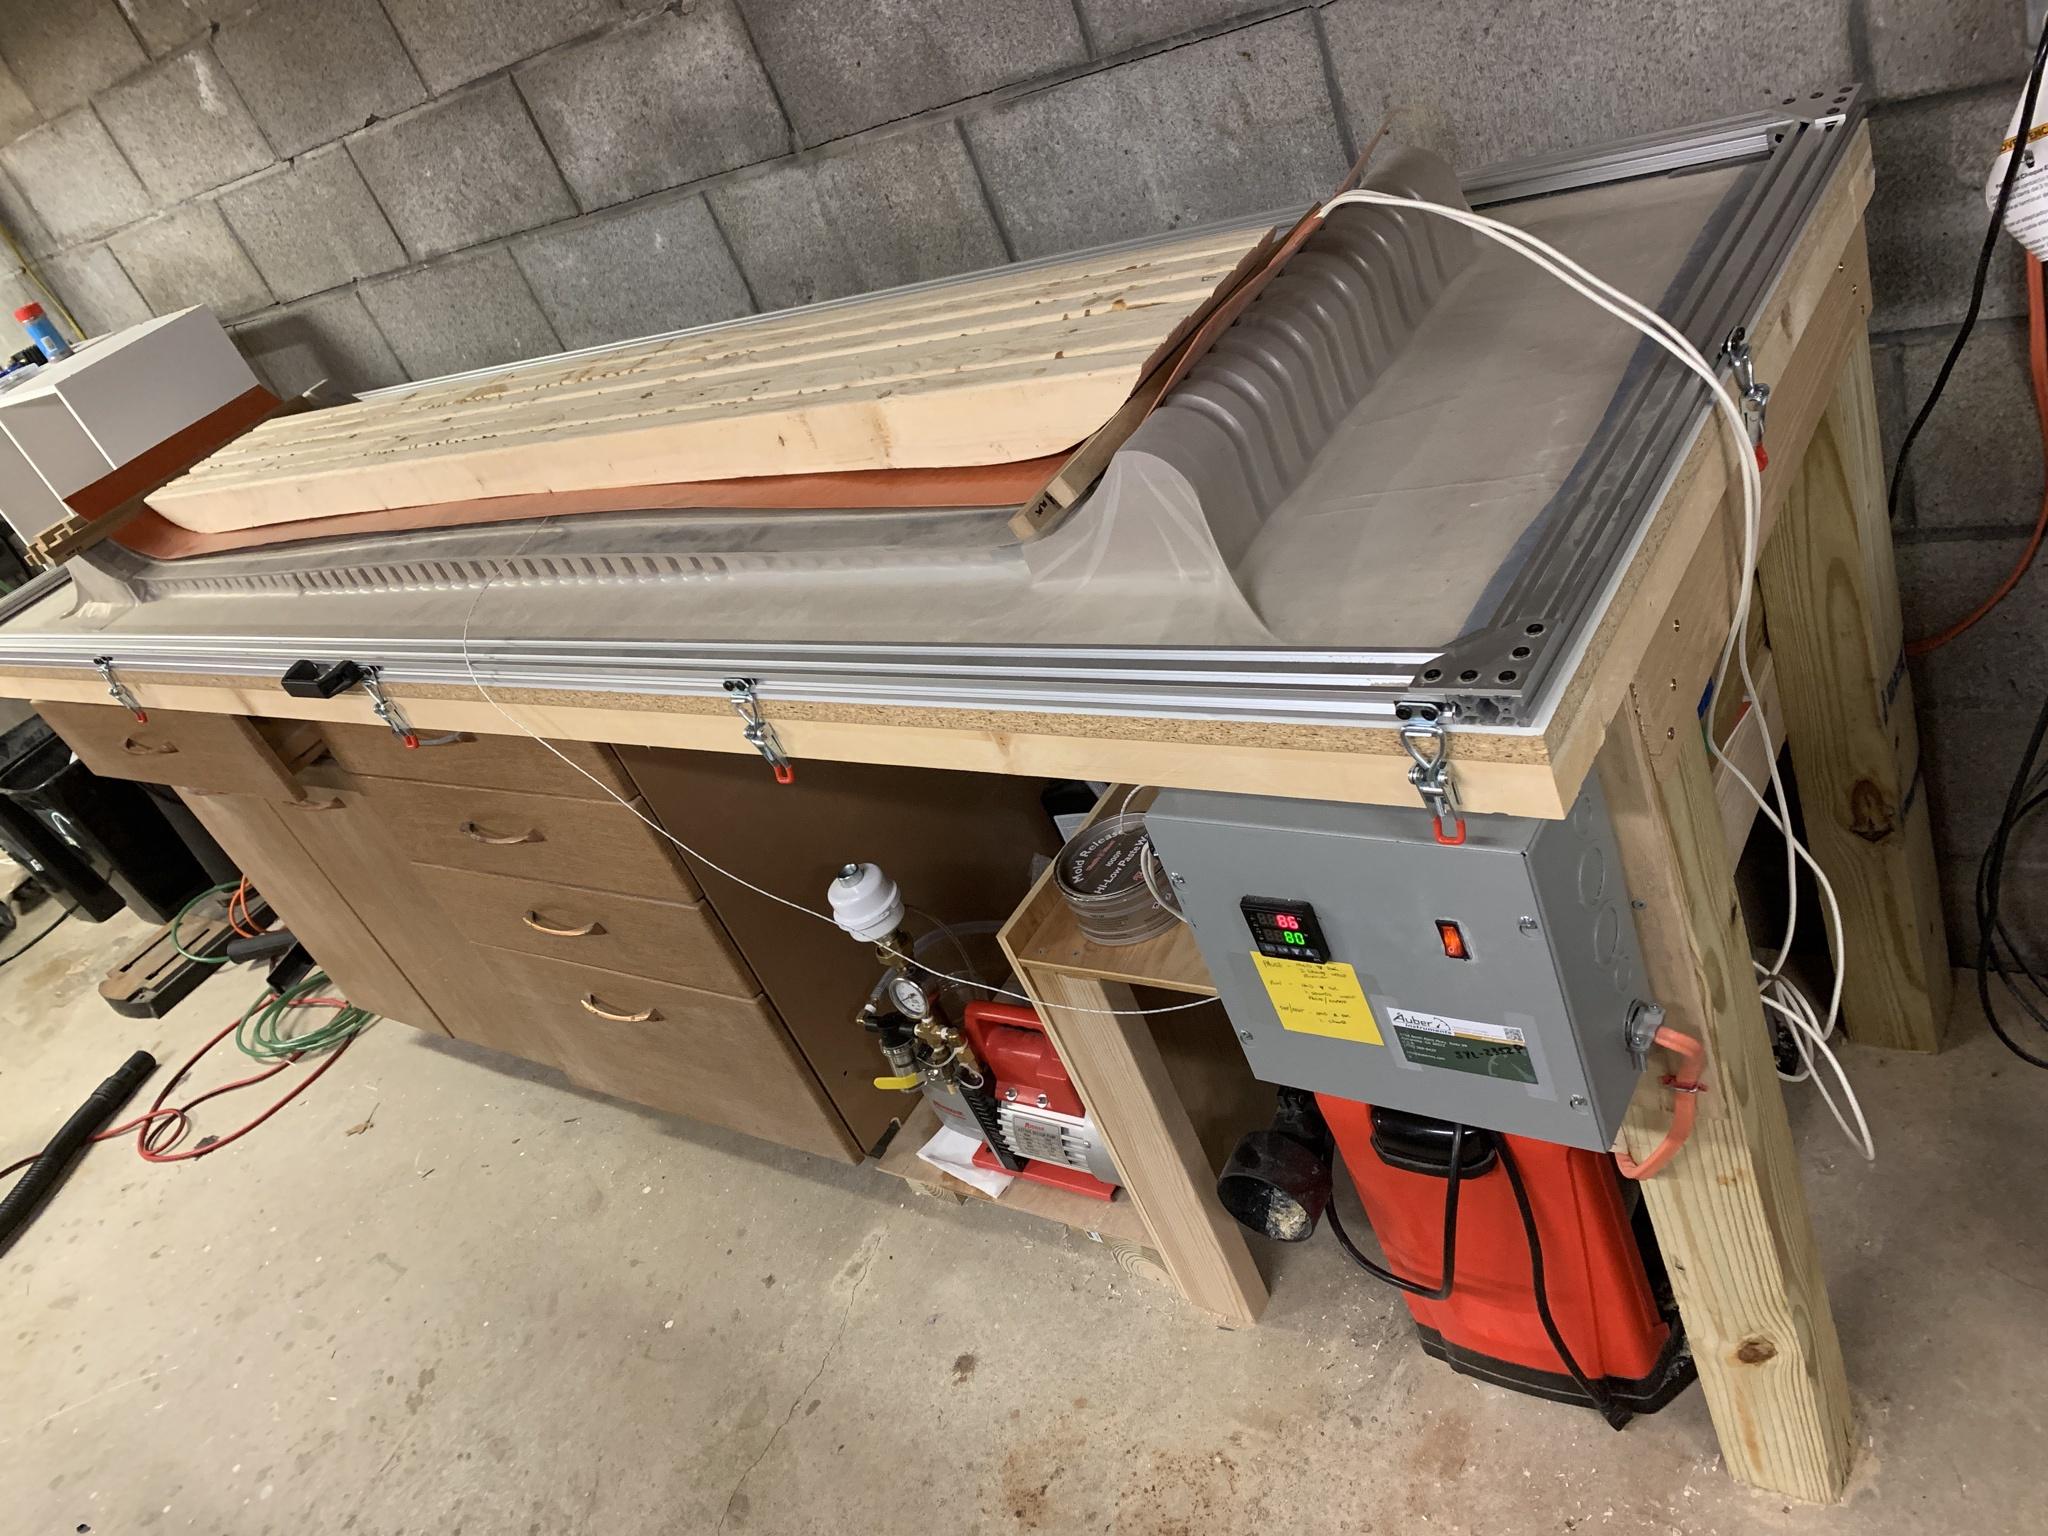
and out:
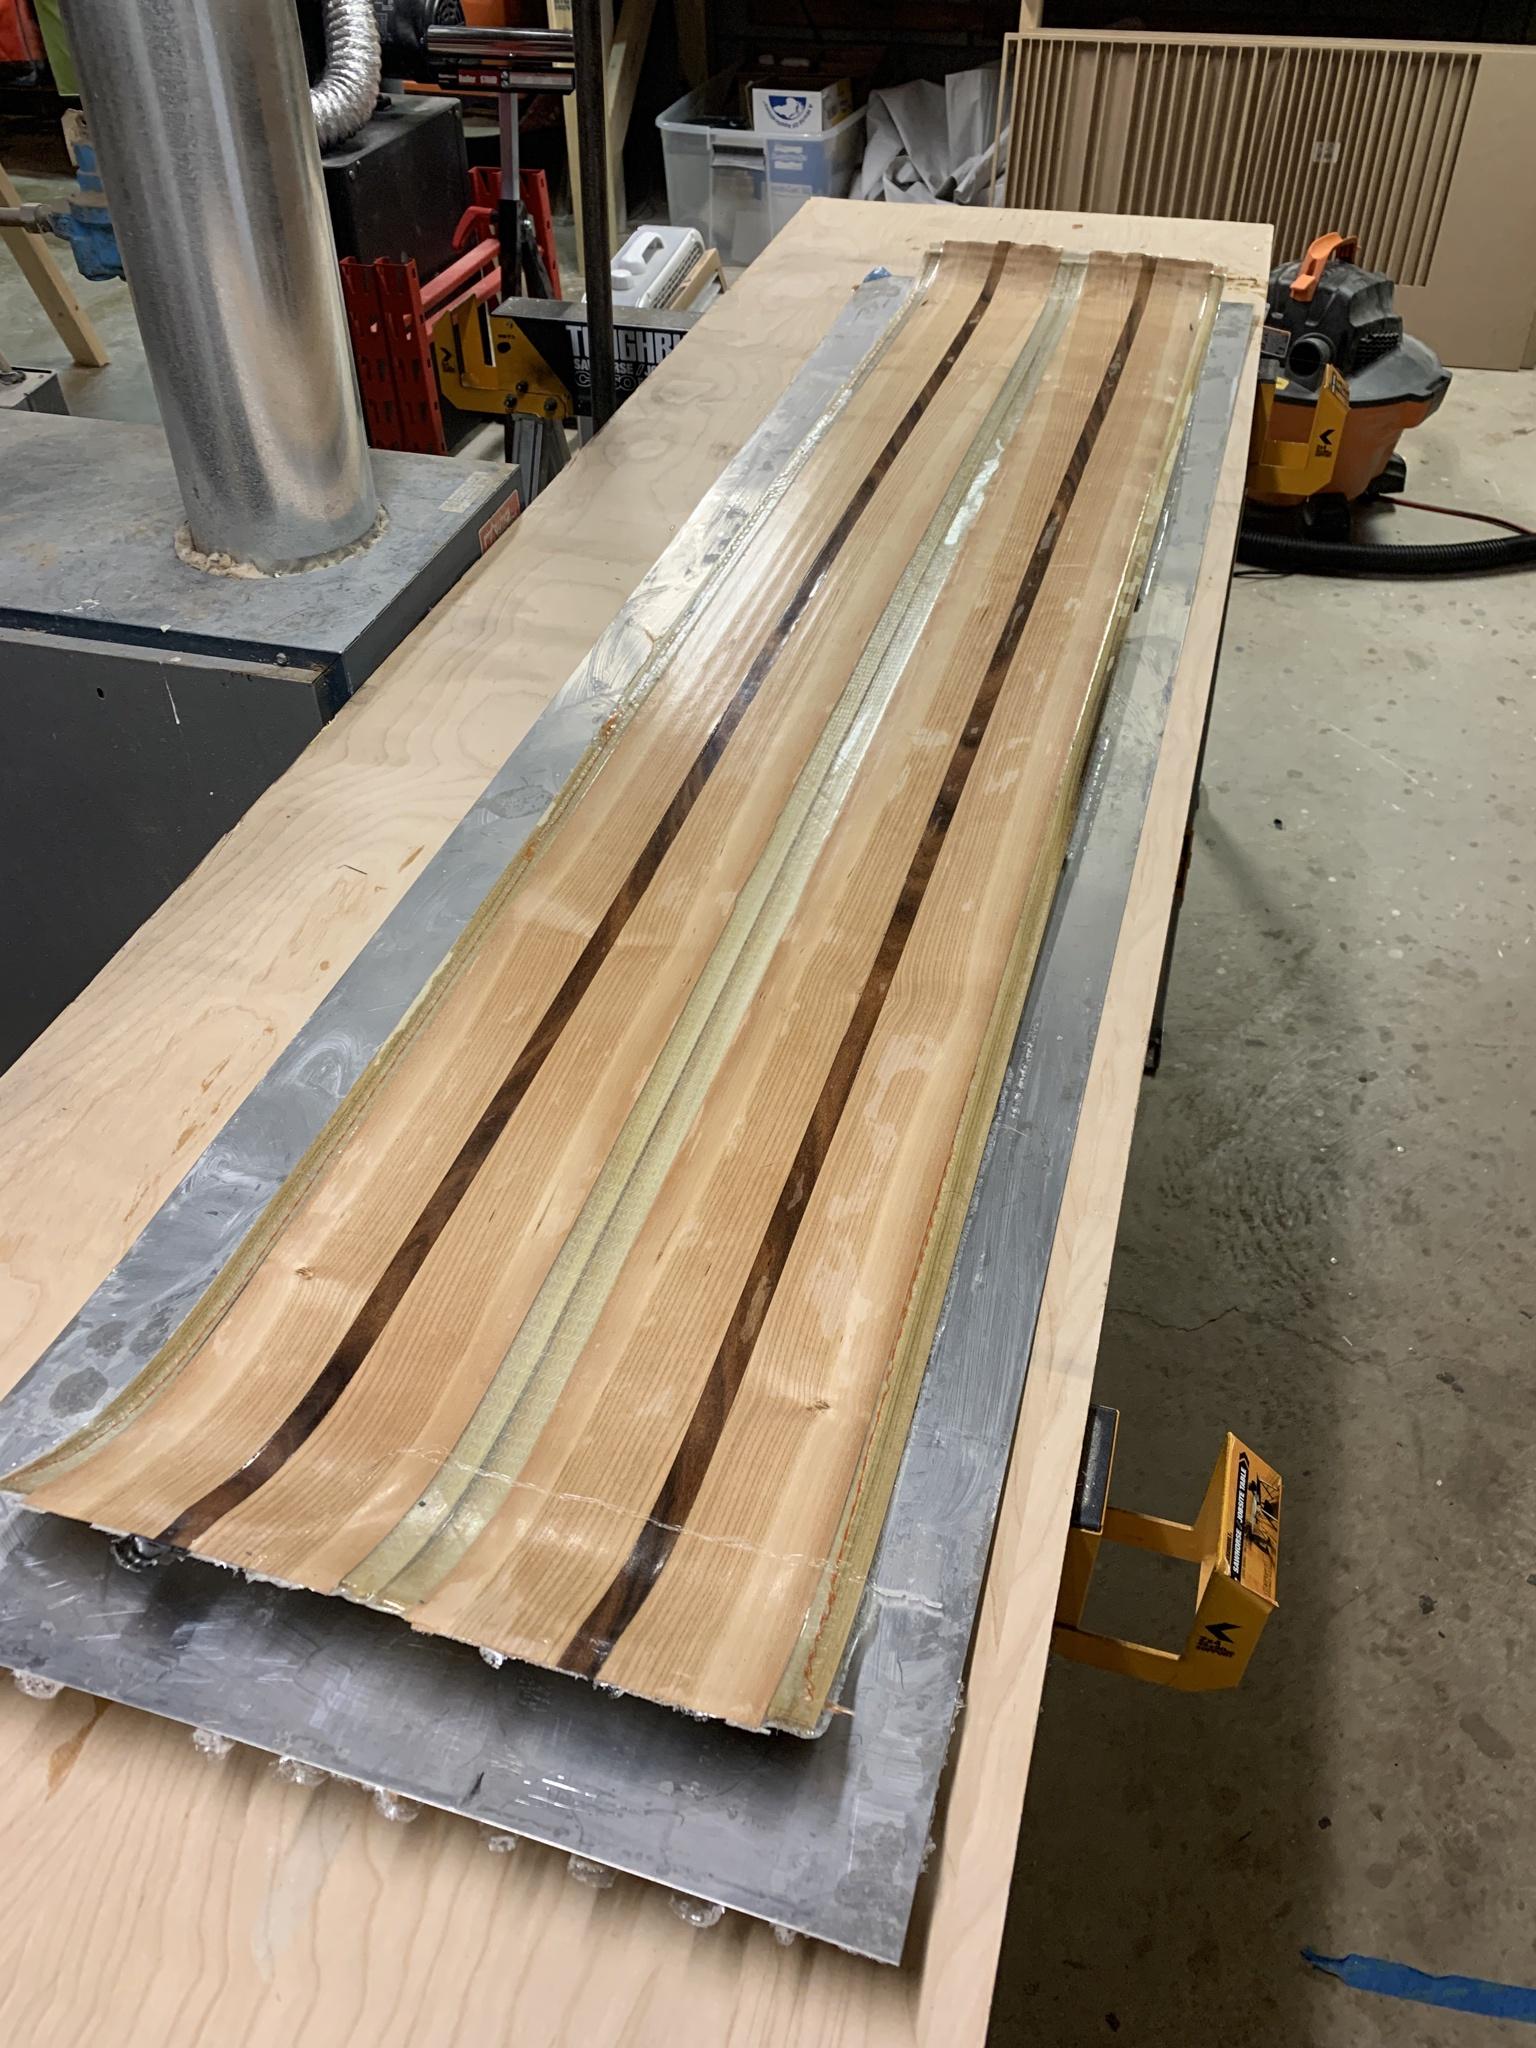
So regarding previous comments about not using bleeder - I've more or less been able to contain the epoxy squeezeout in the tip and tail areas - it pretty much just makes its way over the cassette and gets trapped between a heavy plastic film and the metal. seems to be working out well - haven't damaged the mold in the last couple presses (*knocks on wood):
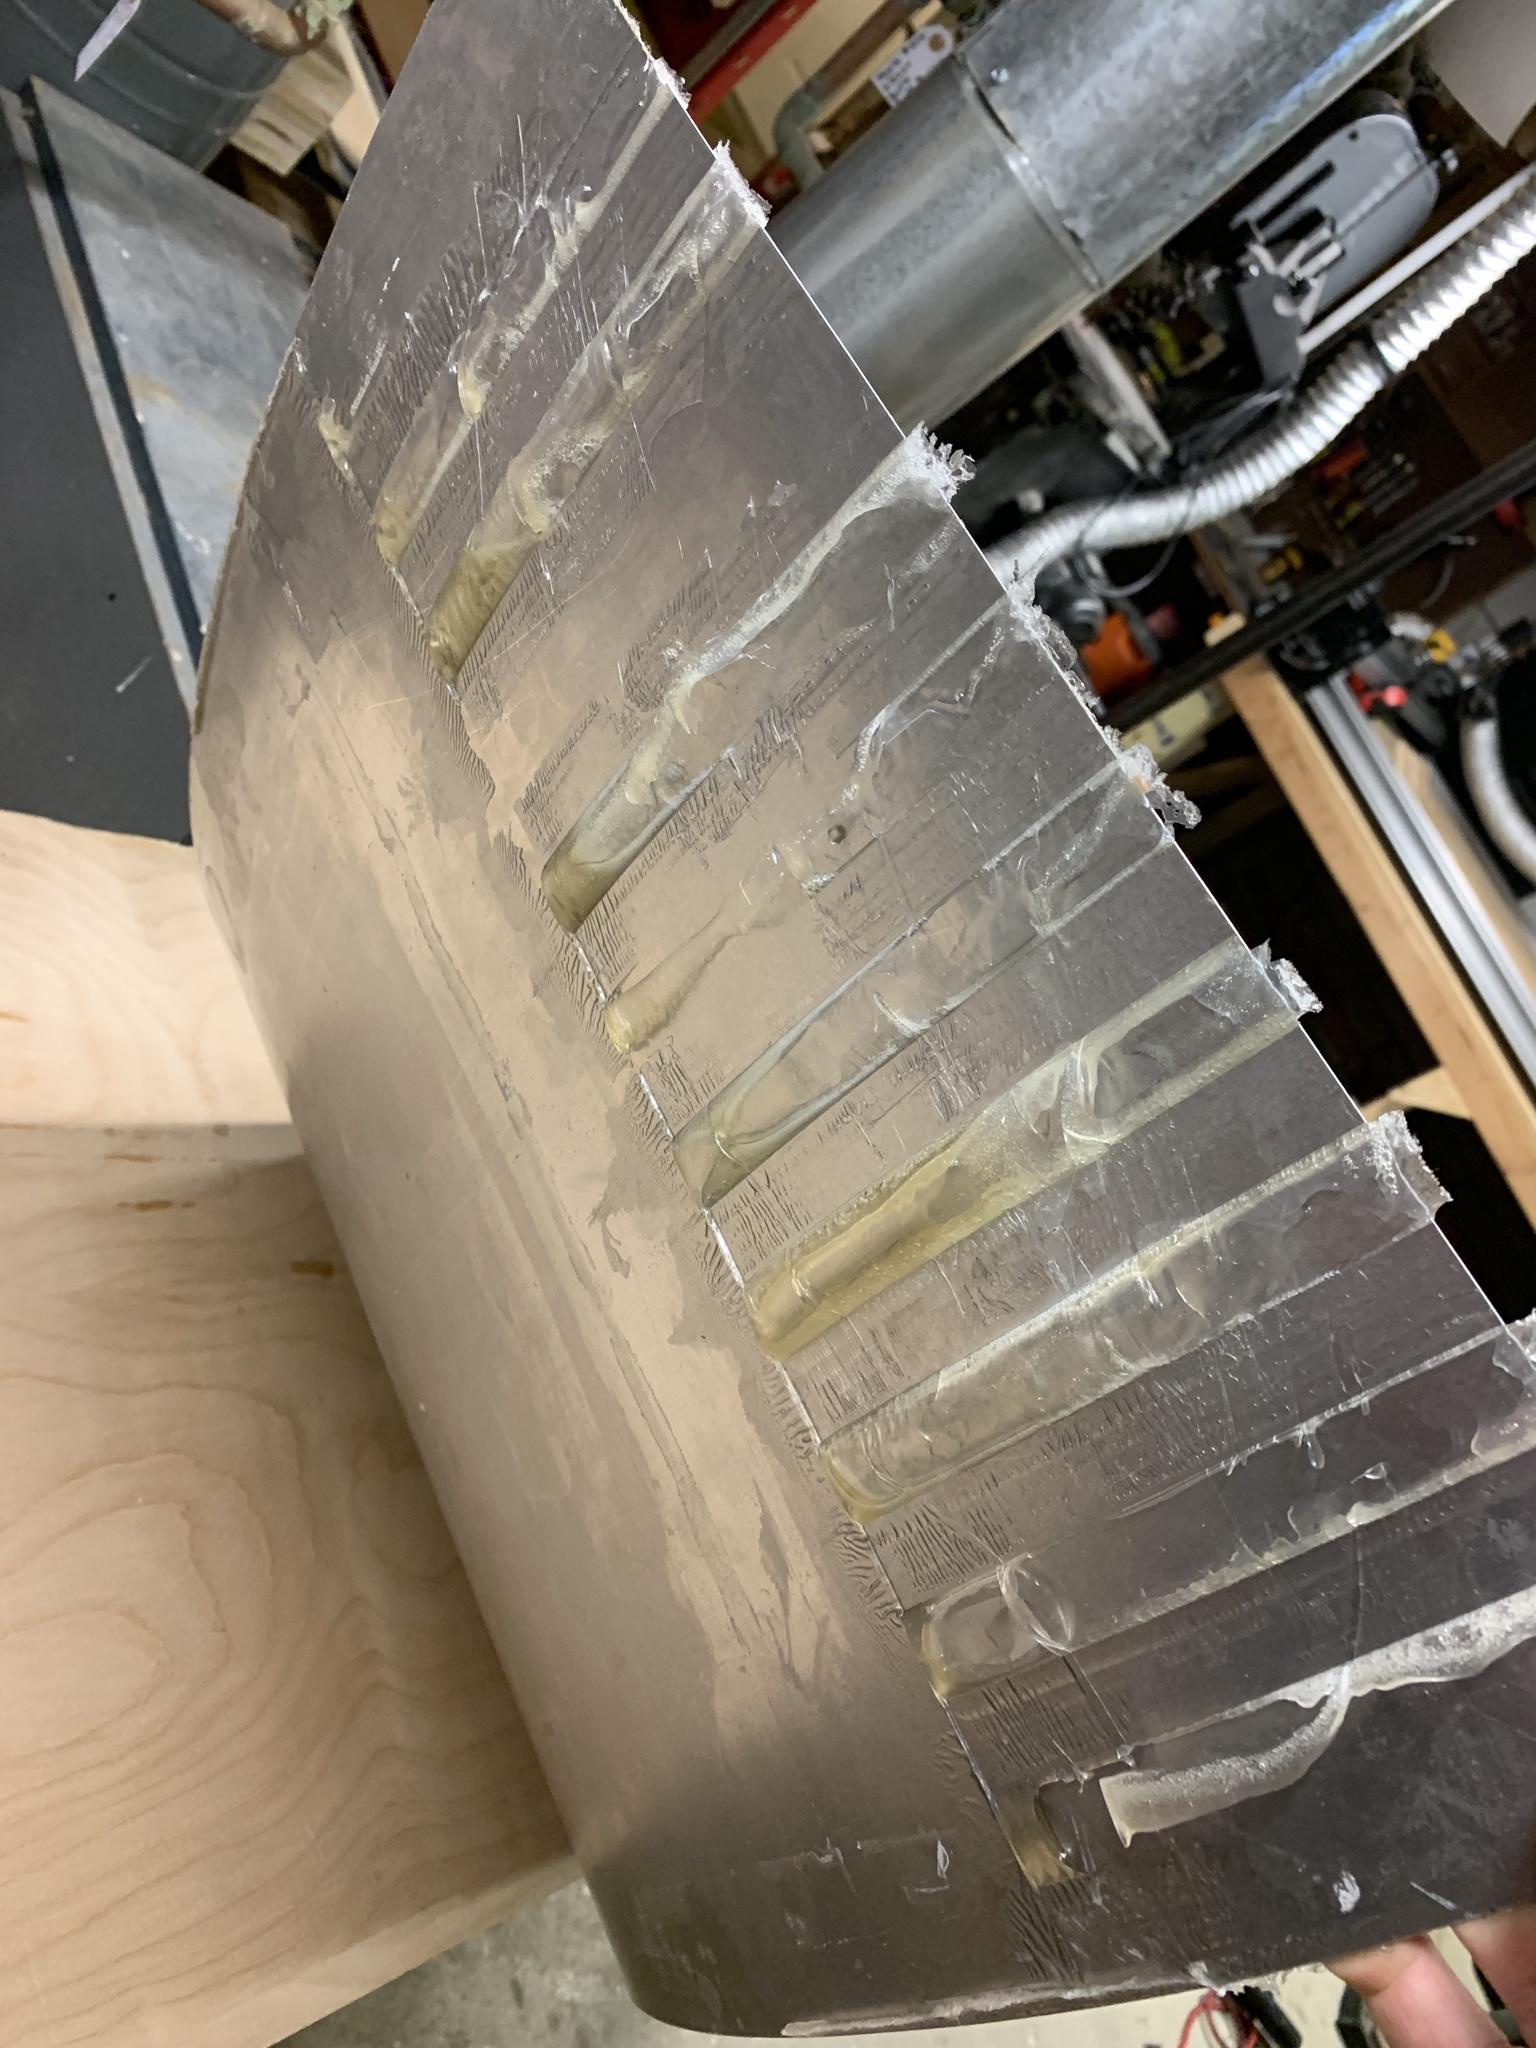
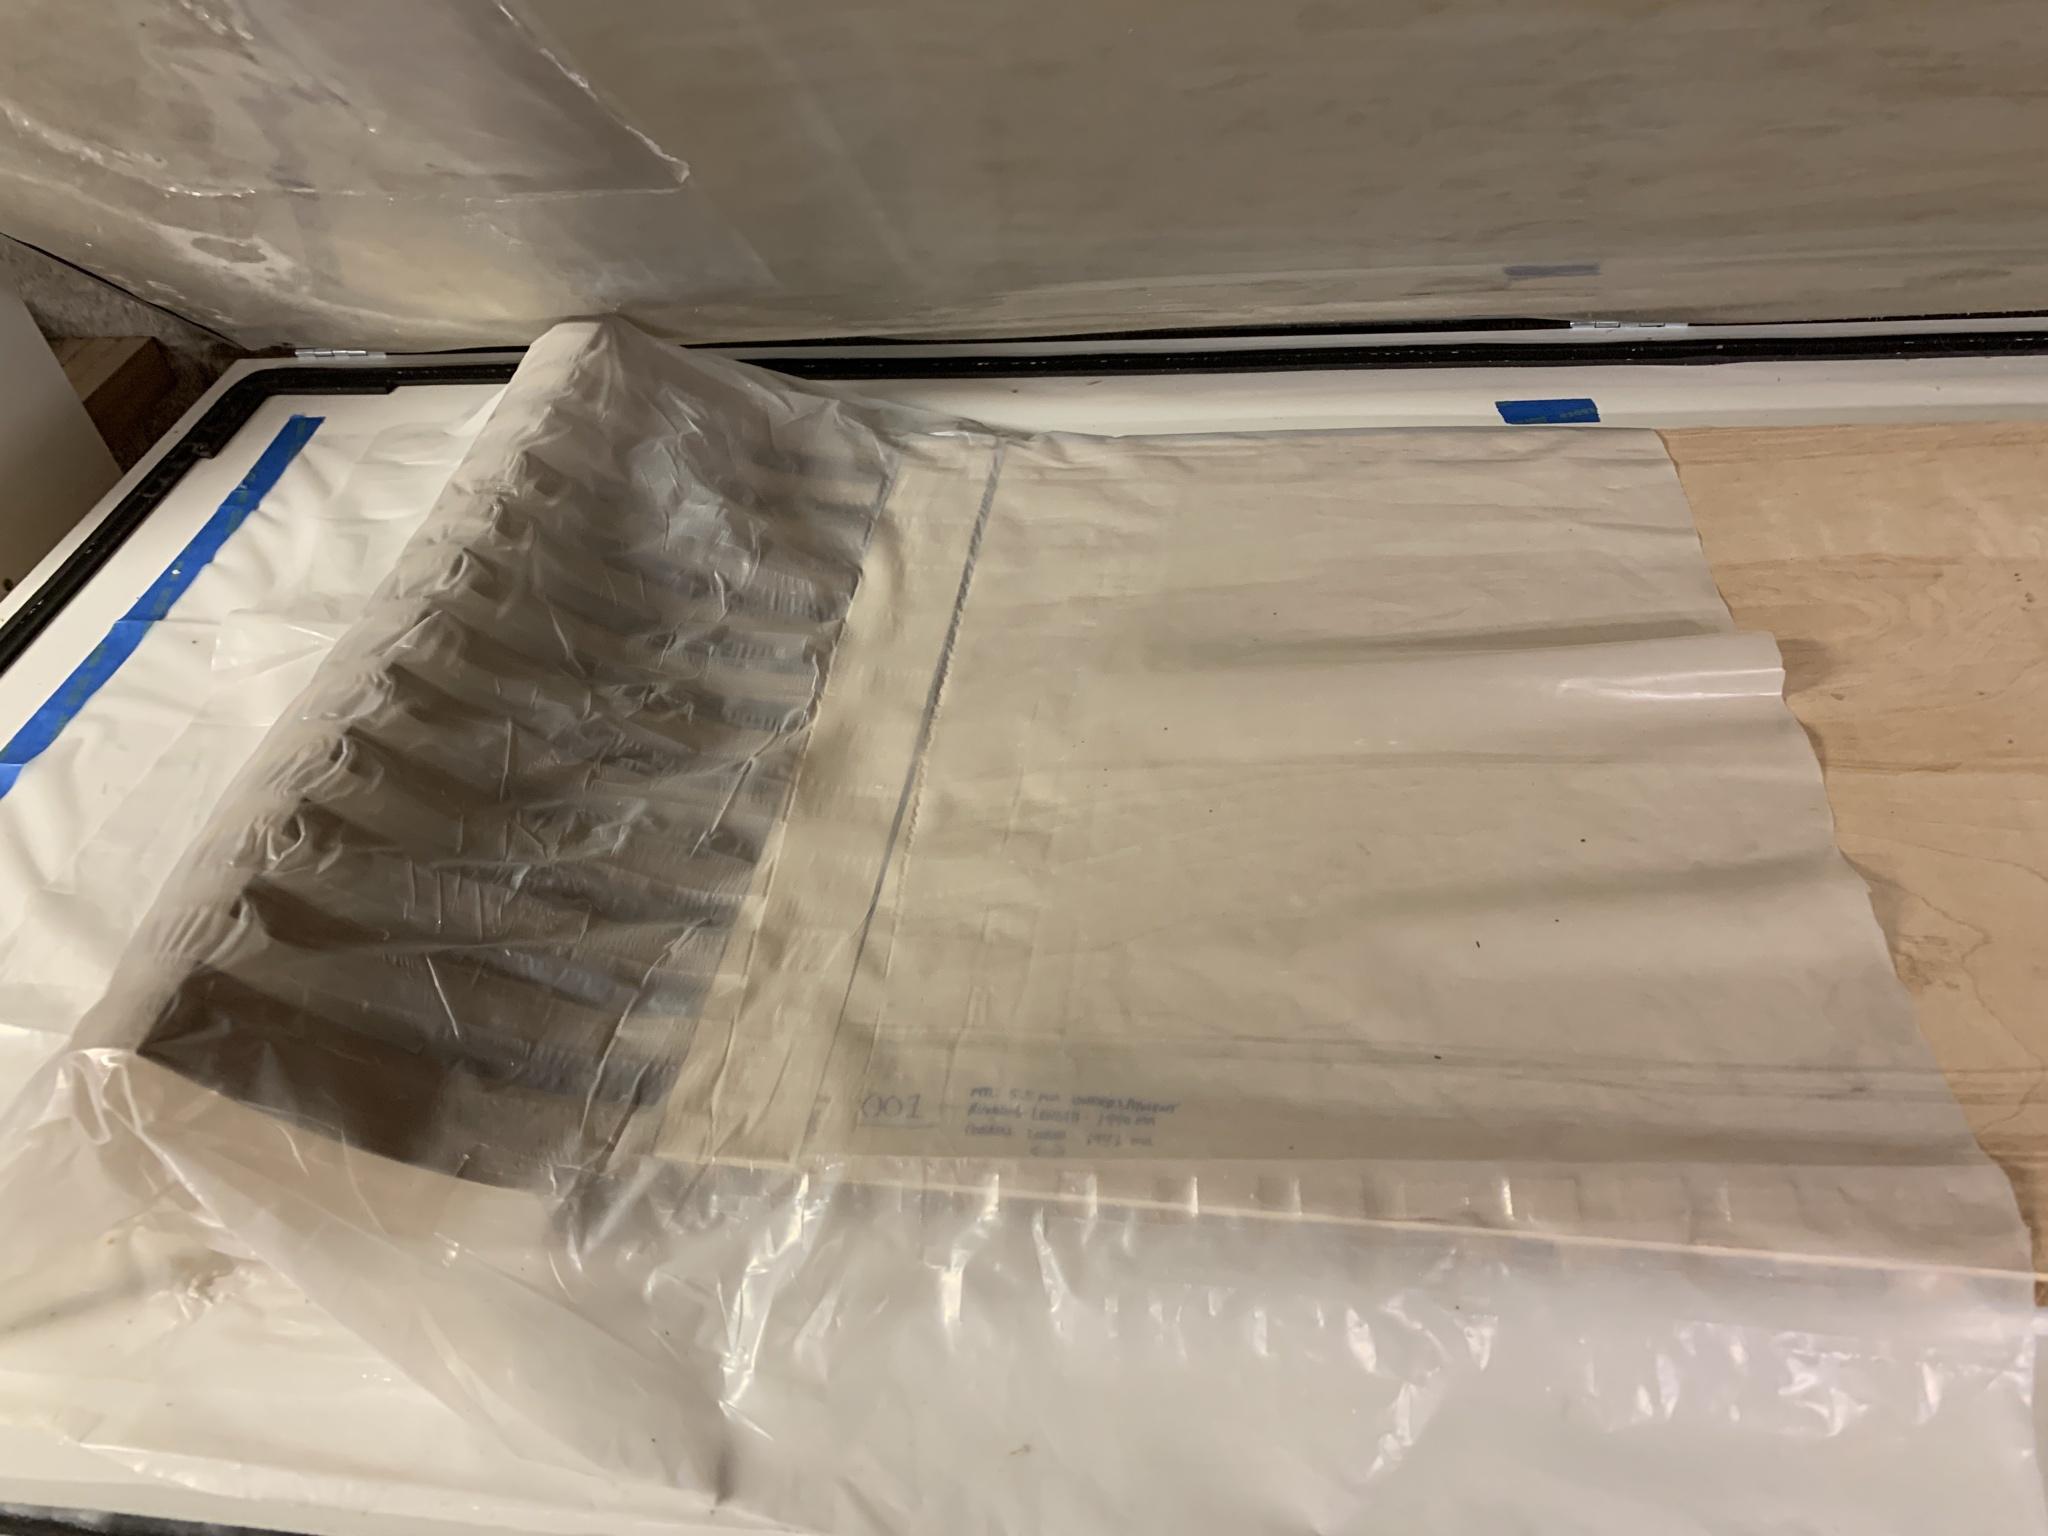
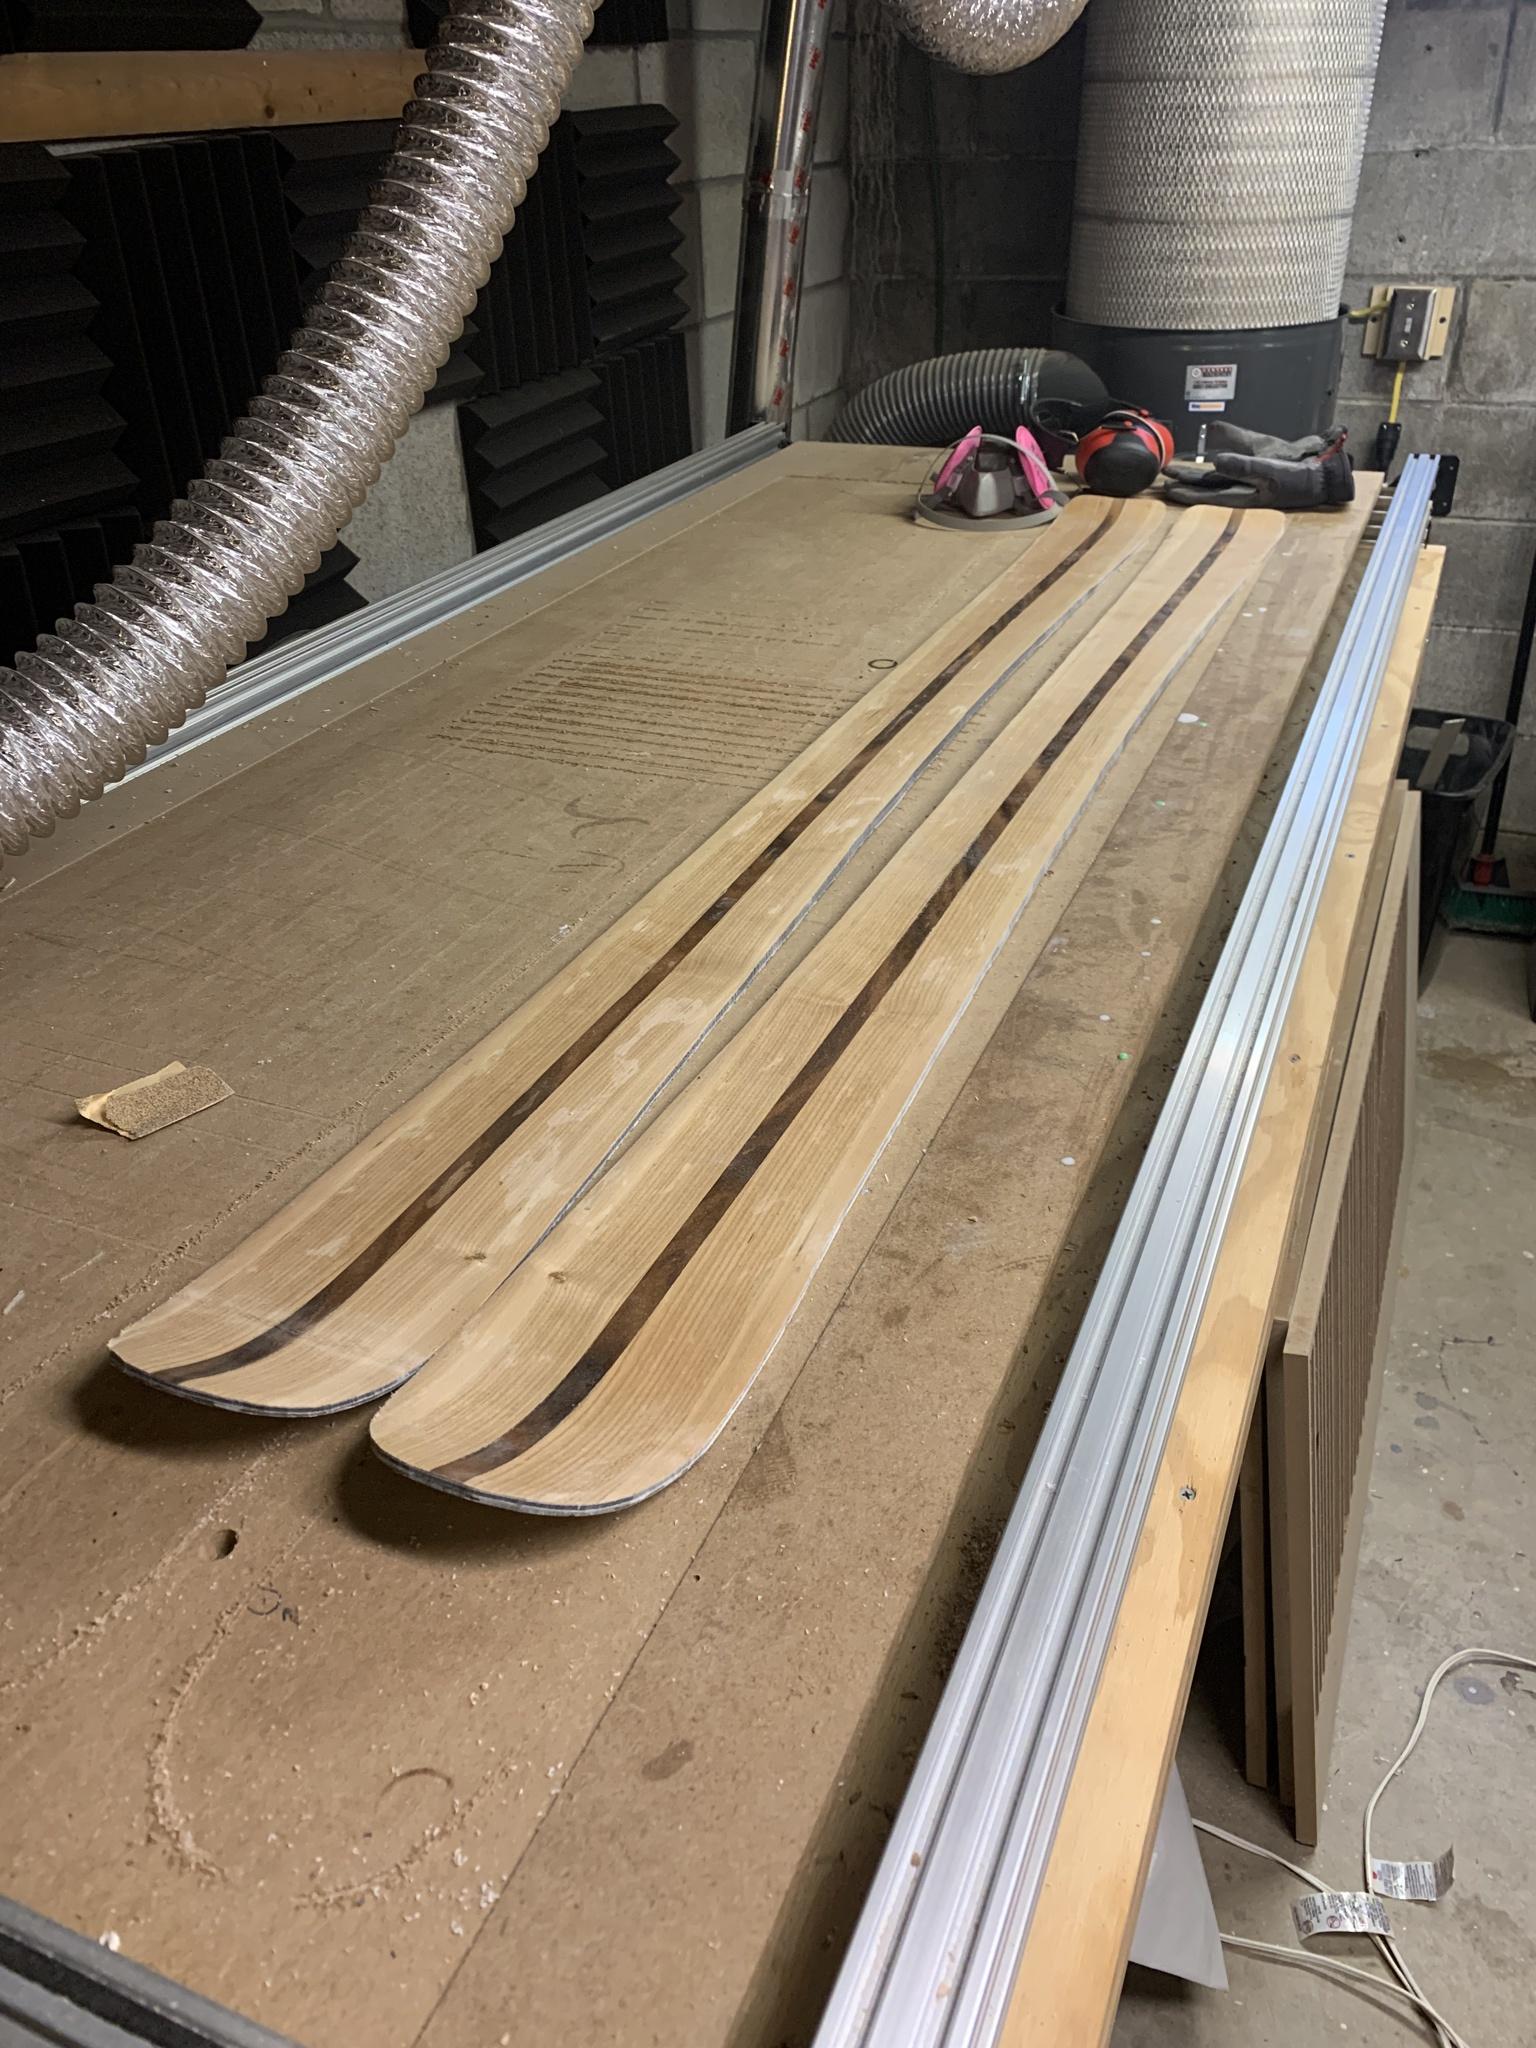
Cleaned up:
So the one thing that caught me by surprise was - the skis are a bit softer than I thought they would be - I had calculated that this ski should come out in the normal stiffness range as outlined in my ski mechanics textbook:
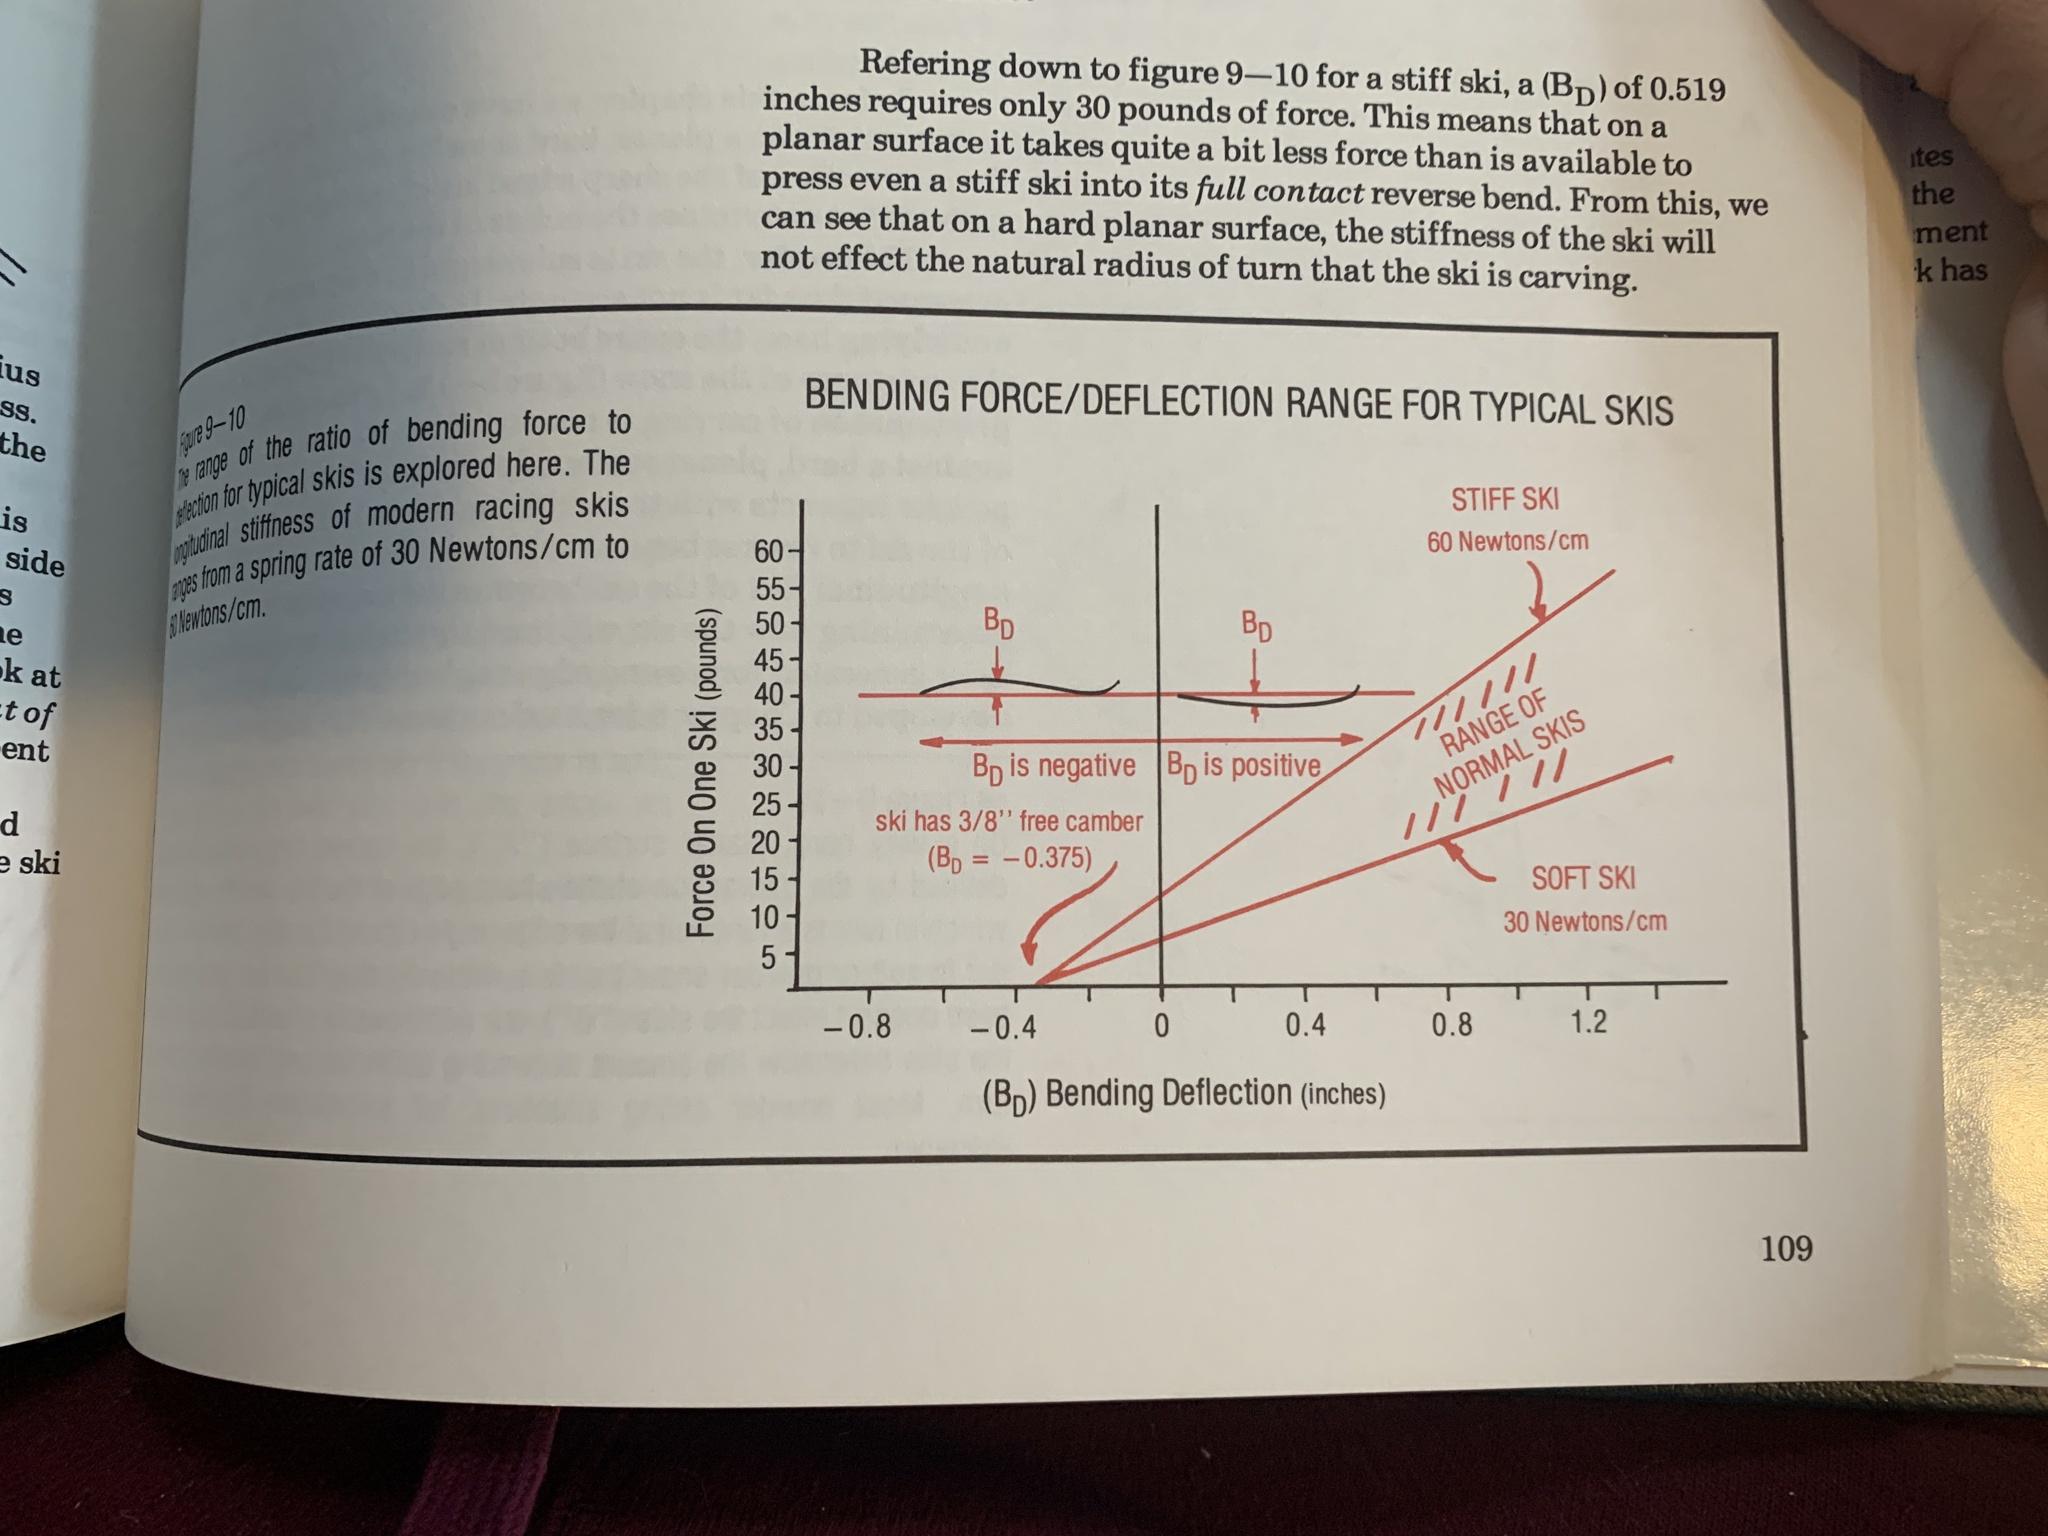
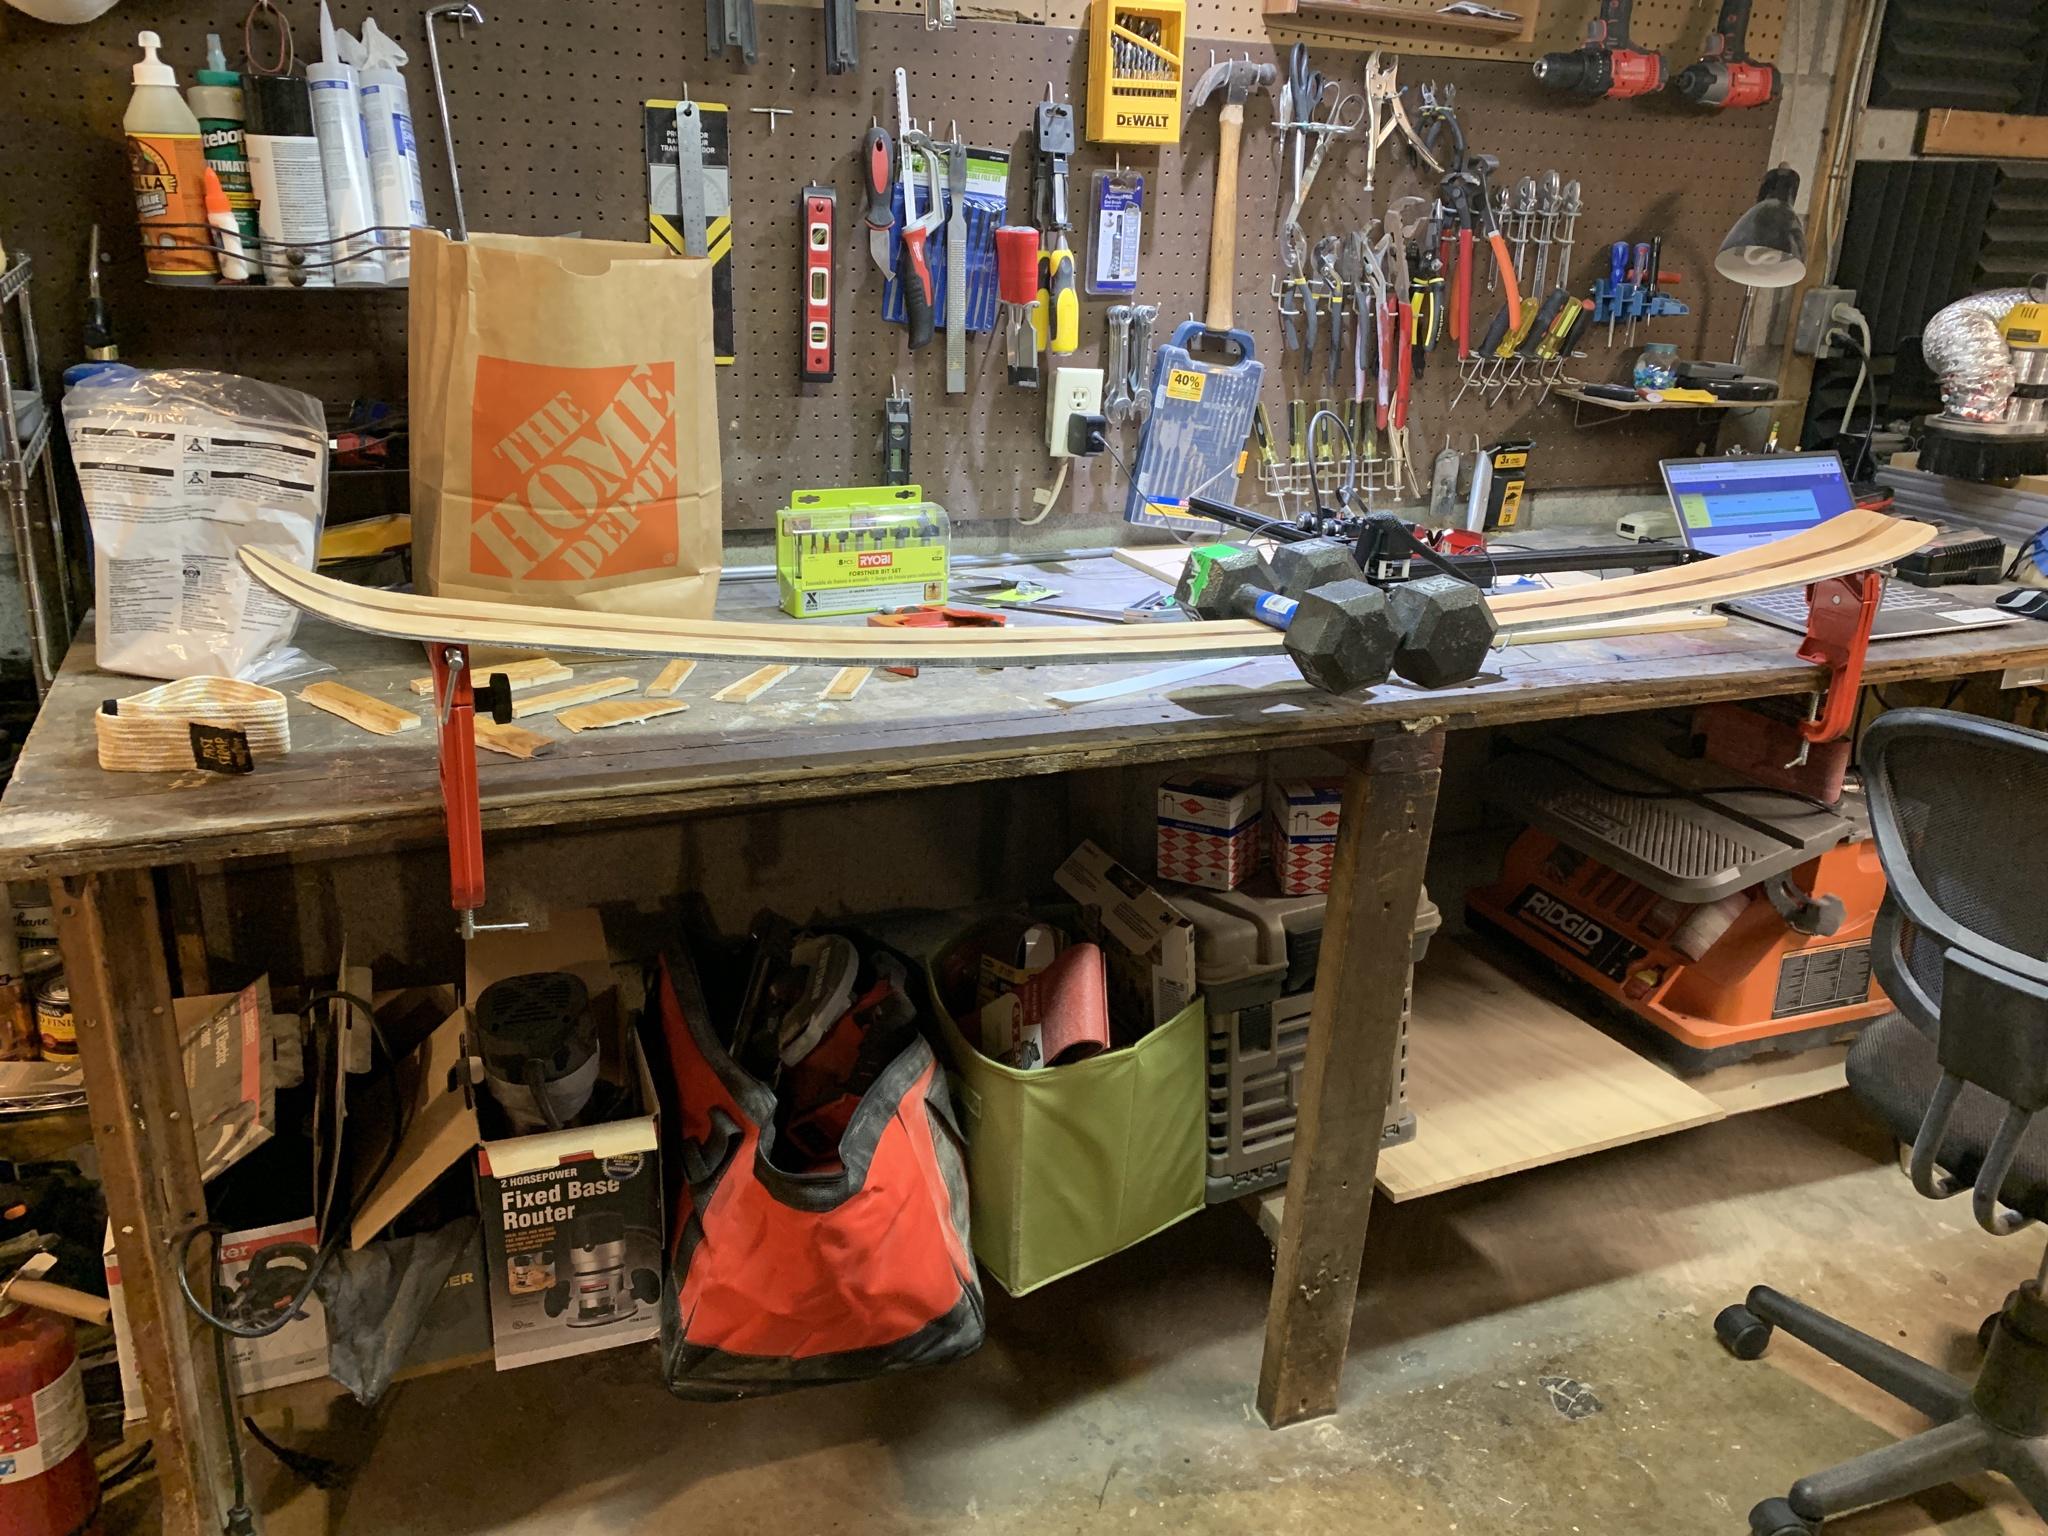
however they came in at 22 N/cm deflection. my testing apparatus:
Today I added some paint lines:
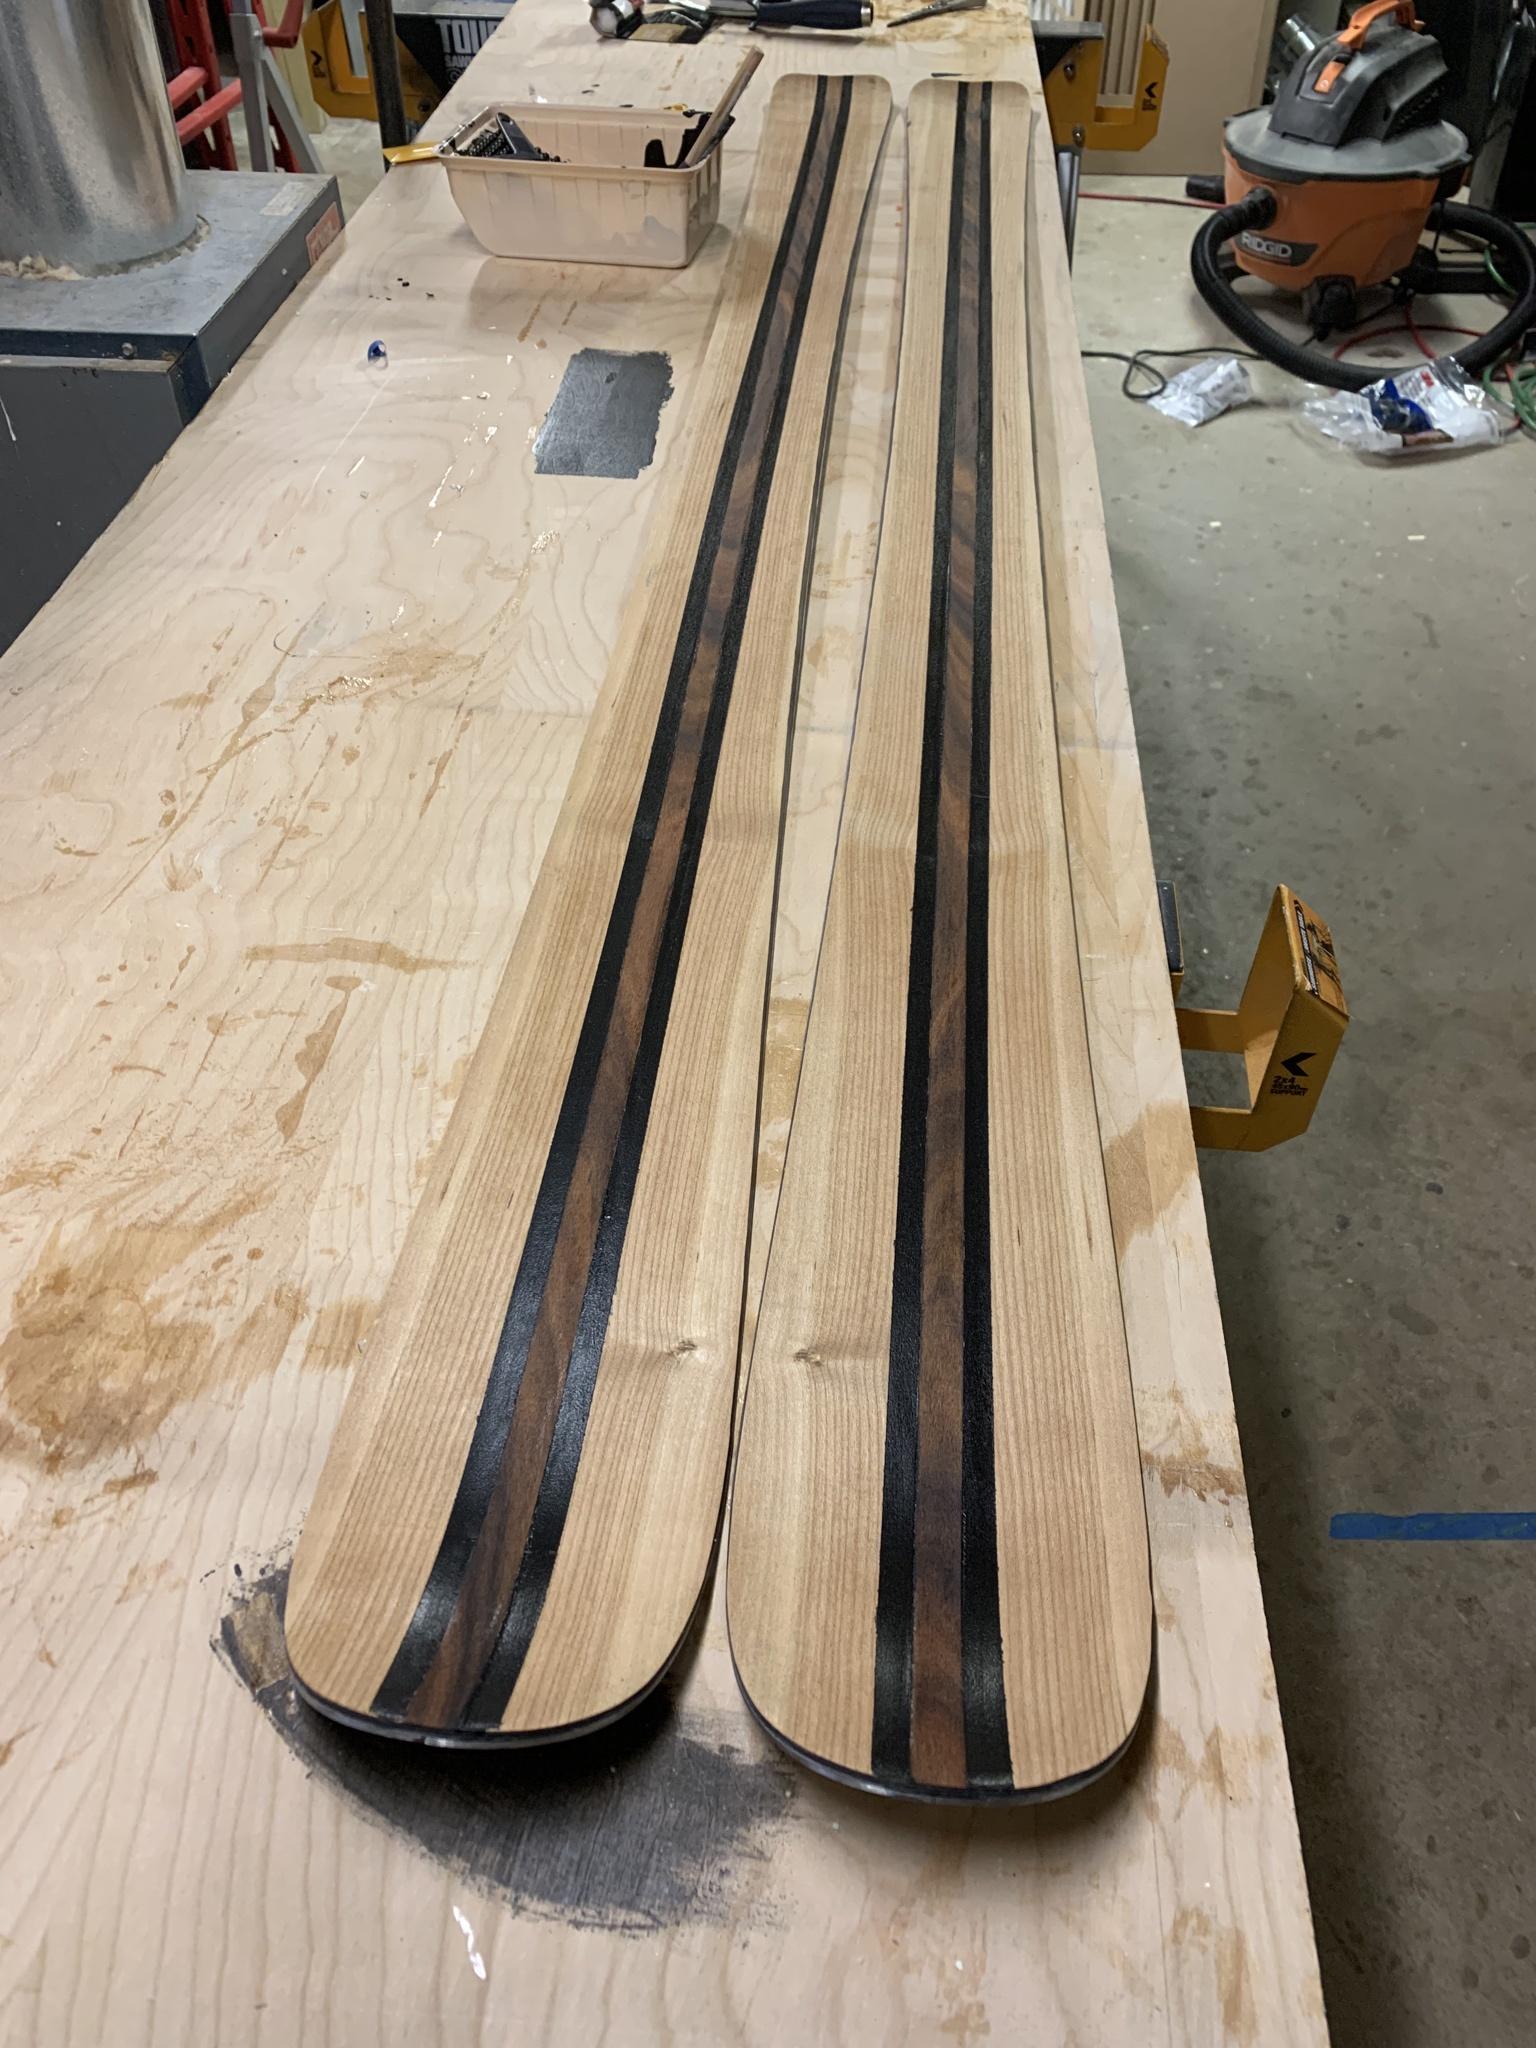
Finally they will get some spar, poly and wax to finish off the toposheet.
also finally got a tune and bindings on the original rosewood skis!
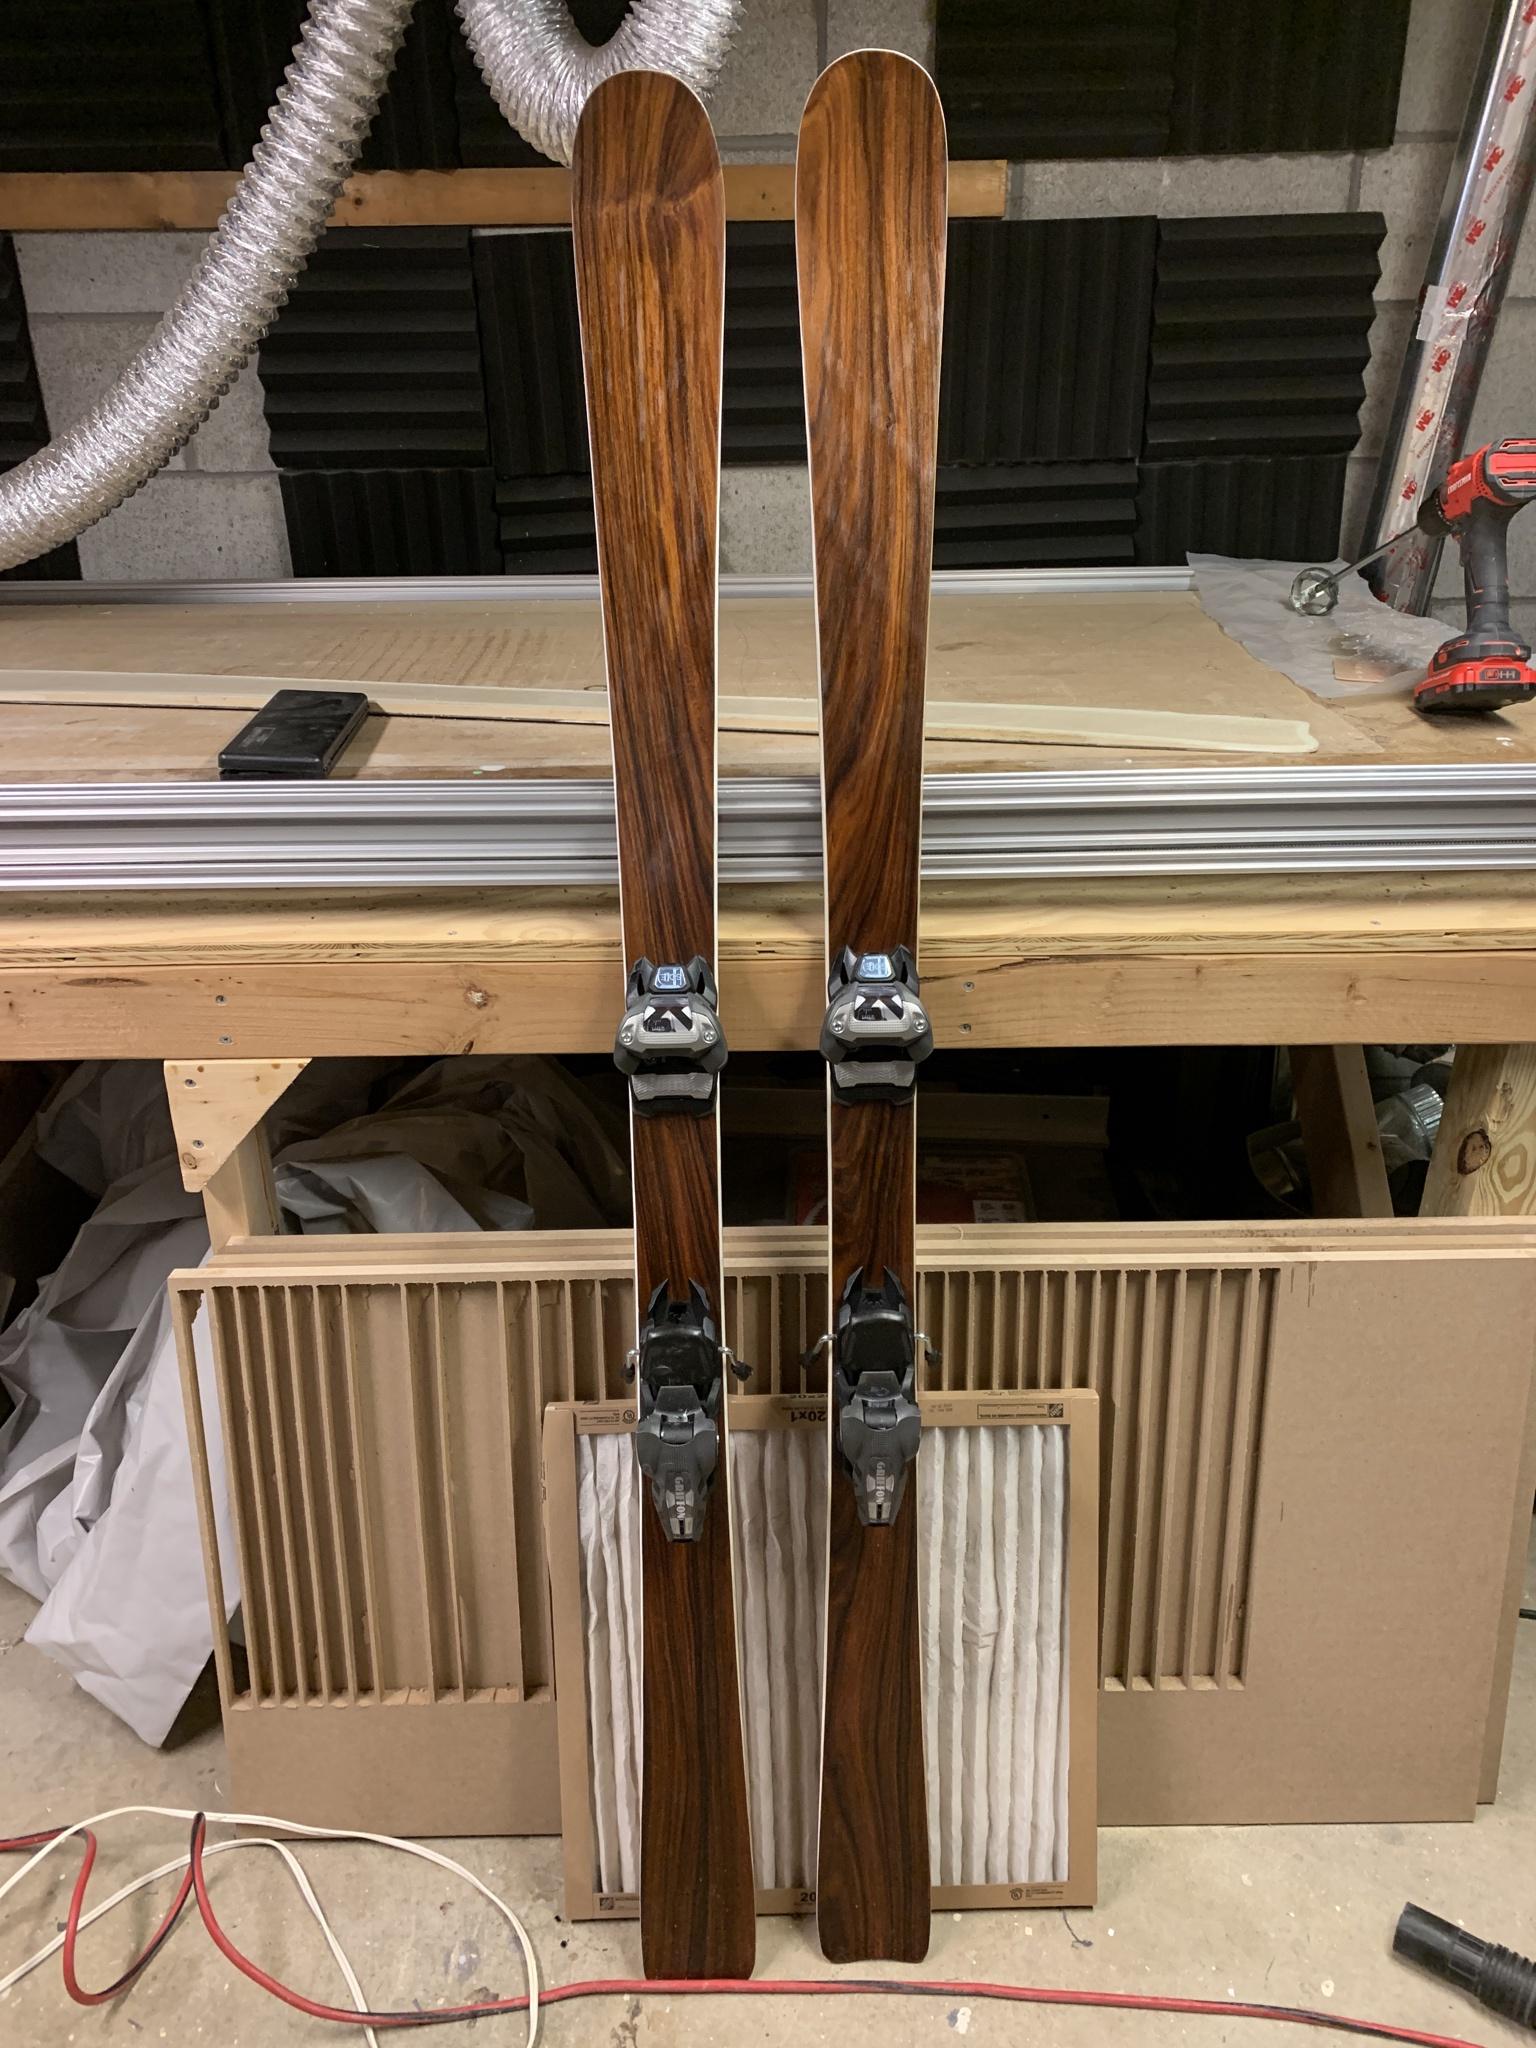
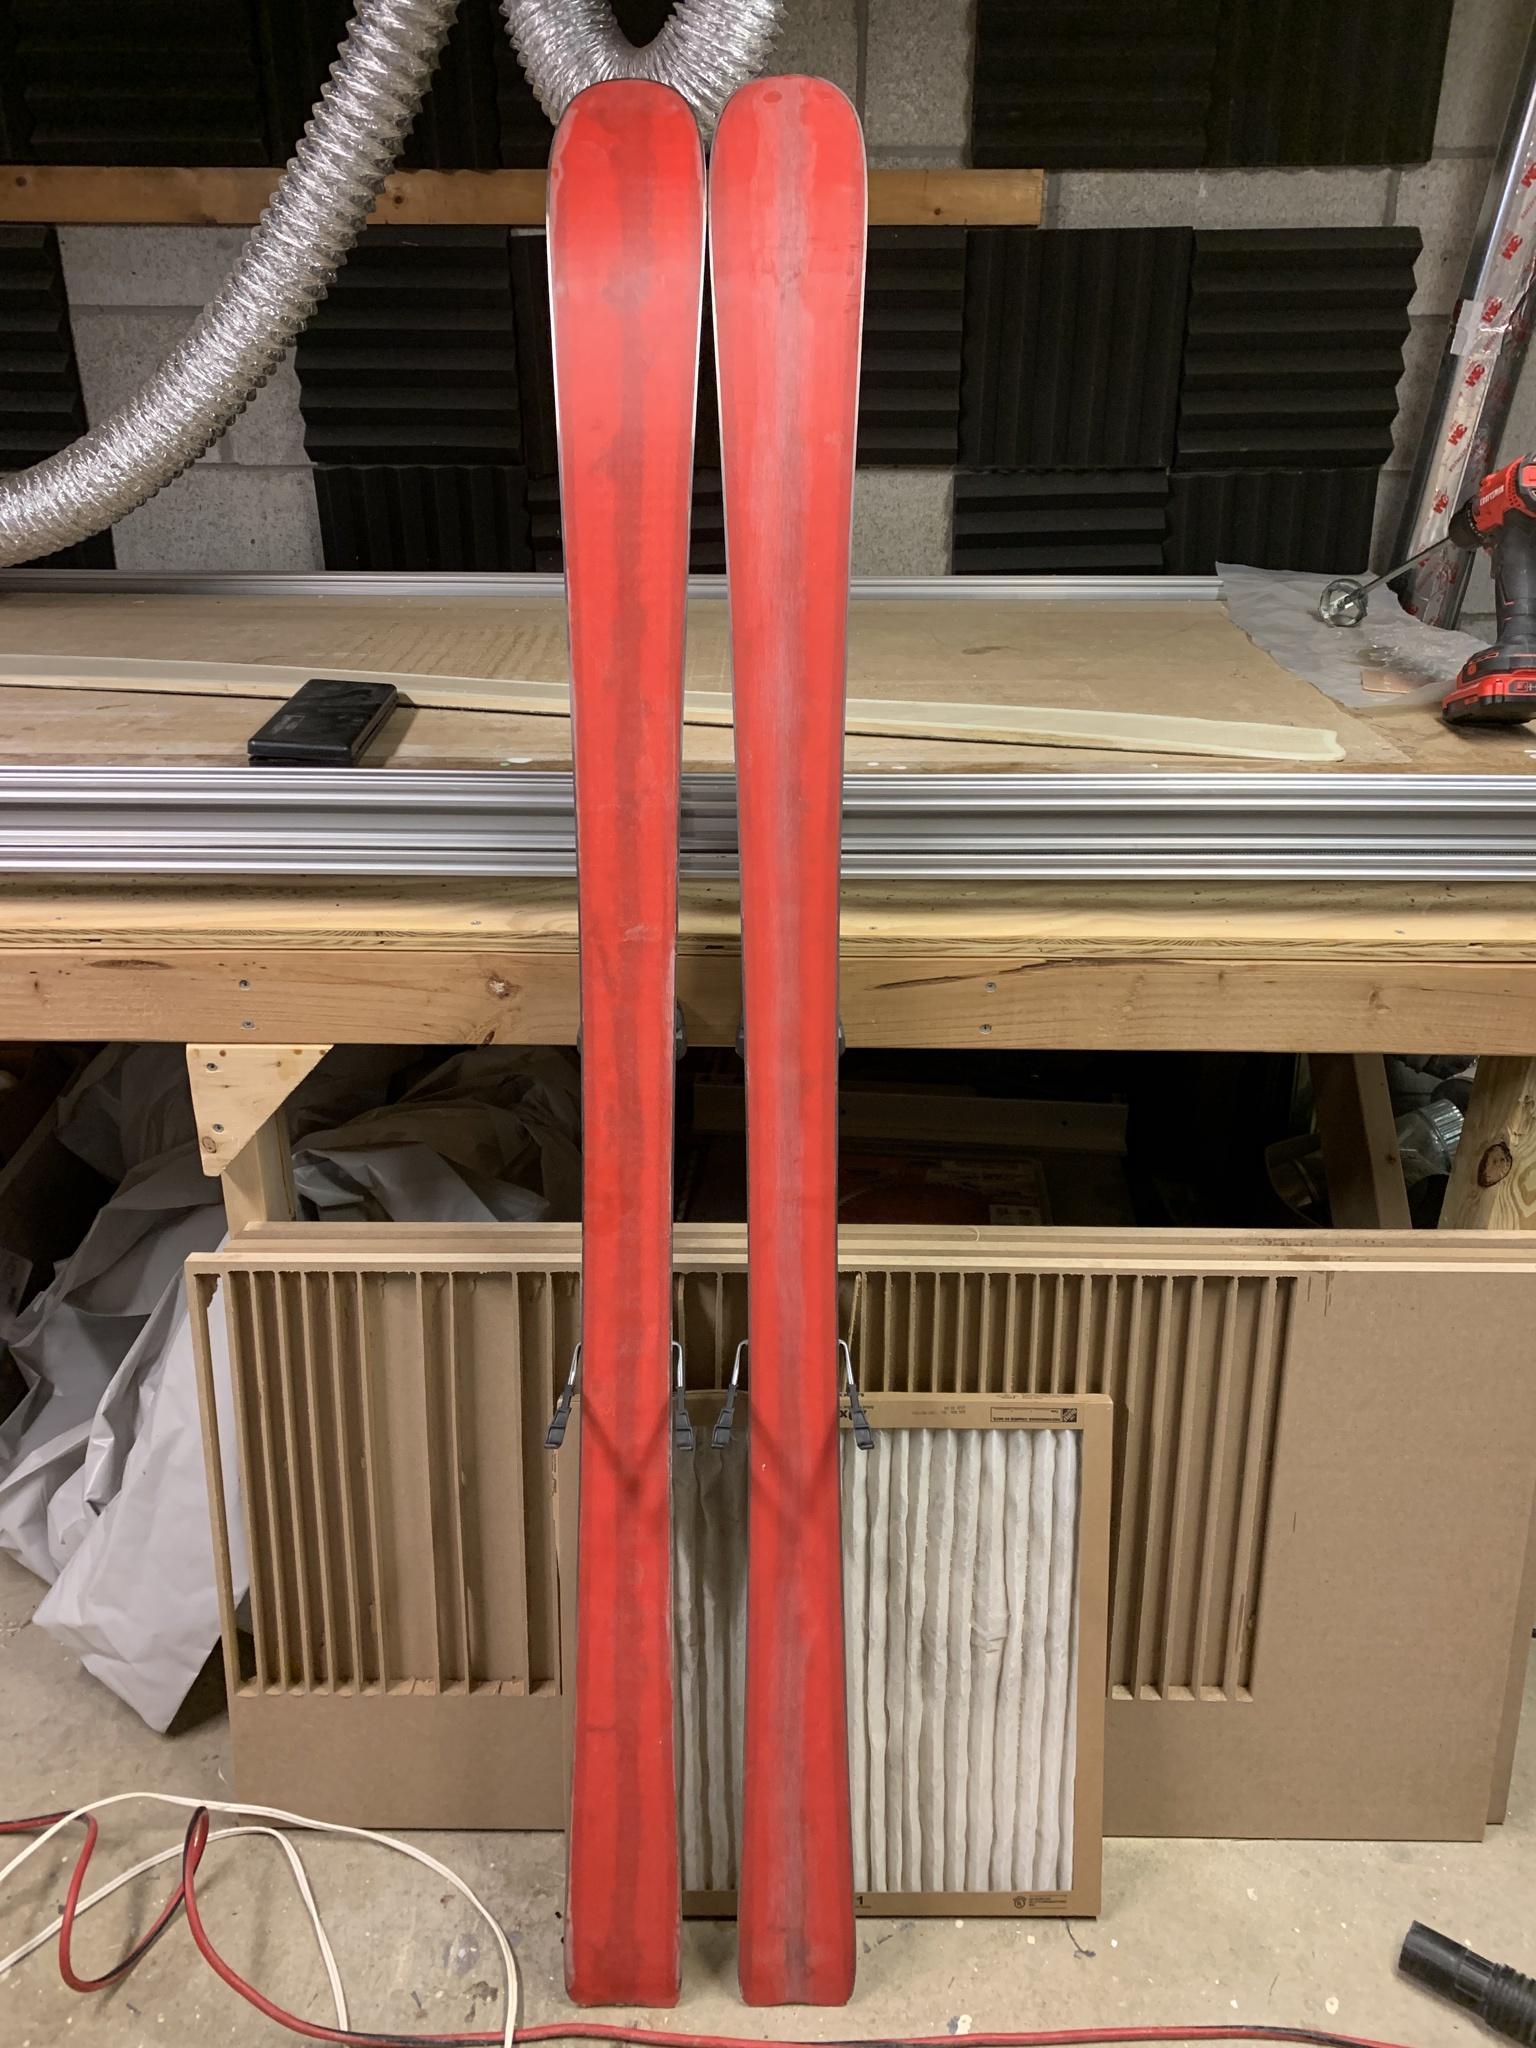
cometTue Mar 16, 2021 7:05 am
I'm very interested in that textbook figure (which book is that?). I chose 2.2 - 11.5 - 2.2 core thickness somewhat arbitrarily for my first pair that I'm working on. My spreadsheet indicates that should result in around 30 N/cm. I'd have to go up to like 14mm under foot to get to 45 N/cm (center of range) which seems pretty high compared to what people are doing here. Maybe that data is racing ski specific? It doesn't seem to account for length either since a longer distance between contact points will yield more bending displacement when all else is the same. You said your latest came out softer than suggested there. Are they too soft?
JonrezzWed Mar 17, 2021 9:58 am
Hey Comet -
The book is "Skiing Mechanics" by John Howe. The chart says 30-60 N/cm typical stiffness for race skis in the footer note to the left - however - I have measured the deflection of the 6 factory made skis I have laying around - some race skis but some not - and they all fall within the range -
Rossignol experience 83 (168cm) - 40 N/cm
Head Mojo 80 john olssens (170 cm) - 39.2 N/cm
Fischer RC4 WCSL (165 cm) - 47.7 N/cm
Fischer RC4 WCGS (180 cm) - 39.2 N/cm
Volkl Supersport (154 cm) - 49.2 N/cm
Rossignol temptation 76 (146) - 38.1 N/cm.
I think the last pair I made came out too soft - and definitely softer than I calculated it would, but I'm waiting to see what my friend thinks of them - he's lighter than me and beginner/intermediate so he may end up liking them.
I think the deflection range is intended to be more of a rule of thumb / engineering check than a rule to live/die by. I'd be willing to bet there are great skis outside the range too.
As far as what you figured for your pair - you're right 10-12 is inline with what people are doing here. I think 14 would make for too heavy/stiff of a ski - what composites and wood type are you factoring in? The pair I'm working on now is 20oz fiberglass top and bottom with 2.5/11.5/2.5 core and 187 cm, no carbon (also for someone else) - I'm curious where this ski will fall on the scale - I calculated 60.7 N/cm but my calculations have been pretty off historically so we'll see
here's the stiffnesses / specs for the ones I've made so far -
first pair (grey dyed oak carving ski) - 2/10/2 core - 22 oz fiberglass top/bottom - 1" wide 373 gsm carbon stringers top/bottom - 66.7 N/cm
second pair (rosewood) - 2/9/2 core - 20 oz fiberglass top/bottom - 1" wide 373 gsm carbon stringer bottom & "x" shapes top - 31.7 N/cm
third pair (stripes) - 2/8/2 core - 20 oz fg top/bottom - 1" wide 373 gsm carbon stringer bottom - 22 N/cm
my favorite pair is the first one - I don't really have anything bad to say about them other than maybe the binding placement needs some adjustment - I tried the second pair and it carves well but feels a bit noodly when going straight & fast - maybe because its too soft? I'm pretty sure I wouldn't like the third pair because of how soft they are, but maybe my friend will, time will tell.
cometWed Mar 17, 2021 12:04 pm
I've been using a modified version of the spreadsheet I found on the forums a while ago. It does not factor in base material, edges, or top sheet so it could just be an underestimate for actual stiffness. Do you factor those in your calcs?
https://docs.google.com/spreadsheets/d/ ... sp=sharing
My setup is 180cm overall length, 146cm effective length, core is 2.2 - 11.5 - 2.2. Vectorply 22oz triax (actual weight 23.55oz) top/bottom. No carbon.
That gives 29.3 N/cm which I think might actually be good since this pair will be pretty fat at 105mm waist. Not exactly a carver. It is nice to have some points of comparison, though. I'll definitely do a test setup like your dumbbells to see what the real result is.
JonrezzMon Mar 22, 2021 5:32 pm
Interesting. My gut is telling me that the spreadsheet is underestimating how stiff those will be
I just took the 2.5/11.5/2.5 ones out of the press yesterday - I'll let you know what the result is in a day or two when I've cut them out!
JonrezzWed Mar 24, 2021 8:58 am
Ok Update time!
I just cut out some FAT powder skis! now everything didn't go as planned with my new sidewall router and so I will be redoing this set. I think a wider center rosewood stripe will look better anyway for the redo, since these skis are so wide..
first off - here's how they look right now (the pair on the right) - I still need to paint and finish the topsheet -
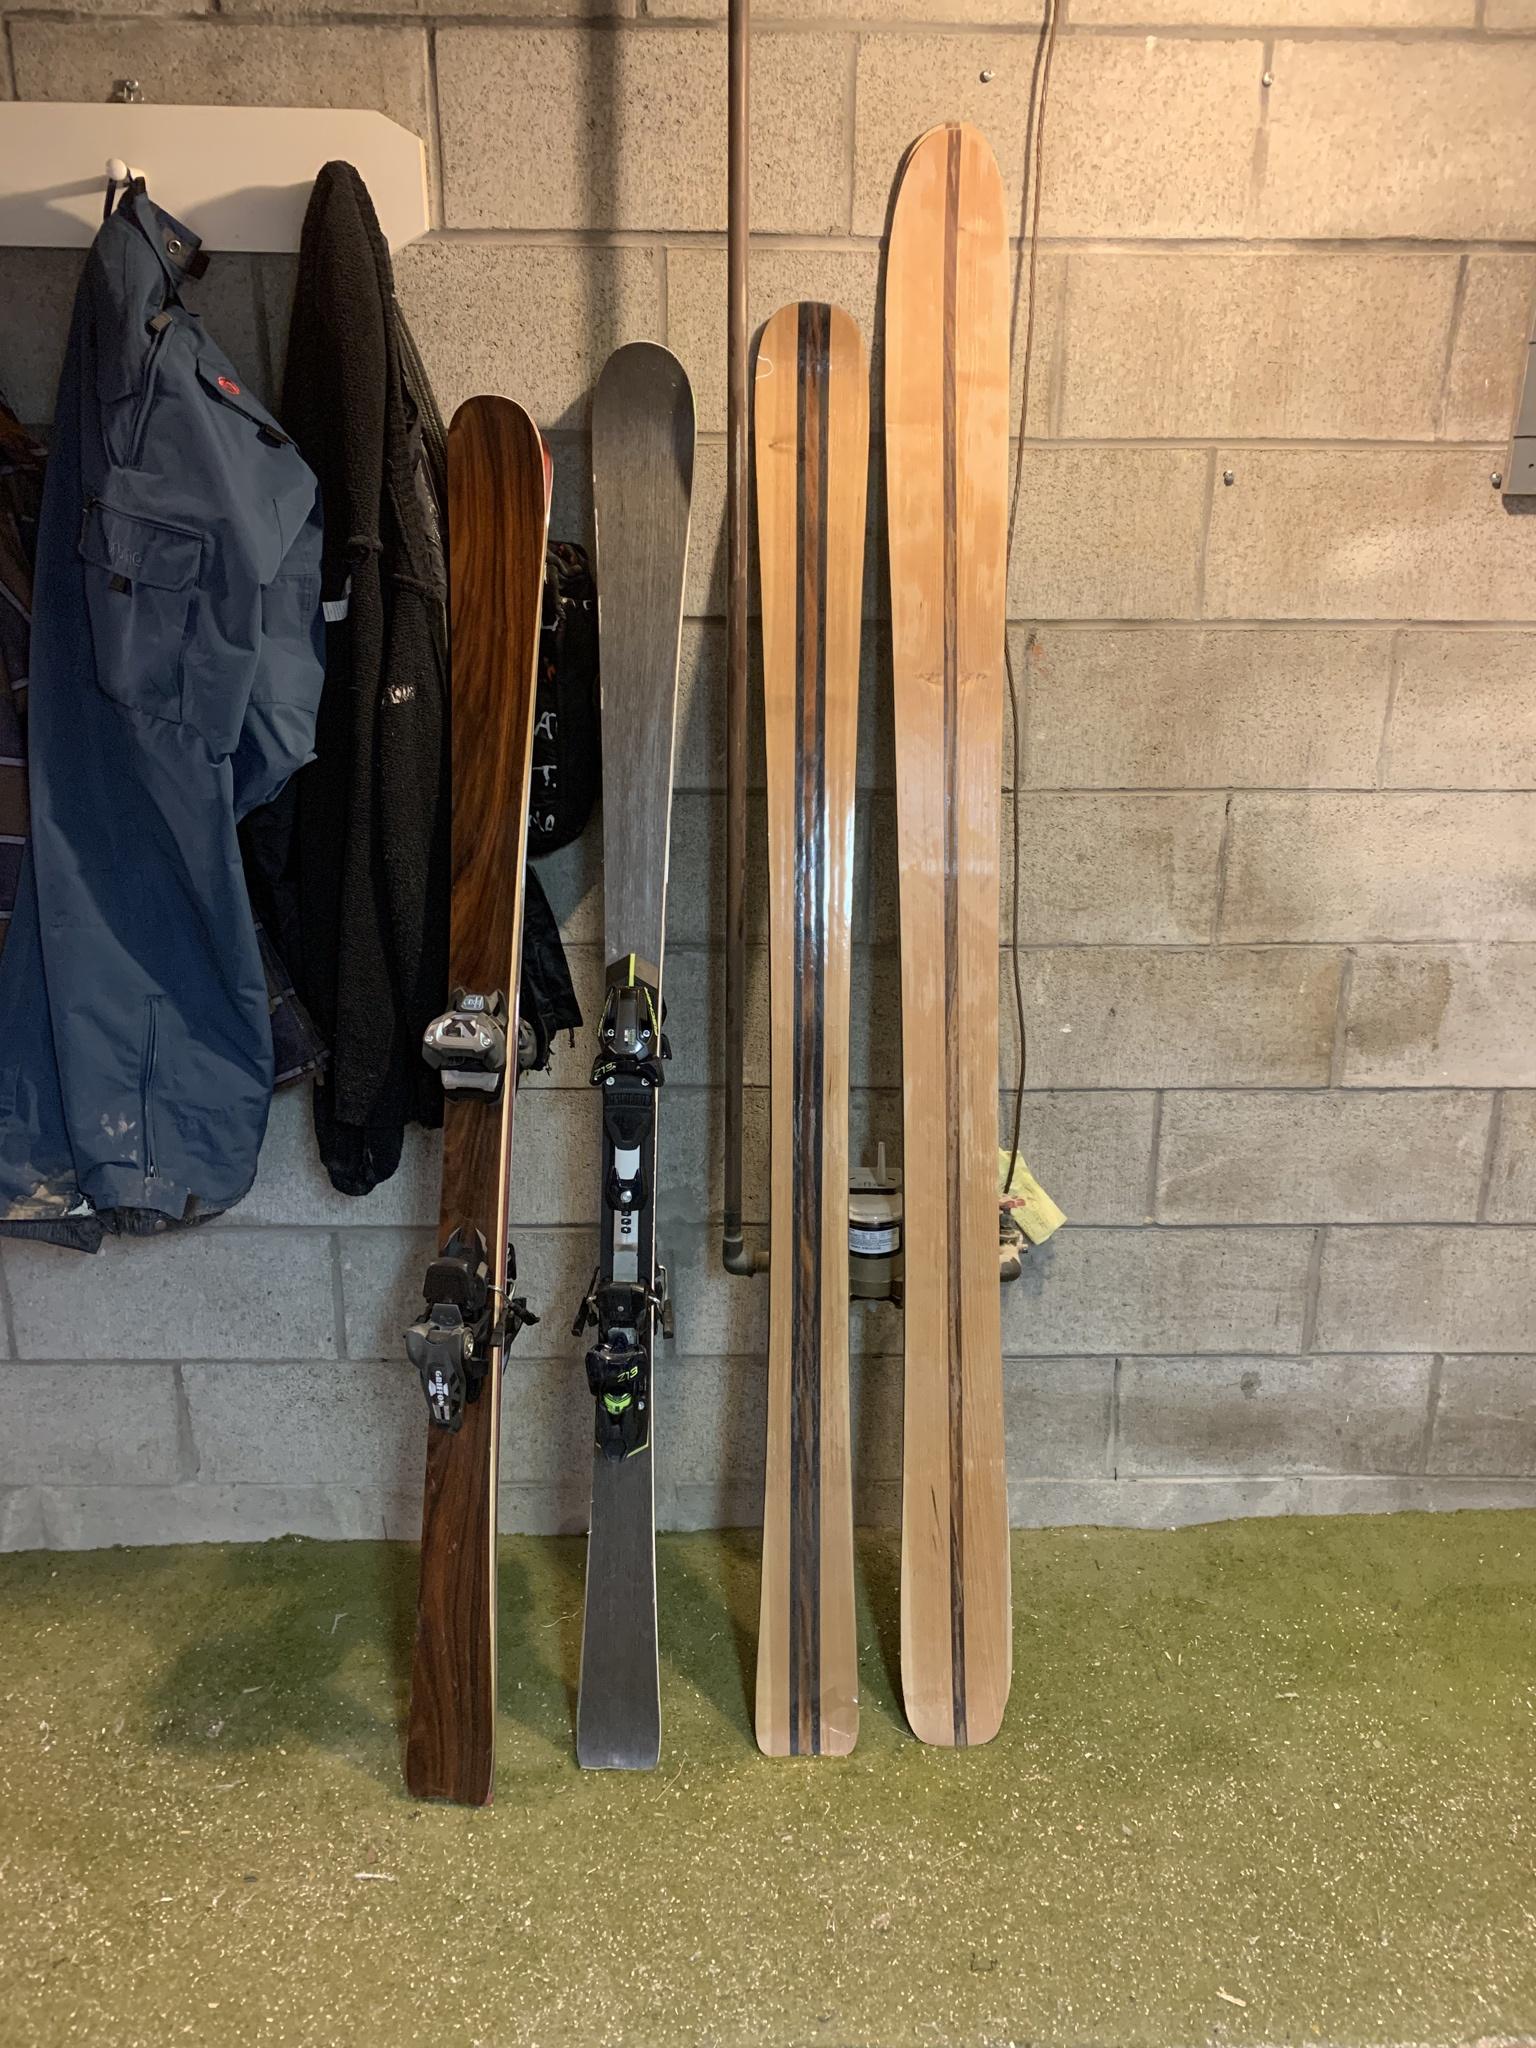
and before I get too far into it this post - Comet - these came in at 47.7 N/cm. The dimensions are 187 length, 2.5-11.5-2.5 core, 140-115-128 tip/waist/tail, 20 oz fiberglass top and bottom (I also included a 500 mm long 20 oz fg binding mount sheet under-boot), ash core with two 19mm wide maple stringers for binding screw retention, so I think the spreadsheet is underestimating by a decent margin.
so for the things that went right:
camber profile came out as intended - I've been getting good at predicting how much I need to exaggerate the camber in order to make top only heat feasible!
I was really proud of my tip wrap job - although while I was doing it I was cursing at how much of a pita it is
and now for what went wrong
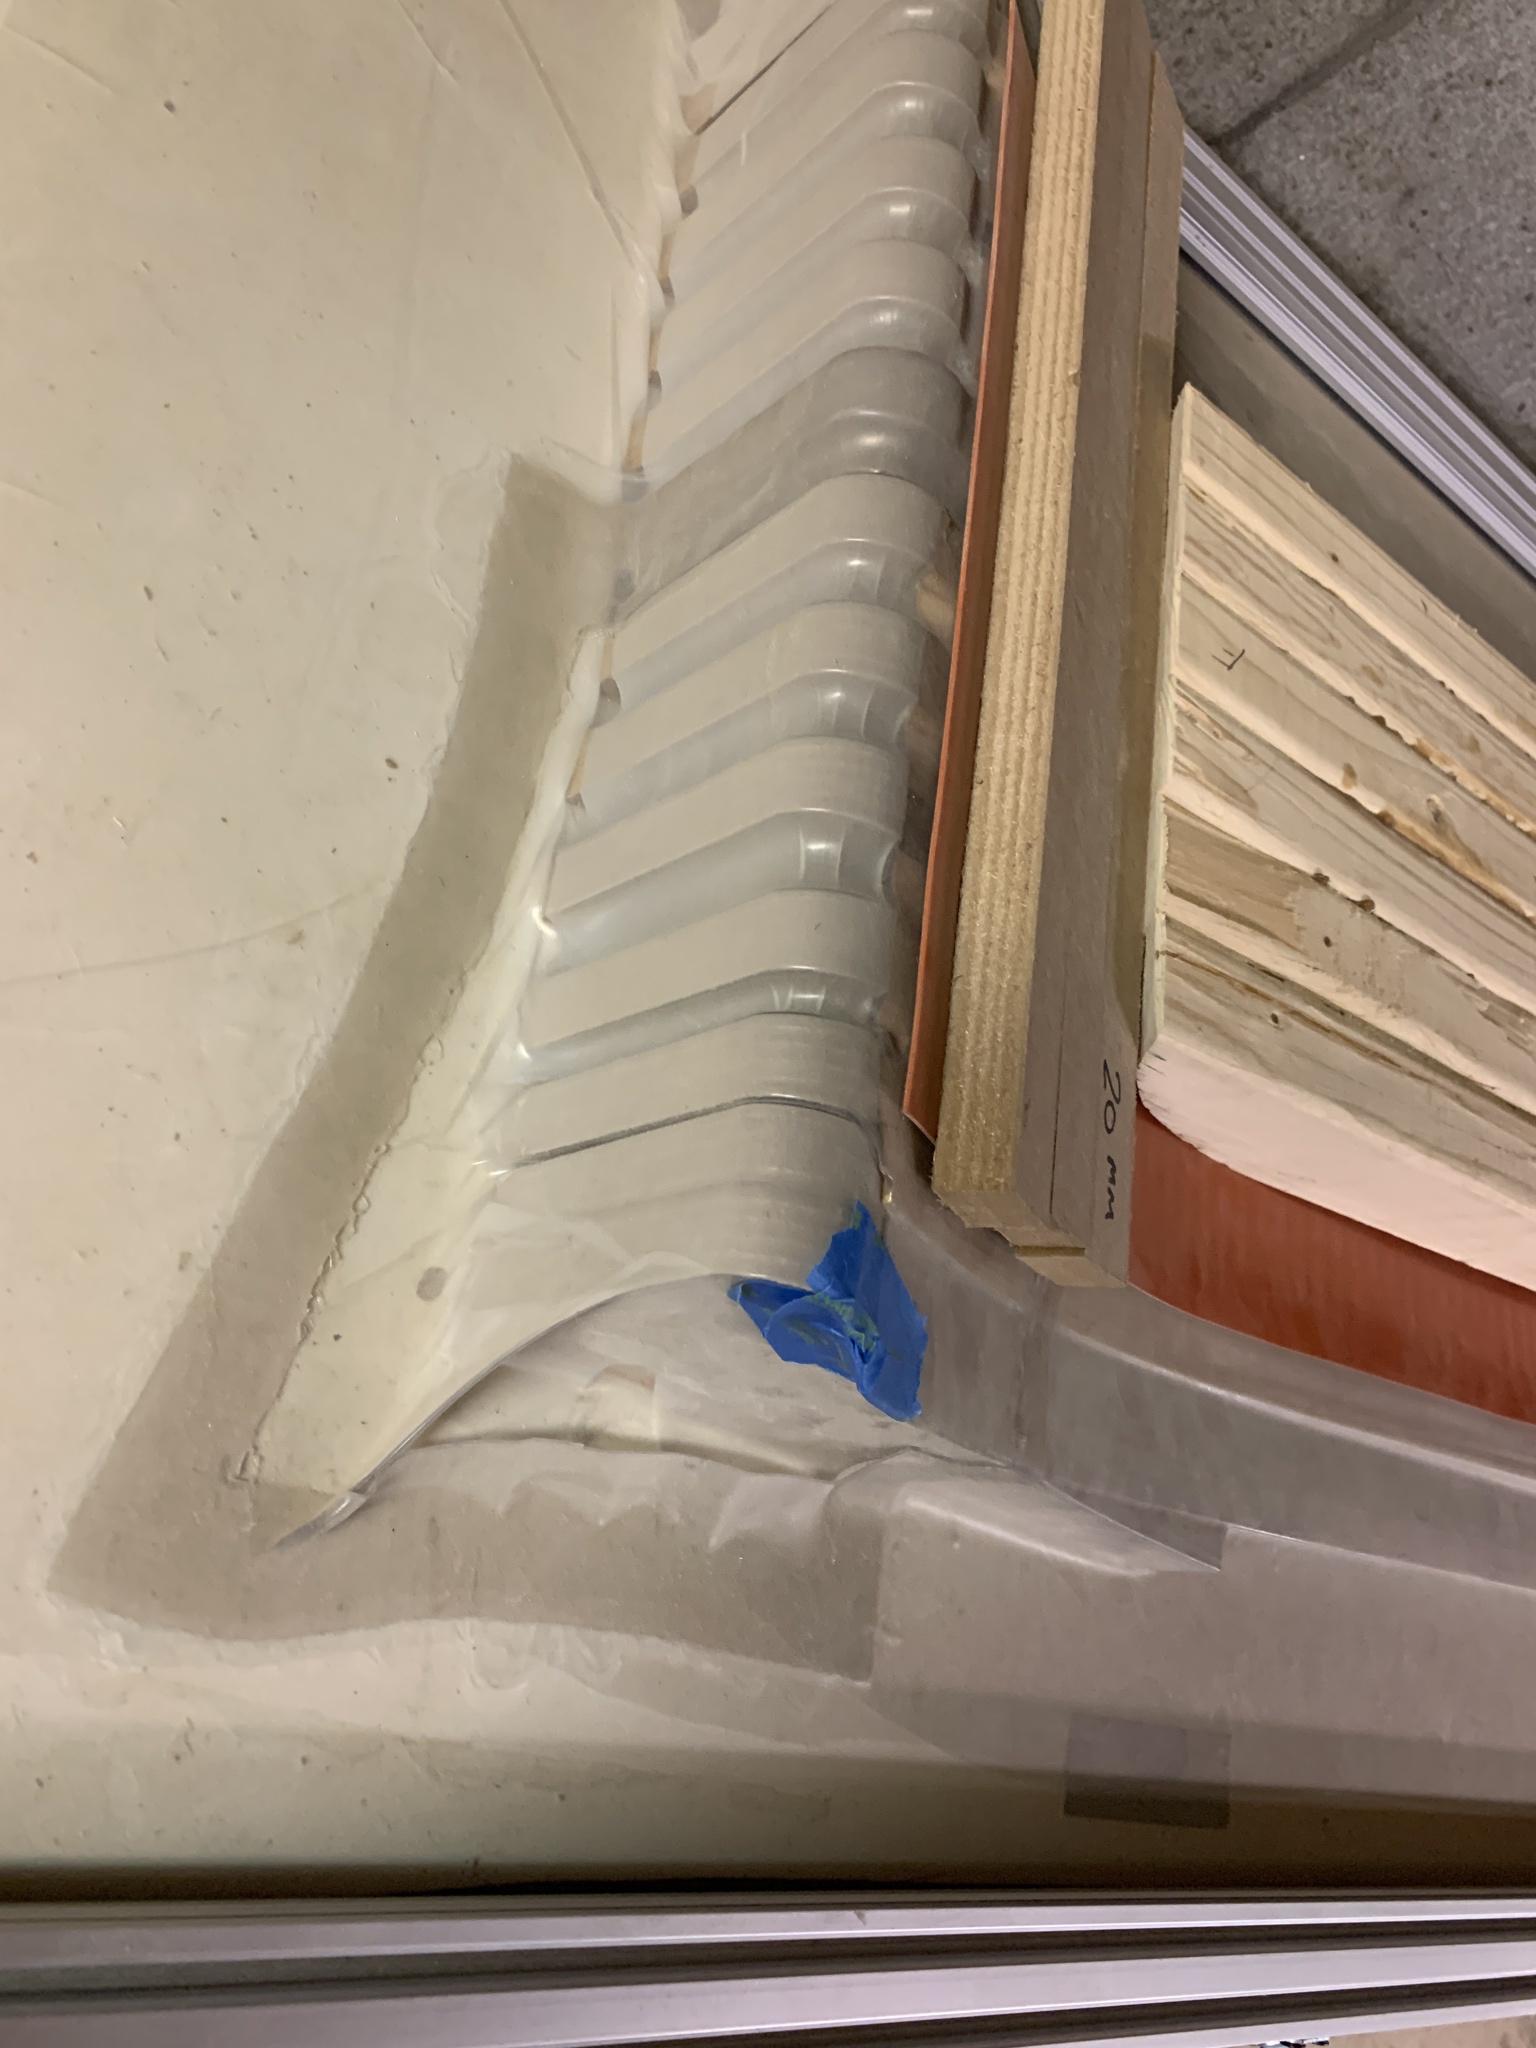
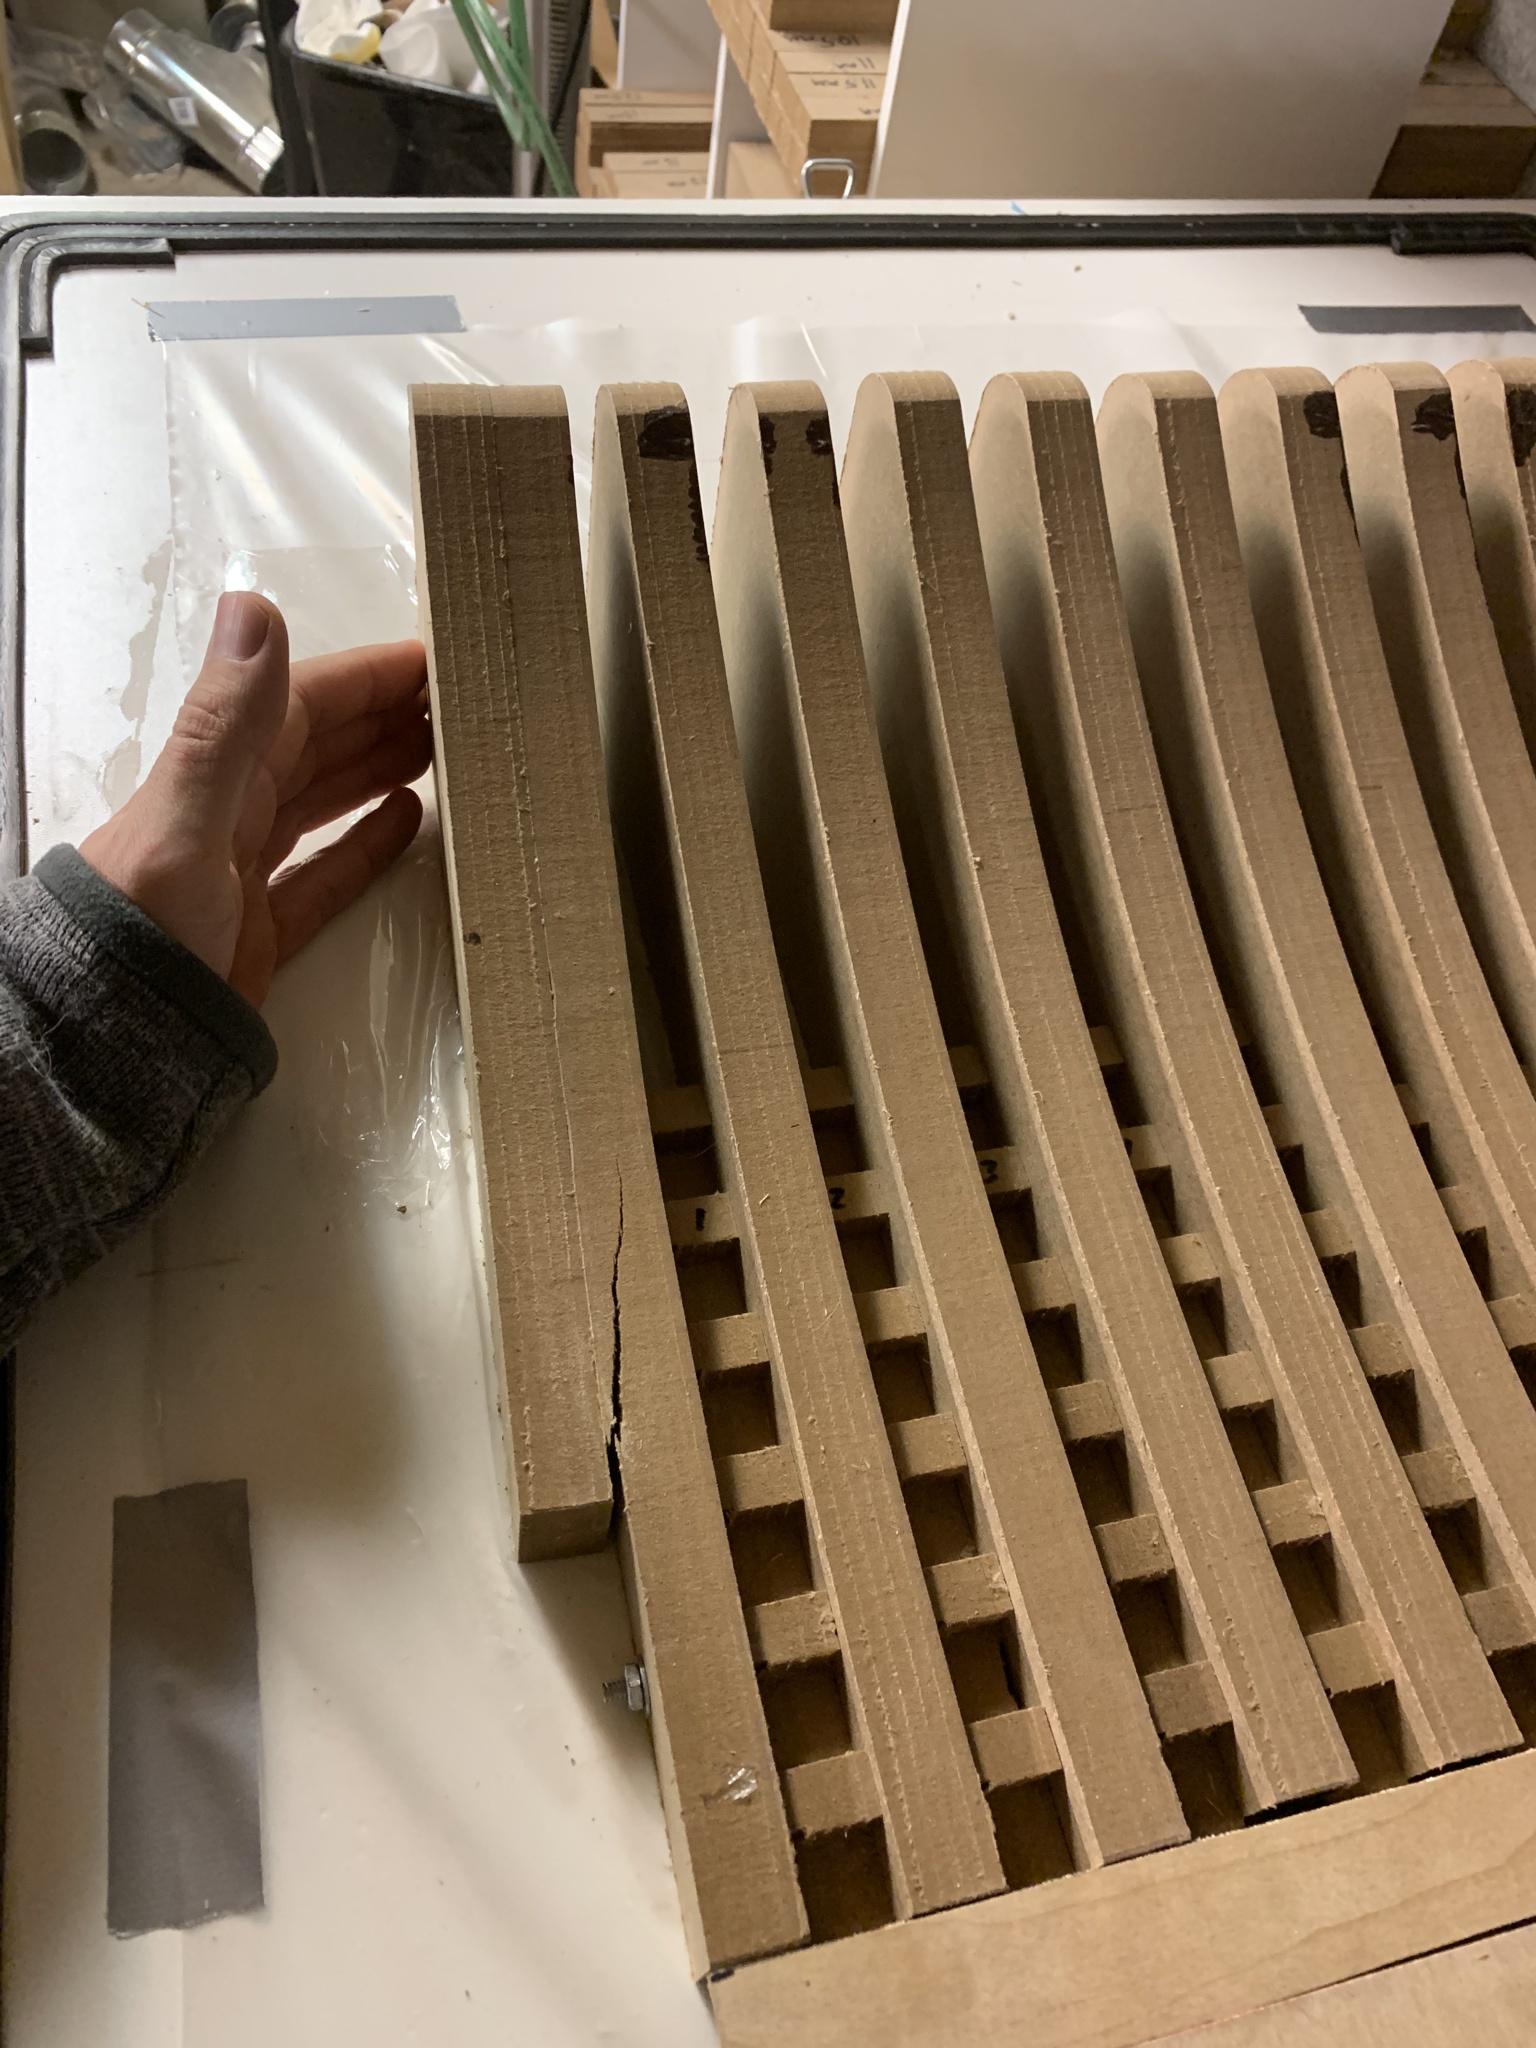
Since these skis are sort of a unique animal compared to what I've been making with their long early rise in the tip and tail, I whipped up a new set of tip and tail molds and slapped them on my adjustable rig. The mold has served me well, but I ran into a new issue - I think due to the sheer size of these new tip molds. I think the pressure pulling them together, since theyre so big, caused the tip blocks to bend towards eachother with enough force that it actually cracked one of them! what ended up happening is when the tip mold pulled inward, it exposed the sharp corner of the aluminum cassette to the silicone sheet - causing a new tear. fortunately I was able to stick some tape on it and keep the vacuum at around -28in and finish the skis ok - but lesson learned - place some wood pieces between the tip and tail molds to avoid this potentially happening in the future:
Next - I tried to take my new sidewall routing jig for its maiden voyage on this pair - and - well - I need to add a hold-down wheel or safety mechanism to it because while for the most part it worked great, it's prone to doing this (it happened in two spots):
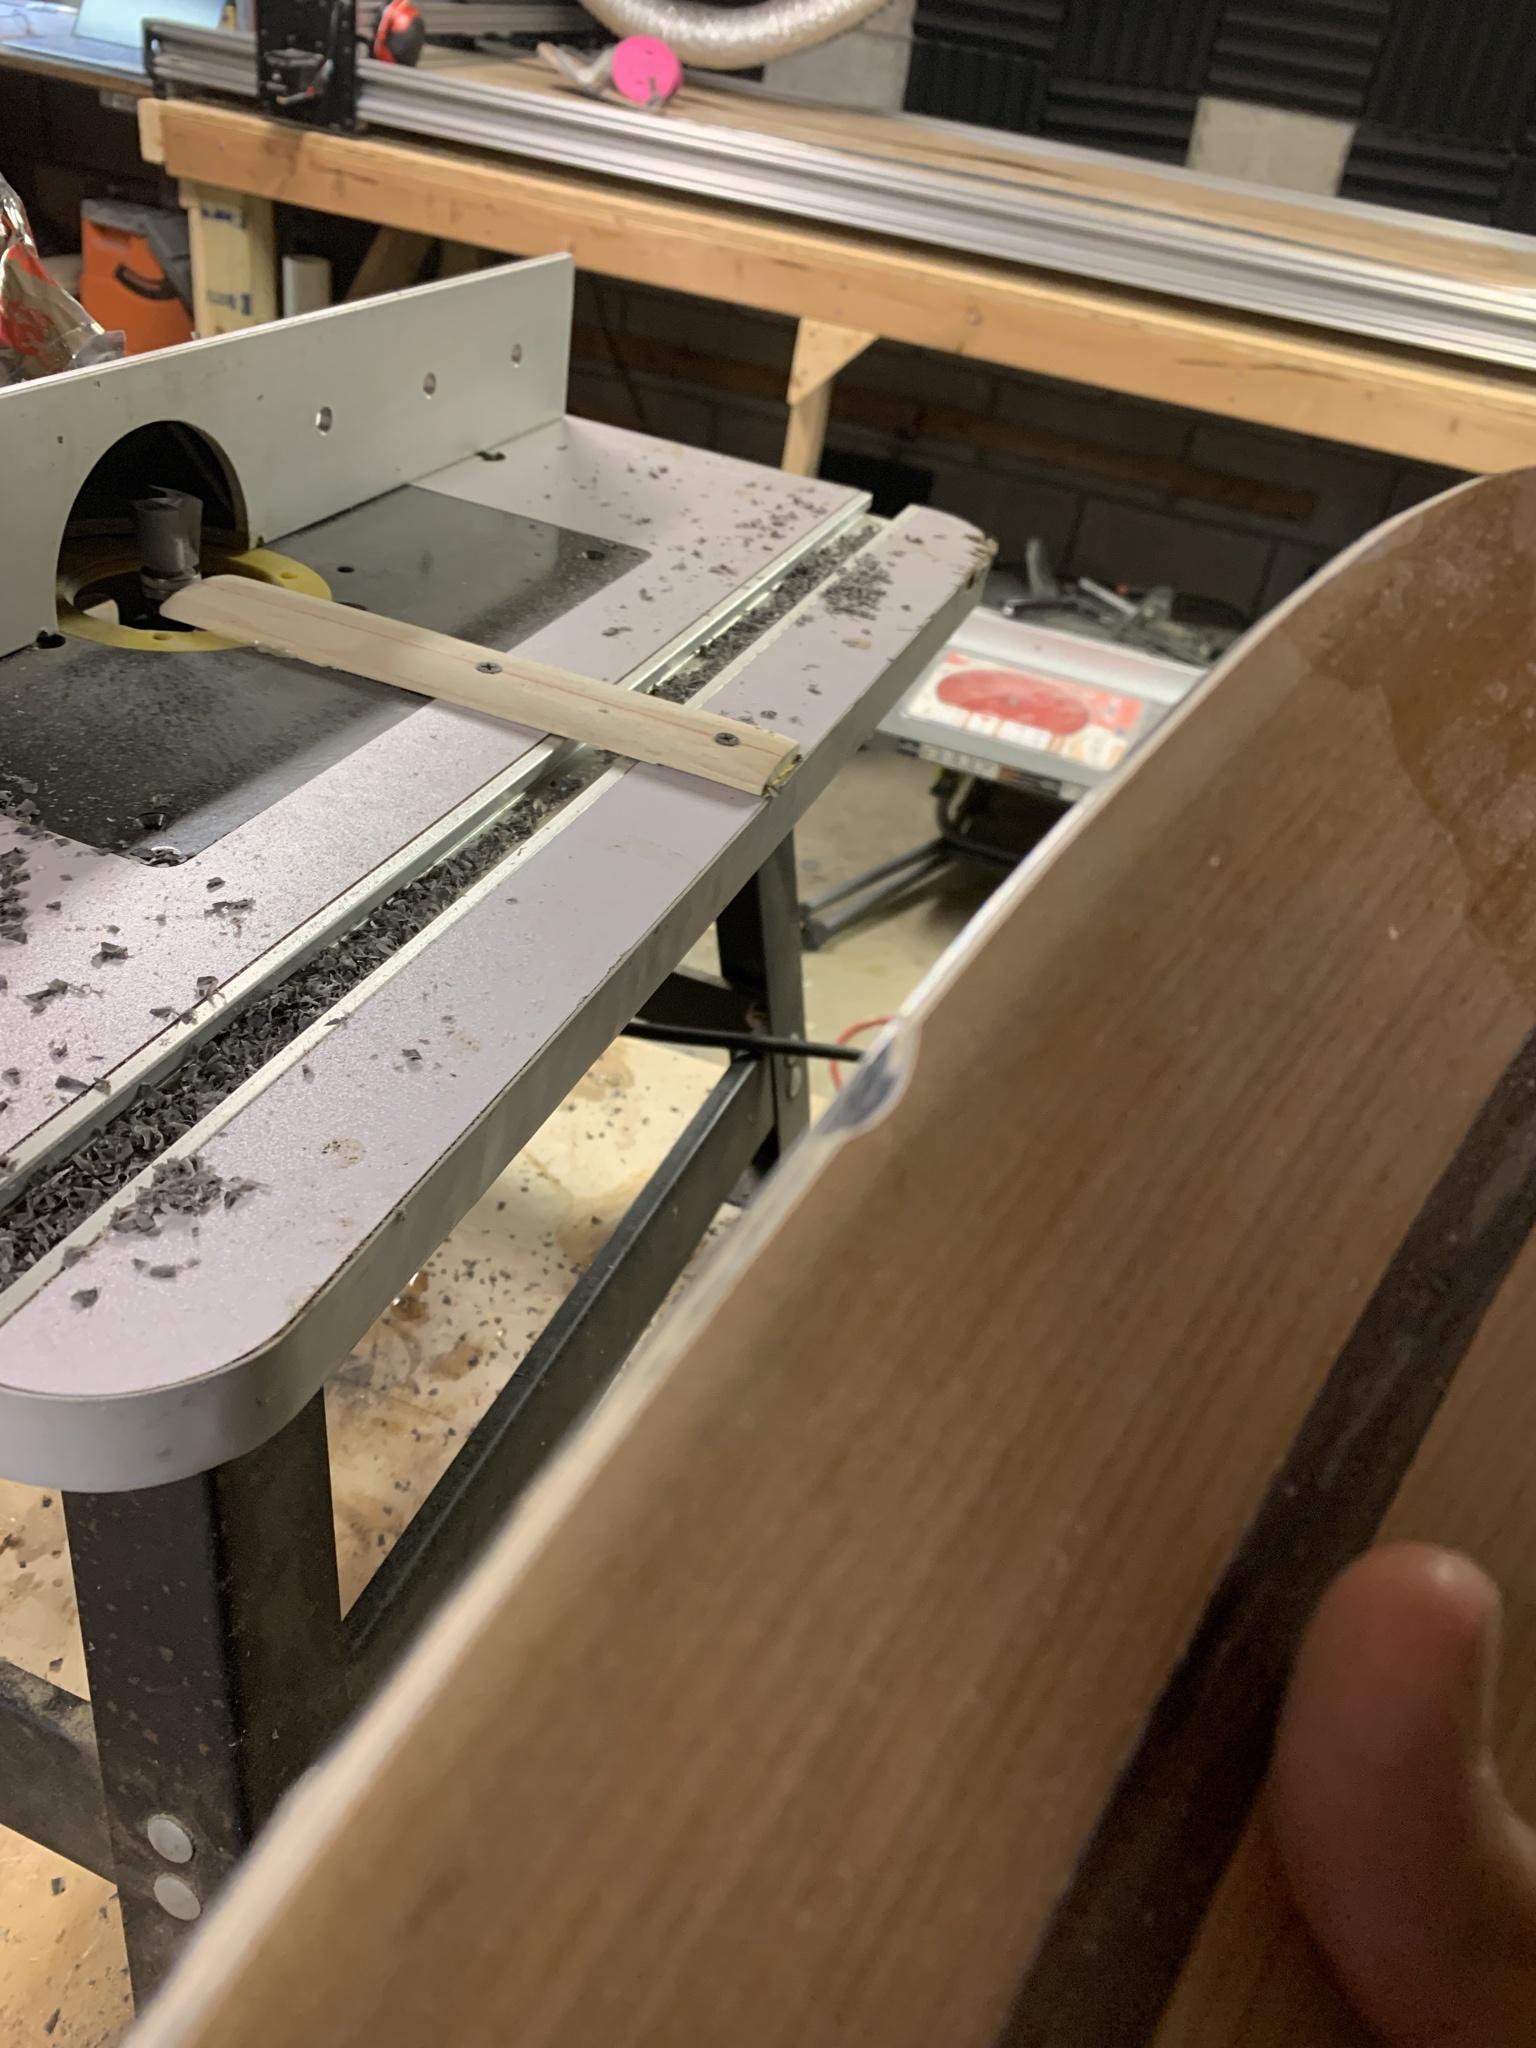
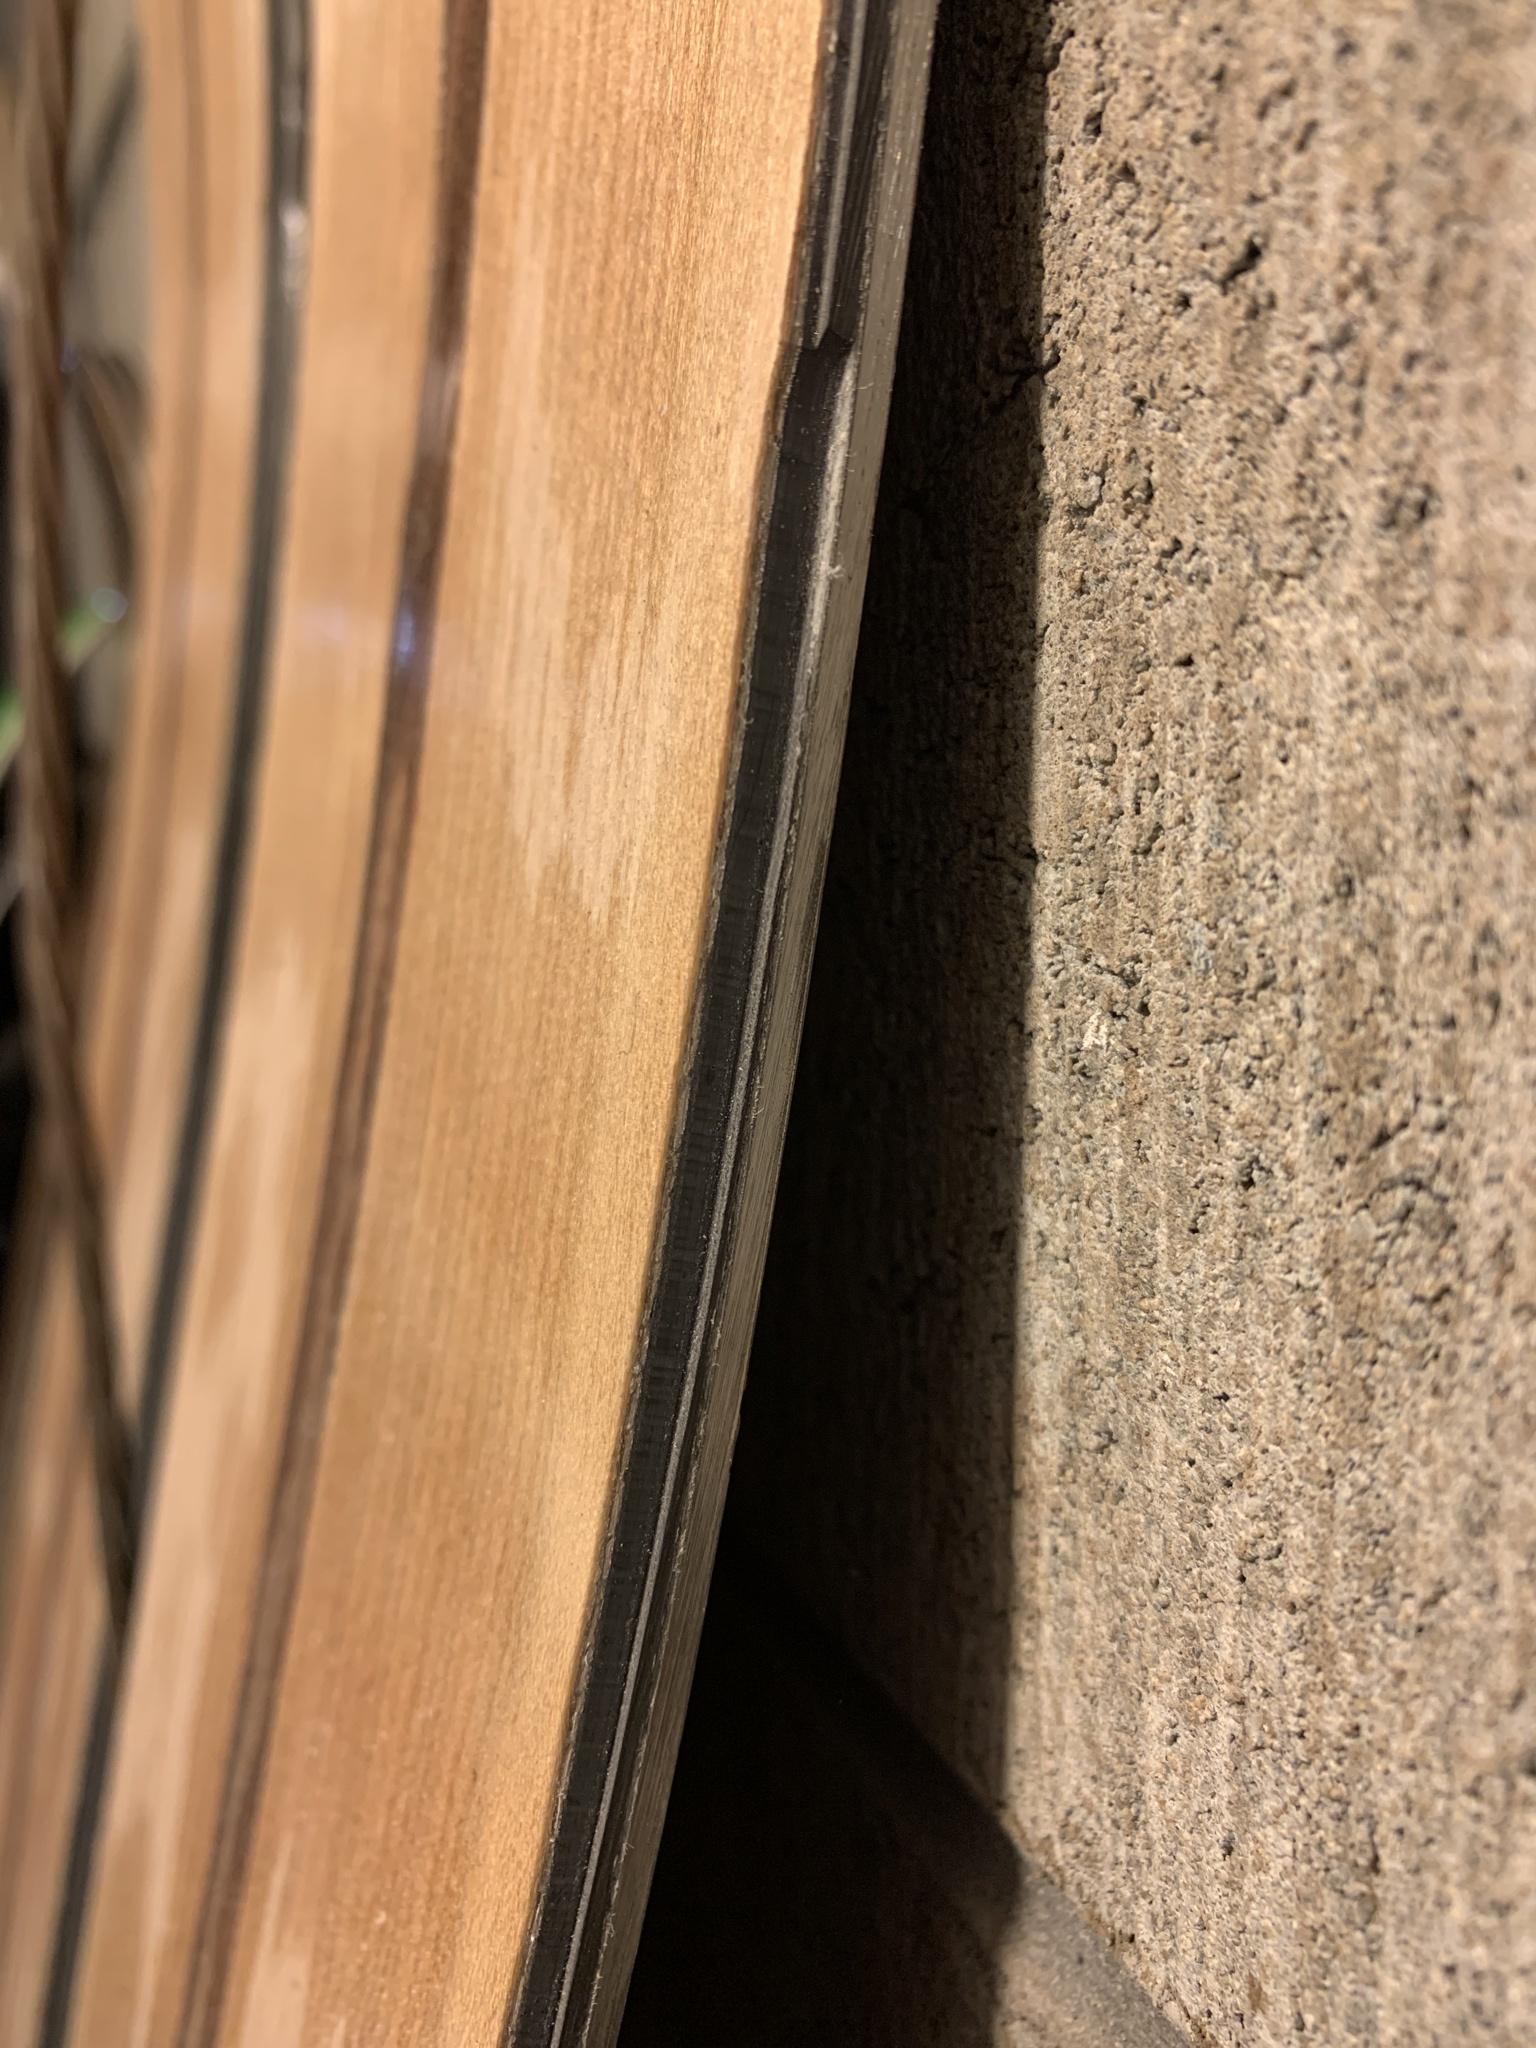
with that said - where it didn't gouge my skis - it actually went really well!
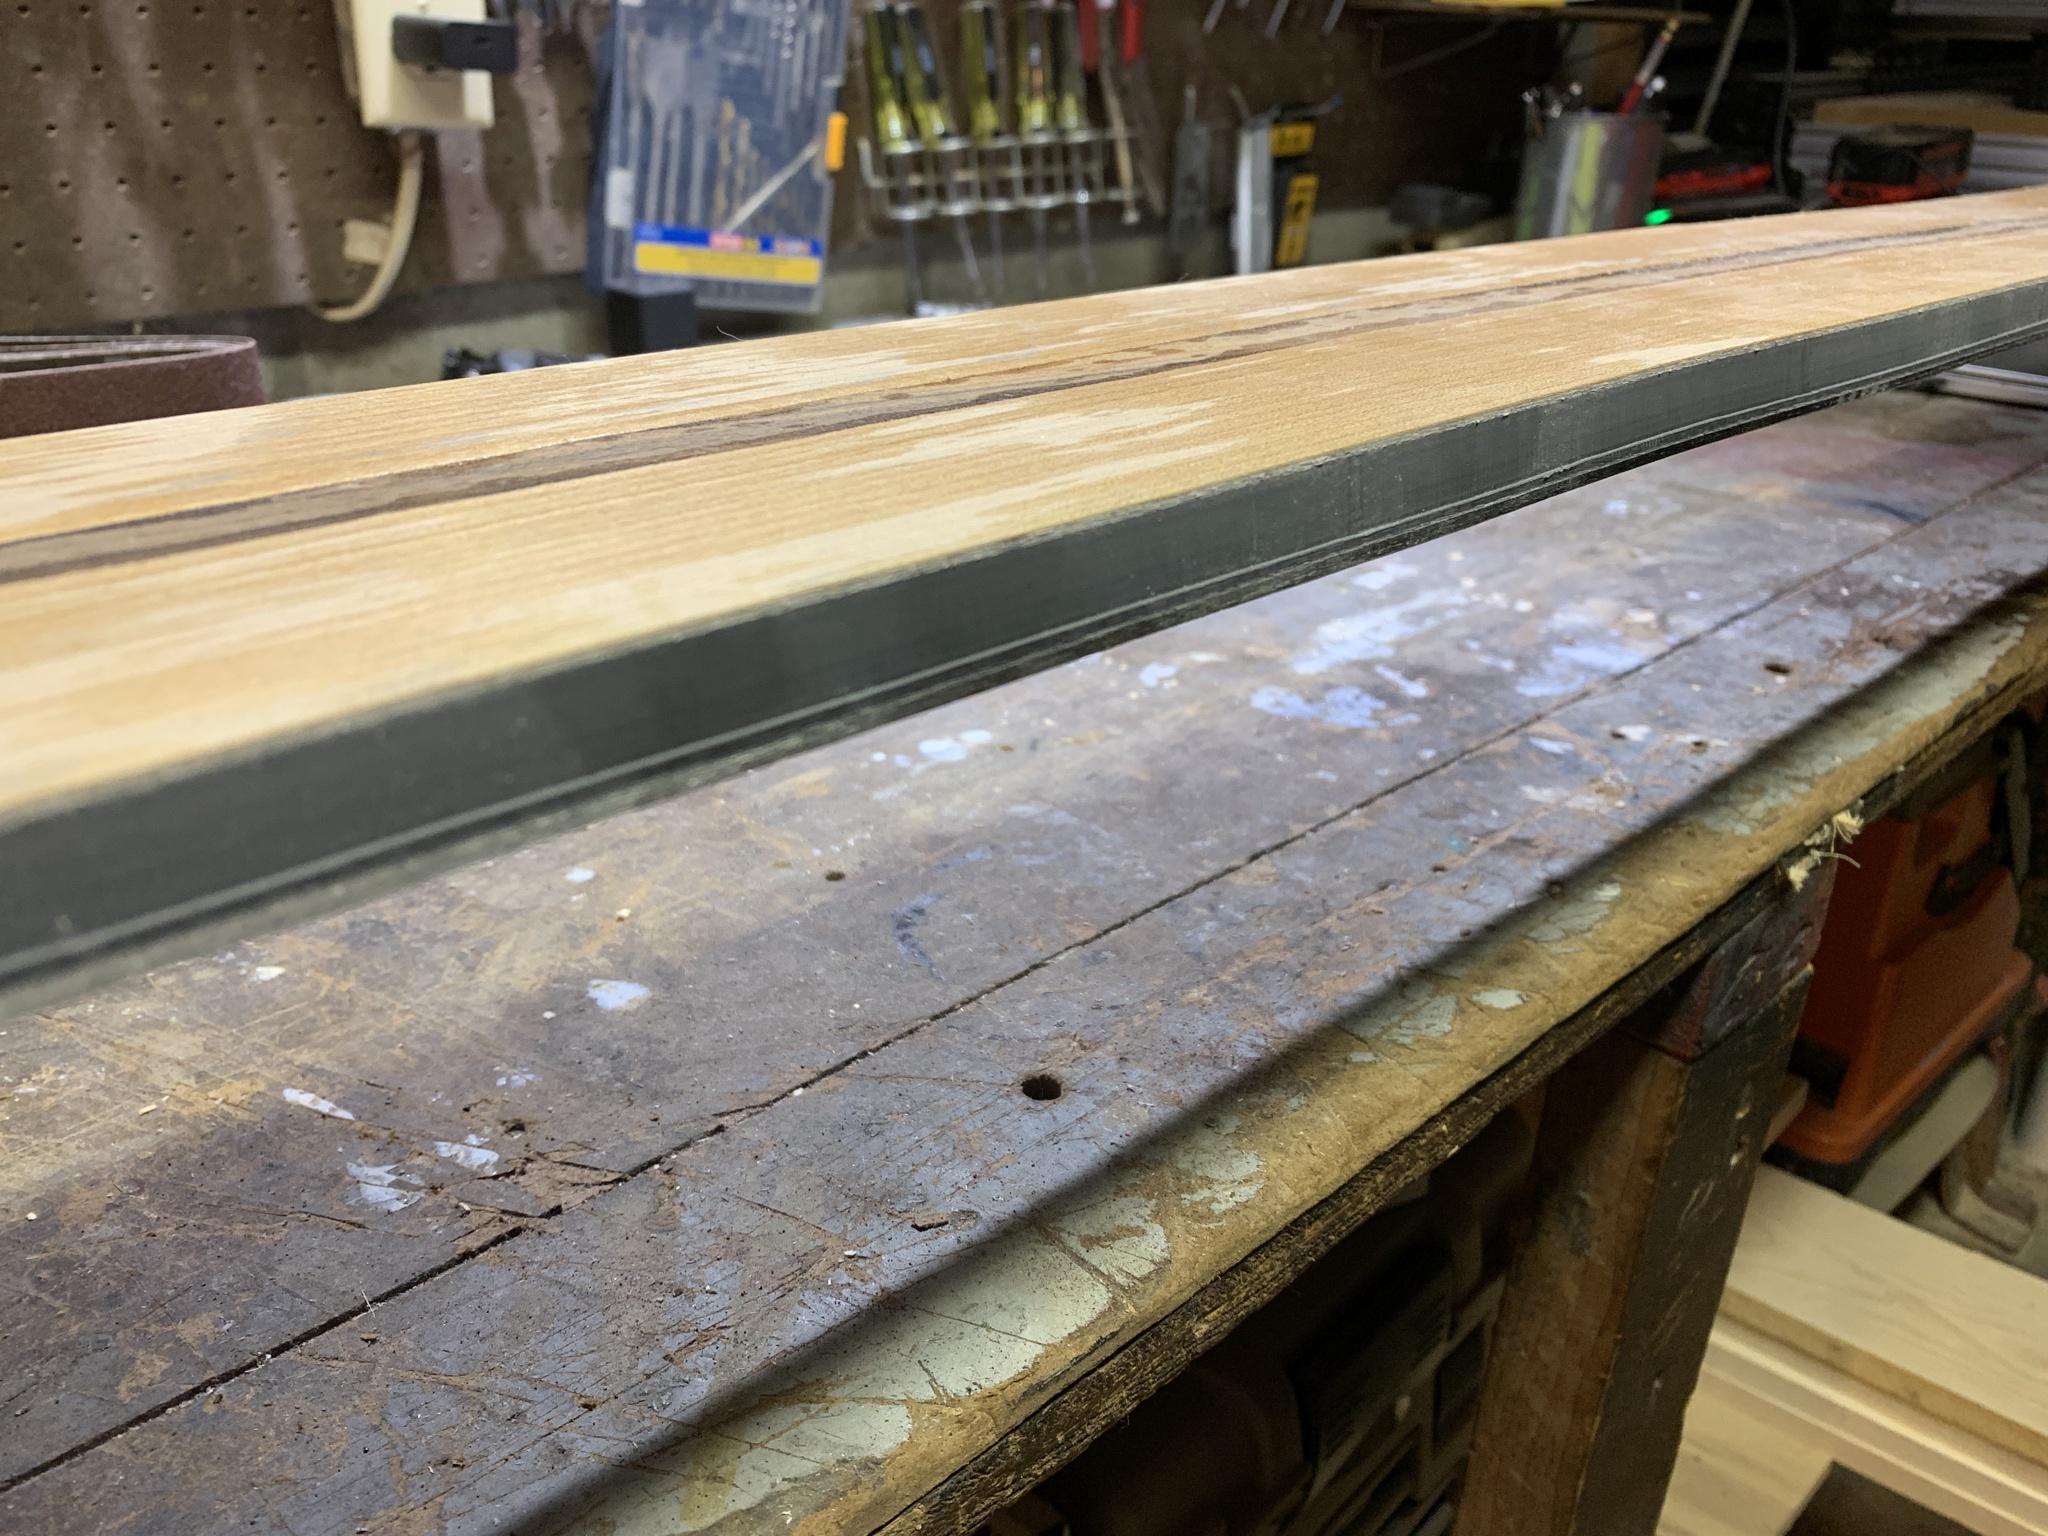
but yeah, I think I'm going to add a hold down wheel to avoid the jumping issue - since the ski only rides on like a mm of bearing. or maybe a fence, haven't really decided yet.
JonrezzSat Apr 24, 2021 8:31 pm
So I am taking a break for a couple of weeks from ski building due to an ACL reconstruction surgery I had last Friday. Since I'm stuck in bed with my leg elevated, time to update my build thread!
So following up from my last post, I have rebuilt the last pair of powder skis that I messed up on my first try, here they are!
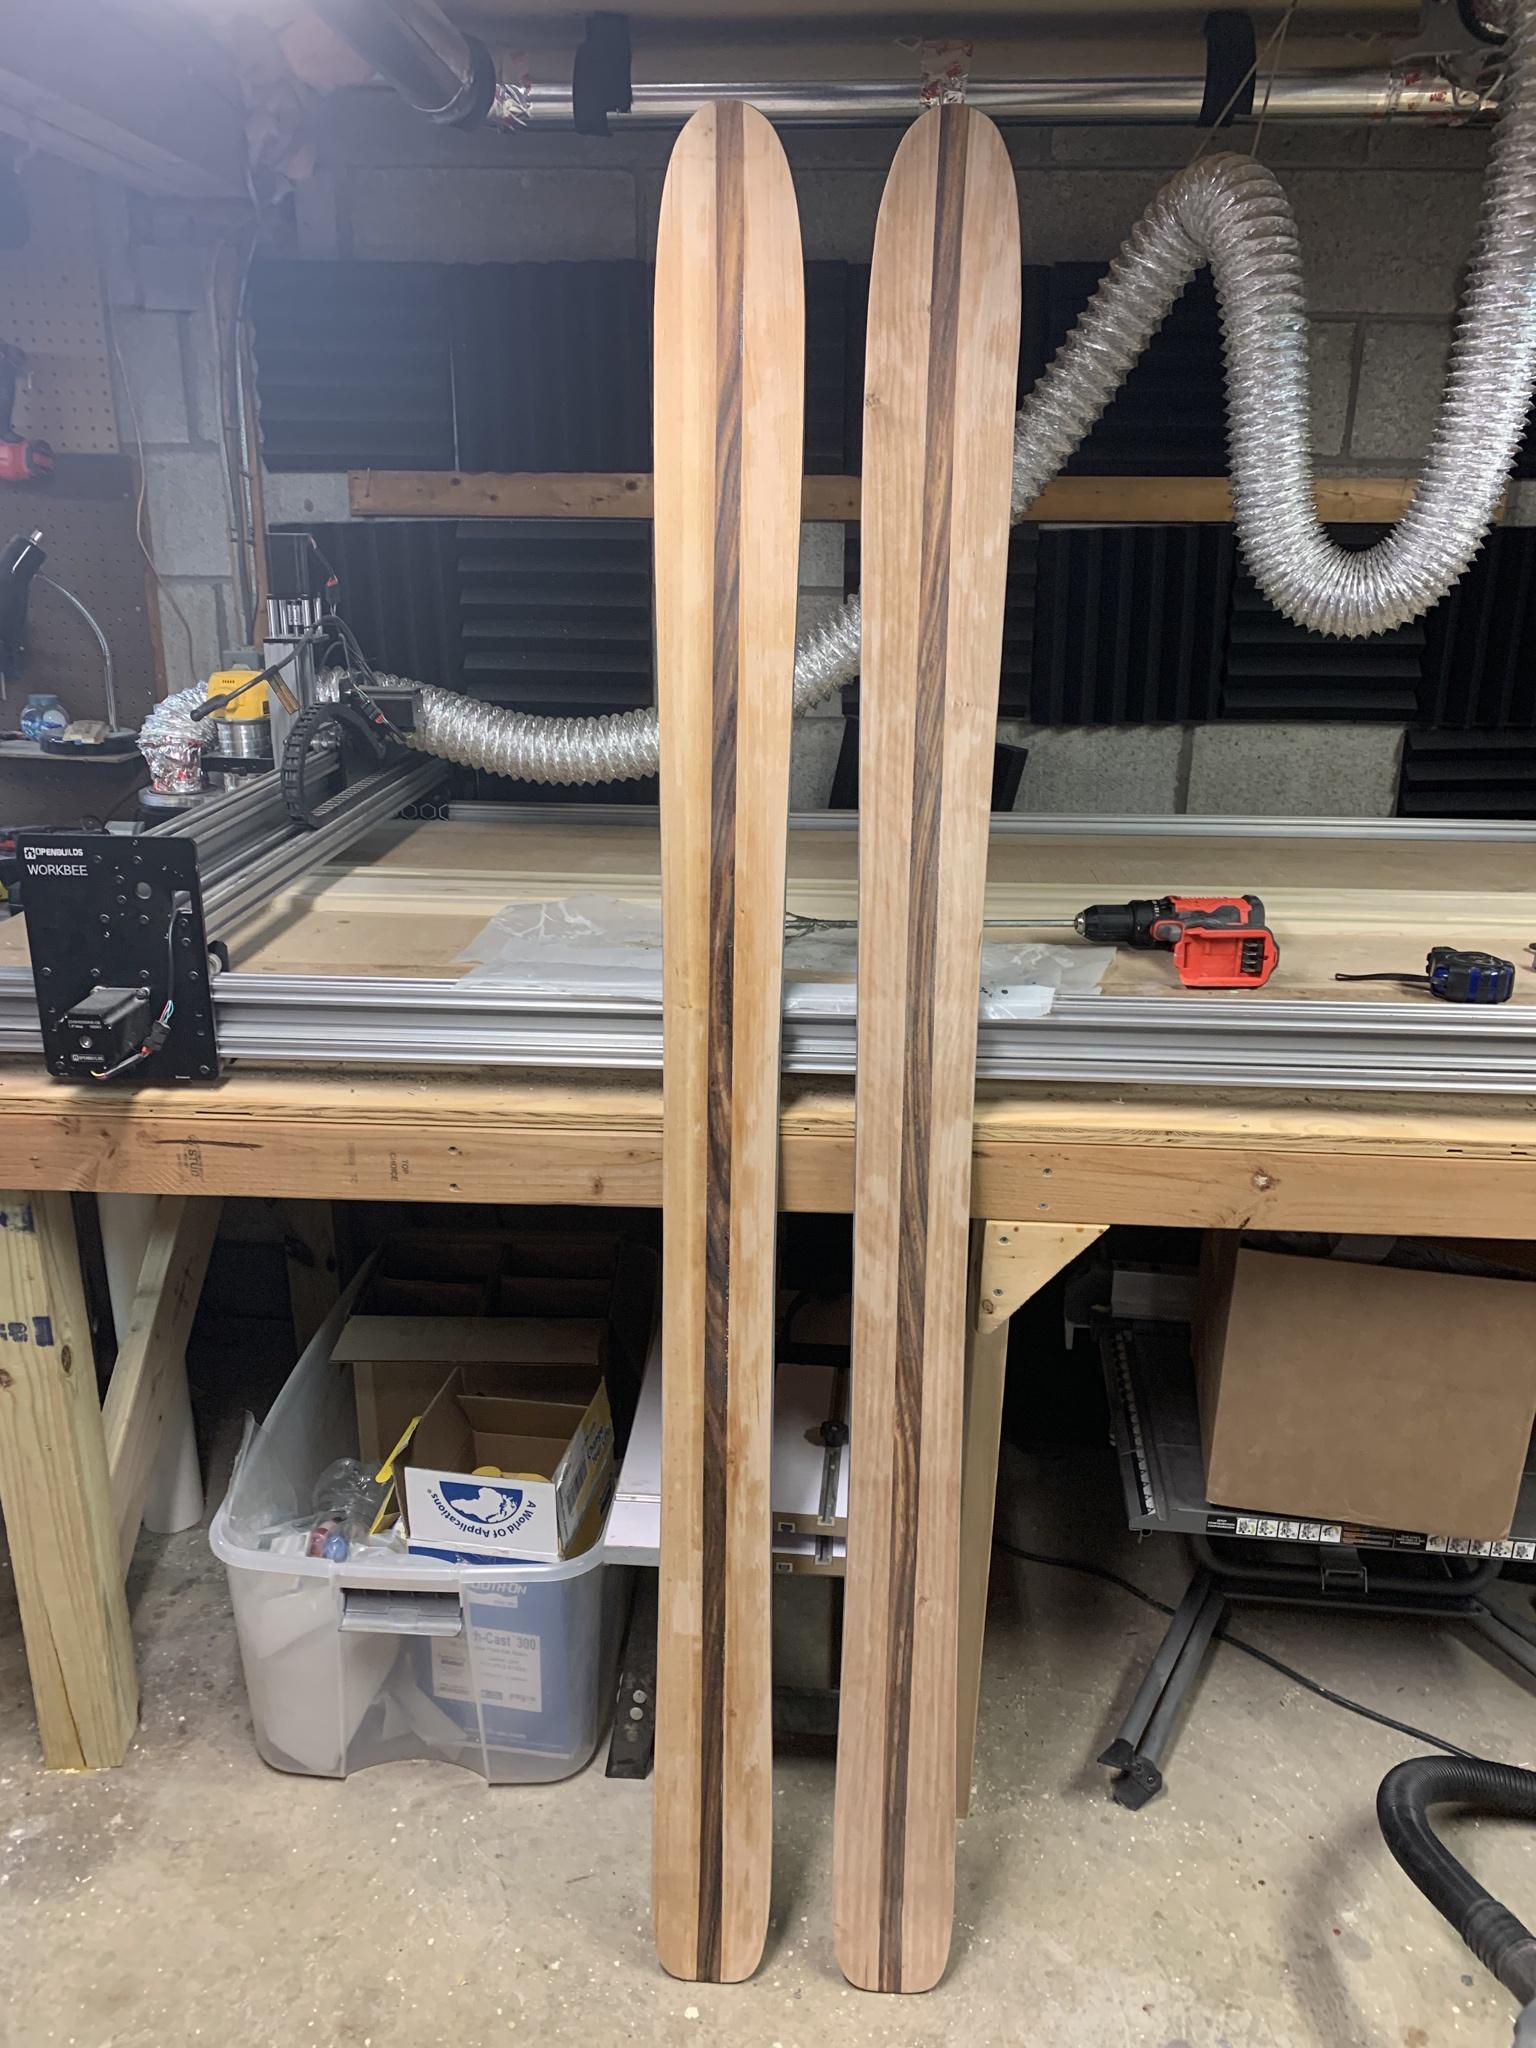
Just needs the topsheet painted and finished, laser engraving and a tune and they're ready to go! I am going to try a new finish for the topsheet - entropy clr/clx to get a more glossy and hopefully more resilient finish than the poly and spar I've been using.
What I'm really excited to share is my next build - I feel like a lot of new stuff came together and brought things to the next level! I pressed my first marquetry inlayed topsheet design!
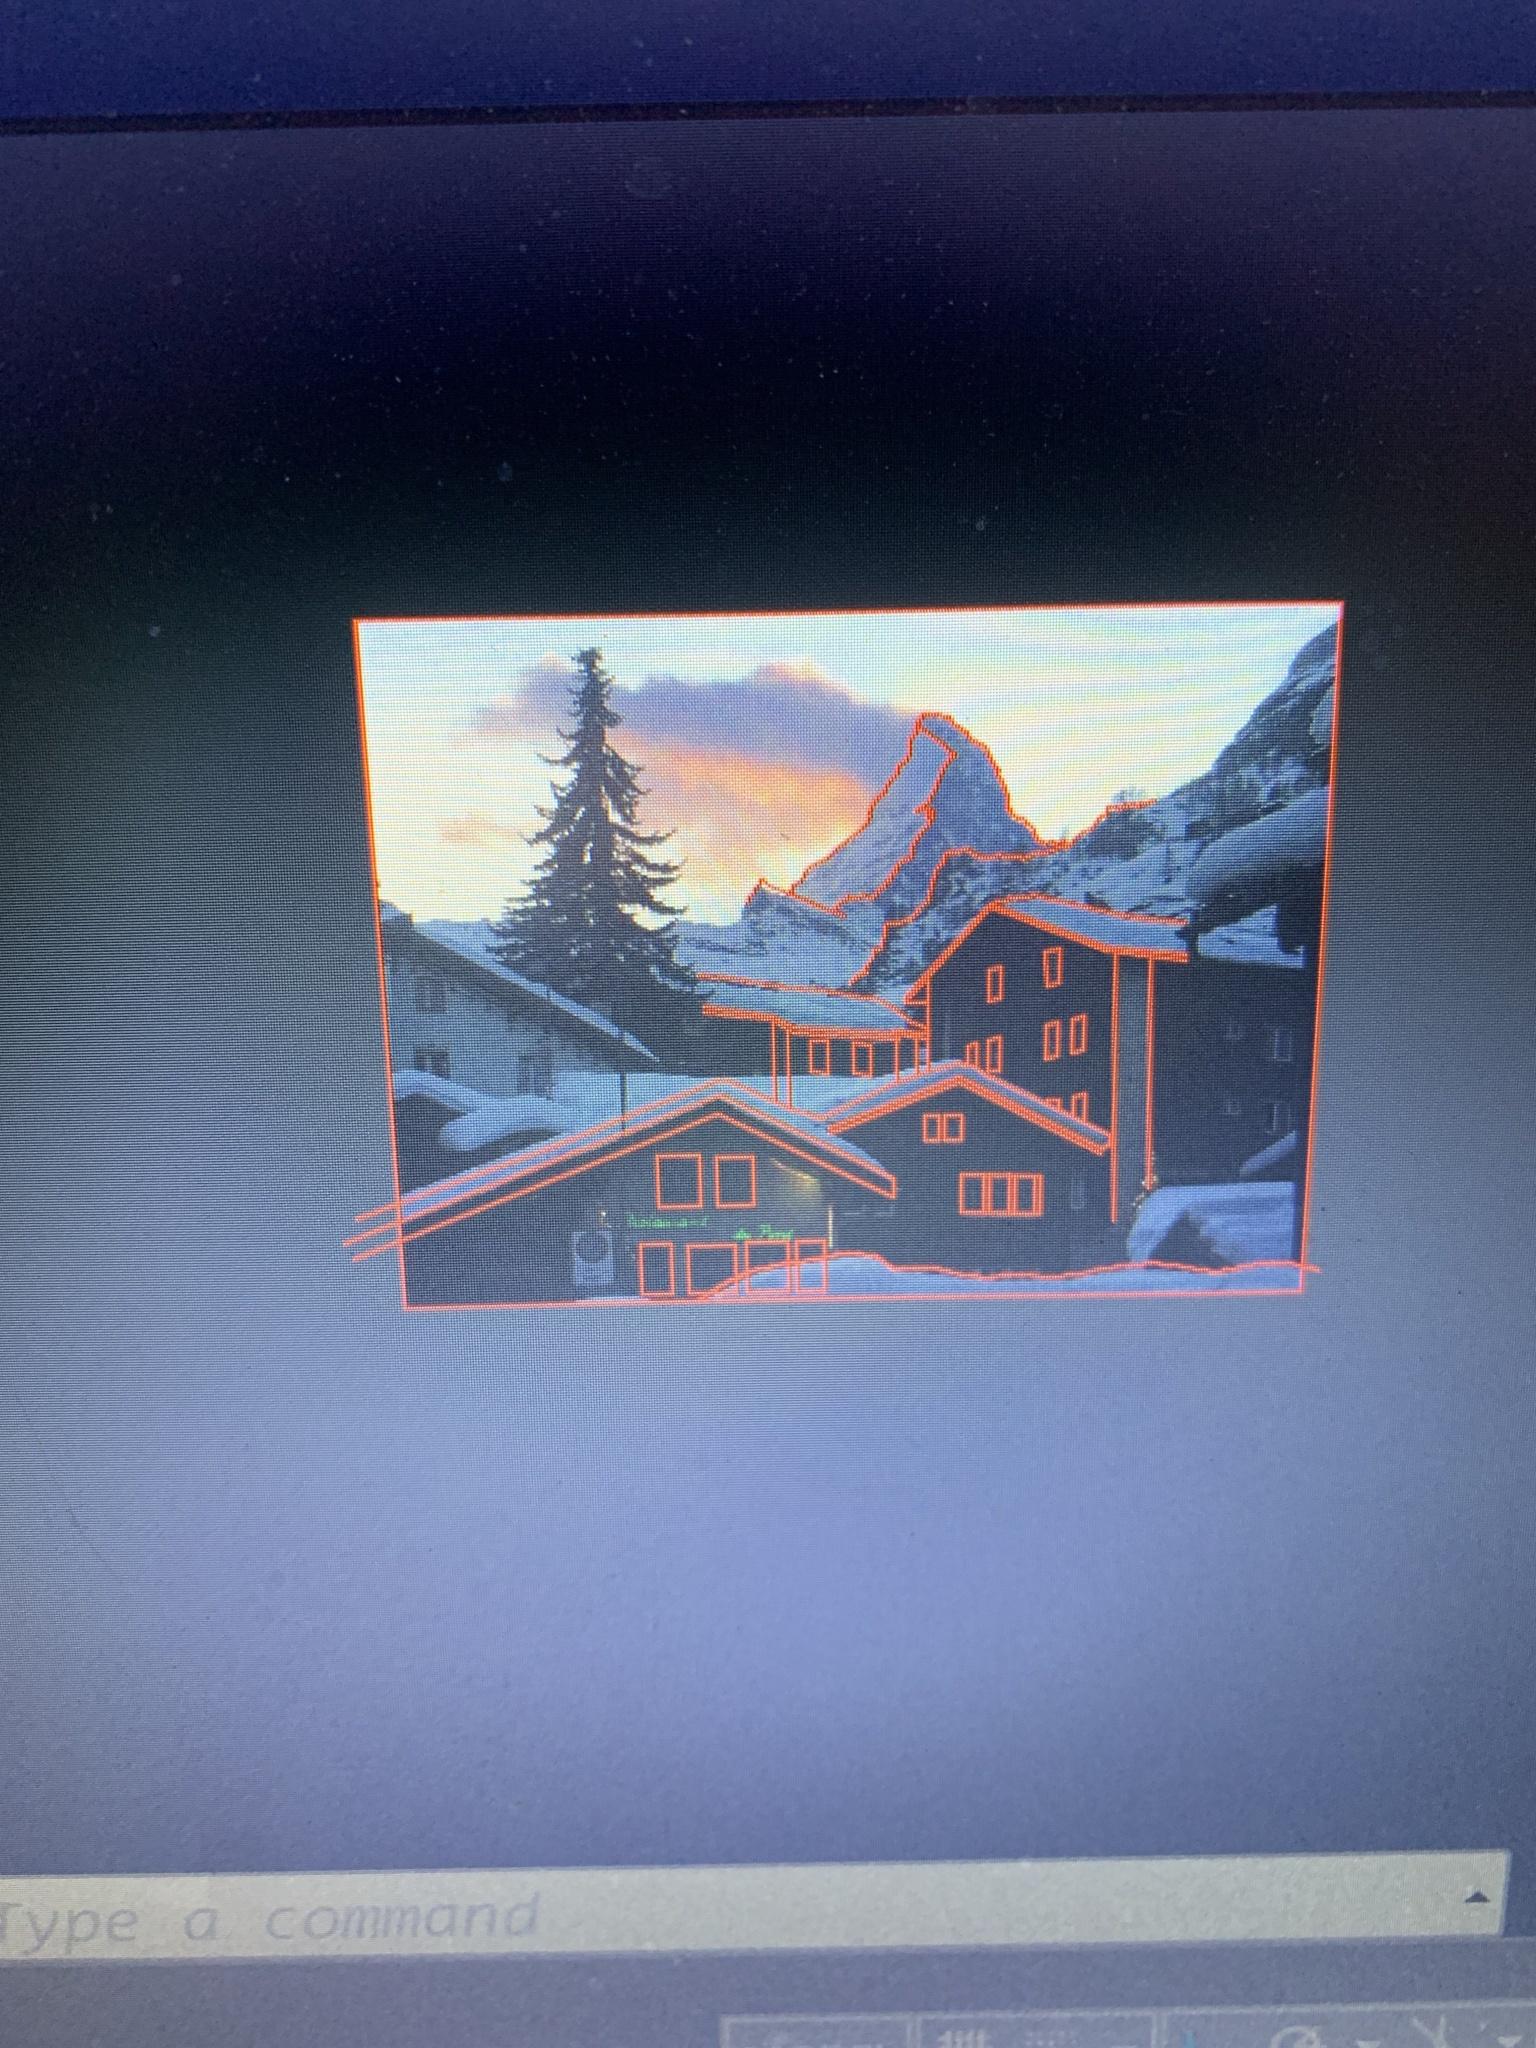
so the inlay is a trace of the matterhorn mountain from a vacation photo I took years ago. I did the tracing in autocad:
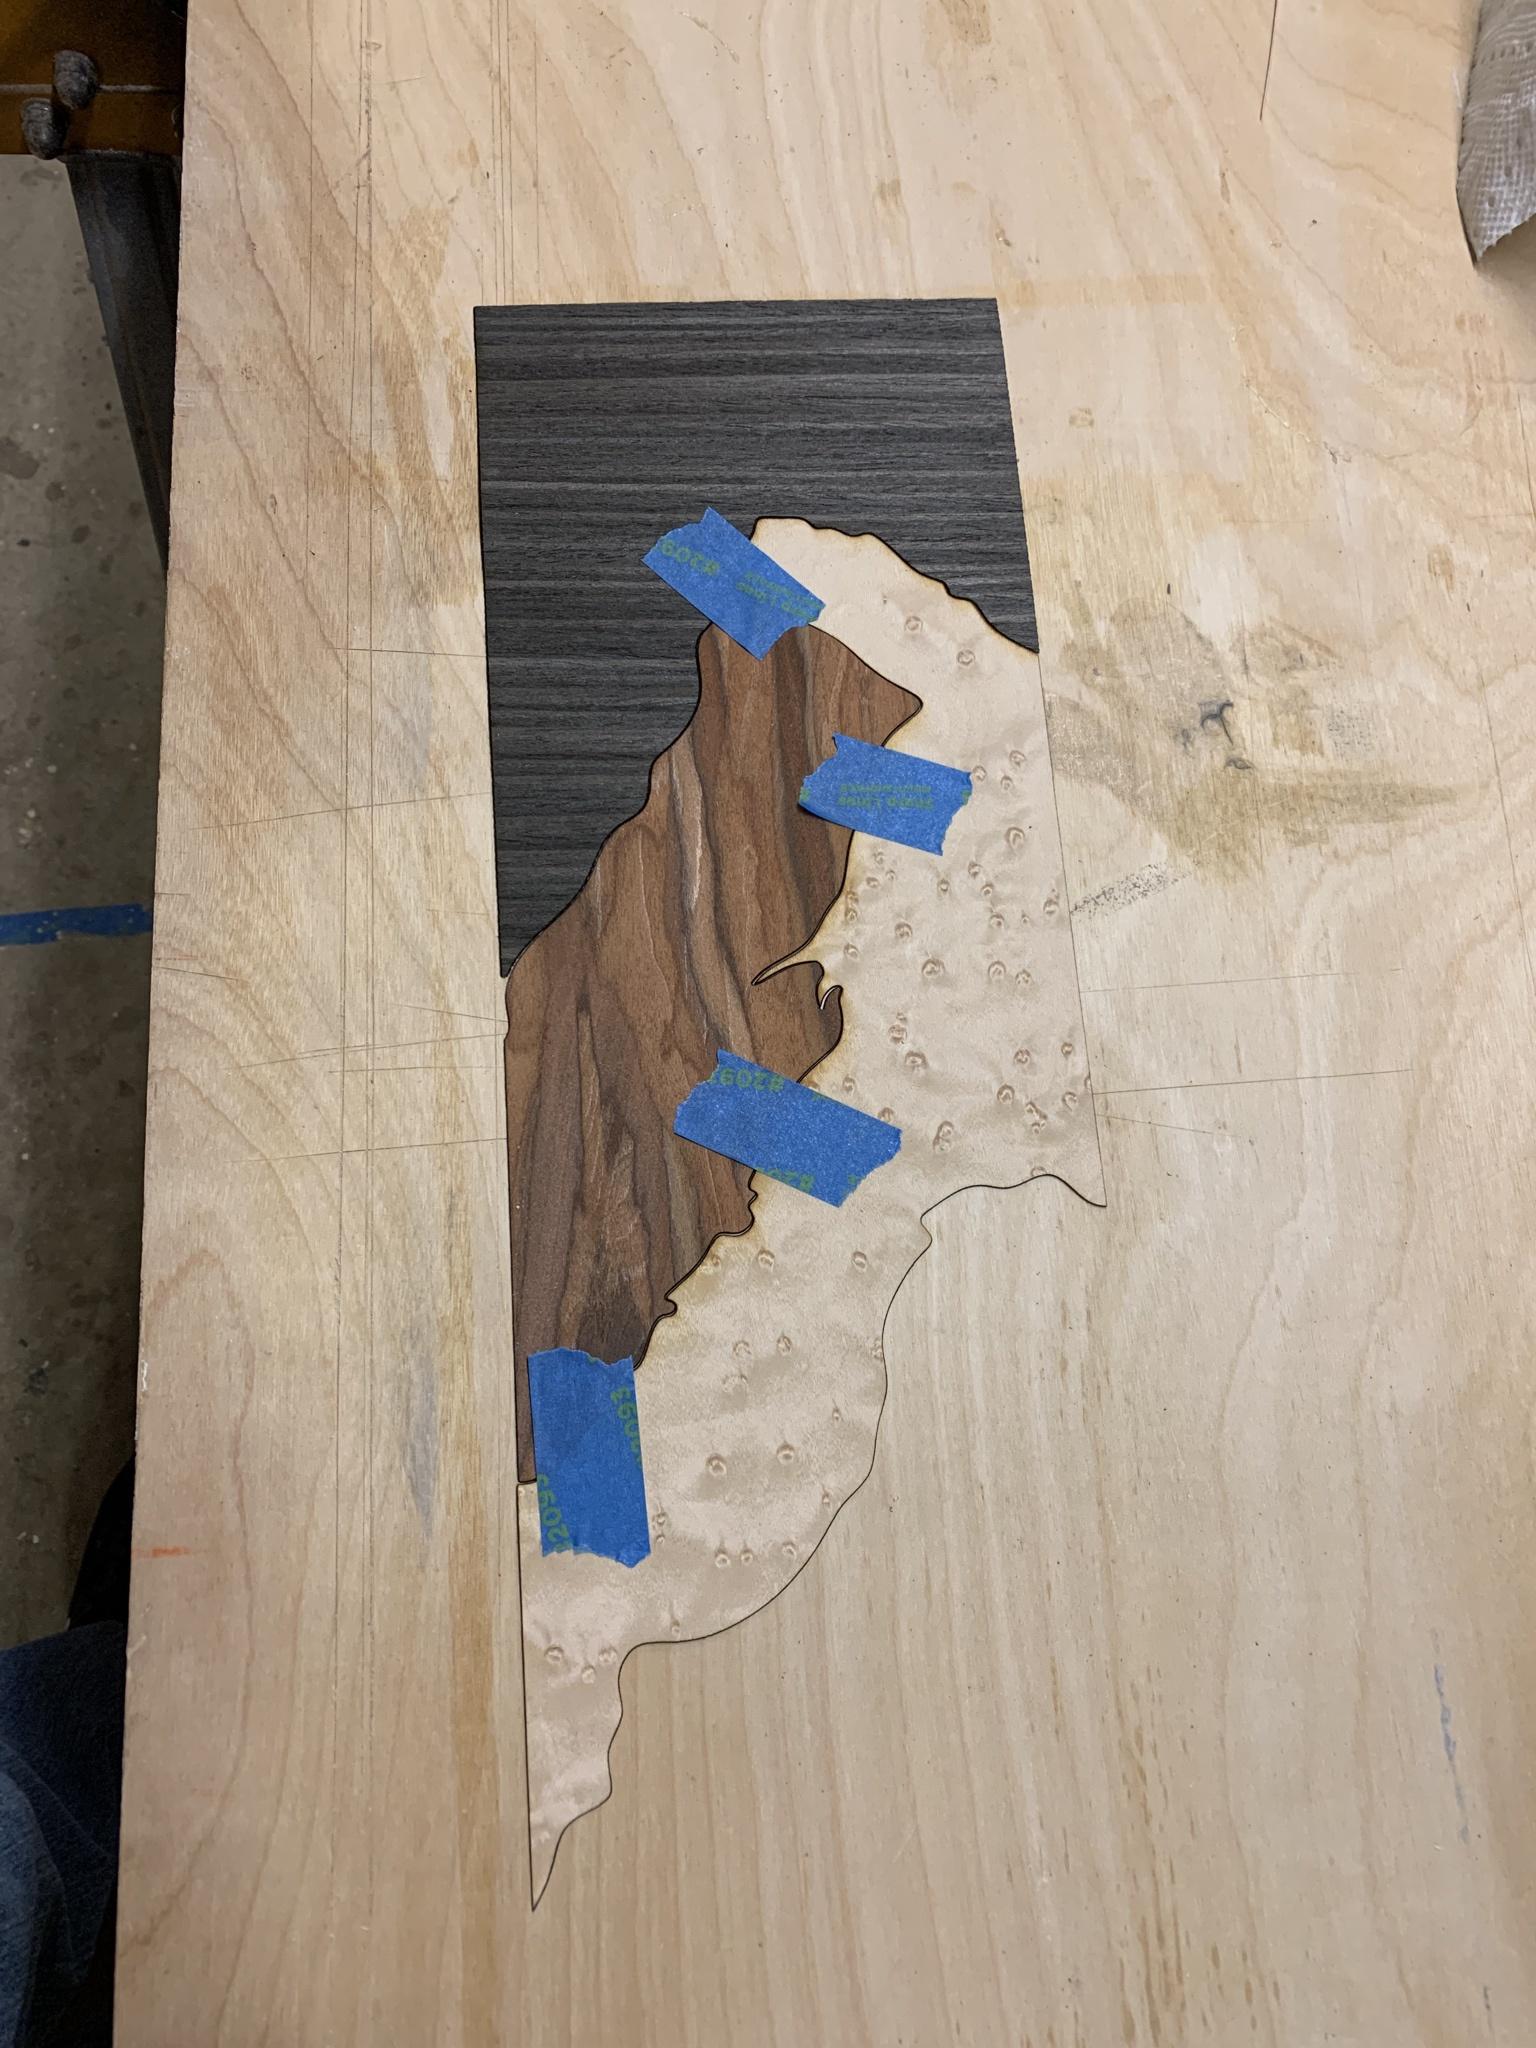
Next, I cut out each shape in different veneers using the laser and eported dxf files for each mountain shape and carefully assembled them like a jigsaw puzzle. the painters tape is temporary and then I flipped it over and used veneer tape with holes in it to seal the seams from underneath before pressing:
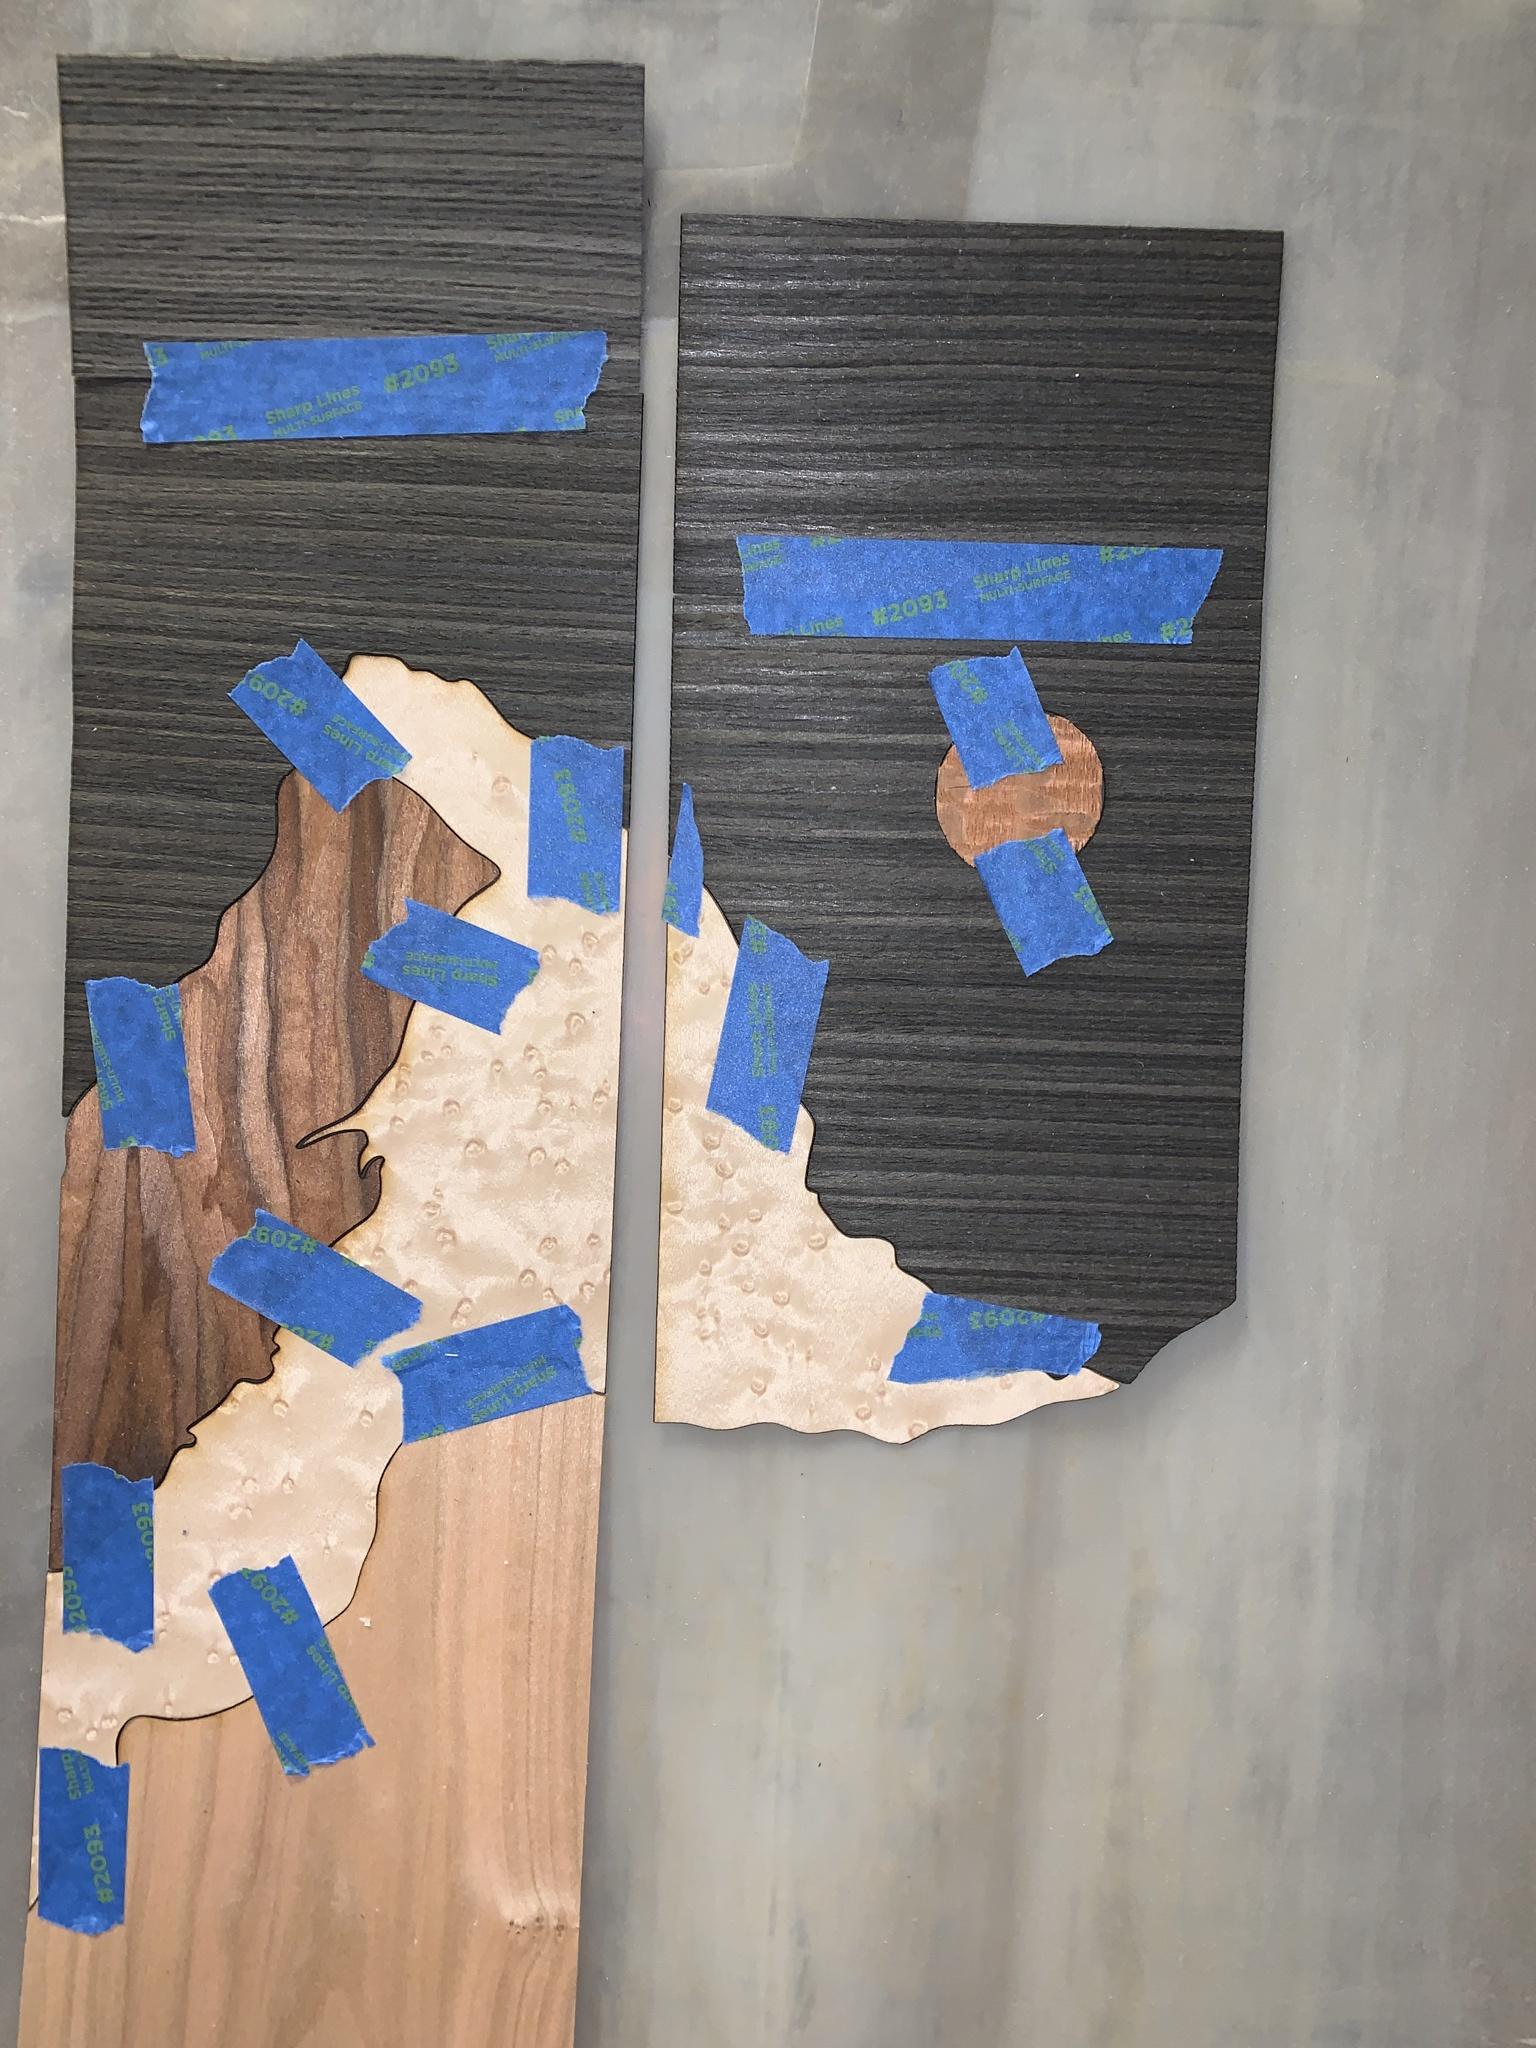
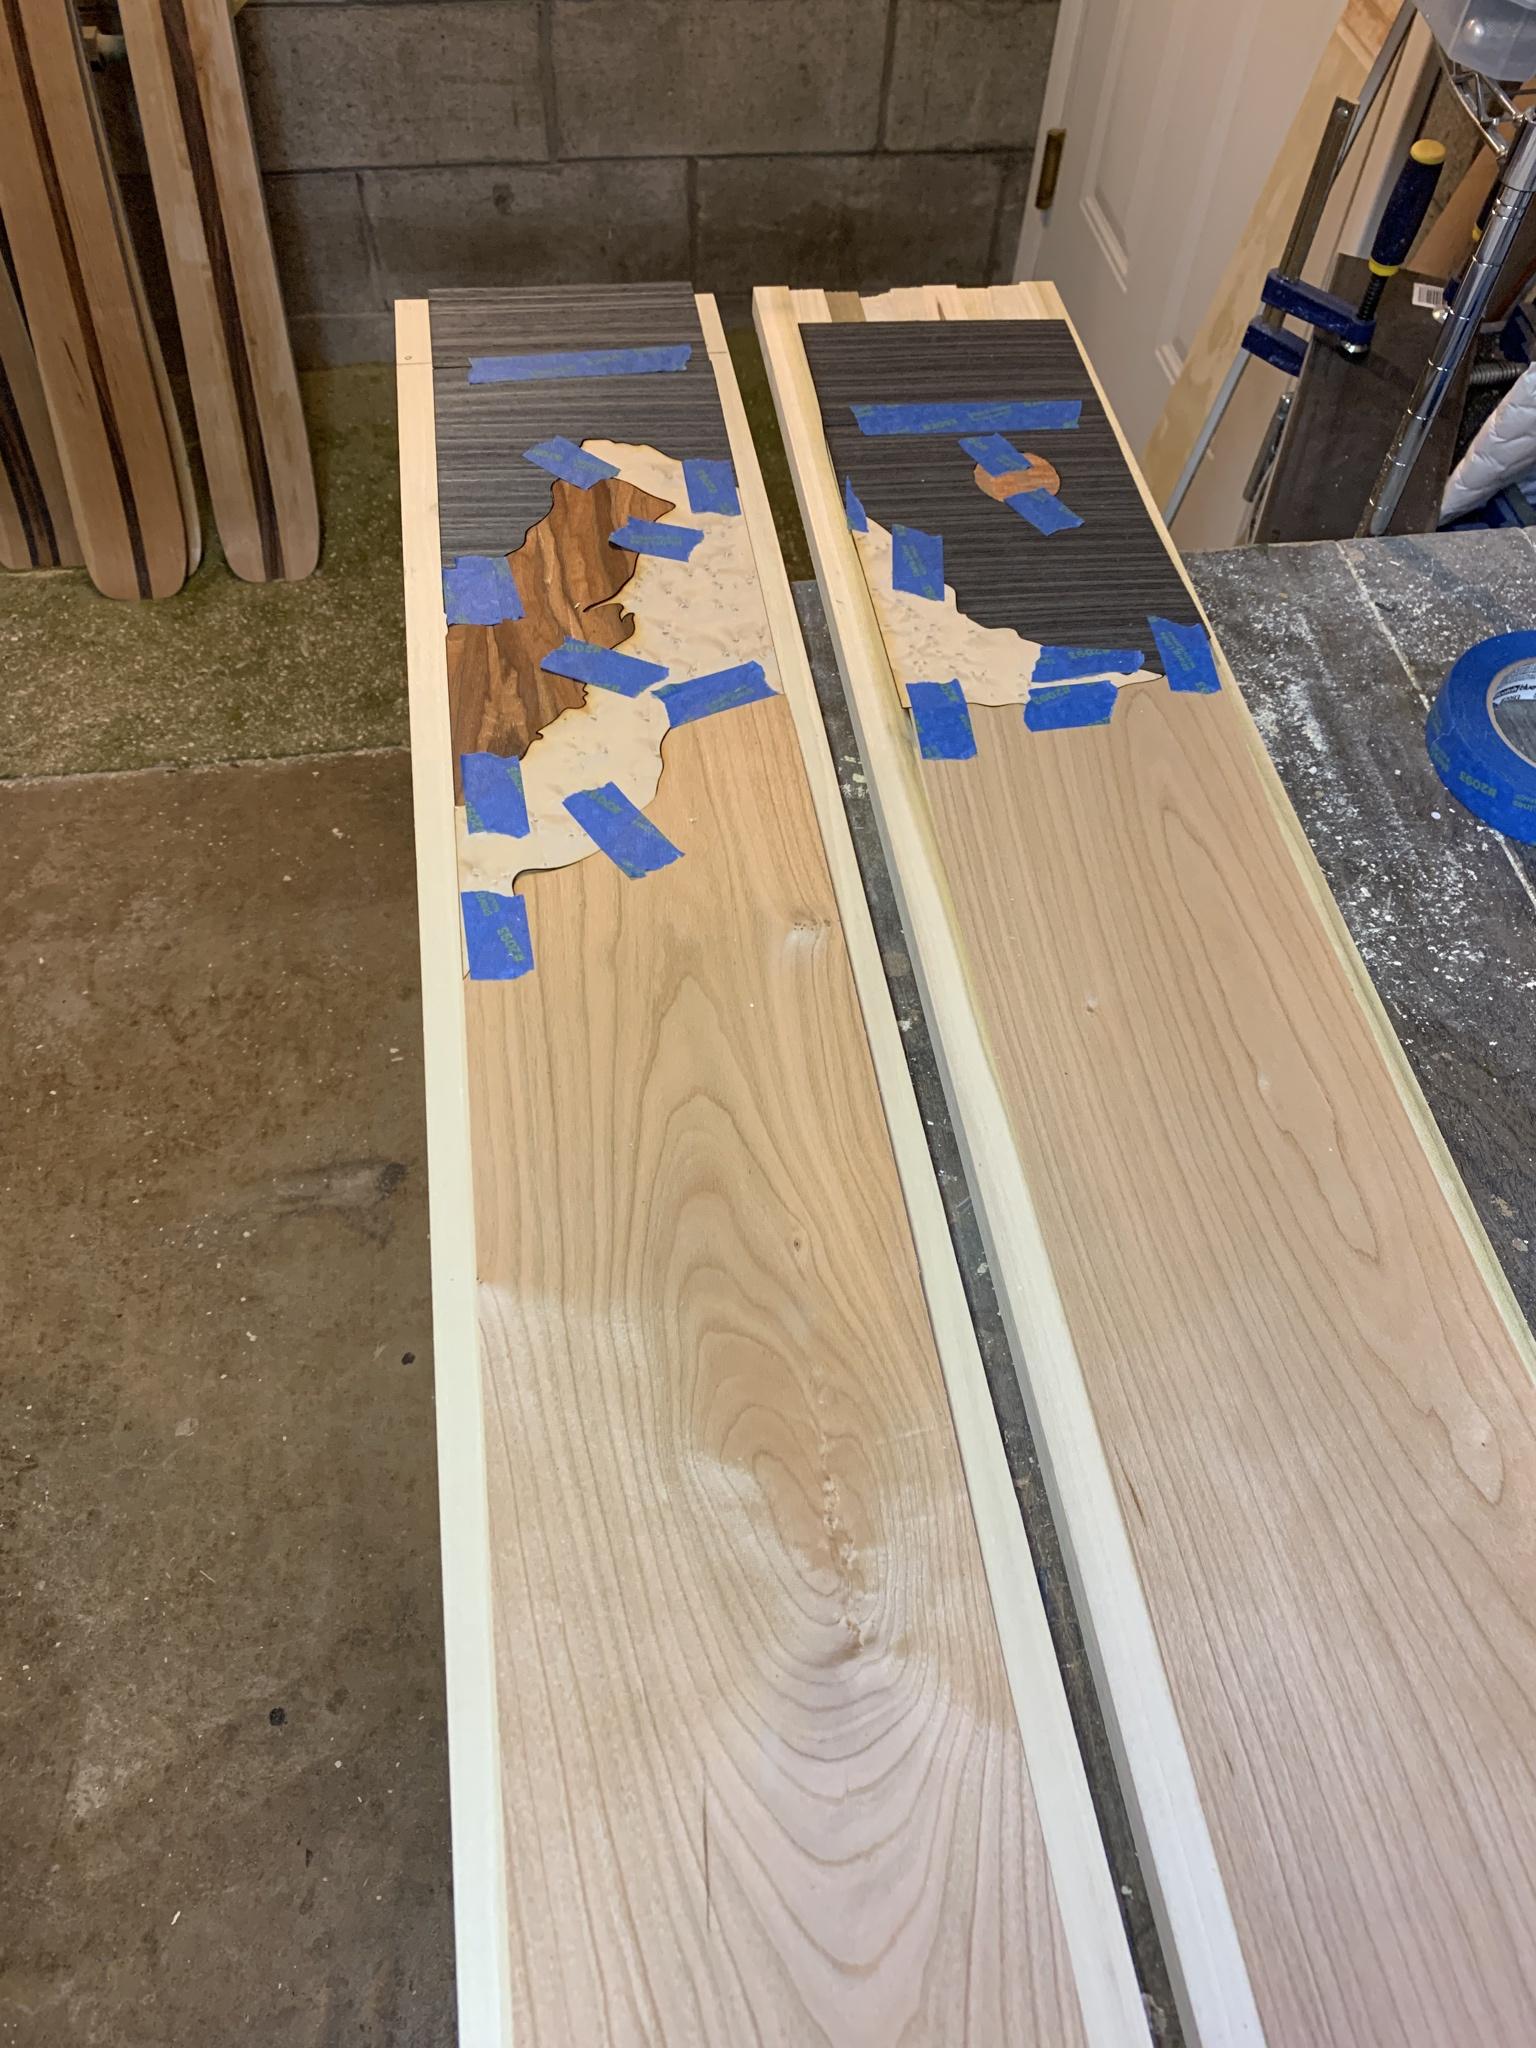
everything layed up on the casette:
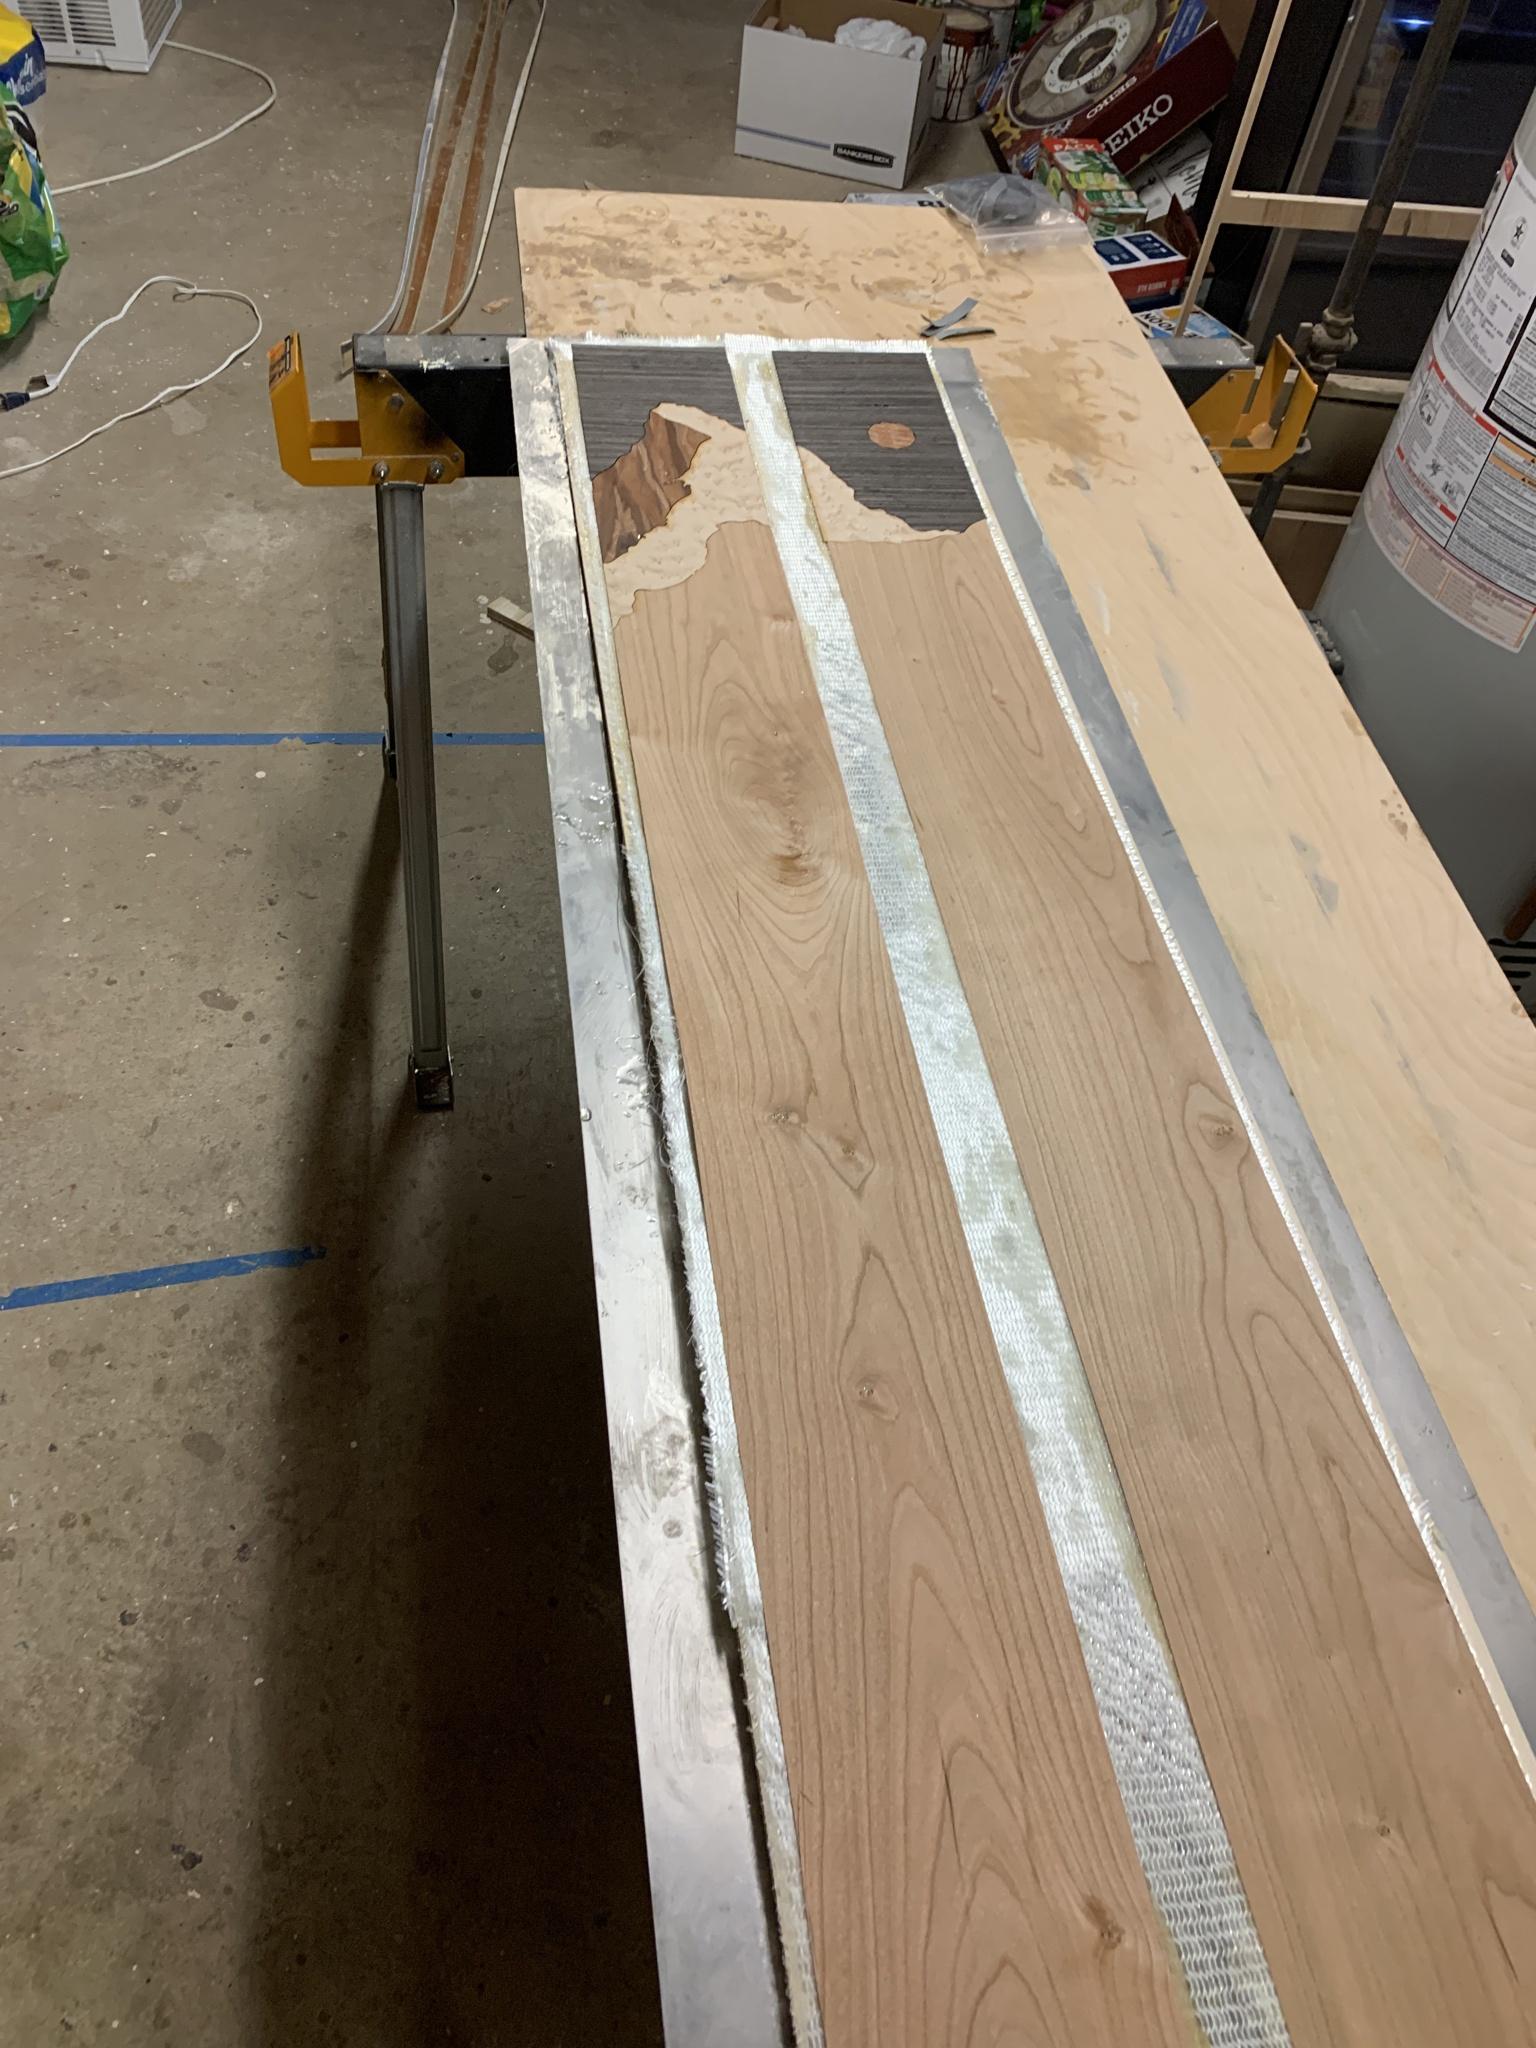
in the press:
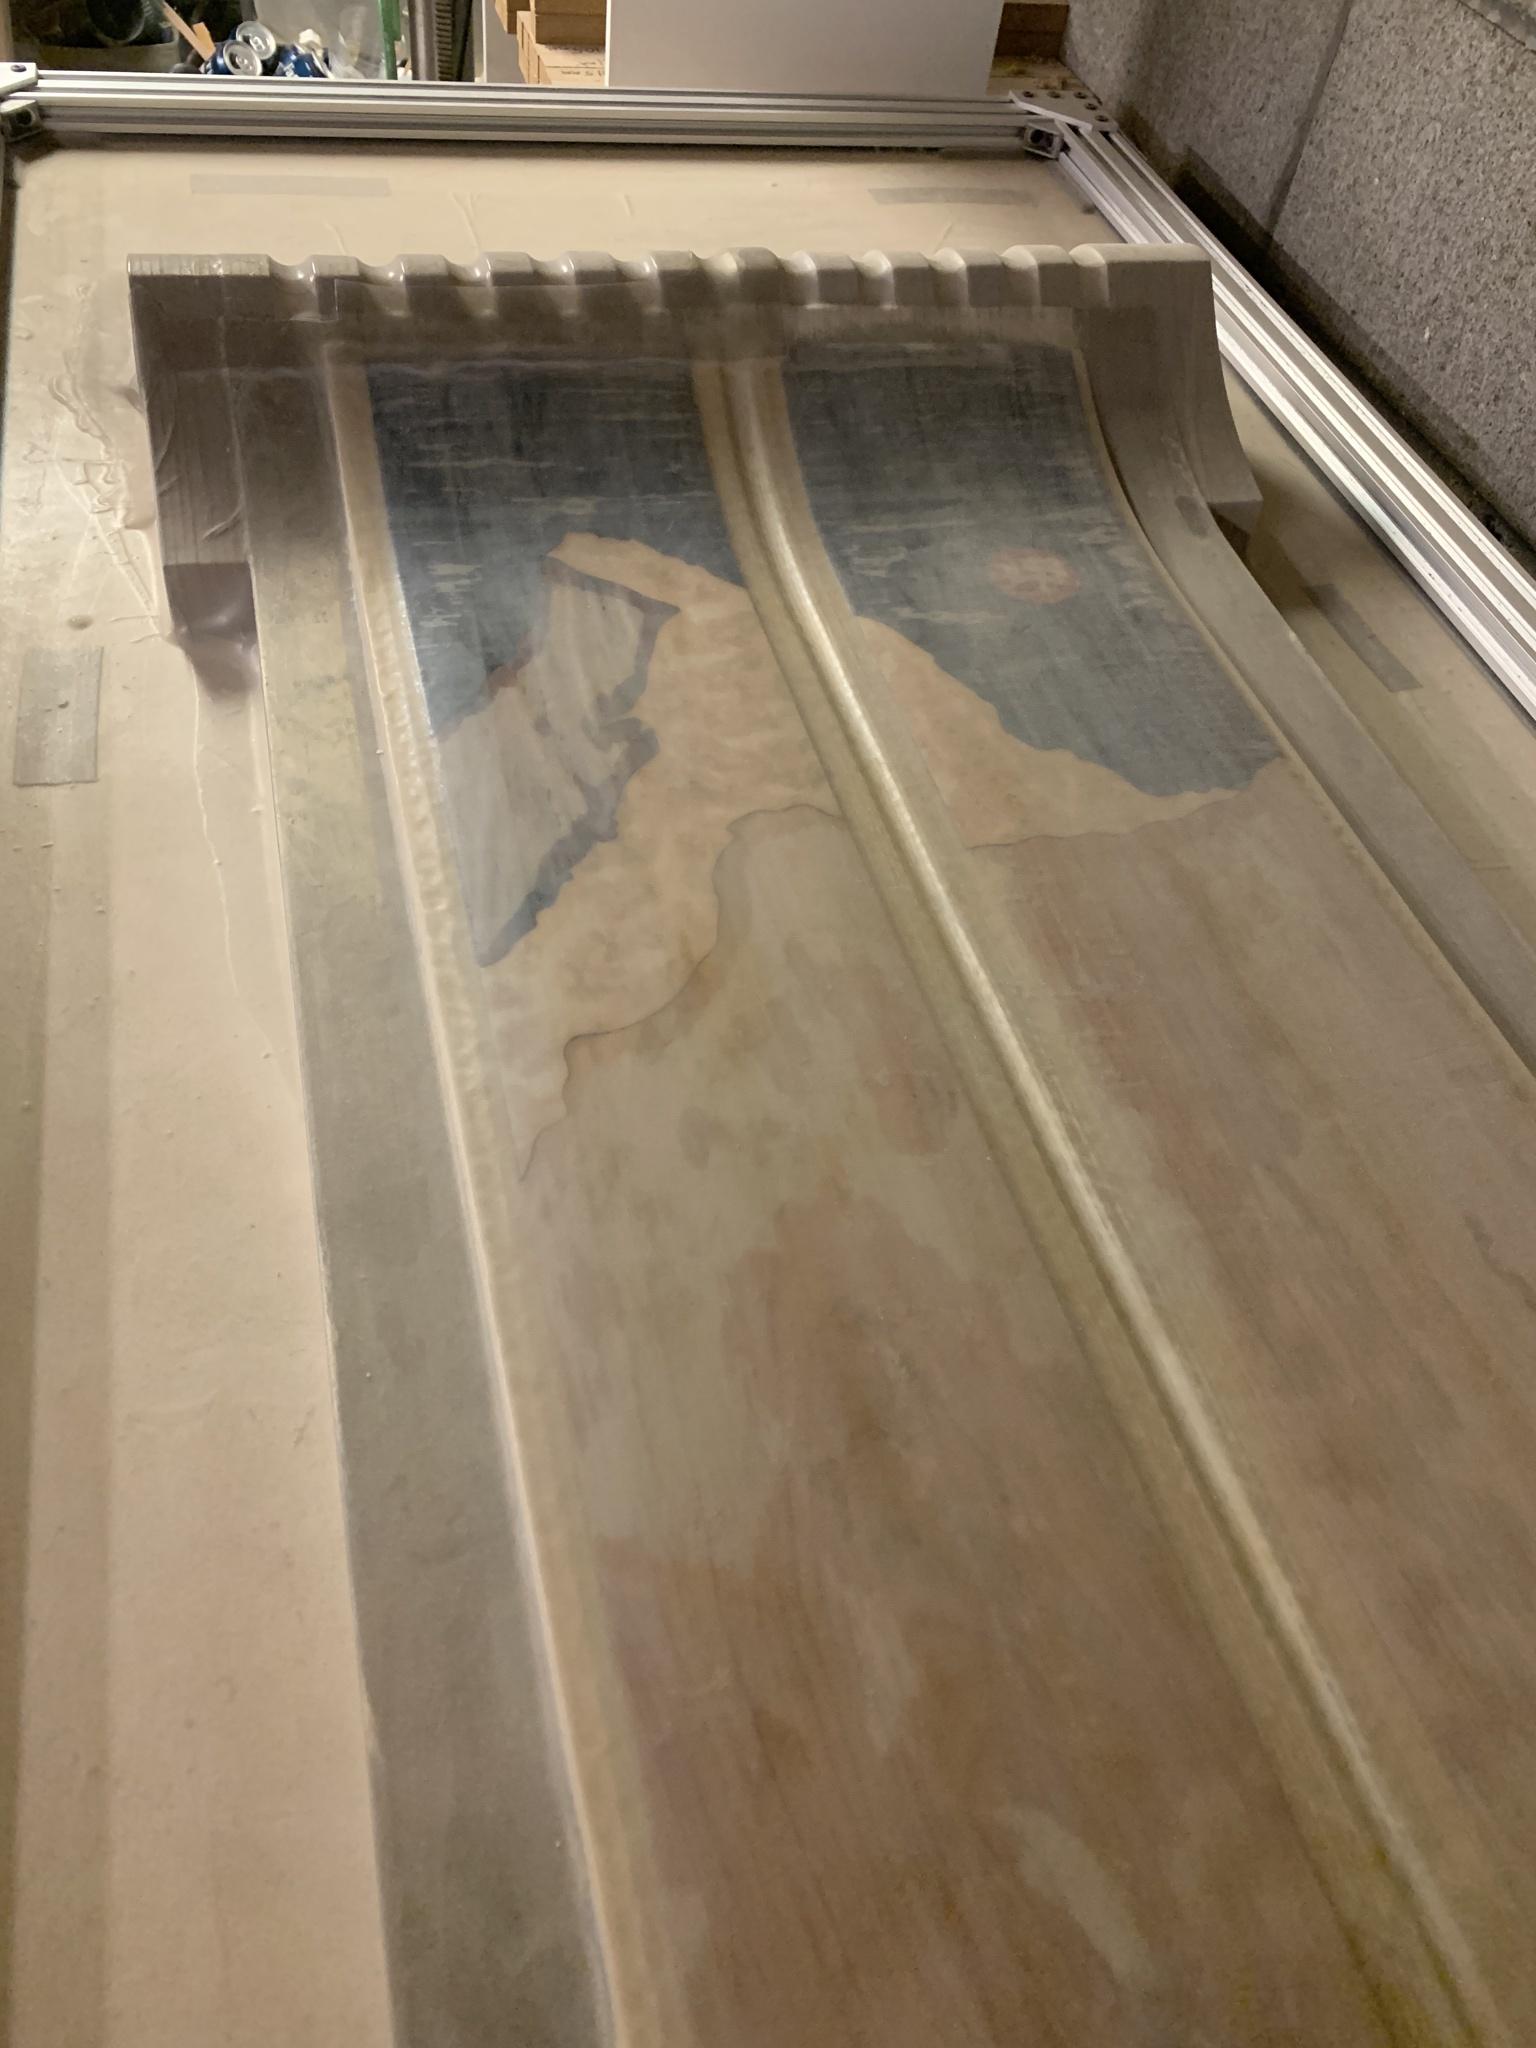
and here's the result from layup!
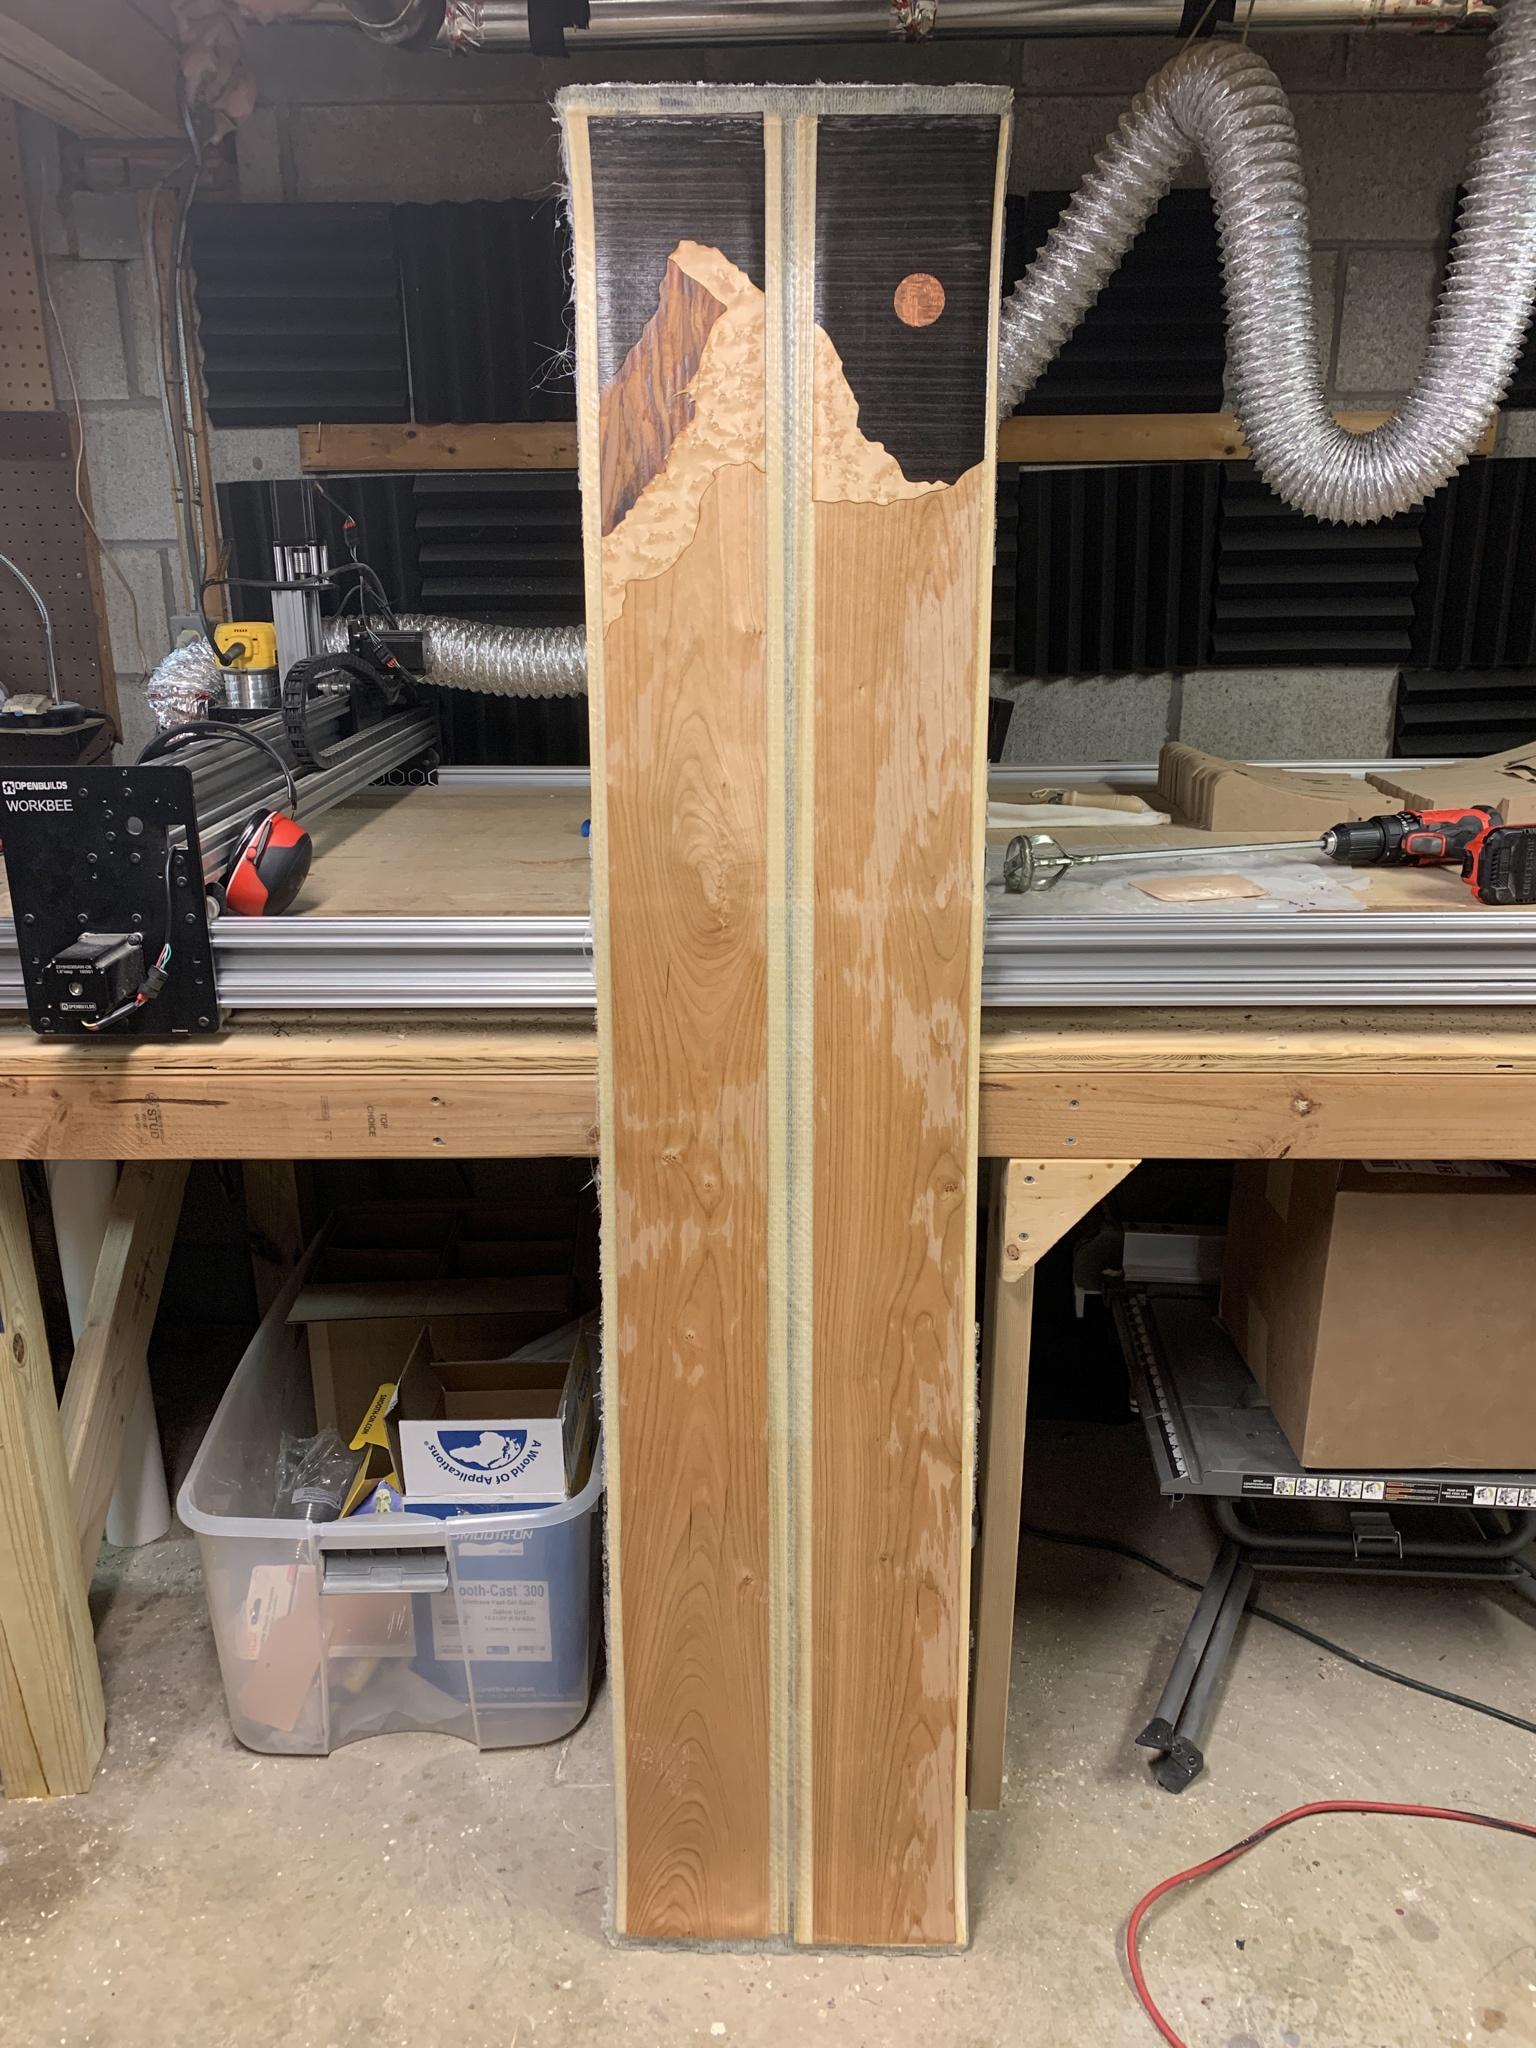
looking forward to recovering from surgery in the coming weeks so I can cut them out and finish the build up! the build is an all mountain shape, 95 at the waist and 17m turning radius. 2.2/10/2.2 tip mid tail core thickness, 20 oz triax fiberglass with a 1" wide unidirectional carbon stringer under the core. really looking forward to seeing these through to completion!
mammuthSat Apr 24, 2021 11:46 pm
Regarding you sidewall problem. Chrismp has a similar setup, Router from below and the little hump you have. I know he is using it a lot without problem. I used it a few times and i hated it, exactly because of the risk you encountered (i had the same problem).
One solution is a Rollerblade/Skateboard wheel on a lever with a big pressure spring to hold down the ski. Even better would be two rolls on the bottom (instead of your table) and one pressure roll on top. I had this on my plan but the simplicity of the following solution prevented me to do it.
I went the other route and use a straight bit with a Makita router with tilt base. At first its scary to do it freehand like that, but when youre used to it its supereasy, quick and quite safe. The only problem i had one time was when the router bearing came loose.
But hey, what is skibuilding without that adrenaline when you do the last steps on a perfect ski ... drill the inserts and route the sidewall ... perfect to dded it up
JonrezzWed Apr 28, 2021 2:17 pm
Thanks! yeah my setup is loosely based on chrismp's. I was thinking about modifying it like I drew in the picture below. I can understand the appeal of the hand router version's simplicity, and I'm all for simple solutions, but I really want to achieve that "step" look that comes from having the bearing against the edge.
I might do some rollers on the bottom like you suggested - did some shopping and it's not easy to find rollers that are low profile enough to face mount onto the table. maybe if I recess them or mount them sideways off the end of the table or something. going to think about this more before I follow through with the modifications.
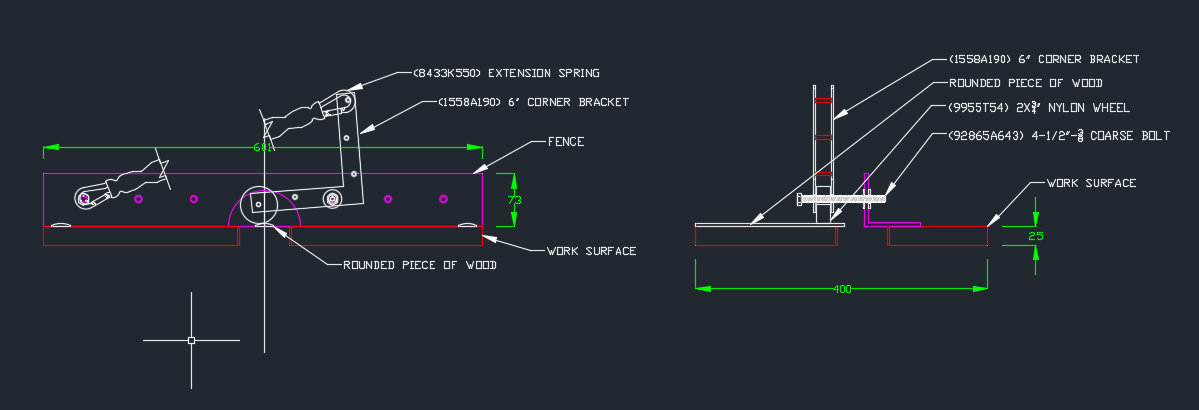
chrismpWed Apr 28, 2021 11:10 pm
With the tilt base router you still have a bearing on your router bit. It's basically the same bit you use in your router table setup.
mammuthThu Apr 29, 2021 1:38 am
The thing with the lower rolls is that with a table you have no good points to slide the ski over, thats where chrismp hump is coming from. With my bigger, longer and partly more cambered boards chrismp setup didnt work so well for me, i had to press the ski down to decamber it, otherwise it would slide over the router bearing and ... you know the rest of the story.
So my idea was no table at all, 2 rollers (spaced 20-30cm, length of rolls = wider then your skis/boards) on bottom and one pressure roller on top. For the pressure roller you can take inline skater or skateboard wheels. For the bottom rollers keep it simple, take a piece of a pipe (seamless inside, maybe copper heating pipe) and stick it over some rods. Or take two rods with bearing on both ends.
Which step youre talking about? You can do a step as well with the hand routed version, depends on your bit. I use 2 blade (replaceable) bits with bearing on top. The bearing has a little bit spacing to the blades, so this will make the step for you. If we are talking about the same step
mammuthThu Apr 29, 2021 1:43 am
One more thing
With your angled router bit you dont need a router with tilt base. Just put it in your hand held router and do it manually.
Afaik the main reason chrismp did build his setup (and i tried too) was the lack of angled router bits with bearing. In his setup the router is mounted at an angle under the table.
JonrezzFri Jul 30, 2021 7:38 pm
Thanks for the tips guys! I think I'm going to try to modify it with the bottom and top rollers like you suggest mammoth.
I'd also like to share the project I've been working on and just got working a little while ago!
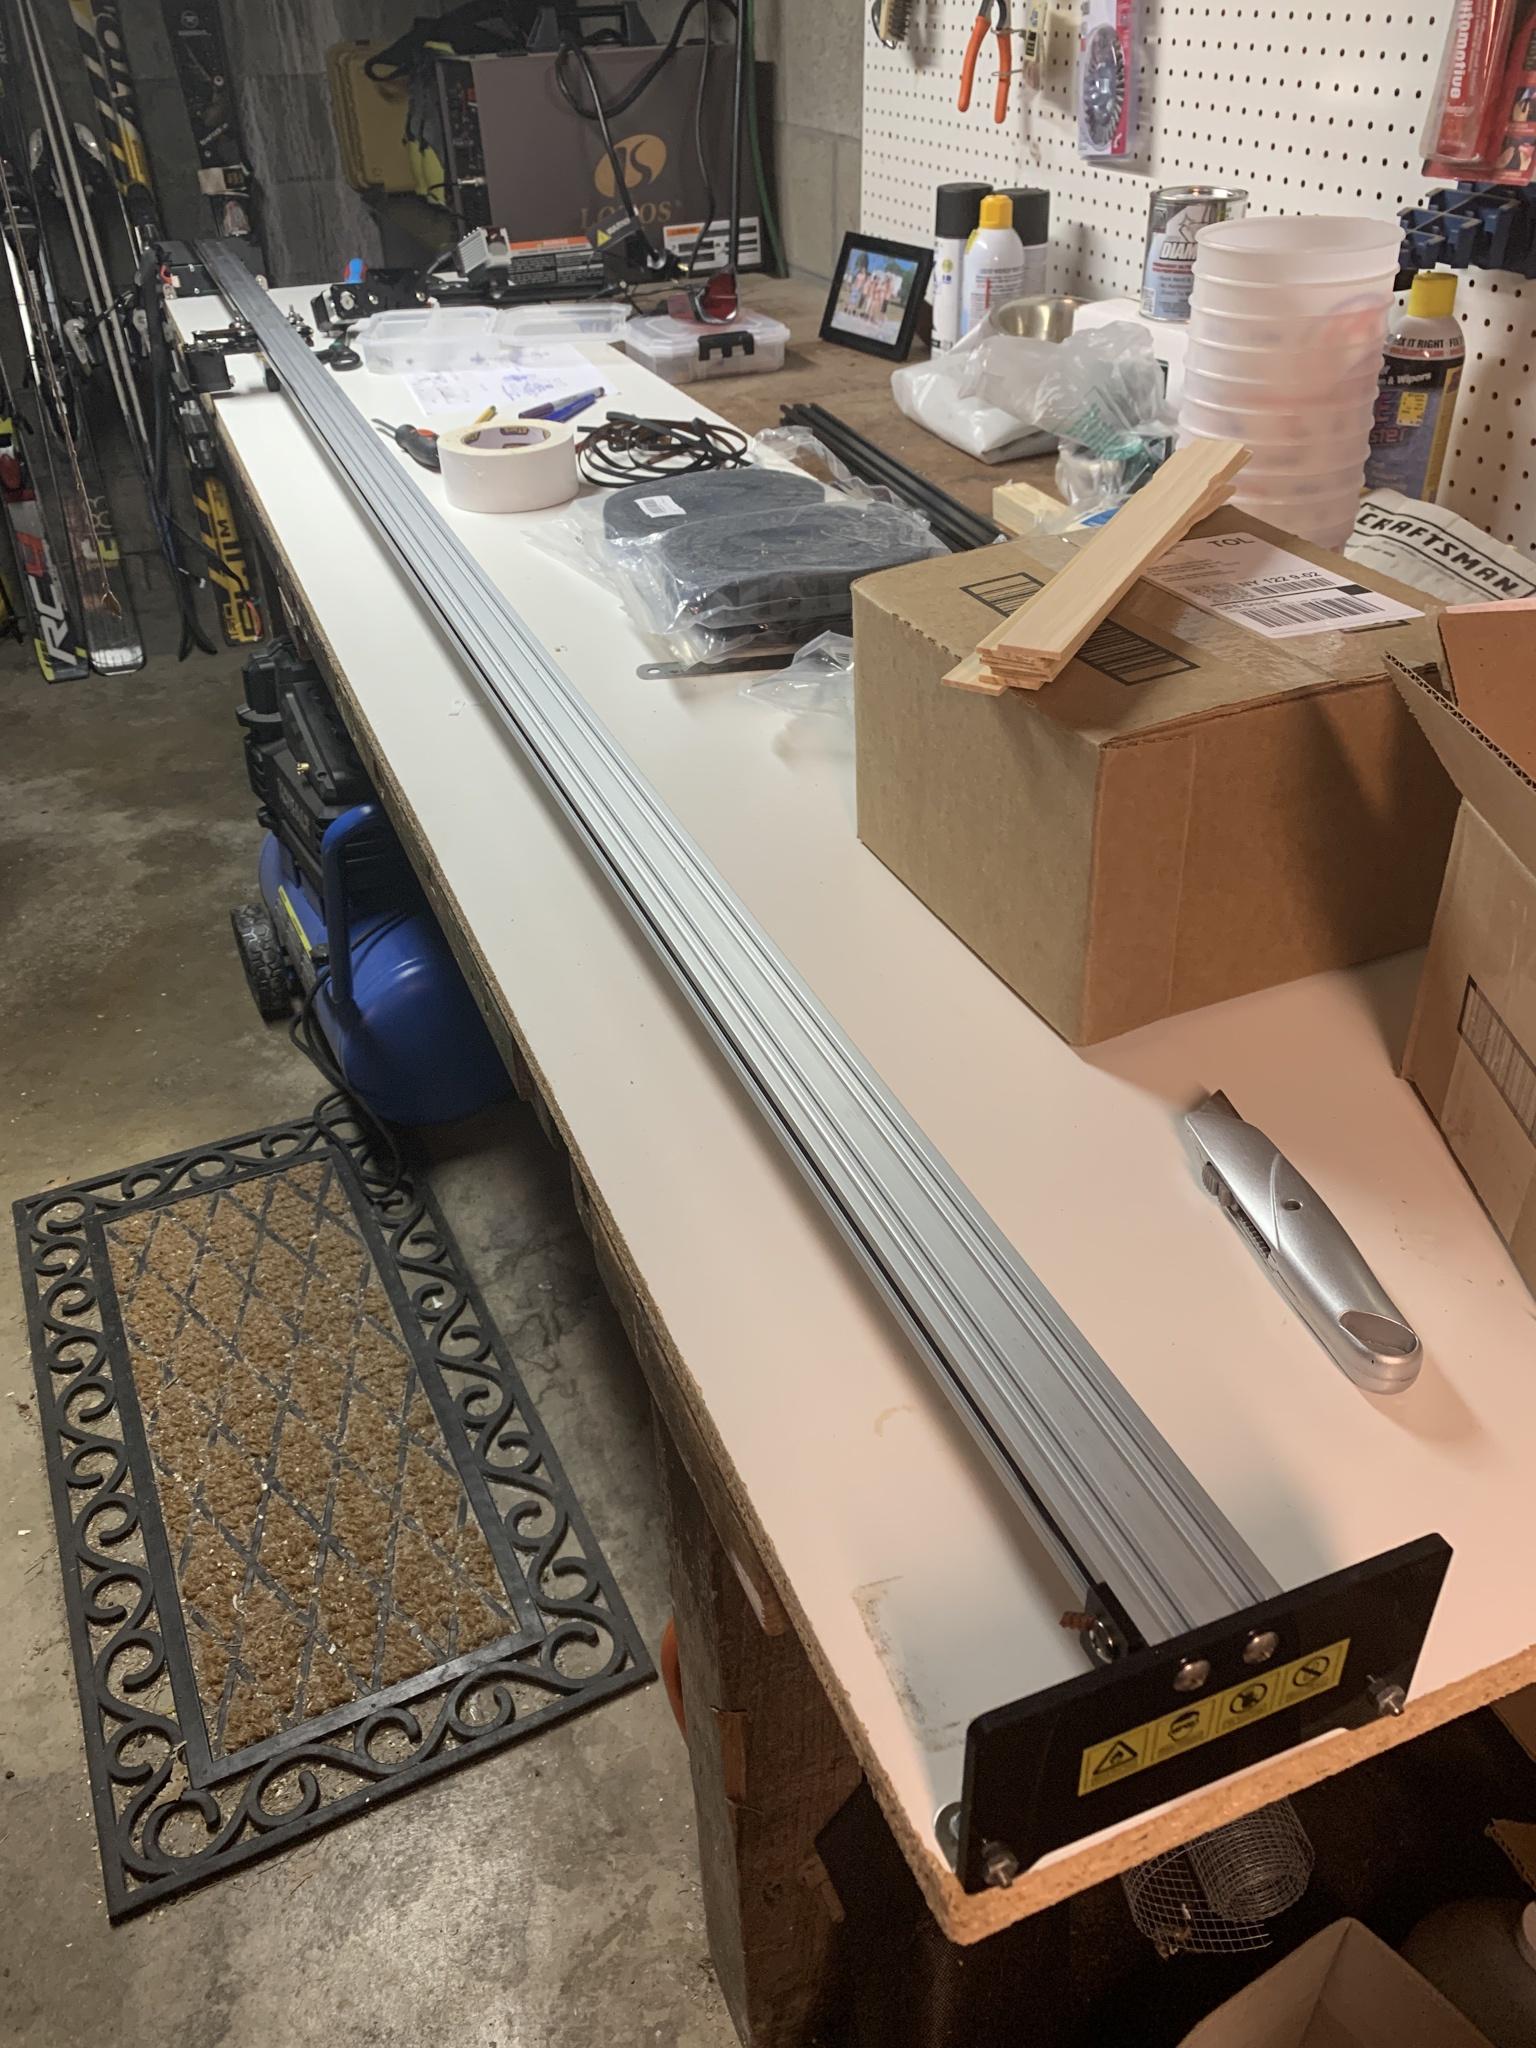
After how the laser cut inlay worked out really well, I decided to extend the laser from it's original max cutting/engraving length of 400 mm to 8 feet!
This is the original machine:
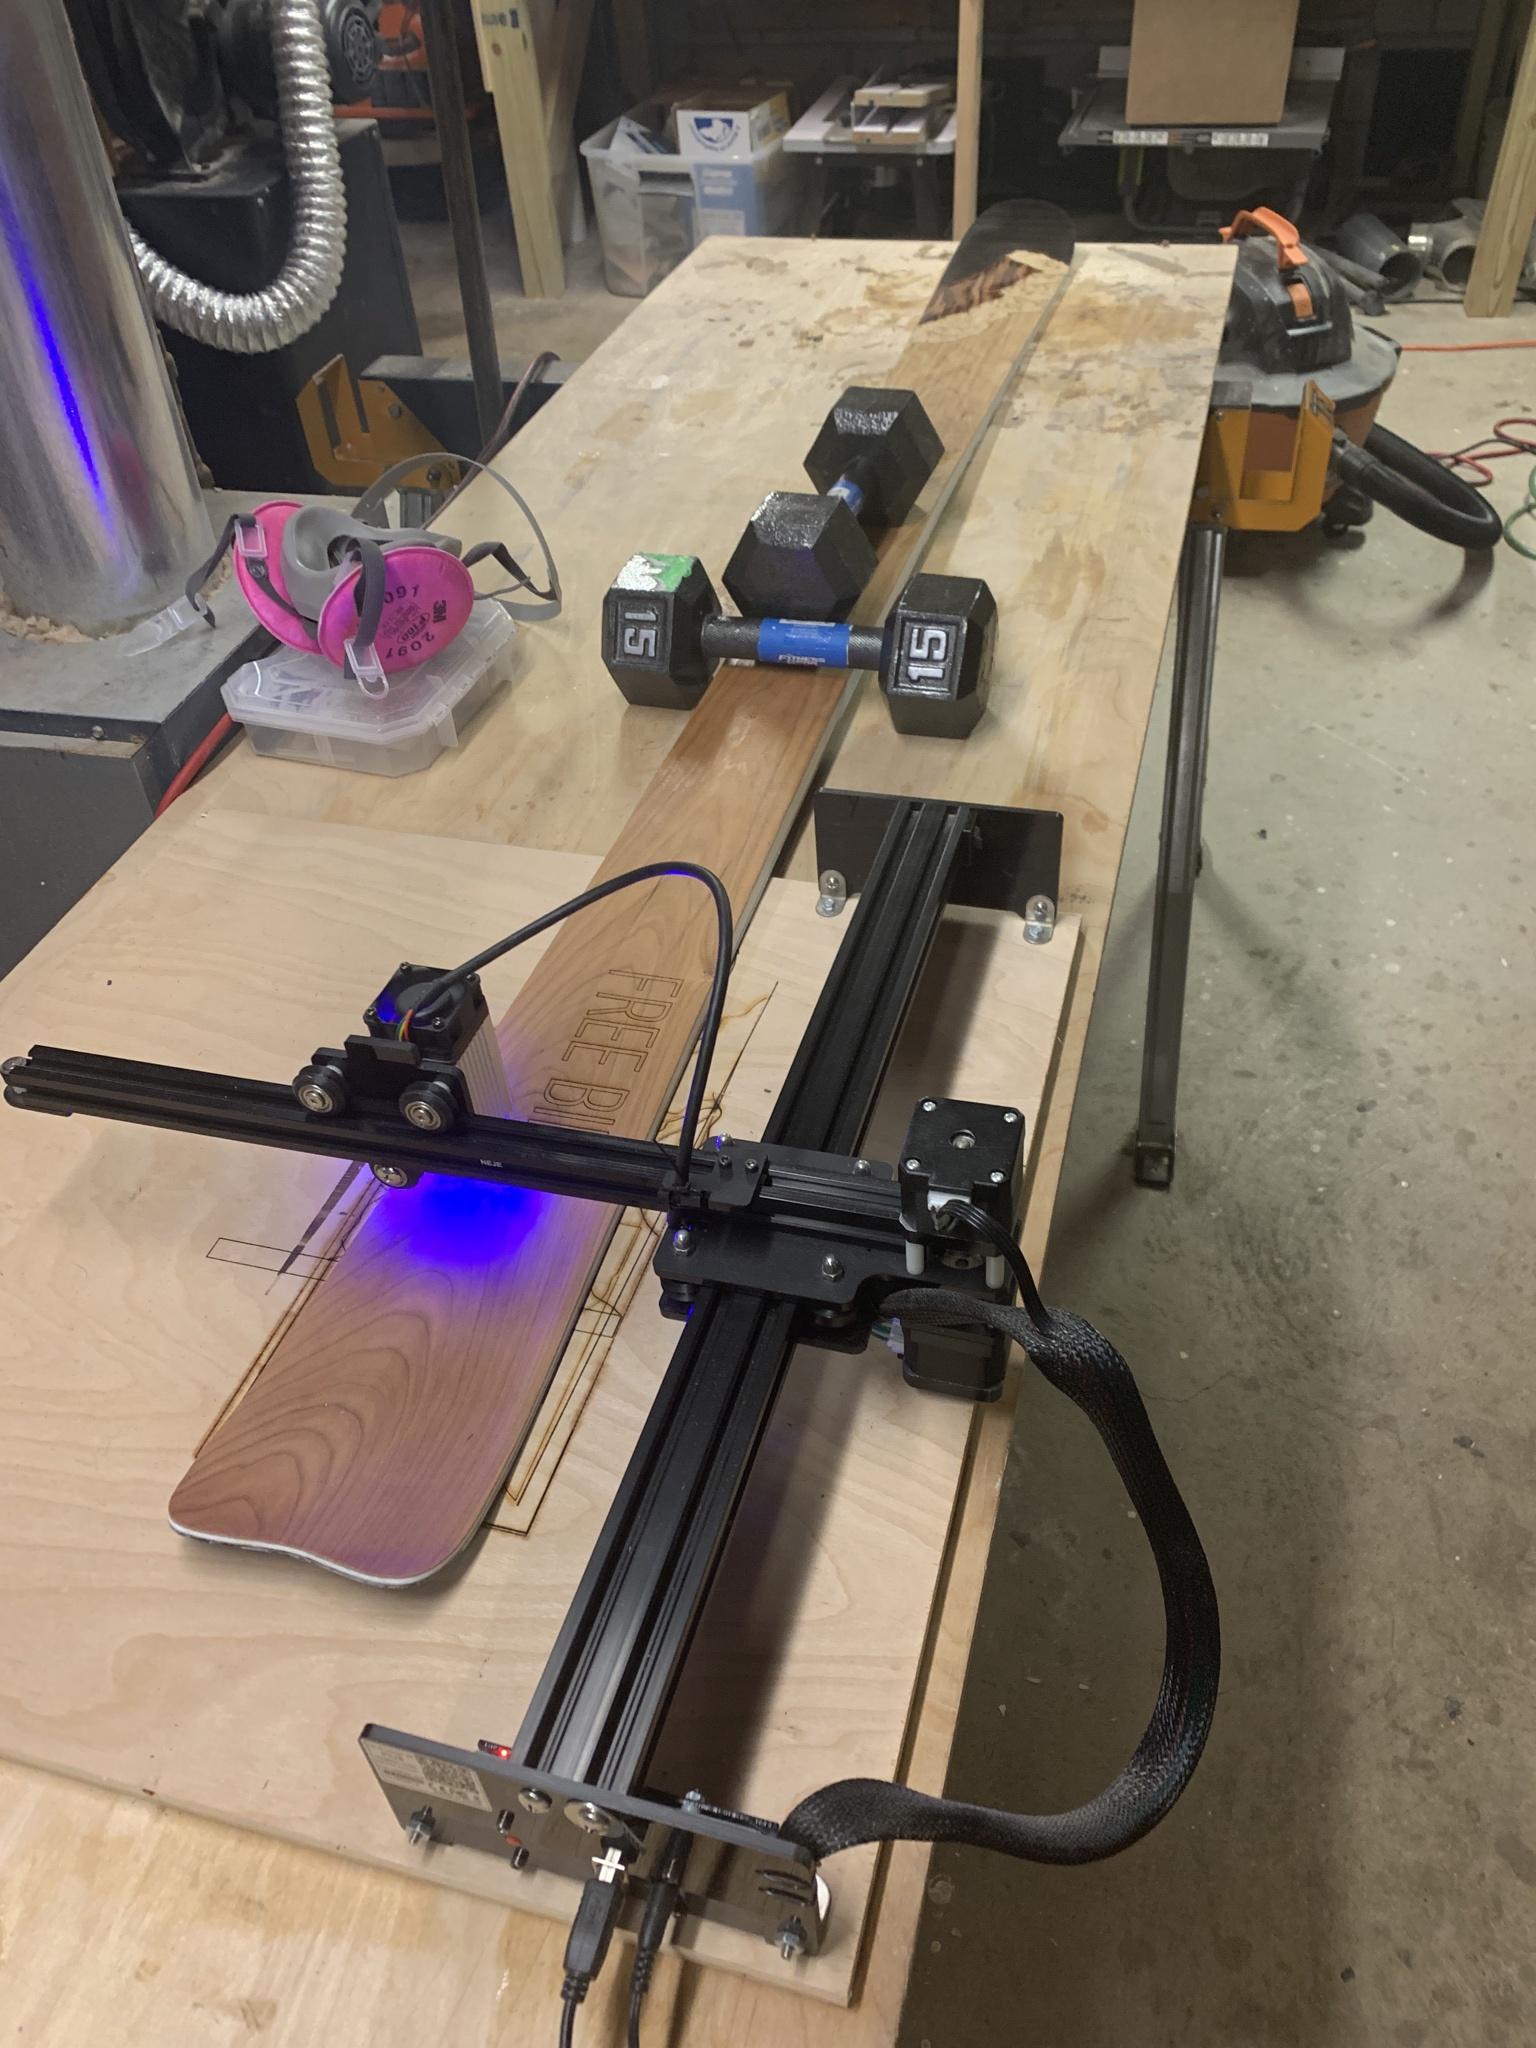
I replaced the black 40x20 extrusion with an 8' one:
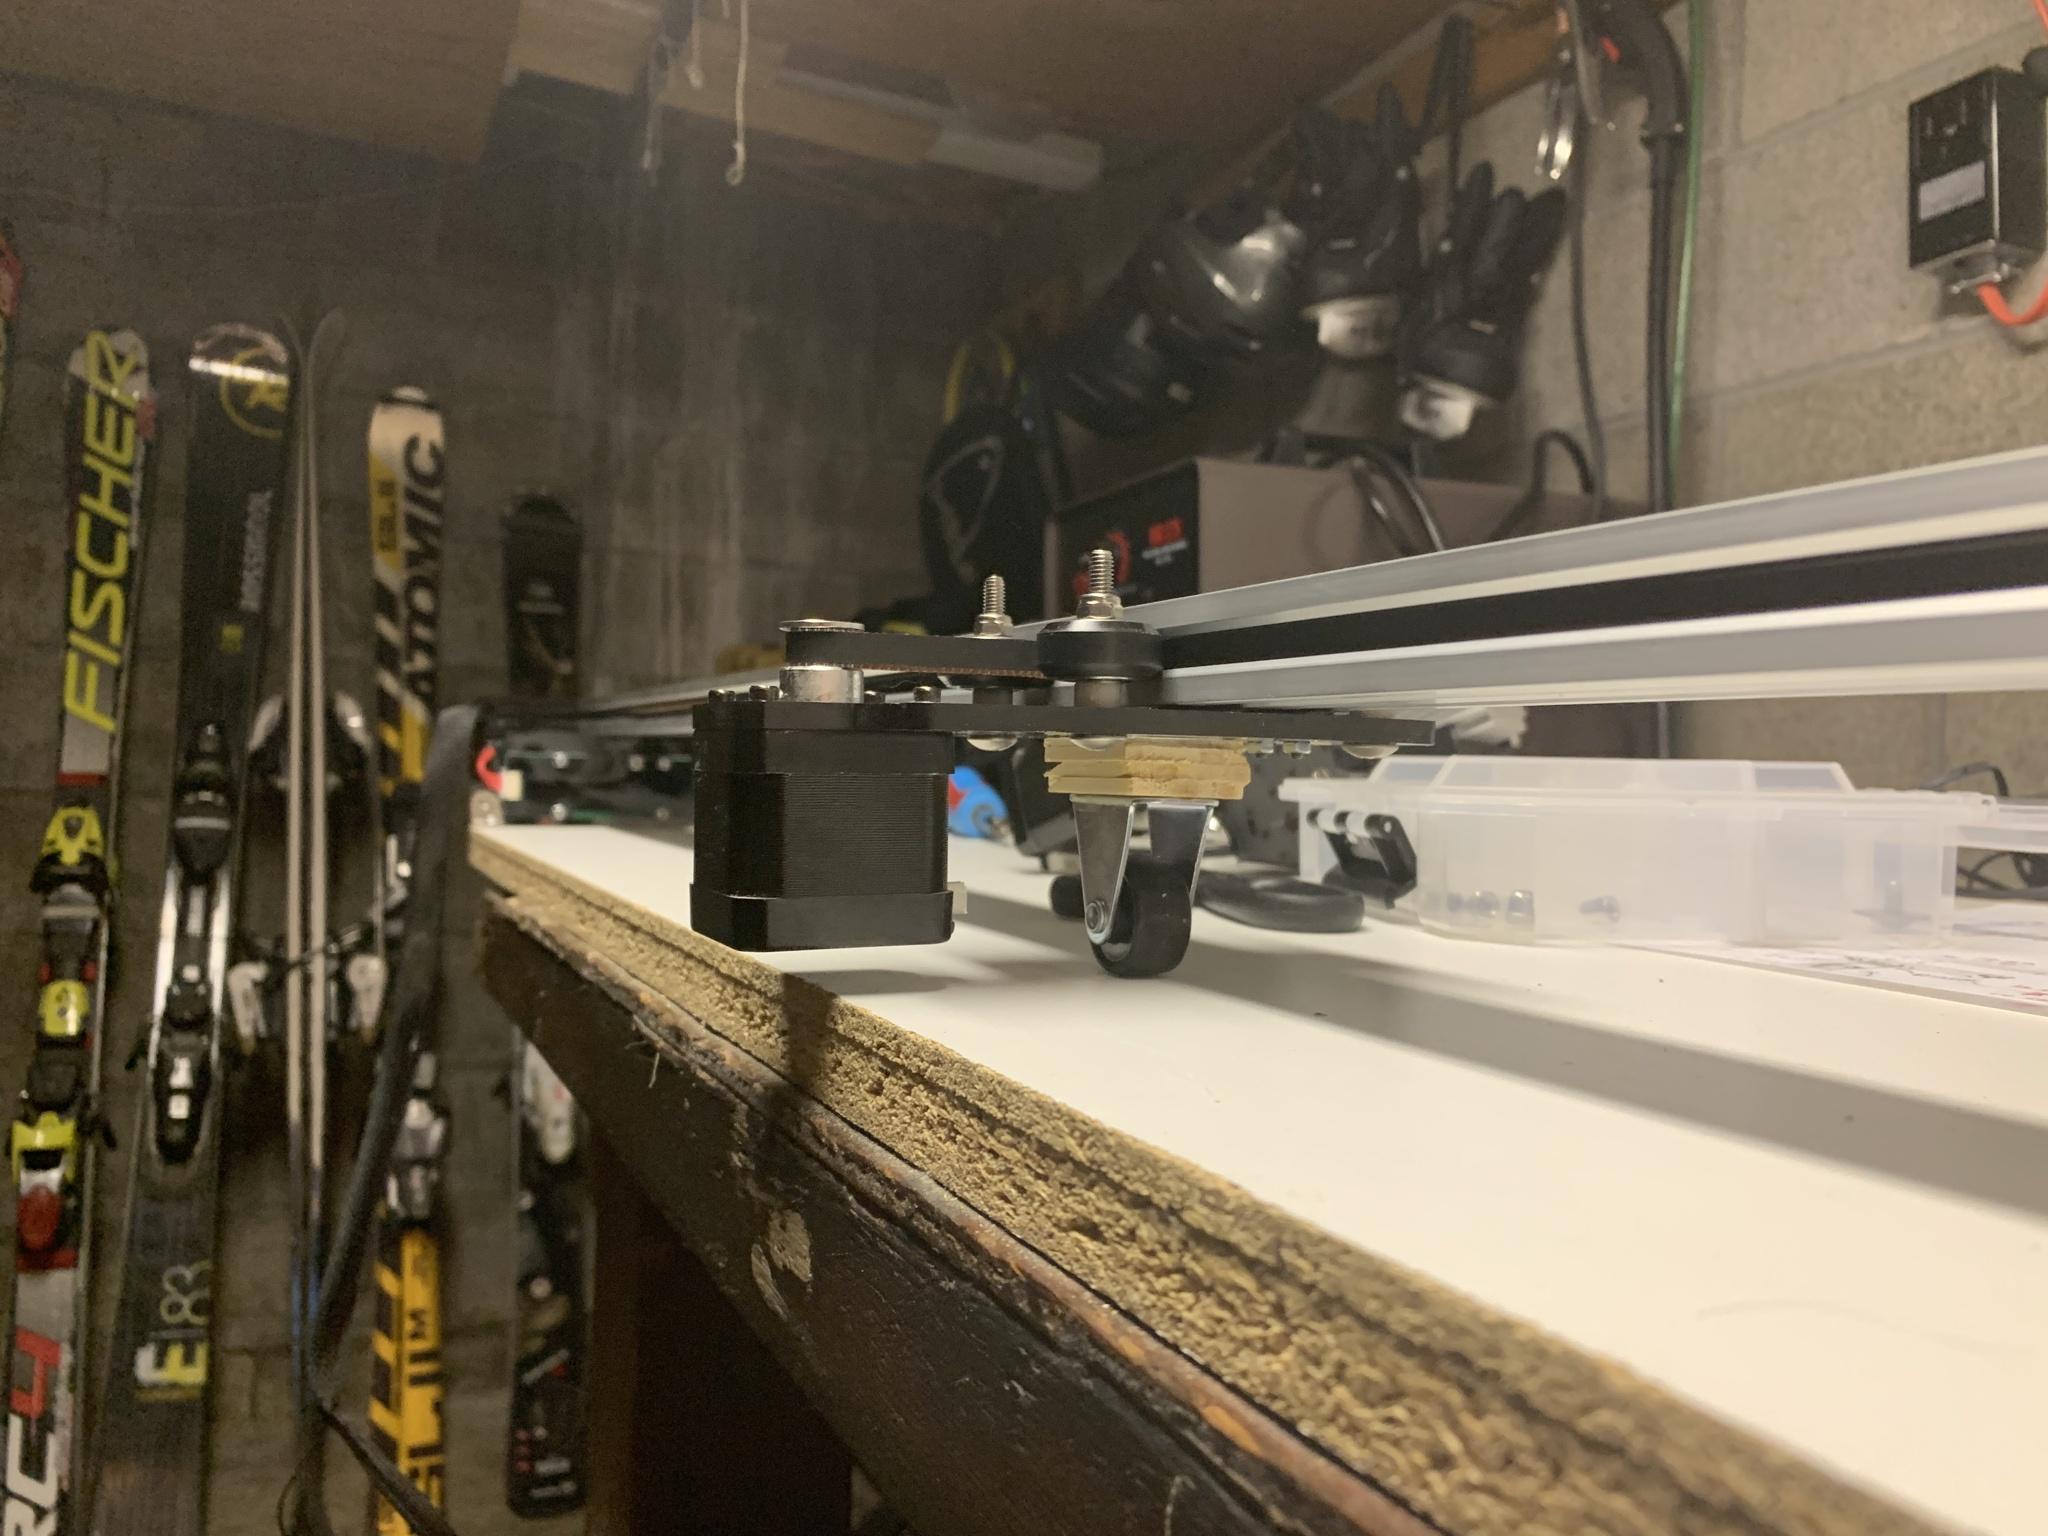
But that length of 40x20 on it's side was not very rigid - it vibrated like a rubber band in the middle - so I attached a roller wheel to the underside of the carriage:
I used 4 and 6 strand plenum wire to extend the motor and laser connections:
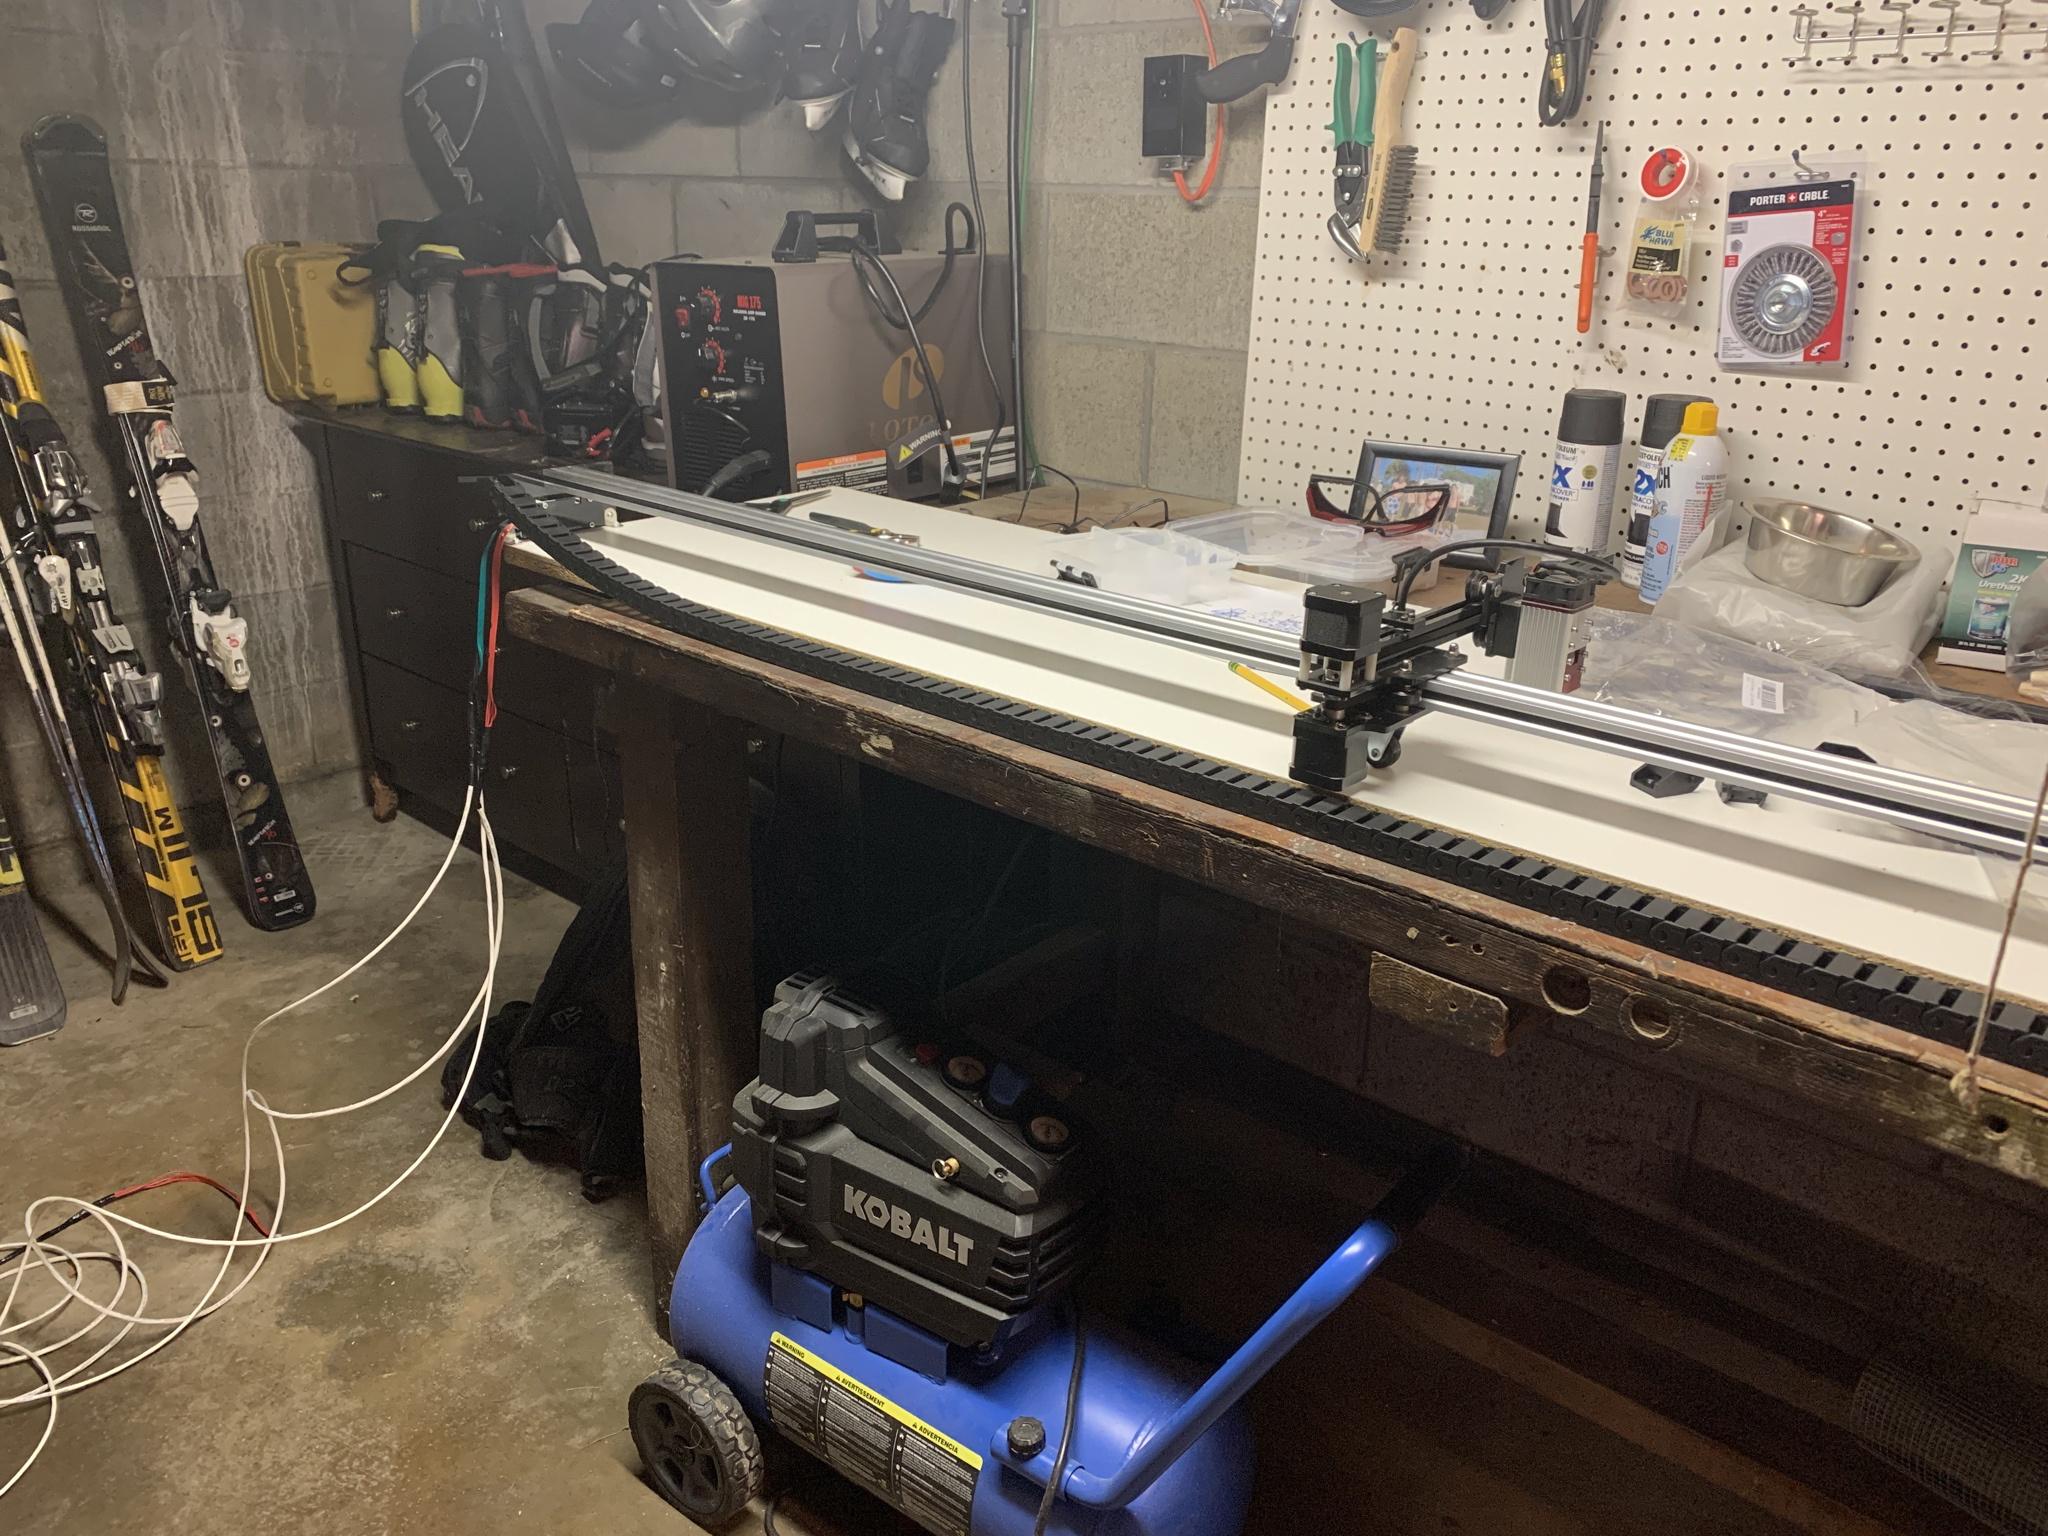
here it is with the cat track rolling around!
https://i.imgur.com/uSwsFze.mp4
Gonna me interesting testing it out! I still need to figure out the software side of it - I'm hoping it's as simple as changing the canvas size in lightburn.. I'm going to attempt another pair of veneer inlayed skis, but this time not just at the tip of them!
Cheers!
mammuthFri Jul 30, 2021 11:40 pm
Look into GRBL code $130-$132
JonrezzWed Aug 04, 2021 5:39 pm
Thanks for the recommendation! I got it working in lightburn with a couple hours of googling though - you can edit the grbl settings right in the laser software!
here she is on her maiden voyage:
https://www.youtube.com/watch?v=knX5fdiENtM
cutting the topsheet for my next pair now! will post updates when it's done. gonna take a while - about 20 cuts, some with engraving too and then veneer tape them all together.
JonrezzMon Aug 23, 2021 5:48 pm
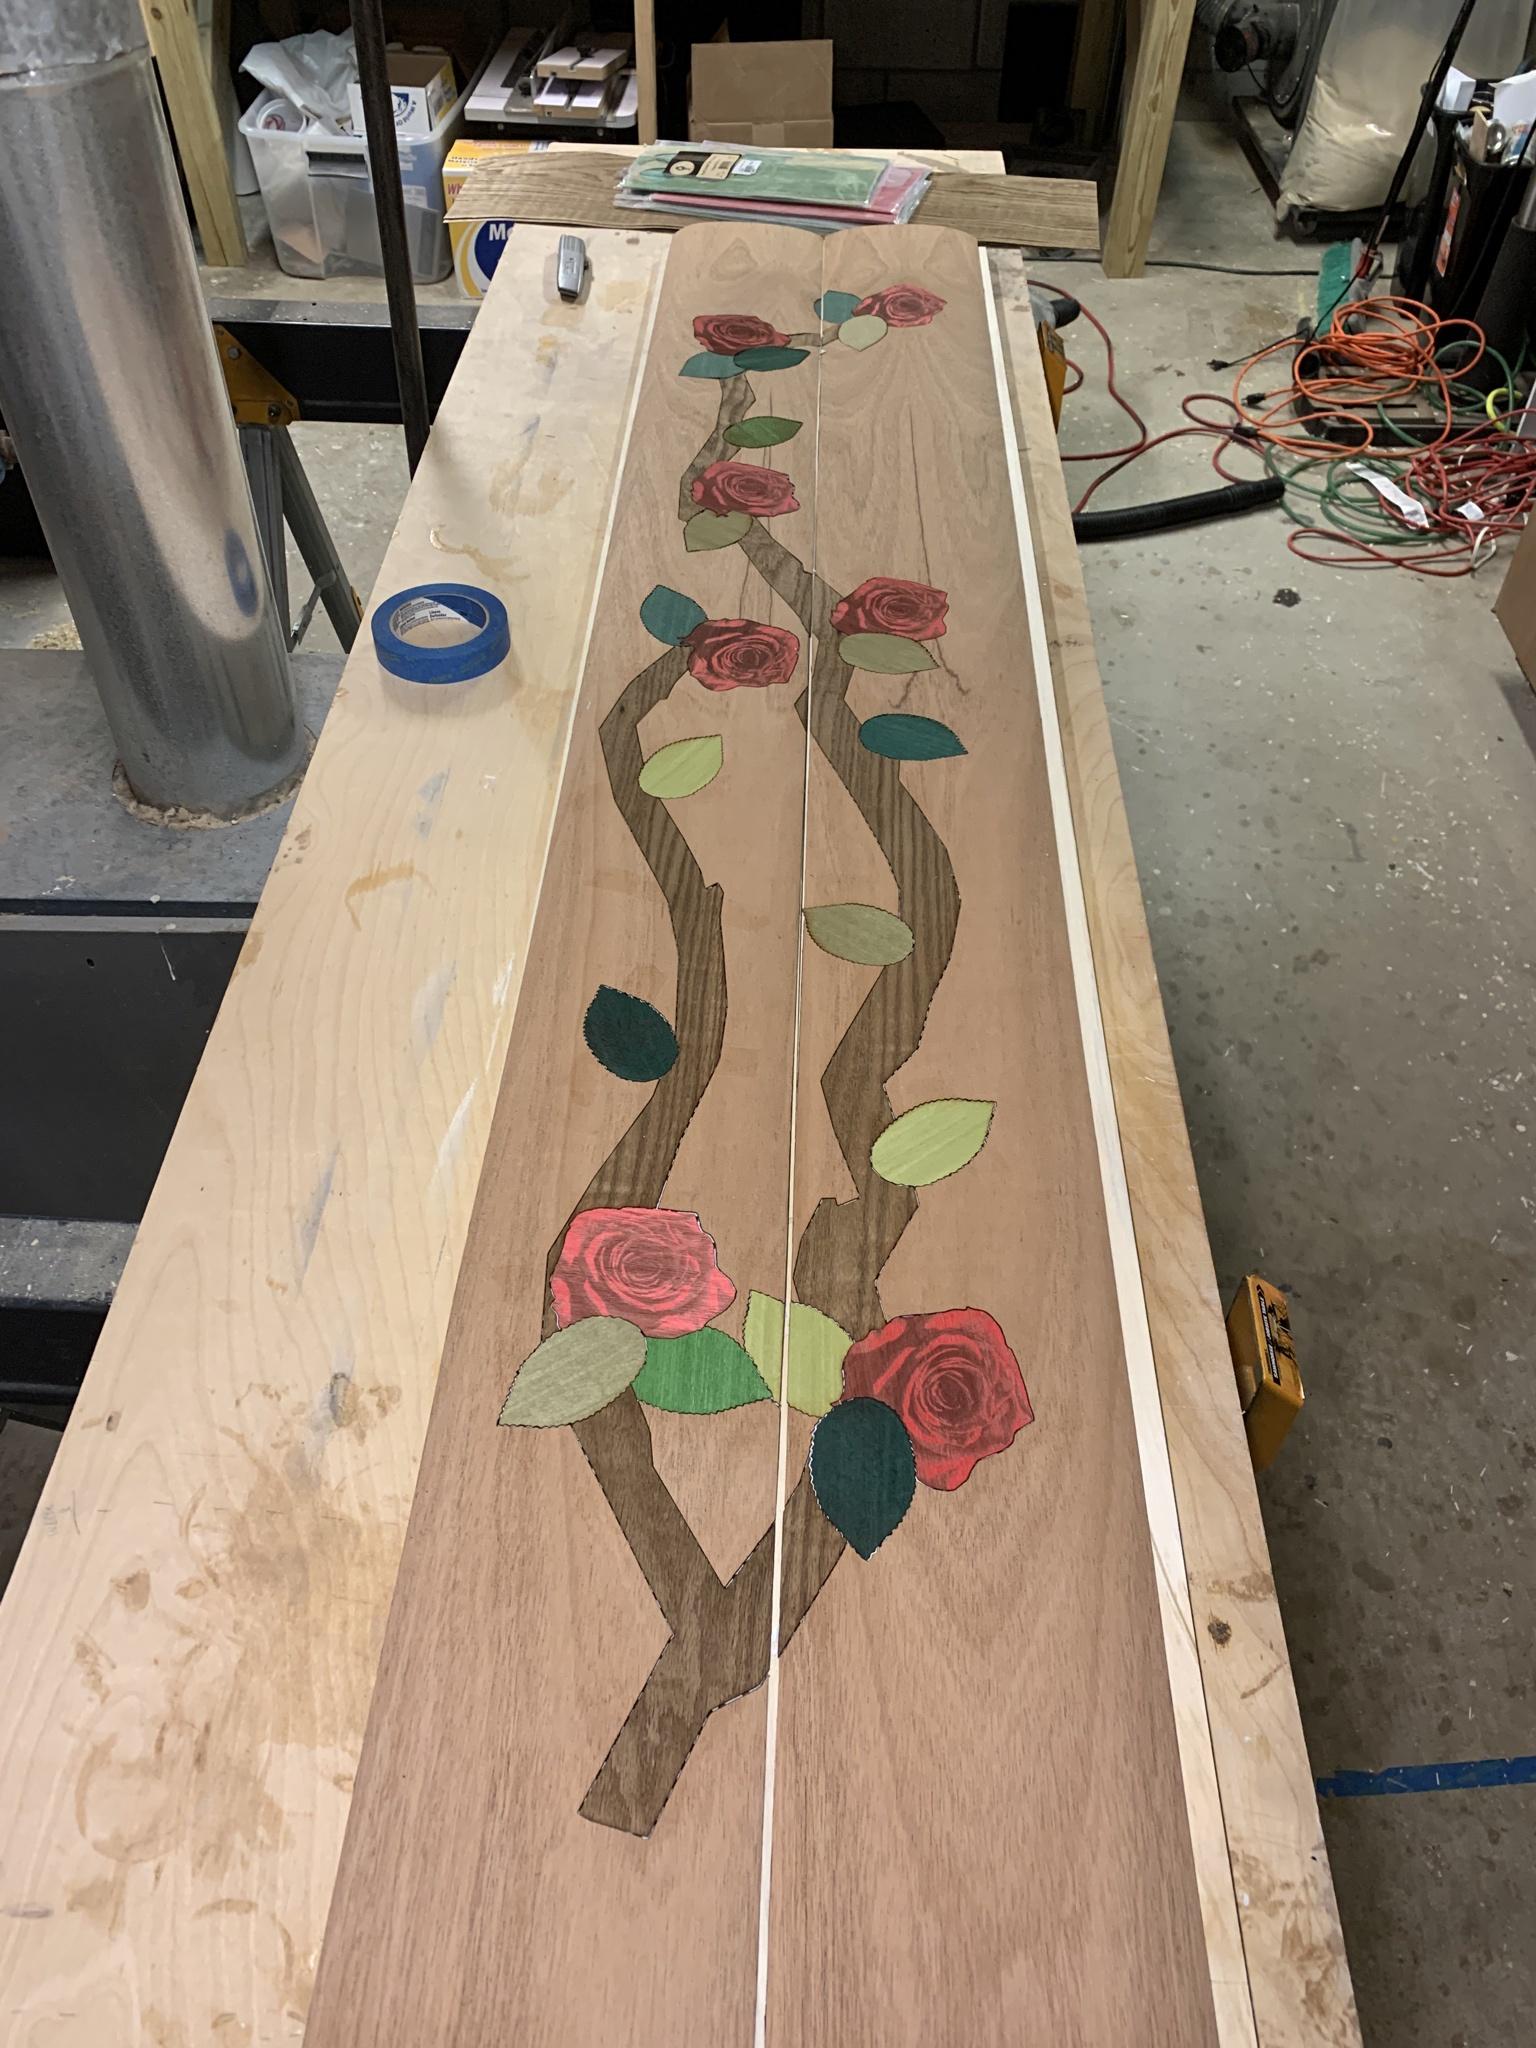
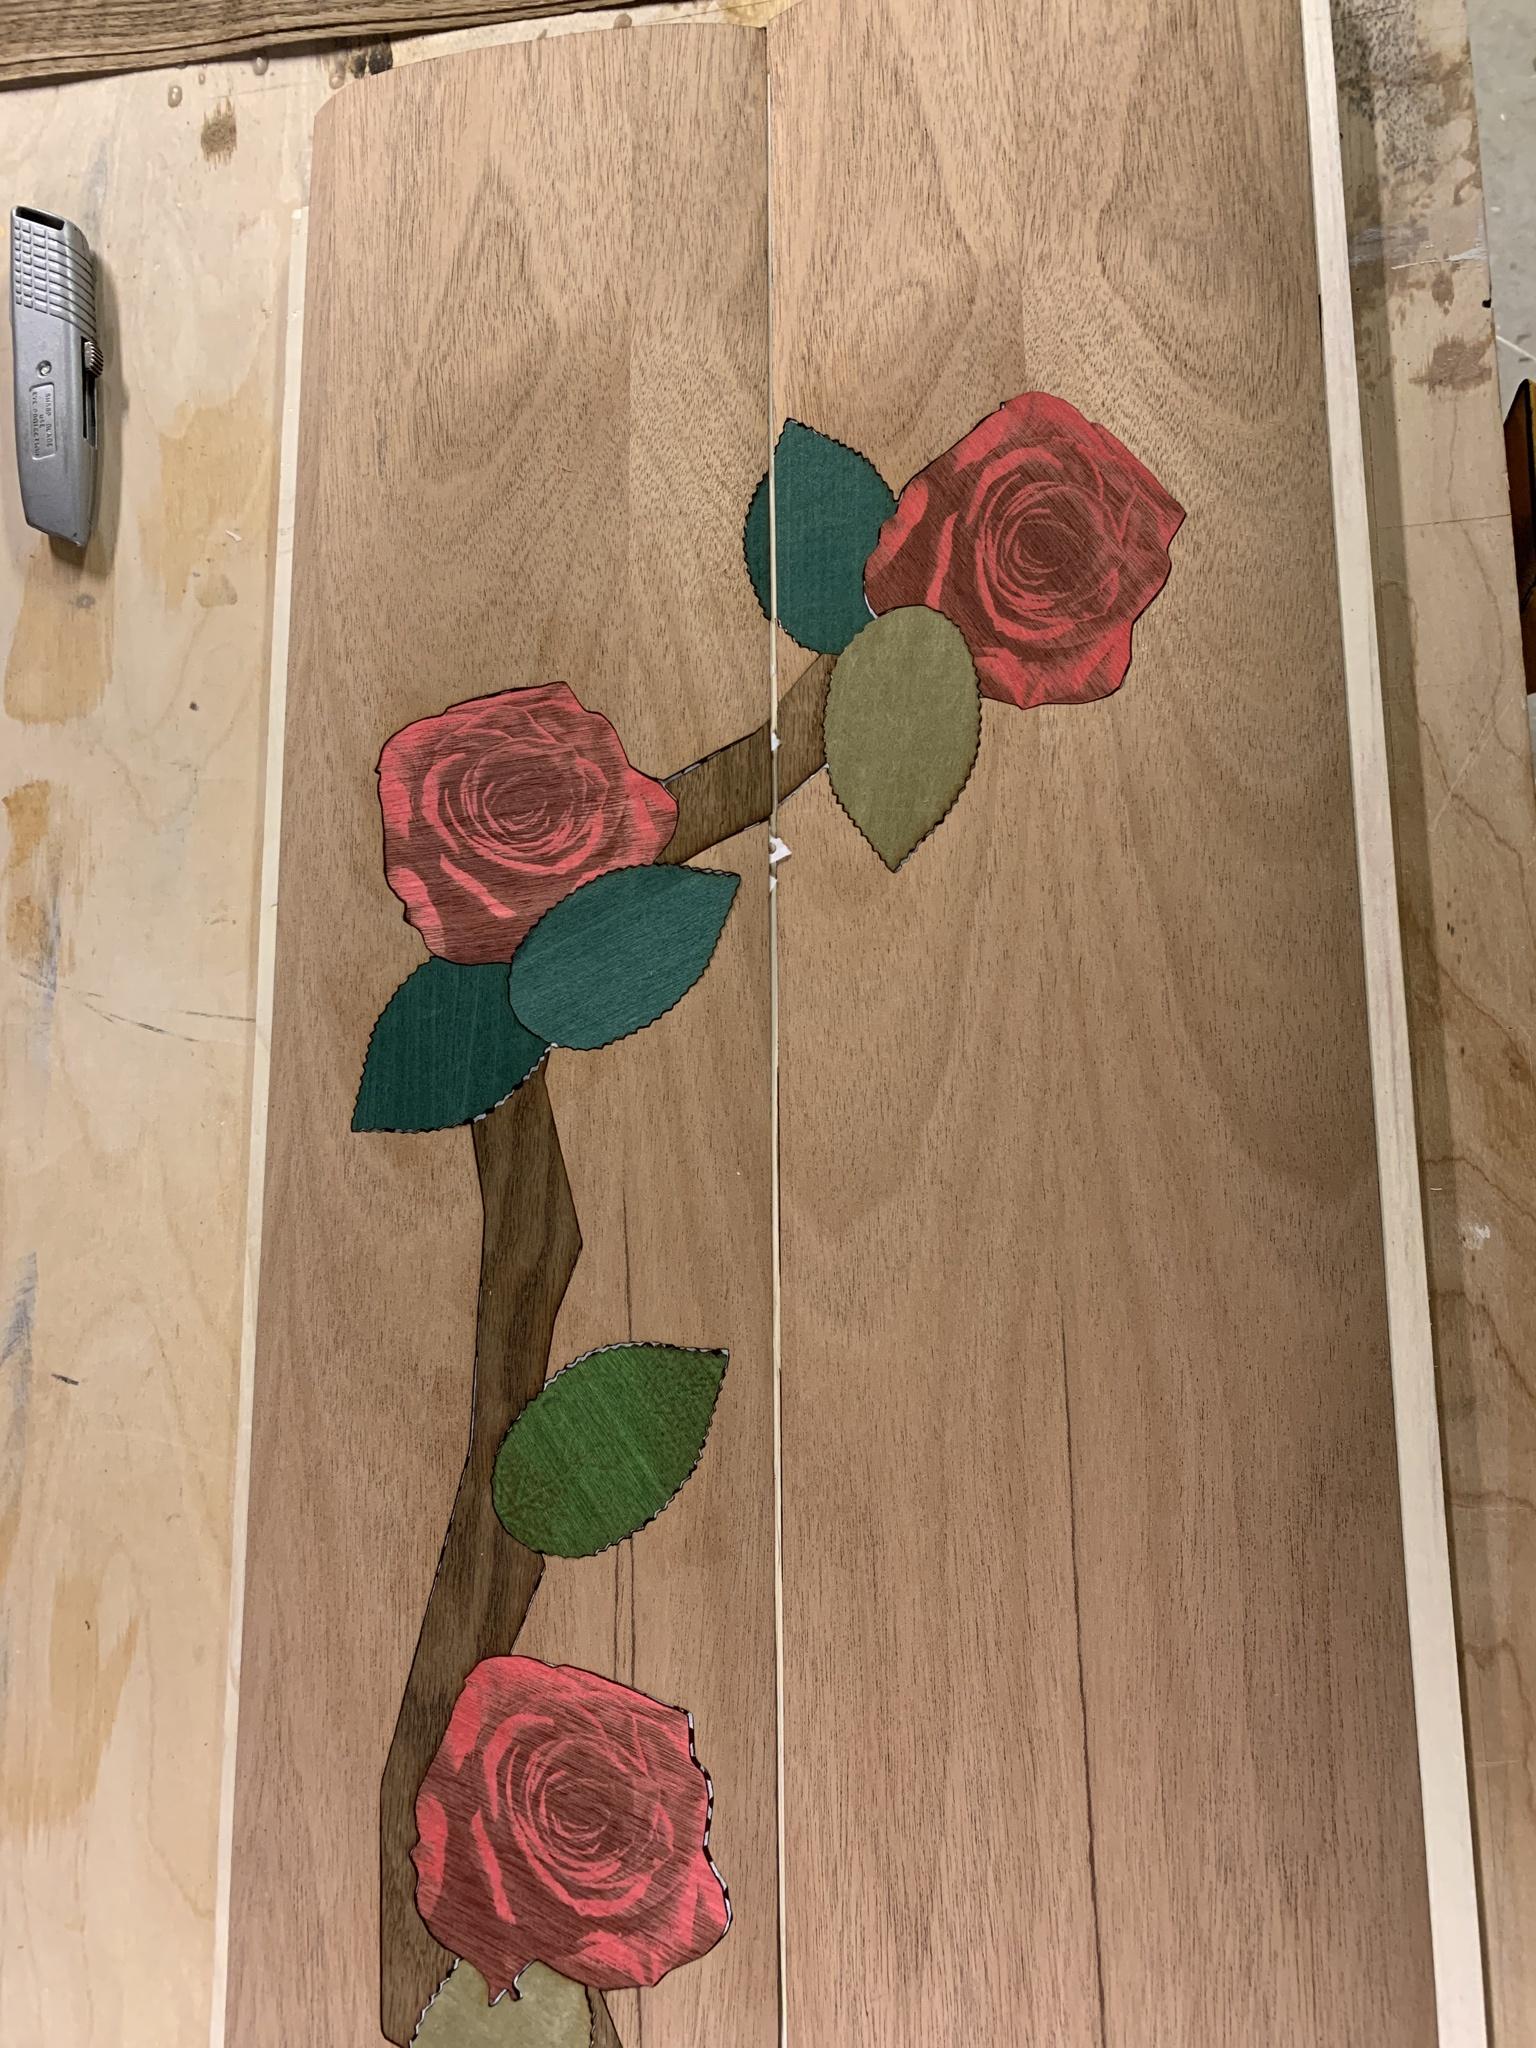
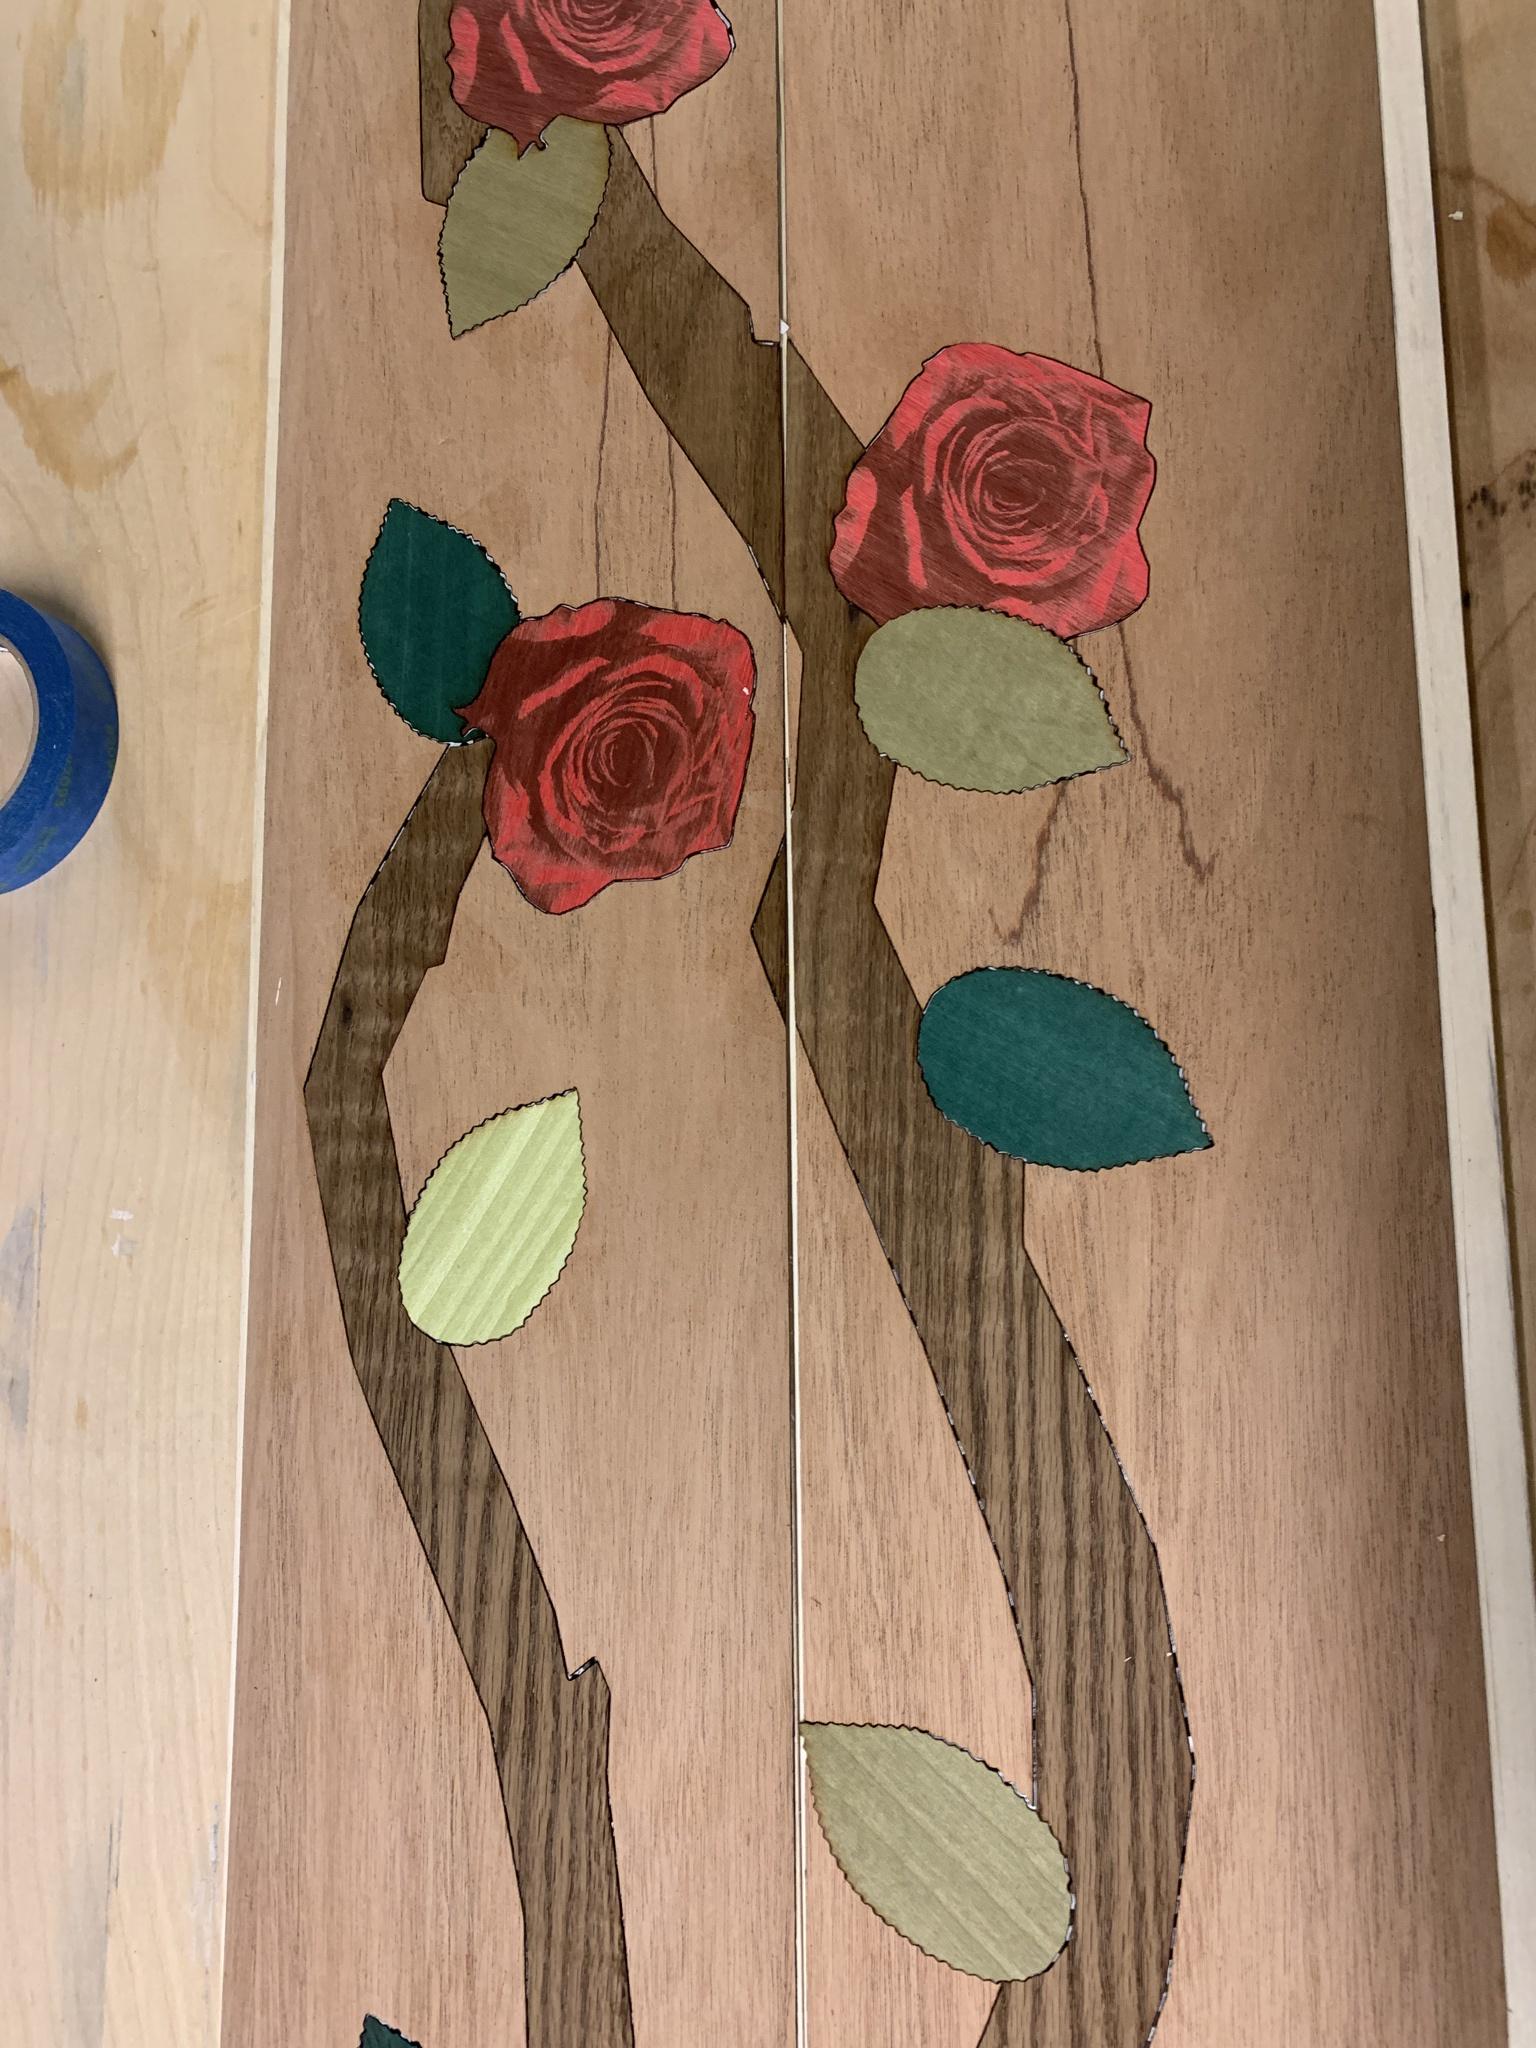
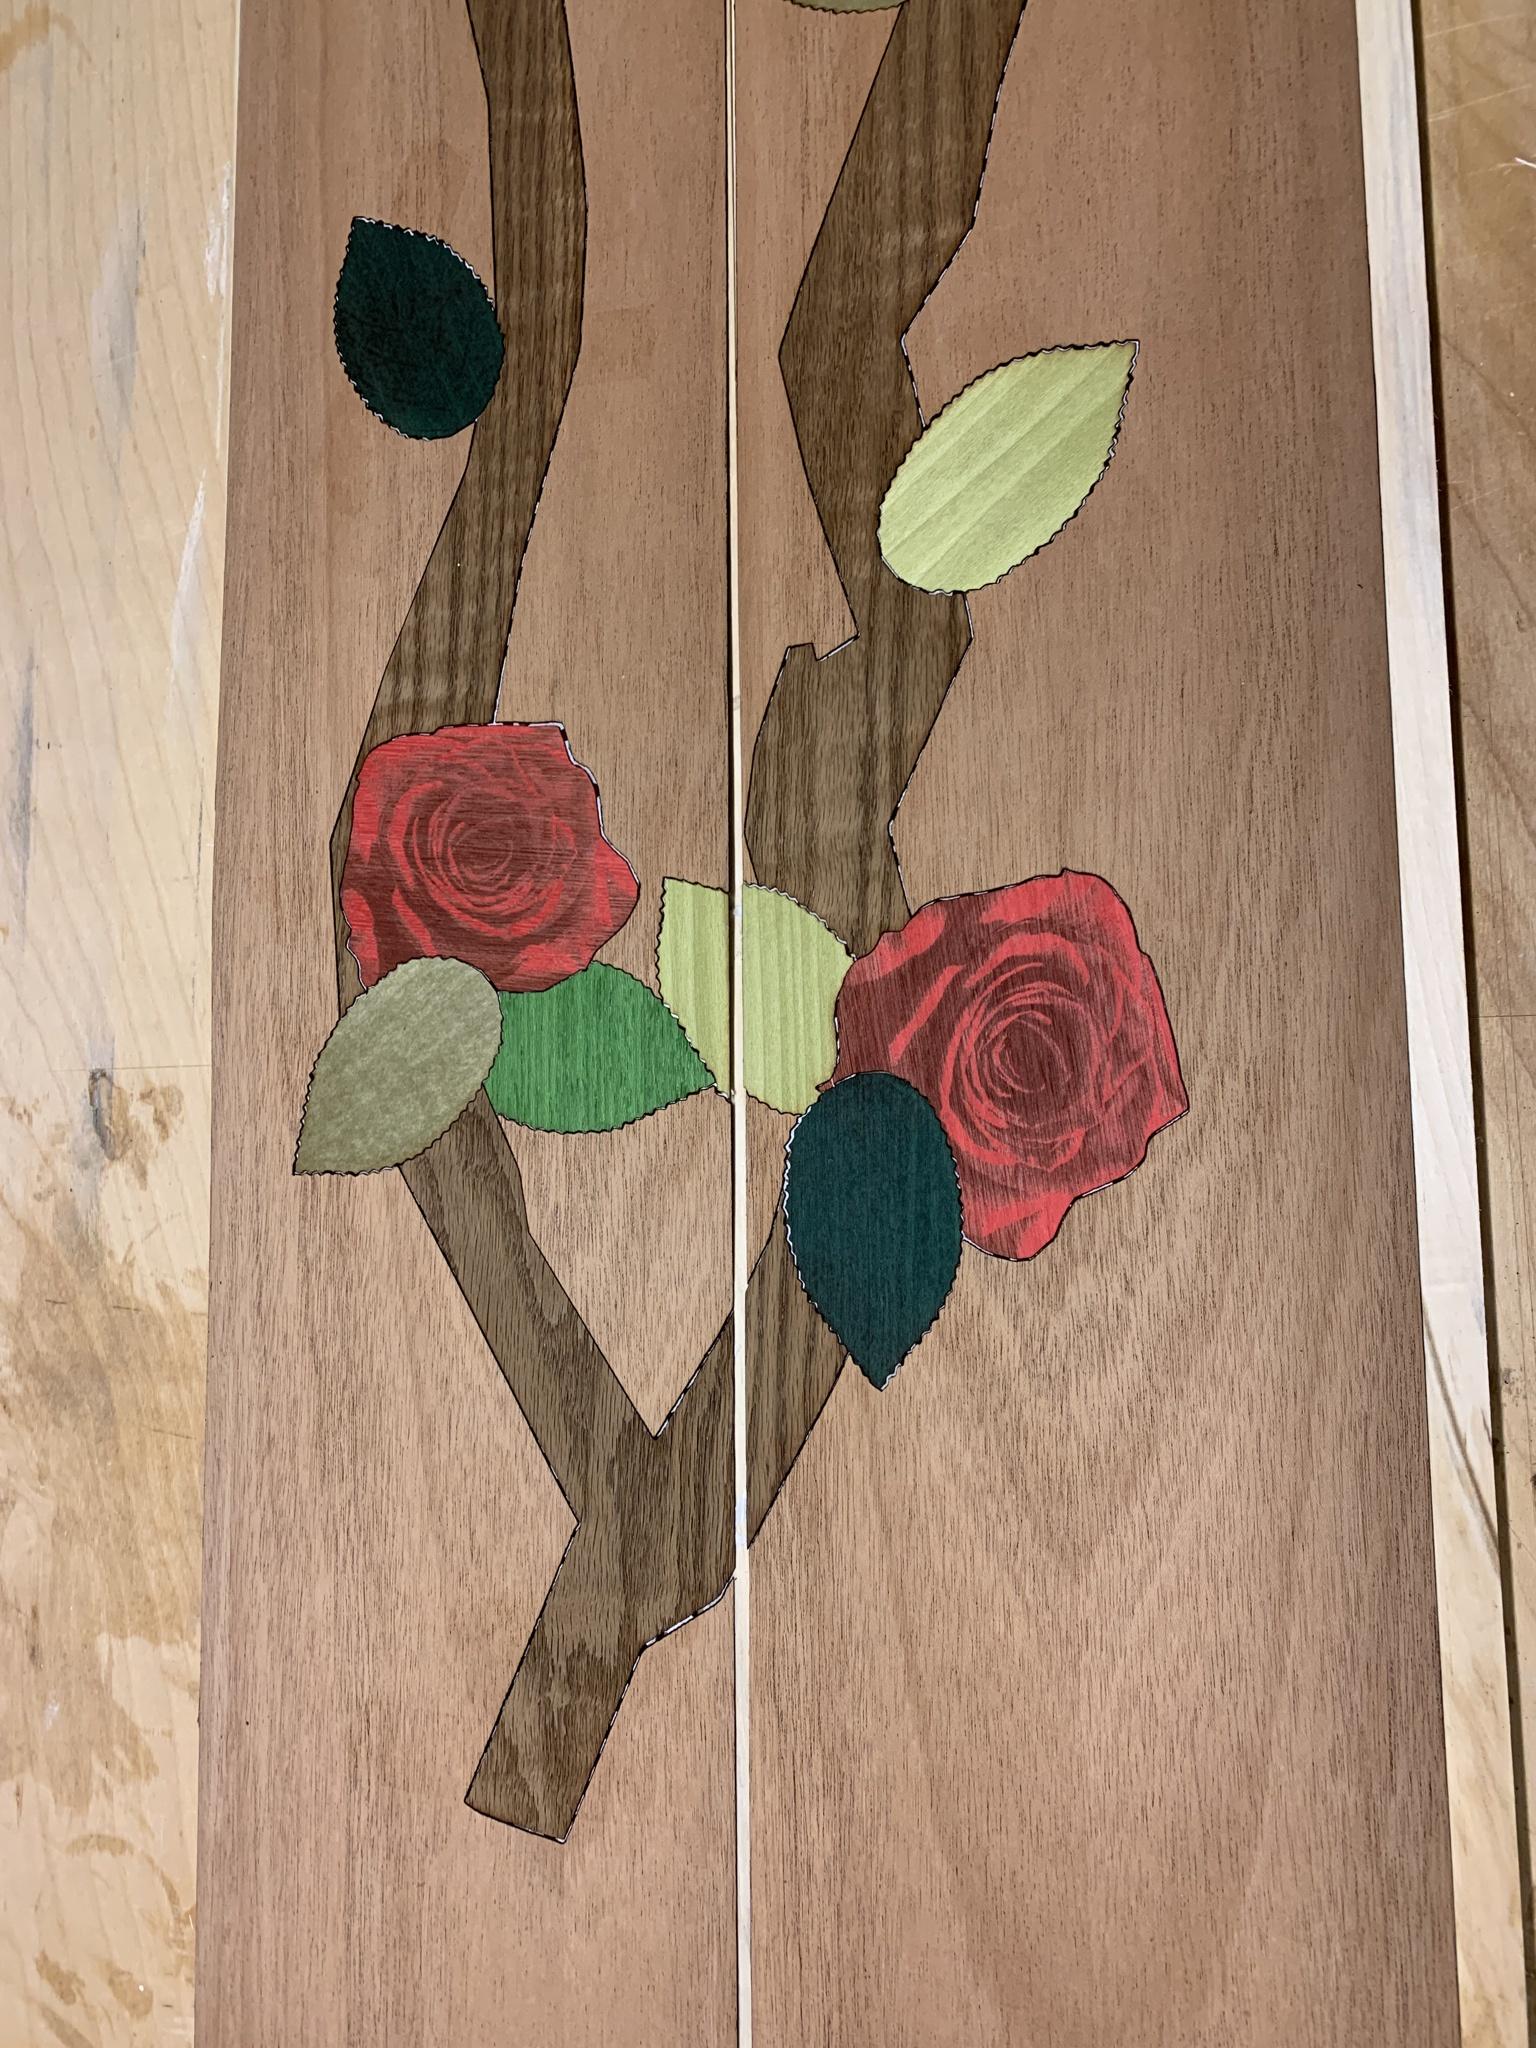
Here's the first top-sheet I've created with the new 8' long laser! Fit is pretty good - there are a few spots that have larger gaps than I'd like, but I'd say overall I'm happy with it. I think the gaps were caused by the background veneer - I went with a paper backed for it, but what I didn't anticipate was trying to get the paper backed stuff to sit flat while being laser cut was really challenging, it just seems to have this natural bow that's impossible to get out. the natural/unbacked stuff is way easier to work with IMO. anyway - This will be the top-sheet for a twin tip ski I'm working on right now
:
mattmanTue Aug 24, 2021 5:18 am
That looks great! I would expect any gaps (which I don’t even notice) to close up some when pressed flat. Separately, I bet if you put a low tack film over the veneer, it could vacuum flat, like a CNC bed.
JonrezzFri Sep 10, 2021 10:36 am
Thanks Matt! I've been pre-occupied with a couple other house related projects that my finace wants done, but I'll update the thread when I get around to pressing them!
I think I'm going to go with purple bases for these, but I did manage to find some sintered blue base material recently on skilab which I'm super excited about because blue has been out of stock all year! decisions..
JonrezzTue May 10, 2022 7:07 pm
Hey! Hope everyone's been well.
So I finally got around to building these!
Here they are:
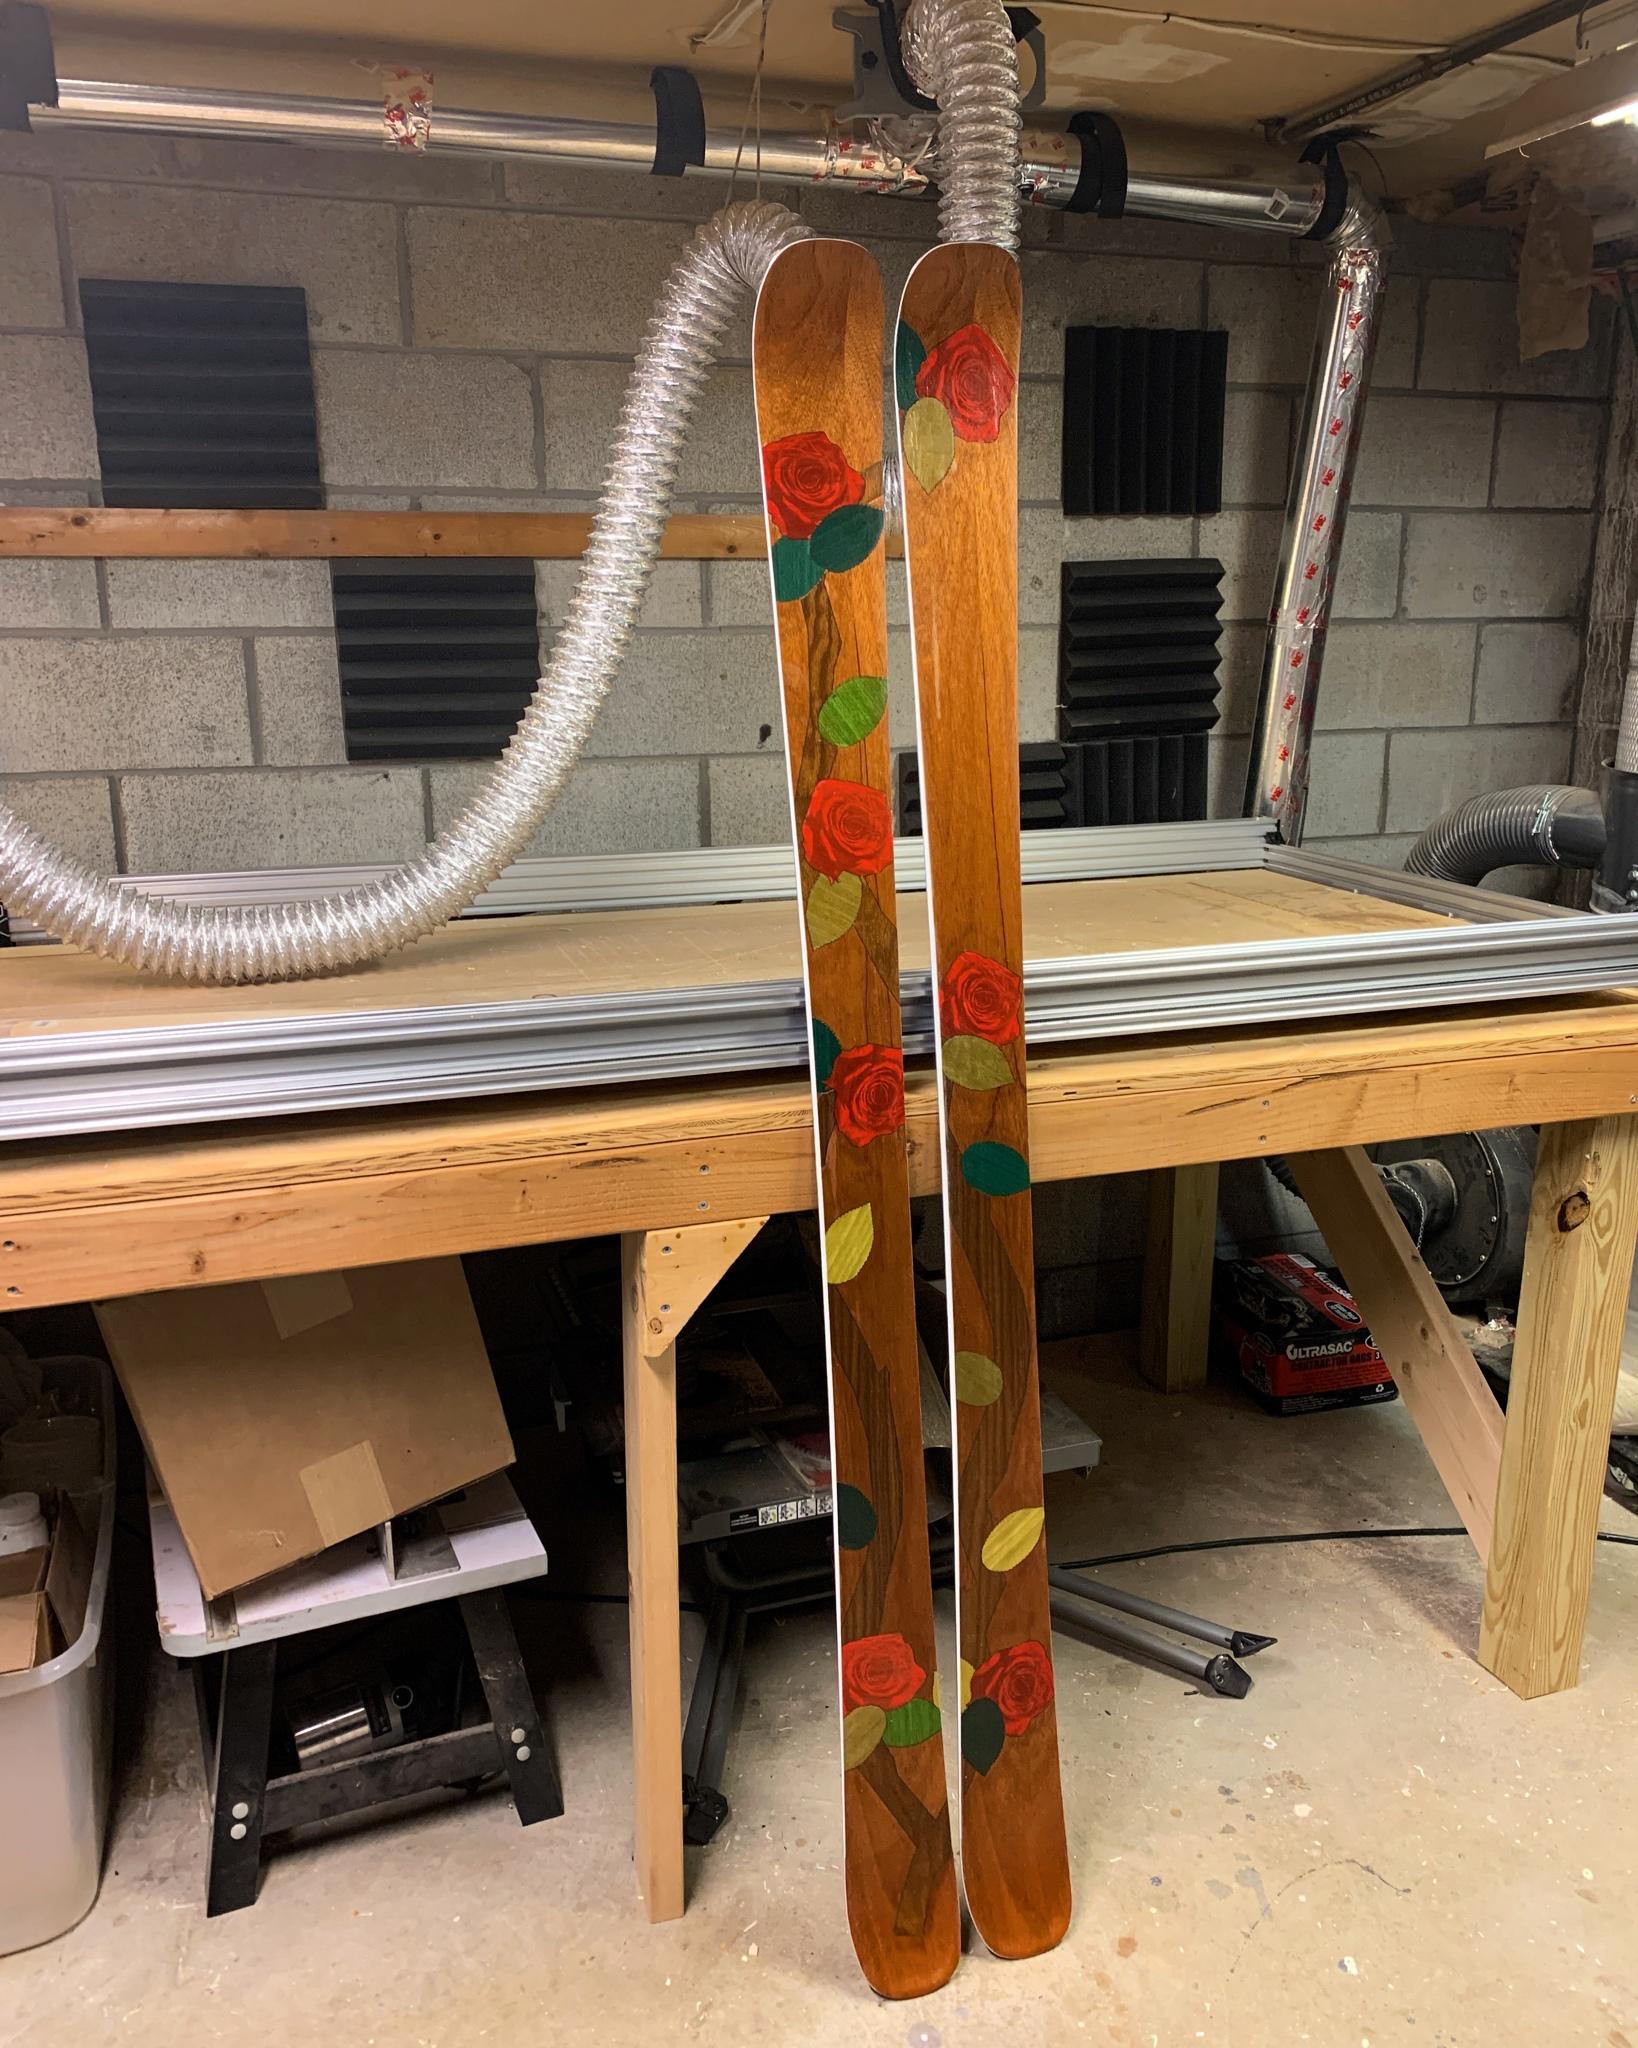
Overall I'm pretty happy with them. A couple lessons learned though -
1. I really need to flatten the veneer better before attempting the inlays - some of my leafs and flowers didnt line up great and it shows. Doesn't look bad from a distance though.
2. I nicked the sidewall with the router while I was doing the final bevel. outside of that though, I think I'm getting the hang of doing it by hand.
3. The poured epoxy finish for the topsheet was a nightmare. go back to either 2 part poly or oil+wax finish. the epoxy went down uneven and took hours of sanding to get relatively flat. I think one last thing I might try is - press the ski, put a layer of fiberglass veil ontop and spread the CLR epoxy over the veil - similar to how they make surfboards. dunno. anyone have experience doing that? With the direct pour method it came out extremely blotty and uneven, I think because I was trying to make the thinnest finishing layer possible. It took hours and hours of sanding to get it even close to flat, and there's a couple spots where I sanded a hair too deep and they're lighter in tone now.
I've got a couple more cores made up, just deciding what to do for graphics! will post updates as I progress.
Cheers!
-Jon
JonrezzTue Jun 07, 2022 5:10 pm
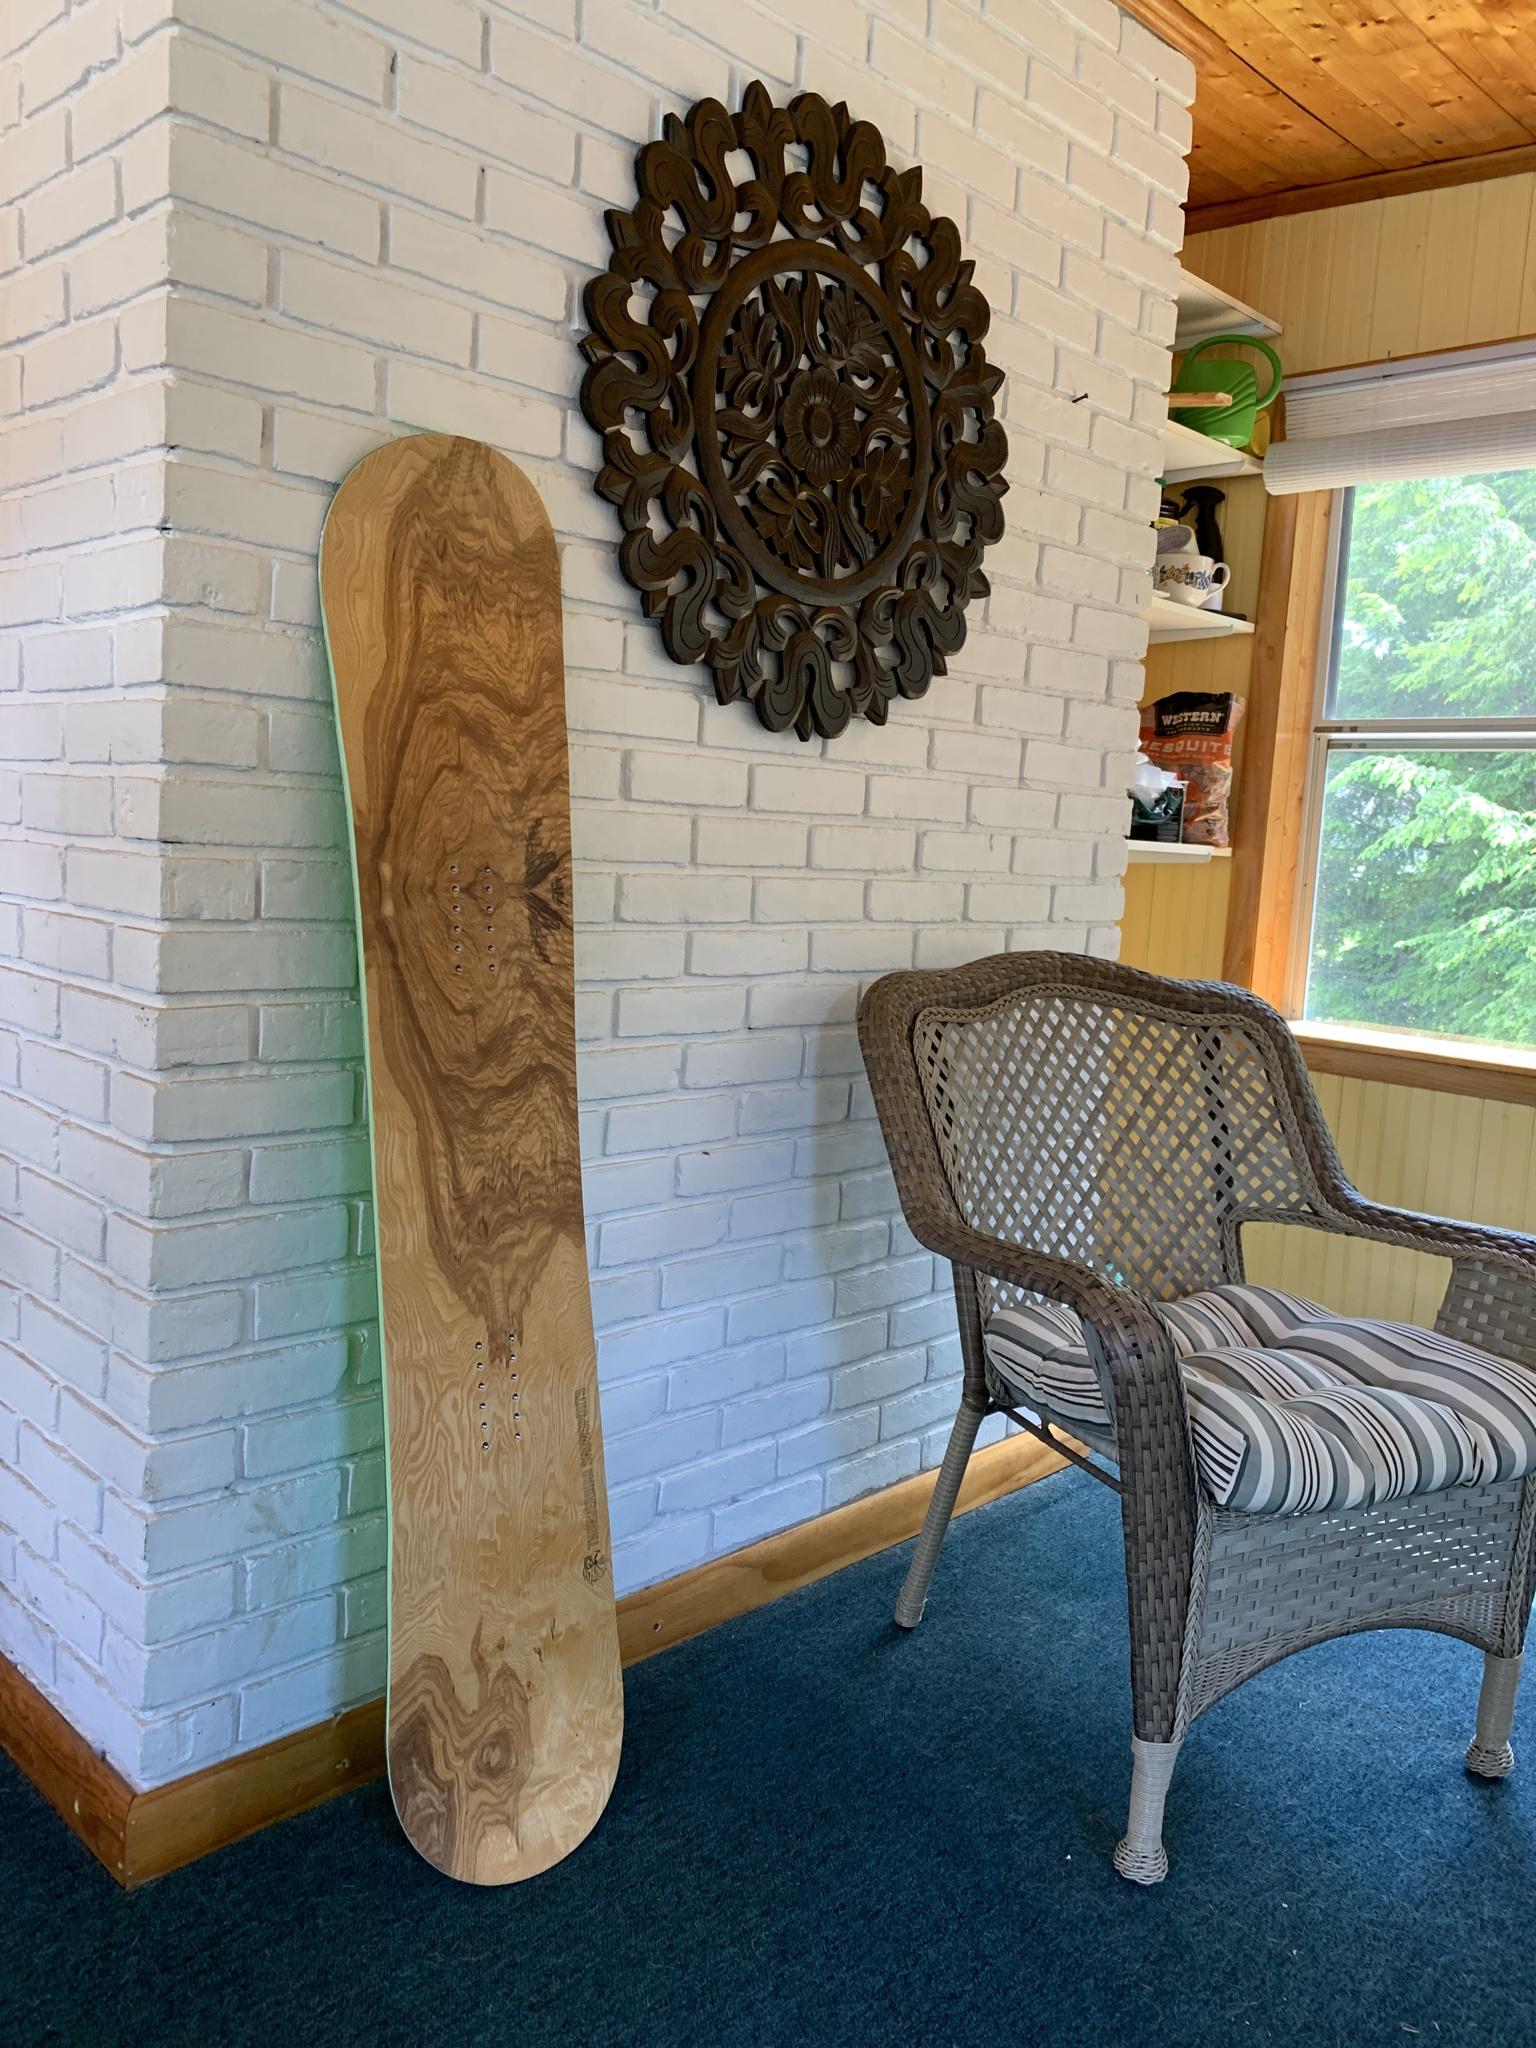
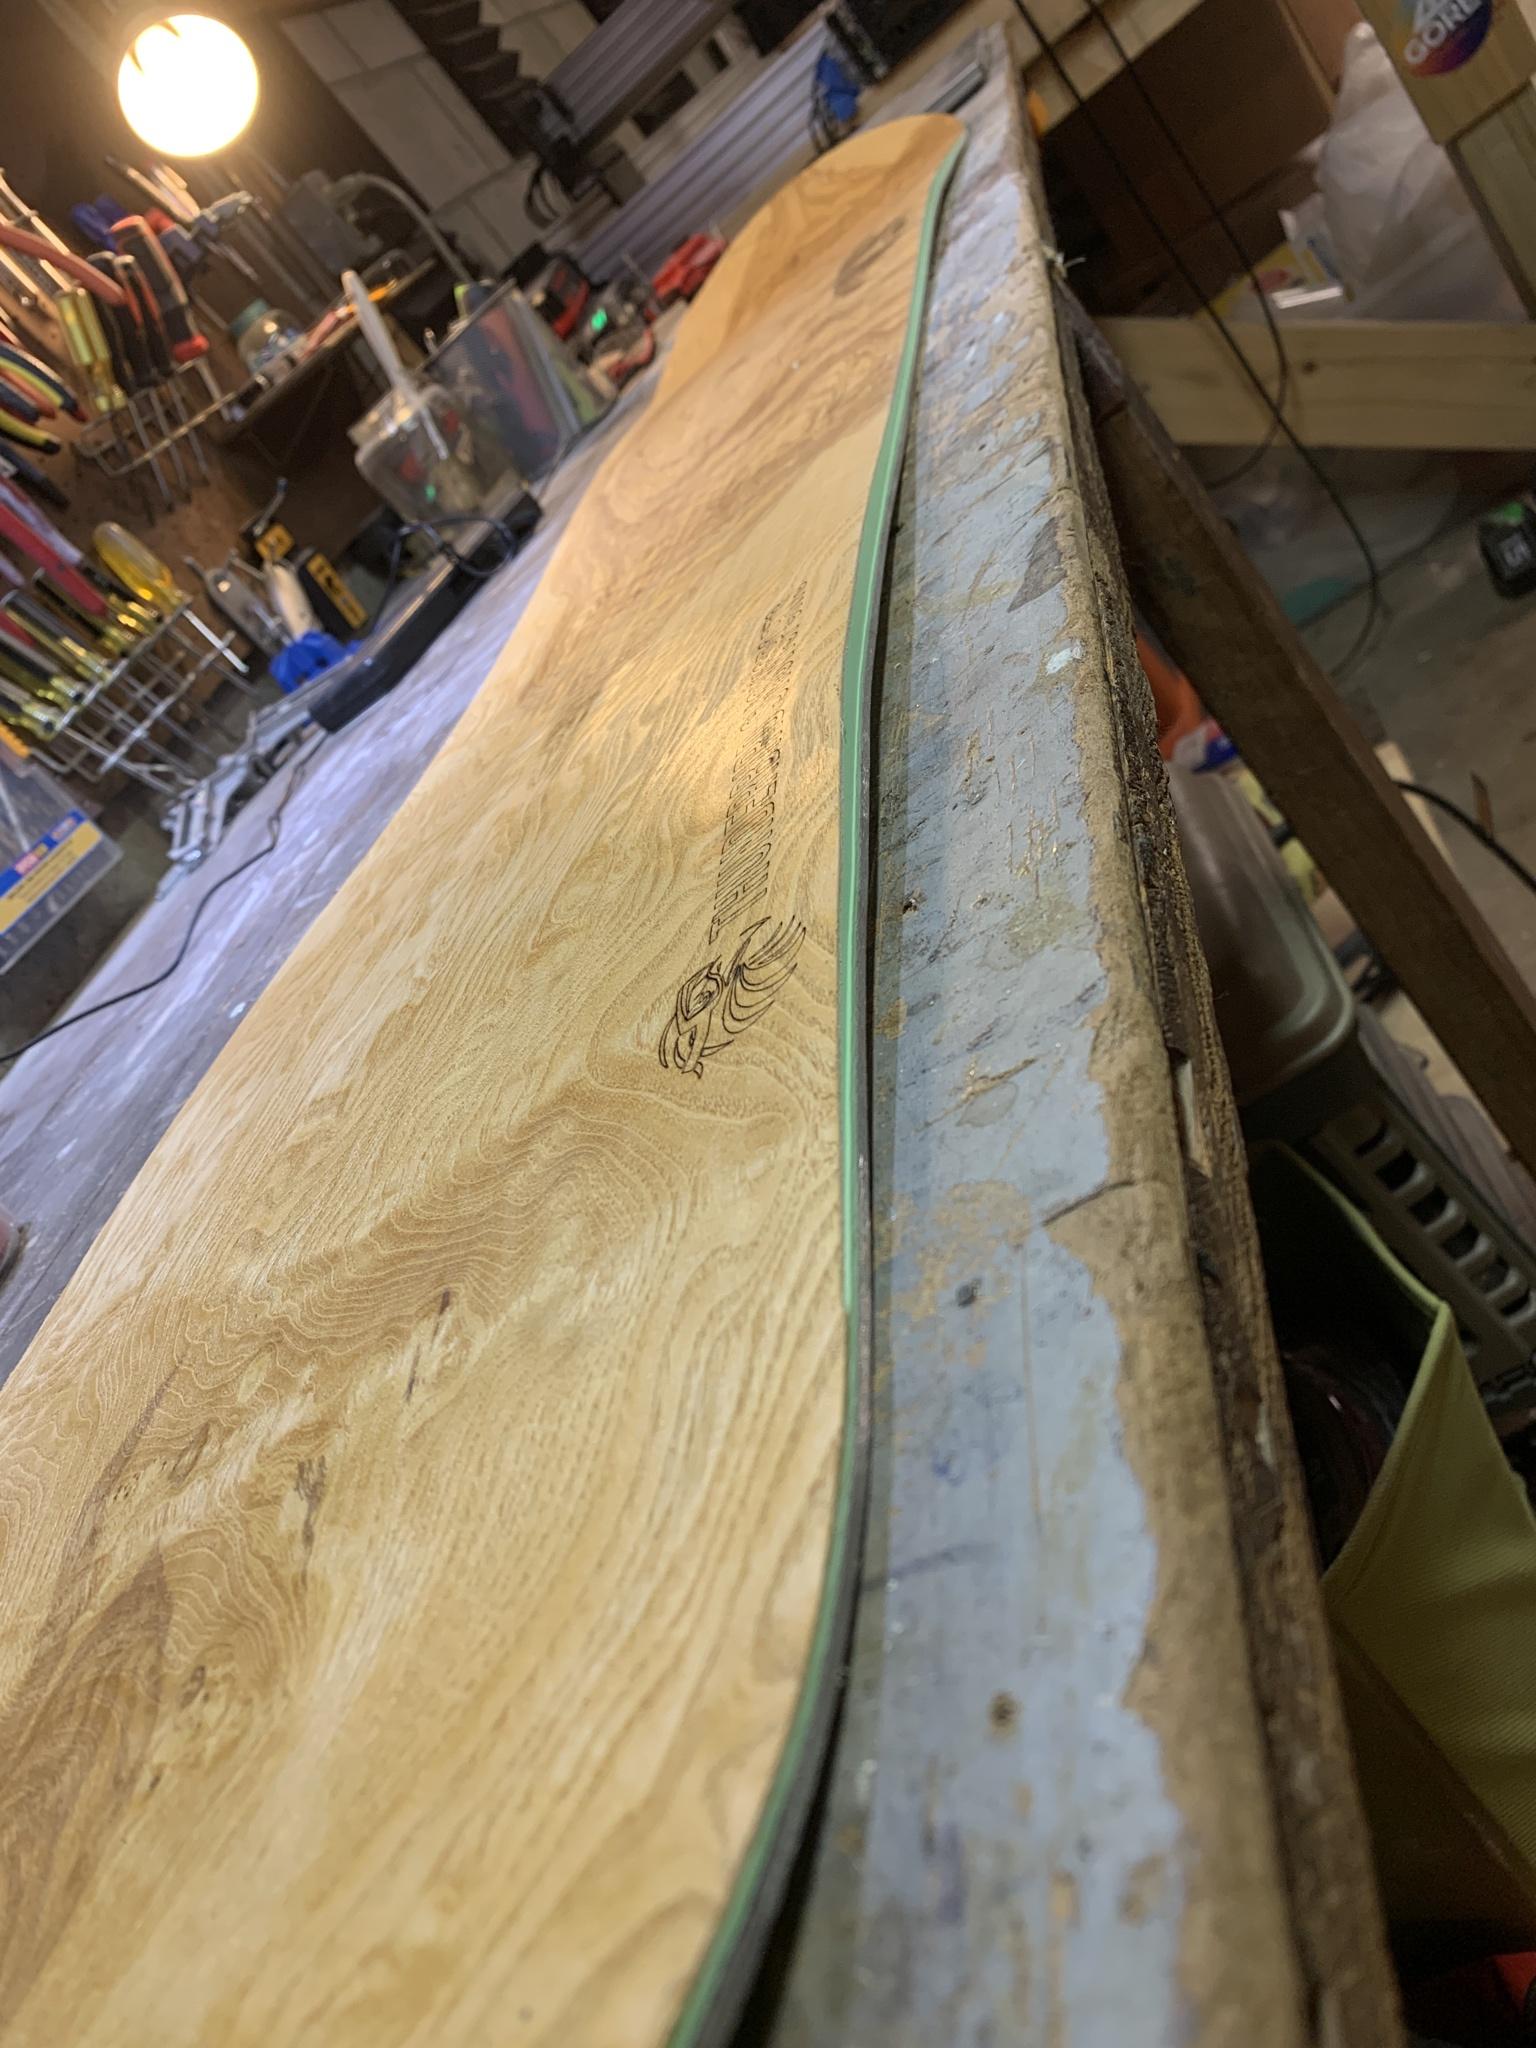
For my next build, It's a 145 cm snowboard with serrated edges, hybrid camber & olive ash veneer topsheet that I finished with teak oil and polyurethane! The core is 2.5 mm at the tips, 6 mm underfoot & 5 mm in the center. 6 parallel carbon fiber tows between the feet and 1" wide carbon fiber strips from the outside binding inserts diagonally to the end of the running edges. It resulted in a good stiffness for a 5'6" rider who weights about 120 lbs.
here's the core & edges:
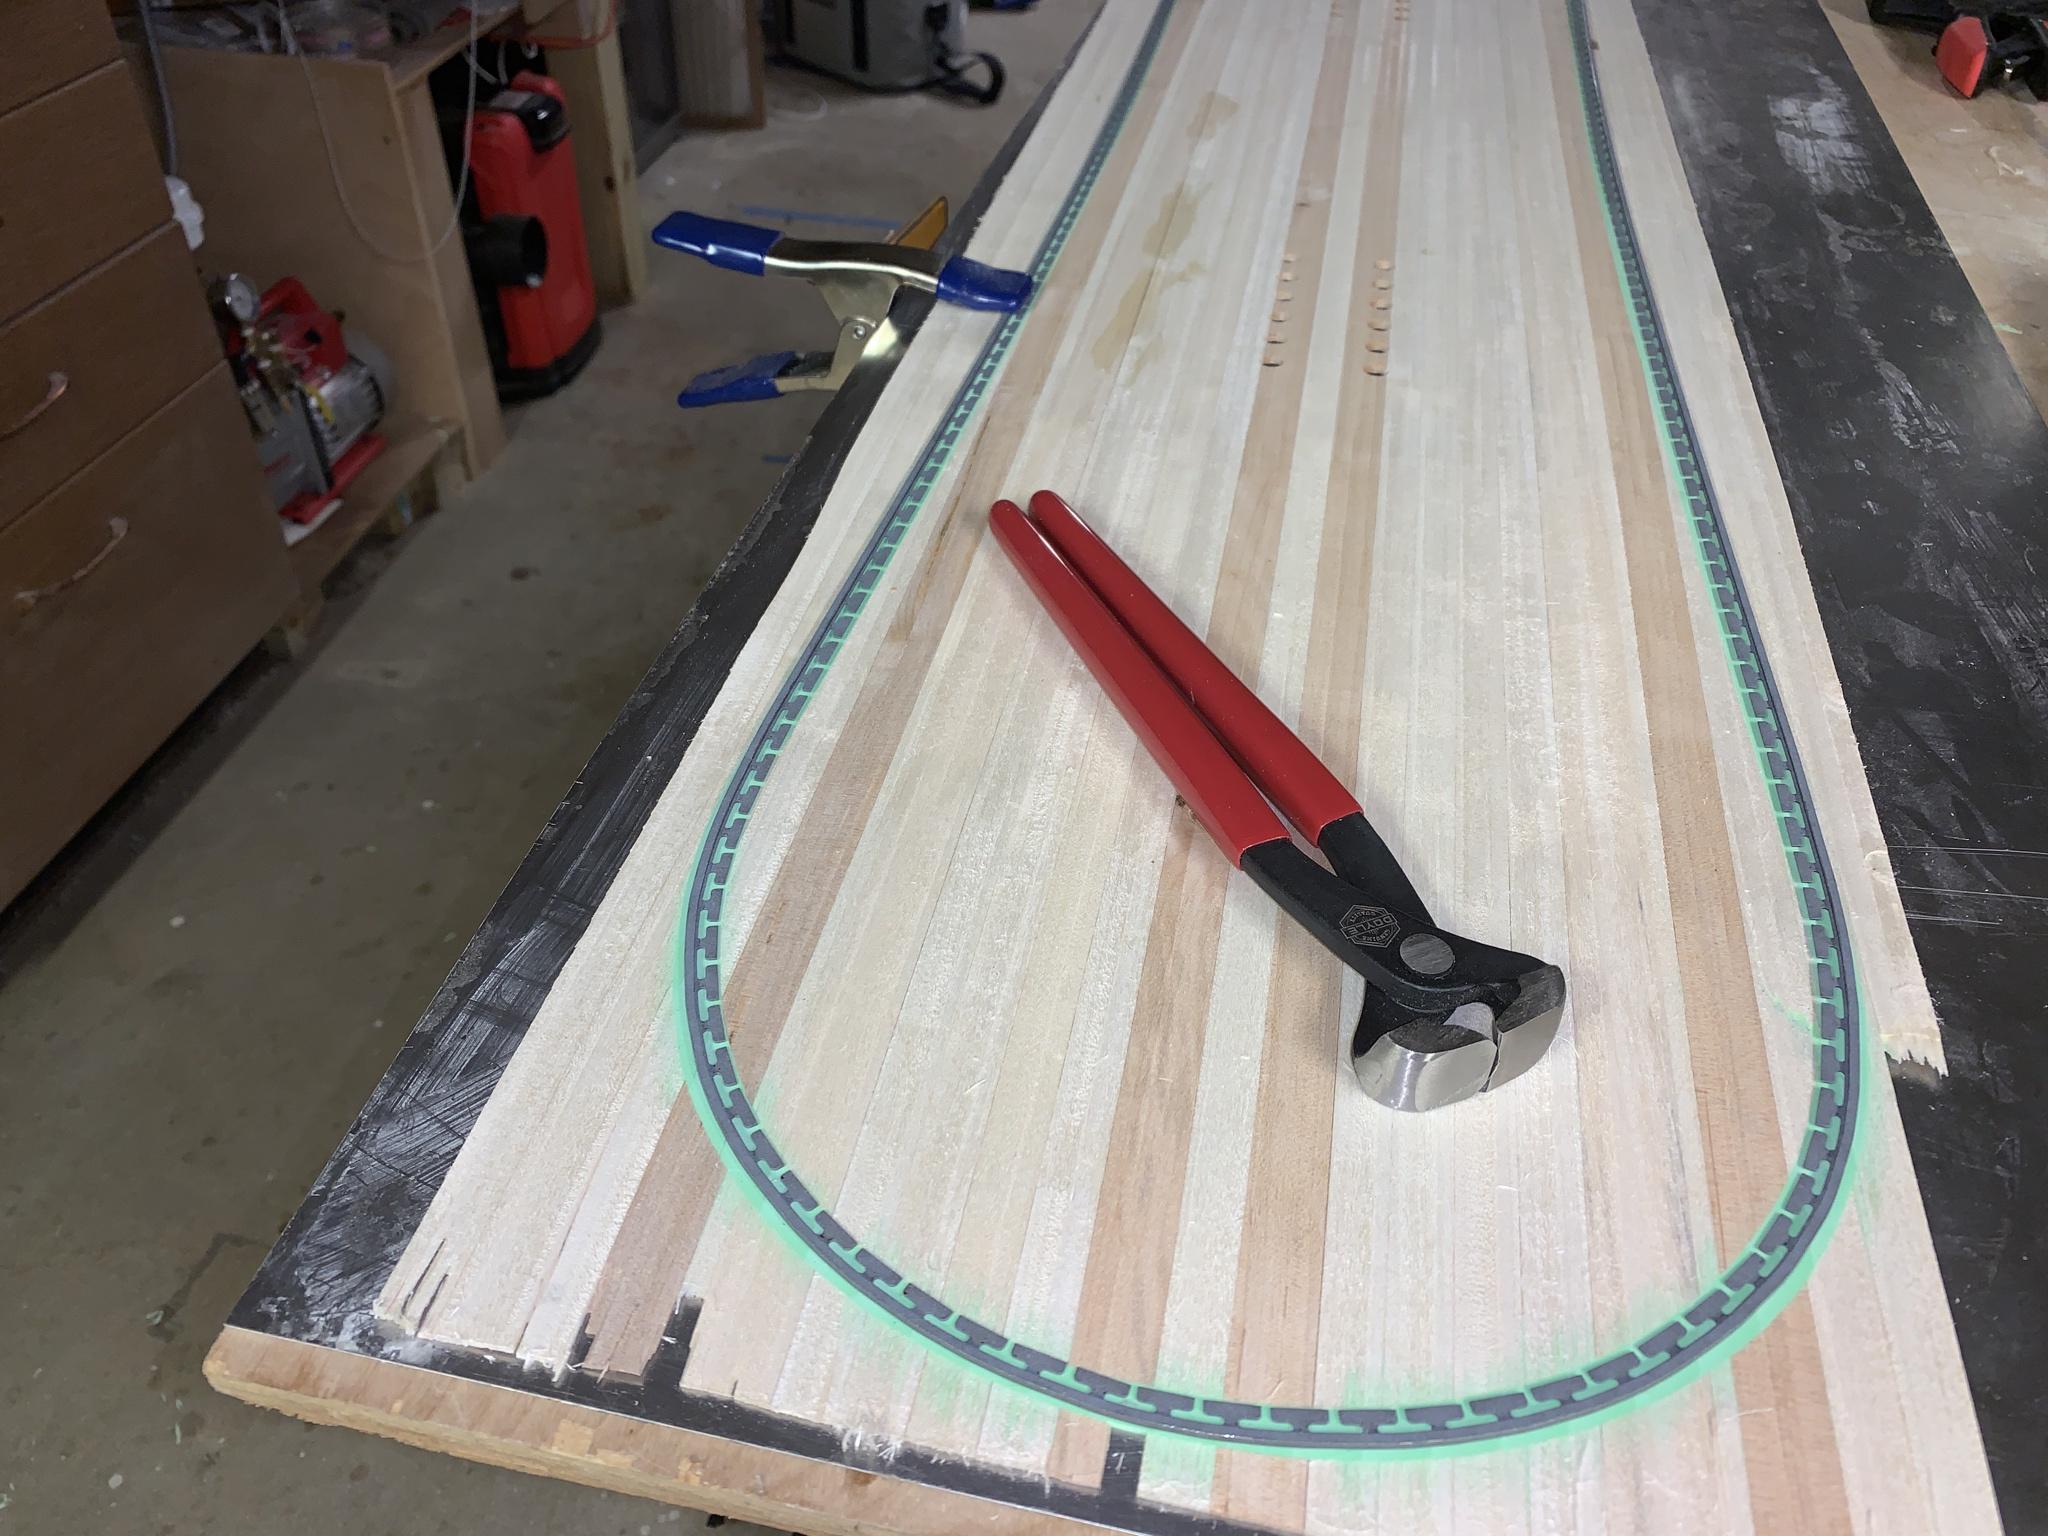
I like to pre-bend the edges face up before attaching to the base so that it just needs minor tweaks once it's upside down.
here's the edges going on:
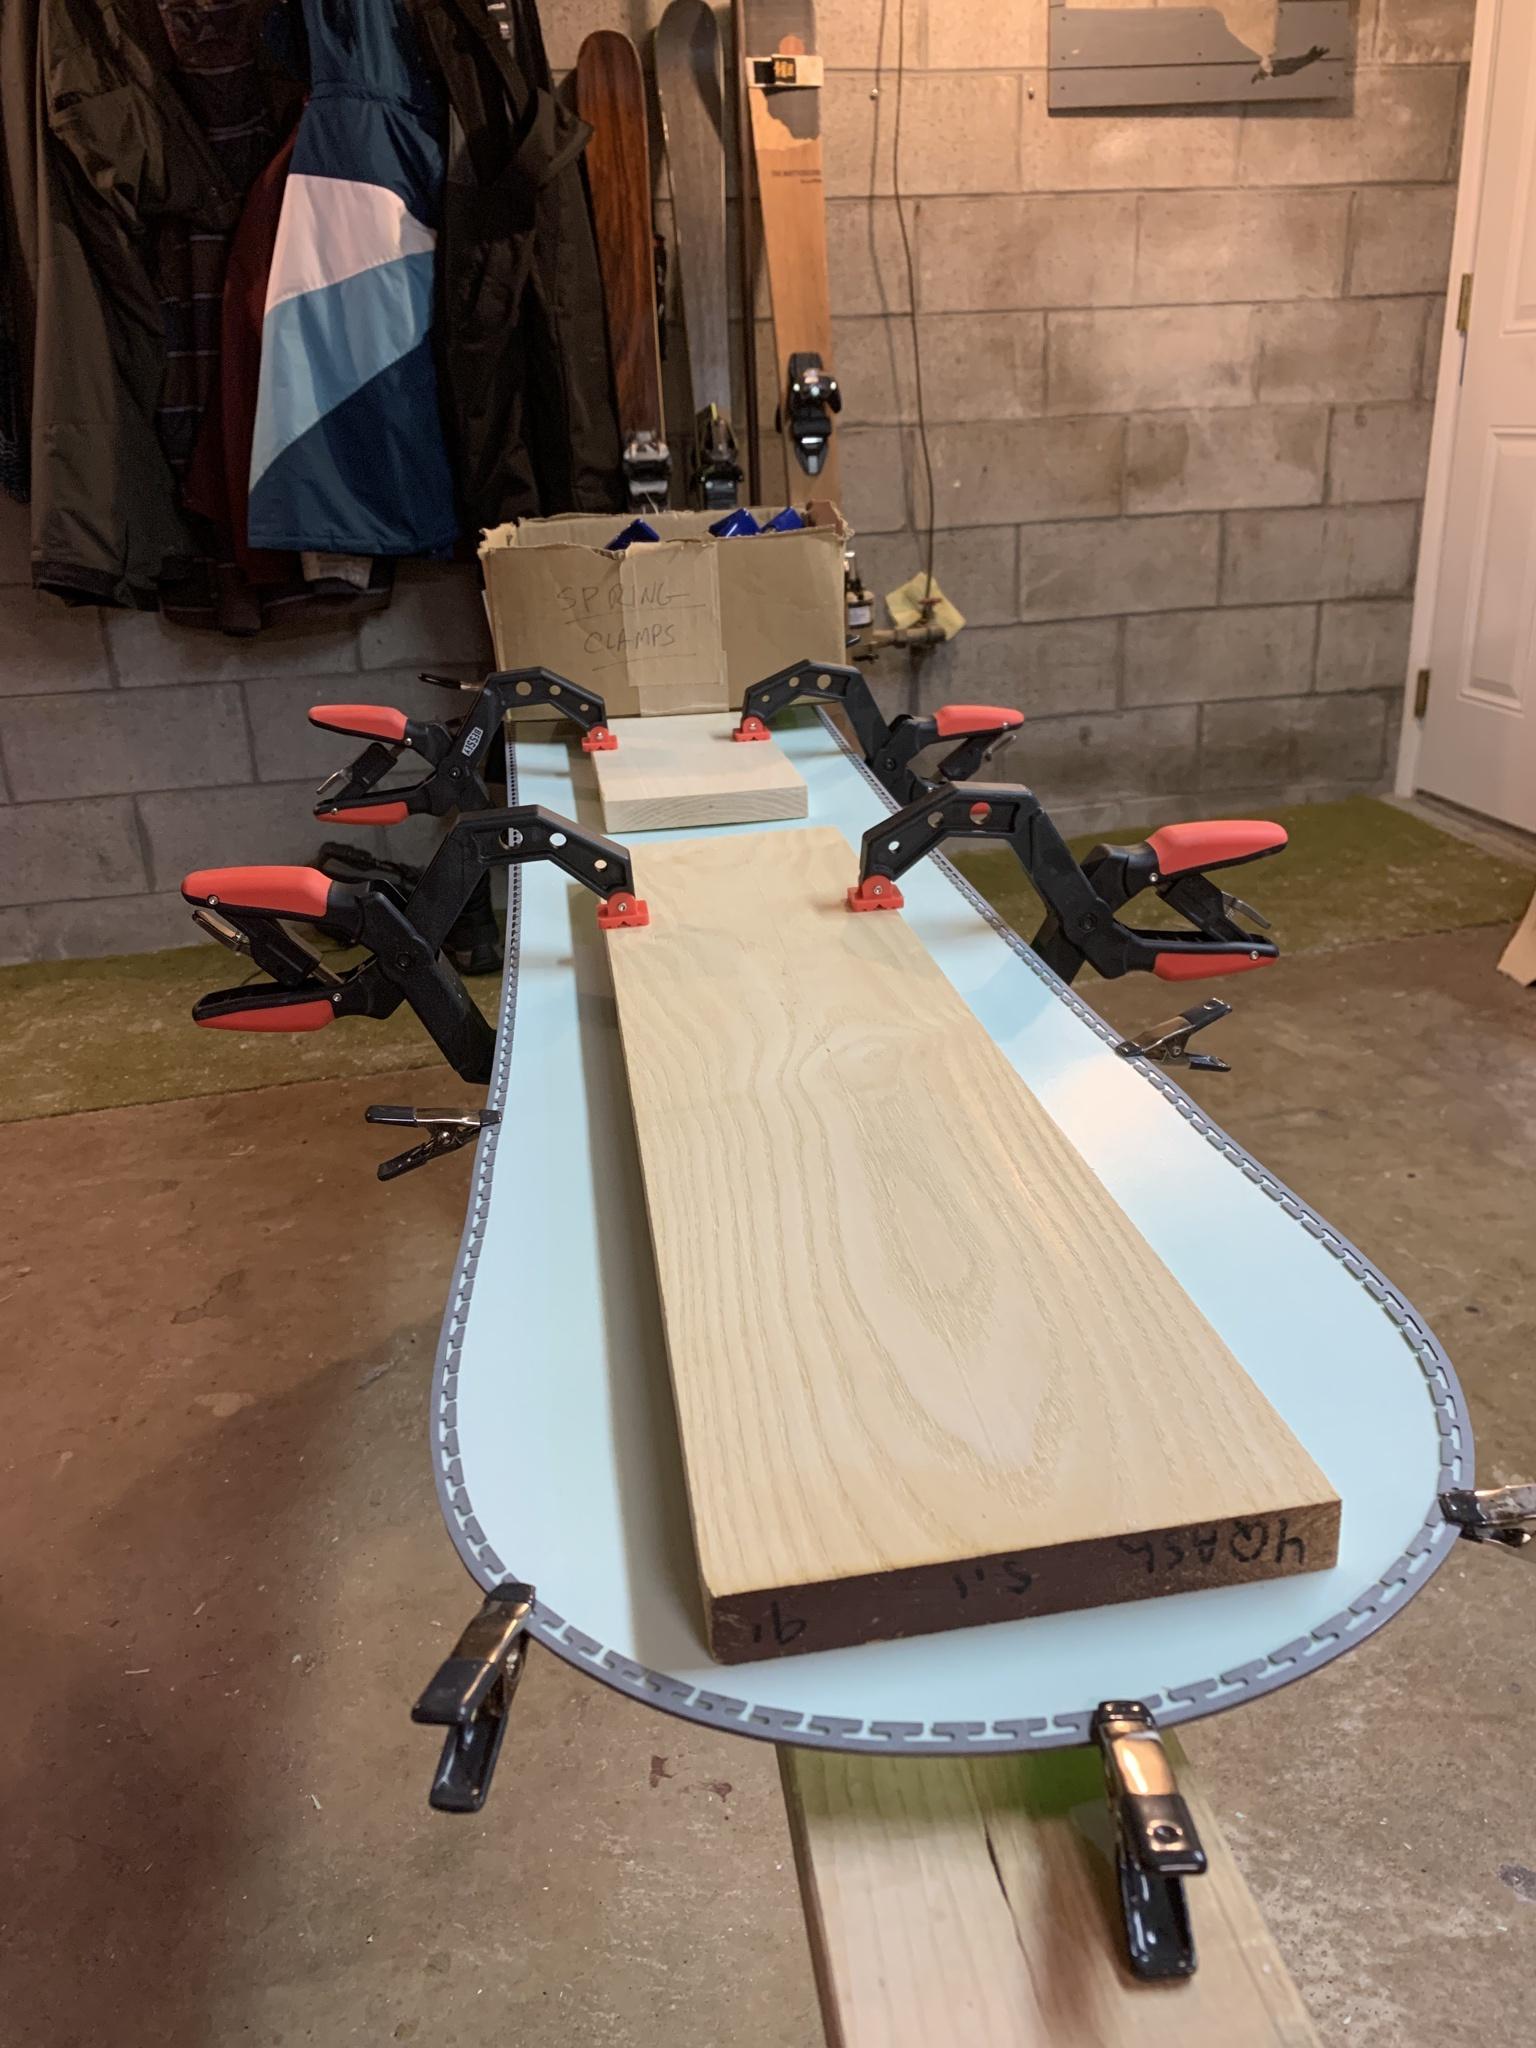
and the raw veneer:
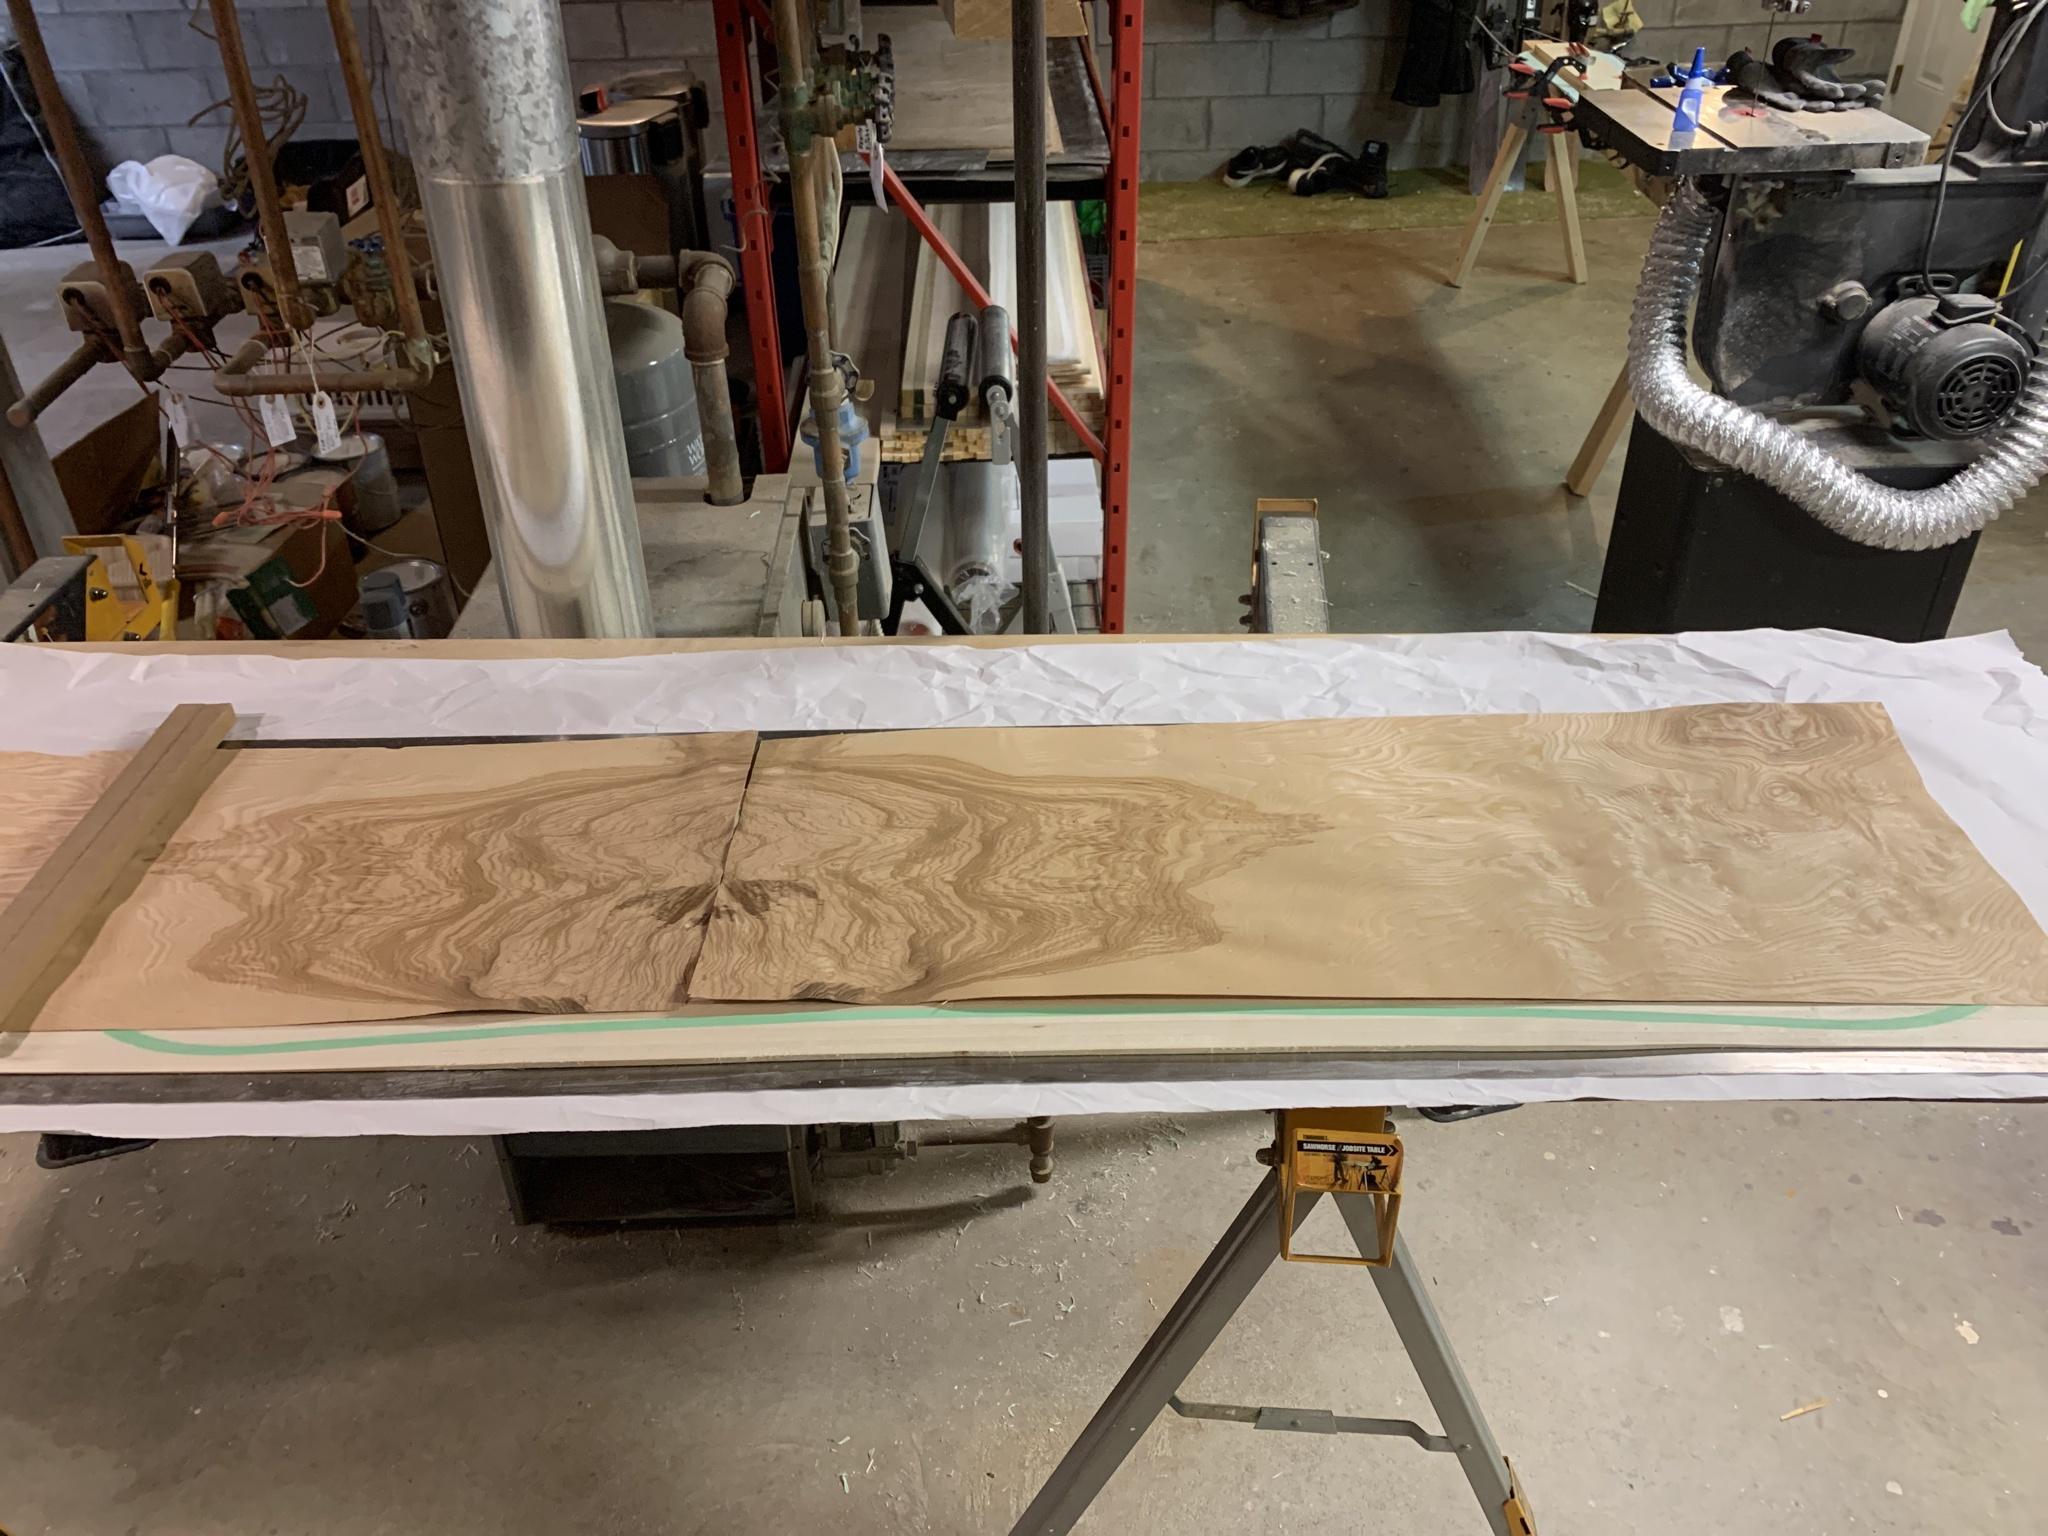
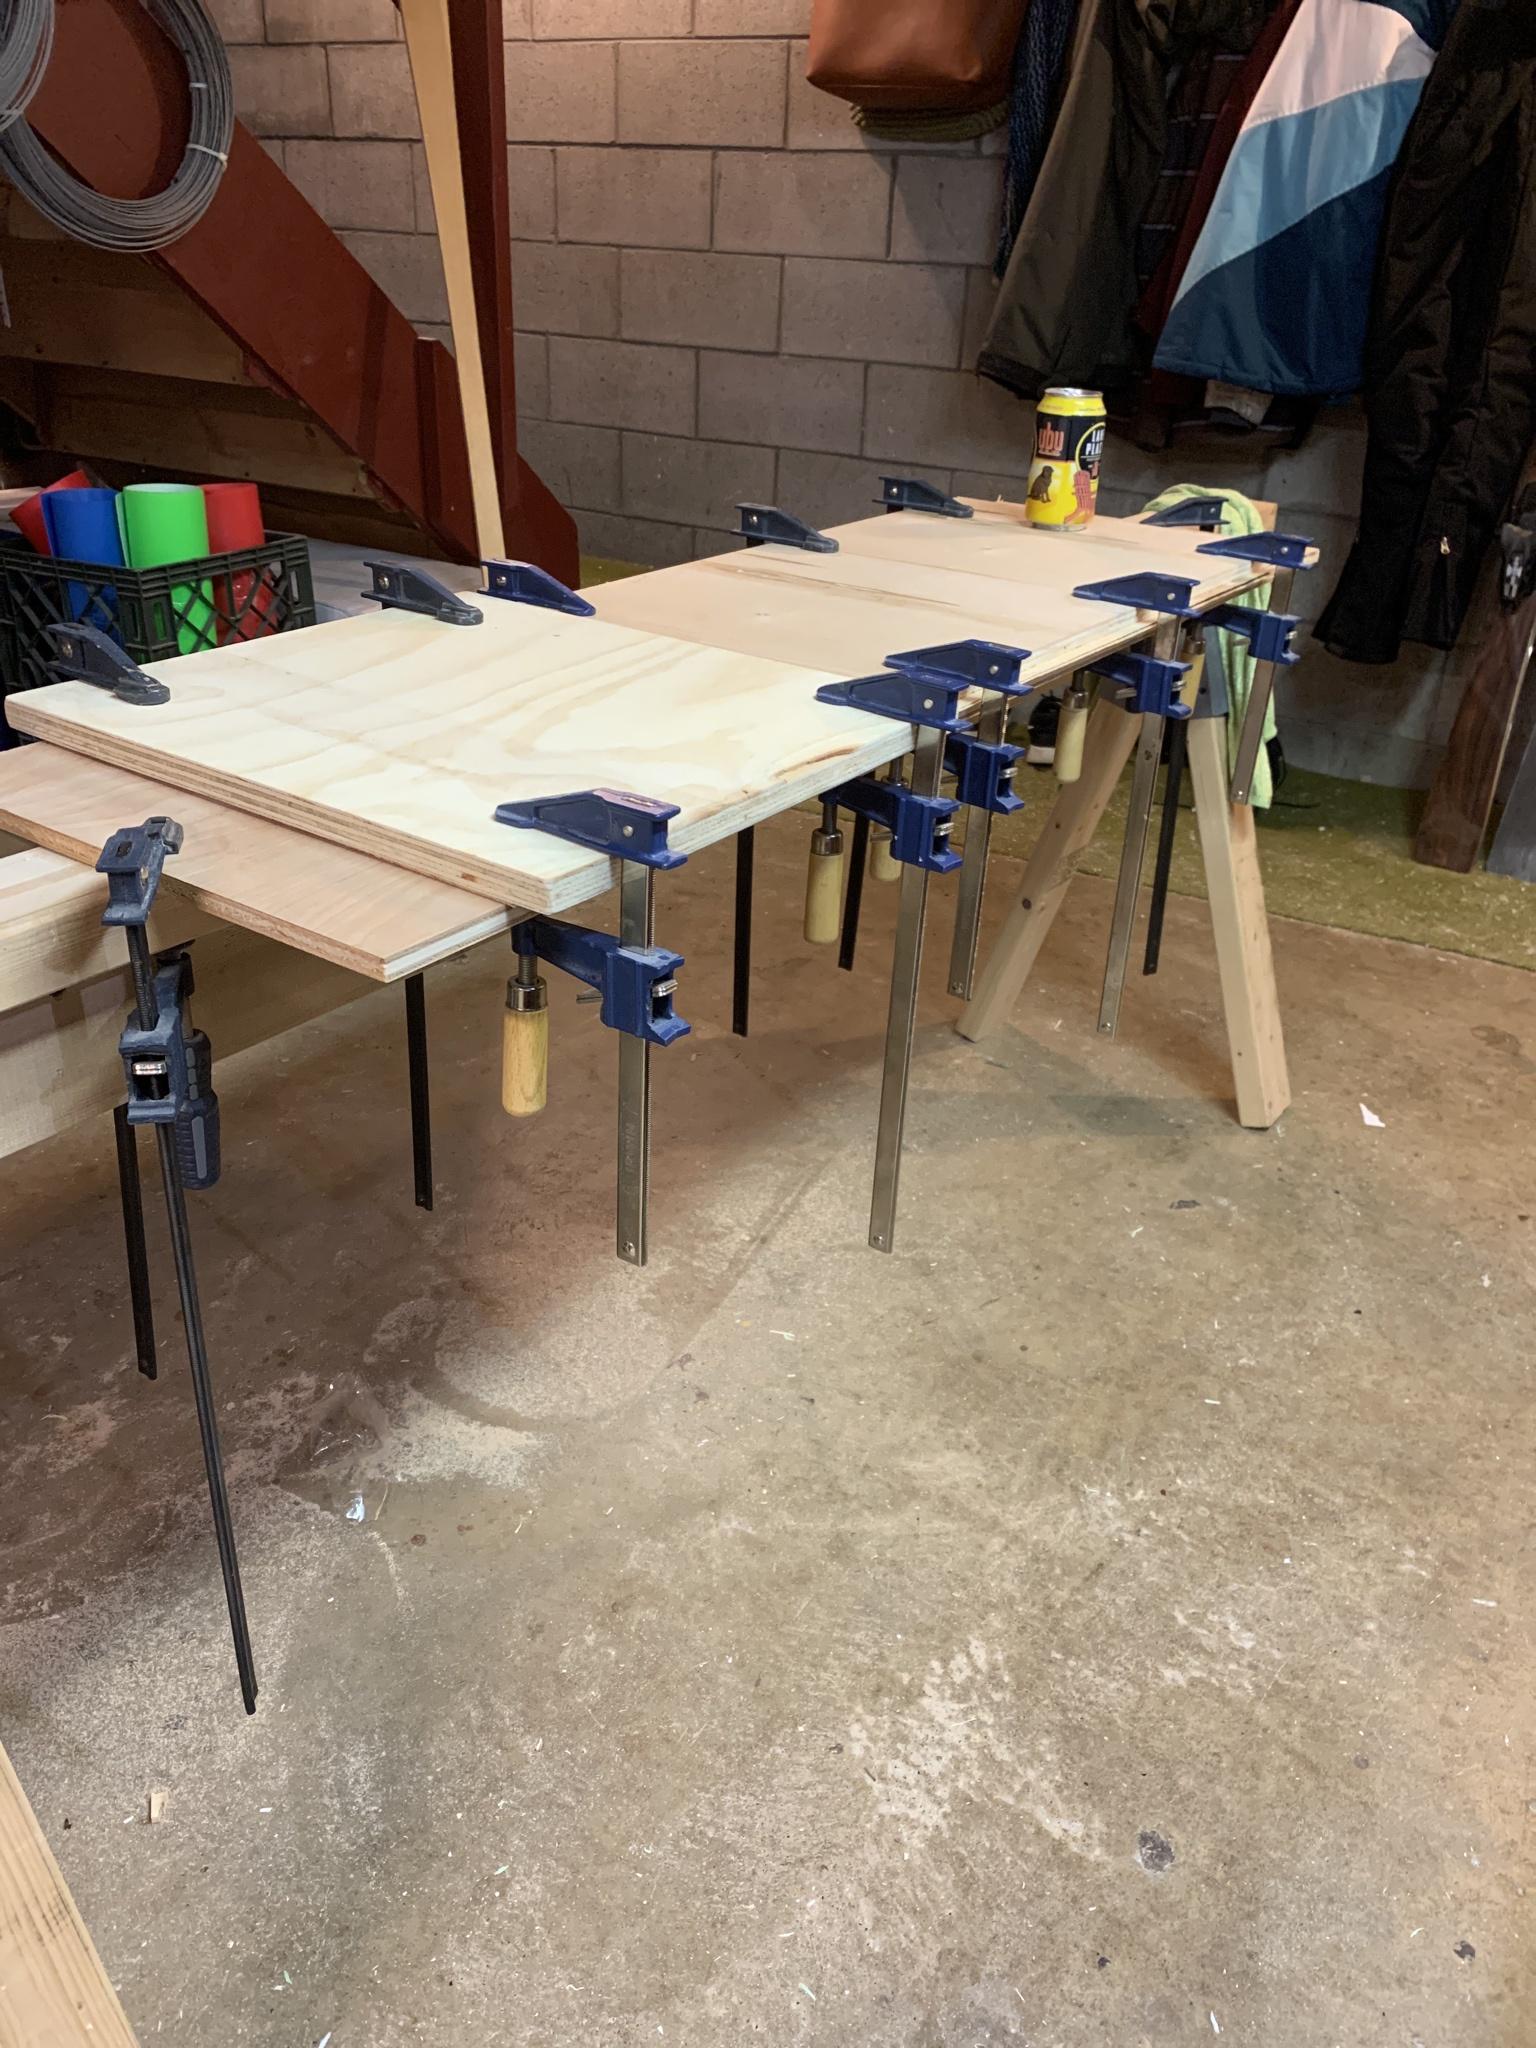
The veneer required 4 days to flatten because it was too kinked to go straight to pressing. I used supersoft from veneersupply to flatten it. (The beer was for extra flattening weight):
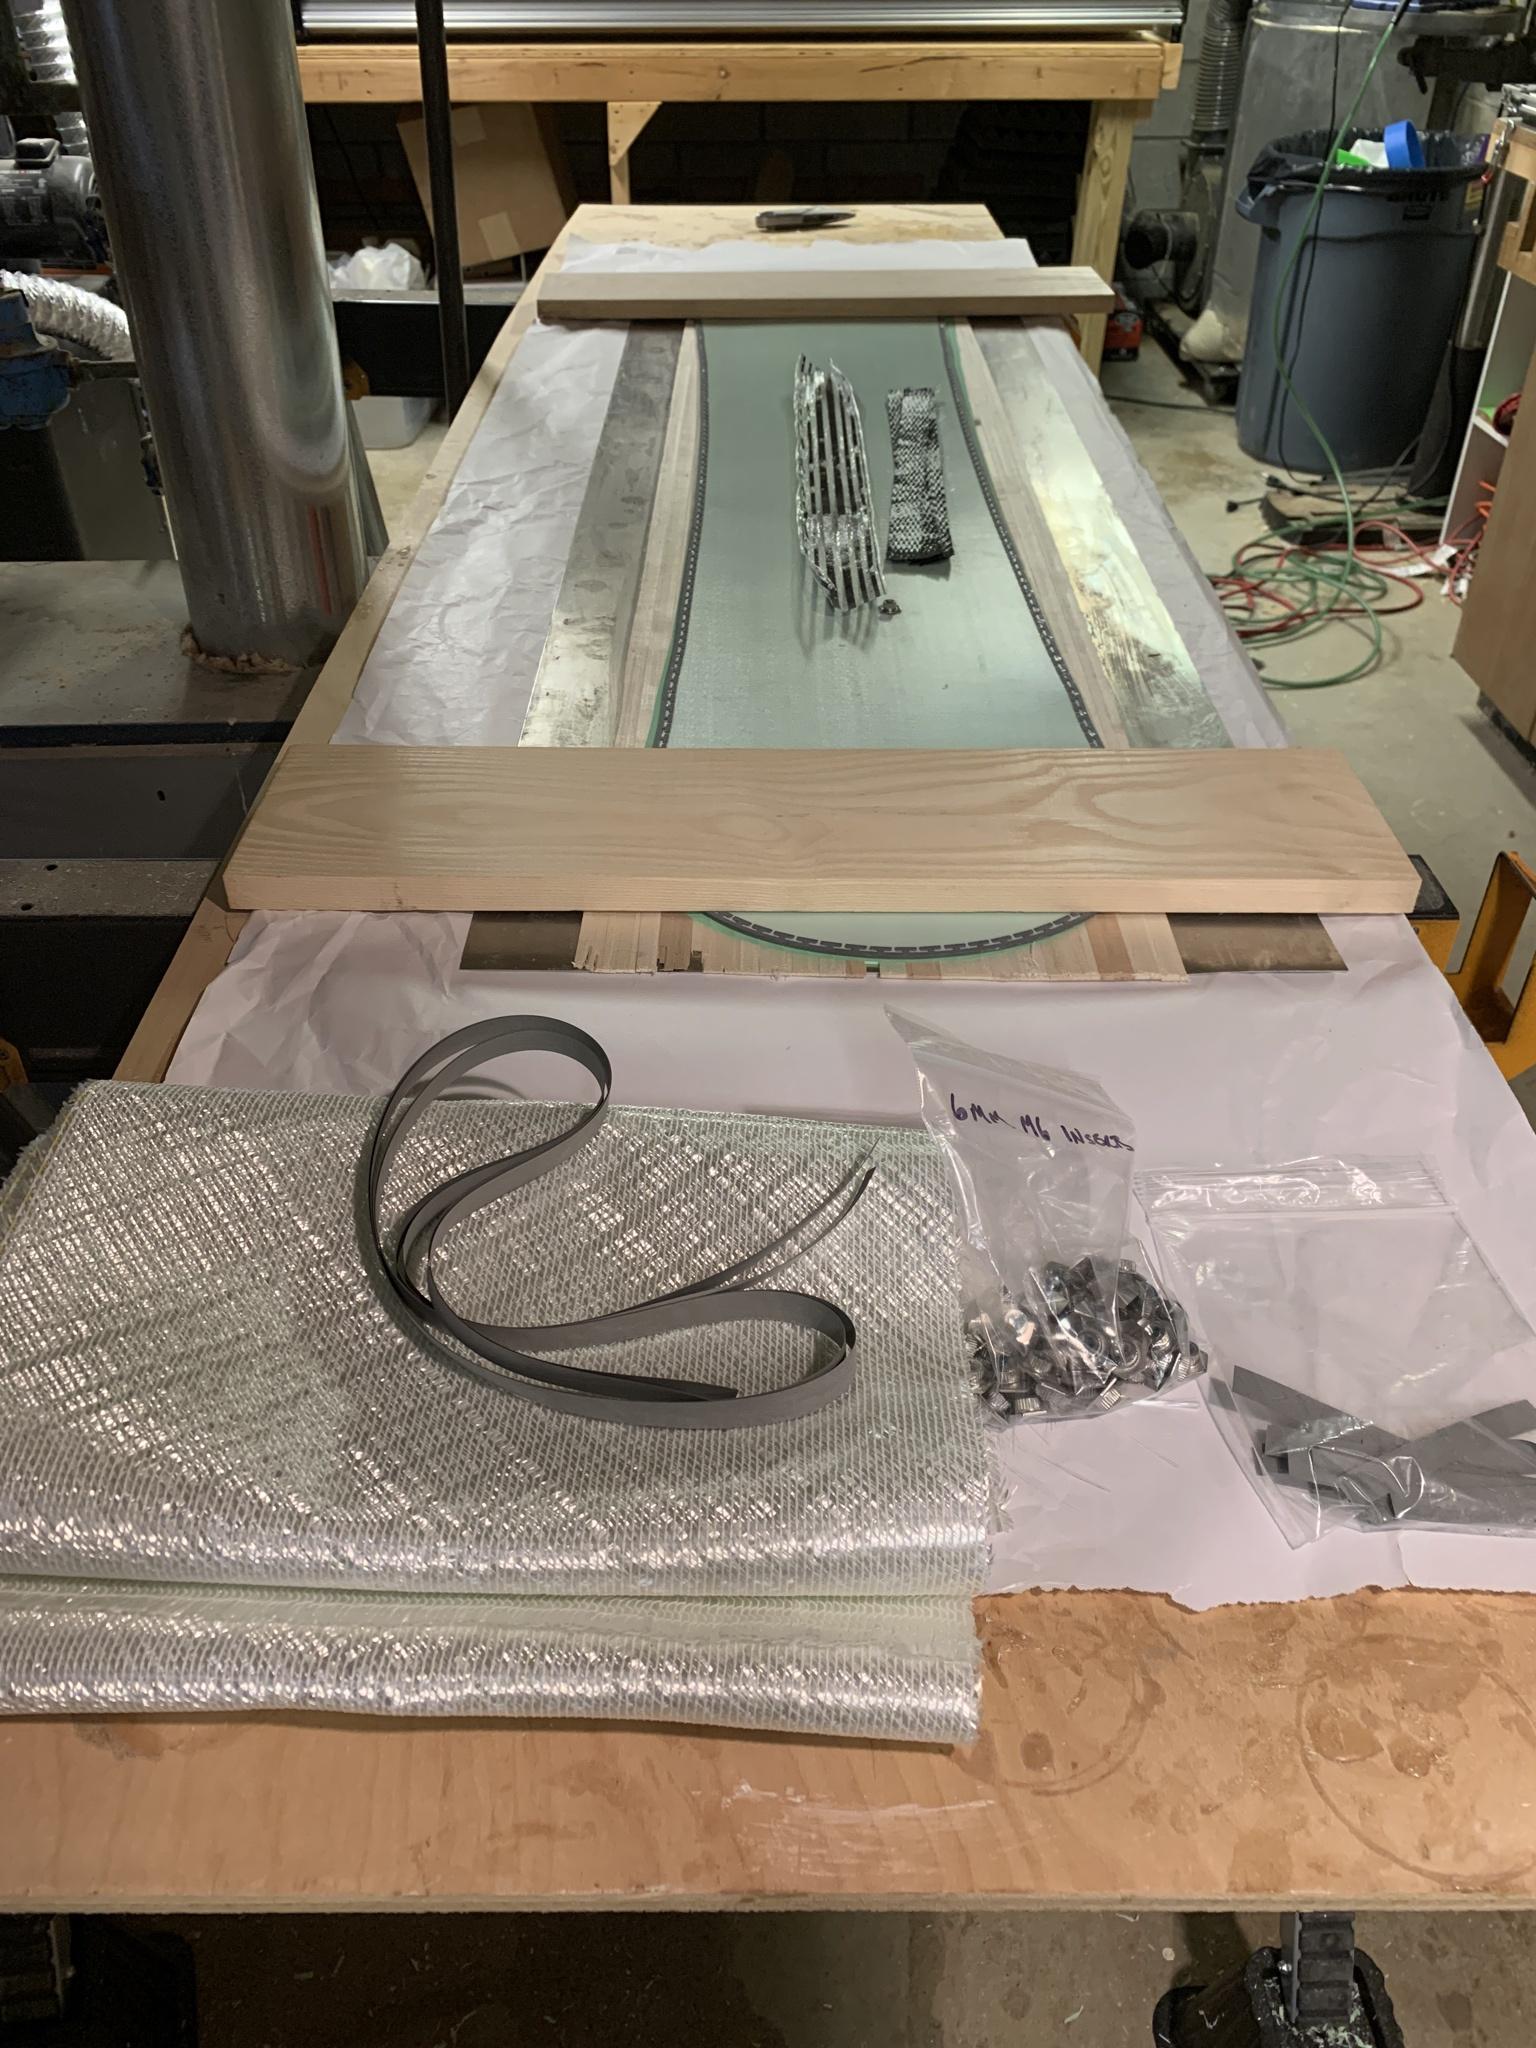
materials laid out, ready to press:
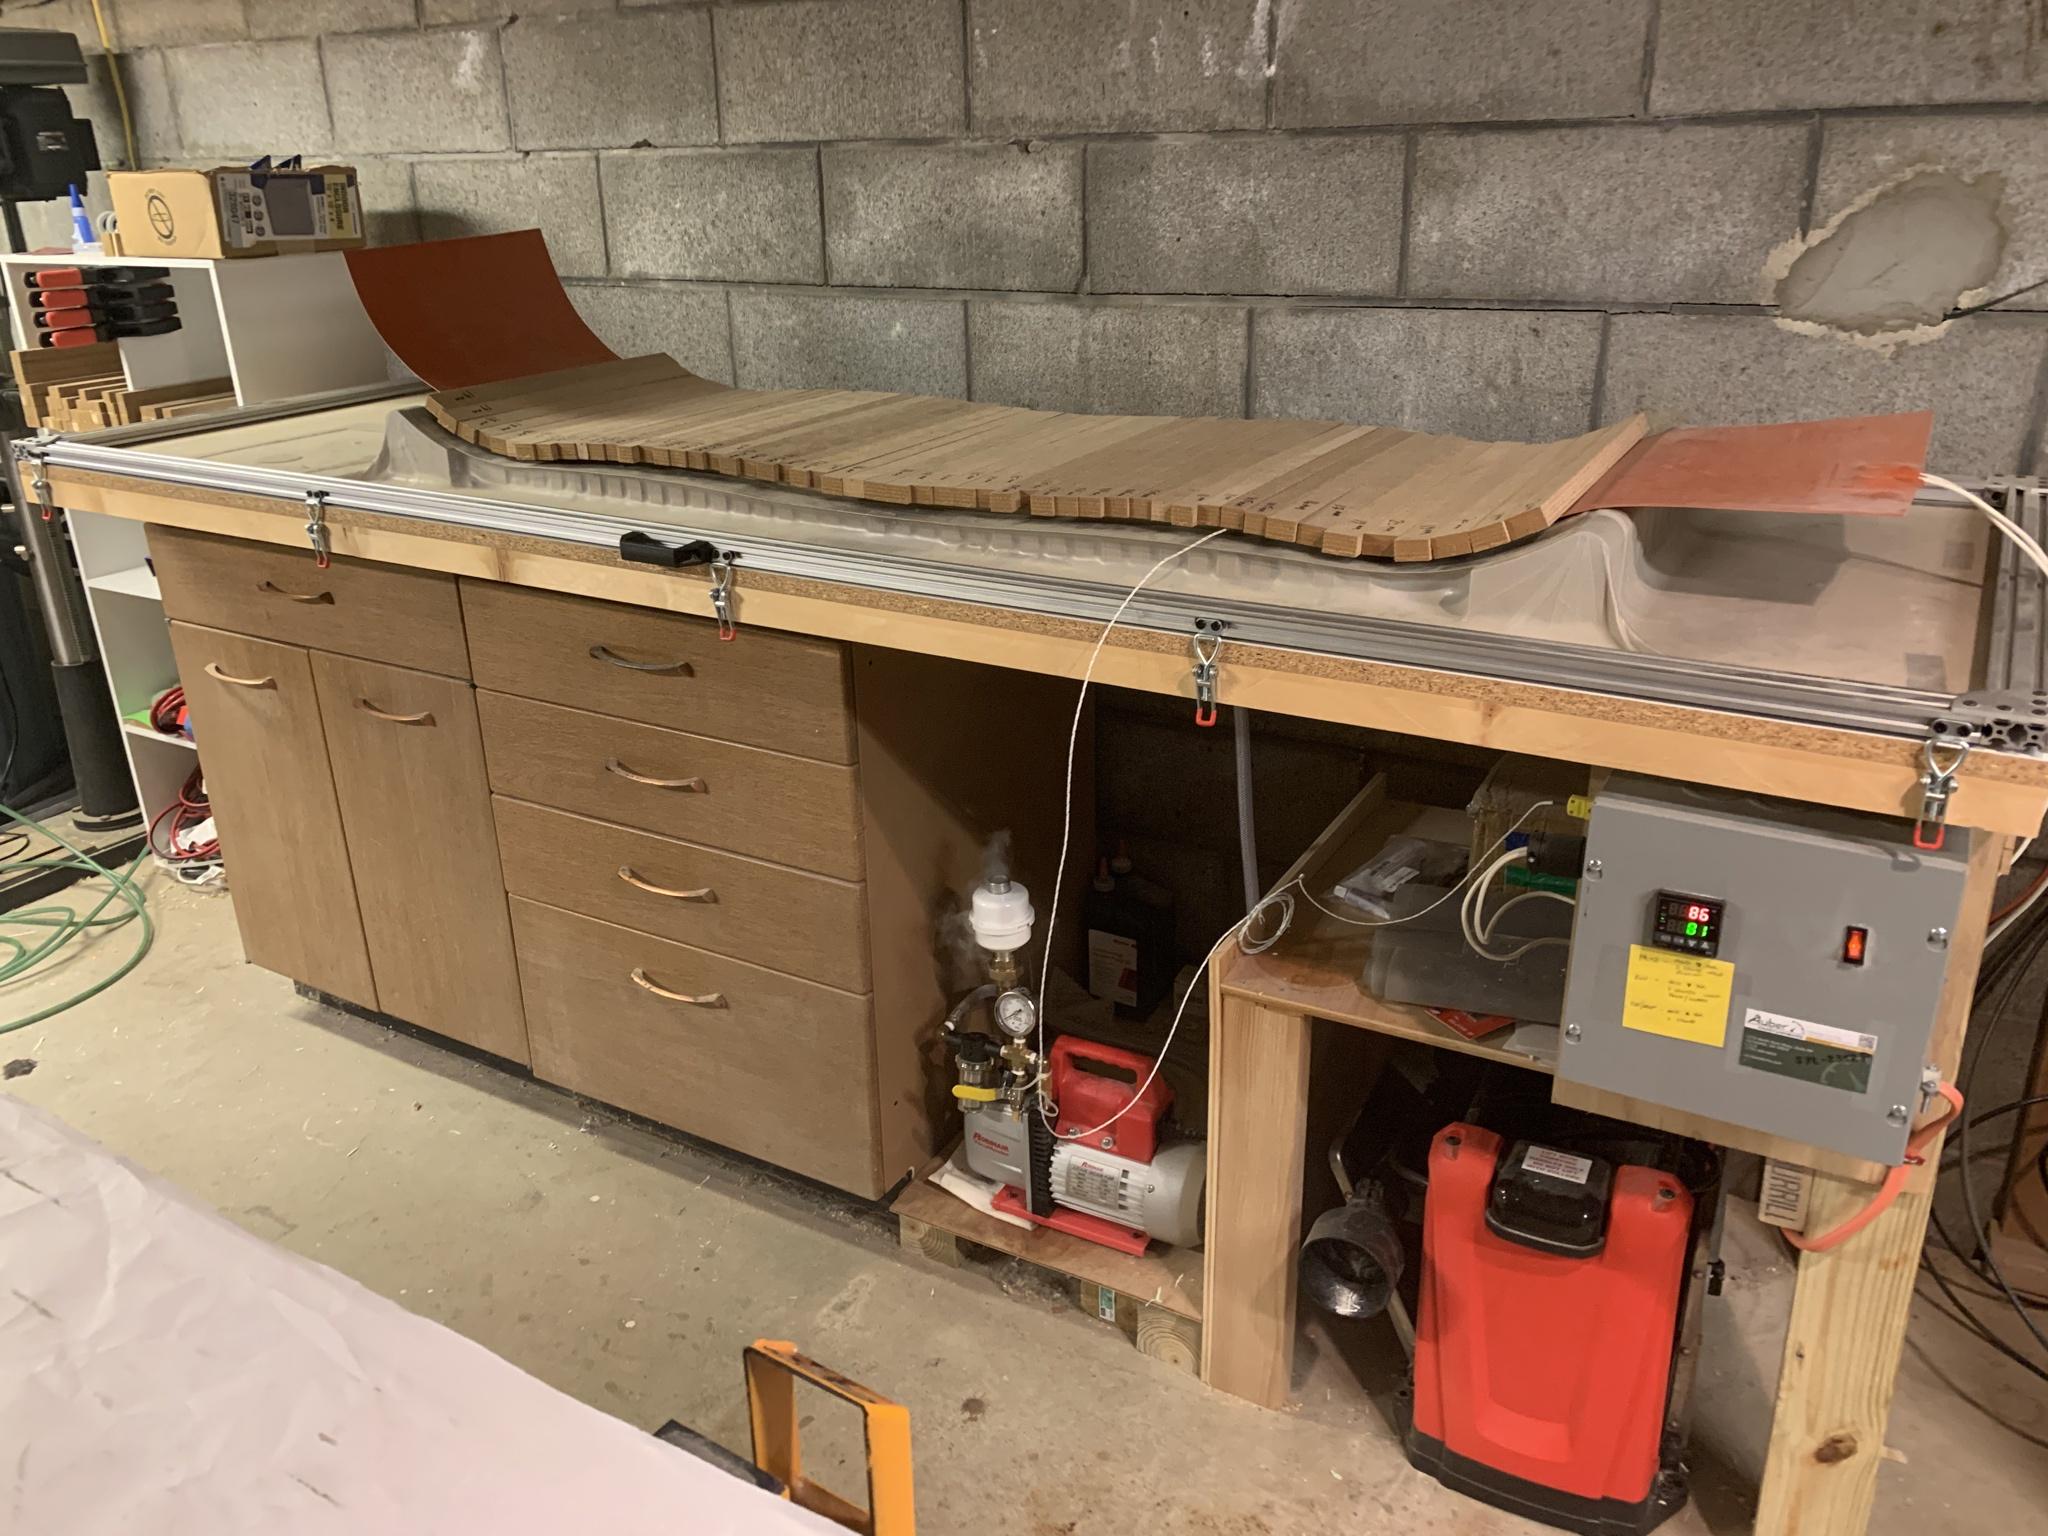
here it is in the press! I need to replace the exhaust filter on my vacuum pump:
The veneer didn't soak all the way through with epoxy so I fixed it with teak oil:
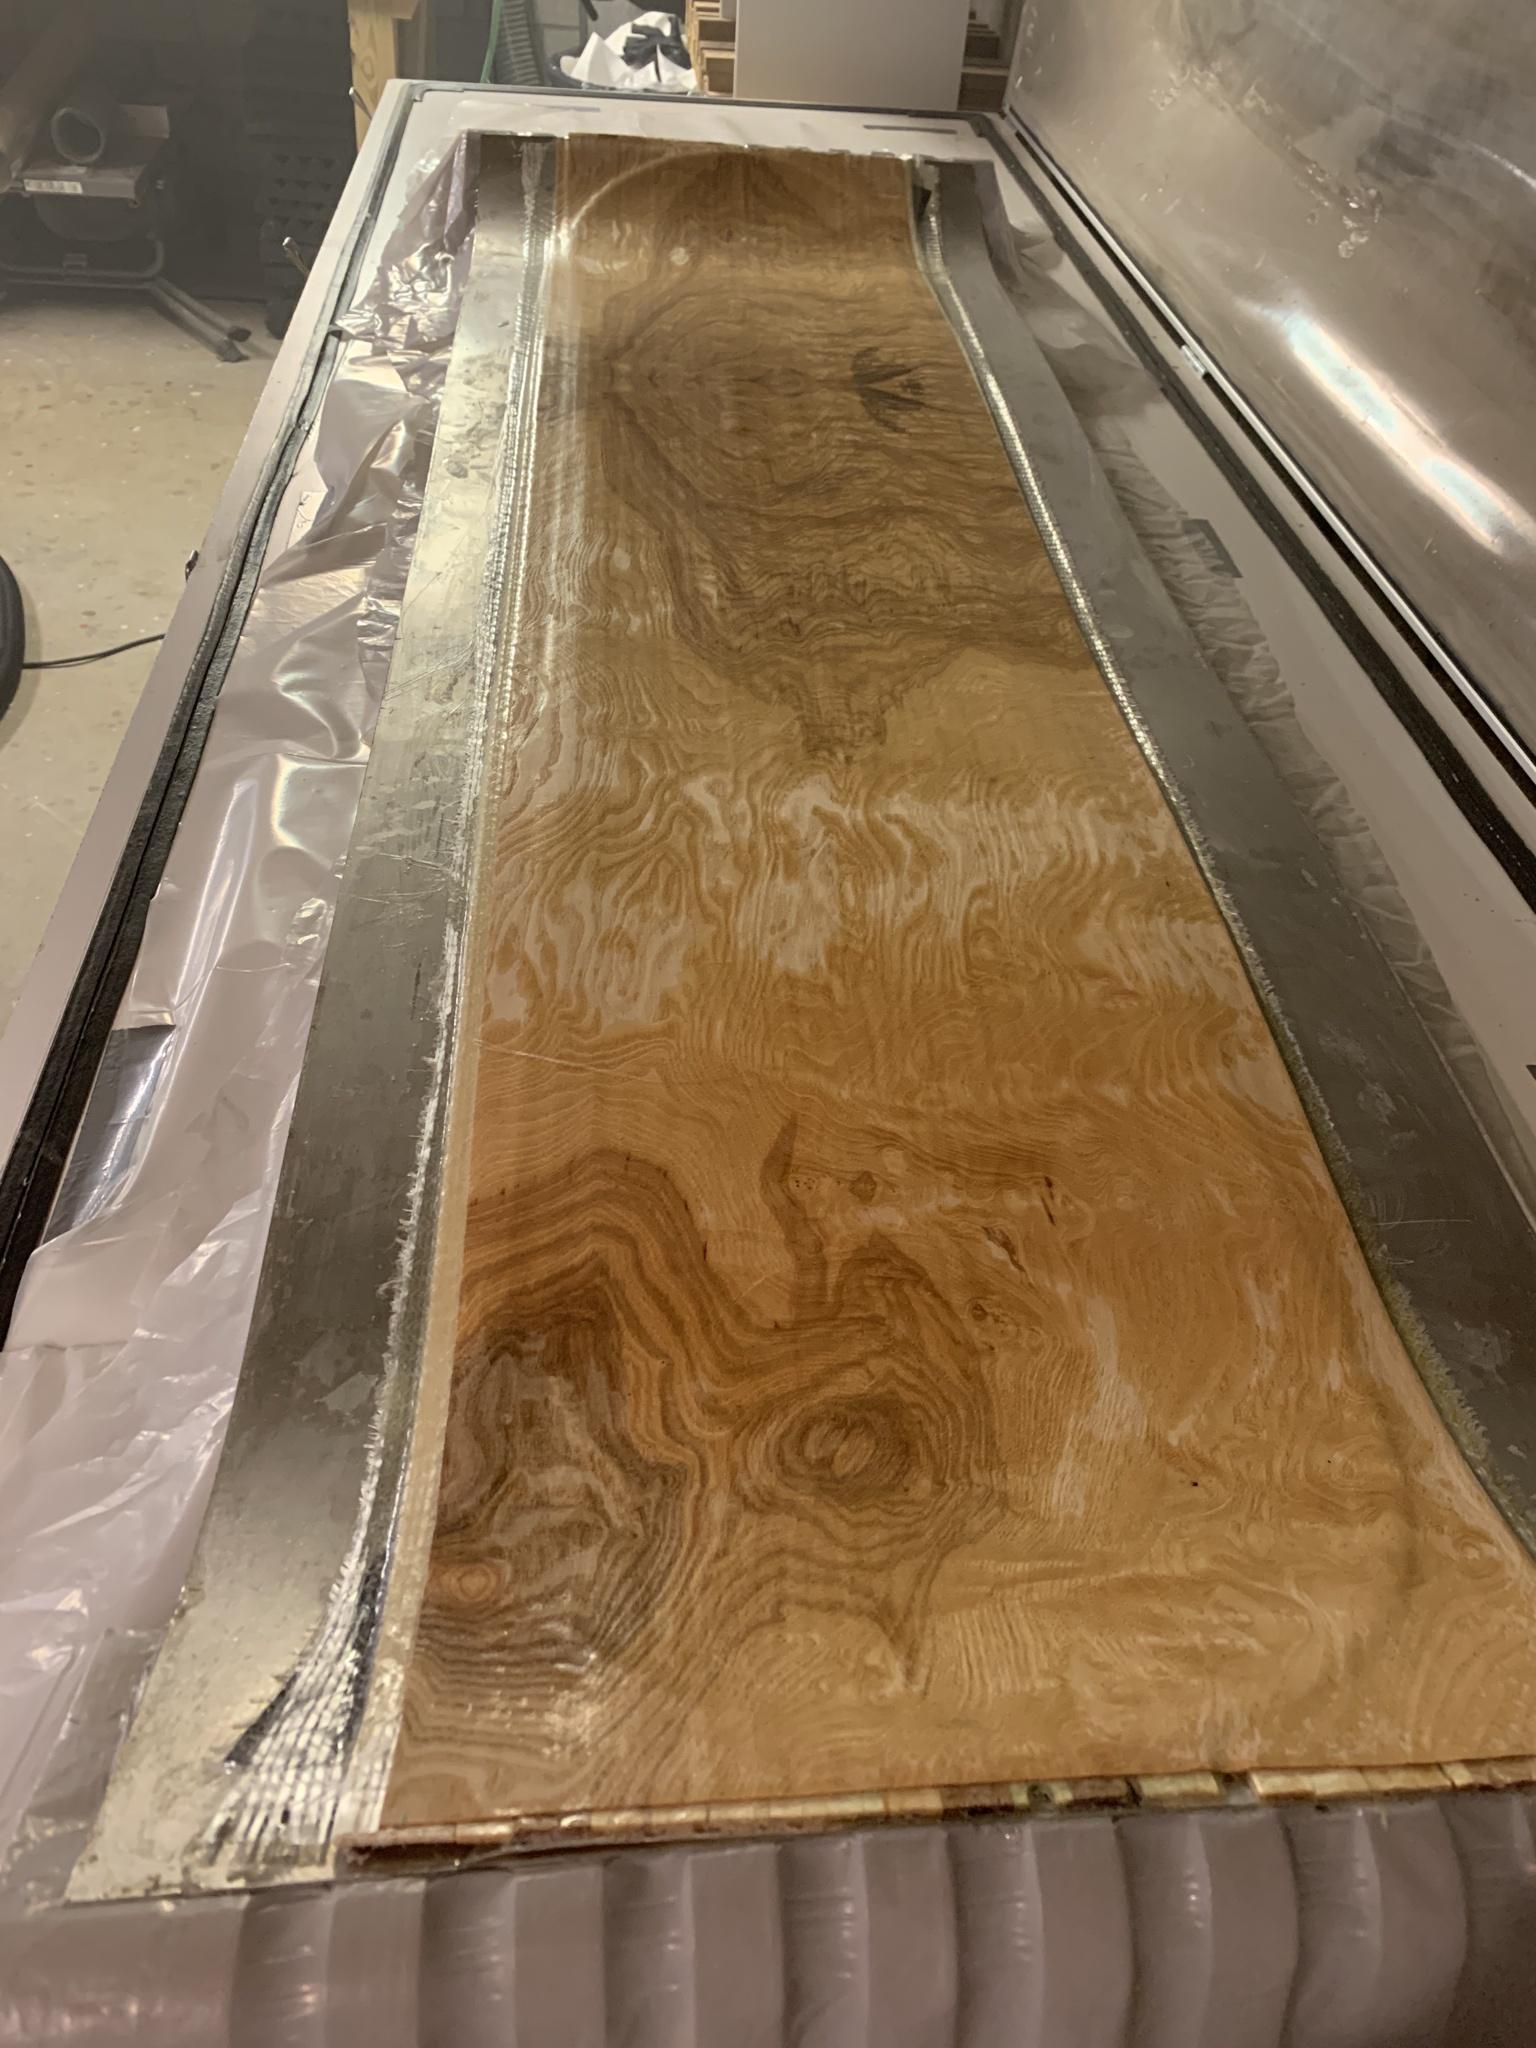
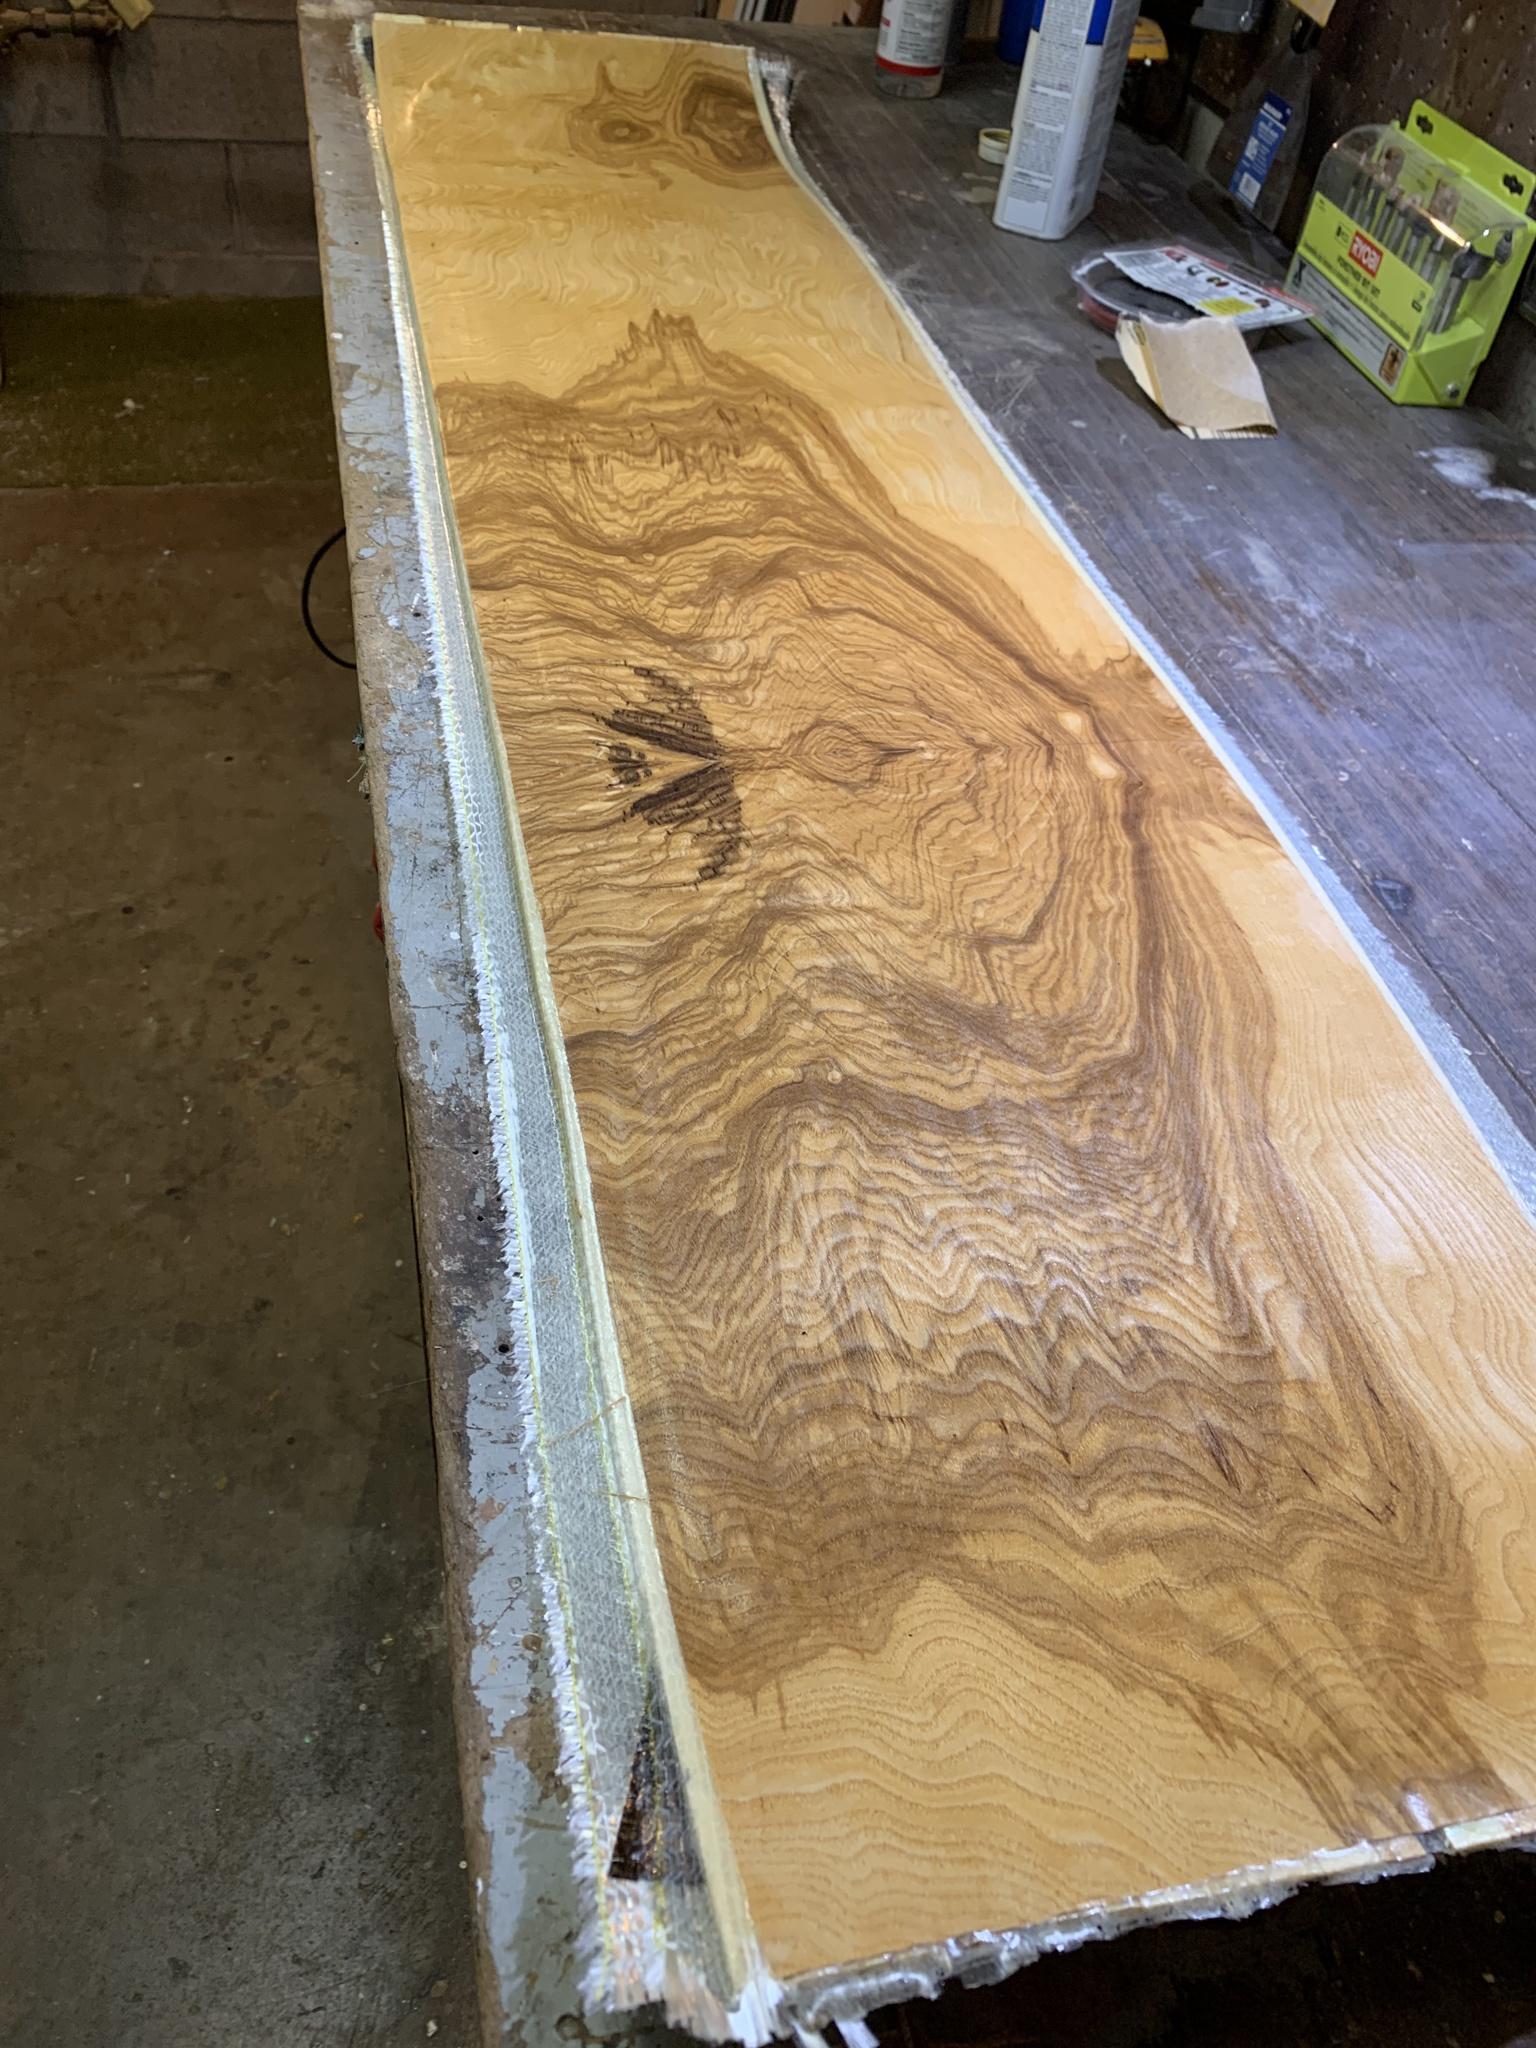
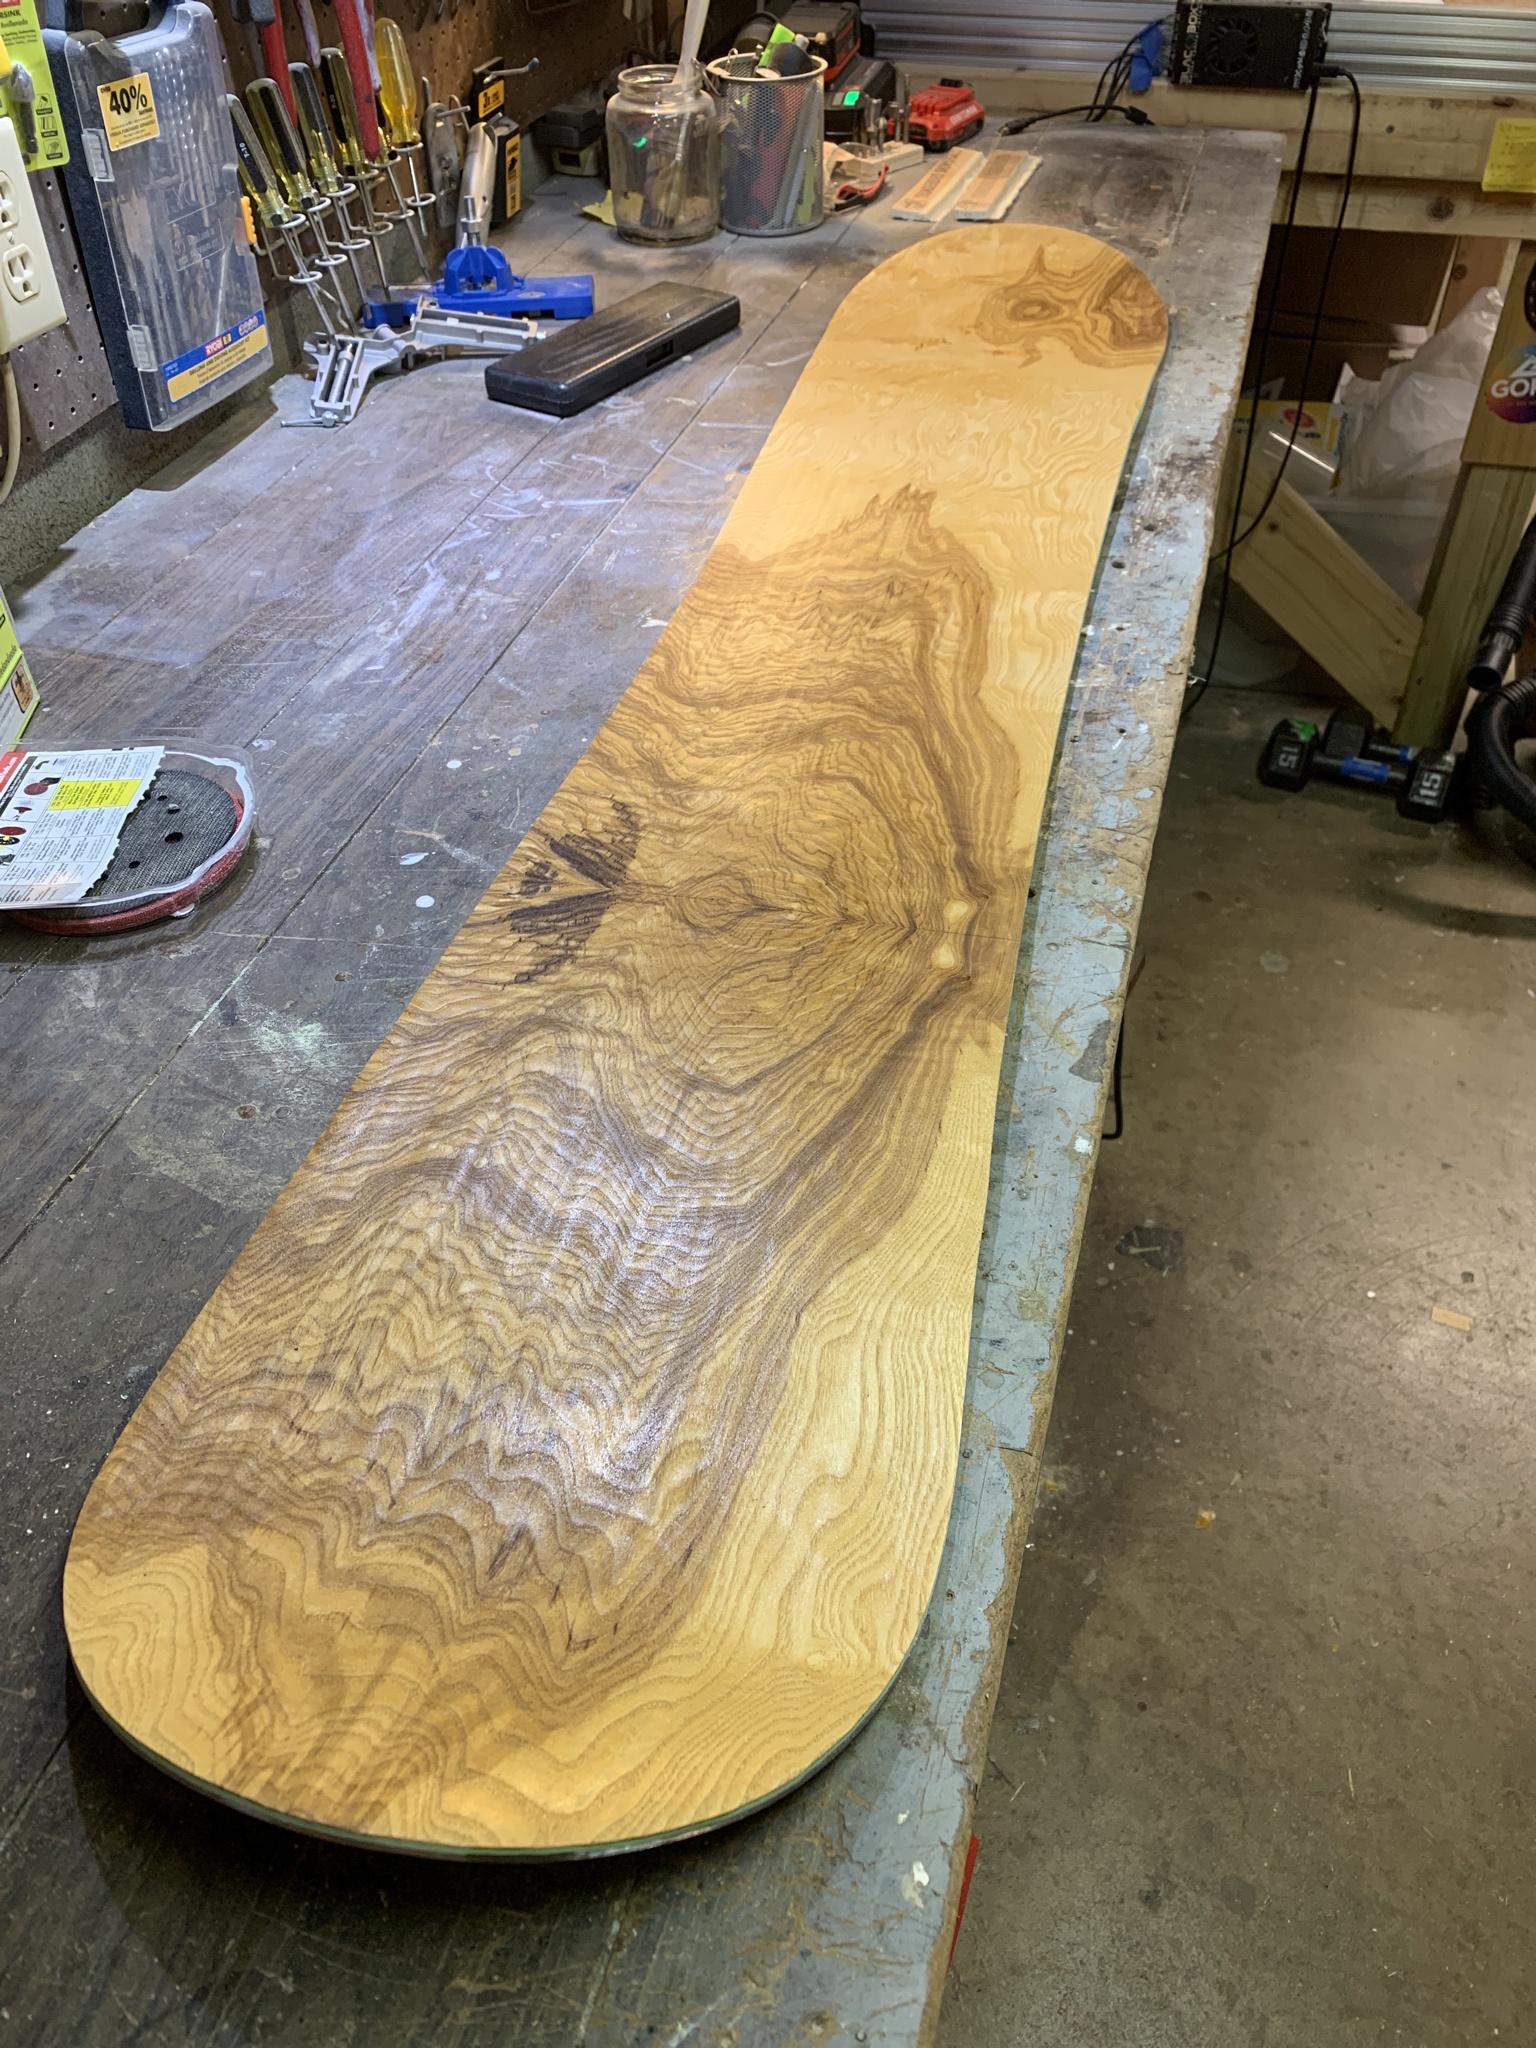
here it is after cutting out and a couple more coats of teak oil:
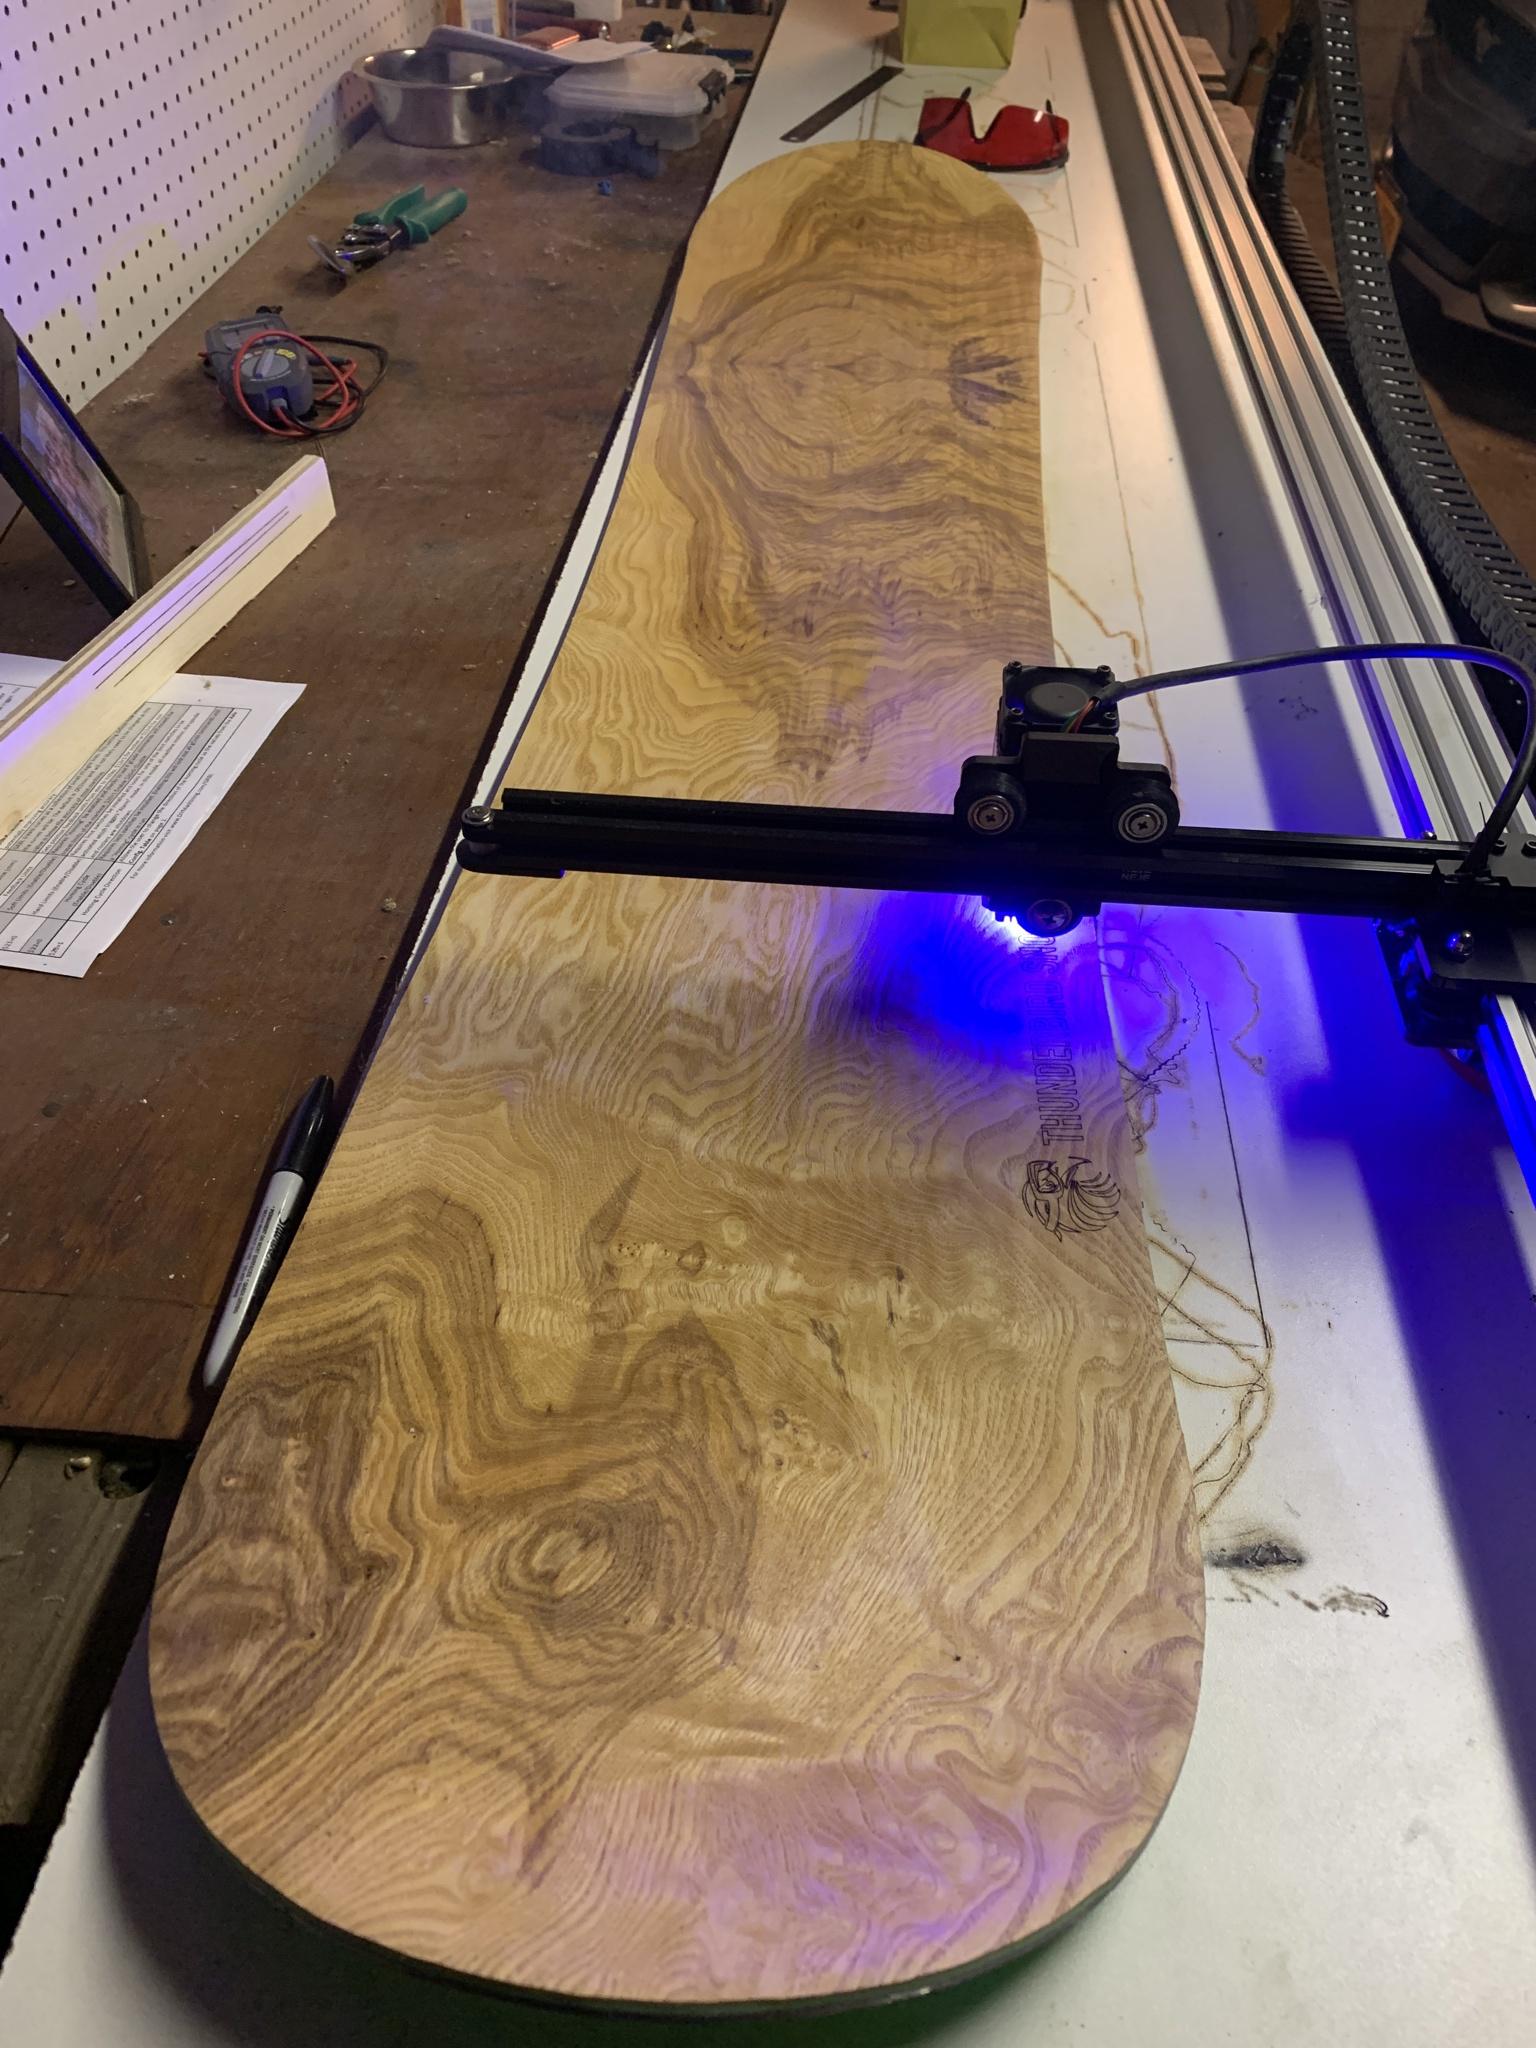
laser engraving:
camber & sidewall shot: (I'm very happy with how the sidewalls came out this time! I finally routed them without accidentally gouging the board/ski!!!
)
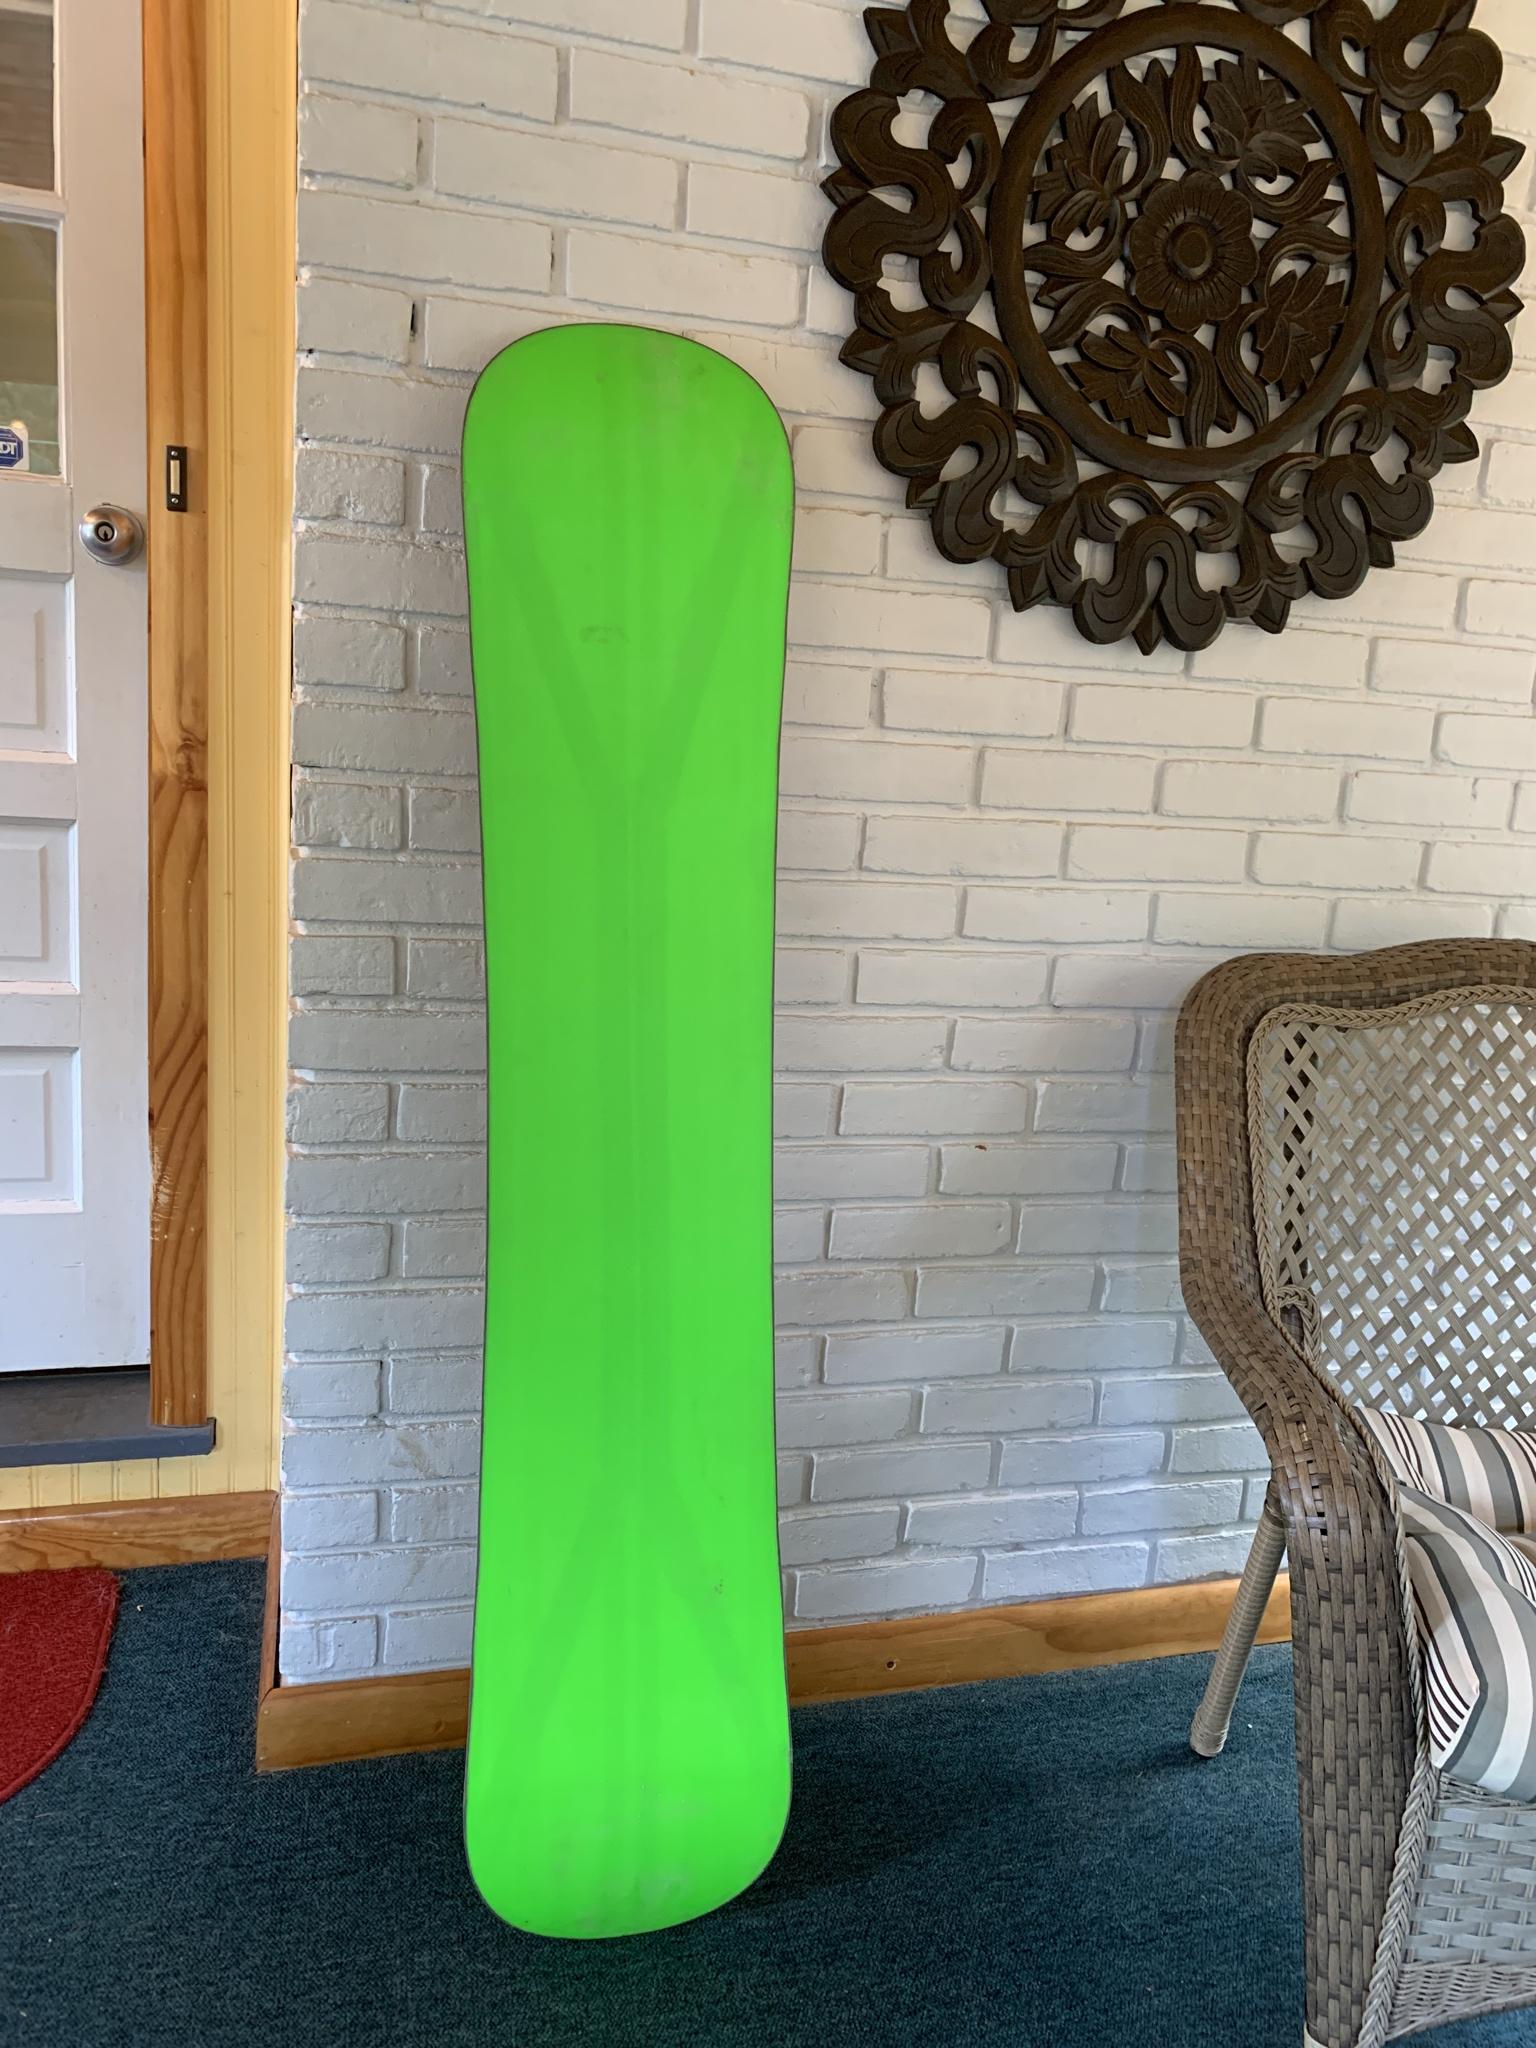
some finished pics. the only thing I'm not crazy about is how much of the insides you can see through the base - I think next time I will have to try whitewashing the top of the base material before pressing.
I used magnetic inserts for a couple of them so that it was easy to find with some metal powder.
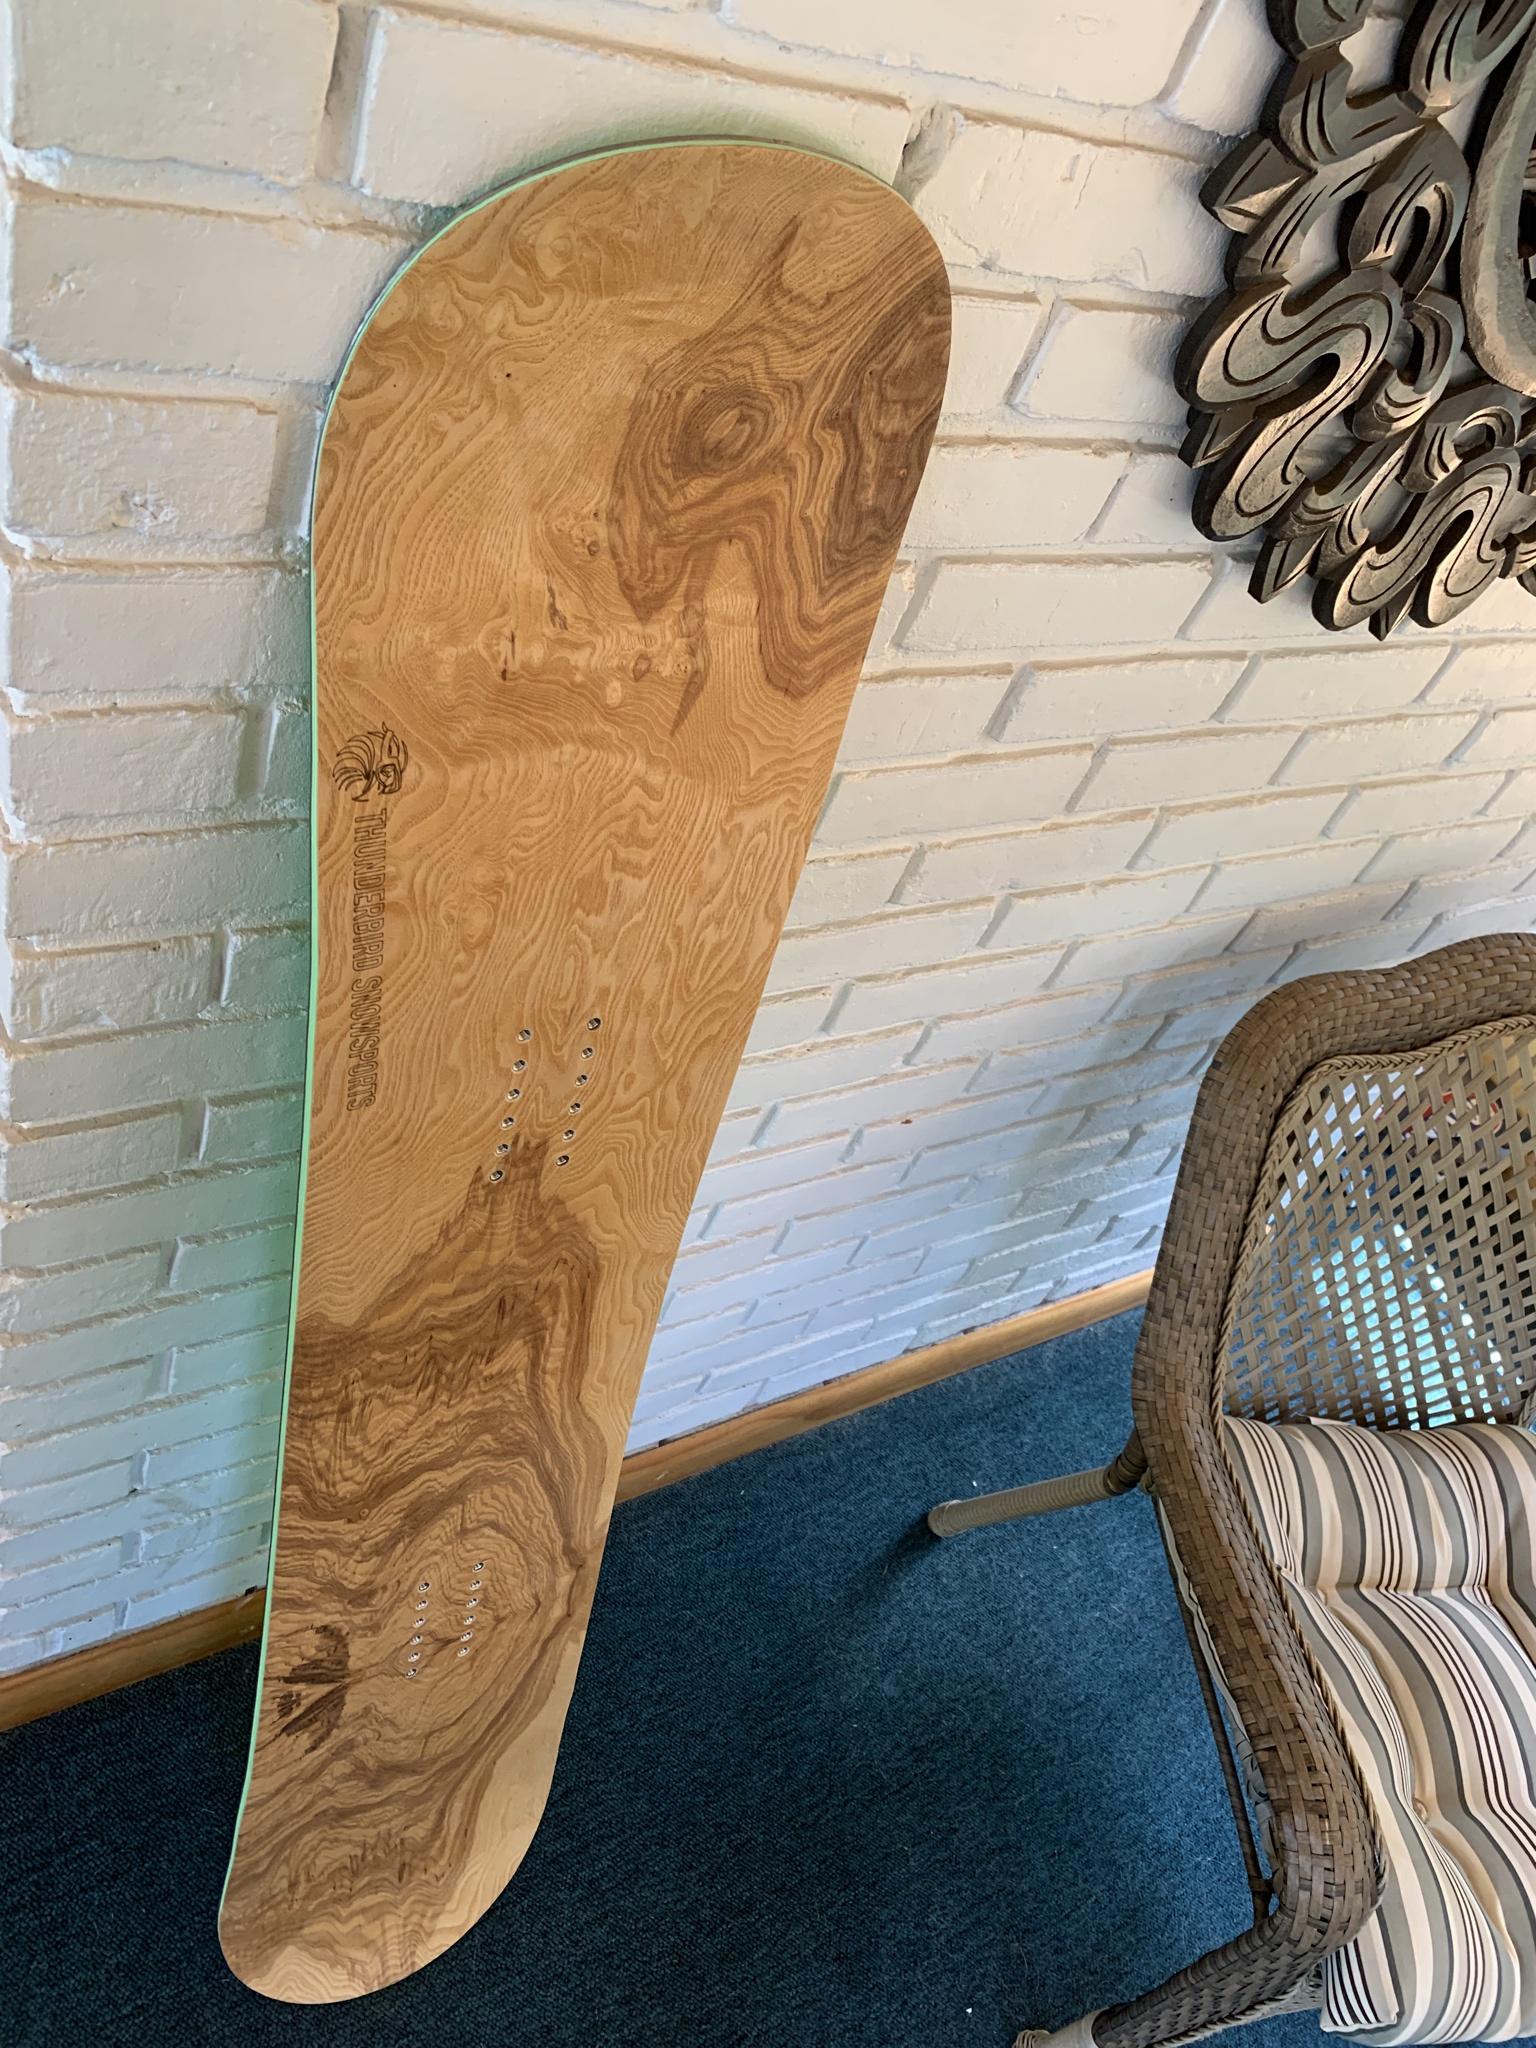
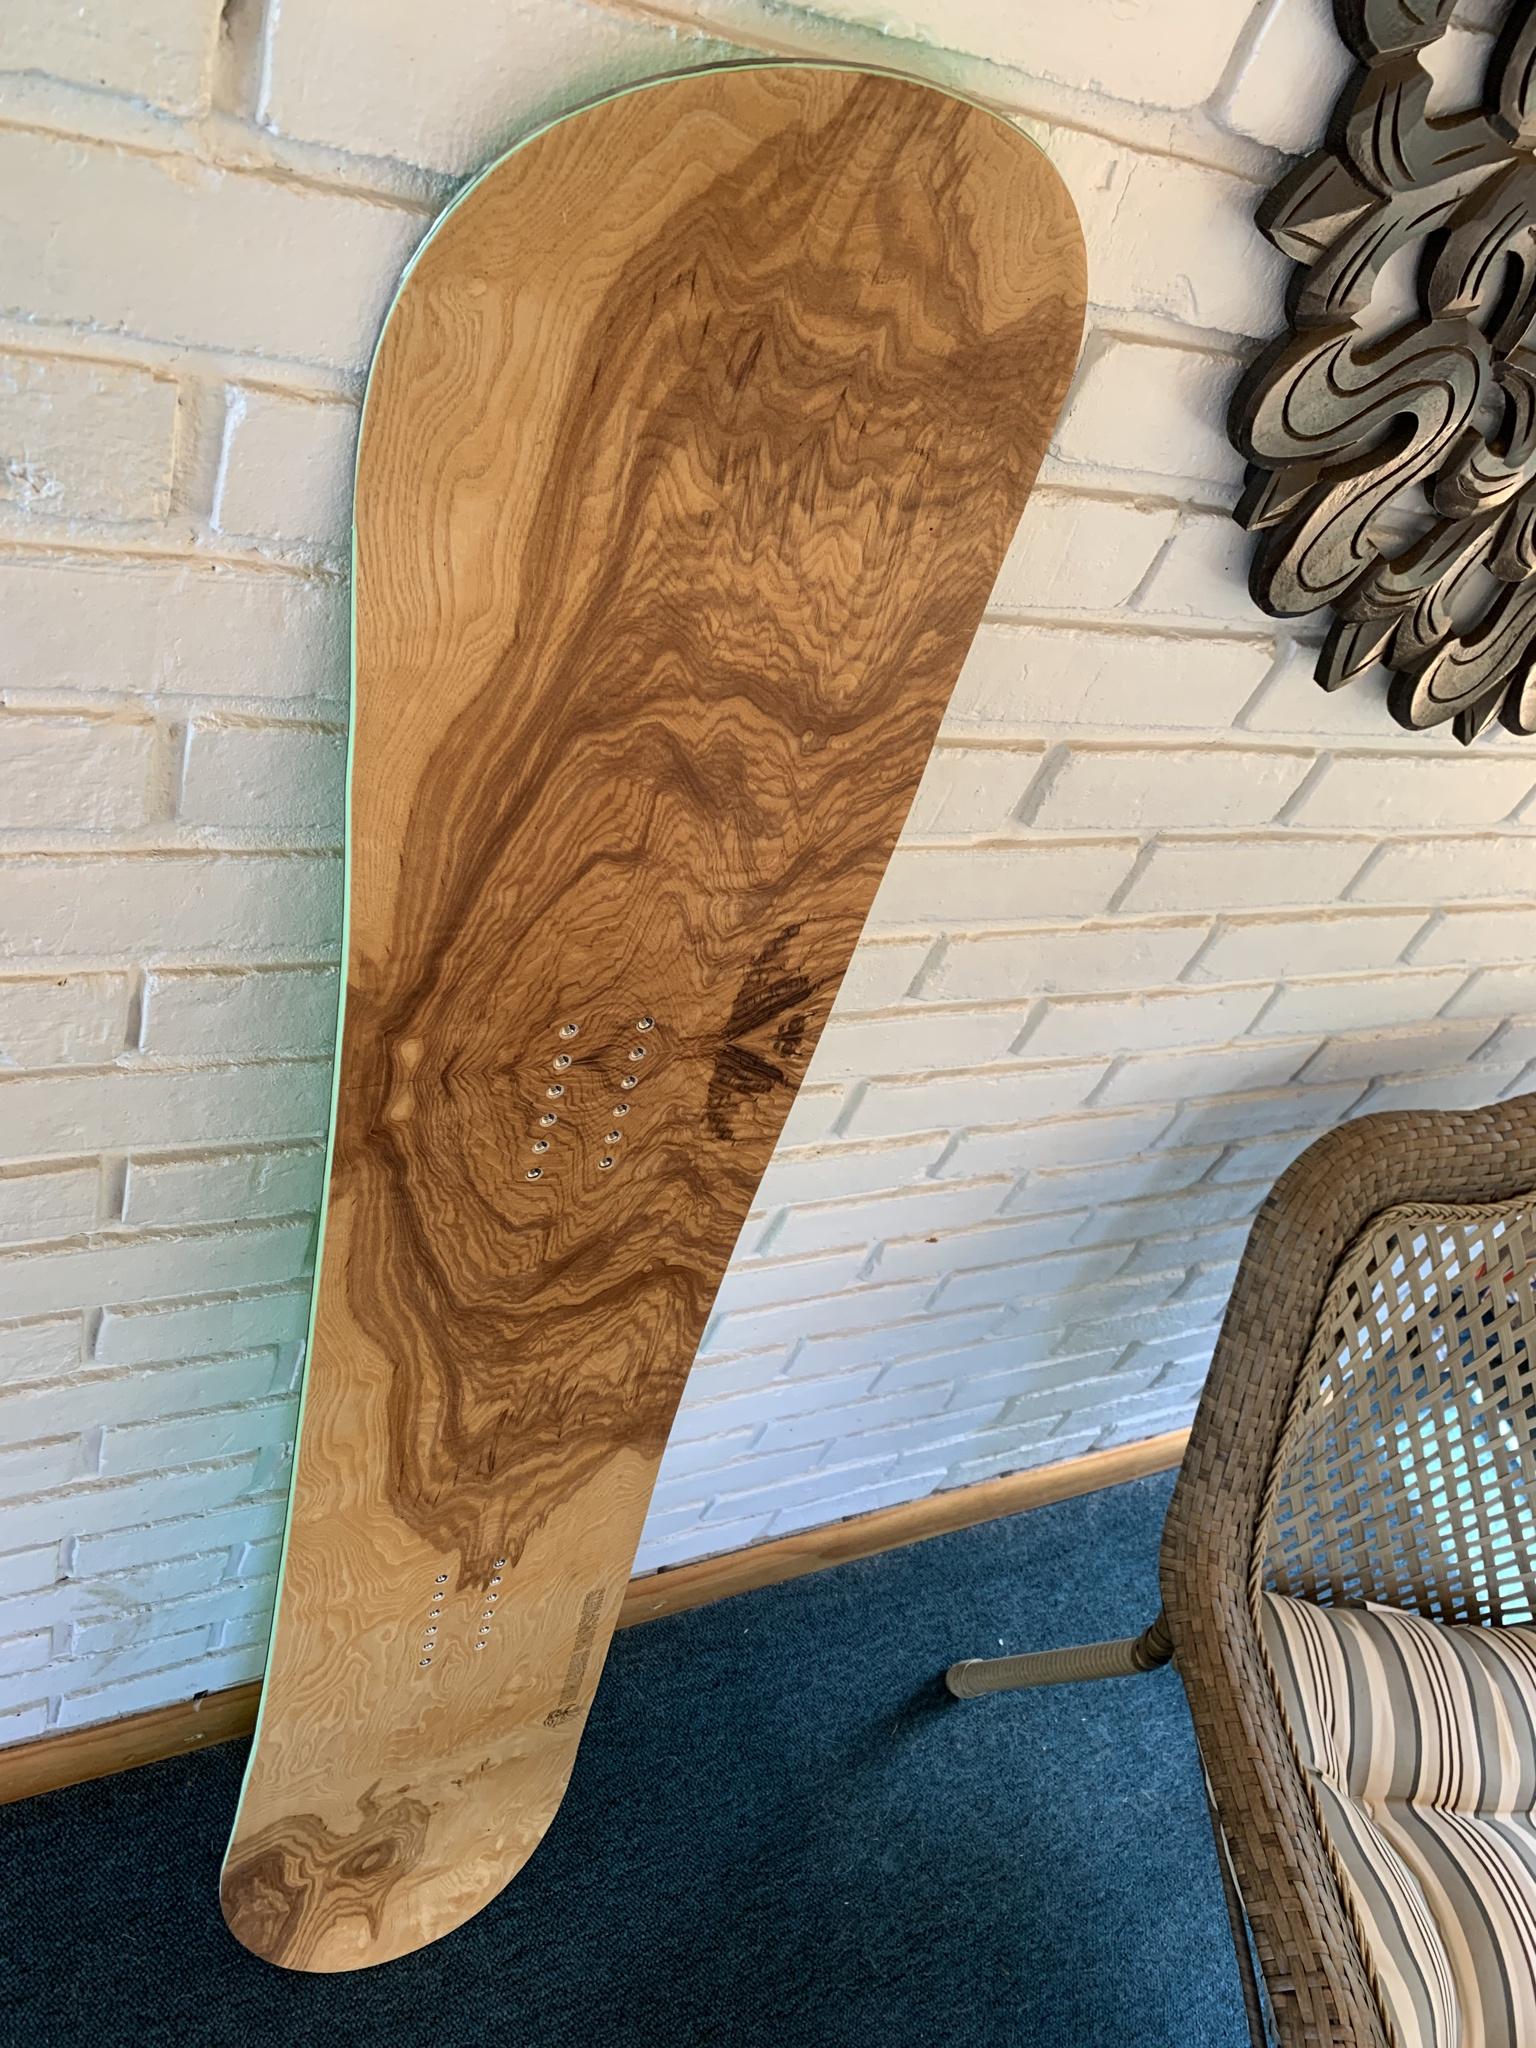
and that's this build! I feel like I'm really getting the hang of this!
mattmanWed Jun 08, 2022 3:53 am
It came out great - congrats! Your vacuum setup looks really nice. With the frame open, what is the film that appears to contour over each rib?
JonrezzWed Jun 08, 2022 3:43 pm
Thanks! That's just a couple layers of standard 3.5 mil plastic from the hardware store painting section - The epoxy squeezes out the end of the board and runs into the channels under the aluminum cassette between the tip and tail blocks, so the plastic just protects the camber mold from getting epoxied together. I reuse the plastic when I can because the epoxy peels right off the plastic after - I just need to check it carefully for holes each time. A couple builds back I had a hole in the plastic and had to recut a couple mold sections that got stuck together.
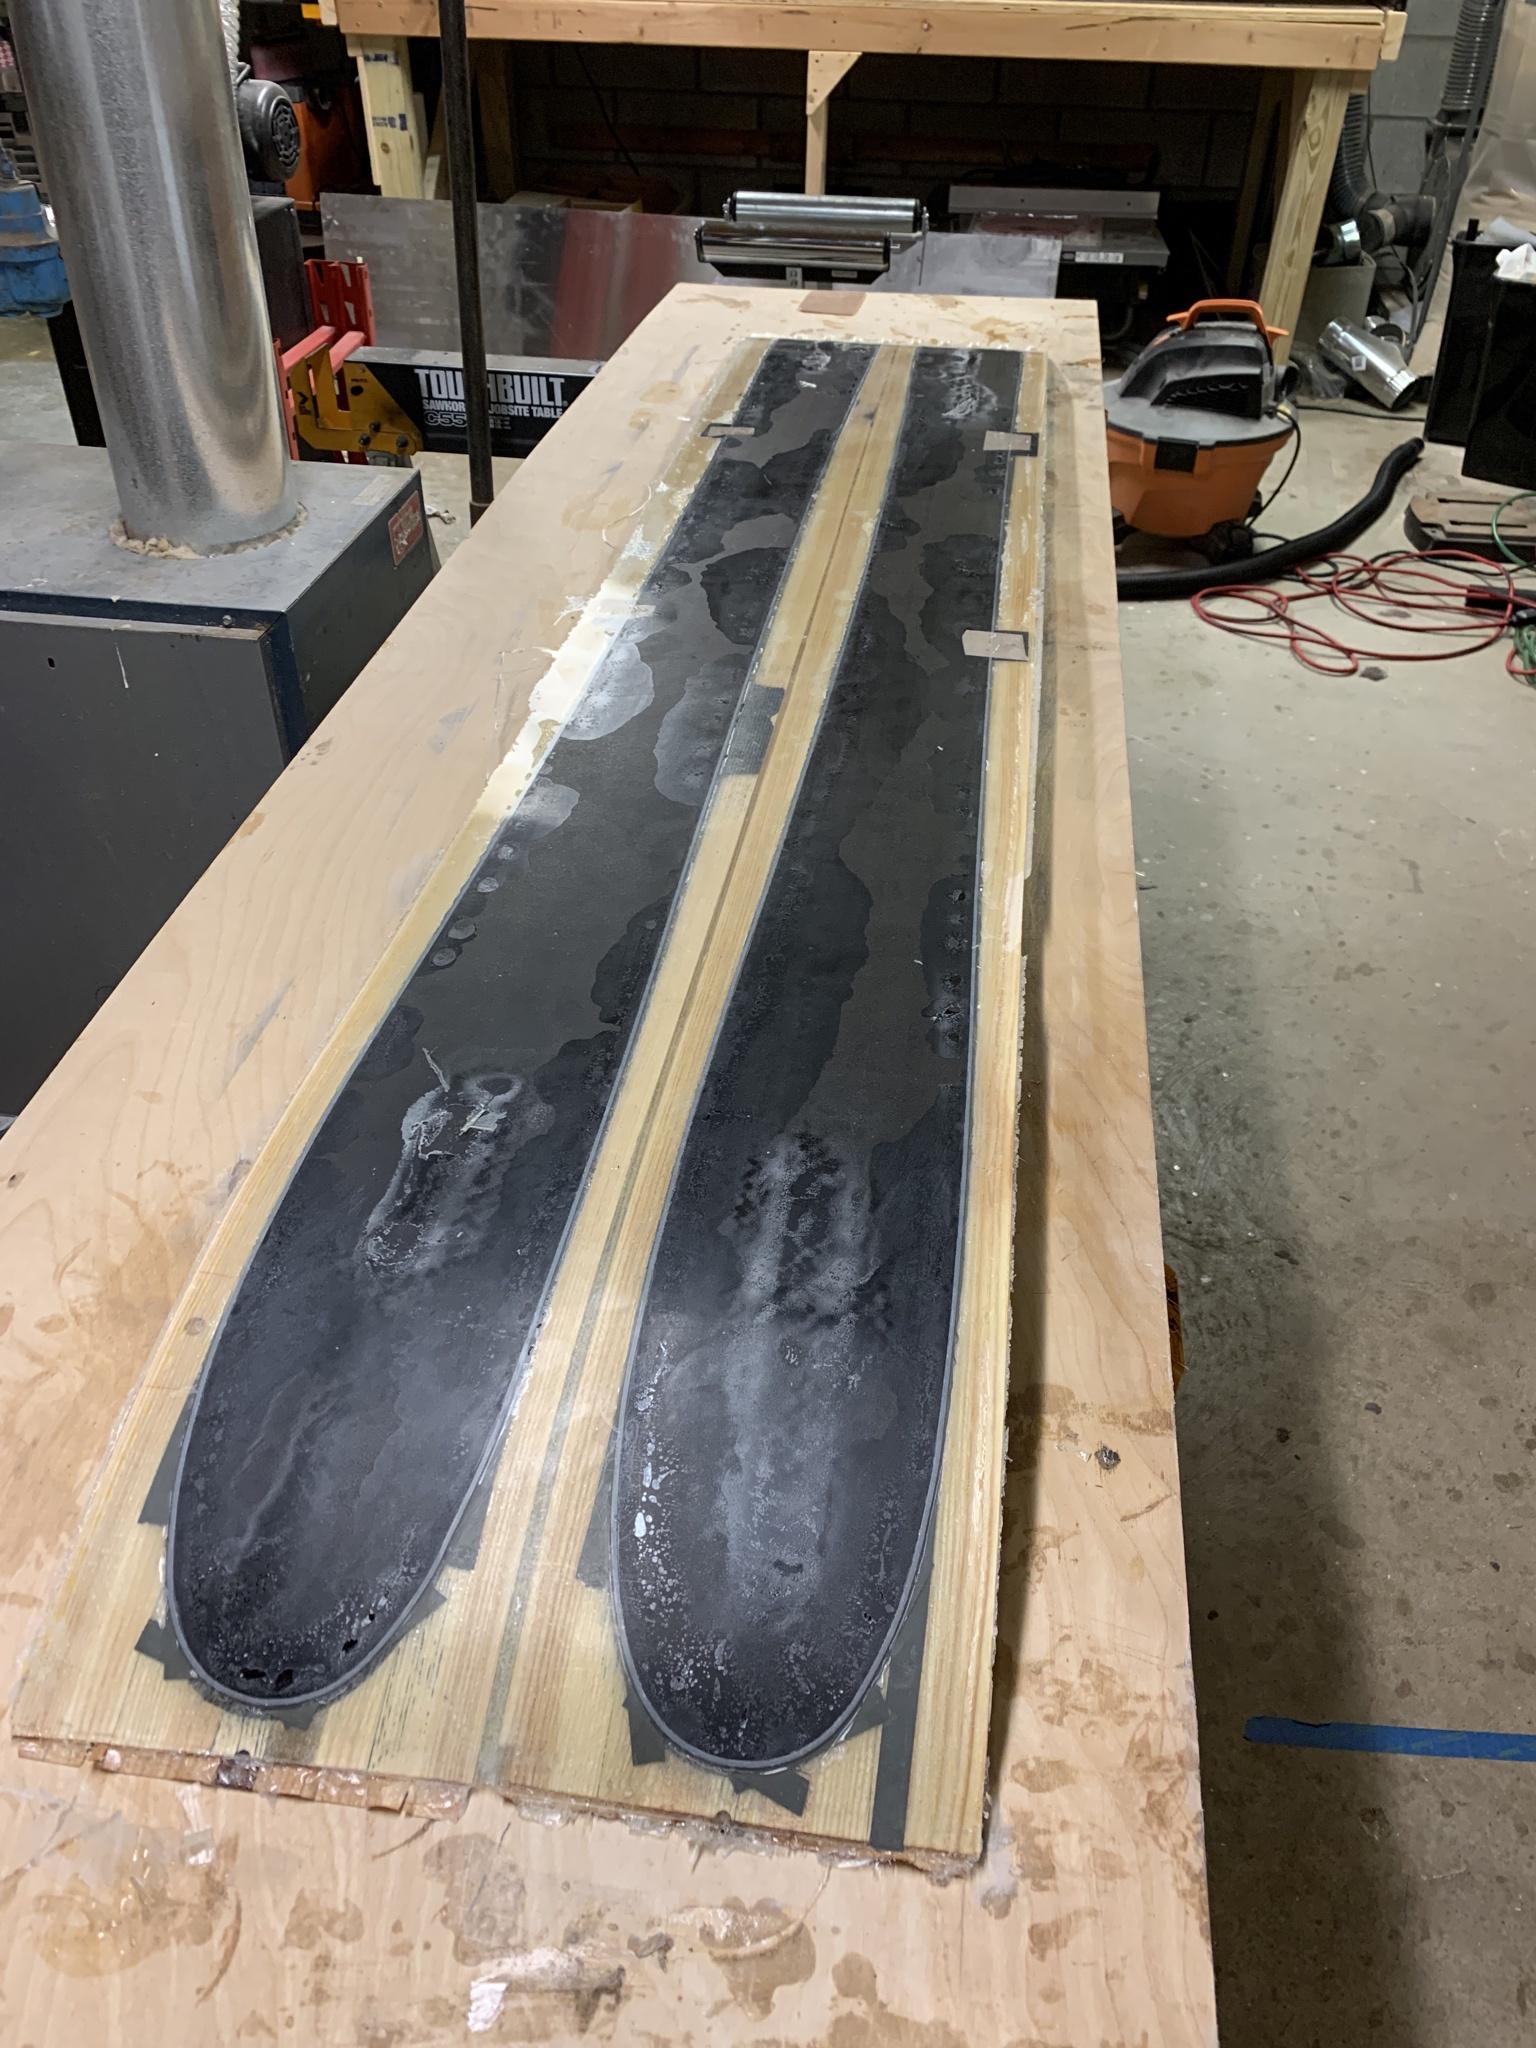
here's what the bottom of the cassette looks like after a press:
24DaveMon Jun 13, 2022 9:56 am
thanks for posting. I have some veneers that resist perfectly flat laminations with vacuum bagging. I have a question: with the supersoft product are the veneers dry after being pressed? I was wondering if lamination strength would be compromised if the veneer was saturated with this softener.
Do you press the veneer with absorbent layers when flattening with supersoft?
thanks,
Dave
24DaveMon Jun 13, 2022 10:02 am
You are rubbing your aluminum layer with mold release (like car wax) before laminating so the epoxy will just flake off right? I started building before the internet and was amazed to later learn of mold release and baking paper for epoxy control.
JonrezzThu Feb 02, 2023 8:27 pm
So I was experimenting with really small inlays today - some of the pieces are supposed to be a mm wide in areas, and I think I need to correct my answer about focus above. Well maybe. I haven’t really figured it out yet but I’m getting bigger gaps than I want. It happened on the rose skis too.. when I saw the gaps on the rose skis I thought my main issue was that the pieces of veneer weren’t laying perfectly flat, but the ones I used today definitely were. I’m starting to think either focus is the issue, or maybe I need to just enlarge the inside pieces to account for the laser girth, or both. I’ve been doing more research about fine tuning the focus, everyone seems to talk about it but I haven’t seen much for straight forward methods to do it. Will update when I figure it out more. With engraving it doesn’t really seem to be an issue, I suspect because of the lower power & heat, but with cutting it definitely is.. Here’s what I attempted:
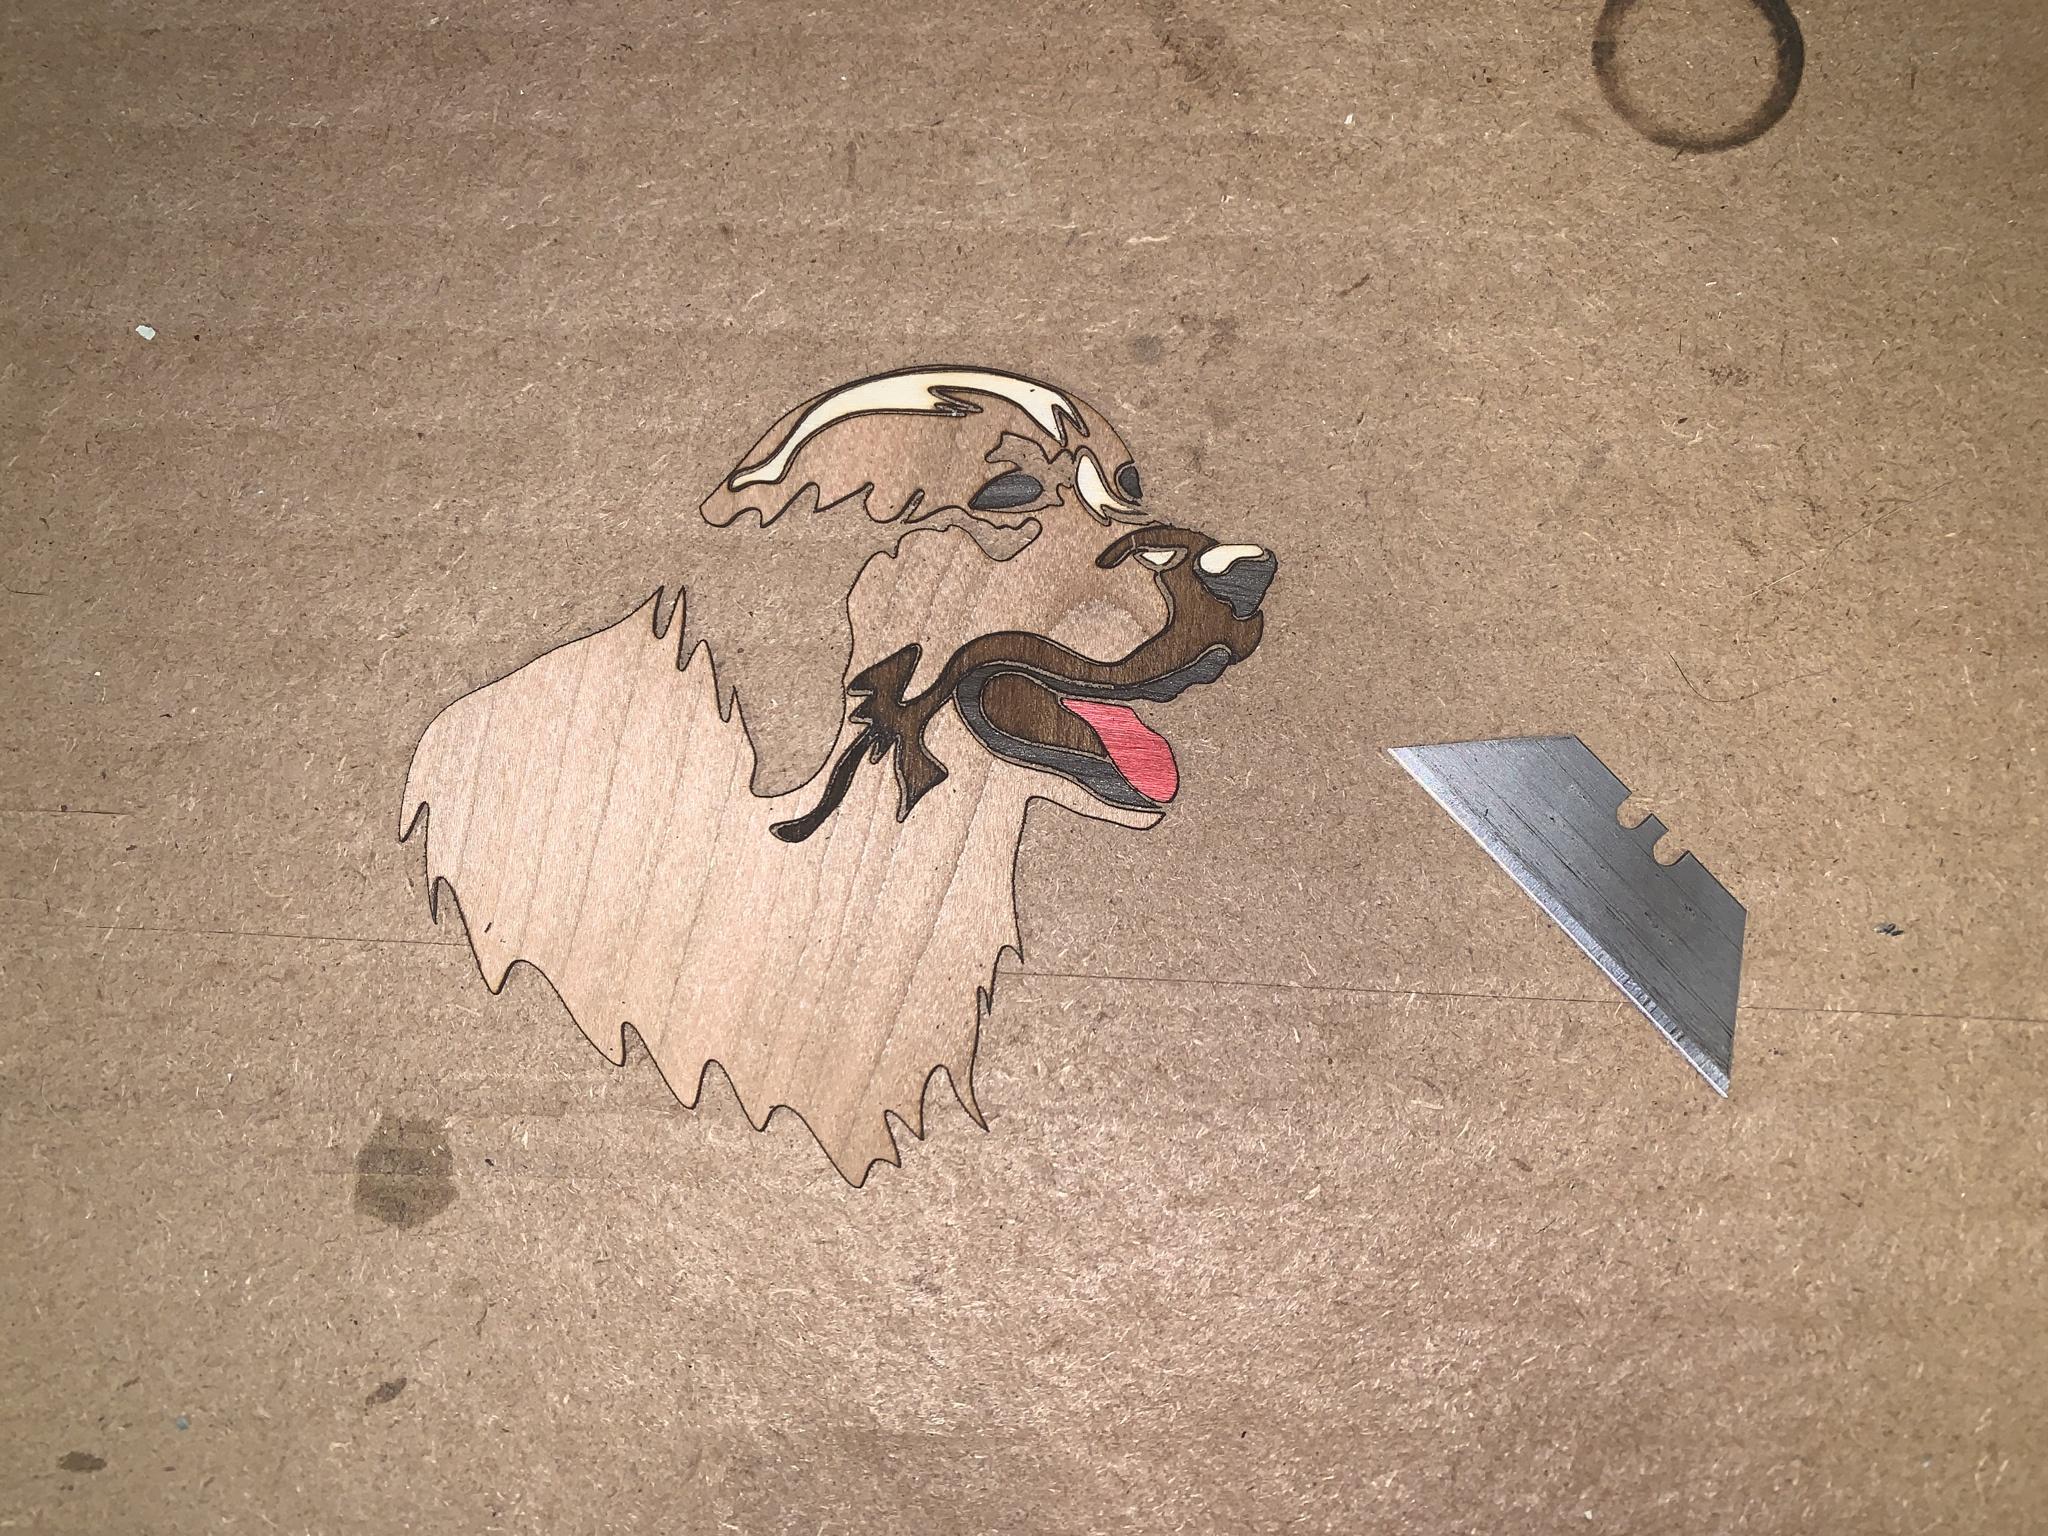
EDIT: I got some feedback from the kind folks over in the lasercutting subreddit and the main takeaways are:
- mirror the engraving so the back of the veneer becomes the front of the inlay - helps hide/reduce burn marks
- account for the laser's "kerf" - measure it with a caliper and enlarge the inside piece vectors by that amount.
- reduce the power and speed to get less charring and cleaner lines - multiple passes if needed.
going to do some more 'speriments and I'll share the results!
JdlineMon Feb 06, 2023 12:42 am
Looks slik!
CiveVDASun Mar 05, 2023 10:50 am
Hi Jon,
I've just signed up but I've already read your whole log!
Amazing works!!!
the heat blanket did you have it custom made by Jiangyin Mengyou on Alibaba or was it in stock?
Thank you very much
P.S. if it helps, for the "kerf" of the laser I make an offset of 0.1mm for all the pieces of the carving
JonrezzMon Mar 13, 2023 6:52 am
Thanks Guys!
Regarding the heat blanket I told them the dimensions, KW and voltage - they did the rest.
