:: View topic - My press!
Posts: 14 · 14 posts
unknownMon Oct 01, 2012 7:12 pm
Here is a copy/paste of my latest update on my functional and tested ski press! Hope you like, head over to my build thread at:
http://www.newschoolers.com/ns/forums/readthread/thread_id/651776/page/3/
for more detail and history leading up until now! As you can see, I made that thread 1 year ago today, so I've been seriously thinking about pursing this dream for awhile. Heres the copy/pasta!!
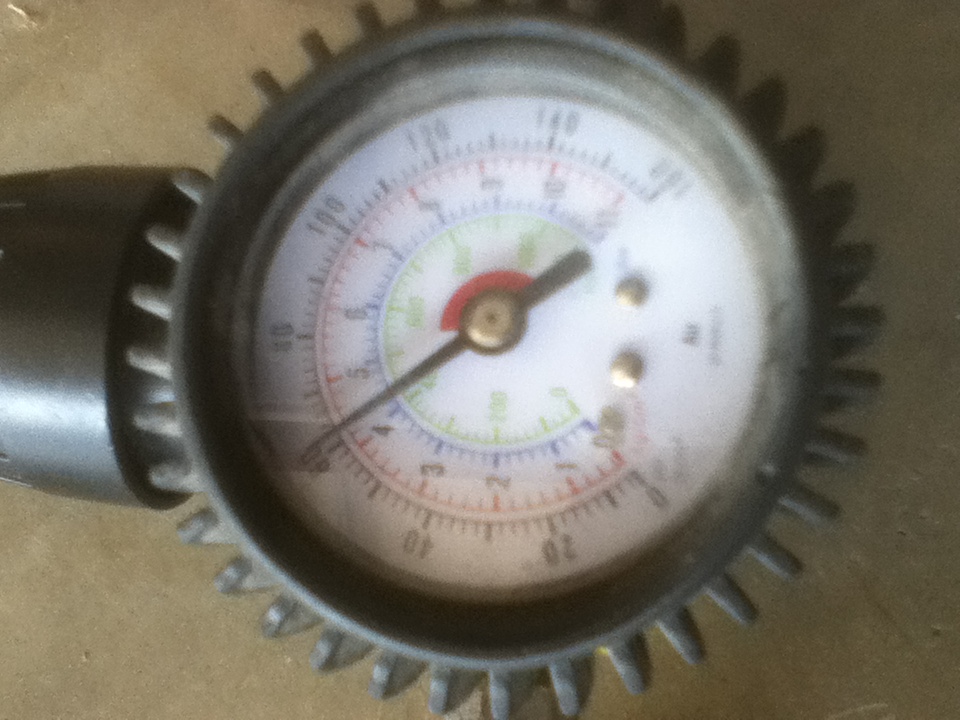
Over the past few weeks, I have been flying under the radar, fighting off every urge to update this thread as I worked on and moved forward at a good pace. Within the last week I started to assemble the monster, piece by piece. It was the final push to get this thing to testing and after all the horror stories about presses shearing bolts and blowing welds over at the www.skibuilders.com forum, I was nervous. This weekend, I spent most of my time at the shop finishing this thing up so I could pressure up the hose and I'm glad to say, after pressurizing it, it passed testing successfully. It withheld 60 psi, or just over 50 tonnes of force (I think my math is right....) for over an hour today! It also looks way better in the flesh than I had ever anticipated. Seriously such a gnarly feeling having something you drew up and designed go from your head, to paper, to the shop floor.
Here is some pictures of it!
Welded the beams onto the endframes, upside-down was easiest.
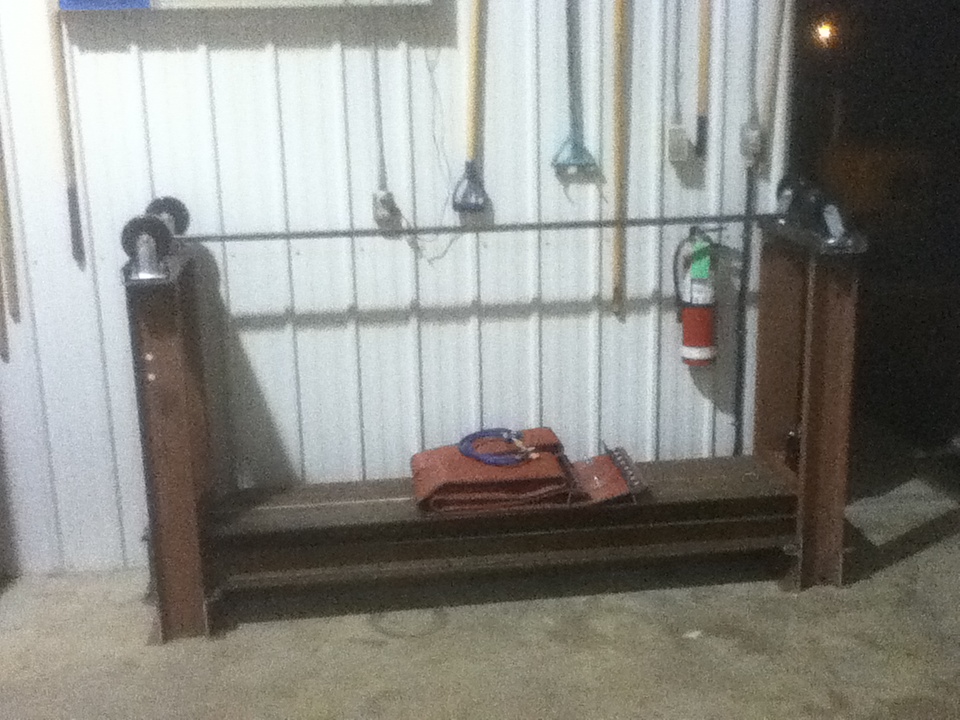
Flipped over with the wheels on. Looks empty compared to now.
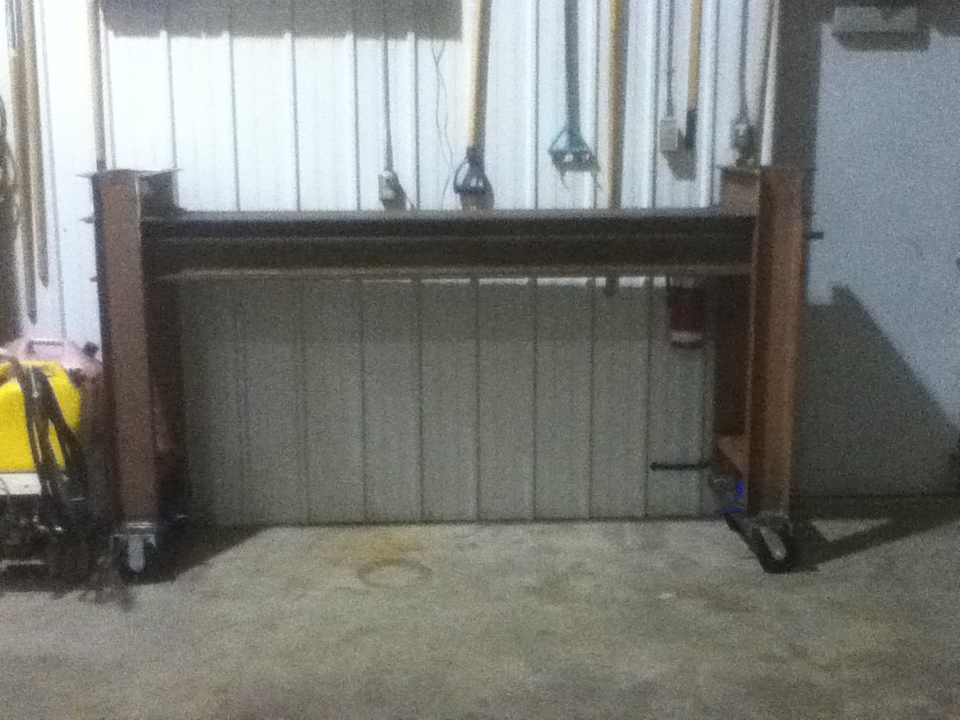
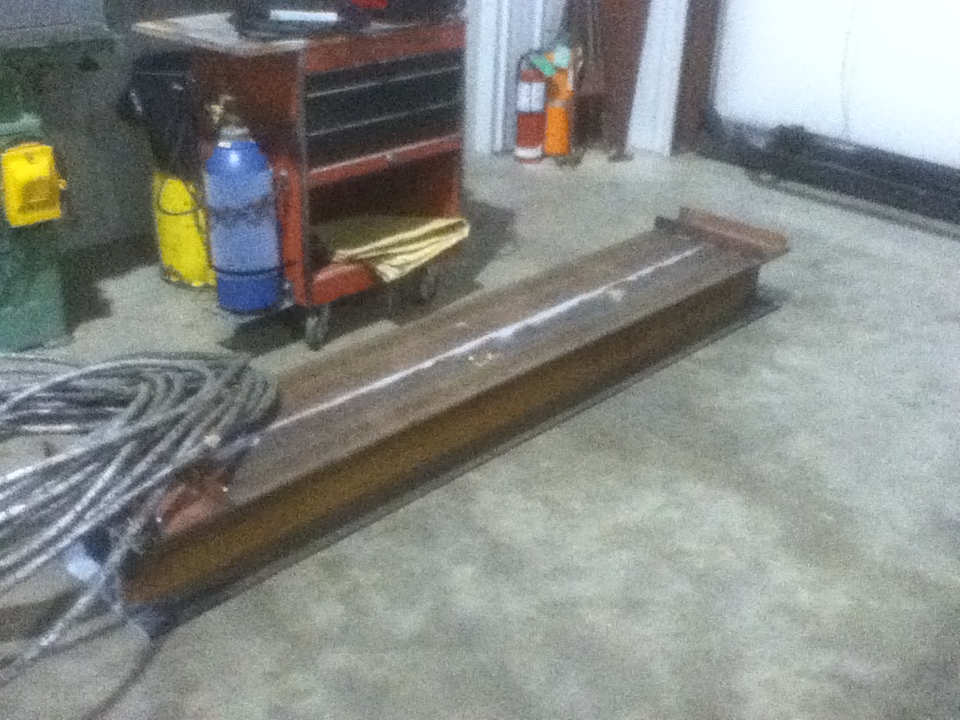
Bottom jaw.
Bottom jaw in the press. Took some fancy work with many jacks to do this....
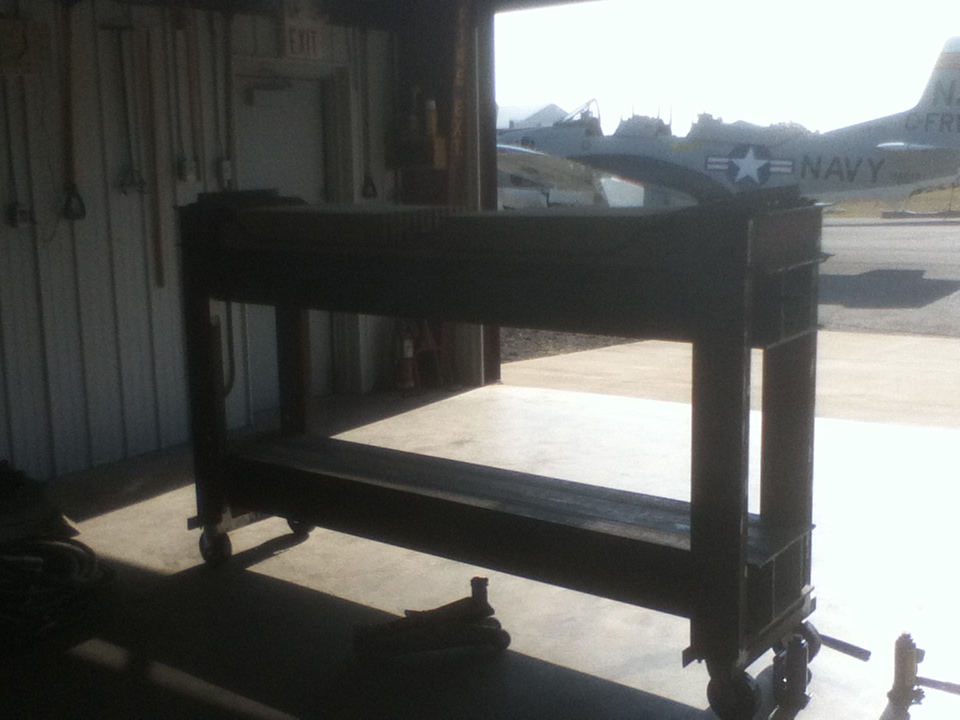
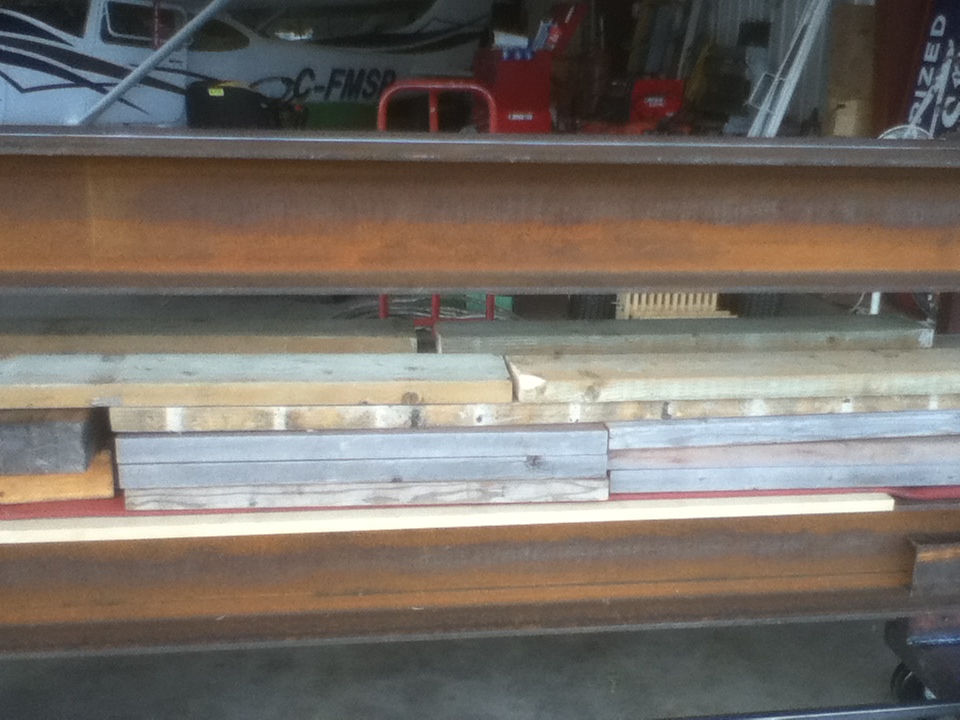
After more jacking, buying some jacks, exchanging those jacks for taller jacks, lots of drilling for 5/8" grade 8 hardware to bolt my lower jaw locks in place, playing some jenga to fill the press cavity with wood for testing, and running a bunch of airline to the front of the shop, it was ready to test! The heavy blankets are on the endframes just in case anything happened to get lose....
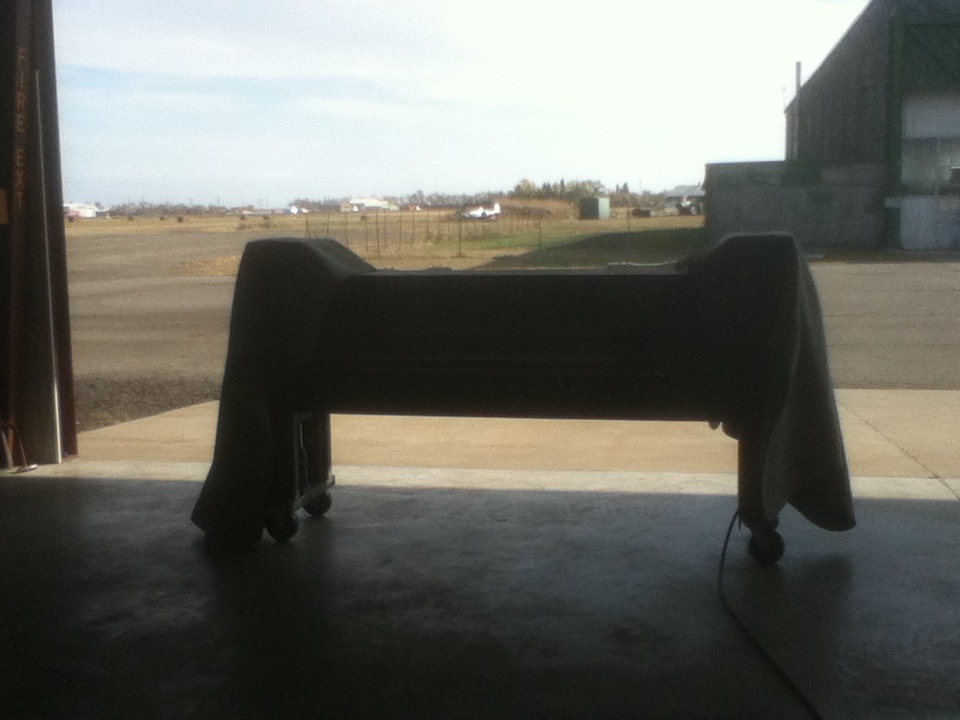
O_O Scary!
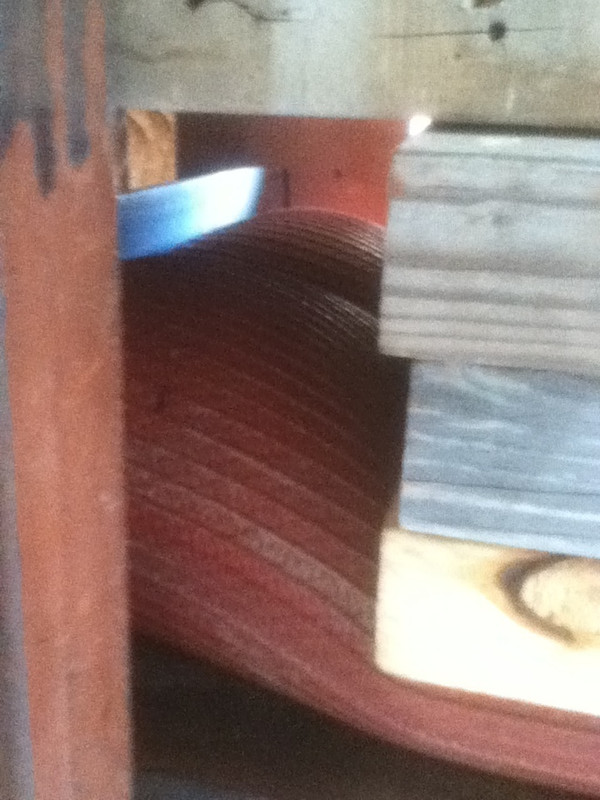
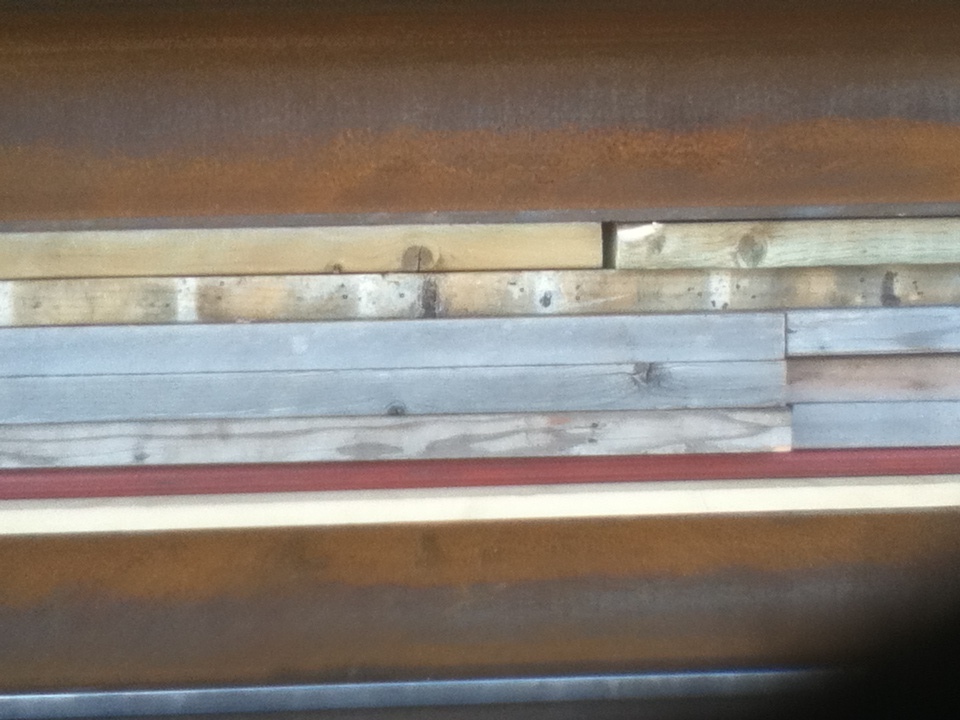
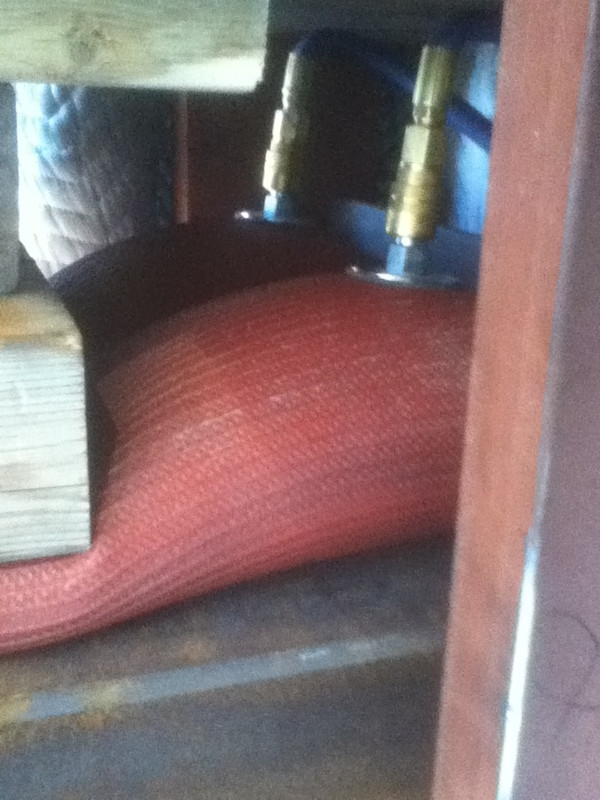
UNDER PRESSAH, PUSHING DOWN ON MEEE!
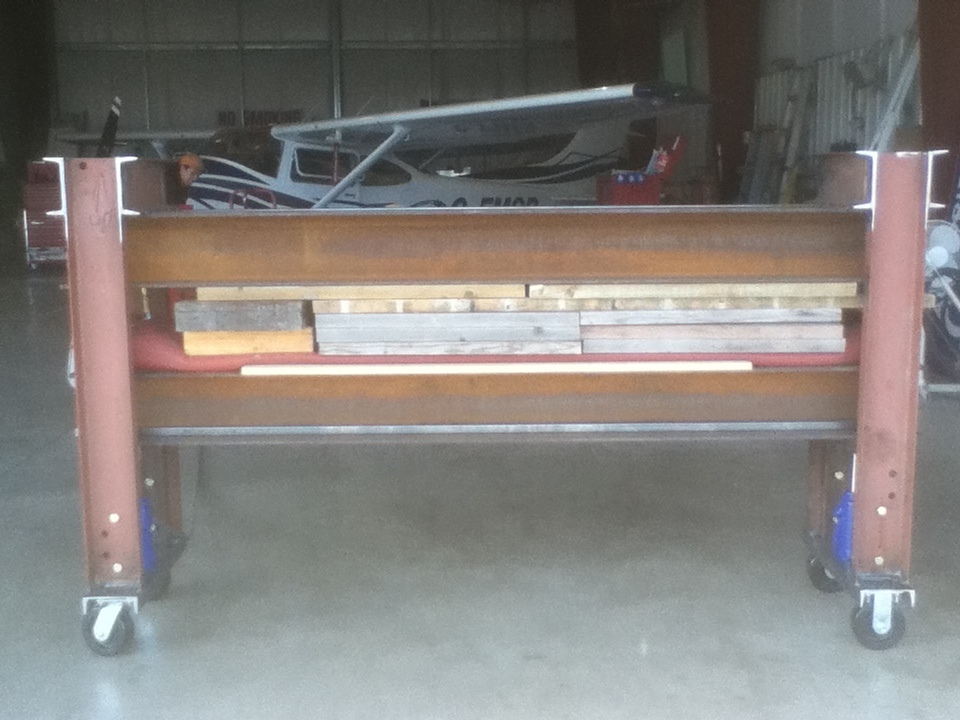
Front.
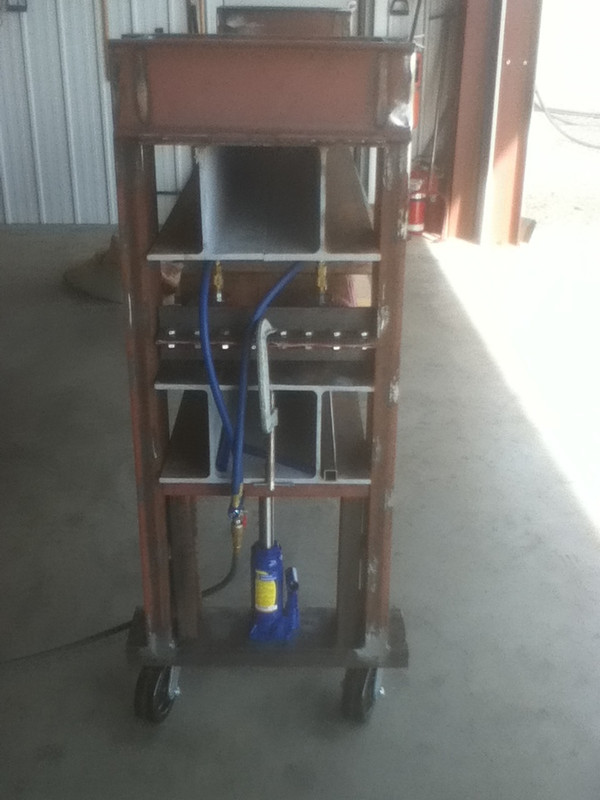
Rear.
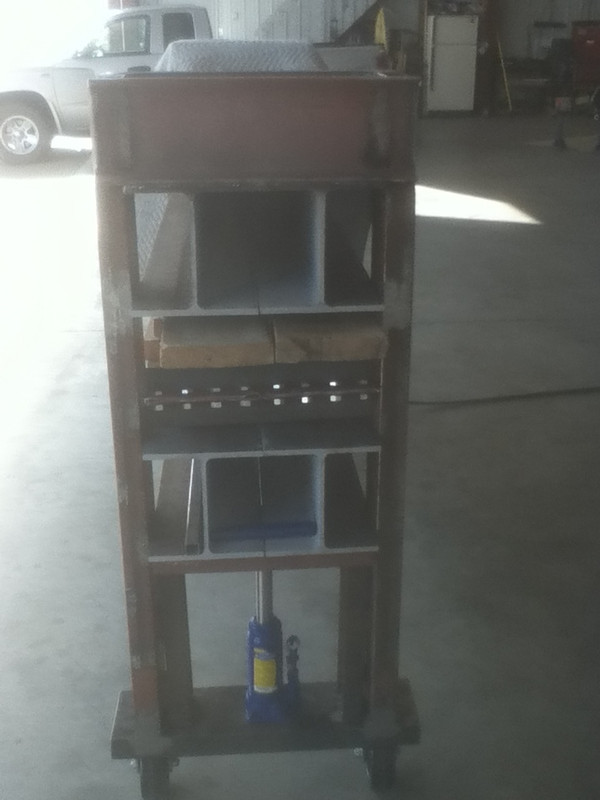
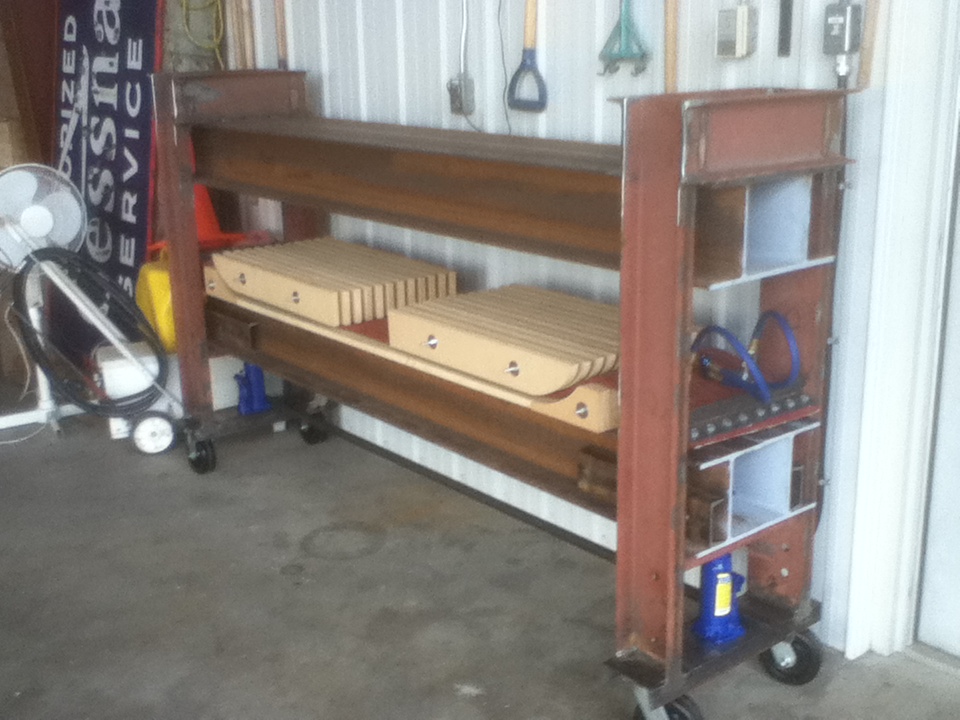
Overall view.
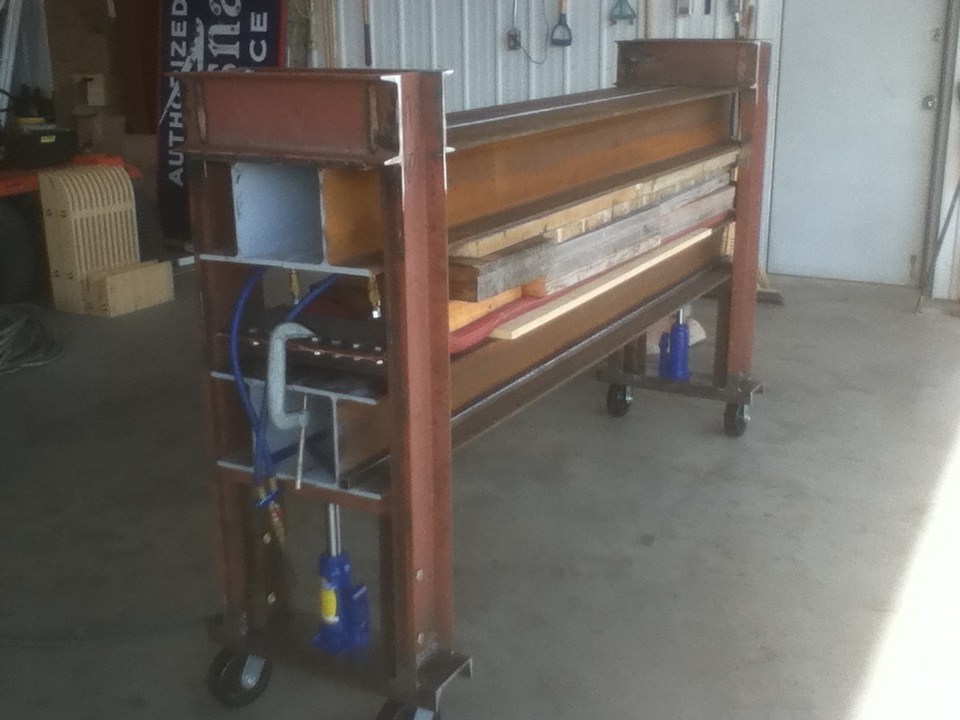
60 Psi
Pressure off, locks removed, and the bottom jaw dropped. This will make unloading and loading the press SOOOO much easier as I think the jaw drops 5 or so inches.
Molds in the press, still missing the aluminium cassete, bottom camber sheet, upper mold spacers, profile shims, and the cattrack. The bottom jaw is fully dropped here.
Super stoked on things right now! Glad to have pursued this hard enough to make it here.
Big thanks goes to:
www.skibuilders.com and its memebers for all of its awesome resources and knowledge.
www.NewSchoolers.com members hot.pocket, KyleA, and Ginko for putting up with a retarded amount of PM's loaded with questions.
My buddy Malcolm, Uncle Pete, Dad, and the guys at the shop for their help and services.
Glen for the free C-Channel!
Thanks everyone! Now I just have to build a few more pieces, and think about sandblasting and paint, make it look good; then it will be open season for ski building!
unknownTue Oct 02, 2012 4:34 am
Looks like you did it right !
unknownTue Oct 02, 2012 9:32 am
Nice press! I'm definitely building one now!!
unknownTue Oct 02, 2012 4:40 pm
those bottle jacks are the only thing pushing against the bottom beams when under pressure?
Or are you using them to lift it into some determined spot, then securing?
unknownTue Oct 02, 2012 4:59 pm
unknownTue Oct 02, 2012 5:02 pm
I have been wondering the same thing all day. Looks like jack it into place then install that channel iron laying on the bottom I-beam as a crutch?
unknownTue Oct 02, 2012 11:11 pm
fo sho
unknownThu Oct 25, 2012 11:27 pm
I have been wondering the same thing all day. Looks like jack it into place then install that channel iron laying on the bottom I-beam as a crutch?
You betchya! I was super worried about the bottom of the frame being weak as there are no vertical welds there. I also knew I wanted to jack the bottom jaw as opposed to the top. I've seen a few presses where the top moves, and the jacks are mangled in between hoses, and a few other 'complicated' setups like that. So to lock the jaw in place, and to alleviate some stress, I decided to bolt those sections of channel inside with some grade 8 bolts. They're super easy to put in place and should I ever need more room in the press I can shorten them up. If I also find that my bottom jaw is crooked in relation to the top, I can mill them shorter and precisely to compensate for this, but as of now I believe the top and bottom jaw beds are within 1/64th of an inch, so I'm not going to mess with it until I find out it produces a bad product XD
And a quick edit right here:
If anyone was curious, my press was based off of ON3P's press, rockaukum's press, COsurfers press, Kam's Kublai, and KyleA's press (NewSchoolers member)
I also apologize for the god awful iPod camera pictures.....
unknownSat Oct 27, 2012 3:04 pm
I saw what you did. Clever I think.
But get a new camera!
unknownTue Oct 30, 2012 6:17 pm
Thanks again everbody. Back for another update, real brief hopefully.... Once again I've been flying under the radar, keeping it stealth, and gettin er done! After I got the cattrack and the bottom rocker mold in the press, I ran into a few problems...
Used a two washers on the original cattrack design to spring load it:
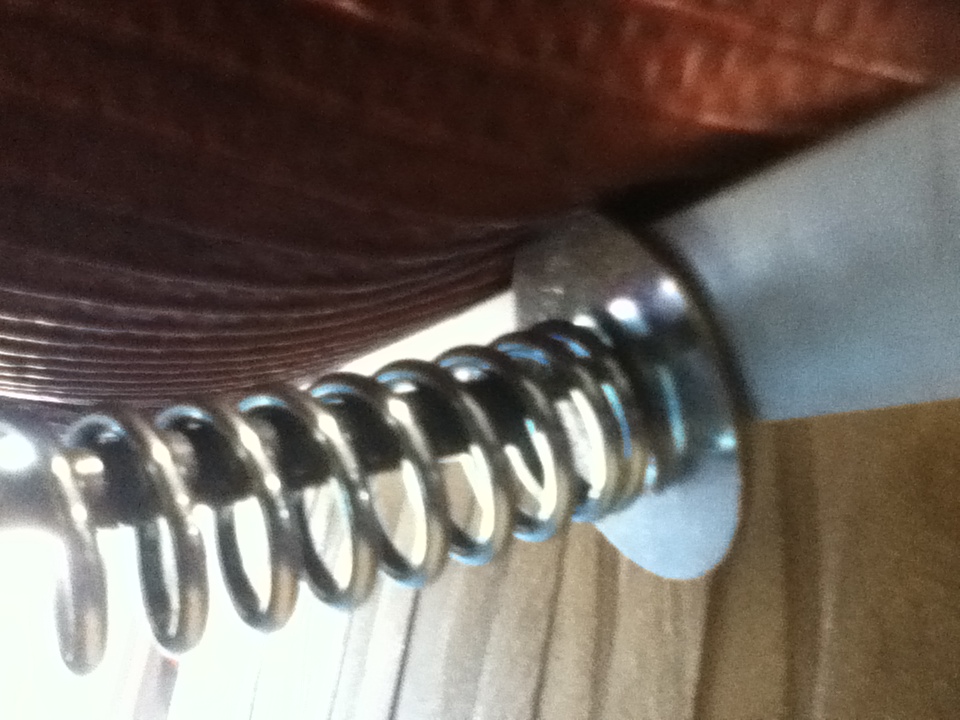
But after a quick inflation.. The inside washers on all four corners were digging into the bladder. That was a NO GO, I could see them popping the hose open sooner or later...
The cattrack was also sitting on the edges of the tip/tail molds weird:
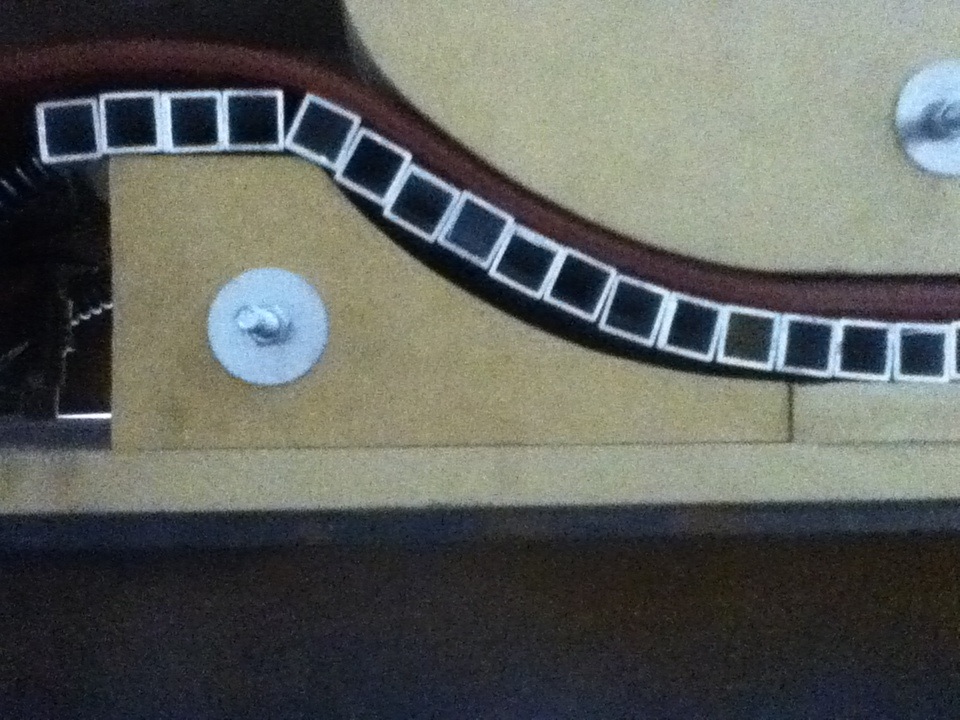
Once again, damn... I used a nico press sleeve to loop and tie off the cable ends on the cattrack, and these sleeves are pretty much permanent...
So to fix all this garbage going on up there I switched to a clamp to secure off the ends of my cables:
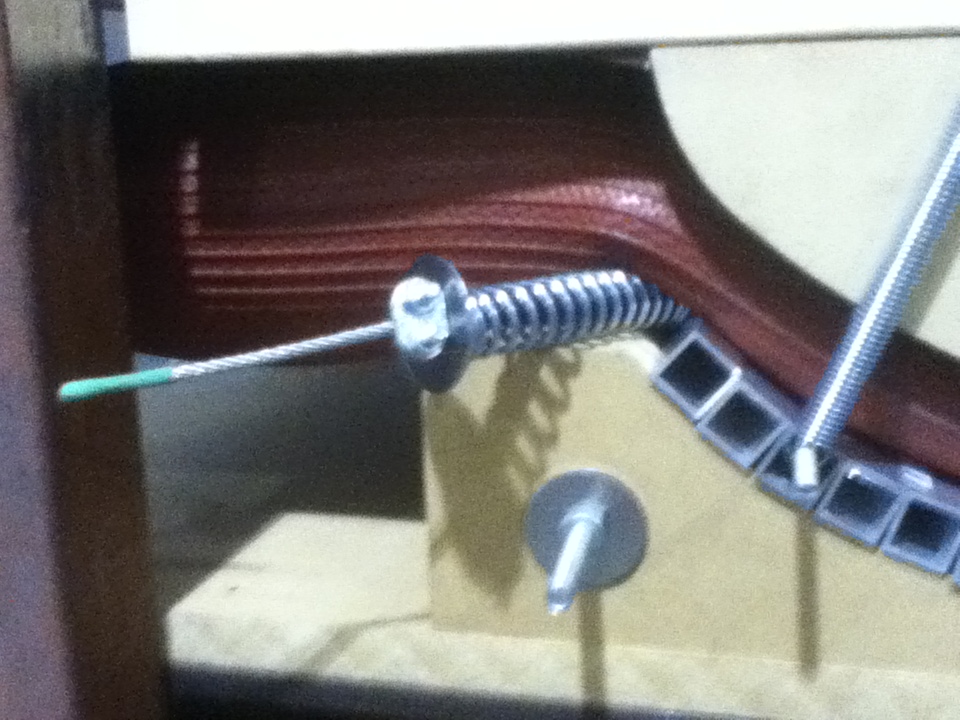
Waaay better, now I can freely add/remove links to the cattrack if I want to build a longer/shorter ski so it doesn't sit all weird on the tip/tail molds, and I was able to remove the washers during the process. Yay!
After that I got to work and cut some top mold spacers, cut my 2x6's to length to fill space up top, hung the molds with steel strip, and hung the cattrack with threaded rod and springs:
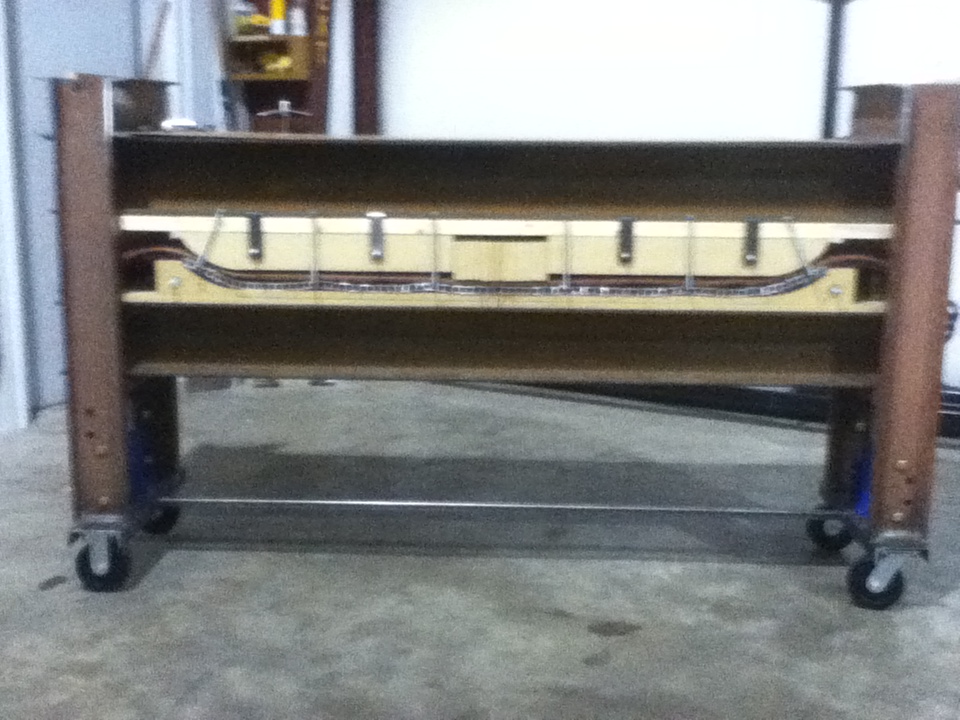
After that I was eager to pressurize it up with the molds in there for the first time:
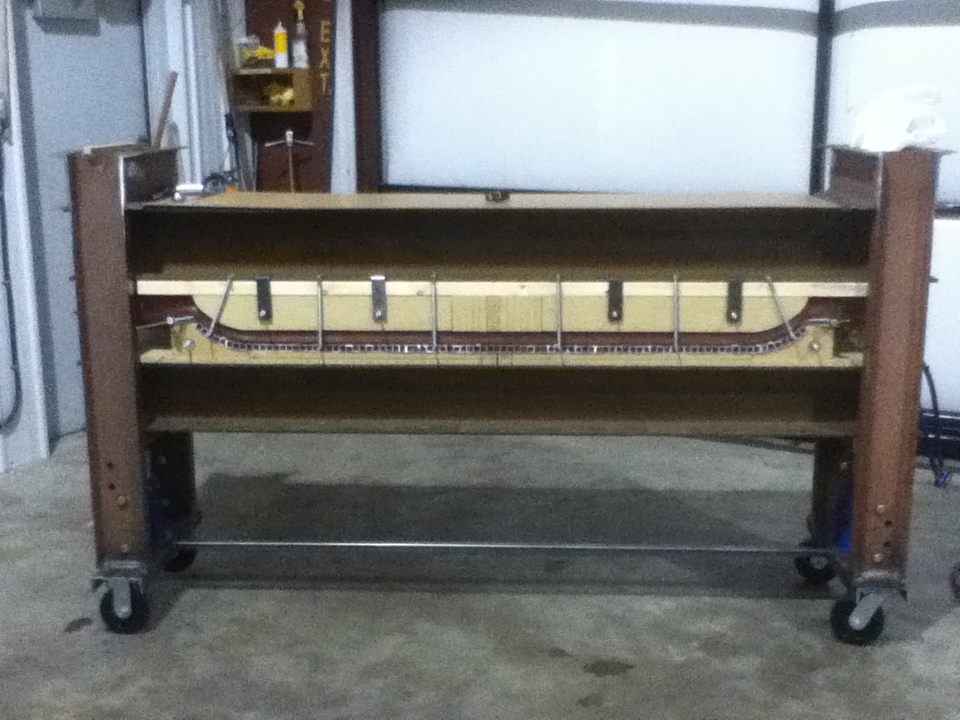
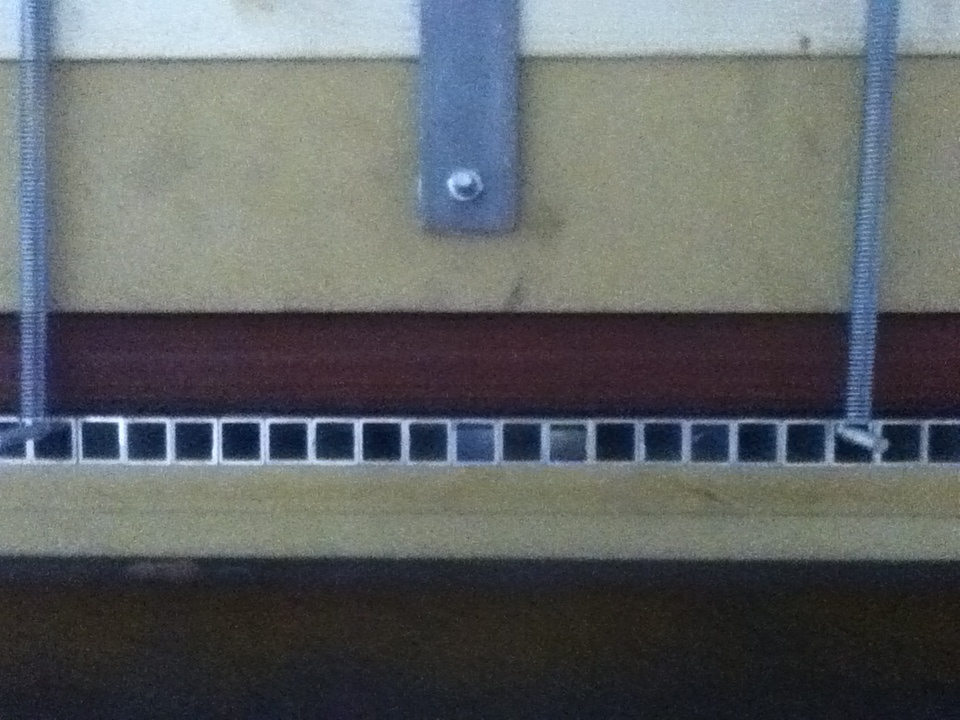
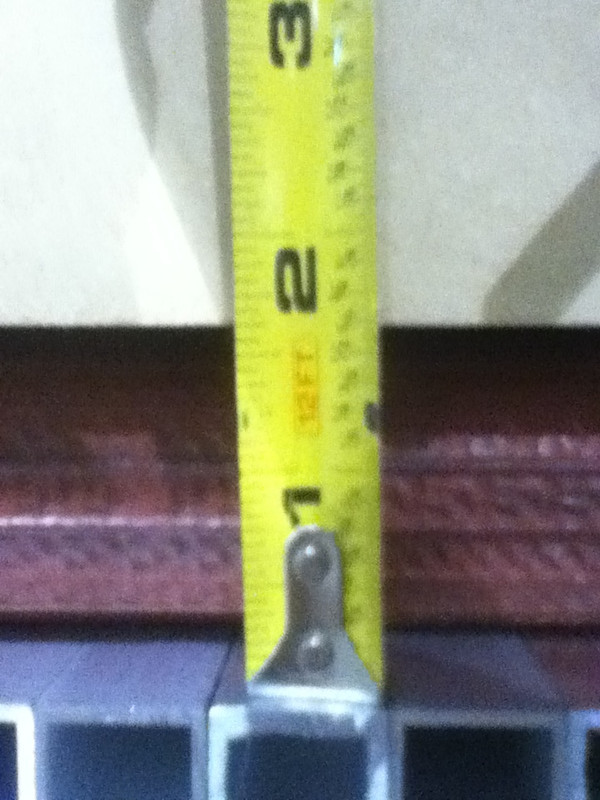
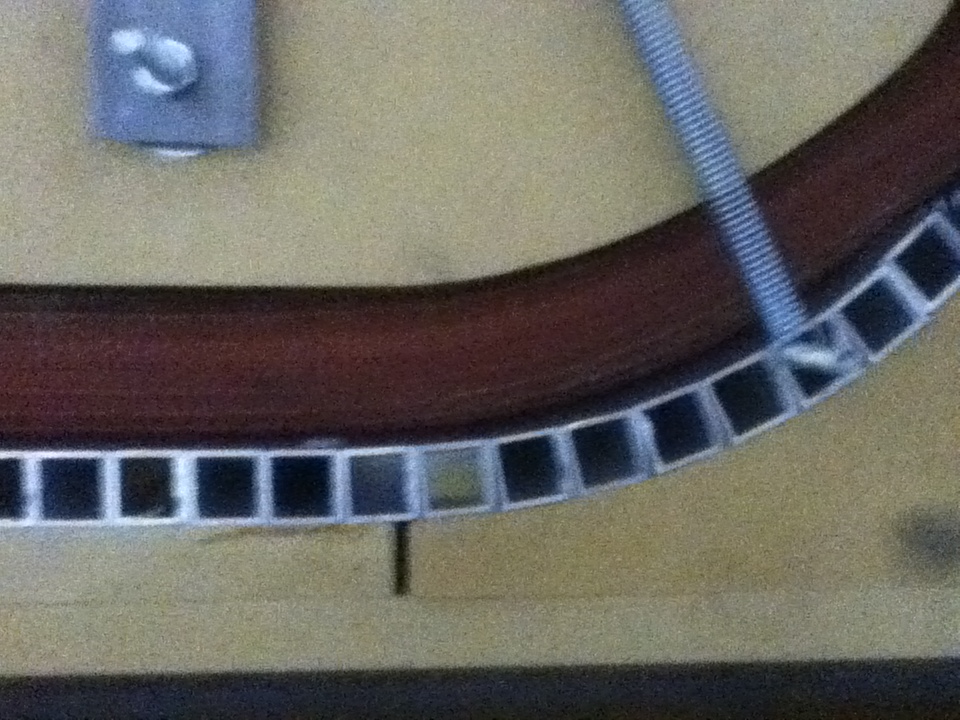
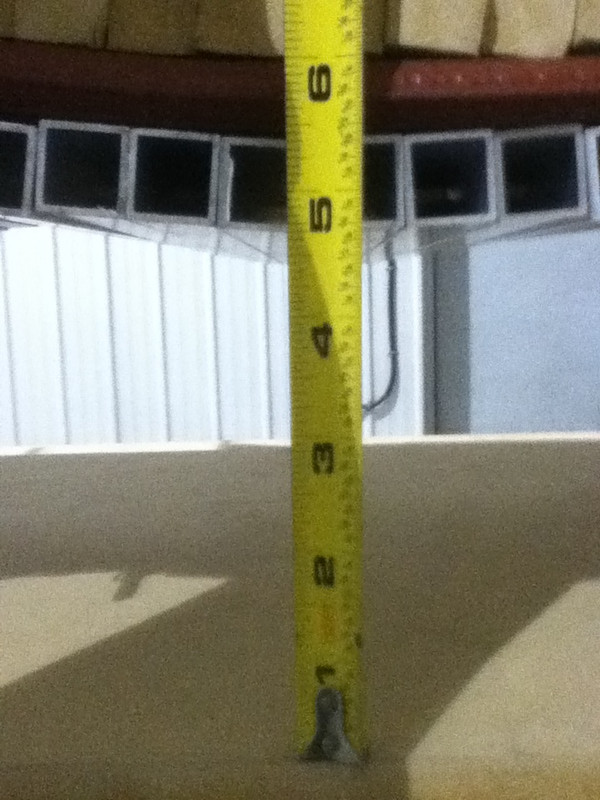
I was worried about the top molds being ribbed and having gaps with the top hose touching it and all, but it held up just fine, didn't crack split or anything. The bottoms molds also stayed good. It also LOOKS like the cat track is conforming tightly to the tip/tail molds which is awesome. I guess we will see if the first pair delam there... Also glad to have a pretty tight press cavity, just over 1-1/2" with no cassette, camber/rocker shims, or ski materials in there yet. This is good!
After that I whipped out the lower jaw supports and let the jacks down:
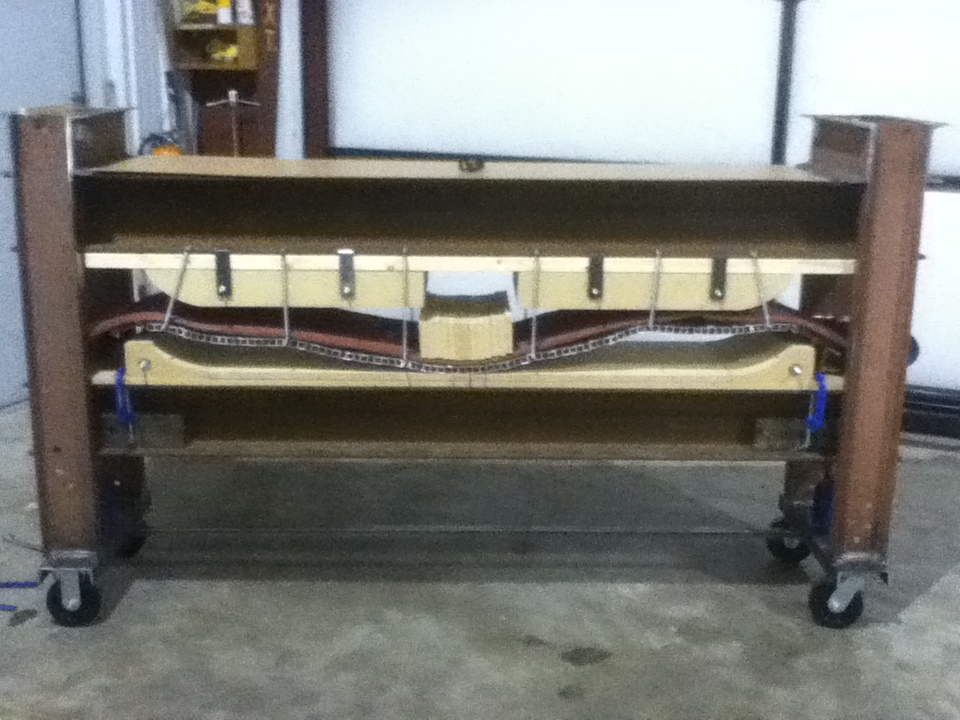
...only to find out that my springs were weak sauce.
So tonight, I fixed that floppy dink of a thing with some bigger springs near the middle:
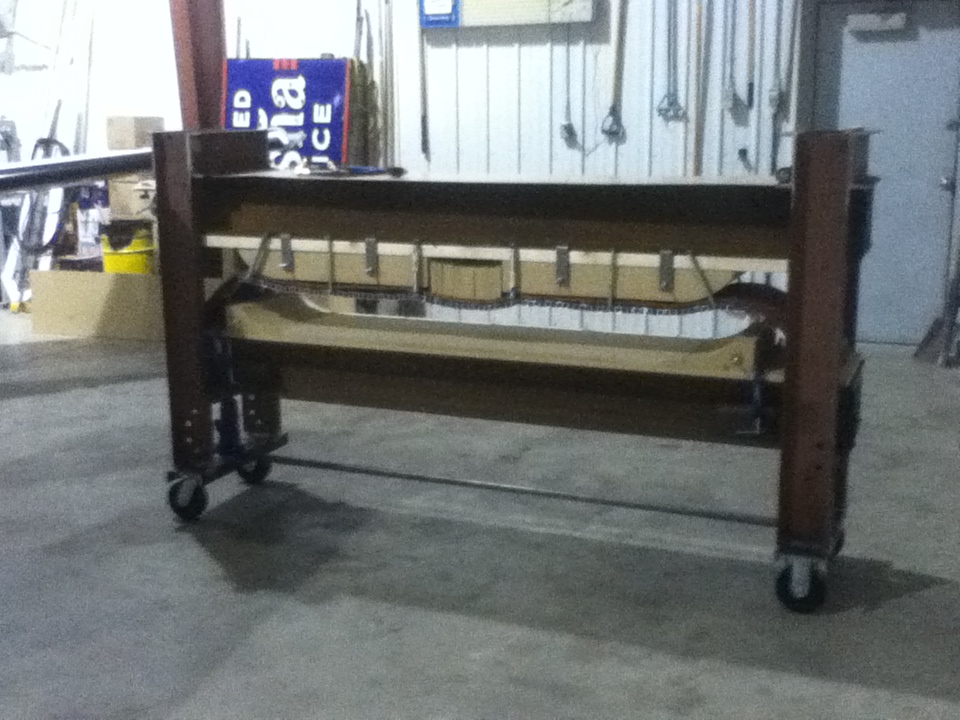
Looks way better, but its still not tight to the molds. I need more of these bigger springs, but the hardware store... I bought them out of both sizes. So I'll slowly replace my tinier weakling springs with the bigger style ones I bought, and then I may add bungee's and more threaded rod that will run between the springs down to the cattrack in a V pattern to pick up the slack there. A hybrid spring/bungee setup of sorts.
However I'm not too worried right now, with my moveable lower jaw, I have SOO MUCH SPACE to load cassettes into this thing, about 4-1/2" at the cattracks lowest point, if my skis are thicker than that, then damn, thats one hell of a ski....
Anyways, that wasn't short at all... But this press is pretty much done. My materials are on their way from Kam over at http://www.skilab.com And I should be ordering epoxy from http://www.entropyresins.com/ reaaally soon. But I can get to work on the the base, cores, and edges as soon as it arrives. WOO! Anyways, I gotta go sleep, mega tired!
unknown
Pretty kick ass. Get to pressin. And cuttin and skiin.
unknown
This might be my new favorite press. Next year when I go I-beam, I may have to copy your idea. That is going to be one easy mofo to load!
unknown
Aha thanks guys! And Twizz and anyone else who want to build something similar, as long as I'm kicking around on this forum, I'd be glad to help. The one major benefit of this setup; besides ease of loading, is the ability to machine and match the lower jaw supports to each four corners of the press to get the press bed sitting perfectly level and square with the top. But as it is now, it's all within 1/64 of an inch, so I'm not even going to play with it much.
All it needs now is a cassette, not sure if I should go pre-bent, or lay-flat :S I plan on doing 3/4 edges so I'm leaning towards lay-flat.
I will also take some good pictures with a real camera (this ipod isn't even potato quality...) so you guys don't go blind attempting to look at them.
unknown
looks awesome. I like your approach.
