:: View topic - some More skis
Posts: 59 · 59 posts
unknownThu Jul 26, 2012 12:56 am
Kiaora,
I'm from Auckland, NZ, and myself and another couple of mad individuals are embarking on the skibuilding journey.
We've been studying this site for a couple of years now, and it's finally all coming together. Our press is almost complete (just making the second heater mat, control gear, finishing touches sort of stuff), and the actual skis are being CADed up. Materials are in the post from Skilab, and we're hoping to lay up some planks within the next month-ish.
Unfortunately, so far the season sucks - no damn snow! On the other hand, this is giving us a bit of time to work on the press and so on, so progress is fairly rapid at this point.
Anyway, thought I'd just get this ball rolling so that I can post pictures soon. I've been keeping a pretty good photo record, because I cannot thank you chaps enough for laying down such a good trail of breadcrumbs to follow. I'll use up my 5 posts of limbo and then see if we can contribute!
Cheers.
unknownThu Jul 26, 2012 3:55 pm
Looking forward to seeing some more southern hemisphere building pics!
unknownSun Jul 29, 2012 12:48 pm
Cheers Falls, and thanks for your detailed journal - it's been incredibly helpful to see the whole process in a similar supply environment to me. I'm insanely jealous of the ease of supply in the states... I guess that'll teach me for living on a strange little island far away from anywhere
unknownTue Jul 31, 2012 12:09 am
Alright, photo dump ahead... Going to get started on our progress so far.
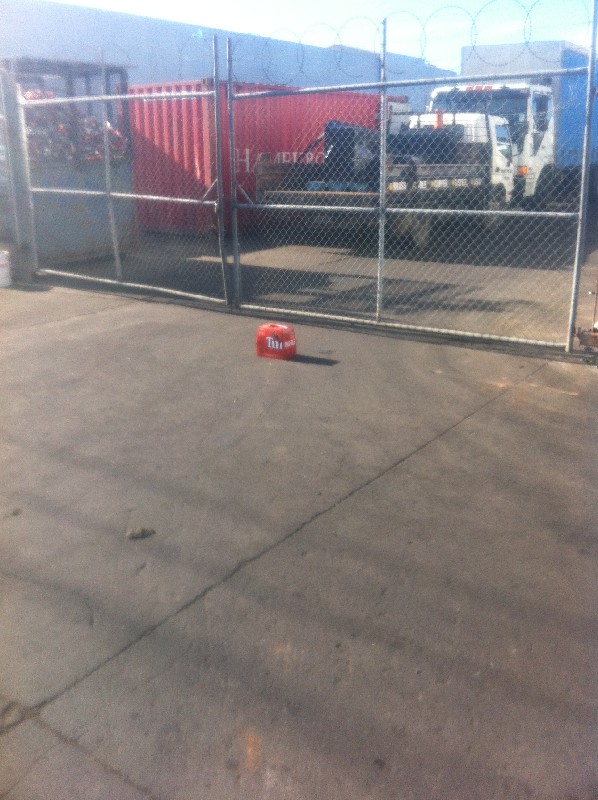
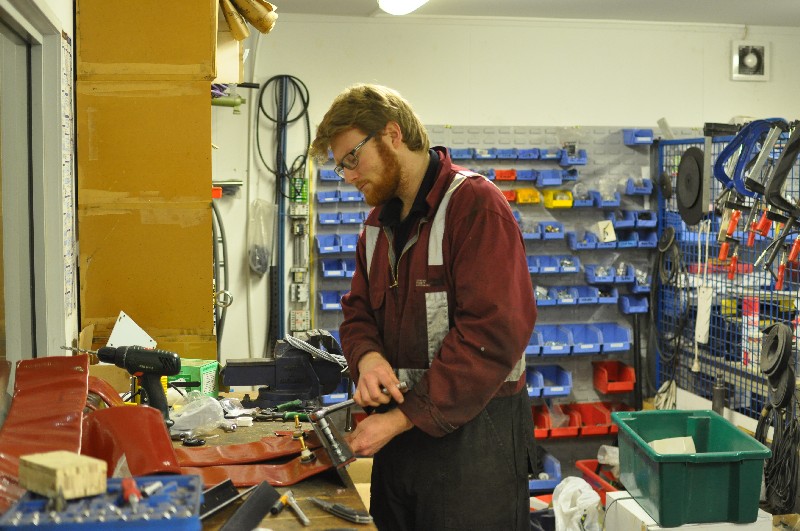
It all starts with the right beer, outside the right scrap yard at the right time.
Our I-beams weren't in great condition when we got them, but the price was good.
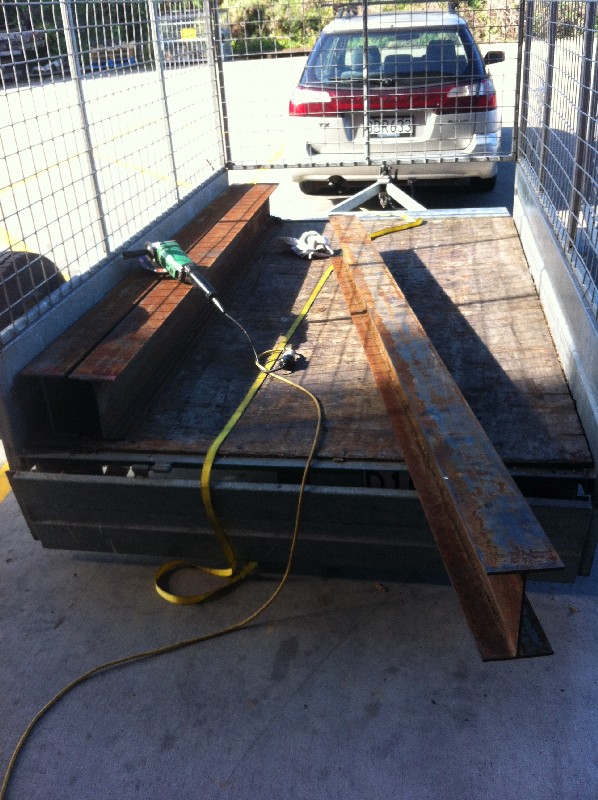
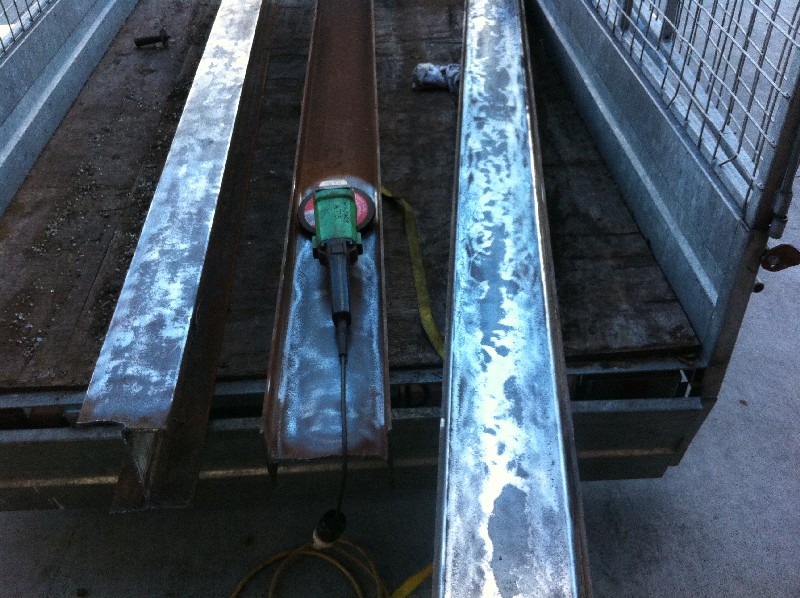
Much angle grinding with stripping discs ensued.
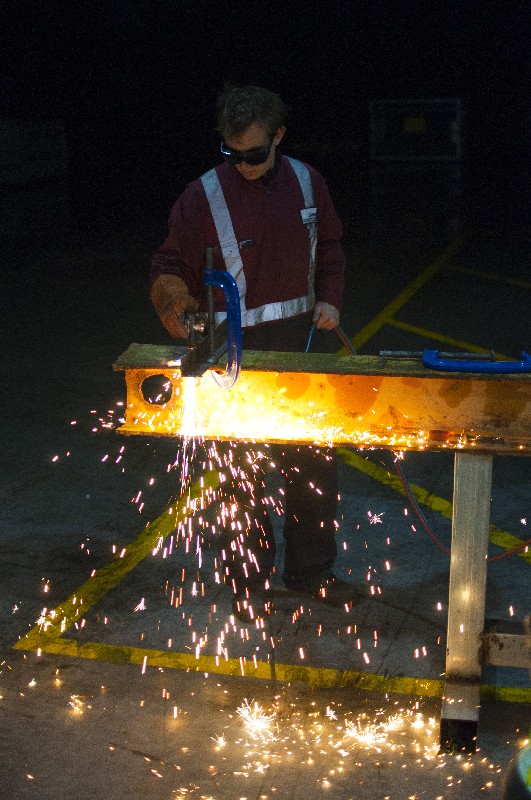
We rough cut the beams with a gas axe, and then finished a bit neater with angle grinders.
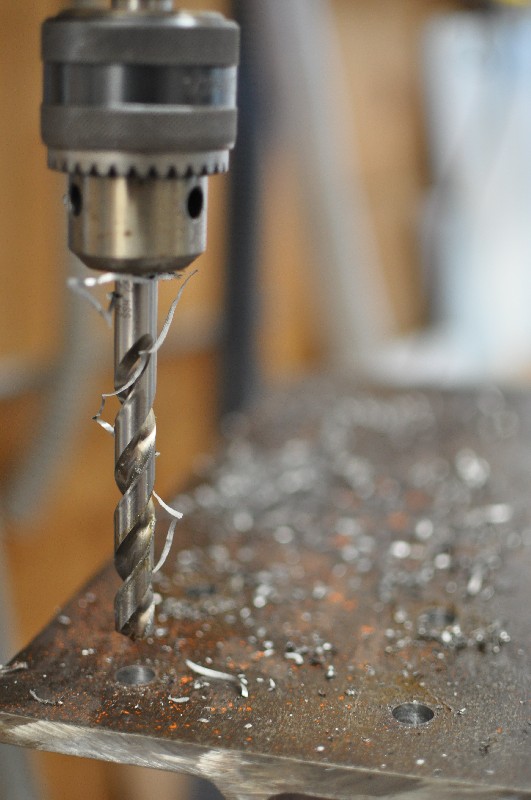
Then every night for almost forever was spent drilling holes in the bloody stuff.
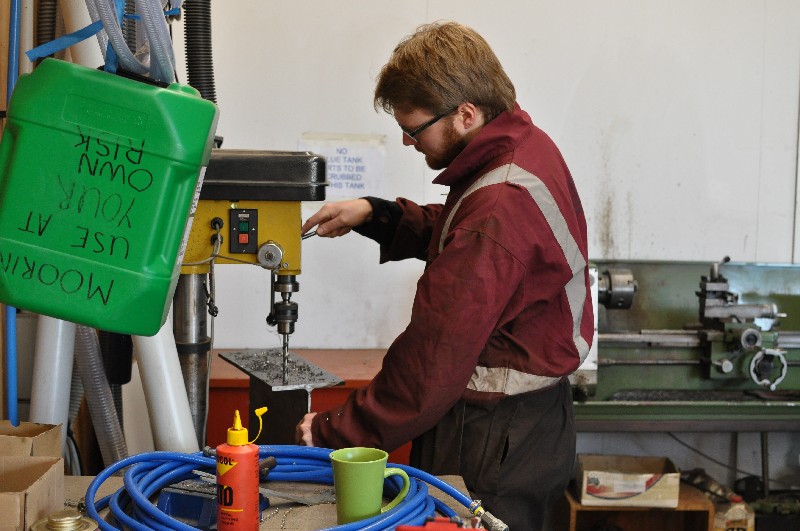
I should have just rented a mag drill and / or got a nice hole saw, stepping through all the bits for our m16 bolts was a bastard. This was definitely a part of the project that wasn't accounted for in the time stakes. I suppose we could have arc welded instead, but I do like the idea of being able to dismantle and hand transport if essential.
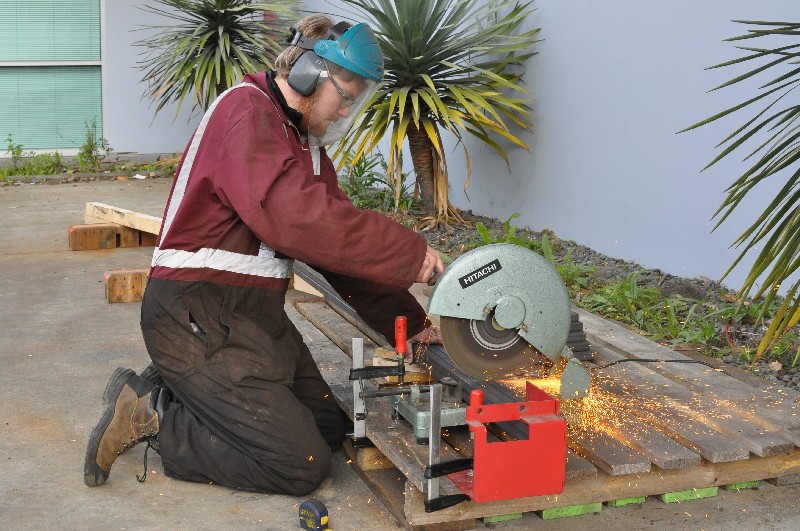
We've used 25x25x1.6 SHS mild steel for the cat track, 6x6m lengths (a little spare). I chopped it 6 at a time against a metal stop I clamped to a pallet to get them all an even length.
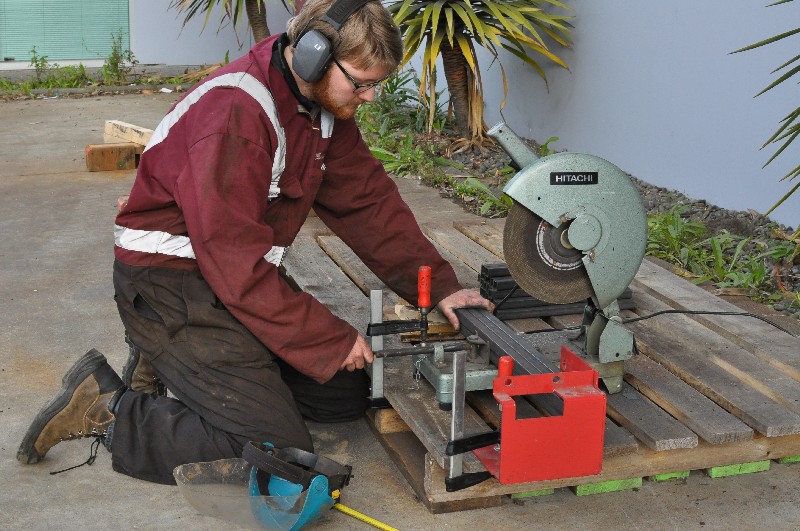
A drop grinder made short work of this job.
We painted the press frame with a yellow epoxy paint. It was cheaper than vinyl etch primer + a topcoat. I was a little sad to have to paint over the mysterious "one" that someone has very neatly welded periodically along the steel.
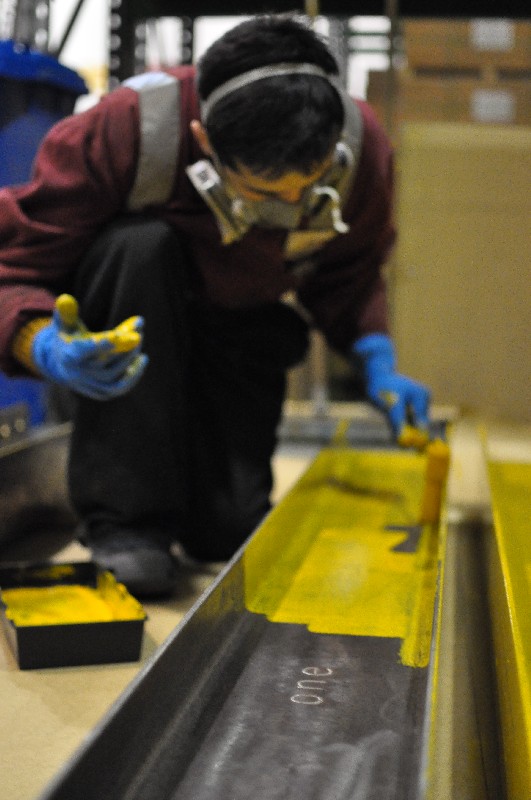
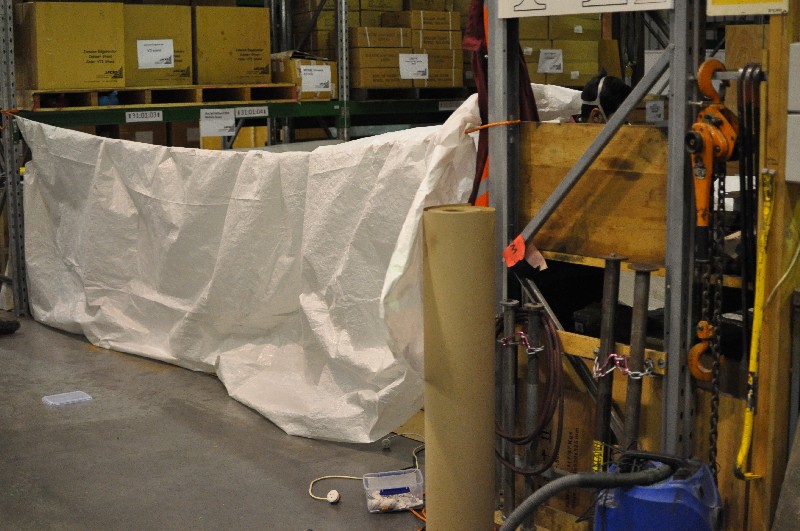
It's too cold in the warehouse at work for epoxy stuff at the moment, so we had to hot box an area to get the paint to cure well.
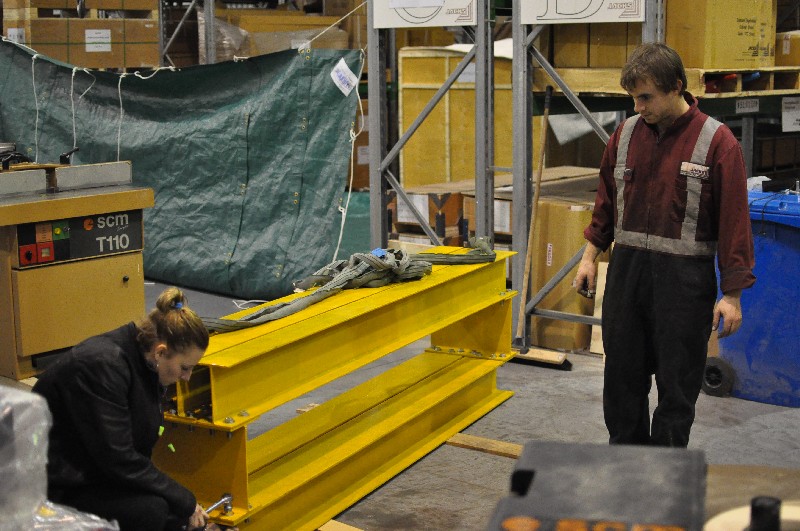
James (right) decided that press assembly was woman's work and got his girlfriend on the job.
Now we couldn't manhandle the stuff without constantly reassembling it, the gantry crane at work became very handy.
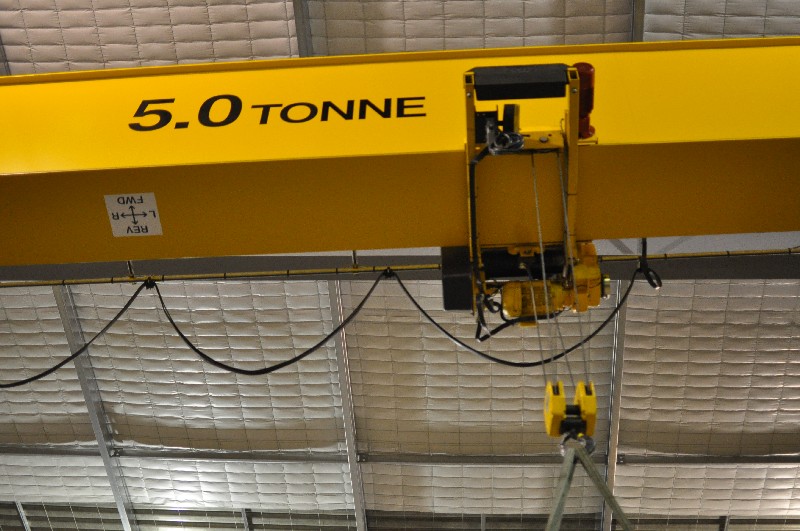
It's also impossible to use it without a shiteating grin on your face.
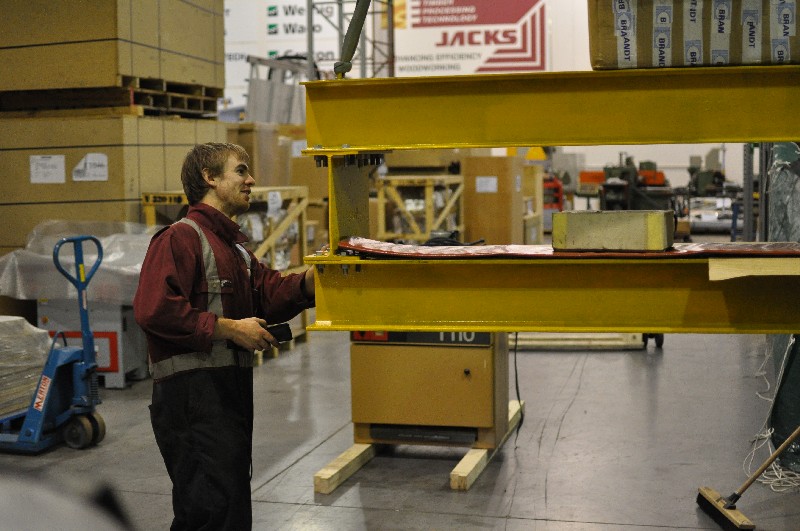
More to come shortly....
unknownTue Jul 31, 2012 12:30 am
Bladders up next -
Like all things, our bladders were sketched out poorly based on the "that sounds about right" design philosophy.
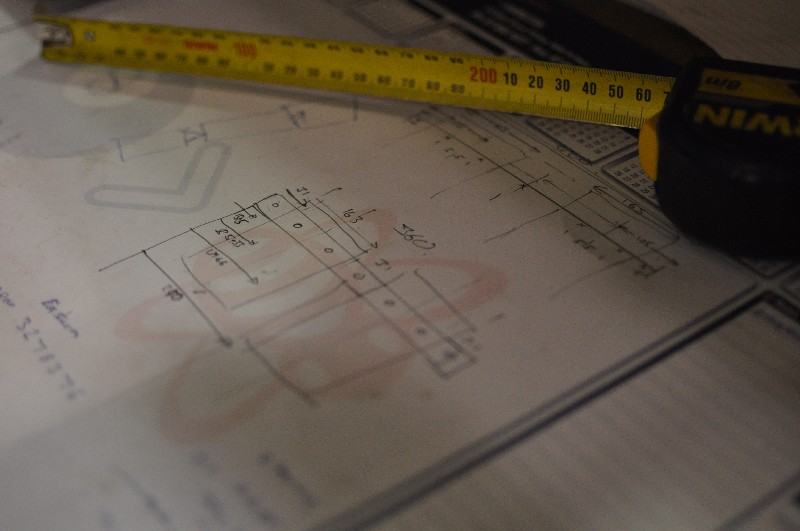
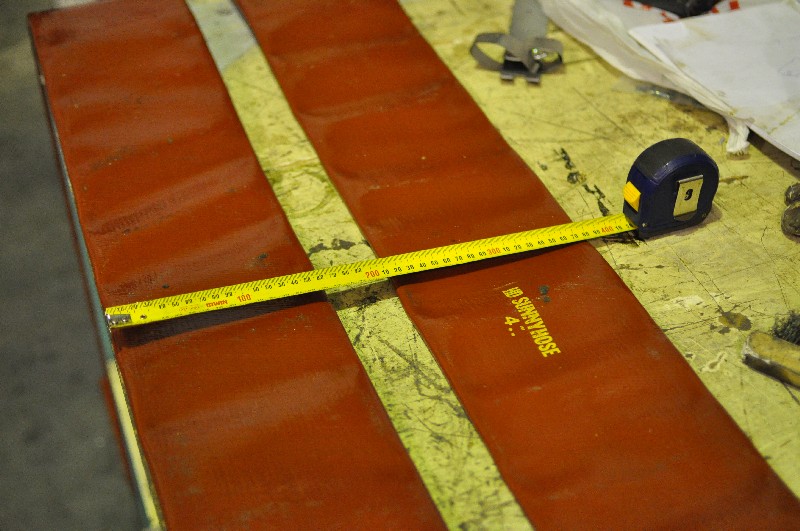
We've used the same hose as Falls, 04820558 from BlackwoodsProtector in NZ. link
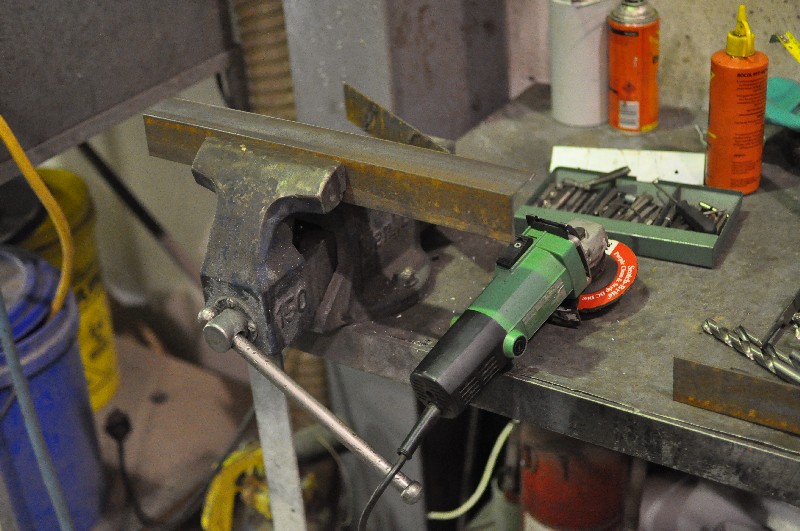
I cleaned up some scrap 50x50 angle iron for the clamps, using some leftover stripping discs from the press steel.
Test fit-
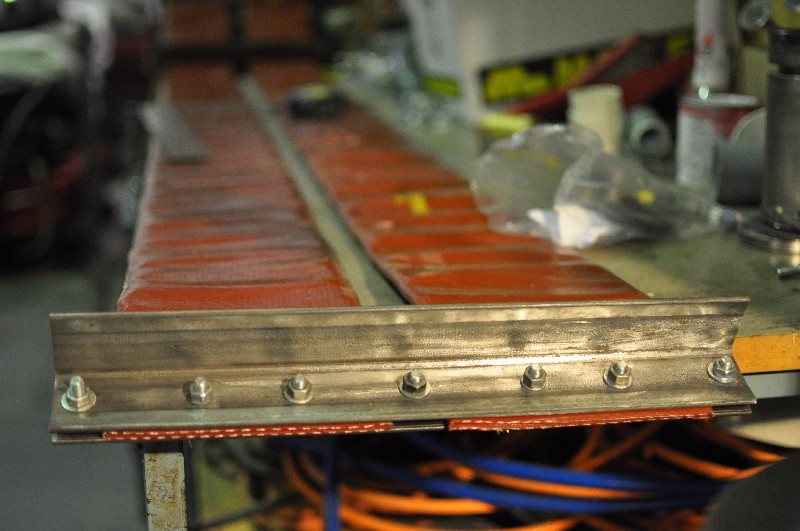
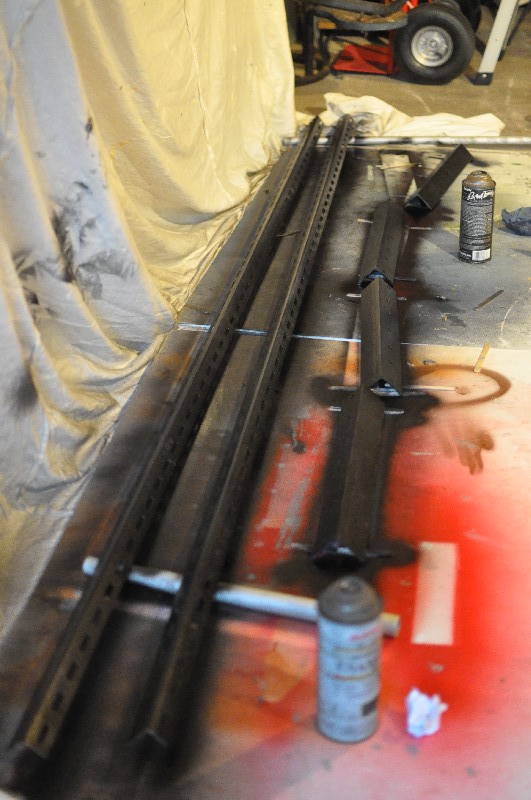
The clamps were taken off and painted, along with the cattrack suspension rails.
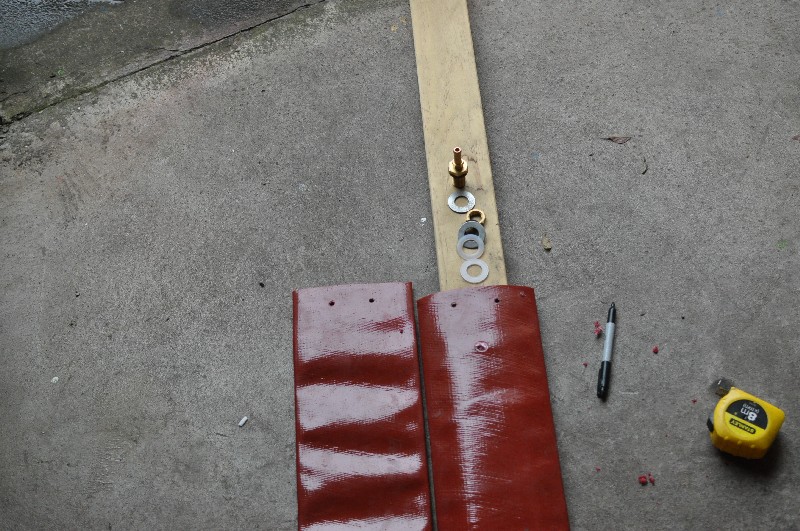
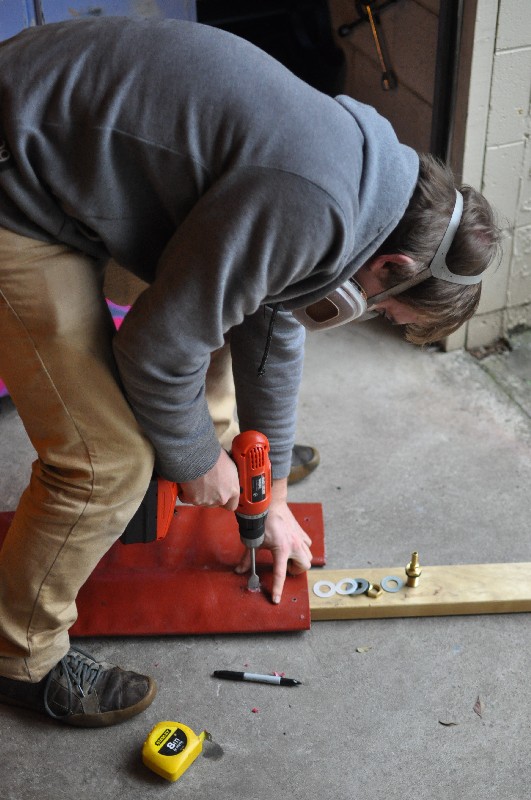
The bladders had some scrap wood inserted and a spade bit was used to make the input hole.
(Some resining was happening at the same time - heater mats - hence the respirator)
This is the washer configuration which has worked well for us:
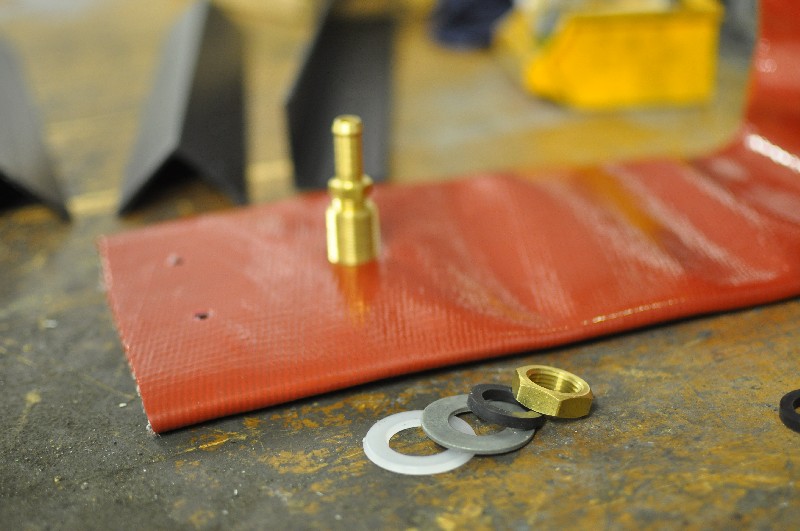
These are done up reasonably tight, if they were just left what I'd call "snug" there was a leak detected in one of the plastic washers at 60psi, so they were redone tighter.
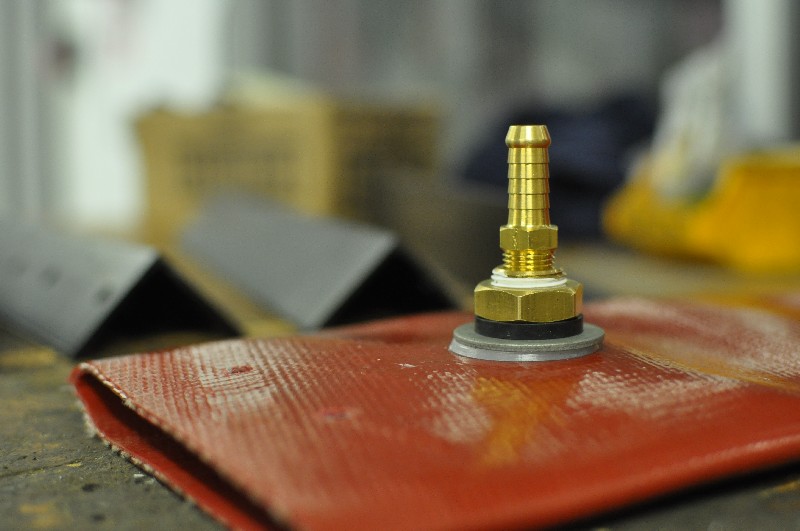
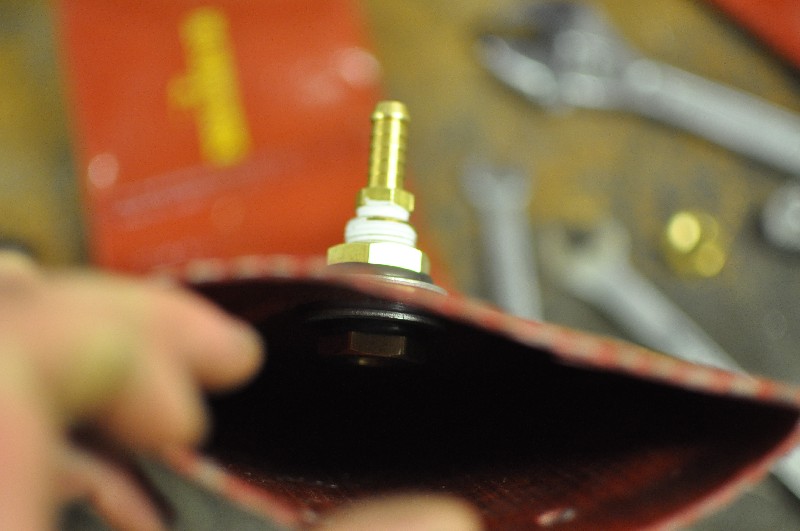
Top to bottom along the bulkhead fitting: Brass nut, soft nitrile rubber washer, steel washer, hard plastic washer (some sort of PE?), bladder, plastic, steel, rubber, and the hex end of the bulkhead union. The bulkhead union is that way around to keep the long tail out of the bladder.
A doubled offcut of hose went in next to the bladders in the clamps, thanks for the tip Falls.
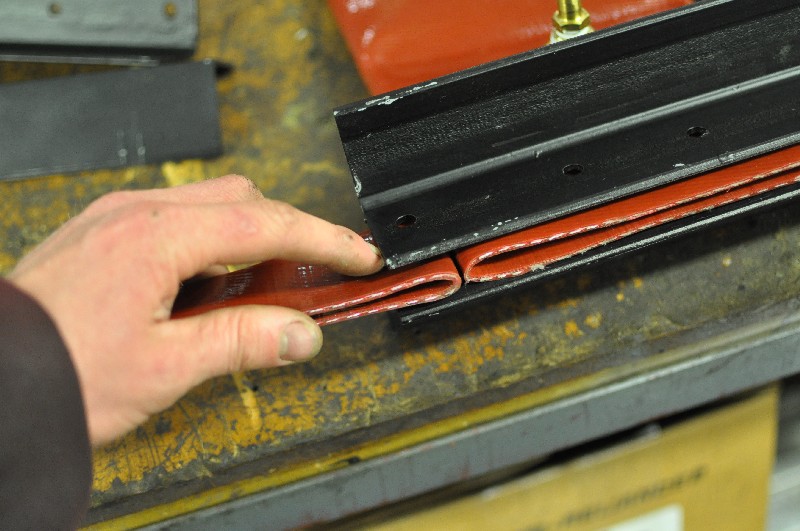
The clamps are fixed with M8 bolts - not toooooooo tight but pretty firm.
Our brass barbs were never used in anger - they were ditched for some sweet push fit Festo gear:
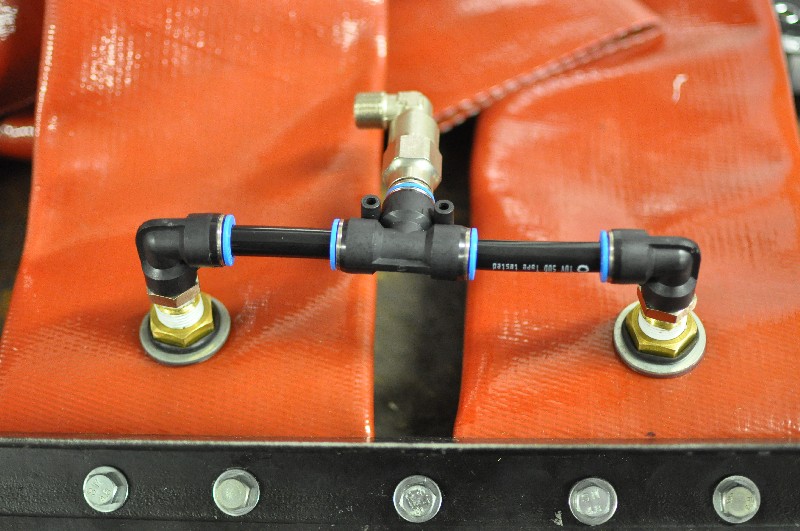
The bladders are leak free to 80 psi. No silcone or anything. I haven't been brave enough to push them higher... The service pressure rating is 0.9MPa, which is what, 130ish in psi, so we'll probably give them a nudge higher to test once all the moulds and whatnot are in place.
Heater mats are up next...
unknownTue Jul 31, 2012 1:02 am
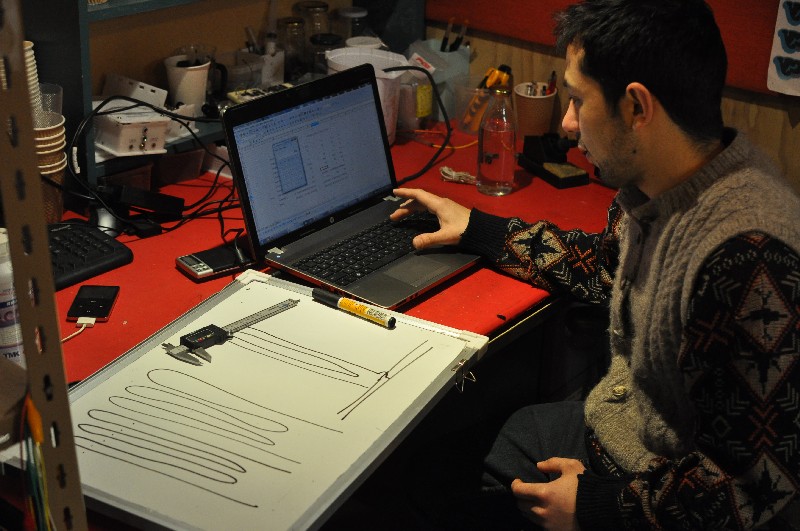
We've built two heater mats based on the excellent work laid down in the DIY heater mat thread. Our wire was very thin, we've had to do 4 runs up and down the mat per loop off the bus bars, and we used a 16mm spacing. I have a feeling we've gone about this the hard way, because the wire is actually lightly stiched into the fabric. Each mat is 1050W. They're 0.2 ohms different between them, which I think is pretty damn close! We calculated everything on a unholy blend of paper, whiteboard and spreadsheet-
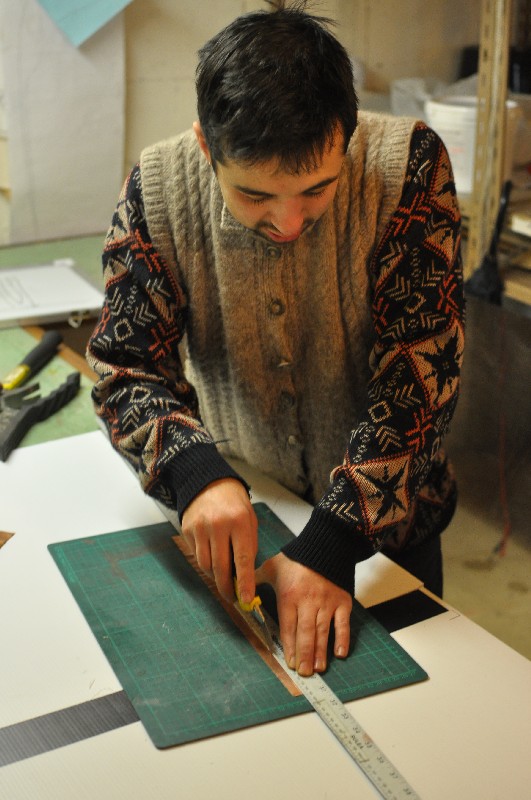
Some scrap copper shim was used for bus bars.
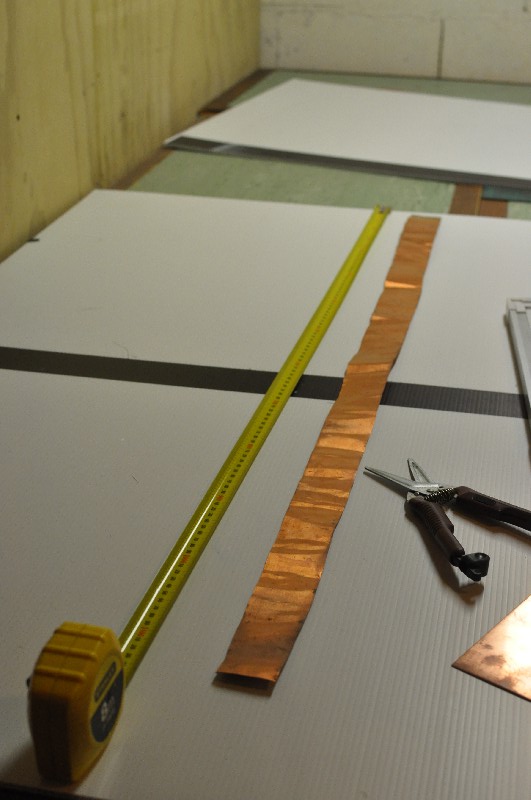
We wire brushed it first to get it nice and clean for soldering later.
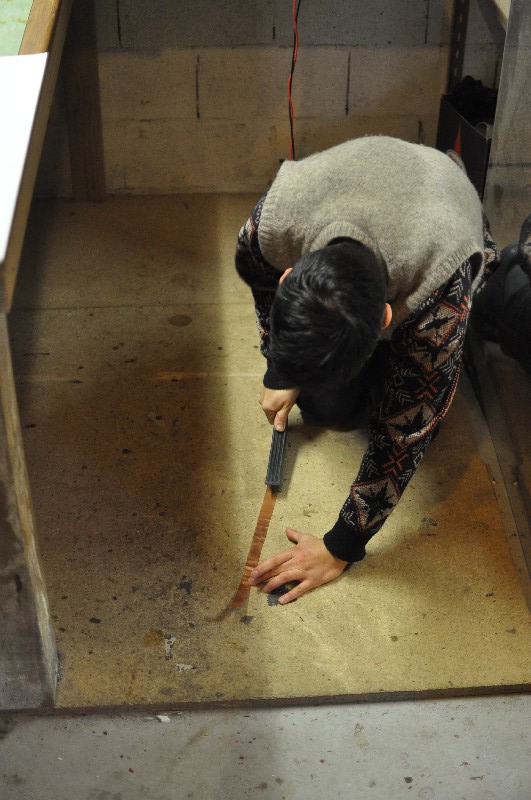
Then it was scored with a knife and flexed to cut.
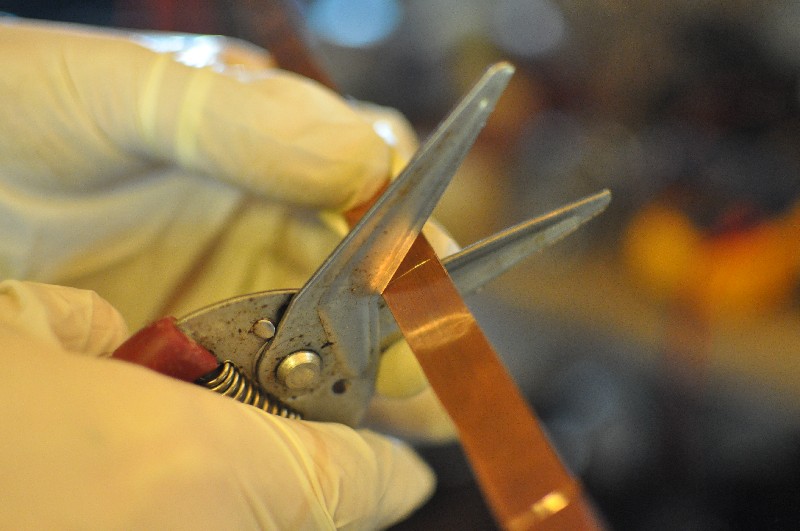
The wind points were notched with snips.
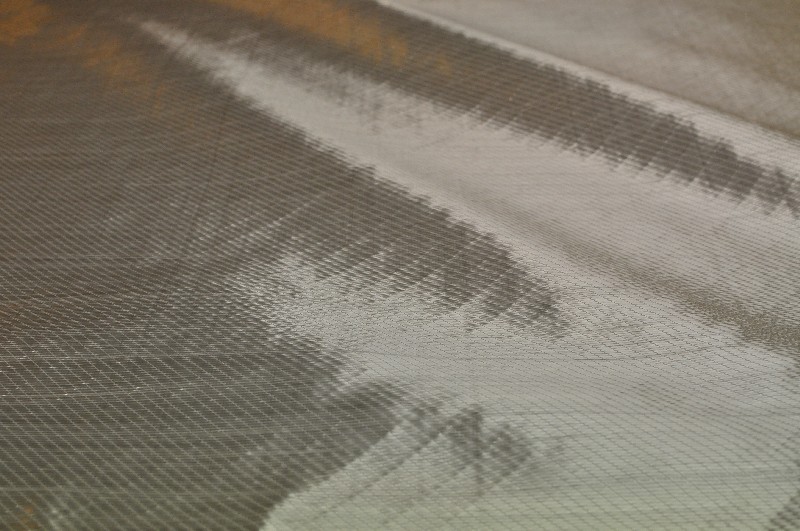
Our cloth that was lying around was a ~400g double bias.
The ingenious improvised wire spool reduced some tangles, and let two people work at once on the mat.
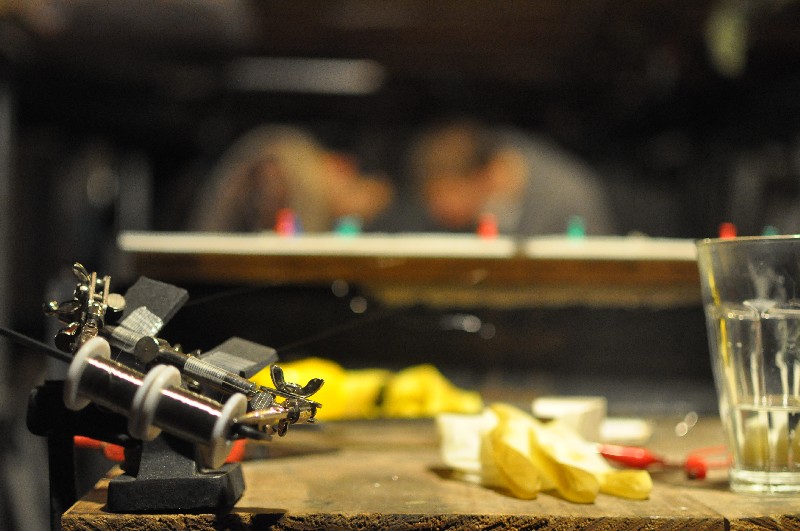
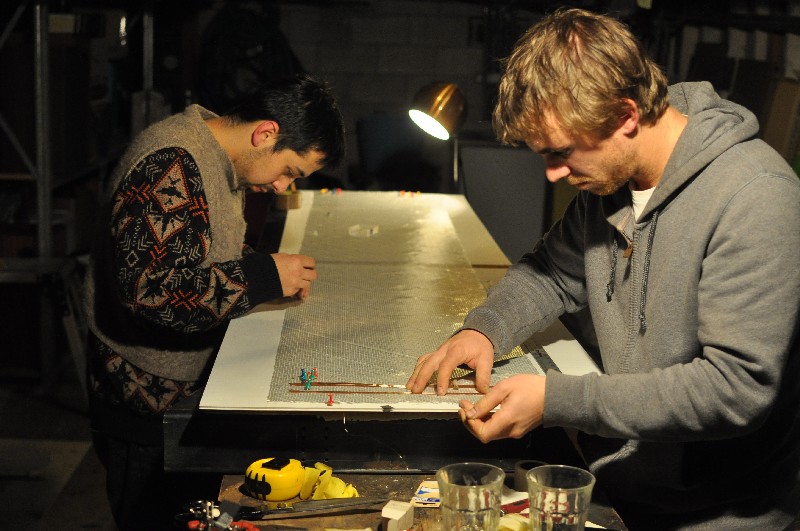
we used pins to double back the loops, but stitches every ~15cm along the mat to keep the lines straight. They are indeed very straight. the layup is on coreflute material, which is nice for the pins but becomes important later.
Shot of the bus bars during soldering. note the fibreglass sleeve jumpers.
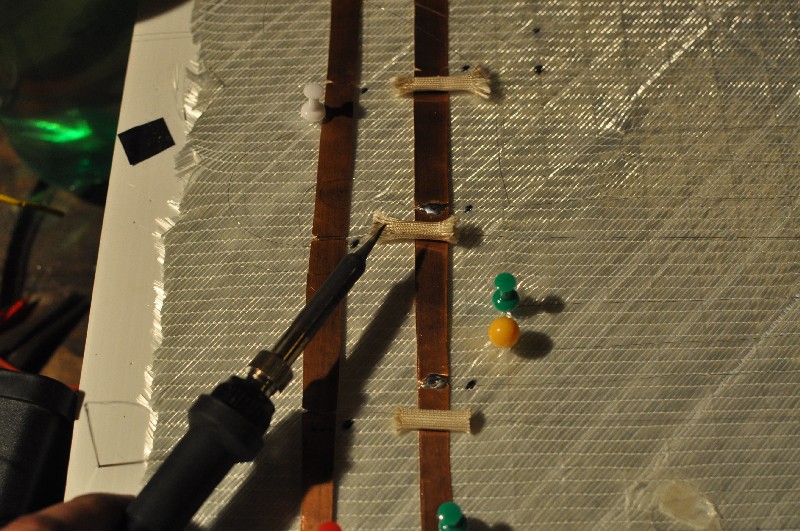
Another shot of the bus bars before resining. We actually did this a bit differently in the second mat, using mini bus bars instead of doubling back a single strand of wire. I was skiing while Jimmy and Krish worked on it (ha, used up some drilling karma) so I wasn't there myself, but I am imformed that it was way easier.
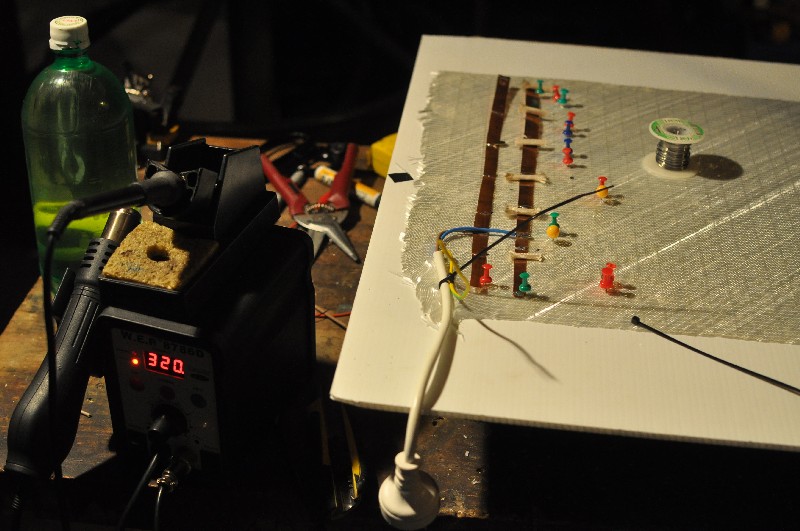
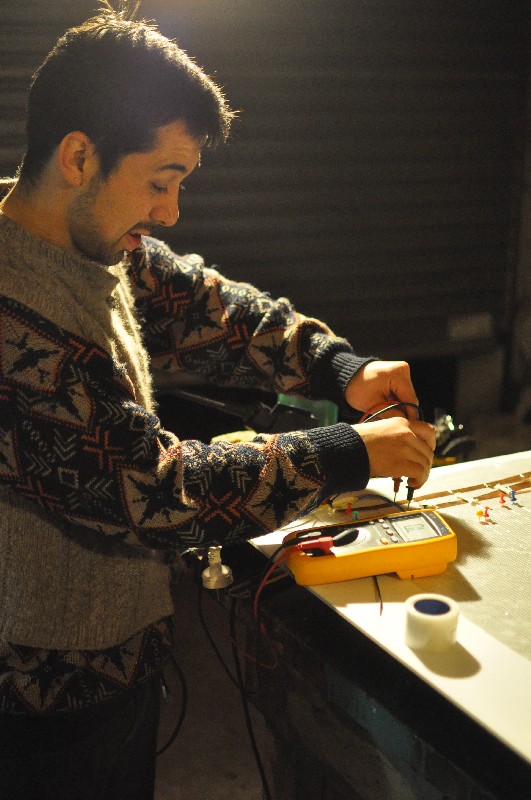
Testing for the right resistance BEFORE putting resin on it is a good idea.
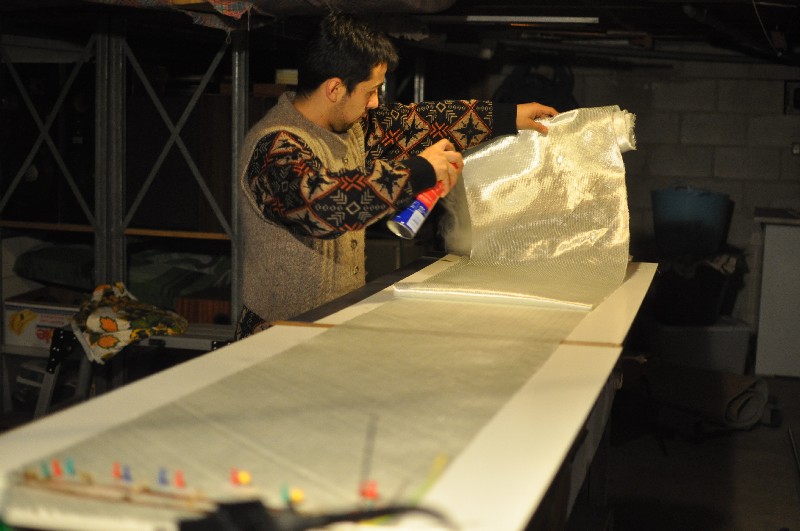
We used a spray adhesive to sorta tack the two sheets of glass together before applying resin - which was a next day problem.
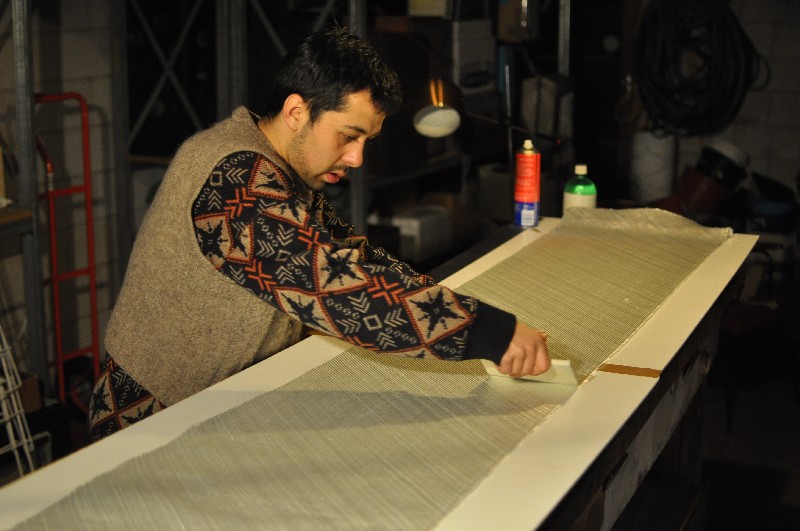
Gently smoothing the fabric together for the glue.
Our silicone was white, so we put a bit of blue pigment in it for no reason aside from being able to see it wetting out.
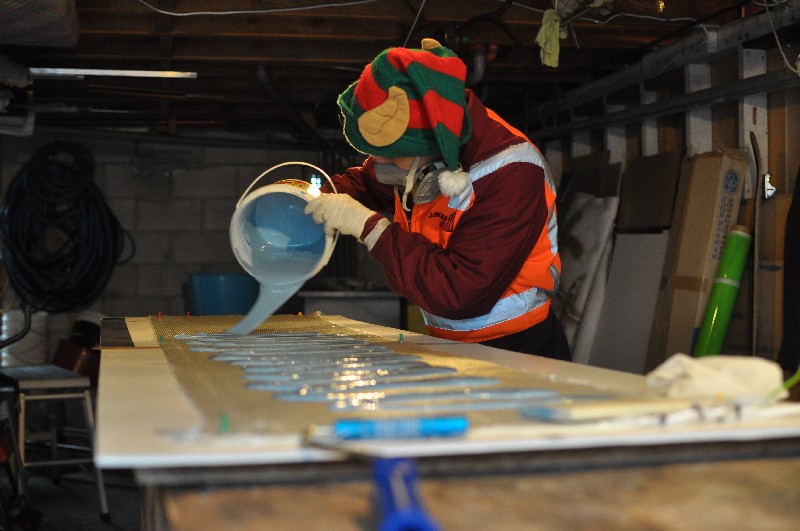
We used 1.5kg of resin per mat. ~1kg was poured on the "top" (as laid up) and squeegied gently into the fabric. it was very thick - this took quite a lot of work to wet through.
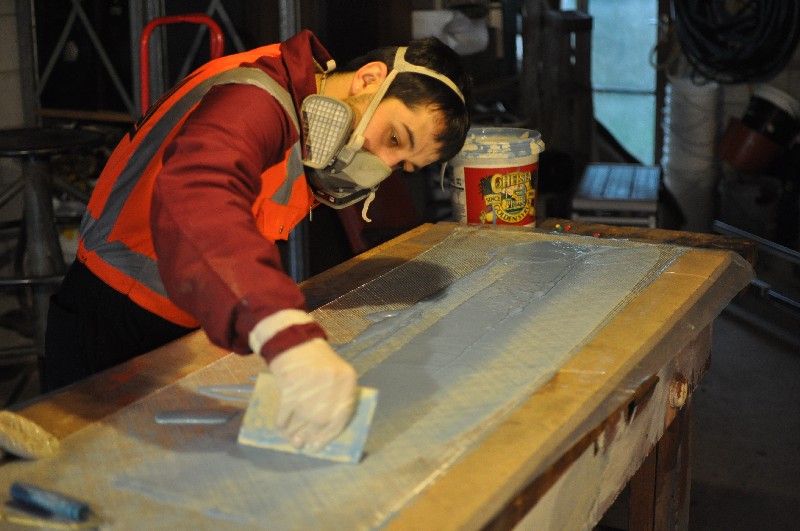
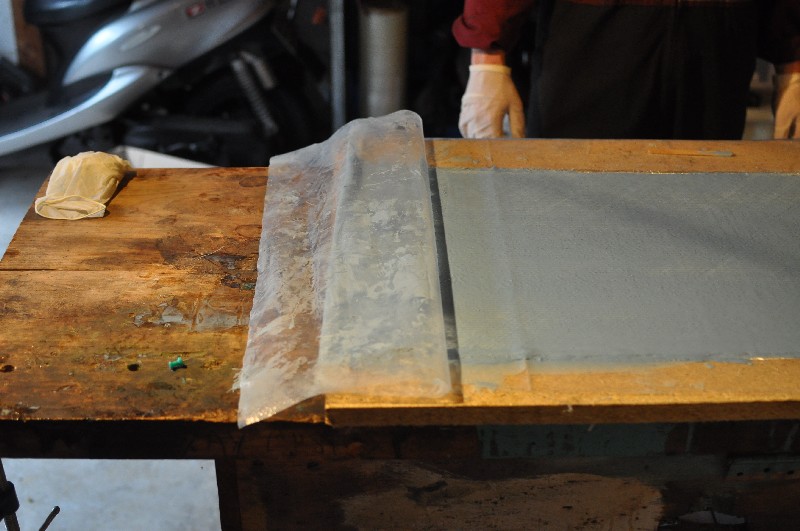
A plastic sheet was draped over the top, and the coreflute under the mat was picked up, and we flipped the whole thing so that we could use rollers on the underside to help wet the resin through.
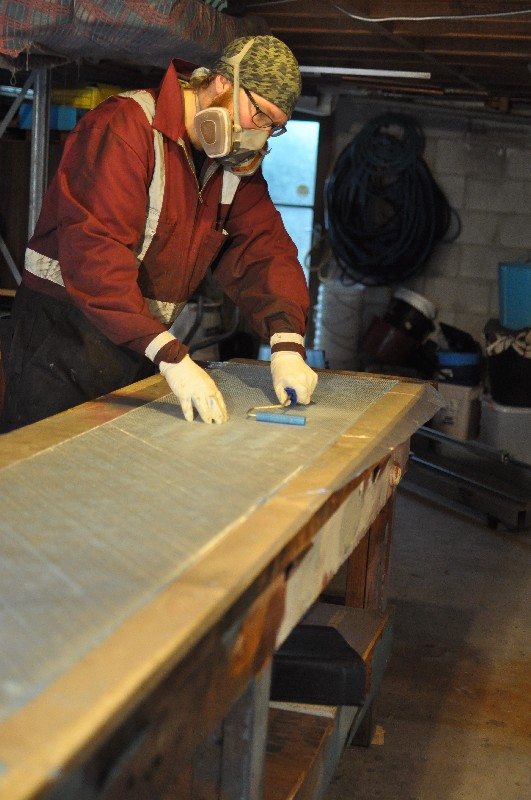
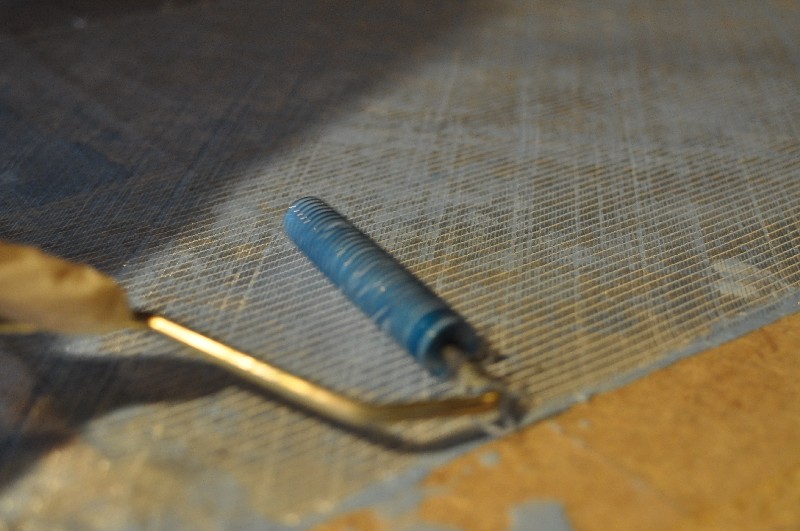
We couldn't use rollers on the top side, it was too sticky and thick, it made a mess of things. on the underside however it was great for working that pool of resin through.
The last 500g of resin was used to make some reinforcing around the bus bars and to thicken the mat on the surface that was now facing up (originally the bottom).
I need to get my camera back to give you guys some moneyshots of them finished, so that will probably be next week. It's a 4 day cure!
In the meantime, I'm putting castors and levelling feet on the press, tensioning the cat track suspension neatly, and slicing up some aluminium into cassettes for the mats and skis.
Phew, sorry for the marathon posts, but I thought I'd better get started before the problem becomes too big to deal with in one night!
Cheers.
unknownTue Jul 31, 2012 8:45 am
Fantastic! Looks like you did all your home work. Great documentation of the build. What's the ETA for the first pair of skis?
unknownTue Jul 31, 2012 9:27 am
Wow, what a great start! You guys are moving right along, nice work! Taking your time and doing it right now will definitely pay off in the end.
I'm jealous of that gantry crane
unknownTue Jul 31, 2012 10:23 am
AWESOME START!!!
Wrong beer.
image no longer available
JK
unknownTue Jul 31, 2012 11:53 am
unknownTue Jul 31, 2012 12:52 pm
Des,
Eta is a couple of weeks. Waiting on materials and those last couple of jobs that stretch out, like wiring etc. But I need new skis so I don't want to piss around.
Twizz,
Yeah, there are a lot of perks to building at work. My company sells machinery, so there are lots of usful things around the place.
MM,
The're both the wrong beer! Two of us are avid brewers too, I almost melted when I had to touch the Tui box. However, it's the right beer for the famously atrophied average kiwi's taste buds or lack thereof. Our macro brewers only excell at advertising.
A big thanks to the three of you for the kind words and the help you've dished out to others over the years - you've helped us enormously via proxy.
I'm hoping to bounce some design stuff off your guys before I start making moulds. Cool to do that here, or should I make another post?
Cheers.
unknownTue Jul 31, 2012 2:03 pm
Wherever. There are lots of "should I do this?" threads in the design forum, so you can try to look around in there to get ideas, but everyone is always willing to give their input, good or bad!
unknownThu Aug 02, 2012 3:48 am
Cheers Twizz. I've actually gone through and read that entire forum, shape should be fine, it's more that I want to get that subjective judgement of "that sounds stiff" or "that sounds medium" with regards to a core thickness profile. Seems that it just takes a bit of experience to get a feel for that. We'll do some CAD and post the details when we can show it visually.
unknownThu Aug 02, 2012 9:51 am
More photos:
I ripped up some sheets of old ply and chip to serve as spacers to adjust our cavity height on a panel saw:
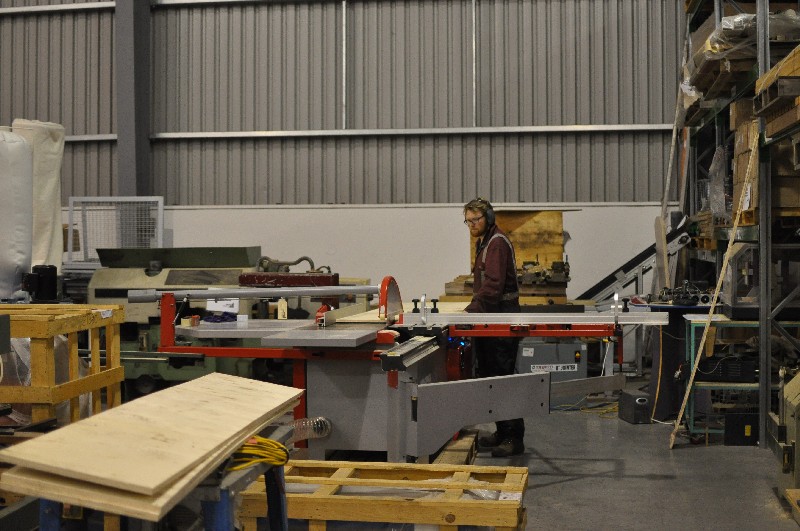
We rested the cat track on the spacers and started stringing. We used 4mm shock cord, cheap by the 100m roll. Because I had to buy 100m of it, we ran through every bar in the cat track.
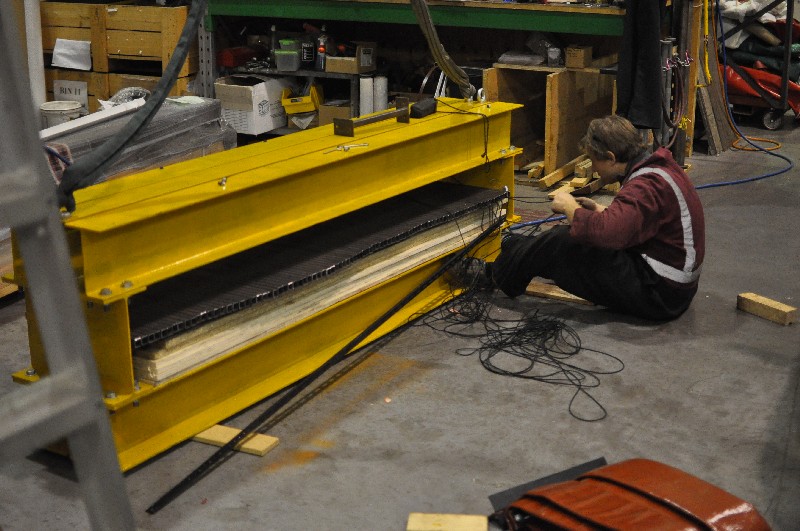
This was another suprising job. It ended up taking all night to get it threaded (lots of running backwards and forwards across the warehouse carrying slack). The suspension rails are demountable for installing the top moulds, fiddling with bladders etc. We plan to have the top moulds mounted with t-bolts - there is a small gap in the beams for this purpose.
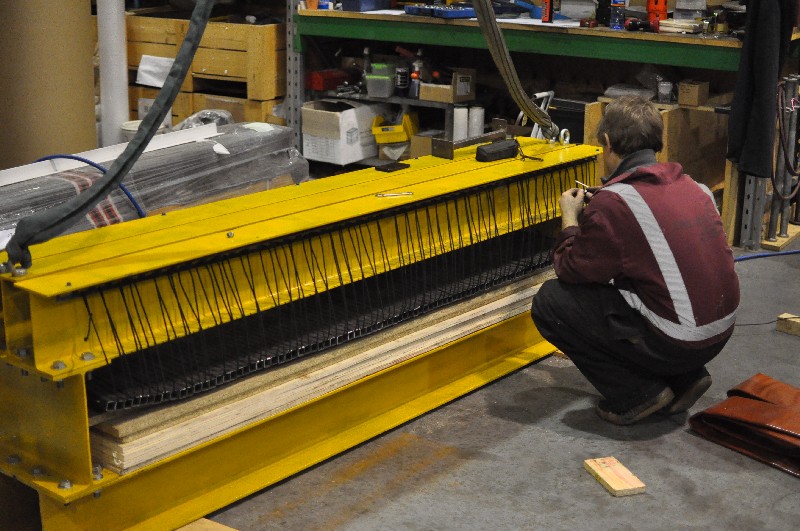
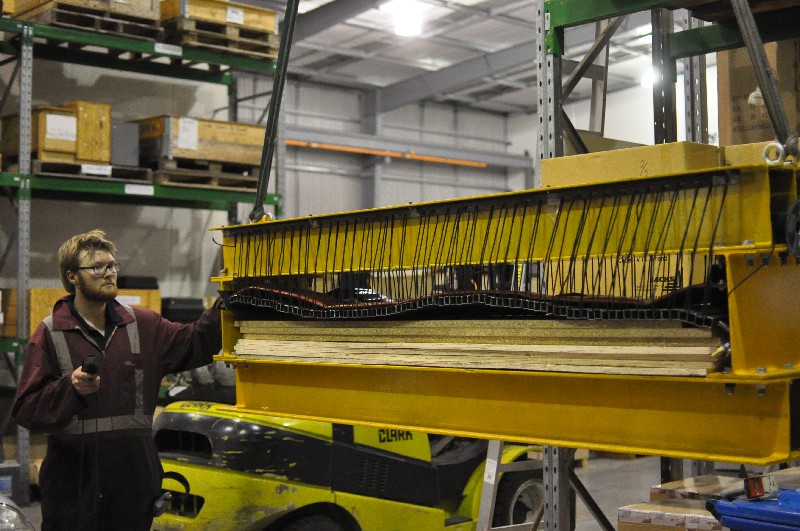
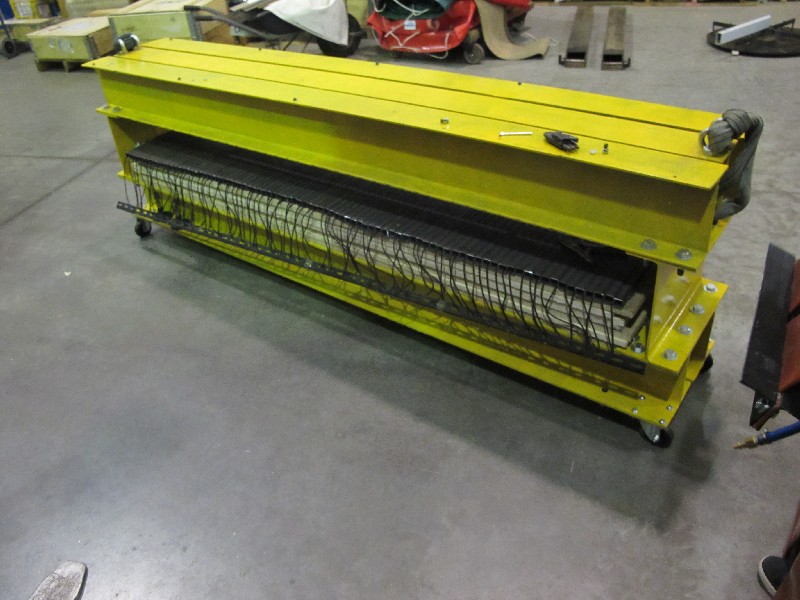
The press without moulds, also before evening out the cat track tension.
Cheers.
unknown
Excellent descriptive posts and pictures there mate. Love it.
What goes on in that shop when ski presses arent being manufactured?
unknown
Thanks Goz, the photos are from a few different locations but most of them are taken in the workshop, warehouse, and spindle room of my work; we sell large scale wood processing stuff like cncs, edgebanders, and high speed solid wood processing stuff (some smaller home workshop stuff too, like buzzers, thicknessers, panel saws, blah blah blah). The heater mats were made in Krish's workshop, where he makes longboards from time to time (vacuum pressing). He's the dude in the knitwear
some more press details-
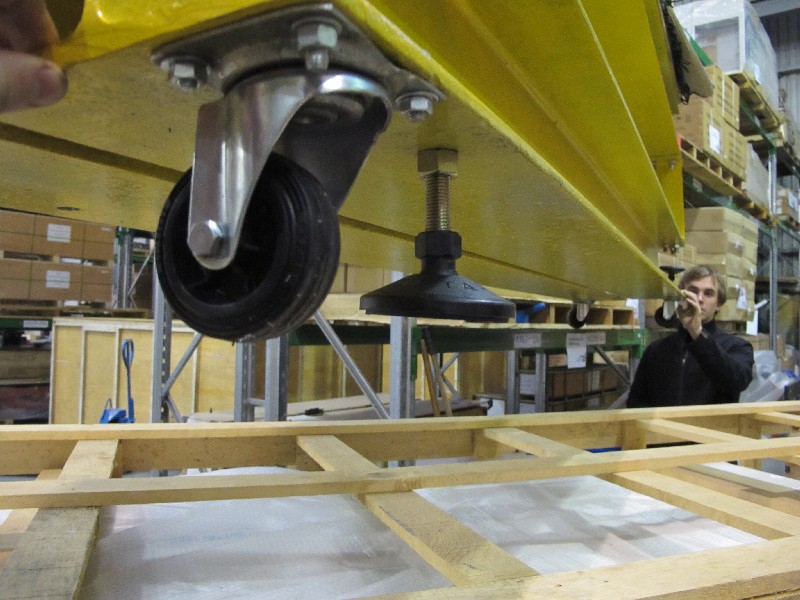
Levelling feet + wheels. Will be good if we ever need to move it to where there isn't a gantry crane!
Cat track tension - we strung the track on stainless braid, and tensioned it like this:
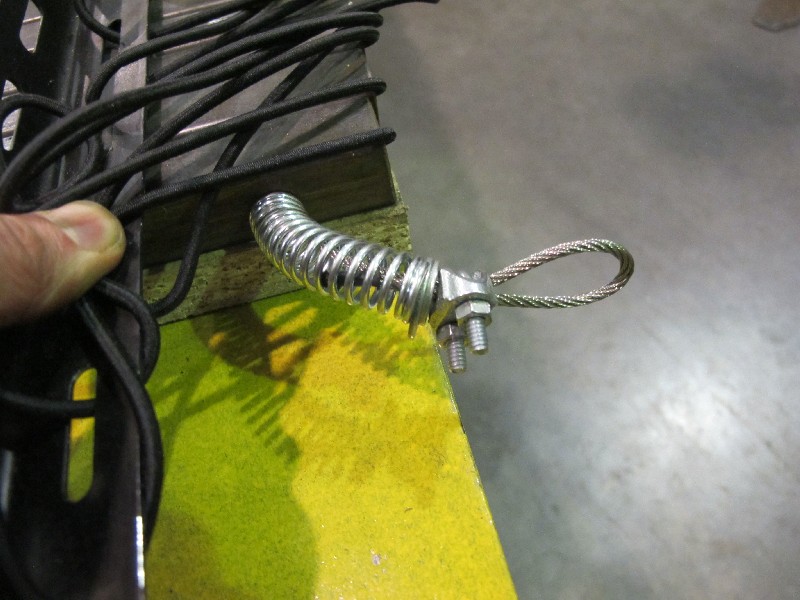
It's pretty firm.
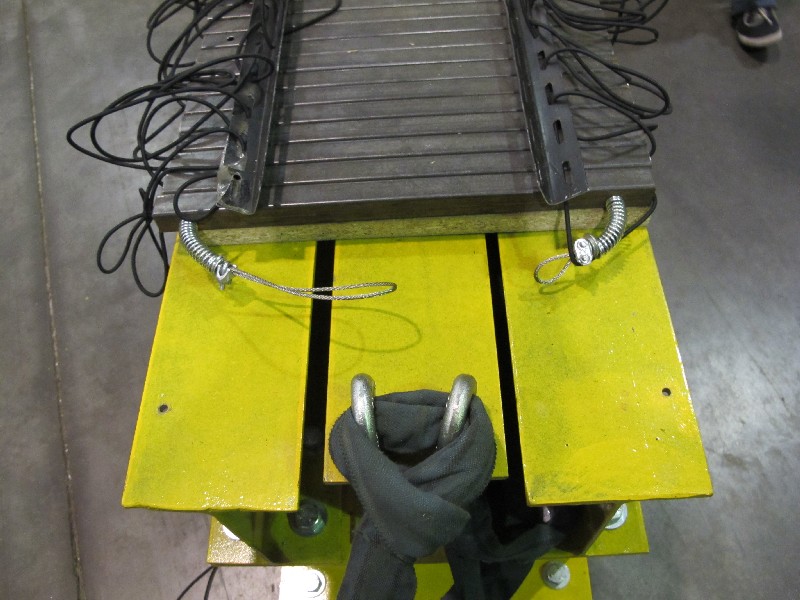
Showing how the suspension drops to accept top moulds.
unknownWed Sep 12, 2012 2:53 pm
Also, let's talk CAM.
Our skis are modelled in Solidworks, Less can talk a bit more at some point about our methods for CAD.
I'm CAMing at the moment using VCarve and Cut3d from Vectric (just what I've got). I had a play with MeshCam but it doesn't seem like it's quite there yet. Eventually we'll be using Mastercam.
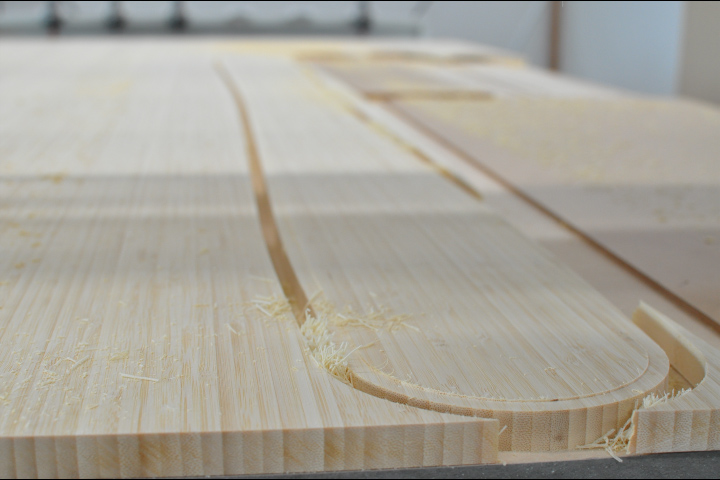
So, from solidworks, we export the rabbet line and core sidecut, as a dxf. That all gets imported into Vcarve and located 10mm in on both x & y. Then I can do a pocket path for rebating the rabbet (heh) and a profile of the core sidecut as one gcode, grab the rabbet line and put a pocket inside it with a 0.1-0.2mm offset (still experimenting with the right fit here) for the spoil board pocket.
Then for the 3d stuff, in Solidworks we supress the sidecut and expand the camber extrusion by 10mm in X and Y. This negates Cut3d's awful and seemingly unavoidable habit of dropping the tool down off the end of things and requiring a pencil cleanup toolpath (which it doesn't really do). That body gets exported as an STL, and dumped into Cut3d with the 10mm inflated stock size, and then it'll drop straight onto the same spot on the table as the VCarve files, and won't touch the profiled sidecut of your precious, precious core.
Took a bit of thinking to get that straight in my head, so hopefully this helps someone in the same situation one day. Which will probably be me, once I forget.
unknownWed Sep 12, 2012 4:26 pm
If the base material is really annoying you on the CNC to hold down then an MDF template with vacuum channels and cutting with a router by hand and a pattern bit really works well. The last pair I made I left the vacuum running to hold the base in place while attaching the edges and I found that my edge fit was the best I have yet achieved.
Agree with twizz about rolling the plastic in the opposite direction. I usually cut a 2m length and roll it in the opposite direction then sandwich it between 2 sheets of MDF (18mm) until I am ready to use it. If you have a lot of base material you can cut it to lengths and stack them and then their own weight helps to keep them flat (but that's prob more like production run volumes).
Cutting the bases on the CNC and then lifting them off to attach the edges does leave a bit of room for plastic warpage. Maybe cutting an MDF template that you can attach your base material to after cutting on the CNC for edge attachment would be worthwhile. Not sure what others who cut their bases on CNC are doing for attaching edges.
Mega jealous on your equipment also!
unknownWed Sep 12, 2012 4:29 pm
You'll laugh at this Falls...
I don't have a router
unknownWed Sep 12, 2012 5:19 pm
Ha!!! I love it!
And yes, rabbit, rebate, all the same thing. I use the terms interchangably.
I don't have any pictures of my drag knife up here yet, but I will in a couple of days once I get some more pictures of these new pairs up. I am currently not doing any compensating for the drag, but my shapes have been very round with no sharp corners, so it's been ok.
On my CNC I just drilled a grid of holes a few inches apart and put 3/8" t-nuts on the underside, so that I can use normal machinist clamps. It works, but its not ideal, especially for small parts. When I get some time I may make some changes to do vacuum through MDF like you are, that's pretty awesome. I notice the table is a bunch of MDF laminated sideways, I assume that's because the porosity of the core is more so than the dense outer bit of the MDF.
unknownWed Sep 12, 2012 6:24 pm
Ha no router! Priceless.
Twizz here is a video about setting up a vacuum table (you know you want to). http://www.youtube.com/watch?v=sx8fAv5f8js&feature=youtube_gdata_player
I think they make "light" MDf which is more porous and pulls vacuum through it better once skimmed.
unknownWed Sep 12, 2012 7:09 pm
Nah it's not a light mdf, just the normal stuff. in a production environment you'd use coversheets, reject boards etc. once you skim both sides it gets plenty of suck - as long as the parts are reasonably flat (hence it falling apart for my bases).
It's actually not lamiated Twizz, what you're looking at there is the burring left by the skim cutter, which is a bit over an inch wide. because half of the fibres are orientated one way and half the other by a rotating tool, you get that stripped effect.
unknownWed Sep 12, 2012 7:13 pm
Got it, awesome thanks! Absolutely on my list of projects/cnc updates now.
unknownThu Sep 13, 2012 6:51 pm
I'll take you a photo of what the vacuum bed looks like later tonight. might help your thinking.
unknownSat Sep 15, 2012 3:21 pm
loading it is easy. Just hit the gym and work on your seated rows.
image no longer available
unknownSun Sep 16, 2012 2:10 am
That's pretty much the solution we've opted for, yeah. Thanks for the inspiration!
All go here, profiling cores right now but shitty CAM software means no offset climb cutting... and so here I sit, editing the code by hand
Edge bender done, man, the Skilab edges are only JUST long enough for my skis. they're monsters.
We're going to do one pair with full core tips, one with an thin tipspacer just to see how that goes. Less is out buying layup consumables, fibre and resin are all here, PIDs tuning, Press is fully compliant... just about ready to push go!
unknownSun Sep 16, 2012 4:00 pm
what size of vacuum pump you are using? I read at CNC zone for full-size vacuum table they are using 15 to 20 hp vacuum pump
unknownSun Sep 16, 2012 5:25 pm
Depends a lot on the type of pump. The one on that CNC is just a blower - sucks a hell of a lot of juice (12kW) and doesn't draw that great a vacuum. On the flip side, they're more tolerant of the spoil board getting tracked out.
On our more expensive CNCs (Read: not for skibuilding) we have dry running claw pumps. kick ass for nesting, low power (more like 5kW) and draws a way, way better vacuum, but it moves less air, so it's less tolerant of the spoil board getting tracked out / being uncovered.
Some pics inbound shortly! then I've really gotta tidy up because it's 10pm on Sunday and the mess level at work is hovering between "awful" and "catastrophic".
unknown
pic dump time...
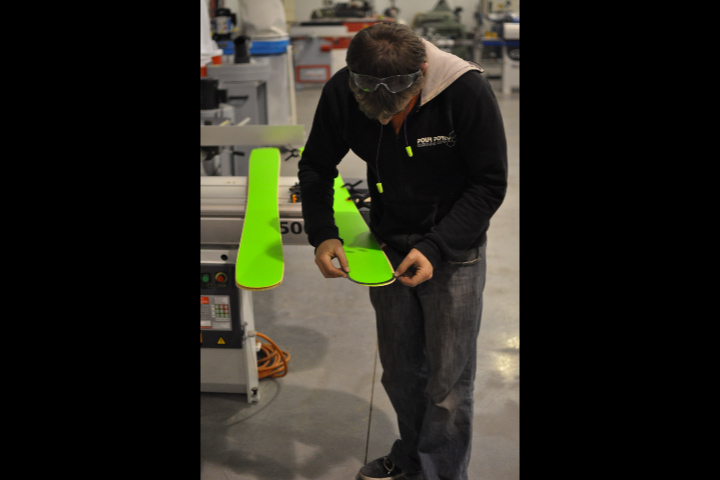
Milling
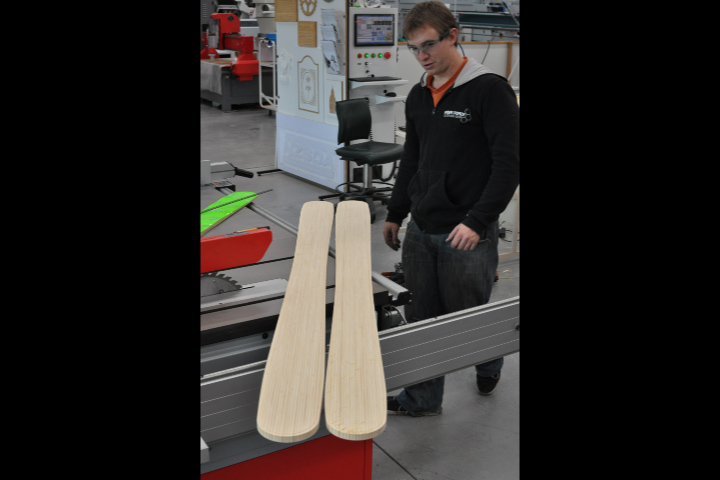
Profiling
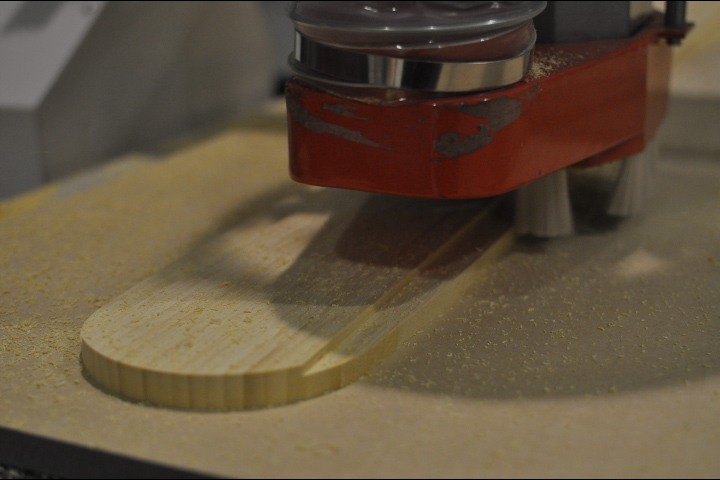
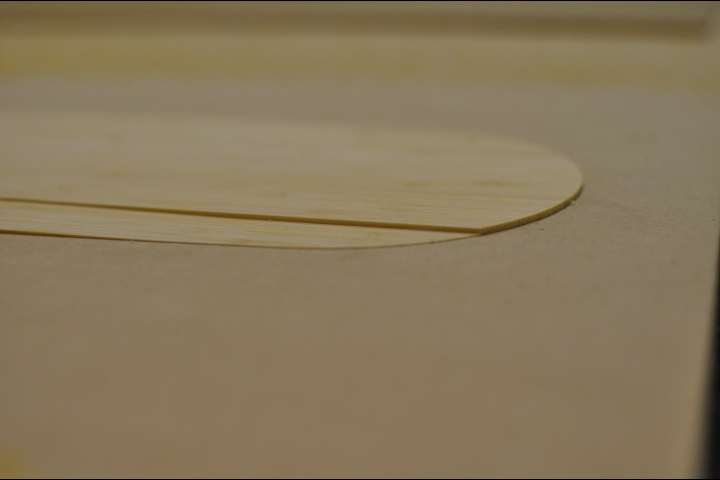
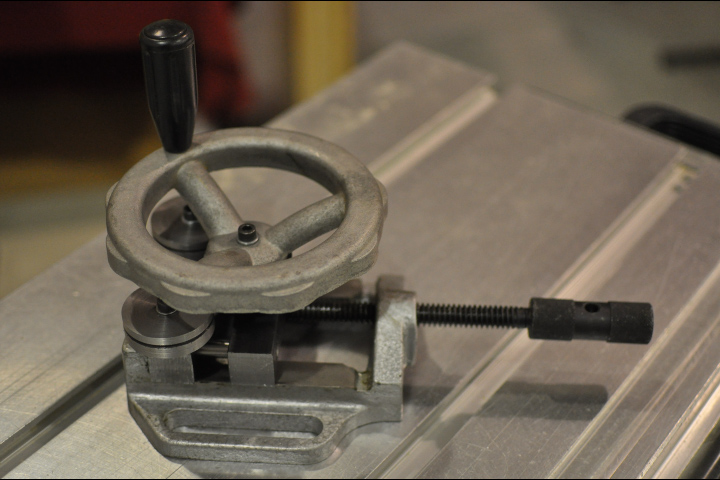
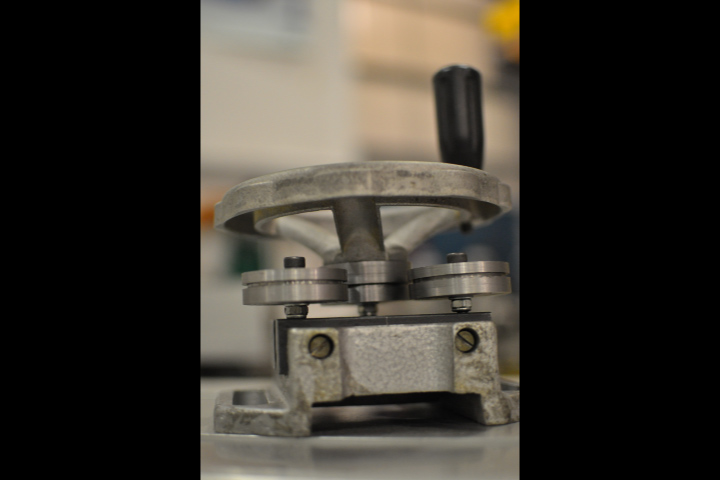
Bender - works best at 2 in the morning after a couple of beers, when I achieved a zen-like state of oneness with the bender, and perfectly cranked out a couple of edges in a row. The next day took AGES of fiddling to do the other edges. Moral - don't sleep and keep drinking beer.
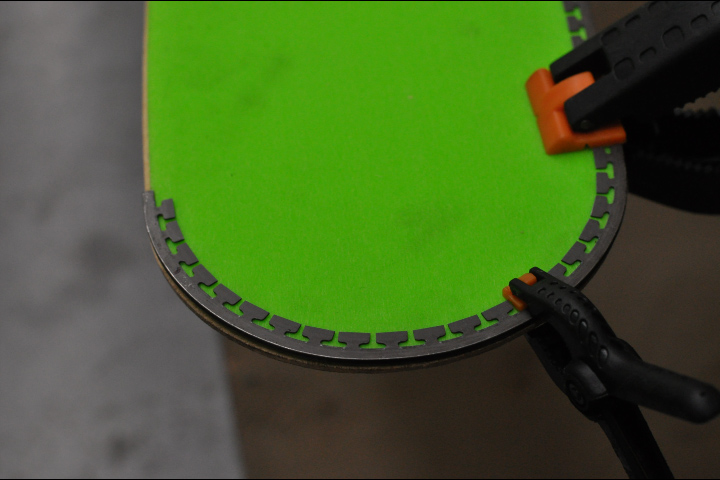
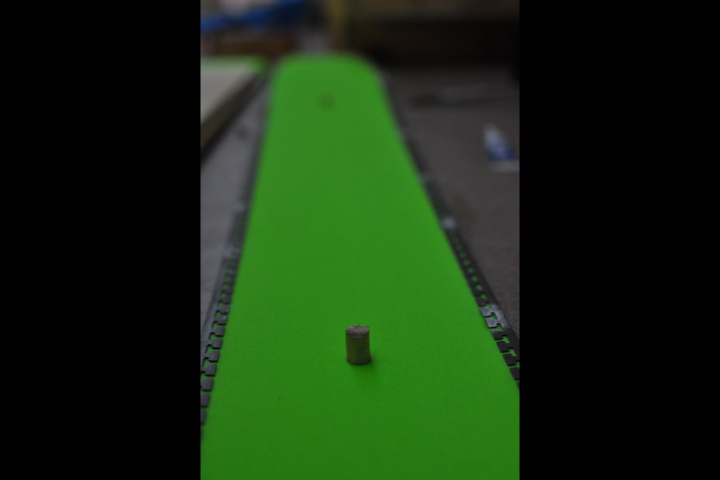
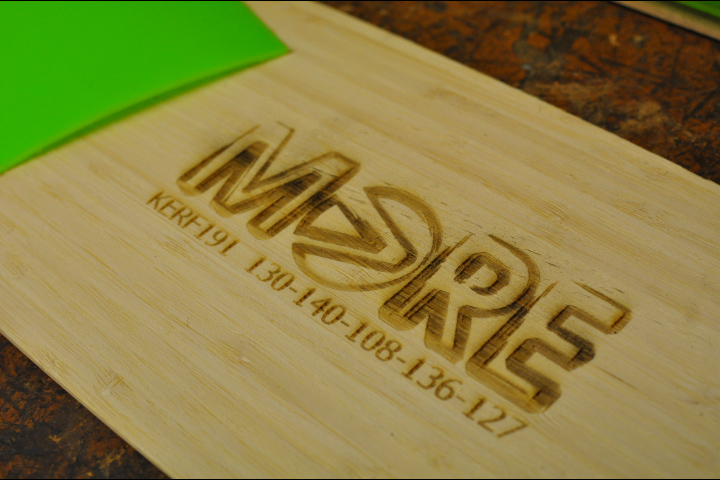
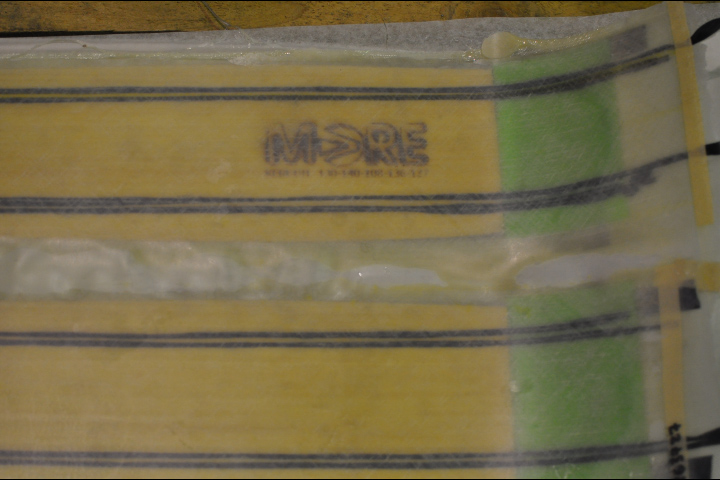
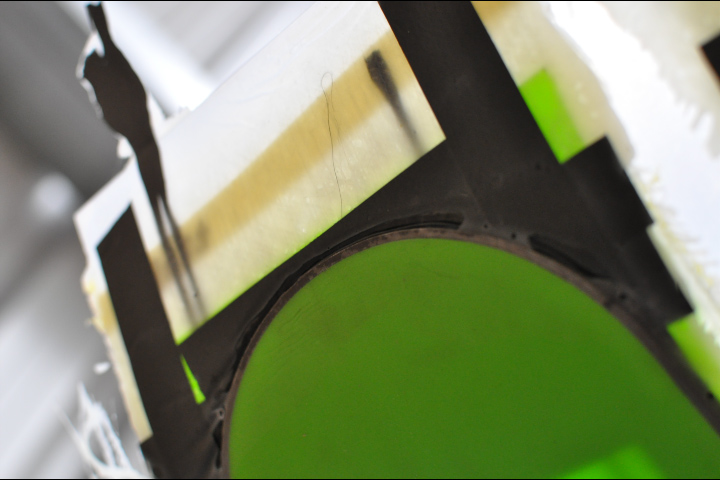
Lasered the core - was looking to see if it would show through - seems to have done so alright on the bigger lines, but not good for text. would reserve this for blocky graphics in the future, but more likely is I'll just move to dye sub.
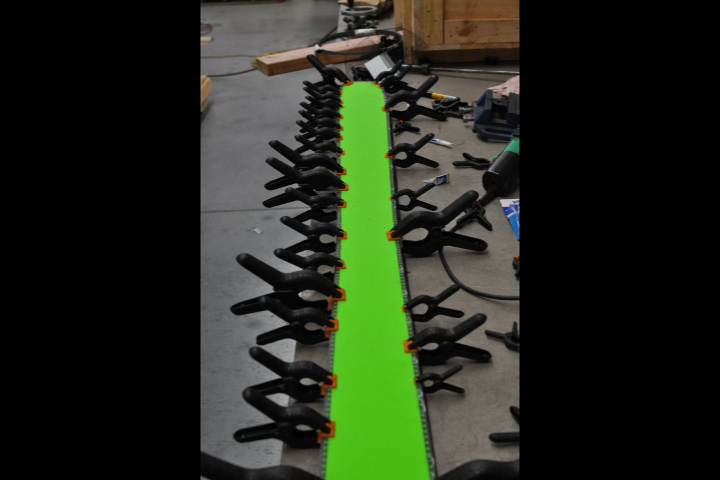
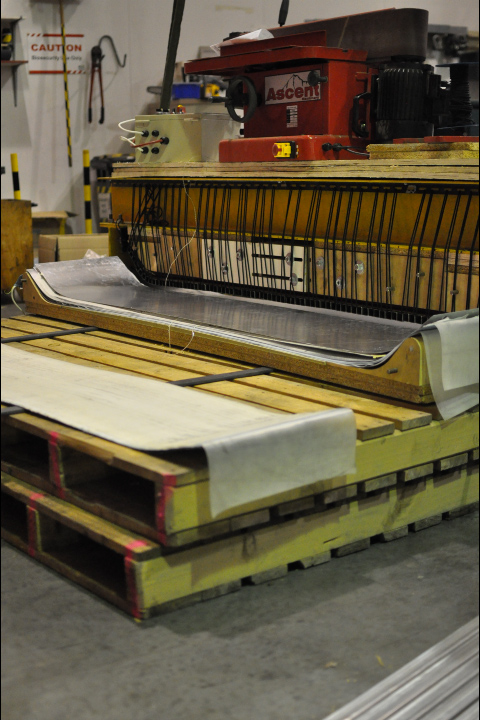
Frugal press loading equipment
worked REALLY well actually.
I've got a bit of practice to get smooth and fast with layup... need a better strategy in this area I feel.
I can't wait to cut these bad boys out. so far it looks like they've held camber and have flat bases.
unknown
sweet, nice progress.
unknown
You have a laser too?!??? Ok I am WAY too jealous. I've always wanted to do laser-burned graphics on some bamboo veneer topsheets.
Nice job on the edges, that is still the hardest and most frustrating part of the whole process for me. Is that a constant radius tip? Try a tip with a changing radius, then you'll learn true frustration
I stopped dong full-wrap and do 3/4 wrap and it is WAY easier now.
Nice job, looks like they turned out great.
unknownSun Sep 16, 2012 5:53 pm
Yeah, we had a last minute change of the tips to constant radiuss, but with our widest point back a fair way from the tip there is still a gentle curve outside of it. Generally the radius was fine it was transitioning to the very small curve and judging the springback that was a rage generator.
I think someone sold the laser so I might not have use of it for long
On a topsheet it would look sick. I was hoping to laser cut some vinyl stickers for the topsheet.
The edge compliance was great - potentially I was being a bit too fastidious about it.
unknownMon Sep 17, 2012 12:57 pm
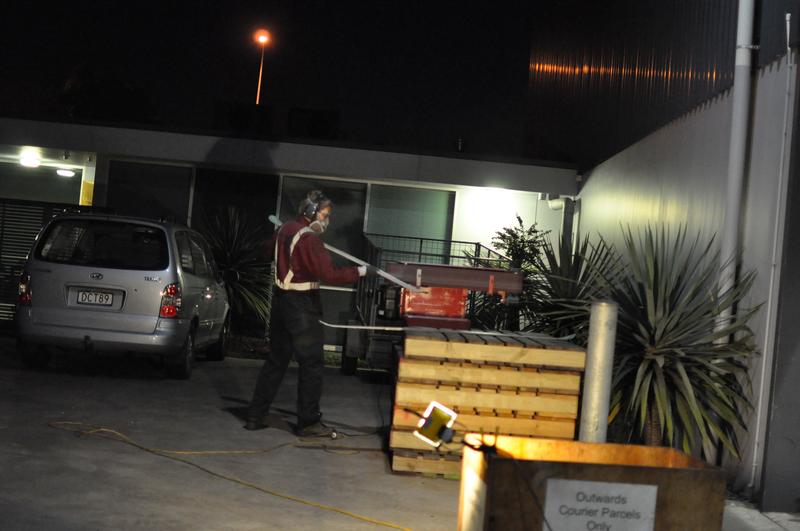
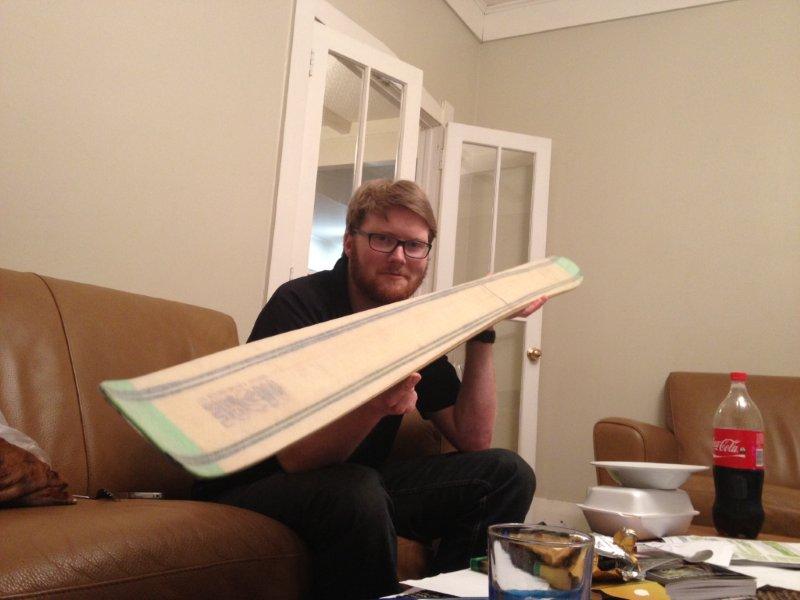
Whoever first recommended Remgrit blades, you sir, are an awesome human being.
Belt sander worked great for cleaning up after the cut
bahahahaha
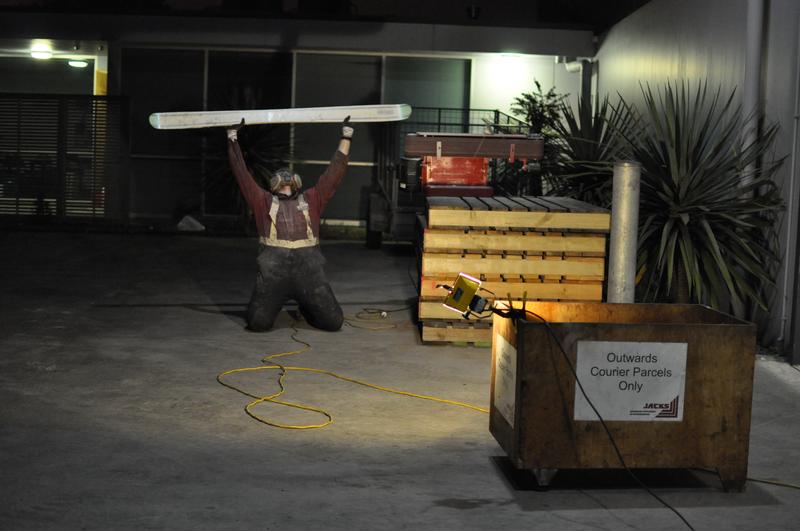
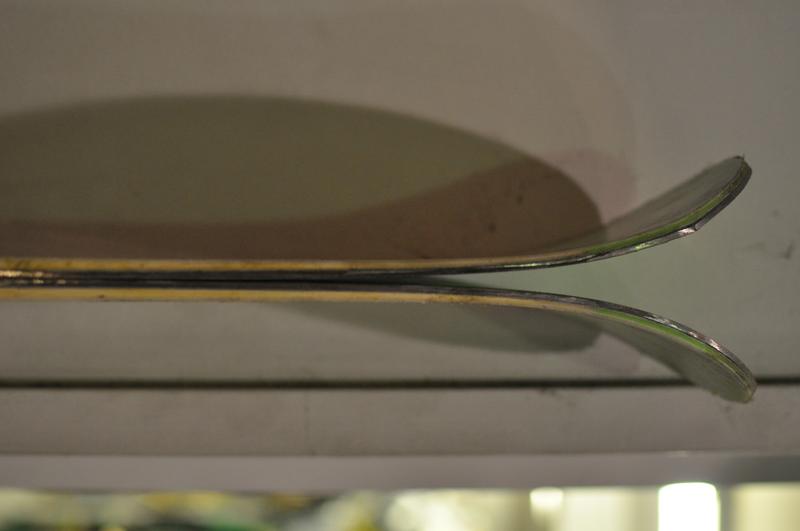
The early rise came out pretty much exactly as I wanted, camber is good, bases are flat.
unknownMon Sep 17, 2012 1:01 pm
Sweet! Wait till you ski them for the first time, nothing will be able to wipe the grin off your face.
unknownMon Sep 17, 2012 2:33 pm
I LOVE this picture. You must be so pumped, congrats on your first pair!
Looks like you got a little bit of edge fall where your edges meet. Pre-bending your tips can help with that if you continue doing the full wrap edges like that.
unknownMon Sep 17, 2012 4:08 pm
Oh, yeah, I'm just sitting at work with a shiteating grin plastered all over my face
That's the first edge joint I did, potentially the BTSR was slightly too high. The other ones ended up looking way nicer and I moved the joint back slightly (but still way out of the effective edge). The others aren't perfect either but I'm much happier with them compared to that fugly one in the tip radius. Feels like we're on the sharp end of the learning curve at the moment but hey, at least that means improvement will be rapid!
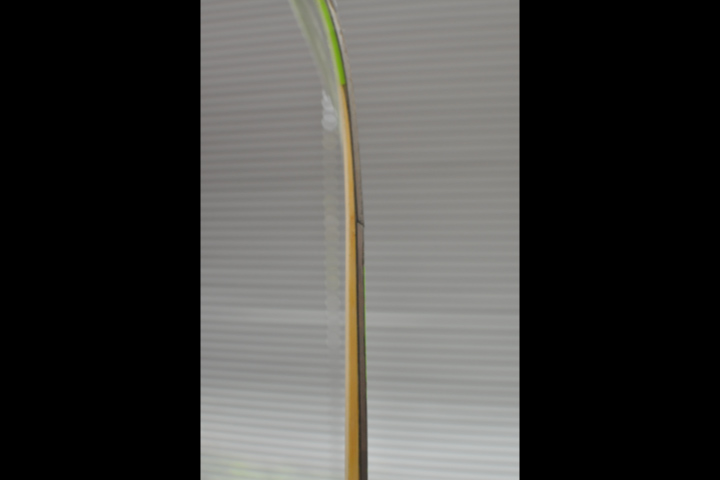
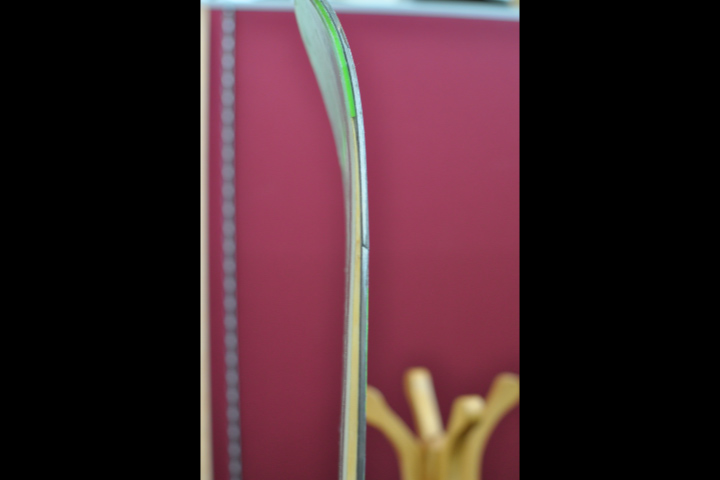
Will have a crack at a pre bend for the next pair (next week
)
unknownMon Sep 17, 2012 5:33 pm
Great job! Fn' awesome feeling isn't it! Like SD said, your going to need a plastic surgeon to remove the smile off your face when you ride them!
unknownMon Sep 17, 2012 5:56 pm
Iw ouldn't worry to much about that join. I've seen bad joins and that's not bad at all.
Like everyone else has said, the feeling of the first ride will be awesome! congrats!
unknownMon Sep 17, 2012 7:03 pm
I am so full of envy now. My pair (the 176 version) are so close, with just edge and dowel gluing to do. However after a mamoth effort over the weekend to get the first pair out, and a friends wedding this weekend to come we are going to have to wait just a few more days. Will be getting eges on and a new camber mould block in the press this week. Hope to get into layup early next week!
unknownMon Sep 17, 2012 9:56 pm
Nice log. You see the void under the core at the end by the tip spacer? Yeah.
You have to leave the core thickness more than you think in the tip spacer area. Its 2mm tip spacer but because of the rabbit you have to leave it like 2.5 or 2.8mm. The plastic compresses in this area but if the core is too thick there will be a step.
Tricky spot.
unknownTue Sep 18, 2012 12:02 pm
Yeah - I hadn't planned to use a tipspacer, and then got a bit overambitious in thinning the cores, so with the end wafer thin I decided to lop it off and use some base material. It's only a single layer of base actually - and it's flush in the middle but at the rebate/rabbet it is, as you say, a bit shit.
hopefully won't come apart...
unknownTue Sep 18, 2012 1:44 pm
Nice job. I'd say you nailed it for your first ski. Minor tweaks, but excellent overall! BTSR can be a tricky thing too. It's one of the rare things in life where sometimes more isn't better :-) Ski On!
unknownThu Oct 04, 2012 3:34 pm
Cheers Des... I, uh, think maybe I'm, uh, feeling a little sick... might have to have a medicinal day at the mountain tomorrow to see how they go!
unknownThu Oct 04, 2012 3:44 pm
^^^ Yea, that's the side effects of a successful build! PICS of your recovery day!!
unknown
Okay, been way too long since I updated this.
I love my first pair, I can't scrape the smile off my face.
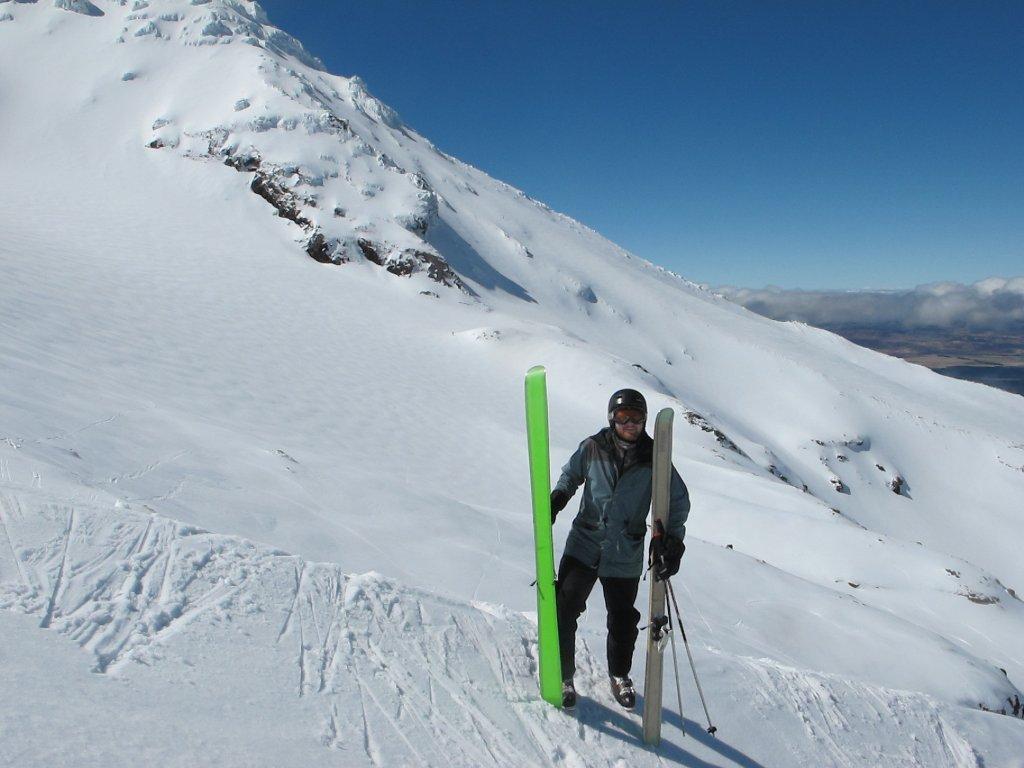
So, the first pair have had 3 days, second pair mounted awaiting the chance, and the third pair are still a twinkle in my eye but hoping for this weekend or the next depending on the availability of machines at work. They'll be something a little bit narrower underfoot with more asymetric flex.
Working for some turns:
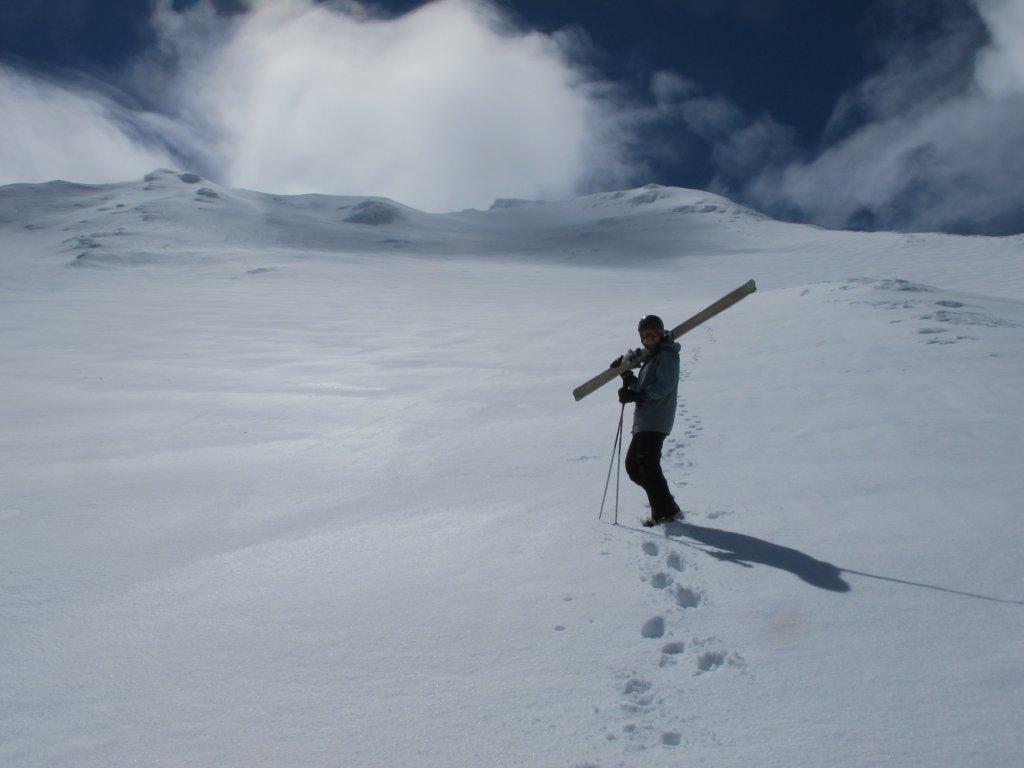
The first day was on boilerplate snow - hard, hard, hard HARD and slick. I skied them for a couple of runs and was reasonably happy with the performance on a surface they weren't really designed for. Then I stomped back into my old Salomons, did one run, and realised that I'd actually overestimated the conditions, and my Kerfs (name of my ski) were actually better than the old skinnies for grip and turn on ice! Neat. There's a pair of skis made redundant in one fell swoop, Which frees up a set of bindings. The kerfs didn't get so flappy in the early rise as to compromise things on the slick stuff or cords either, they haul ass when required.
Then I had a weekend of really springish conditions, super soft going to corn in places. F%$k. Me. Dead. They rock. The loft up in the tips is great, the tail doesn't catch, and the ski is so springy and poppy that it just chucks you into the next carve. All the things that I had thought were weaknesses on the boilerplate day became strengths, and I had to ring up the girlfriend to get her to deflate my ego a bit. I get a s$#t eating grin plastered all over my face just thinking about how they performed.
So, learnings from this design for me:
Amount of pop underfoot - makes it a bit unforgiving underfoot in frozen chop, but awesome for carving in medium / soft. I will definitely have to work on making the next pair (which will be made with harder conditions in mind) a bit damper - need ideas on this. I suppose my lack of plastic sidewalls probably doesn't help.
I had felt that I'd perhaps made the flex too symetrical - but a few turns switch in the soft stuff convinced me otherwise - for this pair. The next ski I design will be a bit more asymetric, I'll extend the flat zone underfoot back some. When I was really pinning it on the slick icey stuff it was definitely the tails that would start to wash out first.
I love how stable they feel, and I love how nimble they are, I suppose it's a fairly short running length with each side cut about 2cm...
Things I definitely need / want to improve on:
Edge joint placement. as noted my the inimitable Mr Madman I have a weak spot at the tipspacer joint, and I stupidly put the edge joint right there. This looks like an obvious failure point in hindsight.
I'd like to make the tip geometry more eliptical, so that it blends into the early rise a little nicer.
Layup speed - need to get faster, we're dancing around on the edge of our pot life.
Graphics - I'm experimenting with paper graphics at the moment using our plotter at work, seems to have potential but haven't quite cracked it - need better wetout.
Inserts. Next pair will have inserts.
Sidewall bevel - we did the first to pair with a tilting plattern on a belt sander. Not really as perfect as I'd like it to be, I may need to acquire a router or transform the laminate trimmer in the showroom into a "demo machine", and pretty quickly after that into a "second hand machine"...
aaaaand having written out all that I need to skive off work early to head to the mountain.
Cheers.
unknown
congrats, your first pair looks better than mine, even though I loved them and they skied ok, they are really junk in comparison to my recent work.
Nice work.
unknownThu Oct 04, 2012 4:00 pm
Nice write up.
For beveling sidewalls use a router or laminate trimmer. Lots of ways to use the router. You can buy certain bits to get the bevel you want. I use a straight bit and stick a 20 degree wedge (make the wedge any degree you like) to the bottom of the router plate. The bearing is on top of the bit. I run the router over the base and the bearing rides along the metal edge of the ski.
Layup speed- takes practice
Glad to see you're enjoying them... Smiley!
unknownThu Oct 04, 2012 5:47 pm
Thanks man! Yeah, I'm sure I'll look back and laugh at this pair at some point - Plenty of low hanging fruit there regarding improvements.
Cheers for the tips Des, I've seen your wedged base router, it looks like the mutt's nuts.
Right, 4 hour drive ahead, I'm outa here!
unknownWed Oct 17, 2012 6:25 pm
shit, you'll have to buy a router
unknownWed Oct 17, 2012 6:49 pm
I've had my first really good screwup.
It seems I had too much epoxy on the base during layup and as a result the vds has squeeged (that should be a word) right outside the edges along a LOT of the length. tips are ok.
So, lesson learned, but does anyone know if the pair would be a complete throwaway without VDS on the lengthwise edge?
Just wondering whether to go to the effort of finishing the skis and getting someone to grind them etc etc, or if I just nail it to the wall marked "offerings to the god of speed".
unknownWed Oct 17, 2012 7:30 pm
people have made skis without vds and they have been ok.
if your edges were clean and blasted then chances are you will be ok.
unknownWed Oct 17, 2012 7:41 pm
Awesome. We'll see I guess.
3 more weekends of lifts....
unknownWed Oct 17, 2012 8:08 pm
At worst, you may get some cracking/delam between the fiberglass and the edge. No big deal, you probably won't notice the difference. I've had the same thing happen when I've used really narrow VDS, now I stick to wider stuff just for more insurance
unknownWed Oct 17, 2012 8:12 pm
It was narrow stuff as well. ah well, guess I'm a little bit wiser now!
unknownThu Oct 18, 2012 3:19 pm
Oh, and to make it worse, some of the kevlar I was playing around with migrated out as well. Now THAT is going to be a headache to cut. and could effect the ski I guess.
unknownThu Oct 18, 2012 7:16 pm
sorry for the phone pics, but...
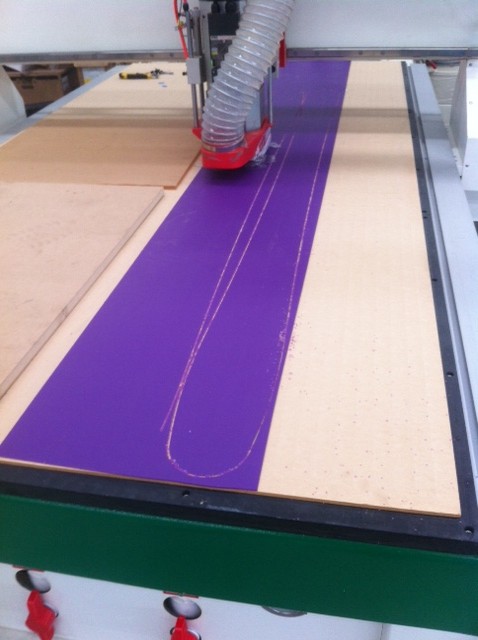
I love the purple. need mroe colours. will have drag knife soon, bwhahaha.
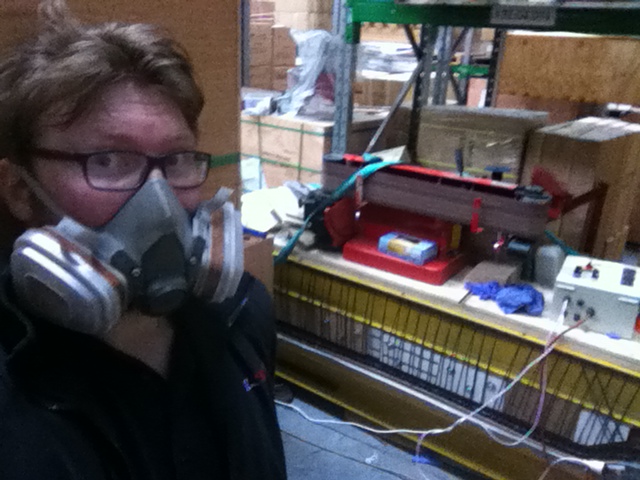
Stealth press - I hid the press in the back of the warehouse at work so I could run it during the day.
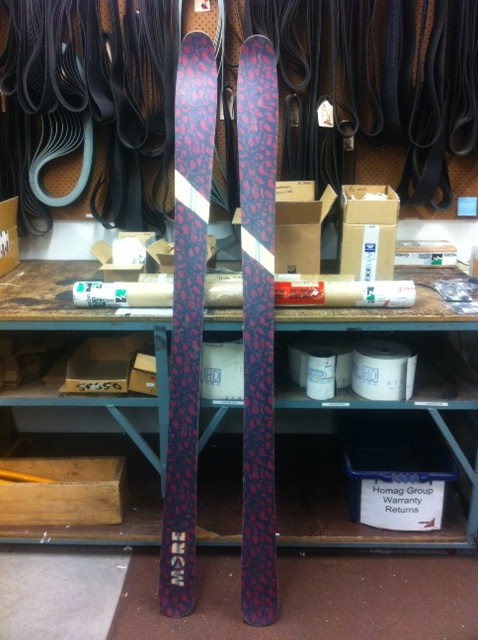
Still a bit to do to them but you get the idea.
Will see how they hold up tomorrow!
unknownThu Oct 18, 2012 8:23 pm
Yeah we should have guessed. We did the layup of the Kerf 176 with more resin then the first pair and 1/2 thickness VDS strips. The rubber definitely shifted but is still visible along the whole edge. Should have guessed that wetting out directly into the ski was going to mean more goop=more squeeze out and hence amplify this affect. Live and/to learn.
After a long wait, and a failed attempt I will finally get to test the second pair this weekend. As More alluded too, we are running out of days on the lift. One field closes this weekend and the other goes two weeks later.
unknownSun Oct 21, 2012 5:30 pm
Always a sad time of year
Meanwhile, our forecasts are calling for the first snowfall of the winter at my mountain next week!
unknown
Bit of a report on that pair... I got 1 day on them in lovely soft snow and then the weather packed up, and it's rained on the field now so that might be curtains for my NZ season. Looks like I'll catch some snow in the new year in Europe though.
Neither the lack of VDS and the kevlar moving around seems to have impacted performance, and no sign of delam (yet).
The most surprising thing about them is how soft they are. They're 3-11-3 with a flat zone 20cm back and 10cm forwards of boot centre. layup is
base,
2x 1" kevlar stringers (160g/m2),
24oz triax,
4 lengthwise 12k carbon tow, and an x pattern of 12k carbon tow about the contact points in the tip and tail,
core,
the same carbon arrangement,
24 oz glass
cotton
uhmw topsheet
I was expecting that carbon to make a pretty substantial impact on stiffness, but I'd say the ski is a very medium flex (although the pop back is great). And, as a big fella, medium flex is pretty soft for me. They're actually quite playful and I was really looking for more of a charging ski.
Now we've got a couple of different skis made with different core profiles I'm starting to get more of a feel for what different decisions will output.
btw, kevlar isn't as hard to cut as rumoured. remgrit blade in a jigsaw, no worries.
