:: View topic - WhiteRoom 2012/13
Posts: 76 · 76 posts
unknownThu May 17, 2012 2:18 pm
I just got done with a test run of making a full stick of sidewall epoxied to a think piece of hard wood. I used ~1 inch x 65 inch piece of material (enough for 1 ski) that was leftover from last year before committing to a full 10.25 inch stick of material.
I resawed some full 4/4 cherry hardwood down to ~3/8 inch and then planed that out to about 1/4 or about 7mm.
I re-flammed the sidewall and then mixed up some Entropy epoxy. I placed the hardwood and sidewall in the press and pressurized to 10-15 psi. It cooked at 108F for 30 min and then I let it cool to ~120F before taking it out of the press.
So far everything looks great. I could not pull it apart with my hands at all.
The only issue I have so far which is likely not an issue is the wood did camber some after taking things out of the press. I'm hoping this will equalize overnight as things cool and finish curing.
Even if it does not I think it is pliable enough to mold to the sidecut I'll be using.
I will also plane this out a bit to about 5-6mm of hardwood for the finished sidewall stick before gluing it to a core blank.
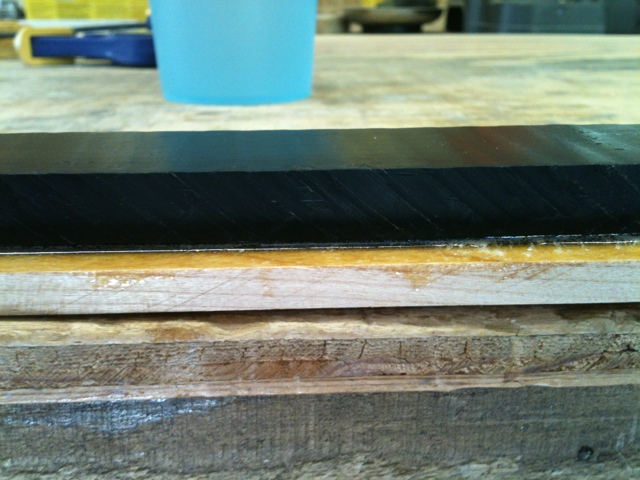
I feel like this will decrease or eliminate the sidewalls delaming from the core during profiling.
All in all a succuessful test.
Edit: I started a blog mostly for the people I'm building for. For most of you this will be old info but feel free to take a look. It documents the processes I use for ski building.
http://whiteroomskis.blogspot.com/
unknownMon Jun 11, 2012 4:26 pm
I tried sammer's method for making templates today. I made the initial template out of 3/16 masonite and screwed this to the MDF, routed out one side, flipped the masonite template, screwed it back down with the same holes and routed the other side out. There was a little finish sanding my hand to clean up any small ripples. This method is way better and will make cutting bases much easier than what I was doing before.
I'm going to add a vac clamping system to this also. These tow method together will allow me to cut bases in one pass with the router with much less/ zero chance of getting an asymmetrical base.
This is as close to perfect as I can be without CNC cut templates.
unknownMon Jun 11, 2012 9:05 pm
Works pretty good huh?
I'll sometimes use a little bit of spackle (the stuff you use to fill holes in your walls) to fill any ripples then a quick sand knocks it down really fast.
Still haven't gone to vacuum hold down, still using double sided masking tape.
May get there one day though.
sam
unknownFri Jun 22, 2012 5:16 pm
Some finished templates using my updated process.
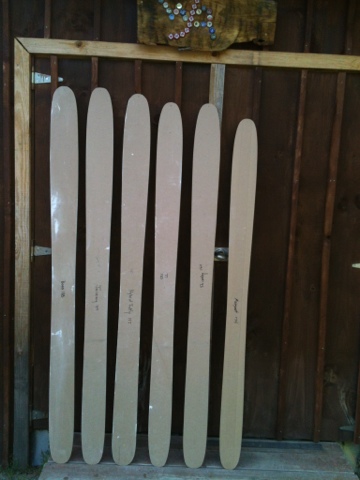
I start building cores tomorrow. I going to try a lightweight core of mostly poplar with a mounting zone of maple all finger jointed together. This is for a friend that whats a "lightweight, beefy backcountry ski", a bit of an oxymoron but I'l try my best.
also some new updates in my blog for those that care to look
http://whiteroomskis.blogspot.com/
unknownSat Jun 23, 2012 3:50 pm
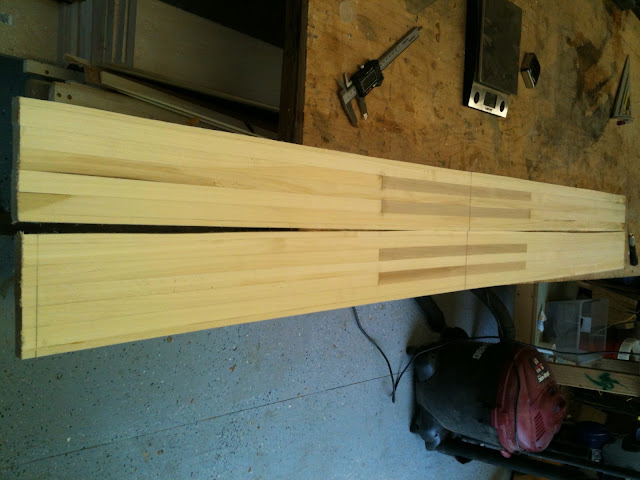
Finger jointed poplar cores with maple mounting strips. These core blanks don't have sidewalls yet. But the raw blanks weigh in at 2.5 lbs, I think these will be very light weight. But, I wonder about the stiffness...I'll have to keep the waist kind of thick to give this guy the kind of ride he wants. I may need to beef things up with carbon and basalt fibers as well.
unknownSun Jun 24, 2012 4:42 pm
Tried out using a full 1 piece edge wrap today. It is a bit more tricky than a standard full wrap but doable. I leave the seam in the tail to prevent pulling an edge out when hitting a rock or stump with the tip.
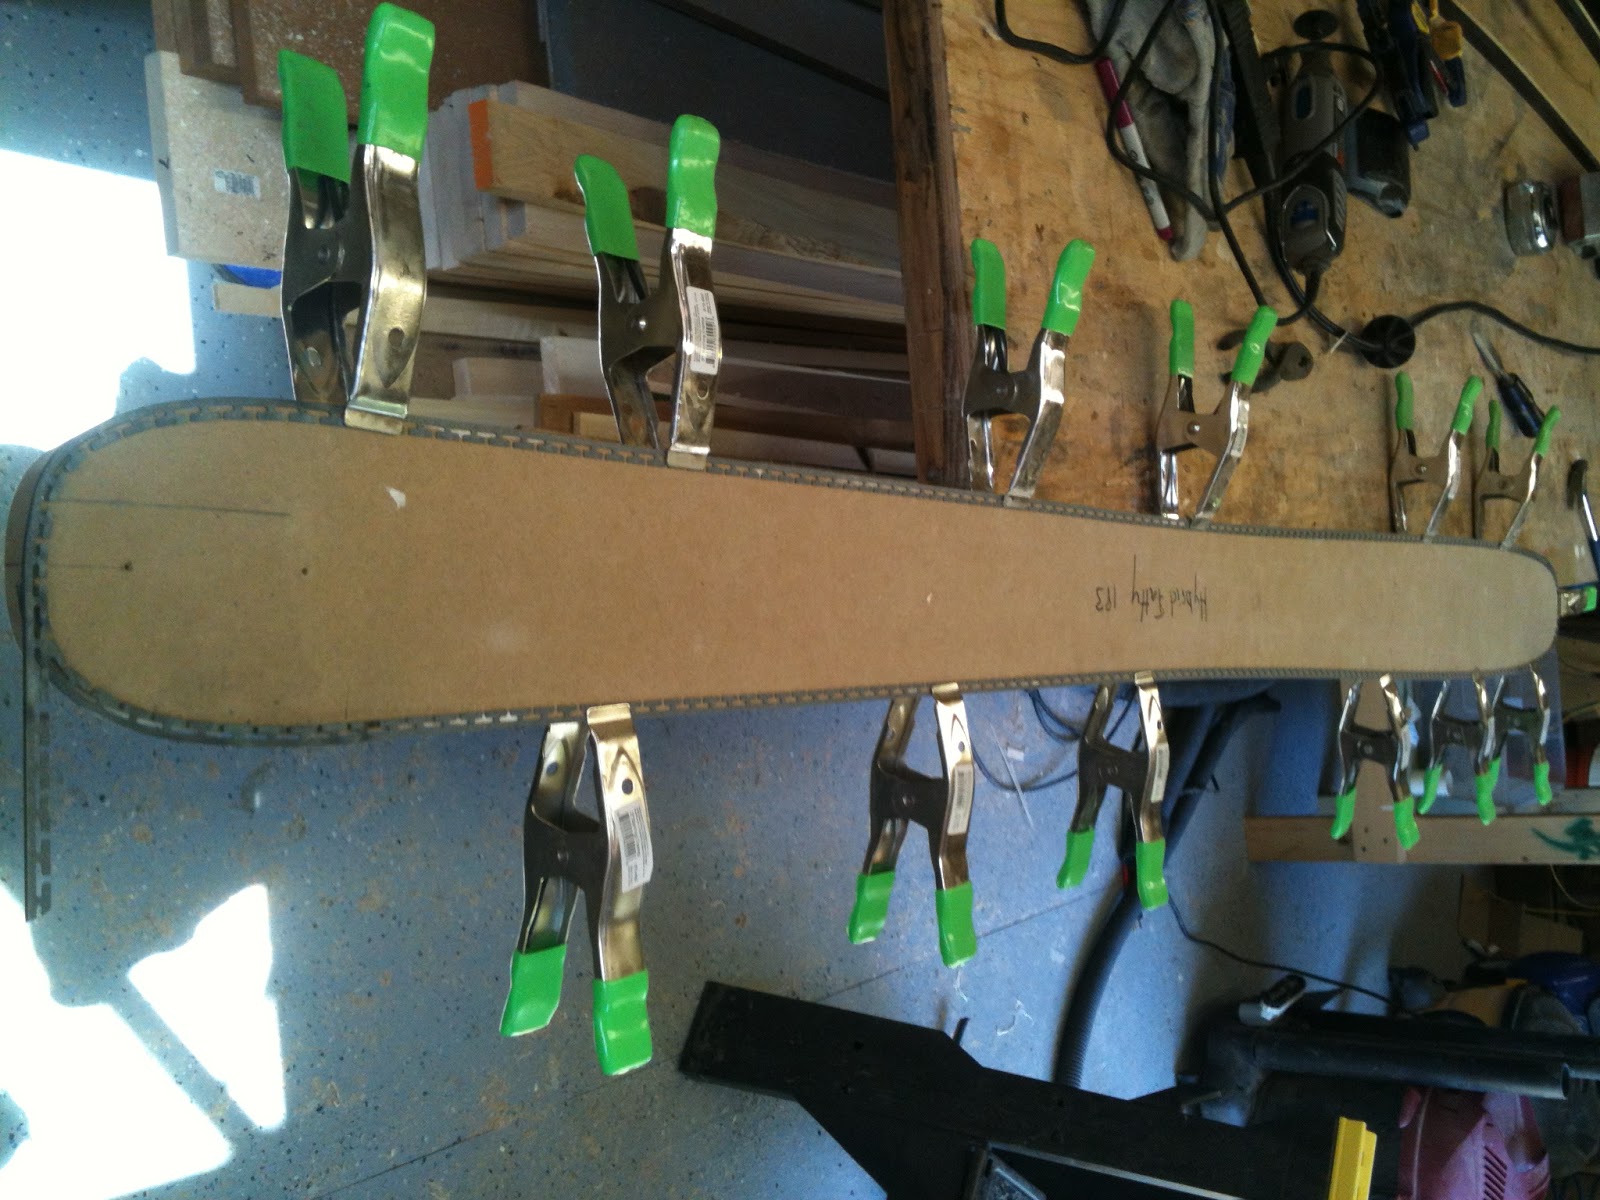
I also got to used my new Dremel for edge cutting...sweet. I used it cut length but I also used it to trim edge teeth where the curves get tight in the tip and tail.
unknownTue Jun 26, 2012 1:26 pm
Hard at work!
Are you using a 3D cassette now too?
unknownTue Jun 26, 2012 3:56 pm
No 3d cassette. But I'm making good progress. I laid up another pair of cores last night. Full length stringers this time with poplar maple and mahogany. They will have a lend of 4 different hard woods by the time I get the sidewalls attached.
I just ripped, finger jointed and re-glued some poplar that was to knotty to use. I'm hoping it will be good enough to use for at least some stringers.
unknownWed Jun 27, 2012 1:50 am
Quality!
Mentioned the cassette because I'm thinking a full wrap is a challenge without it ... although ... it looks like you are flaming the edges, so maybe the tensions around the tips will be much reduced. What approach are you intending to take when pre-bending the tips?
unknownWed Jun 27, 2012 7:39 am
I've done full edge wraps on all my skis. The only difference is this only has 1 seam in the tail. I did the others without pre bending the tips or tails without issues. I tend to think that since this is a rockered ski that there is less stress in the tip bend anyway. So for now no pre bending for me.
unknownWed Jun 27, 2012 8:21 am
Gotcha!
unknownSat Jun 30, 2012 11:24 am
Making good progress. I have 3 sets of core. 2 with sidewalls attached. 2 pair of edges bent. 1 pair of bases cut and edged today. Sidewalls and bases for a pair tomorrow also
I'll be starting 2 more pair of cores this coming week.
I used Sammer's idea double sided carpet tape to hold bases to the template today. Worked good.
unknownSat Jul 07, 2012 4:23 pm
This is my 8th pair
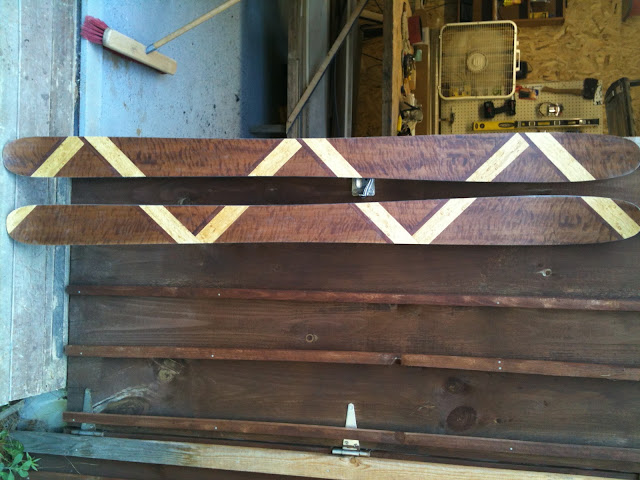
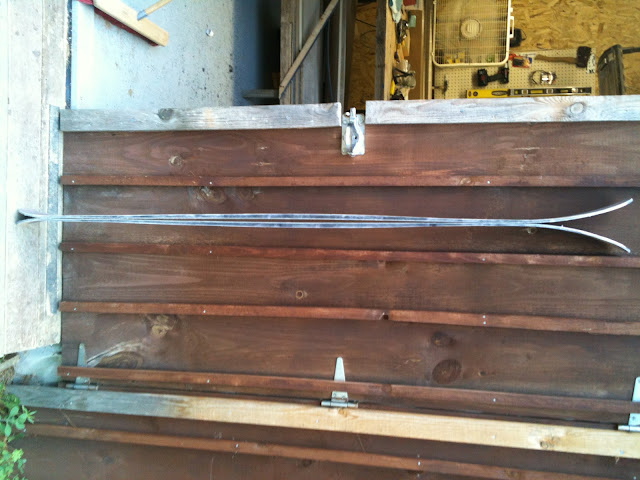
183cm 30cm rocker with reverse sidecut tip, traditional side cut along the running lenght with 4mm of camber and a small tail flair.
Dimensions are 132/138/110/122. Weight is 4 lbs 5 oz and 4 lbs 7oz per ski.
unknownSat Aug 04, 2012 4:59 pm
Just finished another pair today. There are named the Maine Line. No we did not spell it wrong, their owner lives in Maine...They are the pair on the left in the pic below. My set is the pair on the right in the post above this one.
This ski is a 182cm 5 dimension ski 130-139-115-123-115. Maple-poplar-mahogany-cherry core with p-tex sidewalls. 19oz glass with 4 stingers of carbon tow added to top and bottom to beef it up a little. Core is 2.2-11.8-2.2. 35 cm tip rocker with 30 cm tail rocker. 117cm running lenght.
image no longer available
Top sheet was made from scraps from other builds and cut off from longer veneers.
There were to minor blemished with this set. 1 mini sidewall recess and on side of the tip spacer over lapped the core and sidewall a little and made a bump. Luckily it overlapped on top so I don't think it is an issue.
All in all not too back I think they'll ski nicely.
unknownSat Aug 04, 2012 9:14 pm
looks good!
unknownSun Oct 14, 2012 10:02 am
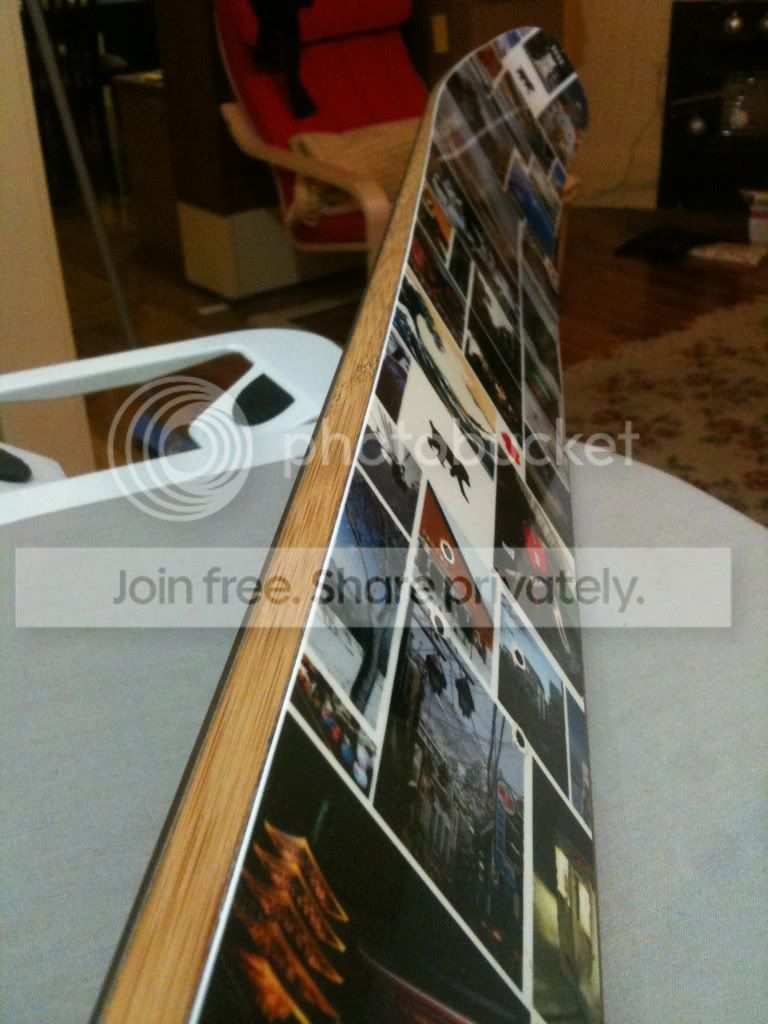
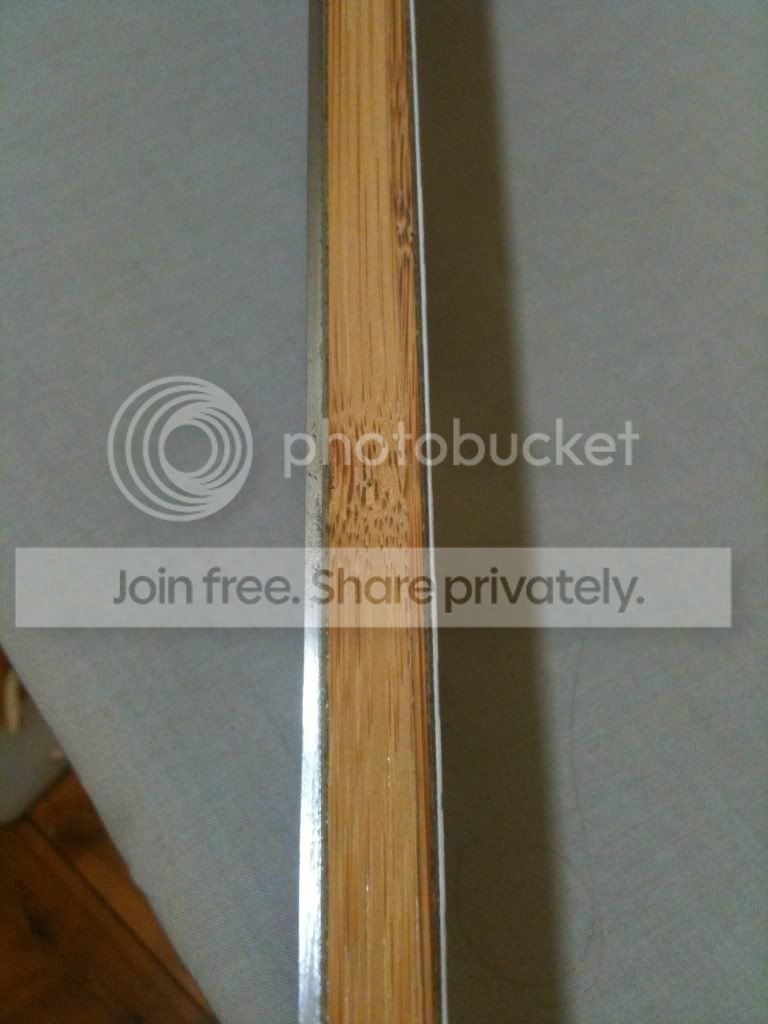
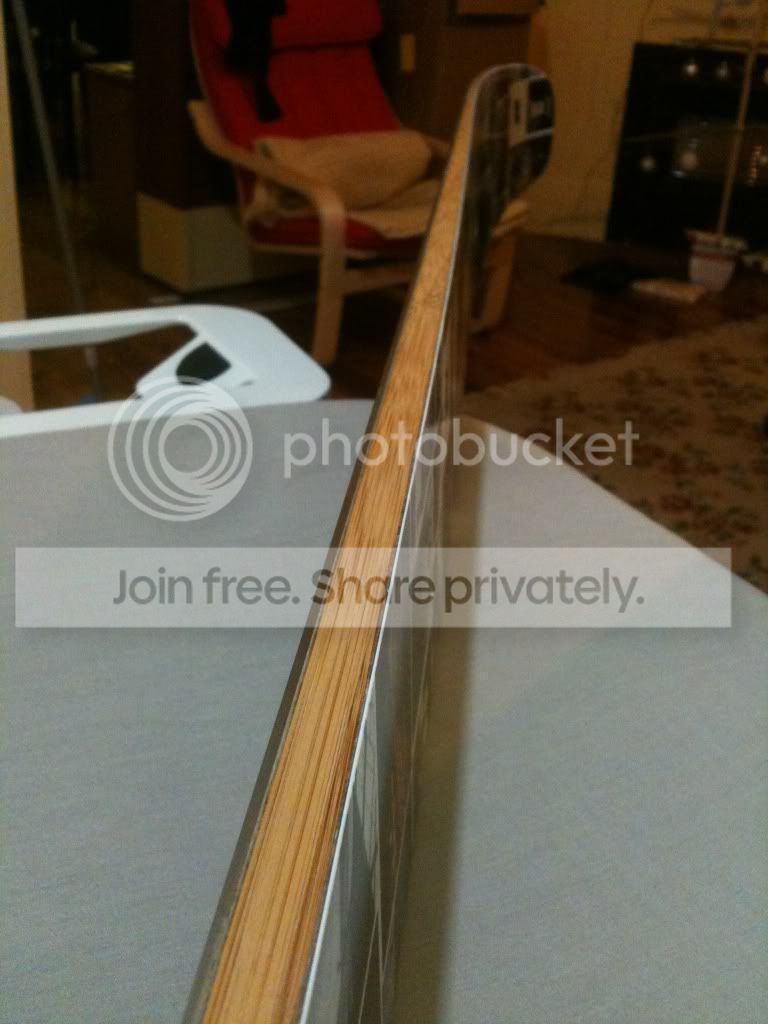
So......Been readin and askin questions for a while now. Finally put some pics on photobucket to share.
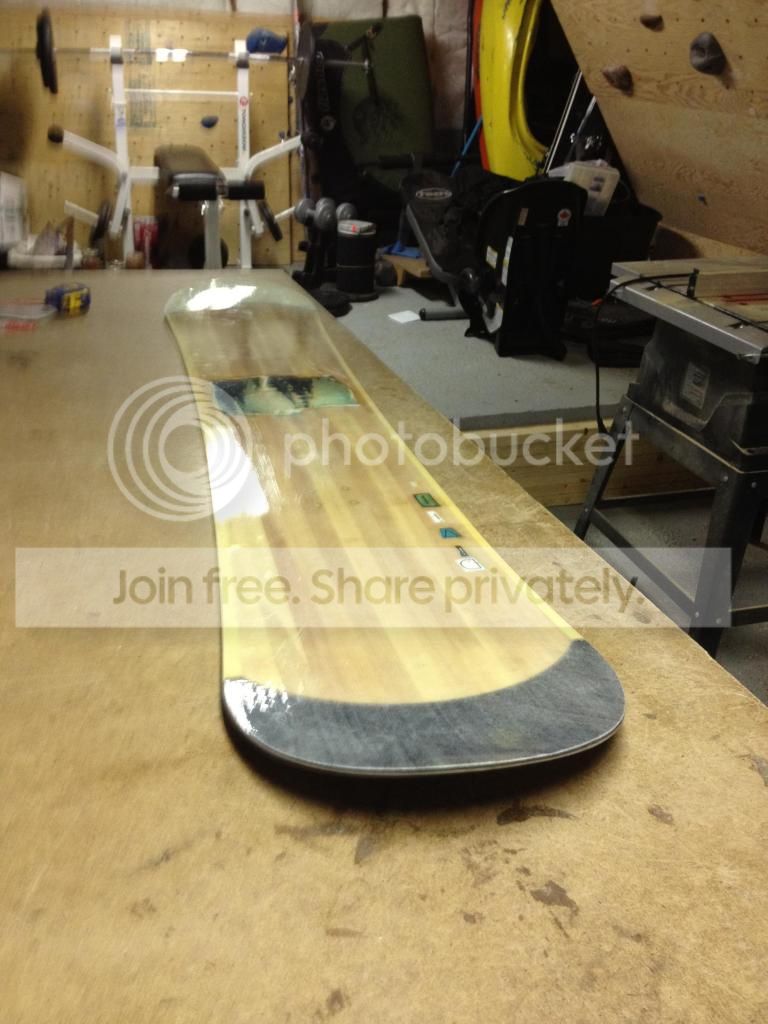
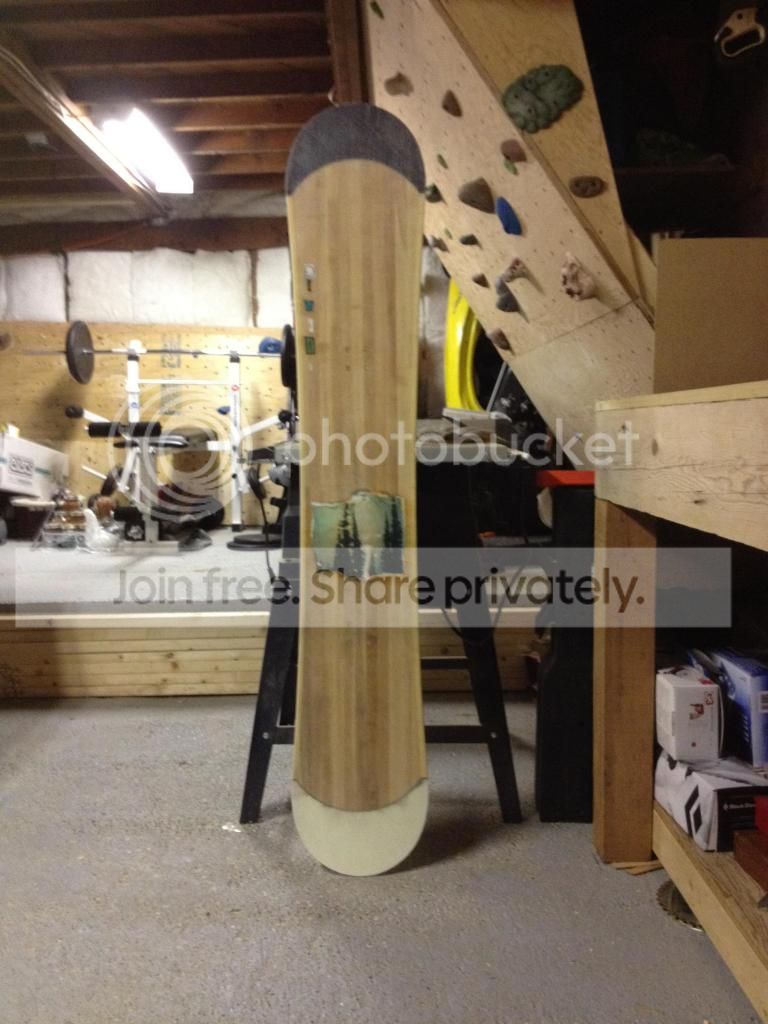
This is a 160.6 early rise tip and tail. hint of camber underfoot(created by heat diff top bottom. 10mm taper/25mm stance setback. a perfect powder flex.
iso nylon
ghetto graphics
19 oz triax
maple core/bamboo sidewall/tiptail spacer 2.5-6.5-3
19 oz glass
ghetto graphics
egde/vds
crown natural sintered base
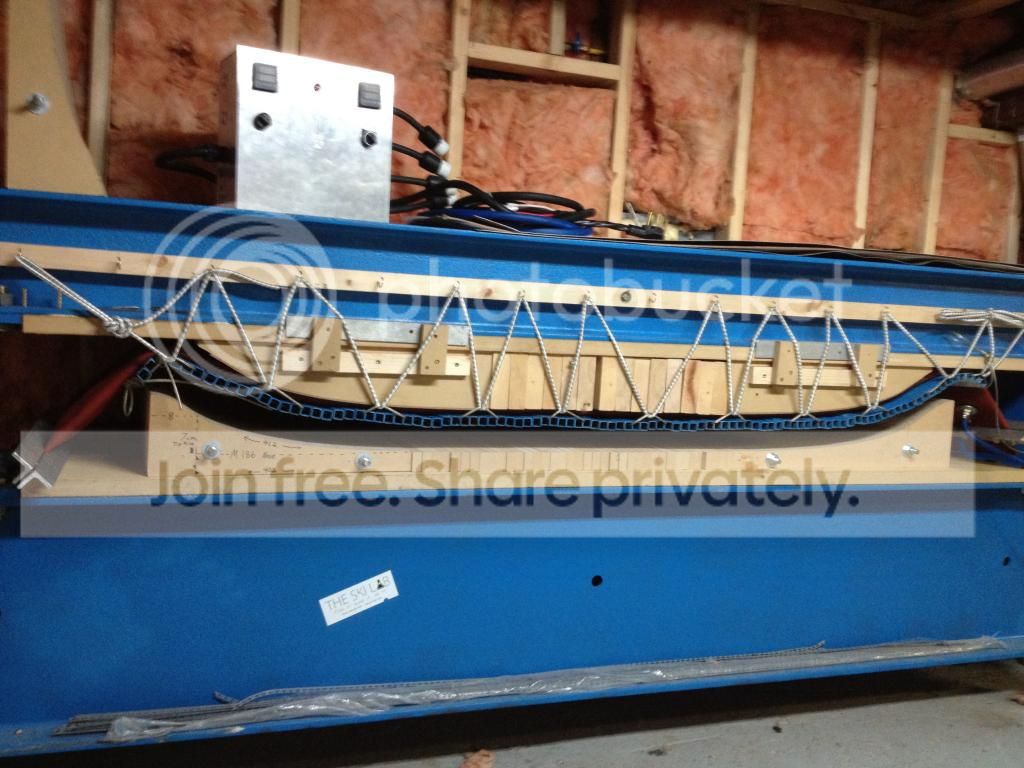
our press was a long time build. piece by piece as money was scarce. rounded up 2 partners for the hobby/venture, then things started movin.
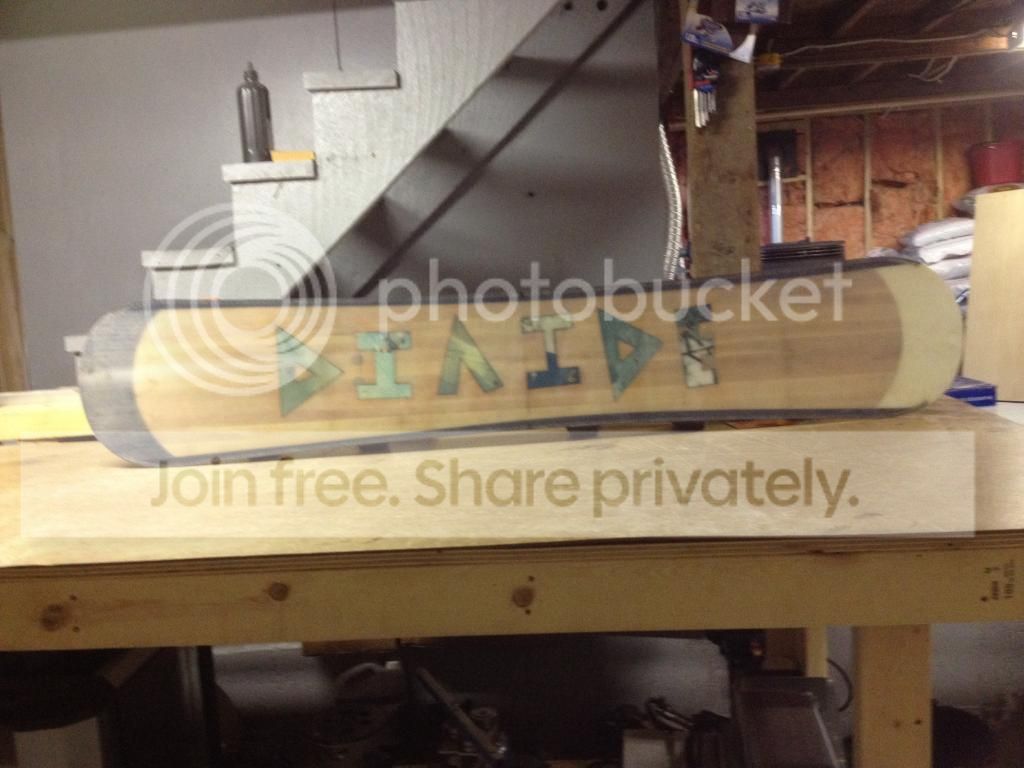
we are workin on some skis, 3 splits, and another snowboard right now. more pics to come.
thanks everybody for the insight and helpfull hints.
Derek
[/img]http://s1150.beta.photobucket.com/user/d-train1979/media/IMG_00101_zps5dbaa01f.jpg.html#/user/d-train1979/media/IMG_00141_zps9689b8c6.jpg.html?&_suid=1350236288390005646091575103512
[img]http://s1150.beta.photobucket.com/user/d-train1979/media/IMG_00101_zps5dbaa01f.jpg.html#/user/d-train1979/media/IMG_00111_zpsa9dc3631.jpg.html?&_suid=1350236288390005646091575103512
[/img]http://s1150.beta.photobucket.com/user/d-train1979/media/IMG_00101_zps5dbaa01f.jpg.html#/user/d-train1979/media/IMG_00151_zps7db9b8e5.jpg.html?&_suid=1350236288390005646091575103512
[img]http://s1150.beta.photobucket.com/user/d-train1979/media/IMG_00101_zps5dbaa01f.jpg.html#/user/d-train1979/media/IMG_00111_zpsa9dc3631.jpg.html?&_suid=1350236288390005646091575103512[/img][/url]
unknownSun Oct 14, 2012 10:05 am
apparently I acant figure out the image posting process.
unknownSun Oct 14, 2012 10:06 am
unknownSun Oct 14, 2012 10:13 am
unknownSun Oct 14, 2012 10:13 am
unknownSun Oct 14, 2012 10:15 am
ok...dumb dumb here figured out how to post images, but not multiple in one post. hows it done?
unknownSun Oct 14, 2012 1:03 pm
You have to use the [img] tags properly.
[img]pictureURL[/img]
In photobucket you just click the IMG tag and it copies it so you can just paste it to the post. In your first attempt none of your URL's had the ending [/img] tag to make the interweb know what you were doing. No spaces either.

You can see the IMG tag on the right. Just click this and then paste to your post. Start each photo on a new line.
unknownSun Oct 14, 2012 1:11 pm
In photobucket hover your cursor over the image you want.
A drop down menu appears.
Click on the image code that will copy it.
Back in your post right click and paste it.
Repeat as necessary.
sam
unknownSun Oct 14, 2012 1:53 pm
thanks sammer!
unknownWed Oct 24, 2012 8:44 pm
deleted
unknownWed Oct 24, 2012 8:46 pm
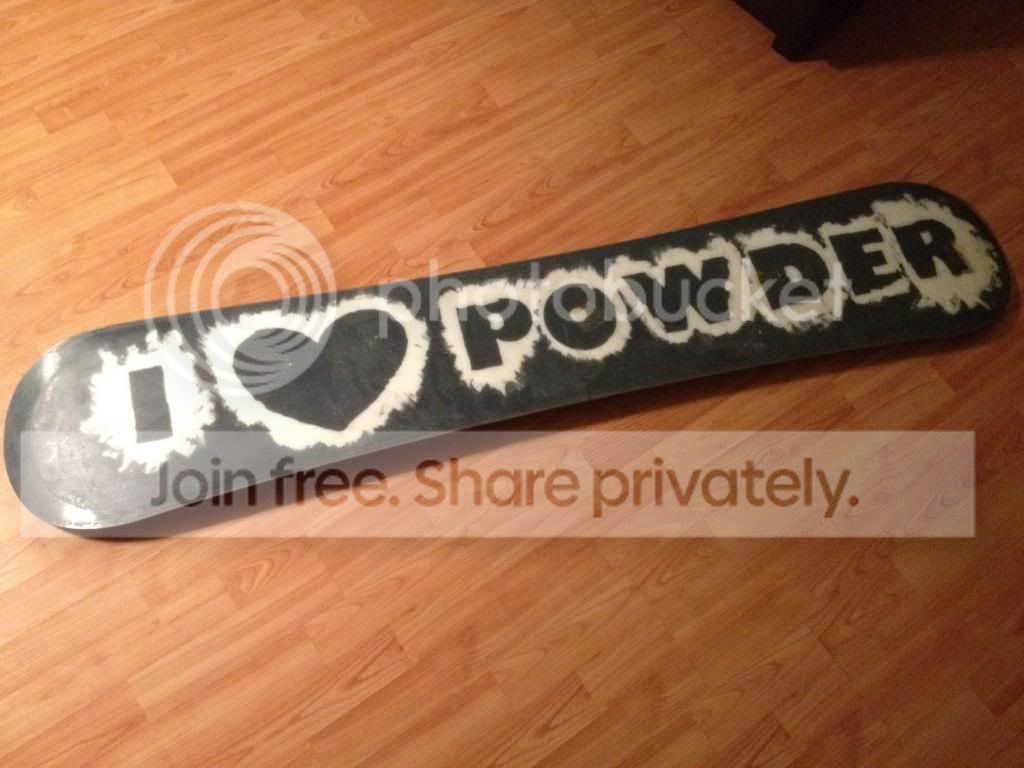
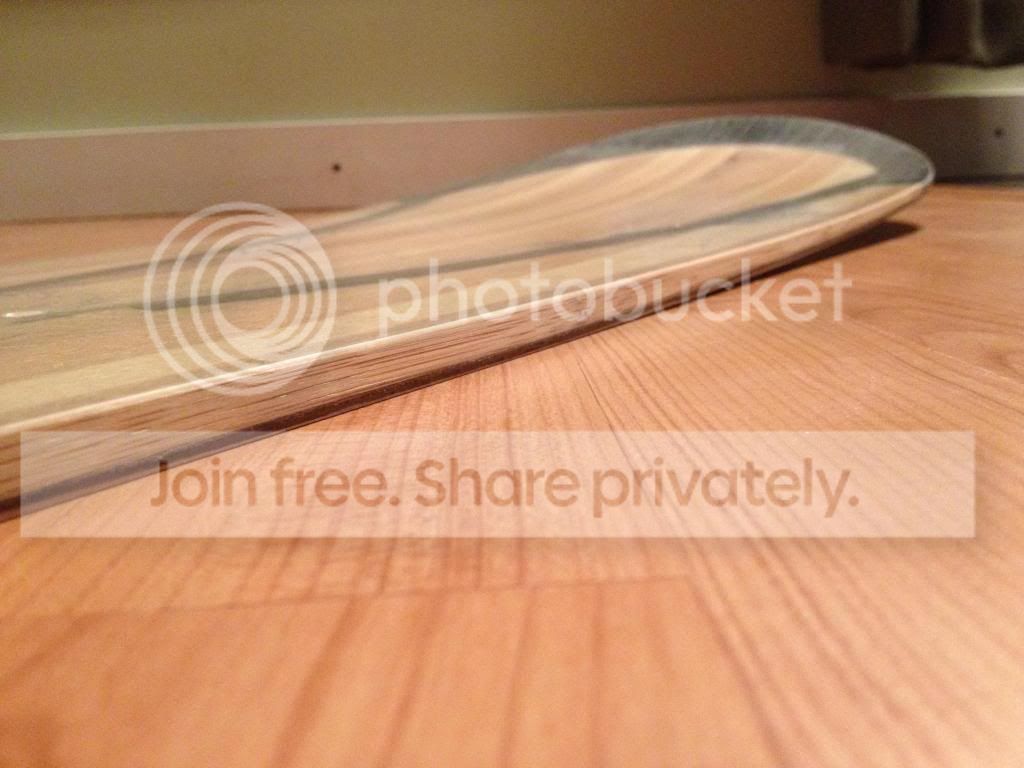
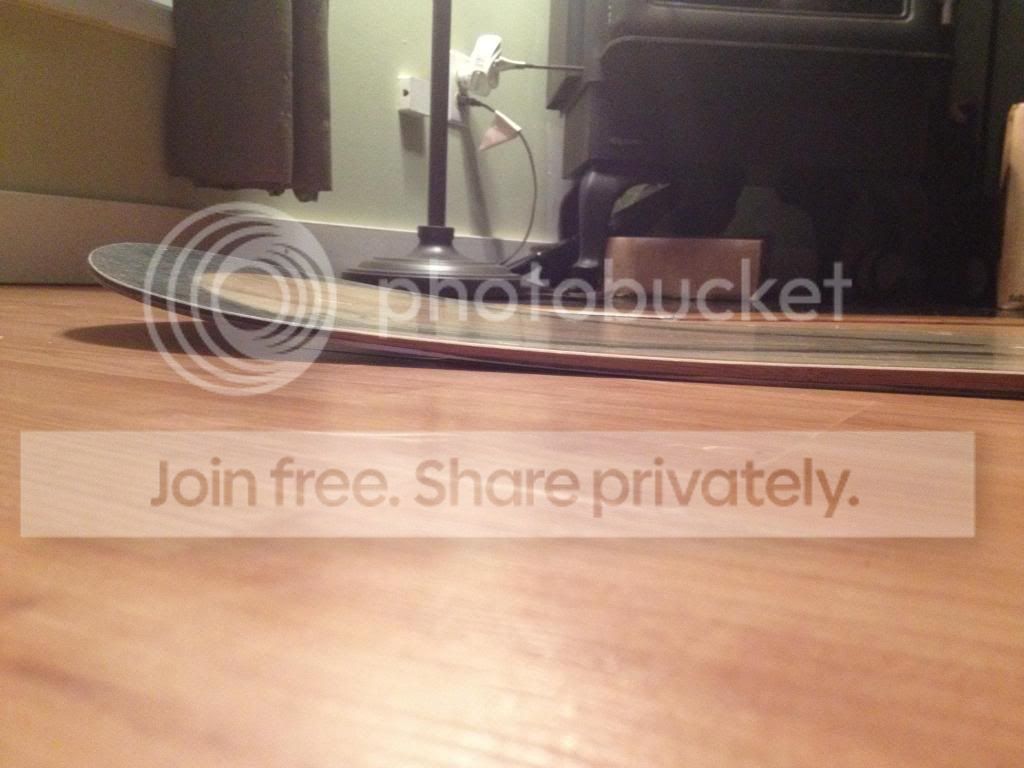
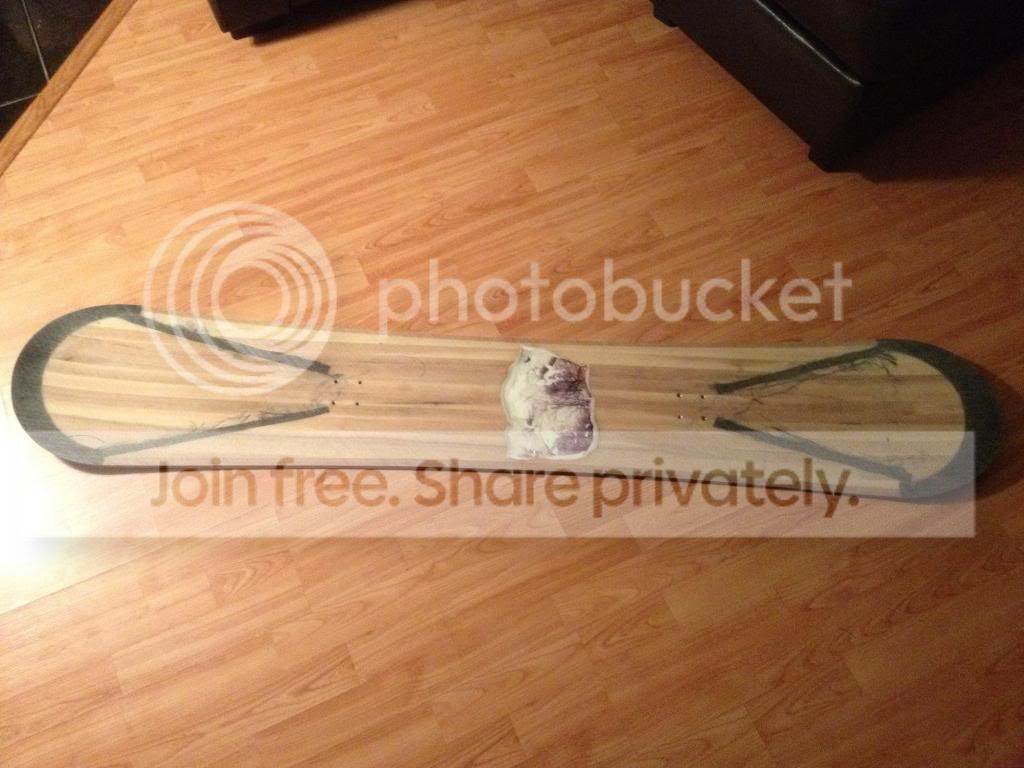
just finished up a new ride. about 159. stance/sidecut 1 inch back. slight board taper. tiny bit of camber between feet,early rise tip an tail. very similar to my last one. still getting things dialed in. then to some splits.
used Entropy CPM and cooked at 180F
iso 8210
19oz triax
x4 9oz uni carbon 1/2 inch strips running inserts to contact point-ish
maple core/ bamboo sidwalls
x2 9oz uni carbon 1 inch strips running inserts to inserts between
19oz triax
edge
crown natural base with some stencling.
Layup went well. Little core shift, and totaly forgot to put the VDS in. DUH!
since all i ride is knee to waist deep pow around here, i think ill be fine.
this is the last time I press a board without taking precautions for core shift.
[img]
[/img]
[img]
[/img]
unknownWed Oct 24, 2012 10:11 pm
Knee to waist deep powder? Way to rub it in
The board looks great. How exactly did you do the base? It looks fantastic. Is the crown "natural" base translucent and you painted it?
unknownThu Oct 25, 2012 3:35 am
looks like he painted it with acrylic paint like i recommended a couple times on here
unknownThu Oct 25, 2012 7:08 am
Thanks twizz. yes I got the idea of painting bases from Chrismp. I actualy purchased some nazdar epoxy screen ink.
I cut out the letters and spray glued them to the underside of the base. Then I brushstroked the white around the letters. pulled the paper letters off, then when dry back filled with black using a roller.
things I learned - this paint is thick rolls great but does not brush well(little better when soup can of paint was hit with a blowtourch for a while) . For the bases I am currently working on I am using an arcilic paint for stencils, etc. and then backfilling with nazdar and a roller.
I have purchased some screen printing cloth and am going to make some screens with planed 1 inch lumber and try getting some decent logos banged out(though I kind or like the ghetto look).
Im gettin excited for the season. Things here are gettin cold. snow on the mountain tops.
I picked up some fall coloured yellow and red Maple leaves off the street yesterday. pressing them in a book to dry and going to put them under my next topsheet.
I got the building bug. All started when I broke my leg 2 seasons ago and stumbled upon this site while sippin coldied layed up on the couch.
Thanks everybody,
Derek
unknownSun Dec 18, 2011 12:56 am
Just got a pair of skis in the press
A new shape - skinny!
124-74-114
178cm
Traditional camber and tail. Slight rocker tip (K2 piste ski type rocker)
Tip height 5cm
Tail height 1cm
10mm camber (but single blanket from top, so likely lose a bit)
Sicomin epoxy
Heated cure (30 minutes up to 80C, then 1hr15min at 80C)
55psi press (although skinny skis so probably quite a bit at the actual ski)
Materials cobbled together a bit.
Diecut two short pieces of base together for one ski
Scrap piece for the other
3/4 edge wrap
Core bamboo - 2 - 13 - 2 - felt pretty stiff even being narrow so no carbon
Bamboo horizontal veneer topsheet
Layup OK
Pressing looks ok after rejigging the press for new molds.
One stuffup routing cores and managed to gouge the template - so these my be a one off! Will be a small 2cm section where about 0.5mm-1mm of gap between edge and base material. Pretty annoyed.
Didn't have vacuum templates for this model
I routed a copy of the template with a slight inset and used this to clamp the base material to the base template (like doughboy does, and OAC - just I used a handheld router not OAC's mega-table router). Used a spiral down cutting bit - nice clean cut - except where I gouged the template! (stupid mistake, really pissed, but moved on and finished the skis).
Anyway cooking now
Pictures soon, then i'm going on holidays for a while.
unknownSun Dec 18, 2011 10:45 am
unknownSun Dec 18, 2011 2:28 pm
Hehehe....it came with the machine!
Nice weather you have!
Good to see you building skis in the summer(?)
unknownSun Dec 18, 2011 10:14 pm
Yep. Summer it is at the moment. About 30C most days.
unknownMon Dec 19, 2011 7:21 am
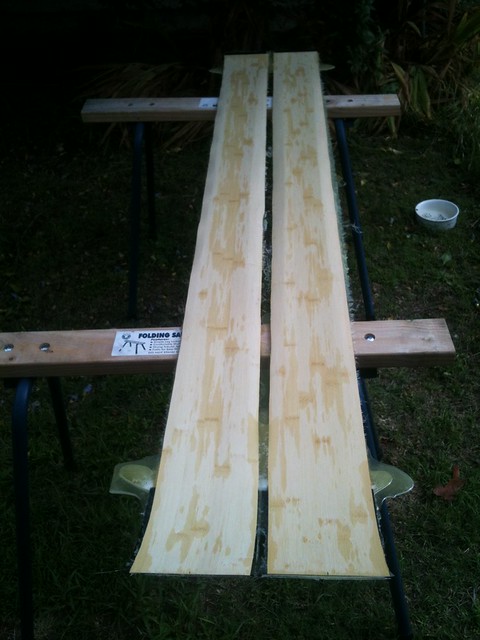
the "finished" product!
These are going to get at least a 5 week rest before flashing!
unknownTue Dec 20, 2011 7:21 pm
Nice to see another person using bamboo veneer, I love how it turned out on my last pair!
unknownTue Dec 20, 2011 11:01 pm
FIVE WEEKS!?! You must be a masochist. BTW, your press, molds, pid controller etc are just beautifully done! Nice work!
unknownWed Dec 21, 2011 5:32 pm
Not a masochist, a narcissist - I'm going to south america travelling for a month!!!
Thanks for the compliments
edit: maybe more like a hedonist than a narcissist
unknownWed Dec 21, 2011 6:38 pm
What do you do for sidewalls?
unknownWed Dec 21, 2011 8:37 pm
Bamboo core extends to the edges
I bevel the sidewalls and eventually get around to applying 3 coats of water based polyurethane with a brush
unknownThu Dec 22, 2011 3:24 am
Have any pics?
I am on the bubble about pulling the trigger on some bamboo products and wondering how your sidewalls turned out.
Have any trouble routing them? There was a whole tread on routing bamboo....
unknownThu Dec 22, 2011 3:40 am
routing the sidewalls with a tilt base router and top bearing flush trim bit. Sometimes I get some tear out unfortunately and have to fill with epoxy then sand it back before polyurethane - you don't really see the repair unless you're really looking.
I think if I climb cut the sidewalls it would probably stop this. Also because I have routed the sidecut out of the core when I do the bevel it means there are exposed joins in the bamboo laminates that I think the router bit can separate (especially if there is a void) and lead to tear out.
I think if you ripped narrow strips of bamboo and applied them like a plastic sidewall (ie. route sidecut in core and then glue sidewalls in along the curve) you would have less trouble.
In terms of durability they seem pretty good. Some of the skis I have made haven't even had any treatment of the sidewall and still seem fine. Plus when they look a bit messy or more when the top sheet is cjipped I just bevel a further 5 degrees and hey look new again!
unknownTue Dec 27, 2011 2:42 pm
Those turned out SWEET!
unknown
I agree, super sweet! Like that topsheet a lot too.
Those pictures are pushing me closer to pulling the trigger on the bamboo, nice work Falls!
unknownSun Aug 05, 2012 3:48 pm
Just an interesting side note. As I was cleaning up today I found some sidewall scraps that had been cut away with some wood still attached. They were about 3 mm thick and maybe 4-5 inches long. Just for fun and because I keep all my wood scraps for kindling, I tried peeling the UHMWPE from the wood. In most of the pieces 6-8 in all the wood failed before the epoxy bond did.
unknownMon Aug 13, 2012 3:46 am
We pressed another pair this weekend. The layup went great, nearly perfect. We loaded the press and began to inflate the air bladder. Just as the pressure reached 60psi the seal on the air couple failed and we lost pressure, not good at all. We quickly removed the bladder, took it apart and reseated the coupler. After a quick pressure test we reinstalled the bladder and resumed pressing at 40 psi. The skis came out great nearly perfect. Luckily we had not turned the heat on before getting up to pressure or things would have really gotten ugly. Tense moments for sure.
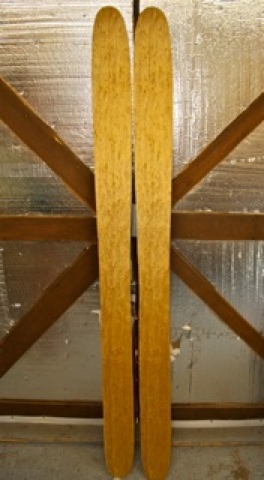
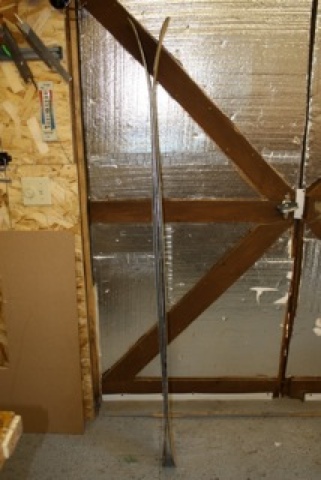
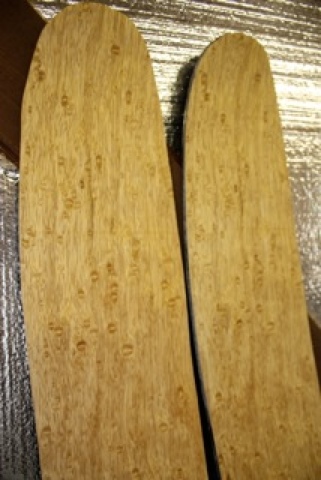
180 cm
35 cm rocker tip, 30 cm rocker tail
4mm positive camber underfoot
128-138-112-126-110
19oz glass with carbon tow top and bottom
2.2-11.7-2.2 core profile
unknownMon Aug 13, 2012 11:36 am
Wow, turned out nice, especially w/ the bladder blowing up. Real lucky.
unknownMon Aug 13, 2012 4:00 pm
Yeah, lucky for sure, I was pretty sure we were hosed
unknownSat Sep 08, 2012 5:15 pm
Tried out some dyed Paua shell veneer for inlays with good results. Ski Logik does a lot of this.
image no longer available
unknownSat Sep 08, 2012 7:23 pm
Very pretty!
Did you cut the inlays by hand or CNC?
unknownSat Sep 08, 2012 8:29 pm
Hand drawn pattern and hand cut the material.
unknownSun Sep 09, 2012 4:41 pm
I love your use of veneer top sheet.
unknownSun Sep 09, 2012 5:01 pm
Thanks, I'm really happy with how these top sheets are turning out.
unknownMon Sep 10, 2012 12:07 pm
Vinman- I like the in-lay. I'm going to do the same,.. some day with pearl in-lay
unknownMon Sep 10, 2012 1:30 pm
Check out www.hawaiilure.com
Look in the shell veneer section
unknownMon Sep 10, 2012 1:52 pm
Thanks. This is another place I found for mother of pearl. One worry I have working with this stuff is the dust particles are highly toxic for some reason. And I don't know if it's working with it constantly day in and day out of any particles. Not sure if it's the mother of pearl or Abalone. Work with caution I guess.
unknownMon Sep 10, 2012 2:37 pm
I bought the ThinLam product. It is only .15mm thick and can be cut with an exacto knife, no particles... Easy to work with.
unknownFri Sep 14, 2012 4:34 pm
Another top sheet completed.
image no longer available
If I could just get the people that are building skis with me to be available...ONly 2.5 months until ski season and I still have 7 pair left to press. Crunch time. I have 3 pair fully ready to press and another set 1/2 done and starting the 7th pair from from raw lumber tomorrow.
unknownFri Sep 14, 2012 6:08 pm
That is lovely! I need to get me some veneer.
unknownFri Sep 14, 2012 8:02 pm
Nice veneer!
unknownSun Sep 16, 2012 3:57 pm
Got another pair nearly ready to press and got most of the top sheet done.
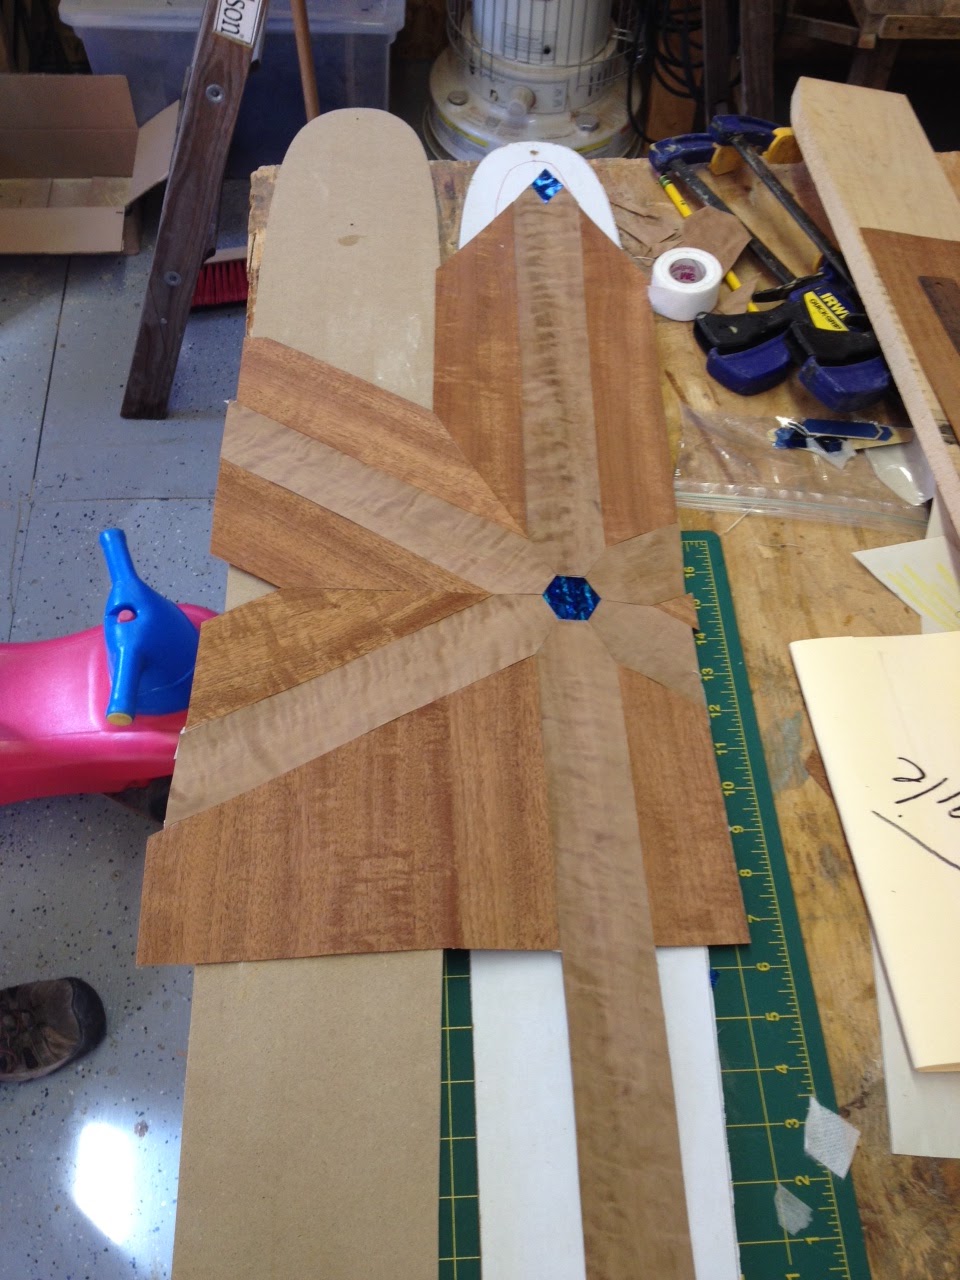
This is a cross between a snowflake and a maple leaf. It is a rough approximation of Jay Peak's logo, where the guy this pair is for skis.
unknownTue Sep 18, 2012 4:40 pm
You're skis are truly beautiful!
Can you help me with something? I'm about to laminate some cores this month....
You're one of the many people I've seen using Maple near the bindings. I understand the logic, but I struggle with the modulus numbers... Are you using yellow poplar and red maple? Is it a stiffness thing or just an overall strength thing?
unknownTue Sep 18, 2012 4:49 pm
Thanks.
It's mostly a binding retention thing.
Lots of big companies use woods softer then maple in their cores and they hold screws just fine but I like the idea of my bindings being held in place by good hard wood.
I don't have a lot of data on what types of wood do what in a core but the maple is strong, stiff and dense while the poplar is lighter. It seemed like a good mix of woods but I really don't have much to base that on except some big companies and other guys on here use these woods also.
Almost all of my cores have some cherry and mahogany this year also, so I'll have to wait a few months to see how those feel.
unknownFri Sep 21, 2012 2:44 pm
I finally got back in the shop to press a pair today. This was the pair that I had posted about that had come out too thin in the core.
I ended up adding a 1.5inch strip of 11oz carbon on the top and bottom with 4 extra strands of 3K carbon tow top and bottom. The bottoms also got 8 strands of basalt tow in an X pattern between the contact points at the bases of the rocker
We had a leak in the bladder again but this time it held enough pressure as long as we babysat it. I guess I have to tear it apart again before Sunday's layup.
Anyway these skis came out of the press nearly perfect. As for stiffness they came out pretty stiff. Probably the stiffest pair I've ever built. The guy they are for loved how they felt. Very stoked on this as we were afraid they would be too soft due to the thin cores.
As for weight, we are just about on target. After being rough cut out of the laminate they weighed about 4.75 lbs. per ski. There is a lot of excess material still in place so I think they will come in about 4.25 lbs per pair give or take a couple oz. once things get trimmed and profiled down.
30 cm rocker in the tip with ~9cm of rise and 30 cm rocker in the tail with ~3cm rise. 4mm camber under foot. yellow birch top sheet.
180cm with dimensions of 127/132/107/114/106
image no longer available
image no longer available
unknownSun Sep 23, 2012 2:22 pm
2nd pair in 3 days
image no longer available
This is a 175 cm Ski with 30 cm rocker in the tip and 25 in the tail, 4 mm camber underfoot. Dimensions 123/129/104/113/107.
These weigh out at 3 lbs 14oz. They will be the first skis I've made mounted tele and the first for a female skier. This was a simple lay up with only 19 oz glass, no carbon. We used a 11.4mm core, as she wanted a ski on the soft side.
unknownSun Sep 23, 2012 4:55 pm
that an epoxy coat or a poly? Looks heavy.
unknownSun Sep 23, 2012 5:08 pm
Poly coat over skim coat of epoxy on left. Epoxy skim coat only on right. I put the first poly coat on somewhat heavy to give a smooth base before I wet sand. Subsequent poly coats are thinner.
unknownMon Sep 24, 2012 4:52 am
Awesome. must just be the light then.
I've started doing a similar method and I like the way it comes out.
unknownSun Sep 30, 2012 4:15 pm
Pressed the 6th pair for the season yesterday.
185 cm 128/136/111/119/111 35 tip rocker, 30 cm tail rocker, 4 mm camber
Core profile 2.2-12.2.2, 19 oz glass with 4 strands of 3k carbon tow, top and bottom. The flex feels stiff but not too stiff.
9 lbs for the pair. Difference of 1 1/8 oz between the skis.
7cm tip rise and 25mm tail rise. Rise in tip and tail is within 1-2mm from floor to base.
image no longer available
Layup I went great, bladder leak is finally under control, not solved but under control....
unknownSun Sep 30, 2012 11:15 pm
Way to crank em out. Looking beautiful!
unknownMon Oct 01, 2012 5:52 am
Looks great!
unknownSat Oct 06, 2012 2:02 pm
Pressed another pair today. This is the 7th of 11 pair for this season. This is the same shape I pressed last week.
185 cm 128/136/111/119/111 35 tip rocker, 30 cm tail rocker, 4 mm camber
Core profile 2.2-11.6 .2.2, 19 oz glass with 5 strands of 3k carbon tow, top and bottom.
This one definitely came out a noticeably softer especially in the tip.
I did something new in the tip spacer area this time. I added about 2 inches of some scrap glass over the joints around the interlock style tip spacers to strengthen the joint and to help flatten the transitions. It worked fairly well but there was still a very slight depression at the tip spacer joint in the base.
Crappy cell phone pics, sorry.
image no longer available
An unintended bonus is the sunburst is symmetrical on both the right and left.
image no longer available
I recently stumbled on using a surform shaper to cut down some of the excess sidewall after cutting the skis out with the jig saw. It works pretty well. I had to try this as I had worn out all of my 36 grit belts and needed to take more material down. It is not hard to take just the right amount of material away before hitting the sidewalls with the router. I'll be using this tool from now on.
image no longer available
unknownSat Oct 06, 2012 2:53 pm
gorgeous !
unknownSat Oct 06, 2012 10:17 pm
Great work on the intarsia! ...and the skis!



![http://s1150.beta.photobucket.com/user/d-train1979/media/IMG_00101_zps5dbaa01f.jpg.html#/user/d-train1979/media/IMG_00111_zpsa9dc3631.jpg.html?&_suid=1350236288390005646091575103512[/img][/url]](http://s1150.beta.photobucket.com/user/d-train1979/media/IMG_00101_zps5dbaa01f.jpg.html#/user/d-train1979/media/IMG_00111_zpsa9dc3631.jpg.html?&_suid=1350236288390005646091575103512[/img][/url])