:: View topic - Ace skis first pair
Posts: 31 · 31 posts
unknownTue May 01, 2012 4:19 am
You have some 1st rate shop equipment! Any pics of the pressing process?
unknownTue May 01, 2012 6:33 am
We are currently putting in inserts and profiling the core when we are done probably Thursday i will post them and so on as i make the skis
unknownTue May 01, 2012 10:50 am
any one know why my pics dont work?
unknownTue May 01, 2012 2:22 pm
FIFY
image no longer available
image no longer available
[/img]http://s1053.photobucket.com/albums/s469/bobber01/DSCN0154.jpg[img]
image no longer available
image no longer available
image no longer available
unknownTue May 01, 2012 3:43 pm
unknownSun May 13, 2012 8:54 am
Thanks!
unknownSun May 13, 2012 11:40 am
Attaching sidewalls! Hopefully Pics will work this time.
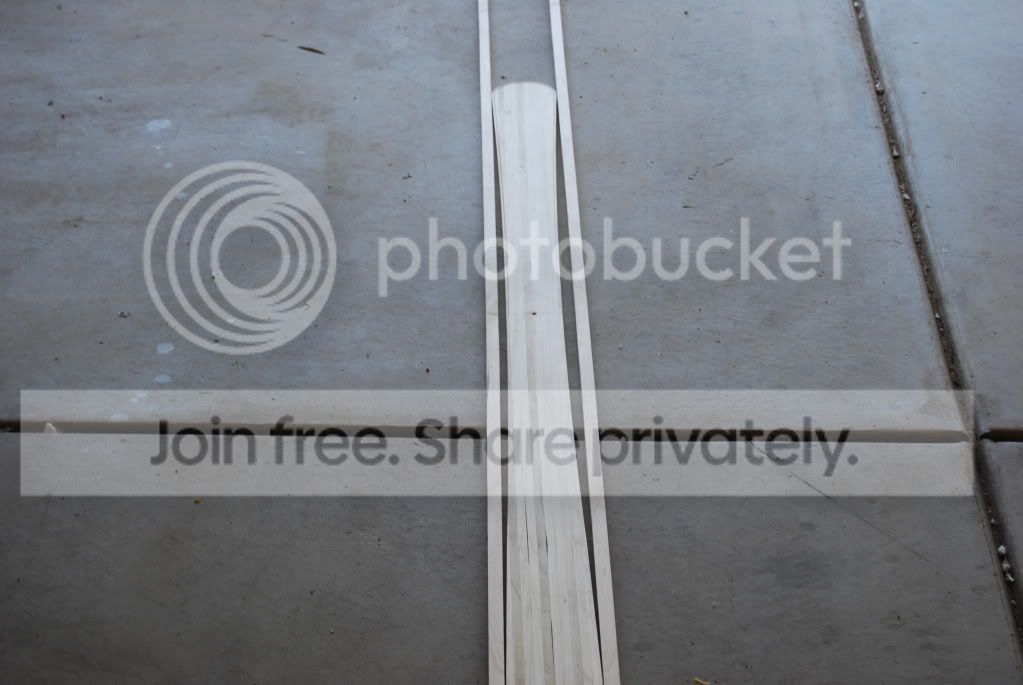
IMG]http://i1053.photobucket.com/albums/s469/bobber01/DSC_0460.jpg[/IMG]
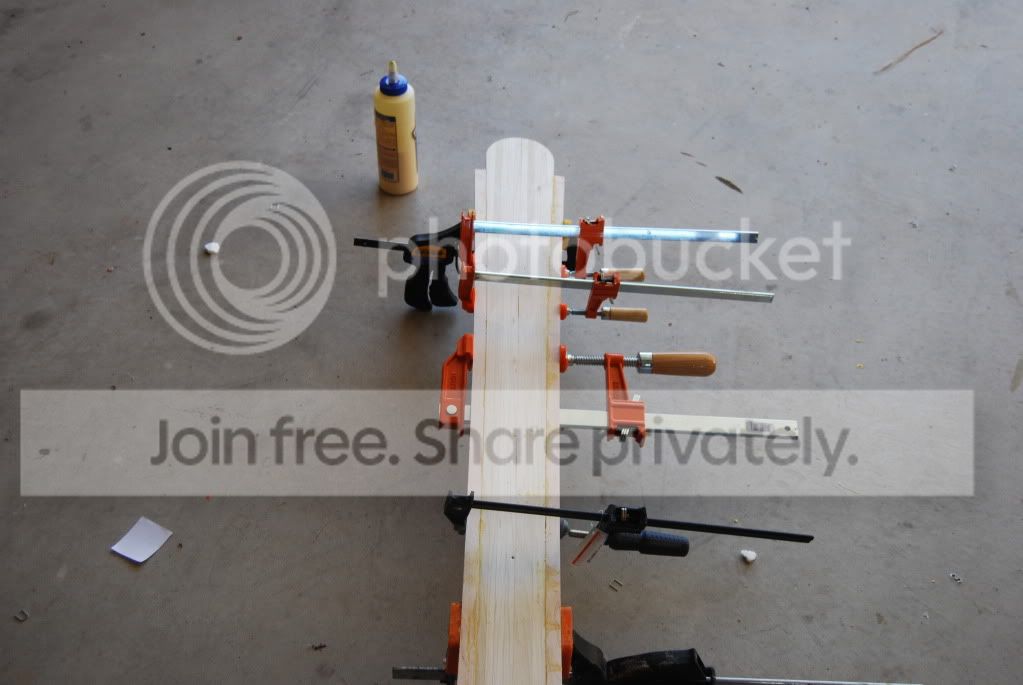
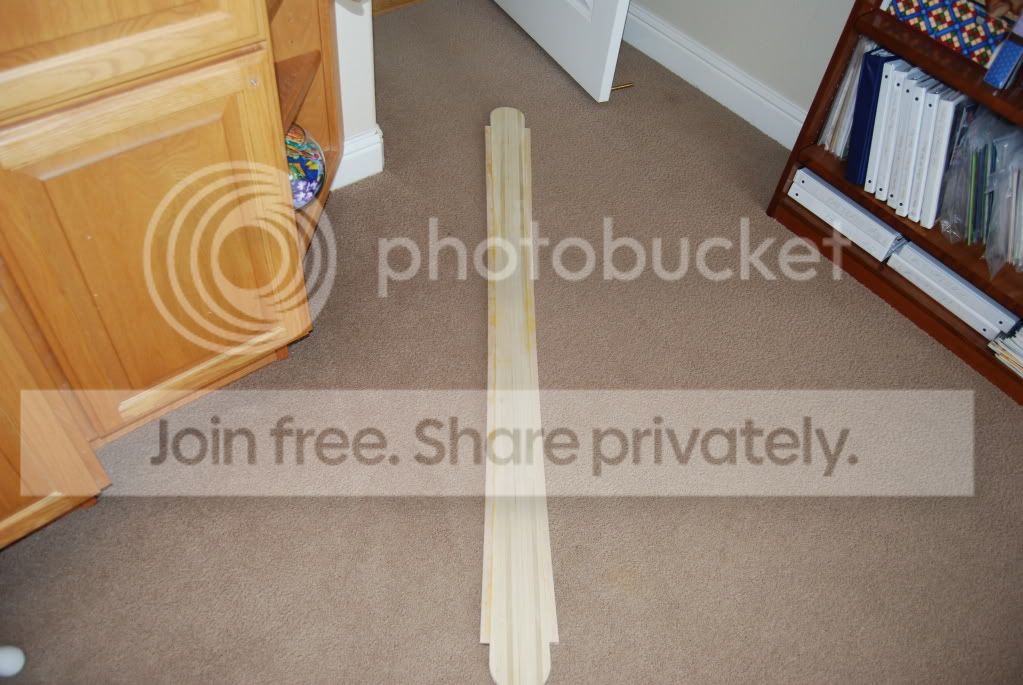
unknownSun May 13, 2012 1:02 pm
With that machinery, you should be done by now!
Just kidding, good progress!
unknownSun May 13, 2012 3:23 pm
Ya your right ha hah just kinda taking it slow cause we need to print the graphics on are top sheet still and waiting for epoxy to arrive but we are profiling it tomorrow
unknownMon May 14, 2012 11:16 am
Might be an option - you don't need to insert plastic: http://www.happymonkeysnowboards.com/MonkeyWiki/CNC_Core_Cutting
unknownMon May 21, 2012 9:14 pm
what do you mean by plastics? i wasn't planing on putting any plastic in my skis. also Do you use the cnc much? do you think cutting out base material on it would be smart? or should i make a base template and use a hand held router?
unknown
Brazen puts a drag knife in his CNC to cut out bases. I'm building a CNC router now, and am planning on trying out a drag knife for bases. If it didn't work, I'd probably stick to CNC'ing a template and cutting with a router by hand - but I'm not speaking from experience, only my unjustified foresight.
unknown
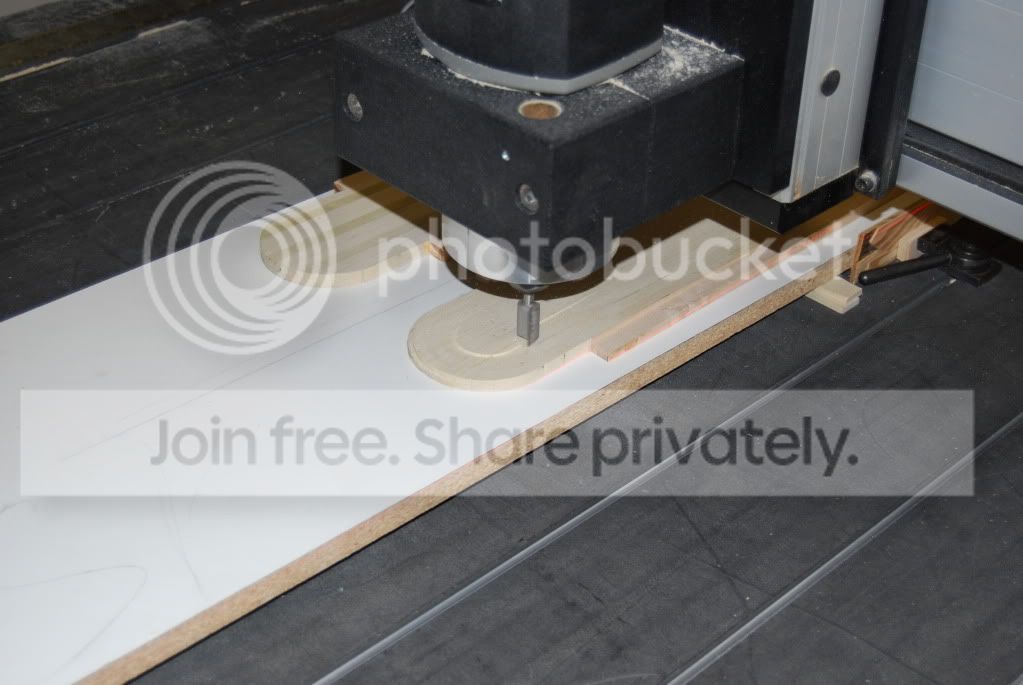
Profiling! 2mm
unknownWed May 23, 2012 8:10 am
Hey Mike!
How are you holding your base material down while cutting with the straight flute bits?
unknownWed May 23, 2012 1:30 pm
will a Mortising Bit work?
unknownThu May 24, 2012 8:30 pm
I clamp the base material down much like I do the core blanks: a few clamps along the length of each side. The machine starts cutting at the nose and makes a pass down one side. As it makes the turn around the tail and starts cutting the second side I start to stabilize the cut base by hand. As the cutter approaches the nose again I make sure to have one hand at the middle of the base and one close to the cutting head. Ive found its easy to hold the base completely still this way. Alternatives might be double-sided tape, and of course a decent vacuum table, but since just holding it down has worked so well for me Ive never been motivated enough to try something else.
unknownFri May 25, 2012 9:21 am
Any straight flute bit will work. Personally I like to cut with a narrower cutter than a mortising bit tends to be, since a narrow bit makes it easier to avoid the clamps. I use the straight 1/4" bit you see here: http://www.happymonkeysnowboards.com/MonkeyWiki/Router_Bits Just dont use a spiral cutter like the up-cuts you see there. Those are great for clearing wood chips, but they pull and tear at the thinner and more pliable base material and ruin it.
Anyone got a part number and/or link for the drag knifes others are using? Ive always wanted to try one
unknownFri May 25, 2012 4:31 pm
Brett (Brazen) grinds his own drag knives from carbide drill blanks. You just let the spindle freely rotate. All the drag knives I can come up with are for cutting sign vinyl, which would be way too delicate for cutting ptex. Brett seems to get great results with his home-ground drag knives, that's what I'm going to try.
Carbide blanks are only a few dollars on mcmaster.
unknownSat May 26, 2012 8:23 am
http://www.multicam.com.au/accyknife.html I think this would work
unknownSun May 27, 2012 9:06 am
If any one wants the .DWG or . DXF drawing for the inserts to plug into your CNC id be more then happy to Email it to you save you some time. The drawing is for 7mm inserts
unknownSun May 27, 2012 9:45 am
Ha, glad you did it ok without my file - I still never emailed that to you (I have the file ready in the shop). You still want the DXF for the new looks? (looks like yours is for the old ones).
What's with the second set of holes? Cut in the wrong spot?
Funny story, on the last skis I did I used my CNC mill to cut the insert holes. Got everything lined up perfect, clamped down nice, starting cutting - and realized I had the core upside down. Funny when you have a CNC for ultimate precision, but you're cutting in the completely wrong spot
unknownSun May 27, 2012 9:57 am
Ya haha I almost did that to but i caught it right in time thank good, what you end up doing just re drilling it on the other side? How I screwe up is i accidentally put the toe plate on the center line in stead of my boot mid point line. Also It be great if you could still send The template so i can use them in a few months on my next skis, but no rush.
I was was hopping those were the new looks but looks like im on the hunt for some old looks. Would you know a year by any chance? the link i used to mount them was http://www.tetongravity.com/forums/showthread.php/153971-Binding-Mount-Paper-Templates
and on that site look_pivot_axial_paper_template_R2.pdf
Thanks for your help
Kenny
unknownSun May 27, 2012 12:44 pm
Luckily I caught it when it had only cut one hole, so I filled it with a mix of epoxy and sawdust, and after it was cured I machined it from the correct side and all was good.
I'm not entirely sure what years they were, but they're becoming hard to come by. I've used the old pivots for a long time now, but it is virtually impossible to find wide brakes for them, so I've had to use leashes. I finally decided this year it was time to get new bindings.
The toe pieces on the new Looks are identical to the old ones, and on the heals the forward two bolts are the same. Its just the aft-most two bolts that are moved forward a bit. I actually machined some aluminum adapter plates that allow me to mount the new Looks on inserts placed for the old looks
The plate mounts to the ski, then the binding mounts to the plate. Works great.
unknownSun May 27, 2012 3:49 pm
Do you think i should fill the holes im not using? i was thinking i would just put inserts in all them and call it good also do you think a pair of 2005 look pivits would work? http://www.tetongravity.com/forums/showthread.php/231250-FS-Look-Pivot-14s-w-wide-brakes
unknownSun May 27, 2012 5:22 pm
IMO, you should always use reinforcements for inserts. I.E. Push the insert through a sheet of Kevlar or CF, or even glass, if you're not worried about weight. Also, they should be pushed in during layup, not before.
Only takes a little bit of extra time, and a little bit of extra money, and it eliminates any risk of your inserts being a weak spot.
unknown
Yes those bindings will work.
Do waste the inserts putting them in the wrong holes. Mix up some kind of slurry with sawdust and epoxy (quick hobby epoxy is fine). When its cured sand it down flat and smooth on both sides. If you leave them open you'll get really bad divots in your topsheet and base. If you put inserts in... you're just wasting inserts.
I've never done any reinforcement with my inserts, but I've never put more than maybe 20 days on a pair of homemade skis, cause I keep making new ones.
unknown
Alright i already filled a creak in my ski core with glue and sawdust so i know the concept. This will be the last question i bug you with. I Profiled my skis down to 2mm at tip and they seem rely week almost like they would snap if you bent them is this just me being paranoid or are you sposted to be able to bend them with out worries.
unknownMon May 28, 2012 9:17 am
Yes. What do you think the fiberglass is for? The wood is just filler material
Now get to laying up some skis!
unknown
Alright I will hopfuly some time soon
thanks

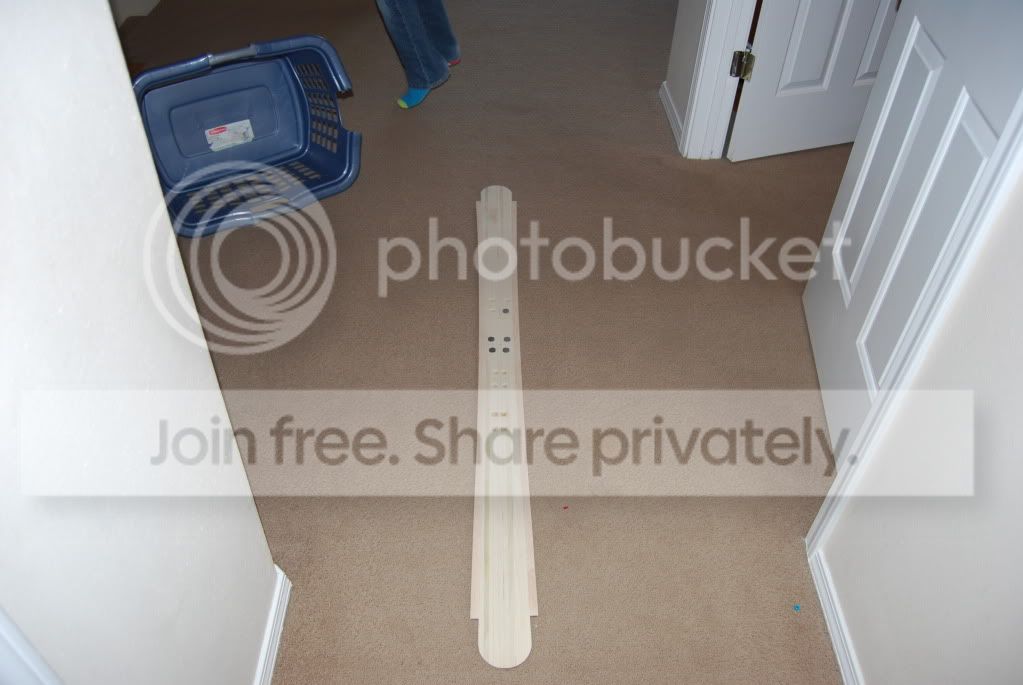
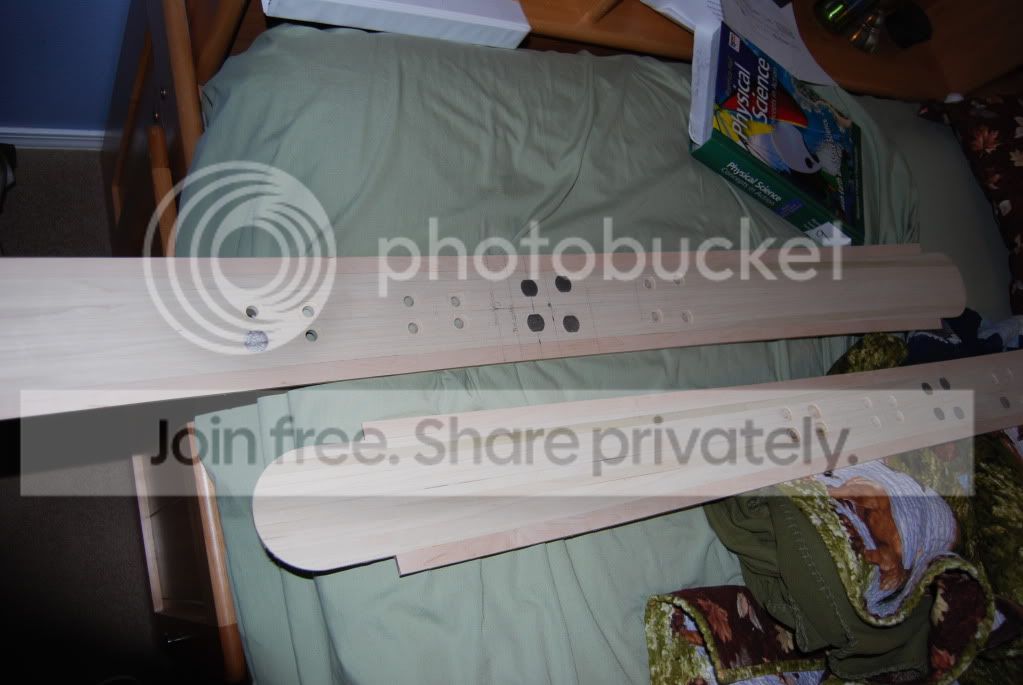
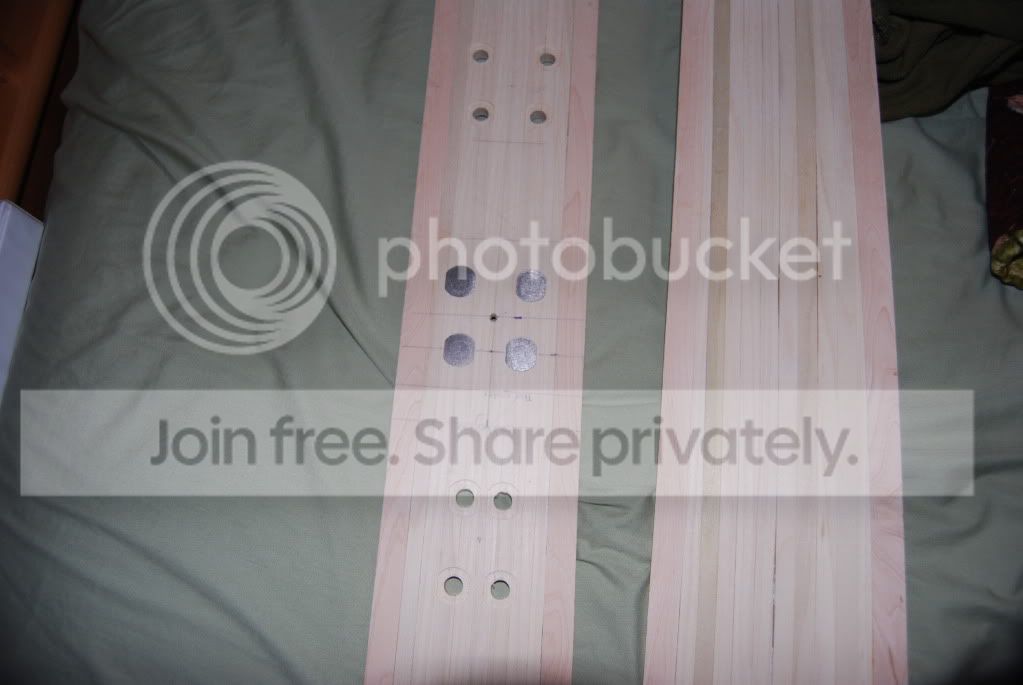
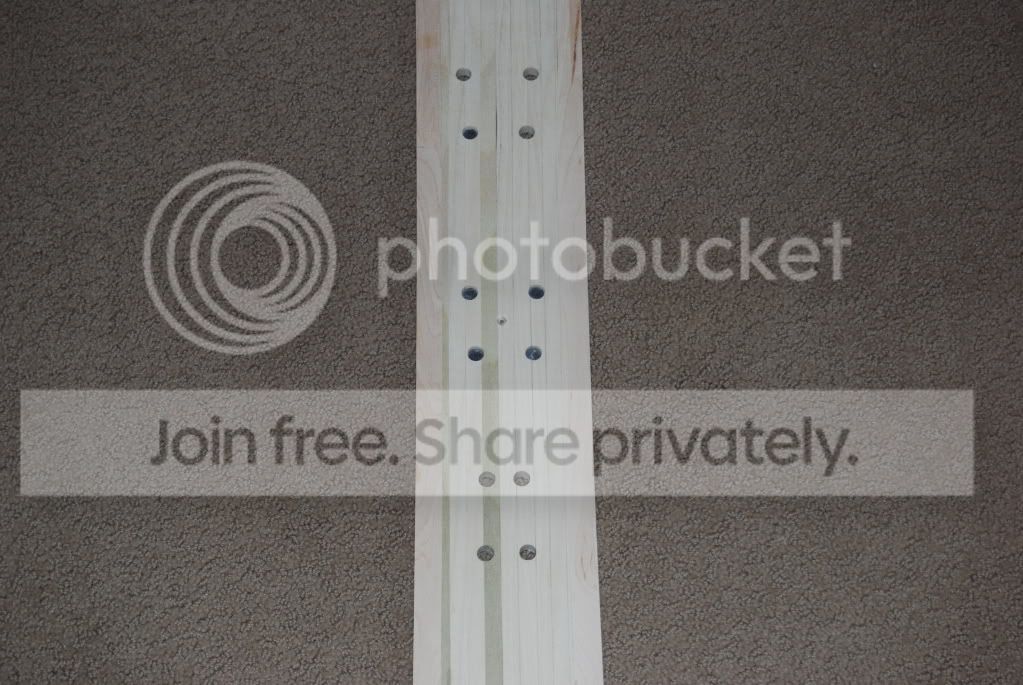
![http://s1053.photobucket.com/albums/s469/bobber01/?action=view¤t=DSCN0130.jpg[/img]](http://s1053.photobucket.com/albums/s469/bobber01/?action=view¤t=DSCN0130.jpg[/img])
![http://s1053.photobucket.com/albums/s469/bobber01/?action=view¤t=DSCN0131.jpg[/img]](http://s1053.photobucket.com/albums/s469/bobber01/?action=view¤t=DSCN0131.jpg[/img])
![http://s1053.photobucket.com/albums/s469/bobber01/?action=view¤t=DSCN0154.jpg[img]](http://s1053.photobucket.com/albums/s469/bobber01/?action=view¤t=DSCN0154.jpg[img])
![http://s1053.photobucket.com/albums/s469/bobber01/?action=view¤t=DSCN0141.jpg[/img]](http://s1053.photobucket.com/albums/s469/bobber01/?action=view¤t=DSCN0141.jpg[/img])
![http://s1053.photobucket.com/albums/s469/bobber01/?action=view¤t=DSCN0151.jpg[/img]](http://s1053.photobucket.com/albums/s469/bobber01/?action=view¤t=DSCN0151.jpg[/img])
![http://s1053.photobucket.com/albums/s469/bobber01/?action=view¤t=DSCN0159.jpg[/img]](http://s1053.photobucket.com/albums/s469/bobber01/?action=view¤t=DSCN0159.jpg[/img])
![http://s1053.photobucket.com/albums/s469/bobber01/DSCN0154.jpg[img]](http://s1053.photobucket.com/albums/s469/bobber01/DSCN0154.jpg[img])
![http://i1053.photobucket.com/albums/s469/bobber01/DSC_0460.jpg[/IMG]](http://i1053.photobucket.com/albums/s469/bobber01/DSC_0460.jpg[/IMG])