:: View topic - Neilg skis, redux
Posts: 30 · 30 posts
unknownSat Jan 07, 2012 4:38 pm
WARNING, lots of pictures.
Out of school, new town, job, $$$ (sort of), all mean new ski building tools! Even though my cloth press worked great, it was a pain to load and could only press one ski at a time.
Here was my old set up: http://skibuilders.com/phpBB2/viewtopic.php?t=2684
So two ski press it is, Mongo/spaceframe style, thanks Mongo!
Cutting metal.
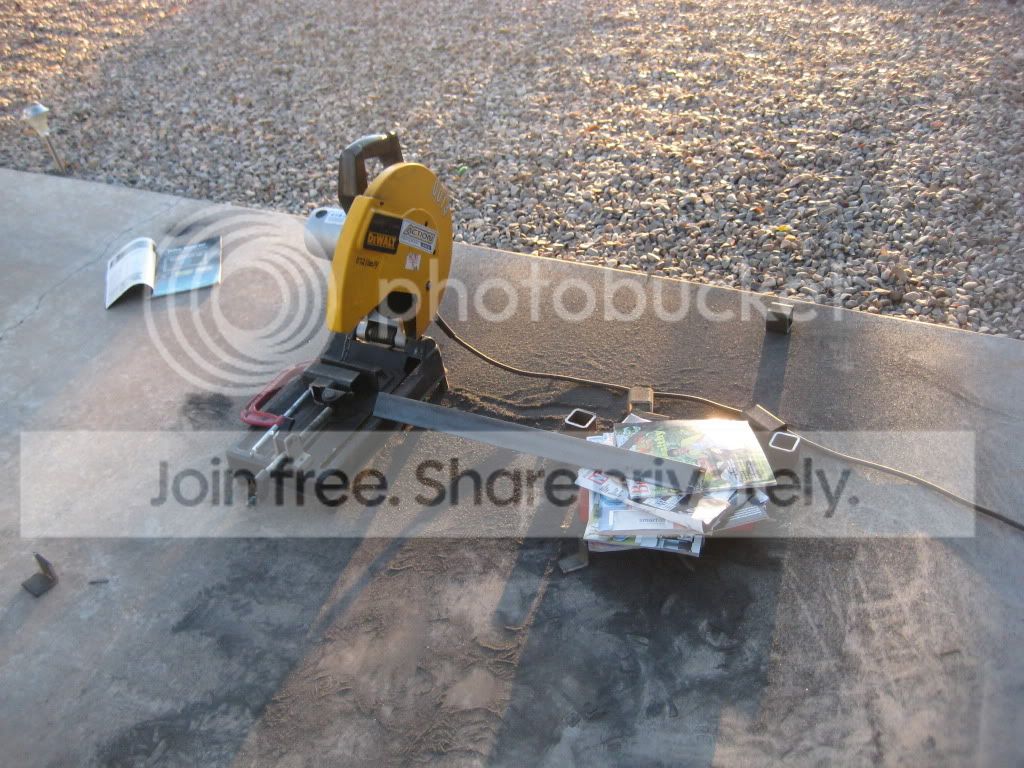
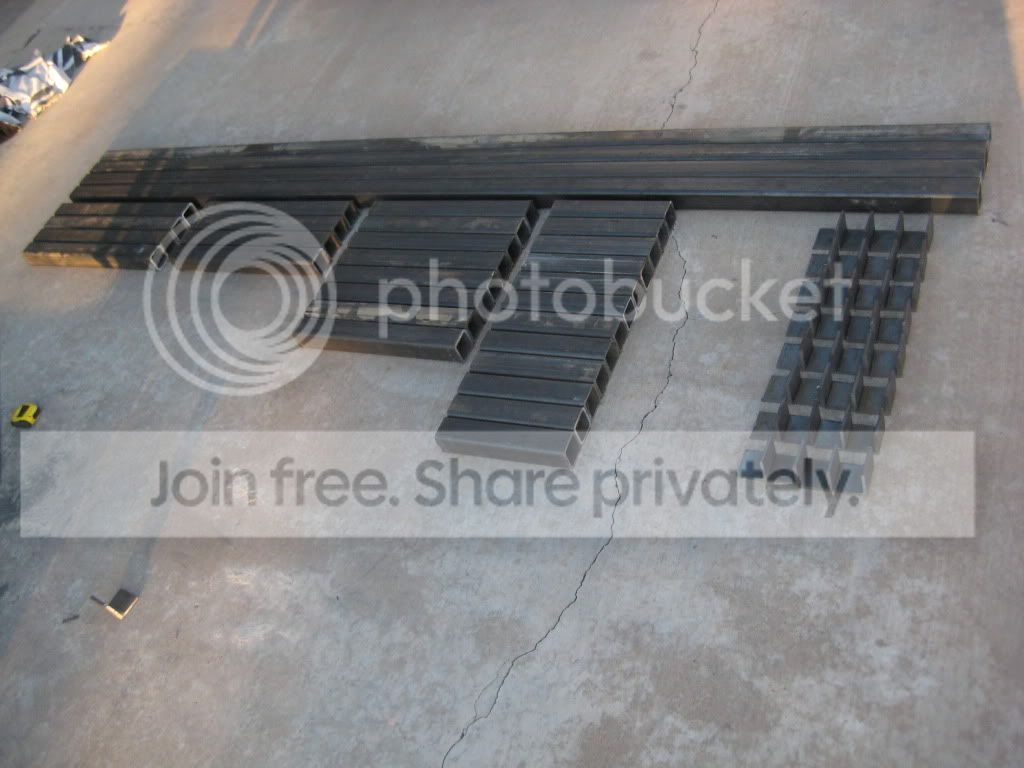
Lots of metal.
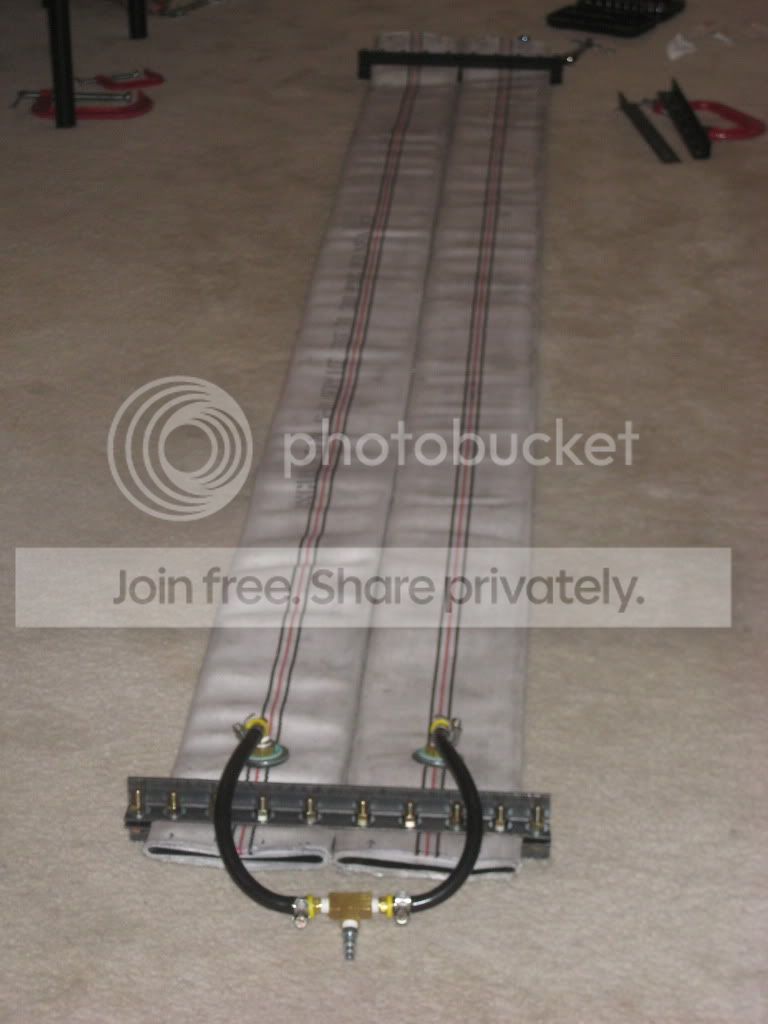
Two hose bladder. Leak proof without any sealant by the way.
1/16" alu cattrack, all cut by hand with a hacksaw...
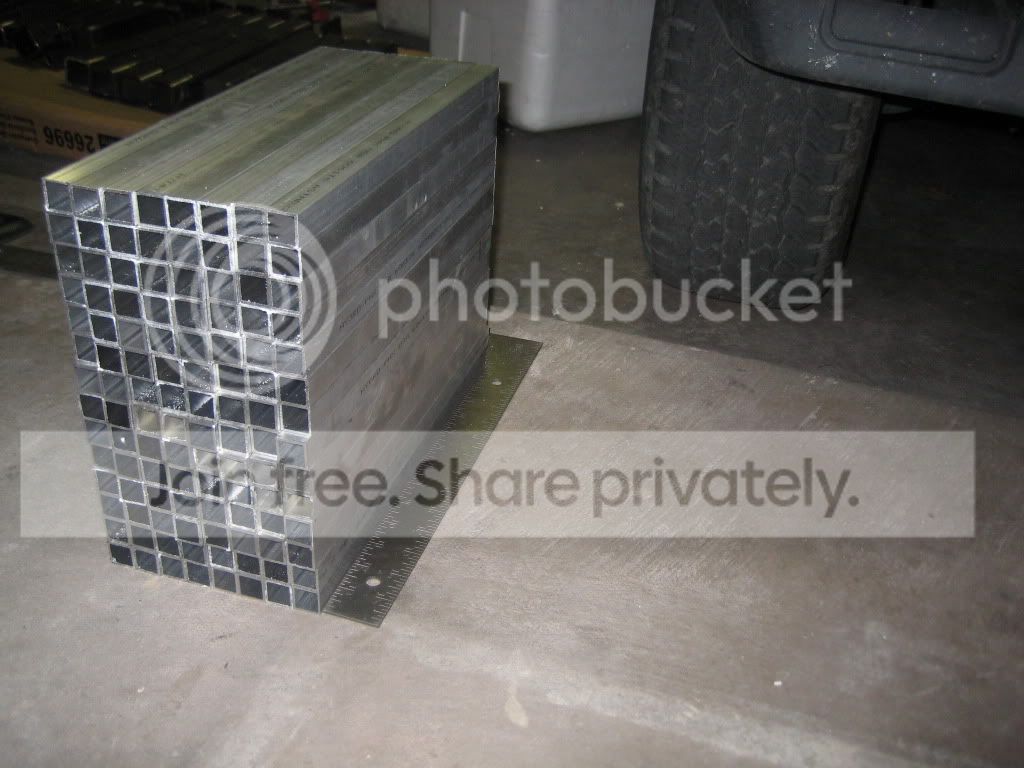
Cattrack detail
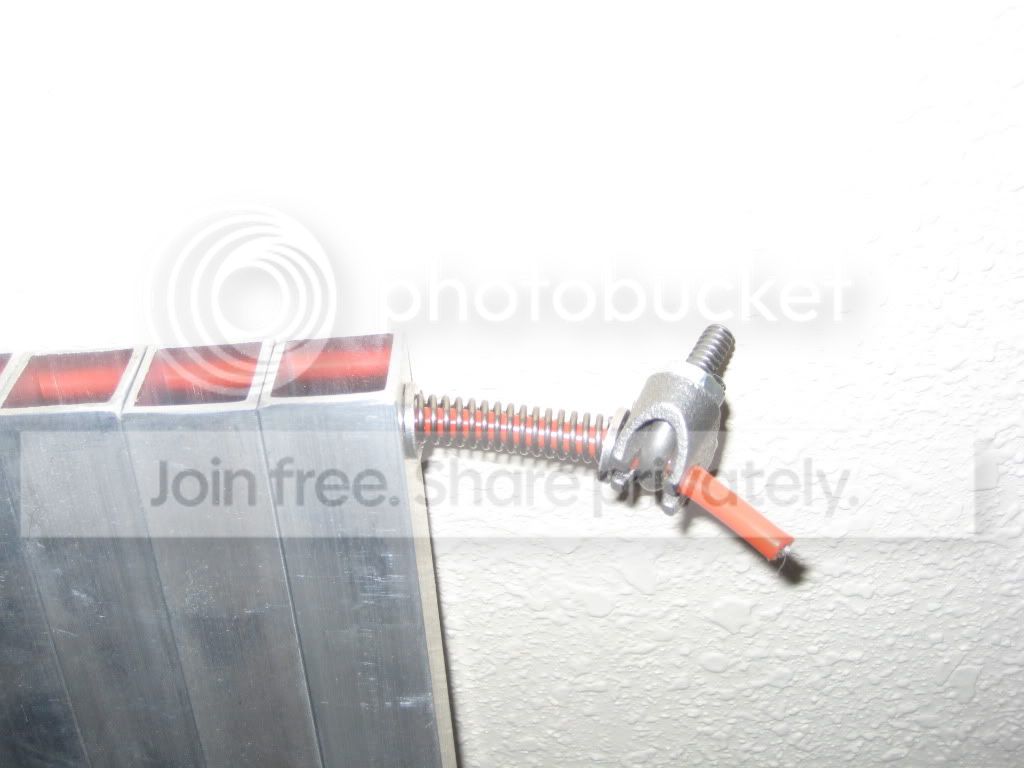
Had a friend's dad who is a pro welder weld up my frame. Absolutely this many ( ) maths went into figuring out how strong my press would be, but I went with 3/16" steel tubing so I'm pretty sure it's over built.
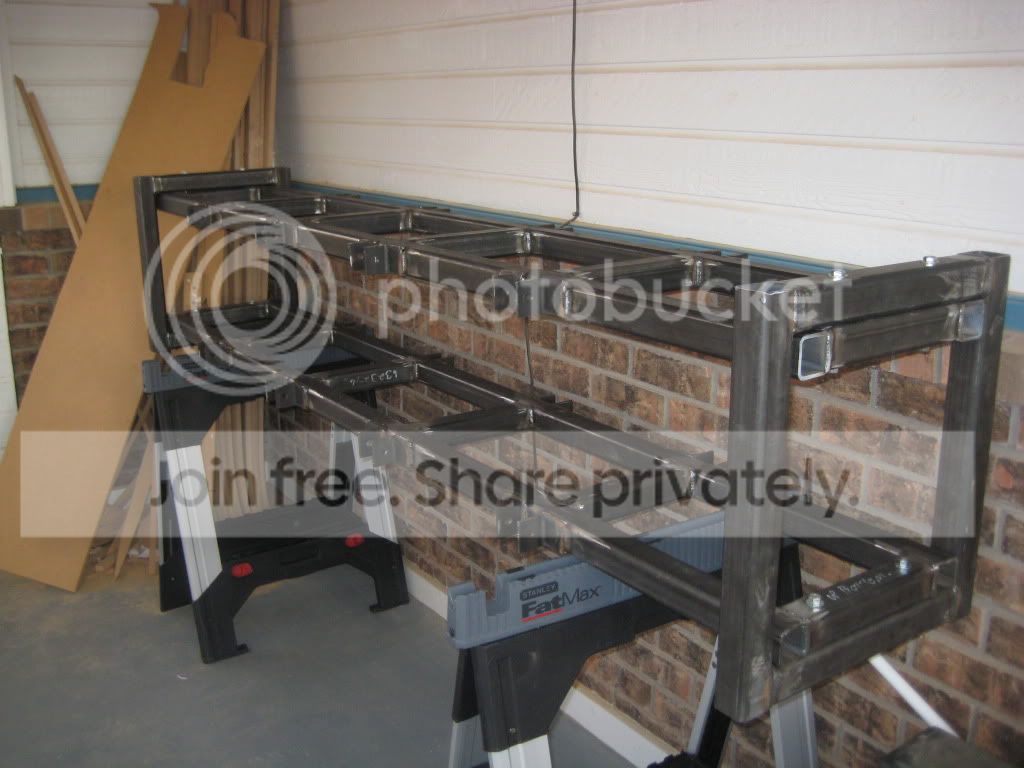
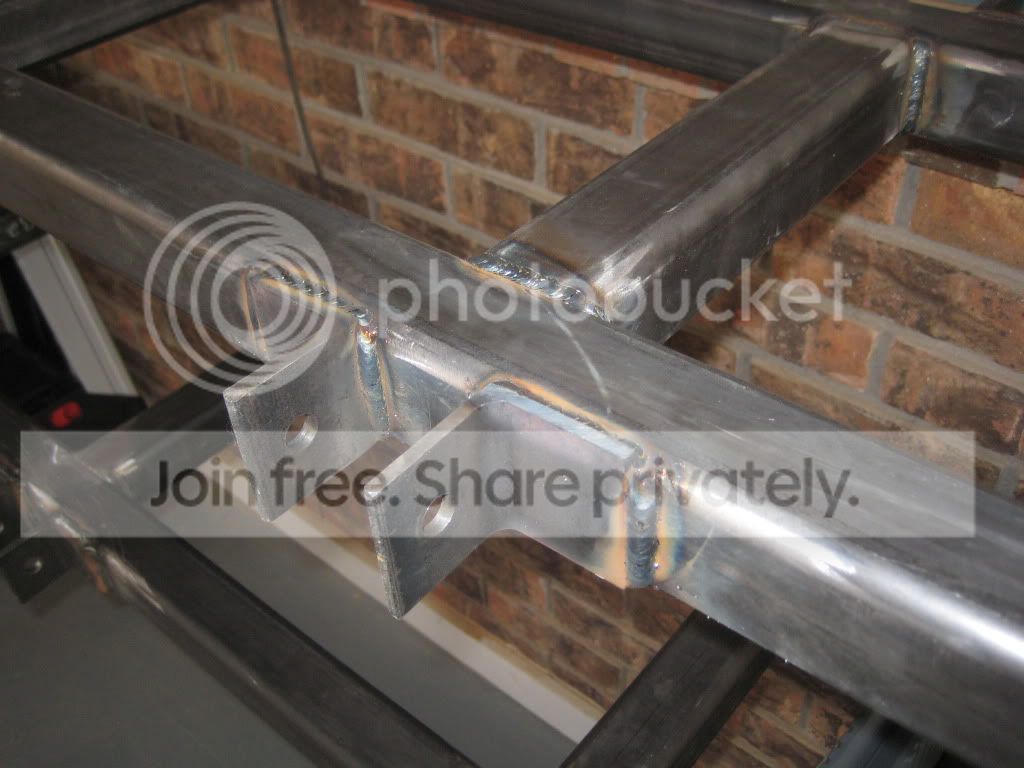
Weld detail.
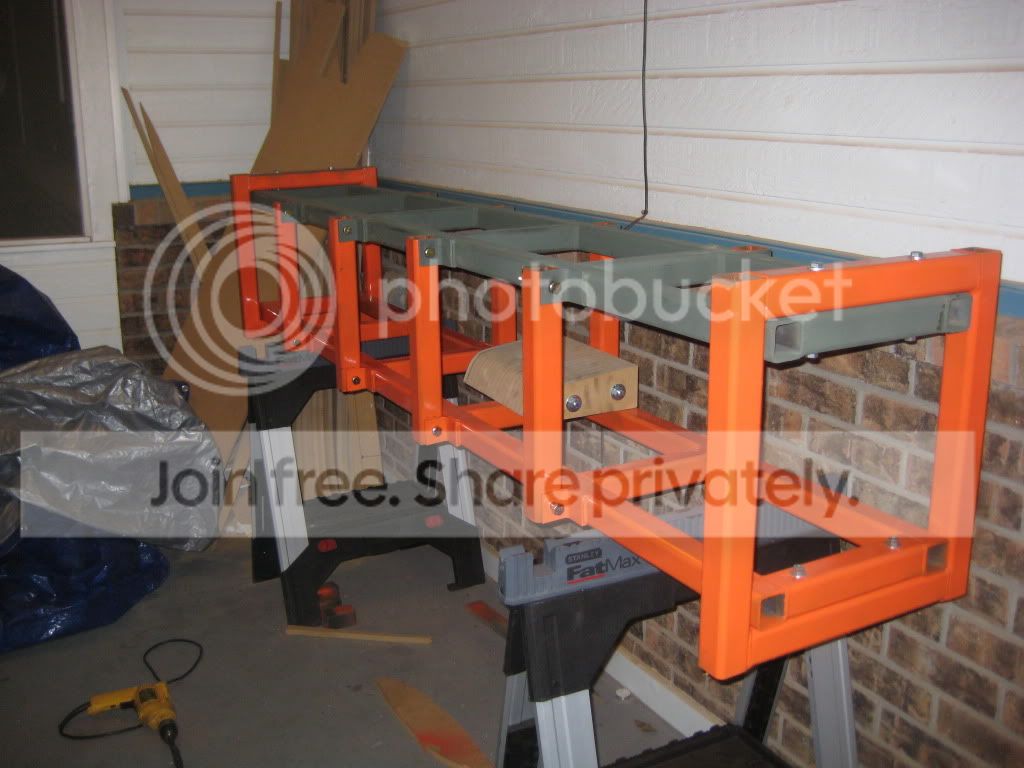
Painted, ran out of orange, whatever, at least it's all primed.
Trying something out I'm calling modular molds. I have three cambers, 35m regular camber, 35m reverse camber, and a flat camber mold, along with four tip/tail molds with varying amounts of rocker. All held together with threaded rod.
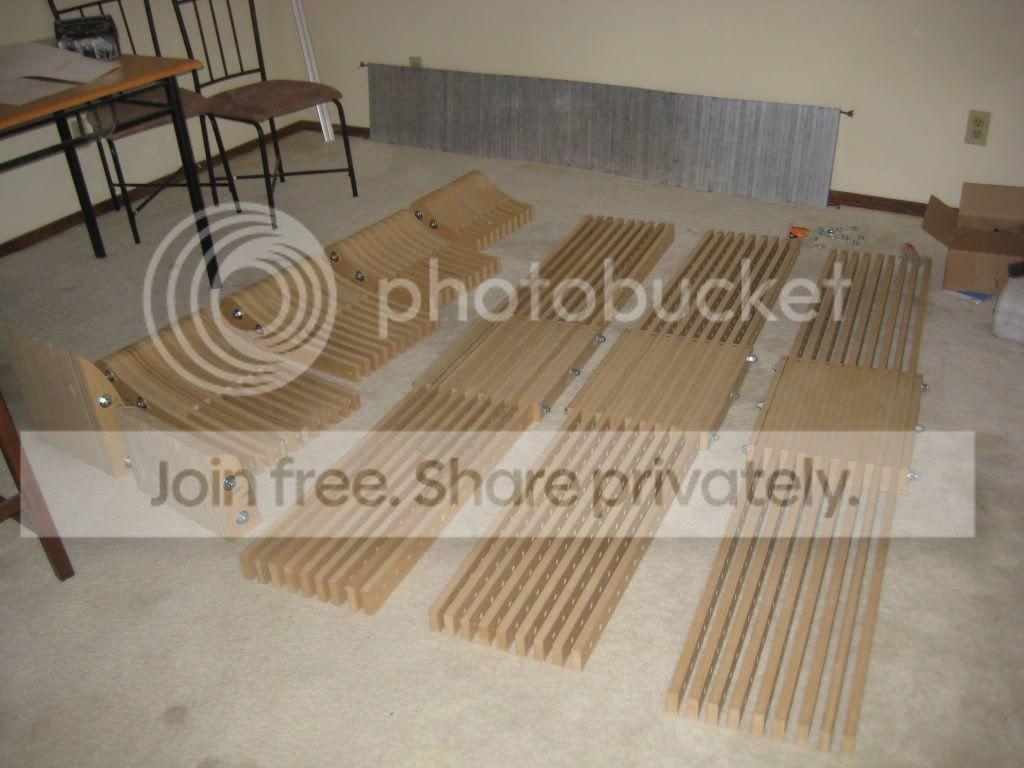
Also built an adjustable core profiling crib using aluminum shims, wayyyy too many holes.
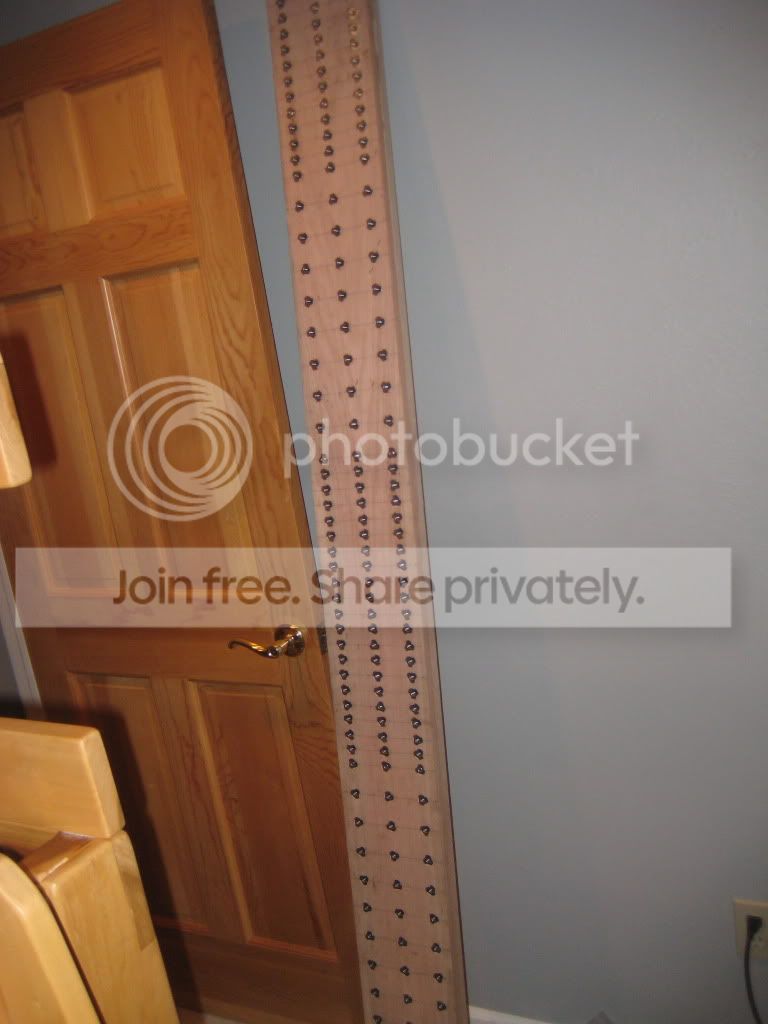
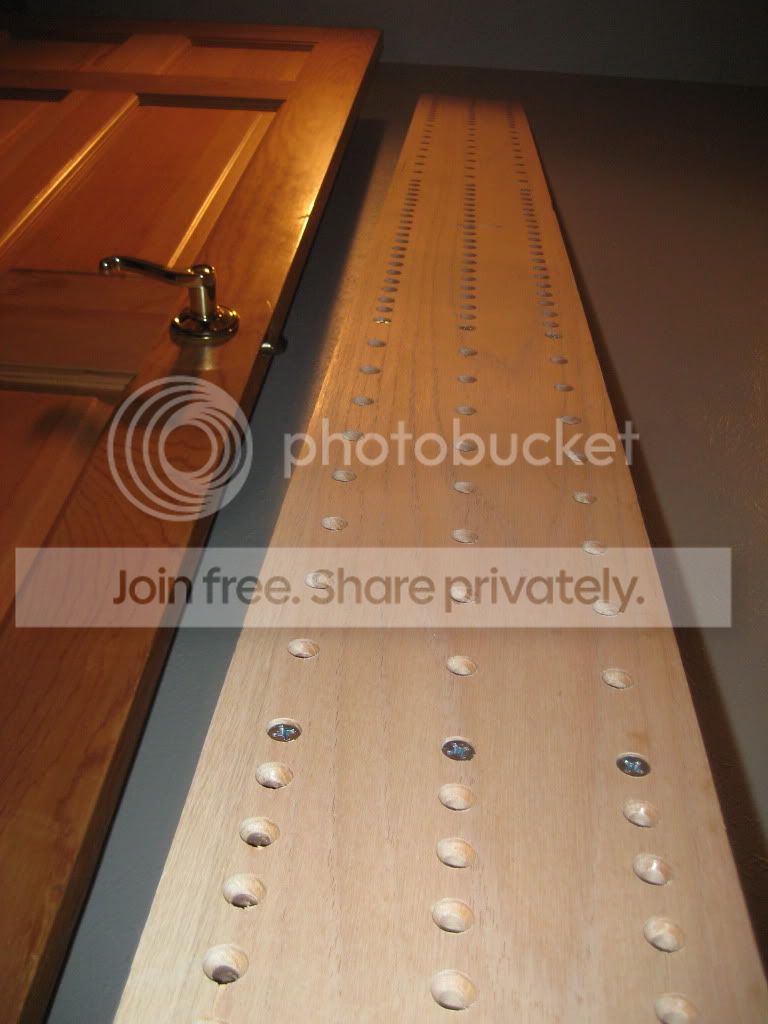
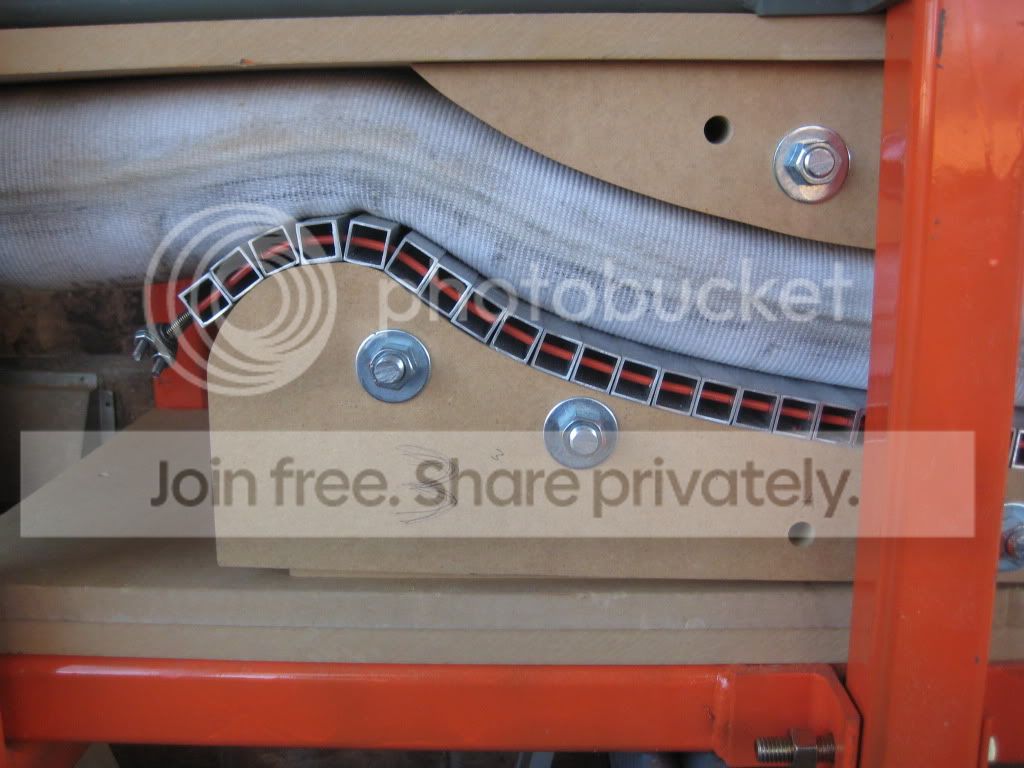
To hold an adjustable top mold in the press I made up a little track underneath the top piece of MDF that the upper mold pieces slide on.
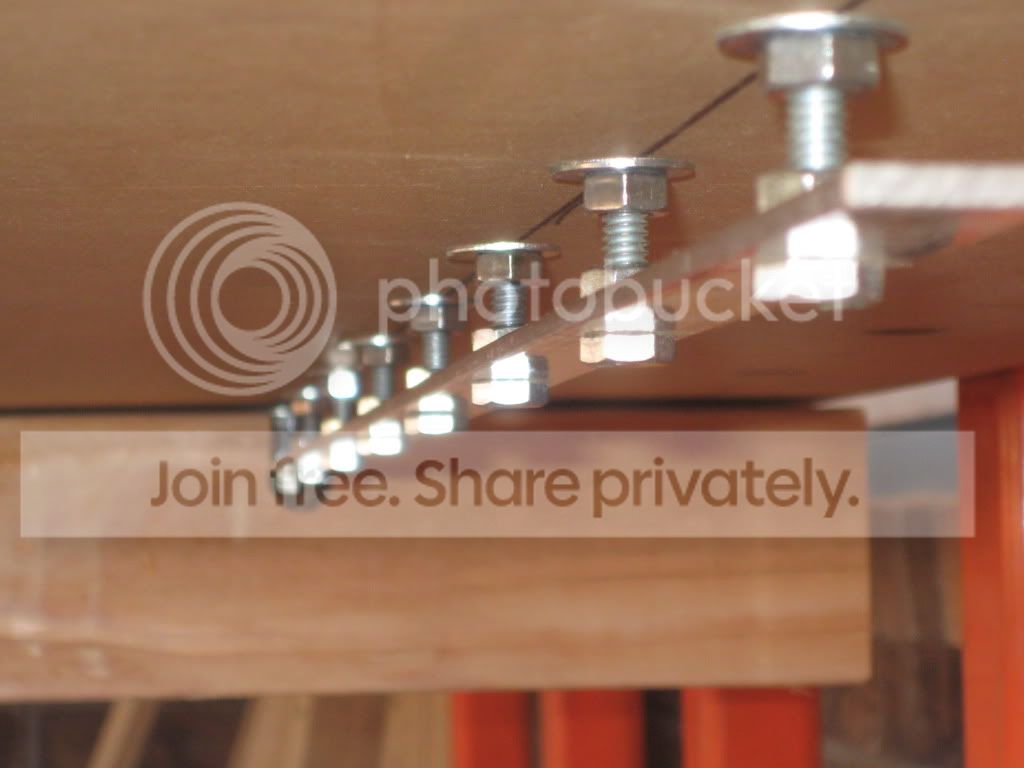
Upper mold block.
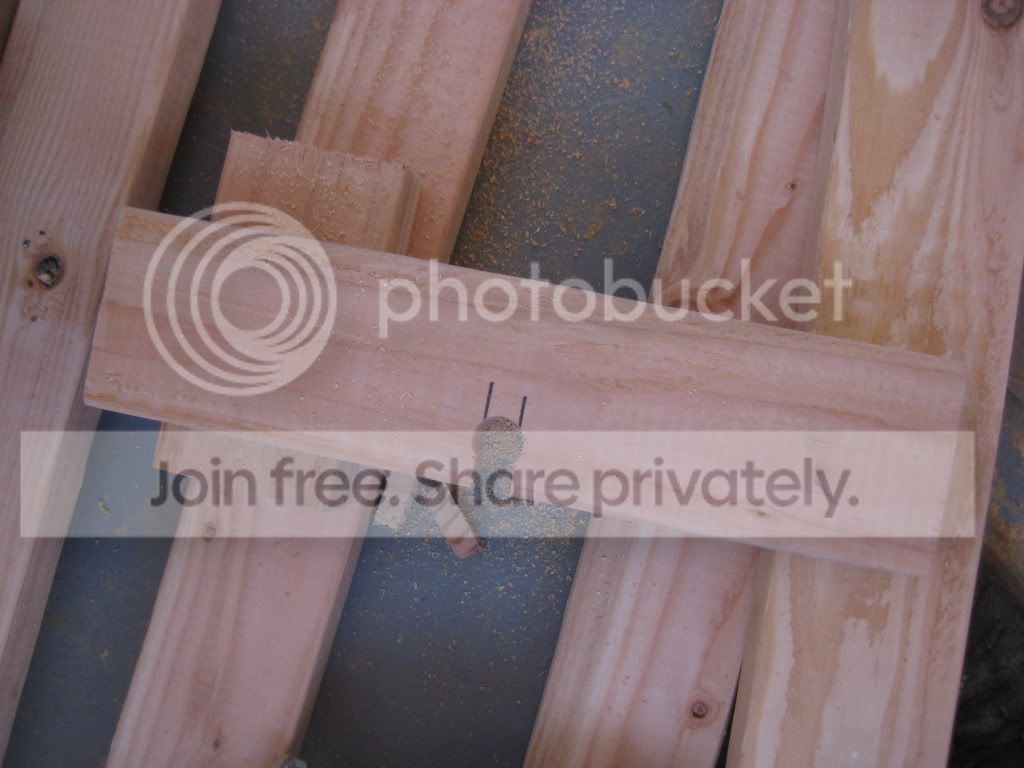
Upper mold tip/tail.
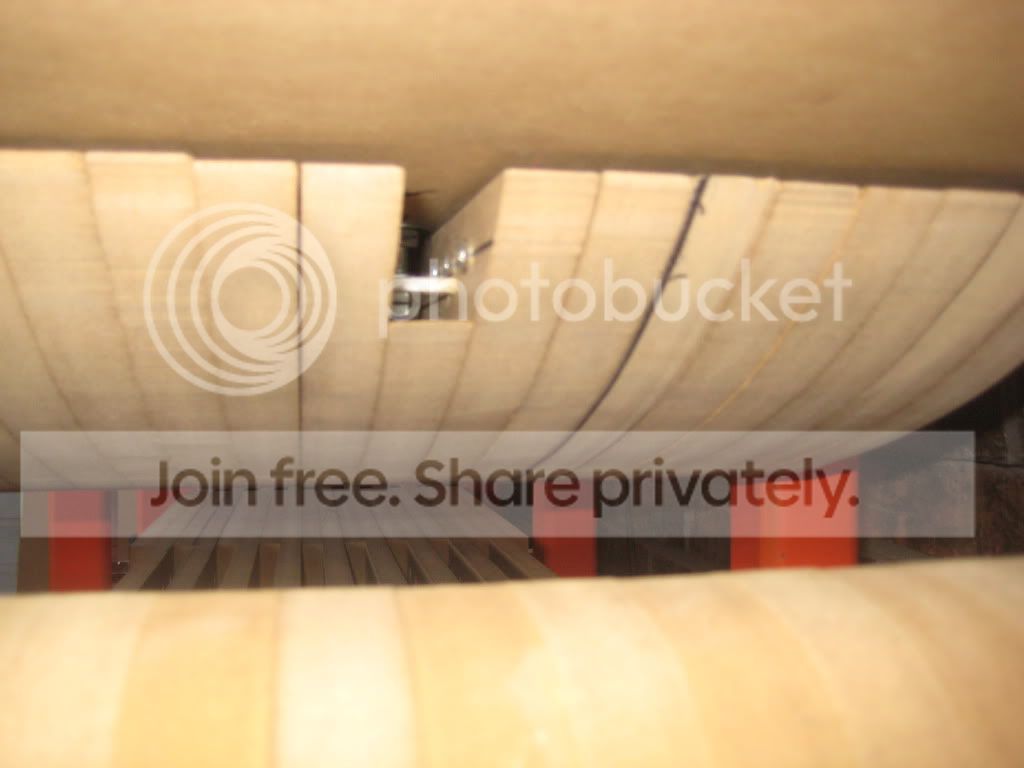
Still waiting on bungee to secure the cattrack.
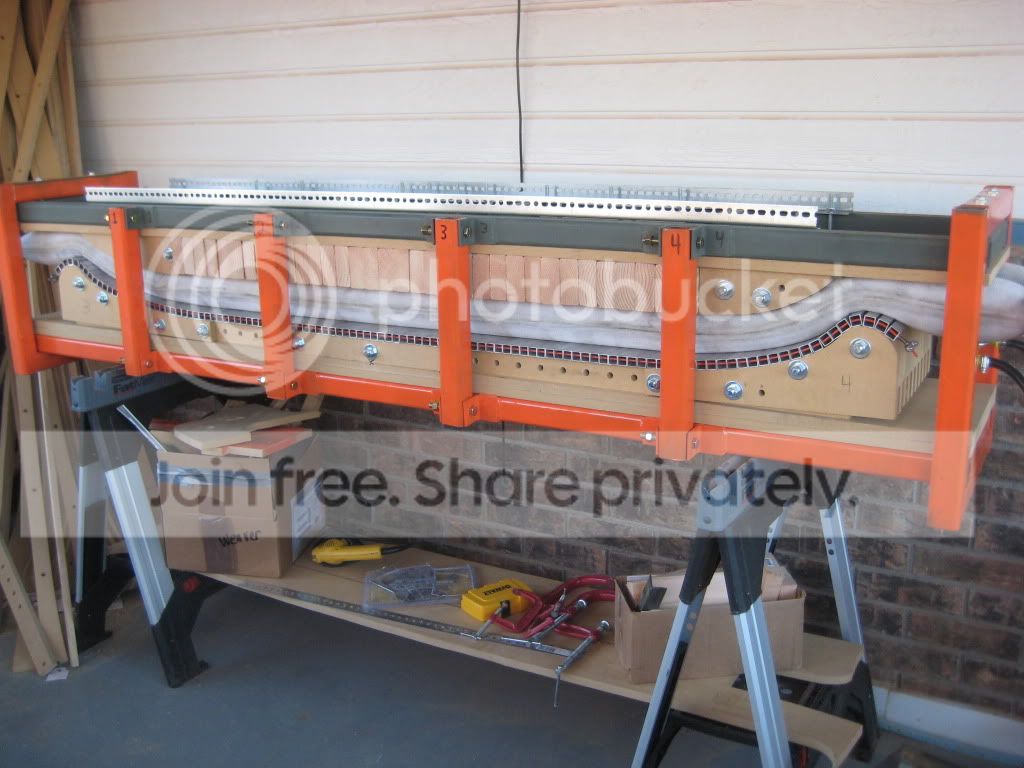
But it holds at 40 psi!
Not too much of a void in the tip/tail sections, I'm ok with this.
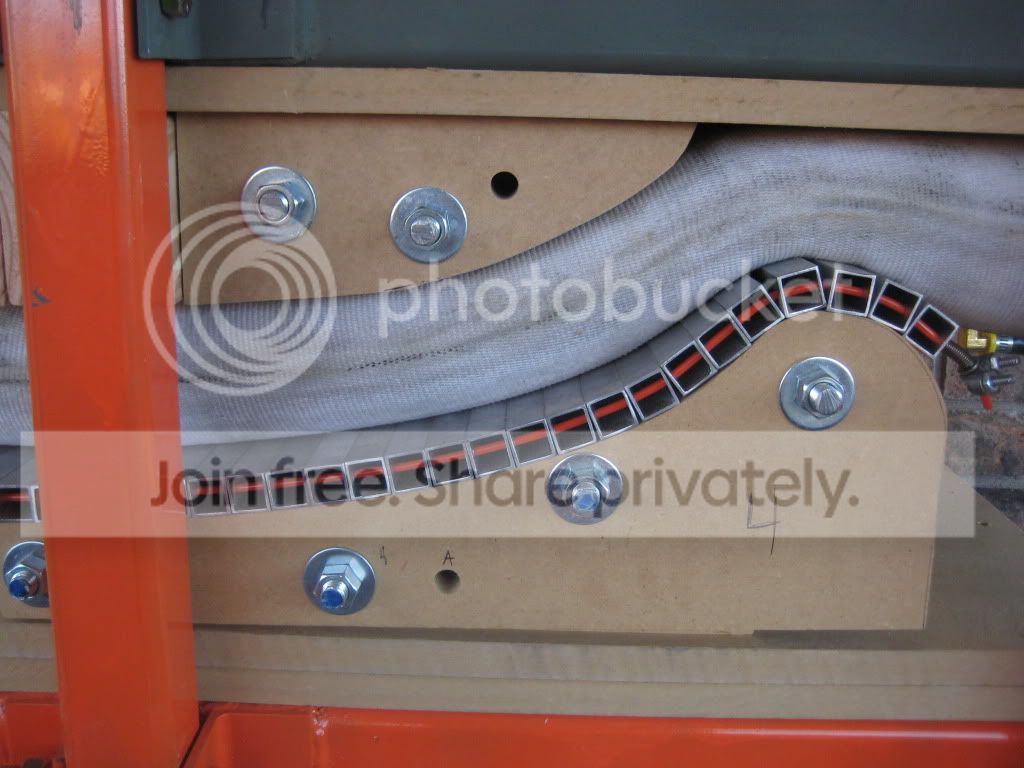
Now I just need to build some skis, thinking about bamboo since I don't have a very good hardwood supply where I'm living and I found a good deal on bamboo floor boards (I'm sure everyone knows about cali bamboo by now, not sure if they're the best but they were easy to work with and relatively inexpensive from what I've gathered).
Any tips on core profile for bamboo? I've always used maple which I seem to recall is quite a bit stiffer.
unknownSat Jan 07, 2012 5:11 pm
Looks good Neil. Sure glad it was not me cutting the alu, by hand? good for you. On the spacing in the tip and tail area... You might try shimming some more above the top mold to decrease the gap between the two molds. I'm sure others will have some good suggestions also. Looking forward to seeing the building progress!
ra
unknownMon Jan 09, 2012 4:35 am
Very nice work! Looks like you did your homework. So how many hack saw blades did you go through? That's a lot of hand sawing! I like the modular theme too. I made my molds the same way. Saves a lot of room in the shop. Any idea how heavy the press is? When the day comes for a new press I'd like to make one like this since it is much more manageable to move around.
unknownMon Jan 09, 2012 4:14 pm
"I found a good deal on bamboo floor boards (I'm sure everyone knows about cali bamboo by now, not sure if they're the best but they were easy to work with and relatively inexpensive from what I've gathered).
Any tips on core profile for bamboo? I've always used maple which I seem to recall is quite a bit stiffer."
The CaliBamboo is nice because you can get 6" wide planks, but be warned. They have a finish on them that needs to be removed. The finish on their stuff is no joke. I use a 13" Ridgid planer to knock this off, but it is a pretty fair fight between the finish and the planer blades. Also, if you can have them ship to a commercial address, you'll save well over $100 on shipping.
In terms of your core profile with bamboo versus maple, you'll find similar dimensions will work fine. It has a little better flex consistency and more of a pop than maple. Hard to describe, but I'd say the bamboo feels fluid. I use 2.5-11-2.5 with 2" uni carbon above and below the core. Probably never go back to maple or poplar.
unknownMon Jan 09, 2012 5:39 pm
Ra, I'm thinking about adding shims as well as closing the gap between the upper and lower molds, seems like there's a bunch of space in there and I'd get more pressure with more of the hose in contact with the cattrack.
Skidesmond. thanks! Only one hacksaw blade, 1/16" alu isn't too bad (ok so now I hate cattracks, but whatever). Not sure how heavy the press is, I'd guess around 200lb based on the receipt from the metal supplier, of course the molds and everything else probably add another hundred lb or so.
Sherpa Burns, I've heard about the coating, sounds like fun...Thanks for the shipping tip. I like my skis pretty stiff so I'll probably do a similar profile, and 2" carbon is exactly what I was thinking about, thanks!
How is binding retention? Seems like the more fibrous nature of bamboo might make for easier binding pull out but I'm not sure. I'll probably add some unpainted screen door screen or something.
unknownMon Jan 09, 2012 6:17 pm
Just thought I would chime in on the "Aluminum Cutting" of the cat track. Get some Bee's Wax, a cheap carbide blade for your Skilsaw, or Chopsaw. Put a little wax on the blade (while it is spinning) and start cutting. You will be amazed how easy it will cut. Be sure to wear ear, and eye protection. You can also put Bee's wax on your grinding disc's (paper type, or flap wheels) and it will keep them from loading up. Just keep adding as needed, and as it melts off. Check it out....Cheers..kt
unknownMon Jan 09, 2012 8:21 pm
The Cali-bamboo is O.K. in my opinion. I have used Terregrin bamboo before and it seemed to be a bit better overall. The Cali stuff wasn't really all that consistent when I was profiling the cores (planer crib method). Some cores went through the planer super easy and some barely at all. It was strange there was such a difference. I don't think the binding retention is as good either. I personally mounted up a couple of pairs and it was easy to over tighten the screws. Also, the drill bit felt like it was cutting air. Zero resistance. This is a night and day difference from my normal ash cores. I don't do anything for binding retention, just 22oz. glass above and below the core BTW. The protective coating is a PITA to remove, but it's not a deal-breaker. My planer almost fell over when I tried to feed it through. It ruined the blades so fast I almost thought I wasn't going to be able to use it. I ended up getting an angle-grinder with a flapper-disc to take it off. It took about 10 minutes straight of nasty grinding per core to get it off.
unknownTue Jan 10, 2012 5:36 am
Would the bees wax trick work for jig saw blades with cutting flash?
unknownTue Jan 10, 2012 2:02 pm
we buy the cali bamboo vertically laminated 4x8ft sheets minimum order is 2 sheets i think each one was $135, i have been very happy with them thus far. the only issue we had in the beginning was that it is a PINA to cut the core on a router you have to step cut it. but i am very happy with how they ski and the consistency of the wood is great
unknownTue Jan 10, 2012 9:05 pm
unknownWed Jan 11, 2012 11:45 am
Do they sell a single ply in 1/2" or 3/4"? Or are you using the 3-ply?
unknownWed Jan 11, 2012 11:51 am
Looks really nice. What internal dimensions did you go with (width and height)? The more I think about it, and how heavy my fabric press will be, I'm leaning toward a spaceframe style as well. It should be much easier to load and work with.
unknownSat Jan 28, 2012 10:58 pm
Everyone, thanks a lot for the bamboo and metal cutting tips. I'm about ready to begin battle with the bamboo floorboards, I'll let you all know how it goes.
White Pine, thanks, press dimensions are 12" by 14" by 90", just enough room to hopefully be able to press two skis at a time. I didn't want to go too wide since I want it as strong as possible laterally to keep my bases and mold flat.
unknownMon Jan 30, 2012 5:05 am
I have found the best way to get the varnish off the bamboo floorboards is with an electric hand planer. Clamp the board to a solid bench. Plane off the varnish in long passes. Then feed it through the planer to flatten it out again. Flip the core over and repeat for the varnish on the other side. Much less of a pain in the ass than other ways I have tried.
Like this guy:
image no longer available
unknown
im interested in buiding one of those rib-moulds that could be adjusted to
different lengths like neil did it. i just don t know how do i have to cover the
gaps of the lower mould. do you just use a sheet of steel or aluminium
(thickness??) or do you need a second cat-track on the mould saving the
laminate to get pressed into those gaps? i mean there s hardly any pressure
without support from below!?
unknownMon Jan 30, 2012 3:15 pm
Falls, that's a great idea. I just used my surface planer to take off the finish, loudest noise I've ever made in the shop, and the blades dulled really quickly like everyone says. However, once the finish was off the bamboo planed amazingly well.
Sir Orange, I haven't pressed a ski yet but once I do I'll be able to give a bit more input into how the bottom mold worked. I'm using a fairly thick aluminum cassette and hopefully that coupled with the cattrack distributing the pressure, I shouldn't run into any issues (we'll see...).
Also the tip and tail molds are pretty much solid all the way across, as are the middle 1.5ft of the camber molds.
unknownMon Jan 30, 2012 7:30 pm
Are you saying you were concerned with the cross-members bending under the load which could cause a convex base (side-to-side)?
I did a quick estimation of deflection on a similar design. Using 2"x2"x1/16" wall thickness tube steel and pressing with my bladder @60psi produces roughly 2700lbf on both the upper and lower frame. In my estimation it would deflect about 0.5" at the most (that assumes no molds present to distribute the force). I plan on using 1/8" steel and pressing around 45 psi and so it shouldn't deflect much at all. I would think your 3/16" frame should be fine (although it depends on your bladder configuration).
unknownSat Feb 11, 2012 10:48 am
Belt sander with 80 grit is by far the fastest way to get ride of that Finish on the flooring boards.
unknownSat Feb 11, 2012 1:01 pm
Jut finished the first ski to come out of my new press. Dimensions are 138-124-131, turn radius 35m, core: thick-thicker-thick (it's bamboo and I like stiff skis).
Fully reverse camber with tip and tail rocker, kind of like an S7/Renegade I guess. Length, about 190cm. There's a 2in wide carbon tape running the length of the ski top and bottom.
I really like how folks' bamboo side walls look, so no plastic on this one. The bamboo planed so nicely once that varnish was off that I didn't use tip/tail spacers just a full length core.
Some pictures:
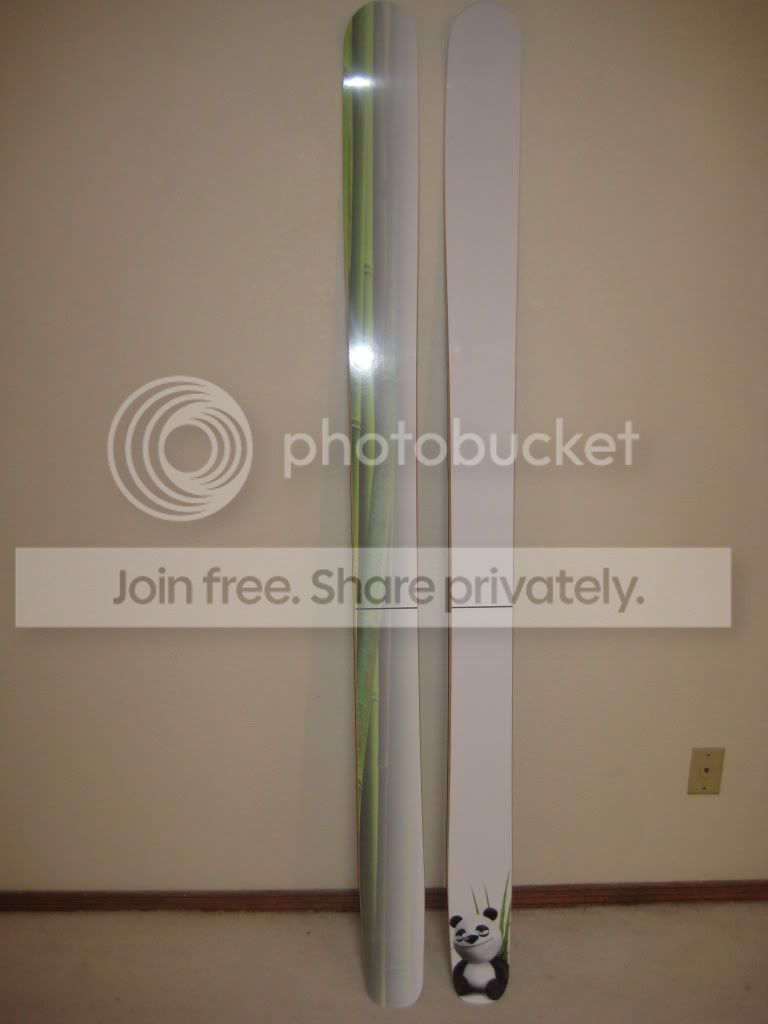
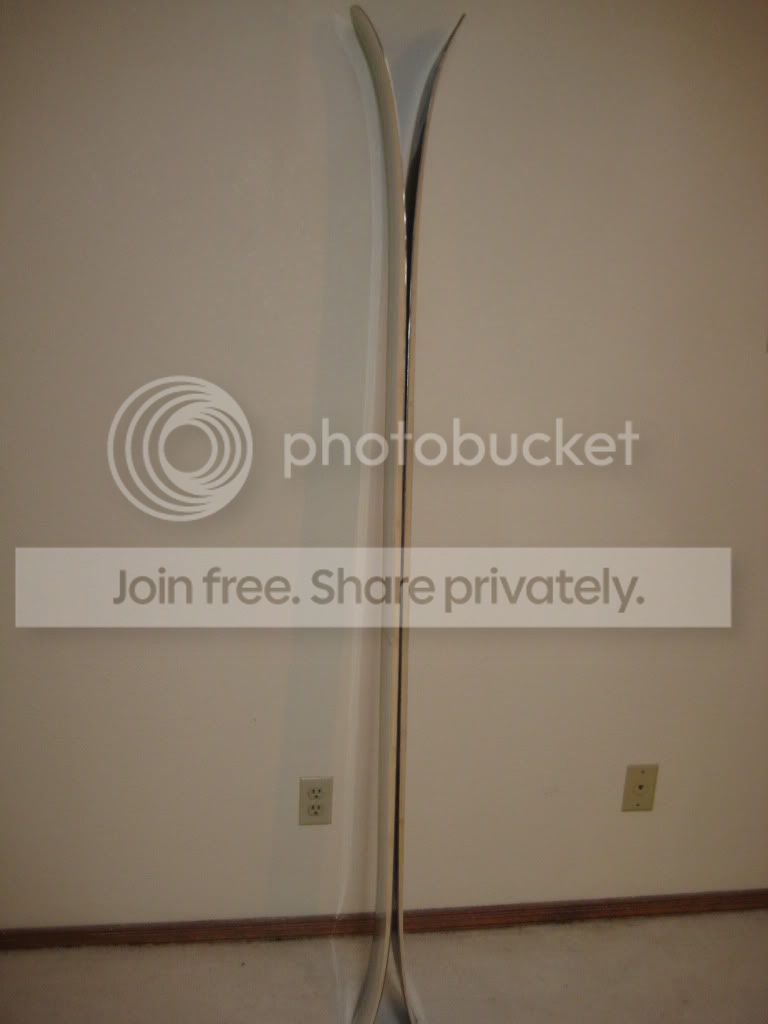
Tip rocker

Tail rocker (with wall plug for scale or something...)
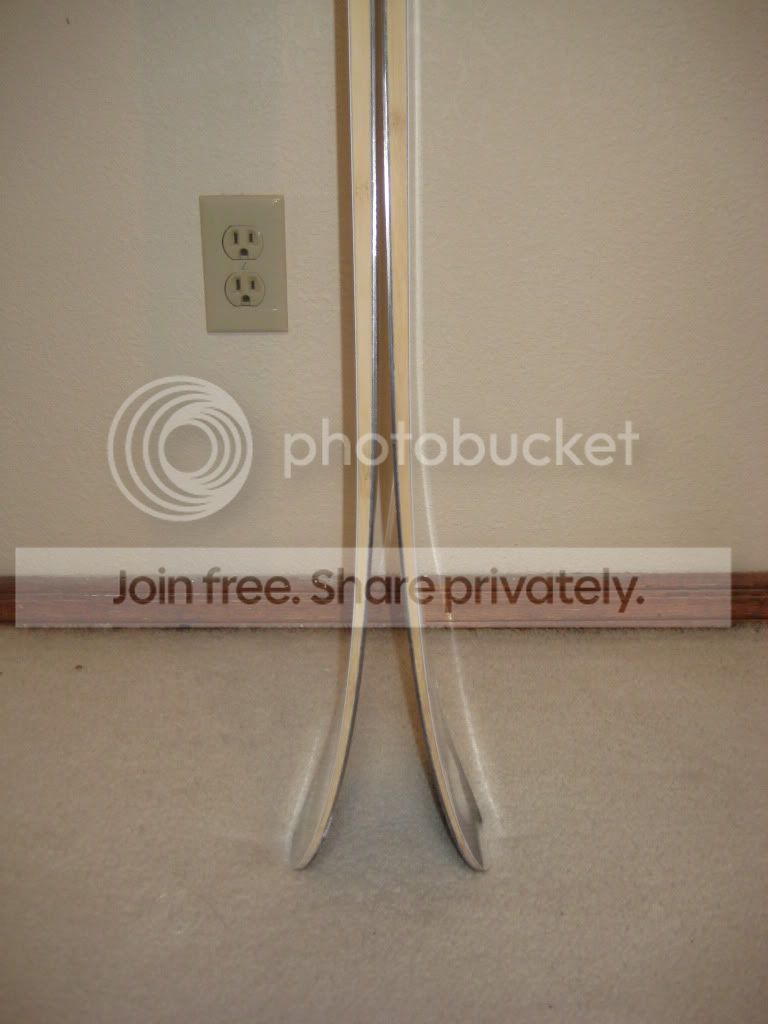
Oh, and a picture of my workspace (if you could even call it that). The blue tarp is covering my ski press.
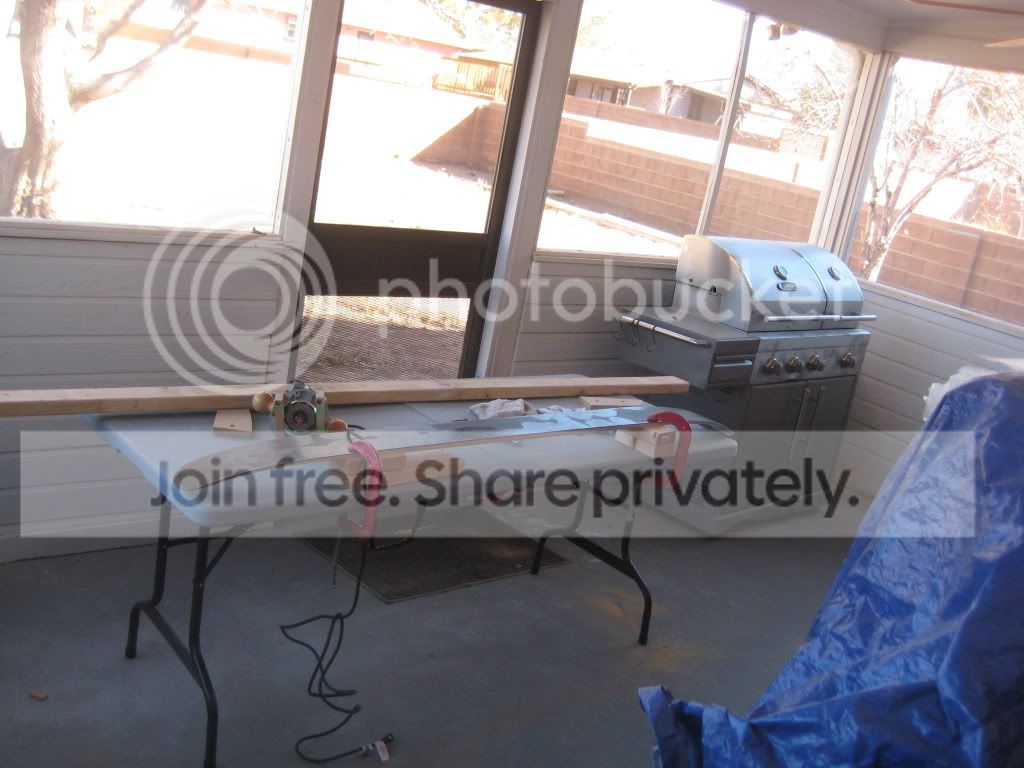
unknownFri Mar 23, 2012 7:54 pm
Very nice! Sounds like they'll be super stiff.
unknownSat Mar 24, 2012 2:50 am
So the panda bear skis turned out to be great BC skis, but kind of squirrely in bounds on hard pack due to the full reverse camber.
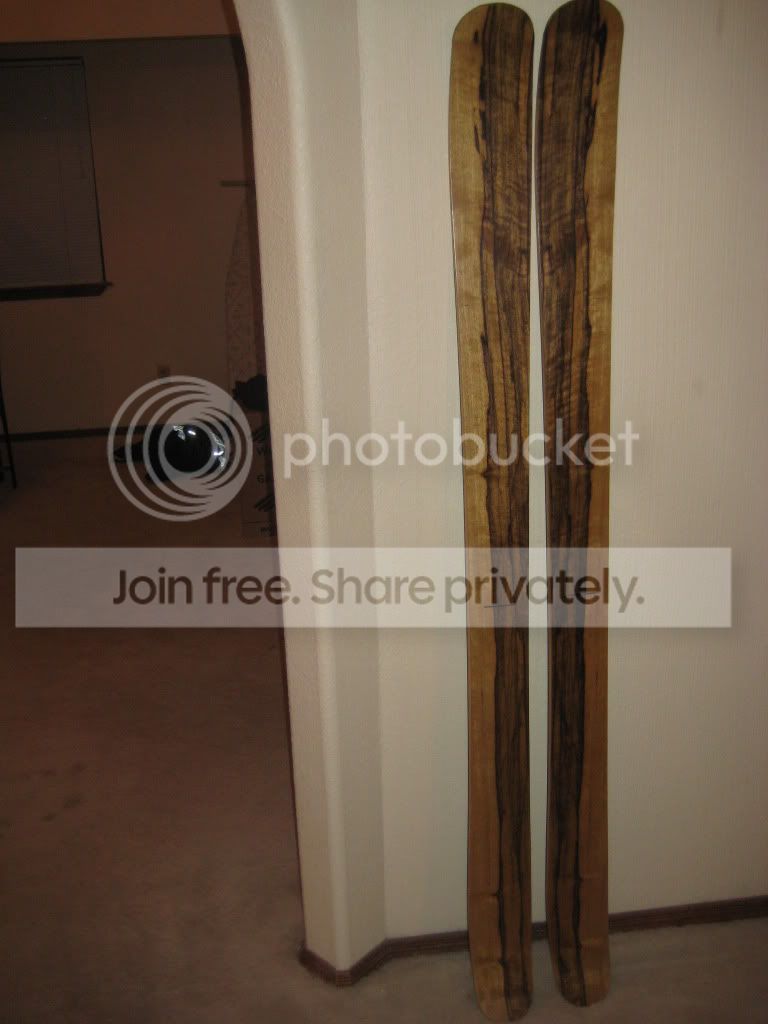
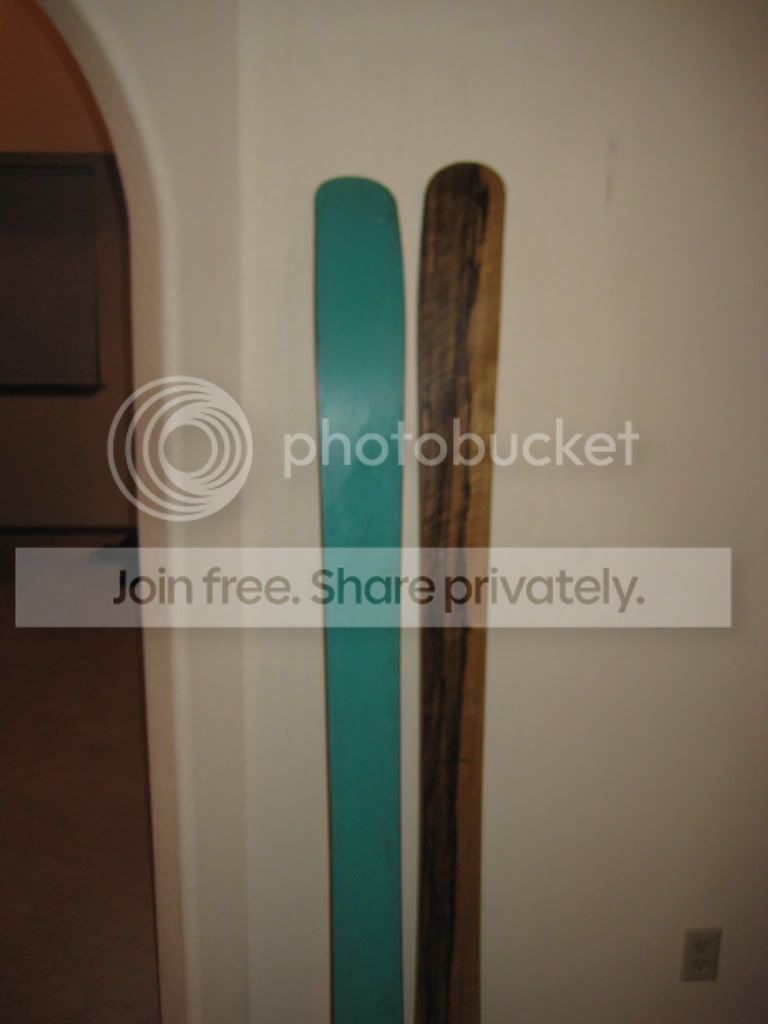
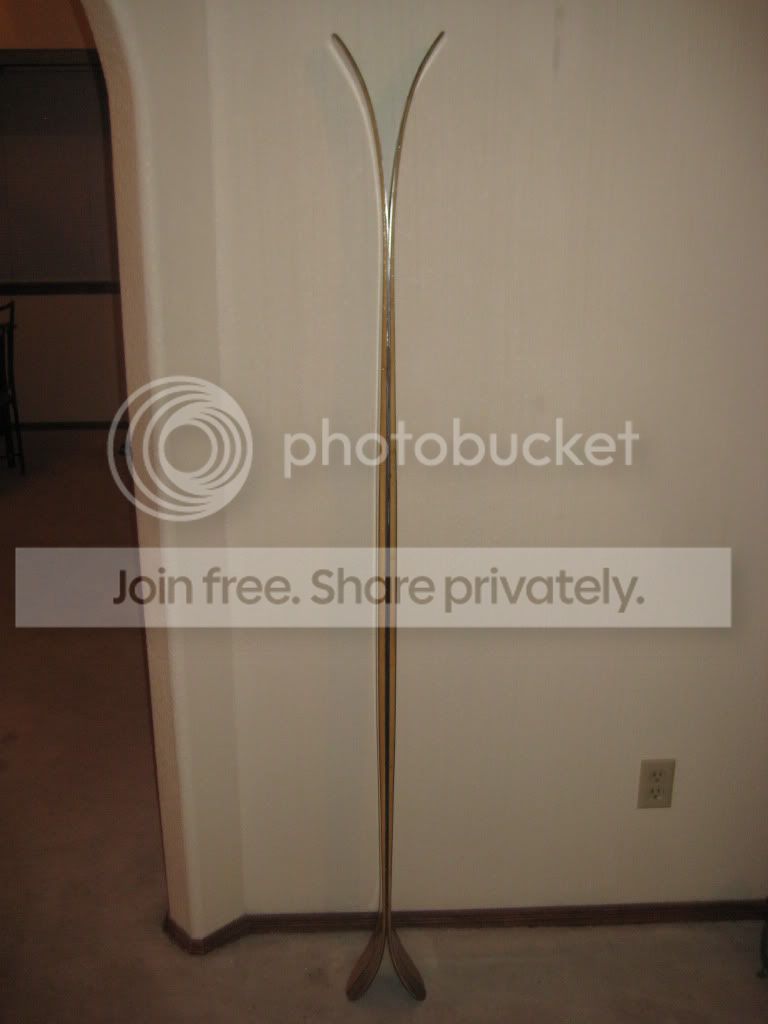
Anyways, the most recent development is a pair of skis I just built for my dad. They're kind of "dadded down" if you will. Thinner bamboo core, 2-10-2, no carbon, still 22oz fiberglass. 175cm, dims are 130-106-118, tip rocker with regular twin tip tail. I think they'll be a great all mountain ski for him. I decided to try a veneer this time but unless I find a better way to finish it I won't be doing many veneers! They came out fine, but I definitely need a better way to apply polyurethane, or a different poly product.
Some pictures:
I like this pattern, bought on sale at certainly wood.
Pre base grind, just showing the odd base color.
Bit of camber, bit of rocker. The skis do have the same profile, the picture just looks a bit skewed.
Just in time for all the snow to melt!
unknownSat Mar 24, 2012 3:27 am
For my veneers, they get a skim coat of epoxy in the press. Then 2-3 coats of helmsman spar, then a spray coat of helmsman spar. The brush coats build up sat and the spray coat gives it a nice gloss. 220-400 grit sanding between coats. Pretty and durable.
unknownSat Mar 24, 2012 5:25 am
Very nice skis! And workshop! I have to implement a grill in my aswell...
unknownSat Mar 24, 2012 8:52 am
Vinman, do you get it in an aerosol can or do you have a paint sprayer?
OAC, thanks! That "workshop" picture is about all I have ha ha.
unknownSun Mar 25, 2012 6:25 pm
Helmsman comes in a rattle can. This is what I use.
The only other thing that seems to work really nice is the systems 3 LPU clear gloss. It is pretty expensive stuff and needs an air gun. But it is a 2 part poly with cross linking hardener. Head Monkey used/uses this.
unknownFri Sep 14, 2012 8:40 pm
That's a great looking topsheet Neil!! What type of veneer?
unknownSat Sep 15, 2012 6:55 am
Thanks Vinman.
Buz, I think it's black limba or something from certainly wood. It was whatever they had on sale at the time (I think it may still on sale)
unknownSun Sep 16, 2012 2:19 am
Made some skis for my sister, same design as the ones above (which may or may not be a good thing as they have yet to be skied).
I thought I'd try and make them a bit softer, using 19oz fiberglass, but I put in some 2" carbon strips above and below the core as usual so they aren't really that soft. Oh well, my sister will get used to them, or else I'll ski 'em haha.
The graphic is just a printed picture carefully stacked on two other layers of printer paper so the white would stay opaque.
***A note about the bamboo veneer (yes they are bamboo core with bamboo veneer): I'm not sure if it's the veneer type, but the epoxy didn't really soak through at all. I applied a thin coat above the veneer to keep the graphics in place on the assumption that the topsheet would get completely wet out. This didn't happen so we'll see if they hold up.
Some pictures:
Bases, pre grind.
image no longer available
Overall view (still working on the best way to apply polyurethane, tried something different, these didn't end up quite as nice as the previous pair)
image no longer available
Side profile.
image no longer available
Tip rocker.
image no longer available
Regular tail.
image no longer available
Graphic.
image no longer available
unknown
Those look awesome!
I did bamboo veneer on a pair a whole ago, I used black epoxy in most of the ski, and none of it bled through the veneer (thankfully!). I coated the top of the veneer with normal epoxy and ut some clear top sheet material for it, so I didn't have to deal with PU or anything
