
Tue Apr 16, 2013 5:47 pm
Cassetts are flat layup. We do have acces to a sheet metal roller but not nessecary. Just aneal and press and cook a few times.
Cassetts are flat layup. We do have acces to a sheet metal roller but not nessecary. Just aneal and press and cook a few times.
thanks MM
Got a bit done this weekend.
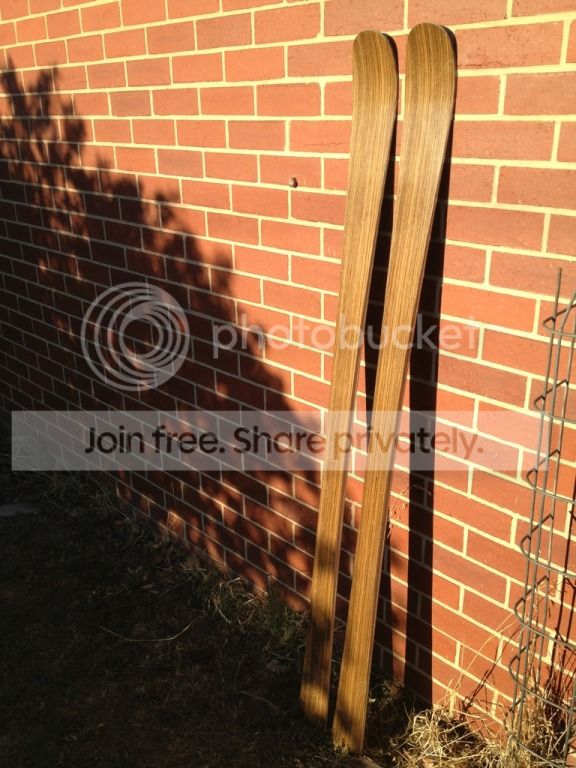
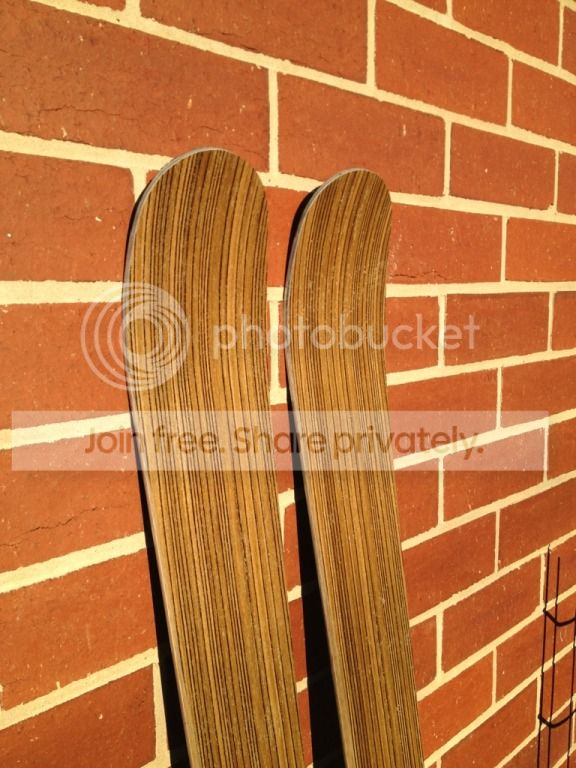
And first snow of the autumn last Thursday.

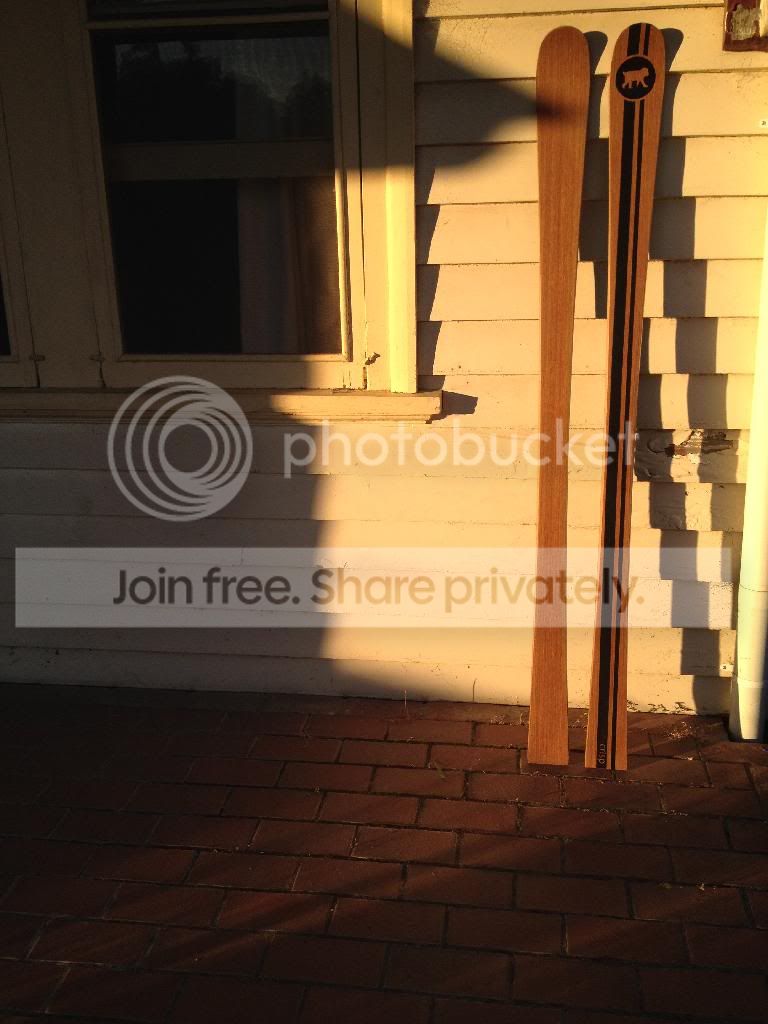
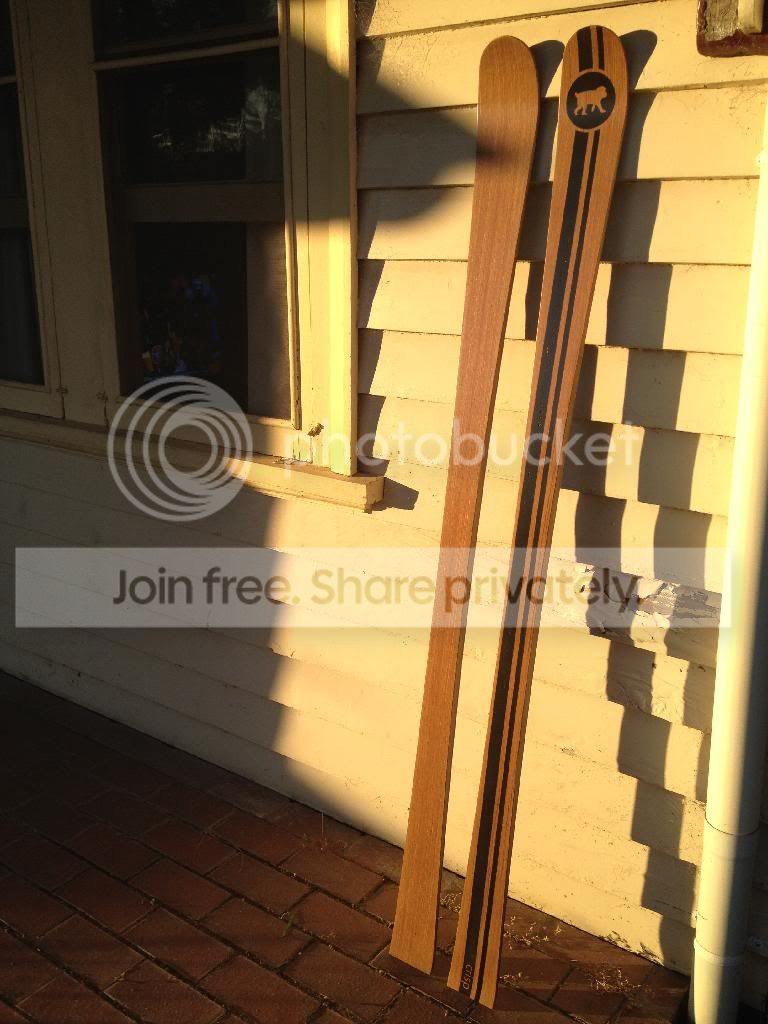
Finished up a pair that have been needing some tidying up. The veneer split. Didn't look so bad, but added some racing stripes to disguise it a bit.
Has been 40C+ here the last 5 days, so thinking colder thoughts!
178cm
124-74-110 or something like that. Maybe 16m radius. Hard to remember these things when you designed them several years ago.
Just wondering how did you do the multi color die cut. Do the 2 pieces have to be melted together or just taped before layup
Just make sure the two pieces align well (ie cut square and straight) and tape them together. I have used contact paper (for covering books - CLEAR) on the underside of the base (ie outside the ski). Peel off after pressing.
You can tape the seam internally too with fibreglass tape (plastering tape) if you want to.
Just got a pair of skis in the press
A new shape - skinny!
124-74-114
178cm
Traditional camber and tail. Slight rocker tip (K2 piste ski type rocker)
Tip height 5cm
Tail height 1cm
10mm camber (but single blanket from top, so likely lose a bit)
Sicomin epoxy
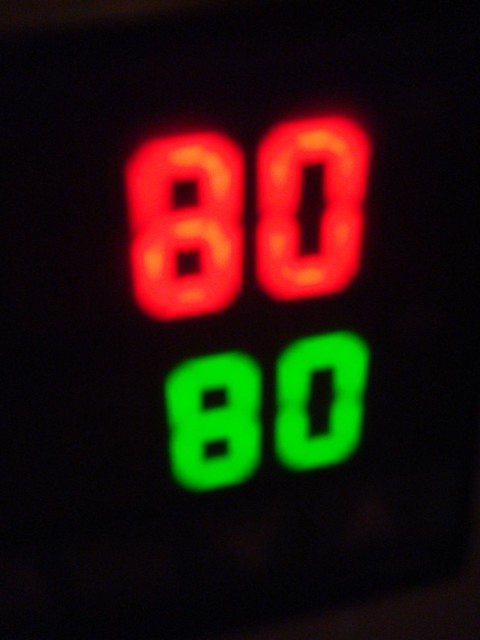
Heated cure (30 minutes up to 80C, then 1hr15min at 80C)
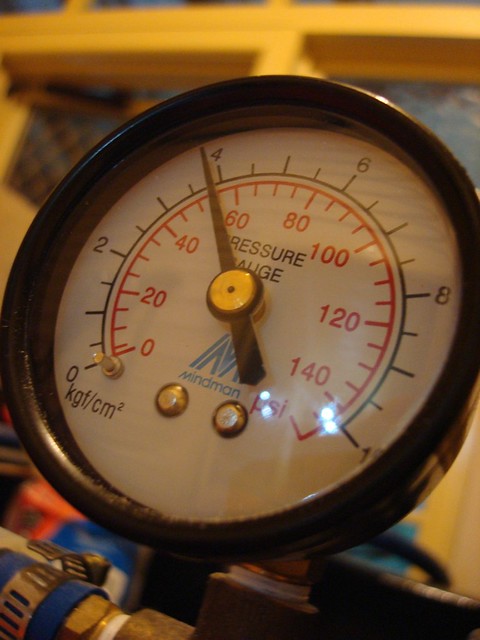
55psi press (although skinny skis so probably quite a bit at the actual ski)
Materials cobbled together a bit.
Diecut two short pieces of base together for one ski
Scrap piece for the other
3/4 edge wrap
Core bamboo - 2 - 13 - 2 - felt pretty stiff even being narrow so no carbon
Bamboo horizontal veneer topsheet
Layup OK
Pressing looks ok after rejigging the press for new molds.
One stuffup routing cores and managed to gouge the template - so these my be a one off! Will be a small 2cm section where about 0.5mm-1mm of gap between edge and base material. Pretty annoyed.
Didn't have vacuum templates for this model
I routed a copy of the template with a slight inset and used this to clamp the base material to the base template (like doughboy does, and OAC - just I used a handheld router not OAC's mega-table router). Used a spiral down cutting bit - nice clean cut - except where I gouged the template! (stupid mistake, really pissed, but moved on and finished the skis).
Anyway cooking now
Pictures soon, then i'm going on holidays for a while.
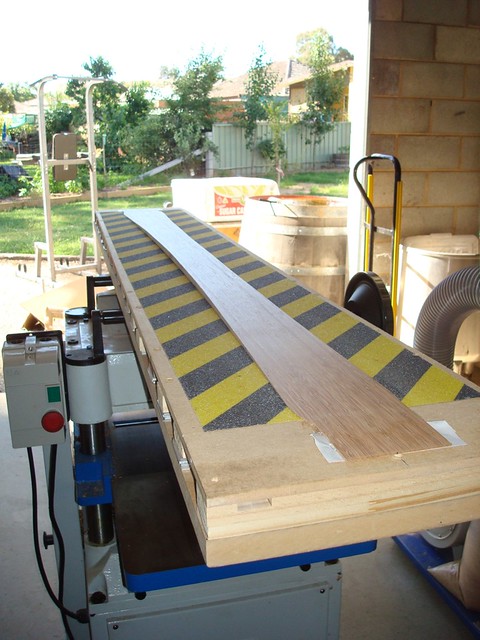
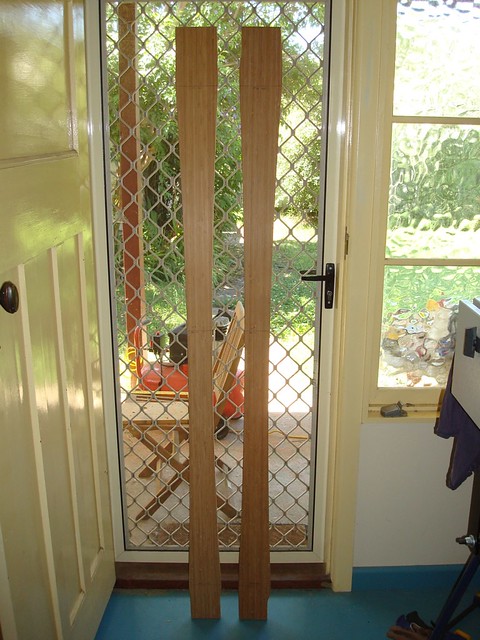
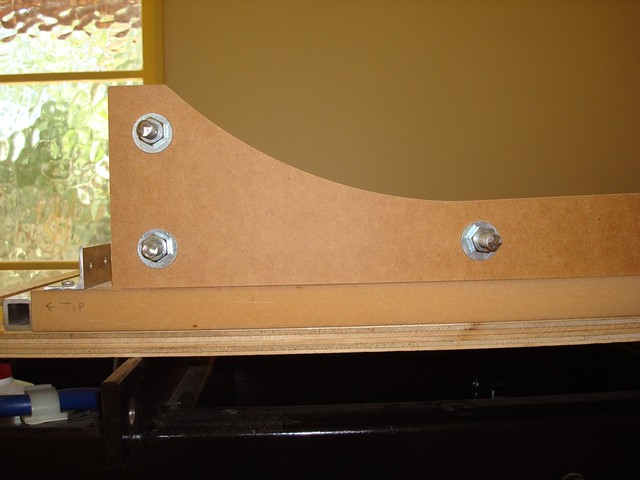
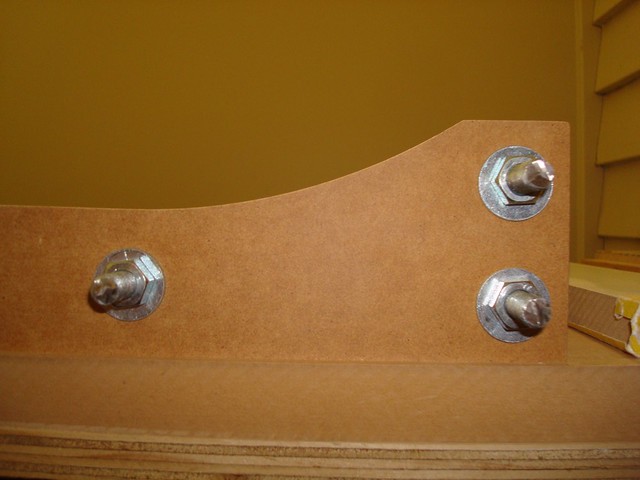
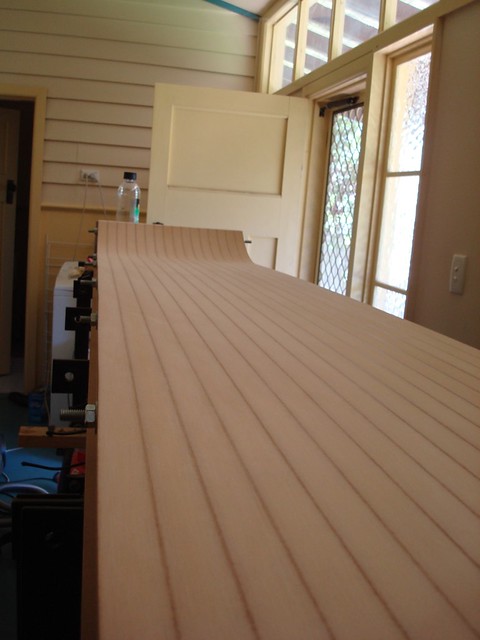
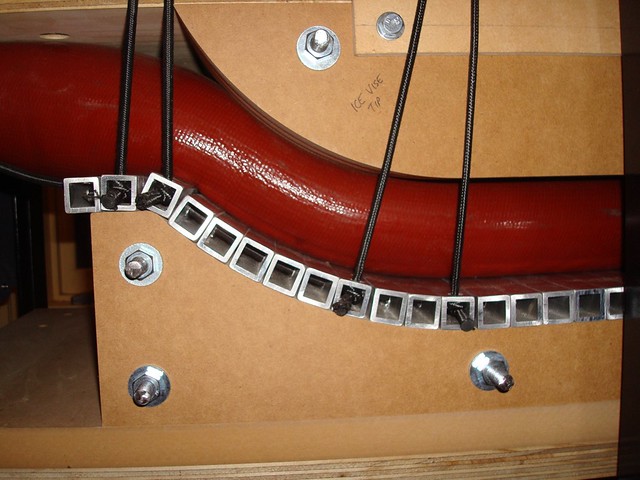
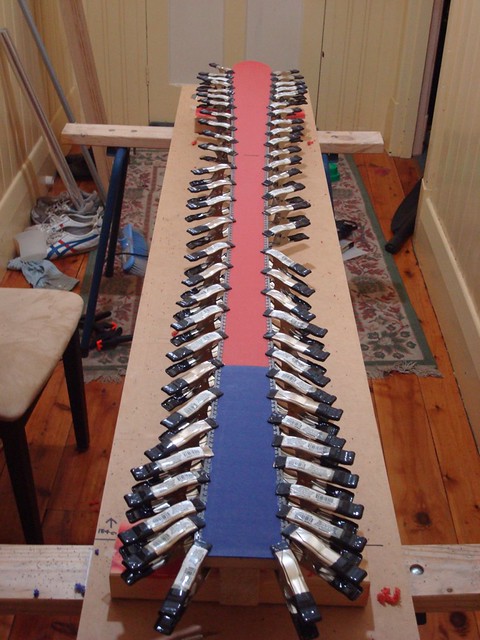
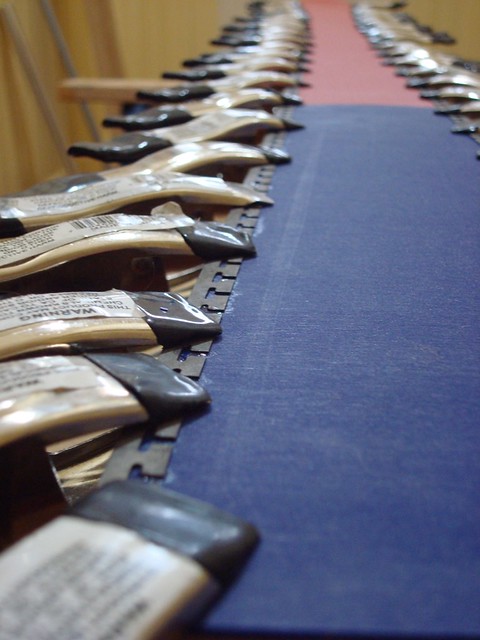
> falls wrote: OAC - just I used a handheld router not OAC's mega-table router..
Hehehe....it came with the machine!
Nice weather you have!
Good to see you building skis in the summer(?)
Yep. Summer it is at the moment. About 30C most days.
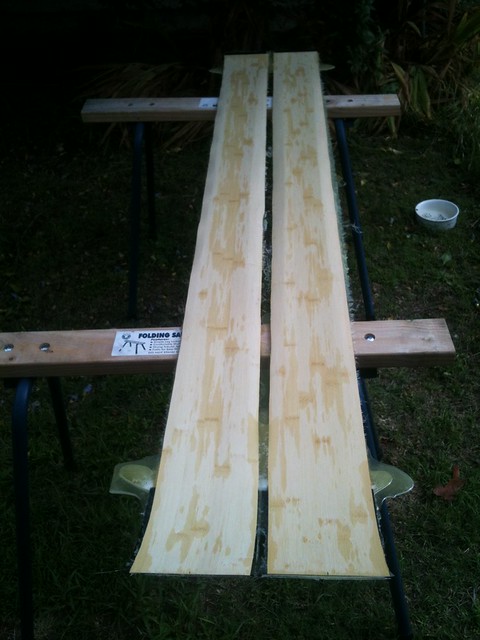
the "finished" product!
These are going to get at least a 5 week rest before flashing!
Nice to see another person using bamboo veneer, I love how it turned out on my last pair!
FIVE WEEKS!?! You must be a masochist. BTW, your press, molds, pid controller etc are just beautifully done! Nice work!
Not a masochist, a narcissist - I'm going to south america travelling for a month!!!
Thanks for the compliments
edit: maybe more like a hedonist than a narcissist
What do you do for sidewalls?
Bamboo core extends to the edges
I bevel the sidewalls and eventually get around to applying 3 coats of water based polyurethane with a brush
Have any pics?
I am on the bubble about pulling the trigger on some bamboo products and wondering how your sidewalls turned out.
Have any trouble routing them? There was a whole tread on routing bamboo....
routing the sidewalls with a tilt base router and top bearing flush trim bit. Sometimes I get some tear out unfortunately and have to fill with epoxy then sand it back before polyurethane - you don't really see the repair unless you're really looking.
I think if I climb cut the sidewalls it would probably stop this. Also because I have routed the sidecut out of the core when I do the bevel it means there are exposed joins in the bamboo laminates that I think the router bit can separate (especially if there is a void) and lead to tear out.
I think if you ripped narrow strips of bamboo and applied them like a plastic sidewall (ie. route sidecut in core and then glue sidewalls in along the curve) you would have less trouble.
In terms of durability they seem pretty good. Some of the skis I have made haven't even had any treatment of the sidewall and still seem fine. Plus when they look a bit messy or more when the top sheet is cjipped I just bevel a further 5 degrees and hey look new again!
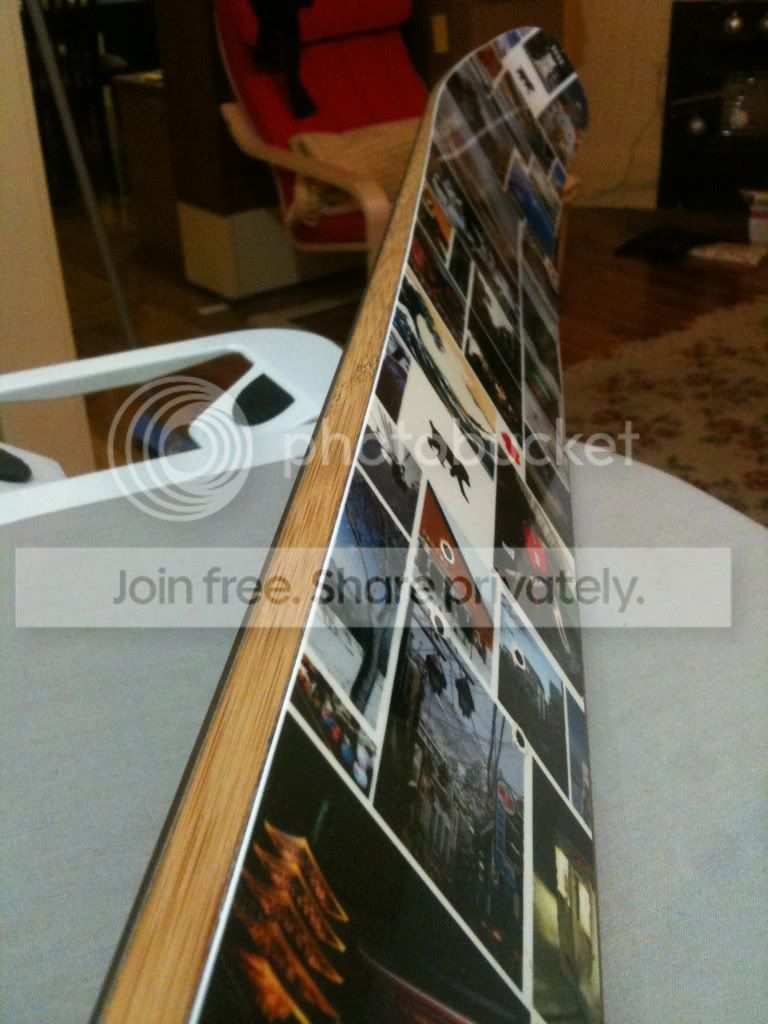
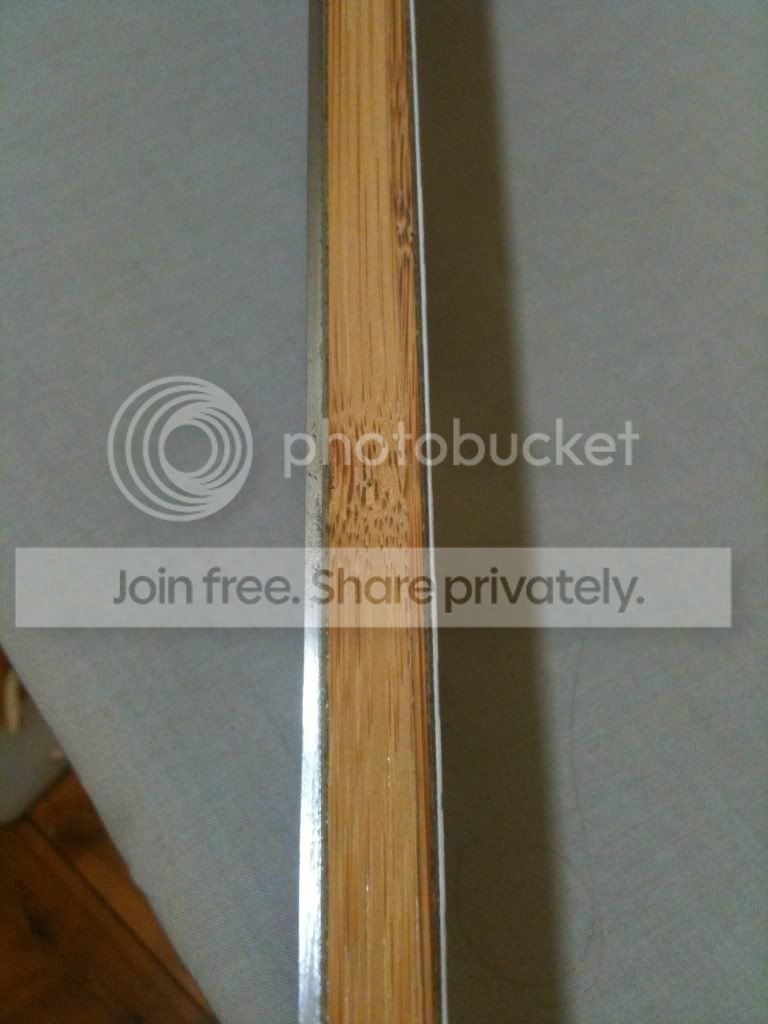
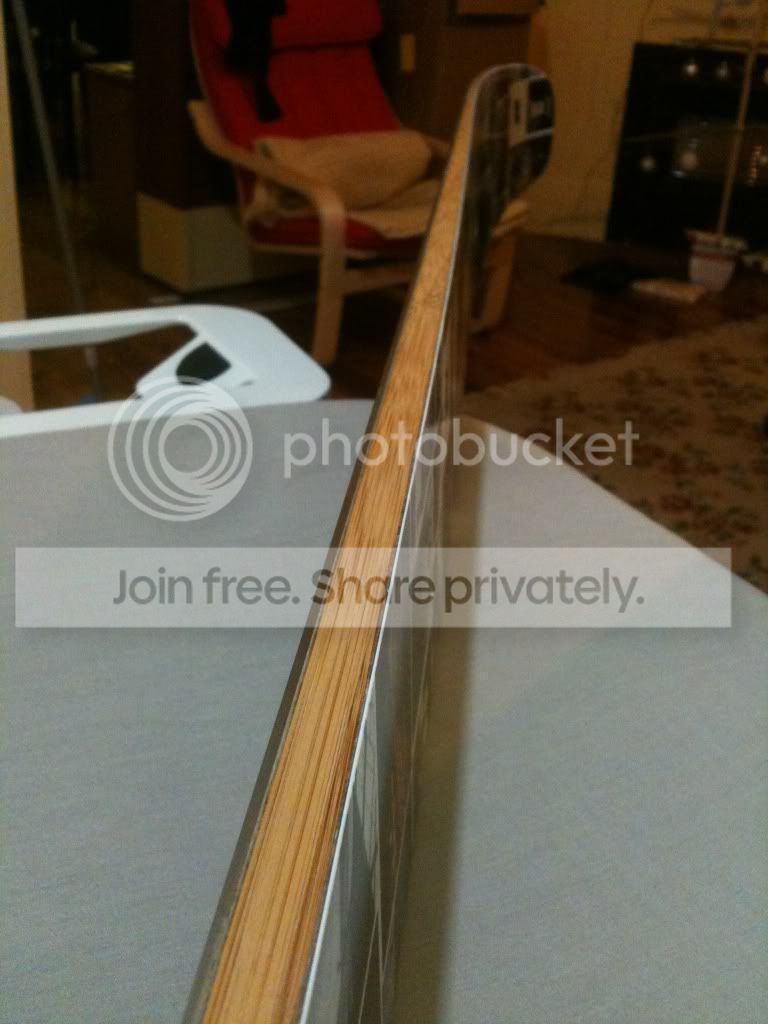
Those turned out SWEET!
I agree, super sweet! Like that topsheet a lot too.
Those pictures are pushing me closer to pulling the trigger on the bamboo, nice work Falls!
I get the ski out of the press having placed skim coat of epoxy on top of veneer during pressing. Sand back to smooth and apply 2-3 coats of clear coat (water based exterior polyurethane) http://www.bunnings.com.au/products_pro ... e=products
I think doing some clear coat layers first stops the ink bleeding under the vinyl stencil when you are applying to raw veneer.
I sand back the second clear coat with 400 grit and stick on the vinyl stencil. Paint on the epoxy screen printing ink with a brush (it is gloss finish, brush strokes don't seem a great problem and perhaps add to a hand done look?).
I use an ink from australian specialty inks but I assume the nazdar inks would be similar (http://www.austspecialtyinks.com.au/index.html - the two can epoxy on that link).
It is air dry in 2 hours. I usually leave overnight before peeling the vinyl stencil, but think this would be OK at 2 hours. I did the same with some oil paints once and peeling while the paint was still wet was difficult and didn't end well (especially if you have small pieces of vinyl you need to lift with an exacto blade to remove them).
I am not pressed for time so I probably tend to leave the skis alone for the whole period of epoxy curing like you would for screen printed plastics (4 days minimum). I don't do this intentionally it just happens that way by the time I get around to doing more clear coats.
I then spray on 2 more layers of the above exterior poly without abrading the epoxy ink at all. I think once 2 more coats are on you could sand lightly before a finish coat but I haven't ever been brave enough to sand over the decal in fear of sanding through and spreading black pigment about.
Got another pair pressed this weekend.
A little worried about my current mold not really producing skis that are that flat. Seems to be producing a convex base underfoot then more or less flat at the tip/tail.
I pressed this pair without heat. Used a new epoxy from the sister company that supplies epoxy to Kingswood skis in NZ. It is a rubber toughened epoxy. Will see how it goes. With just one heat blanket I wasn't happy with the camber results I was getting from my mold so thought I would give the room temp cure a go again.
Hoping the convex bases aren't beyond resolution on the belt/stone.
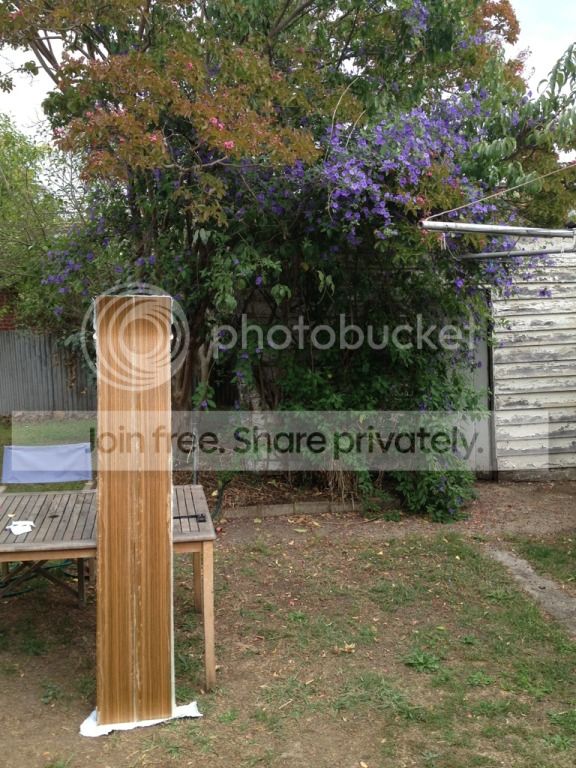
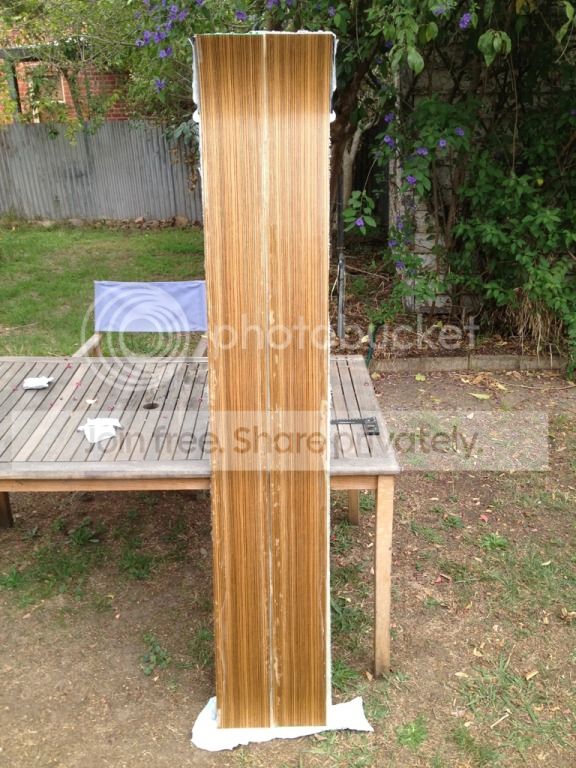
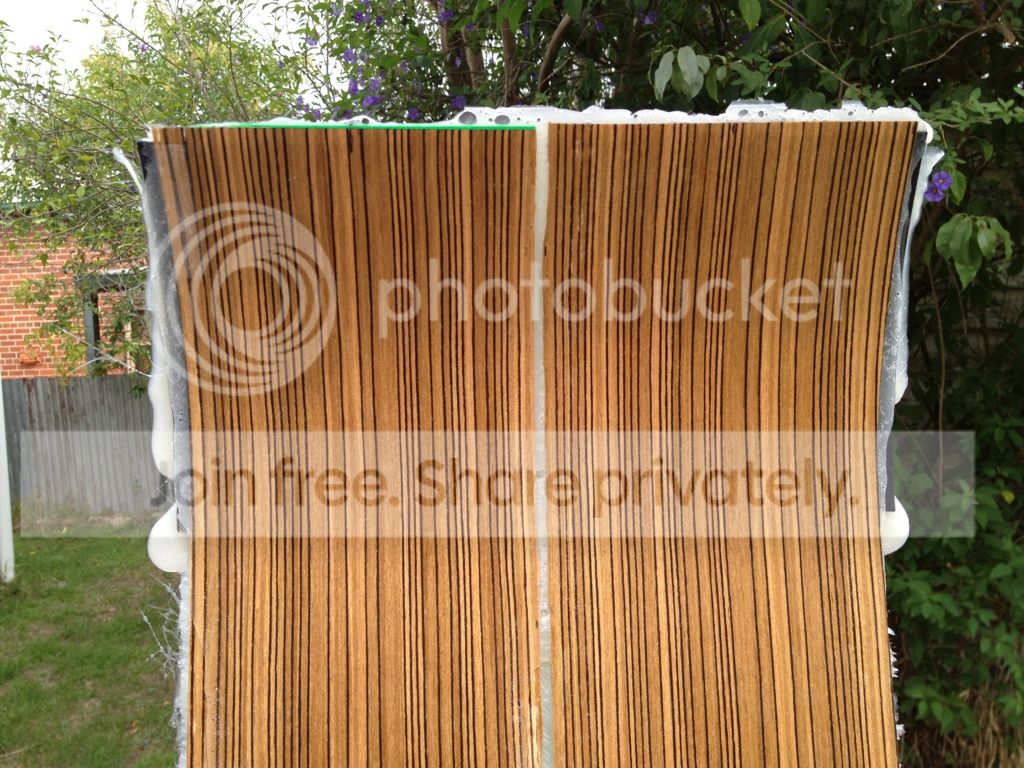
Is that black limbs veneer or zebra wood?
It is a reconstituted veneer. Like zebra wood.
It is called zebu.
Hey man!
The difference in thickness might be affecting the cure cycle, such that the lower laminate is cured to a greater degree.
Sounds like the tip section is sufficiently thin, so one heat mat is sufficient to heat right through and the cure cycle is uneffected.
With the core being thicker underfoot, the cure cycle for the upper laminate maybe 10 mins behind the lower laminate and or not reaching temp.
Is the cat-track open - acting as a heat sink?
Putting a thin piece of bamboo on the heat mat and heating it up to 80 degrees, is a good experiement and should help you fine turn any issues.
> falls wrote:It is a reconstituted veneer. Like zebra wood.
It is called zebu.
http://www.briggs.com.au/veneer_details.php?id=160 I like that veneer. I've used reconstituted teak, looks great and is affordable.
Thanks guys.
Rich - unfortunately these were pressed without heat and the problem of convex base is still there. I usually heat from the top as well so if there is uneven heating it would be cooler on the bottom side.
Anyway I have pulled my bottom mold apart and hopefully will be able to sort things out.
On the plus side I also just received a new 1/2 inch plunge router in the mail today
I am frustrated that getting the mold ribs done by CNC isn't precise enough to have a flat mold (in my experience anyway). Once they are all bolted together there needs to be some sanding to "flatten" things out. Then you need to have it all sitting on an absolutely flat surface when you sand it otherwise you are doing more harm than good. The other trouble I seem to have is that when you bolt the pieces together the ribs don't always sit down flat against the table top either so what you think is flat isn't once the pressure is applied. I am wondering if applying a hardboard skin to the mold evens minor things out (plus a few aluminium skins and a heat blanket).
Any tips on getting a cambered mold flat? I wondered also about making the ribs out of plywood instead of MDF.
OK.
Are you sure the cat-track isn't rolling over the top of the skis and creating pressure points across this narrow section?
I thought the same thing about my cnc'd molds. Before I even took the chance I put a 1/4" AL plate on top of the bottom mold. (See Headmonkeys press).
No concave/convex issues at all.
If your cnced ribs are not within a fraction of a mm then you need to find a new cnc guy.
They should be good to g from the shop with some al on top. I duuno that 1/4 is nessesary but you do need something. then with the heat blanket betweeen 2 pieces of al and the cassettte, sh-it should be super flat
I've been thinking of trying to use a laser lever to shoot a beam across my mold surface so I can fine tune it with sanding and spackle to flatten it. But my stuff is coming out really well do I may not try to fix what isn't broken.
> falls wrote:
Any tips on getting a cambered mold flat? I wondered also about making the ribs out of plywood instead of MDF.
how about using profiler to create camber mold. in other words bolt together MDF ribs then profile camber. This way it should be flat. This is just an idea which should work
Thanks all.
I think I need a good CNC guy that understands how precise I need things to be.
Montucky: are you saying you cover your MDF mold with a thick sheet of aluminium before your heat blanket that is sandwiched between two thinner sheets of aluminium? How thick? No sanding? And how do you bend it to the shape of your mold?
U know about anealling right or detempering? Not too thick. Think we went .050 inches
All the same as our cassettes. And yes too all.
Do you bend it by hand or have access to a pyramid type roller?
Thanks for the input.