:: View topic - Ski building pics
Posts: 60 · 60 posts
unknownFri Nov 04, 2011 2:49 pm
Hi everyone!
I built my first snowboard in 1989. The first snowboard were made of 3 layers of plywood coated with epoxy paint and was actually a pretty good ride. The steel edges were the old type that were attached with screws. Today its not that easy...
Pictures from my latest build
My new template
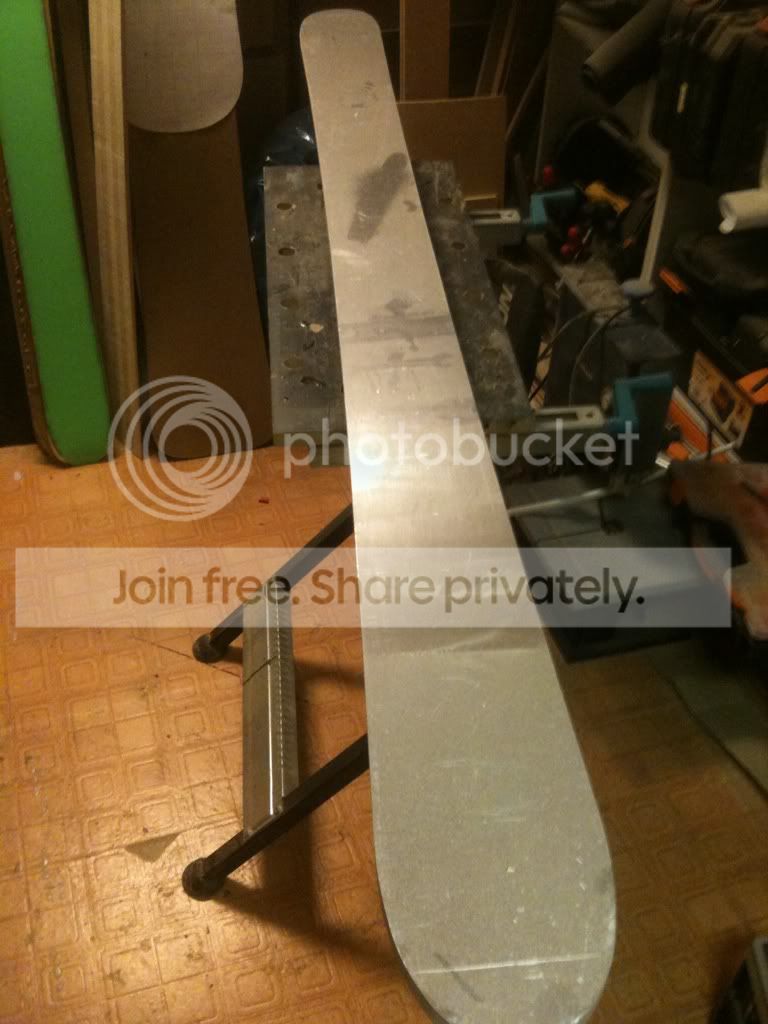
My edge bender
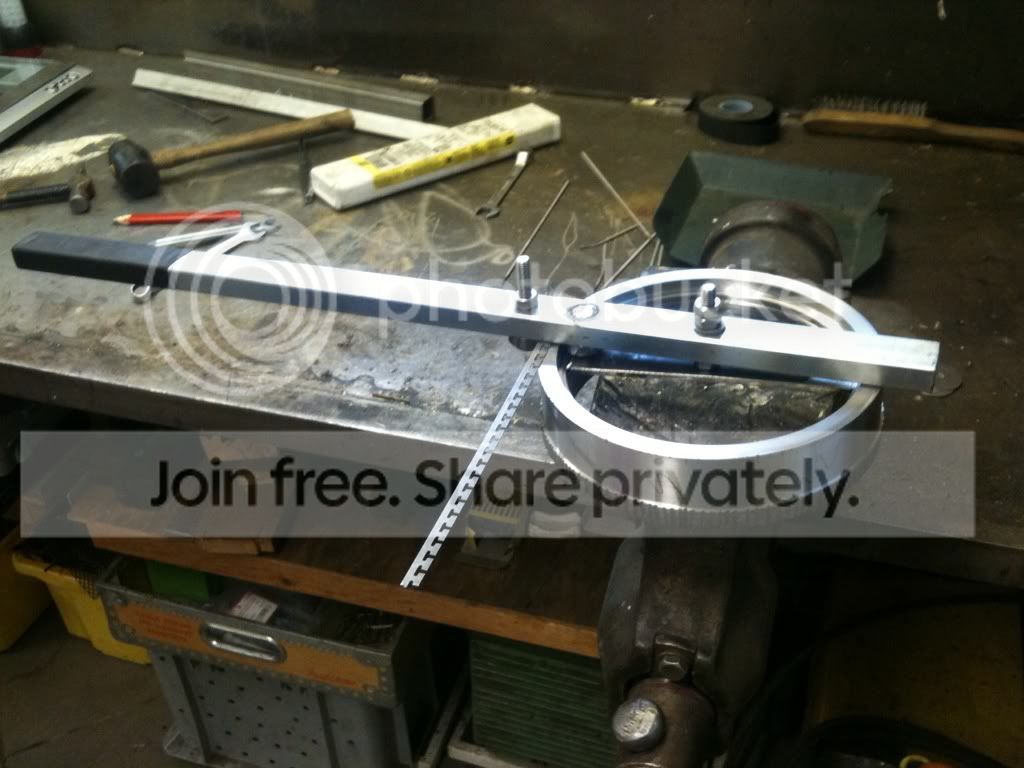
Core profiling
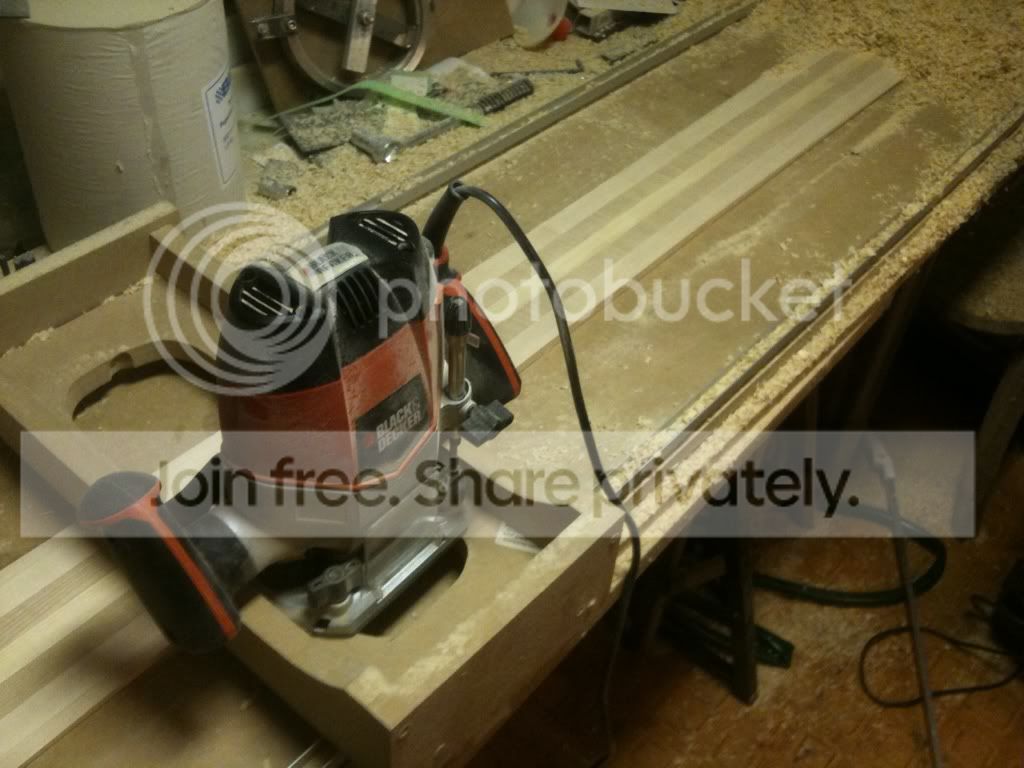
Test layup
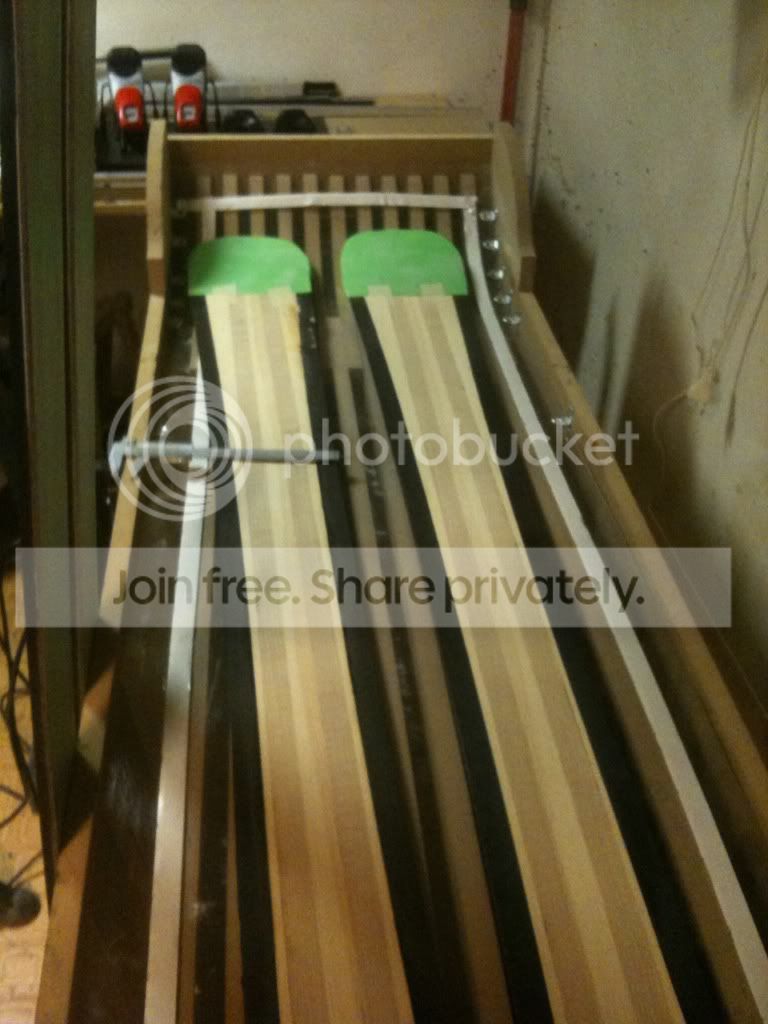
The result
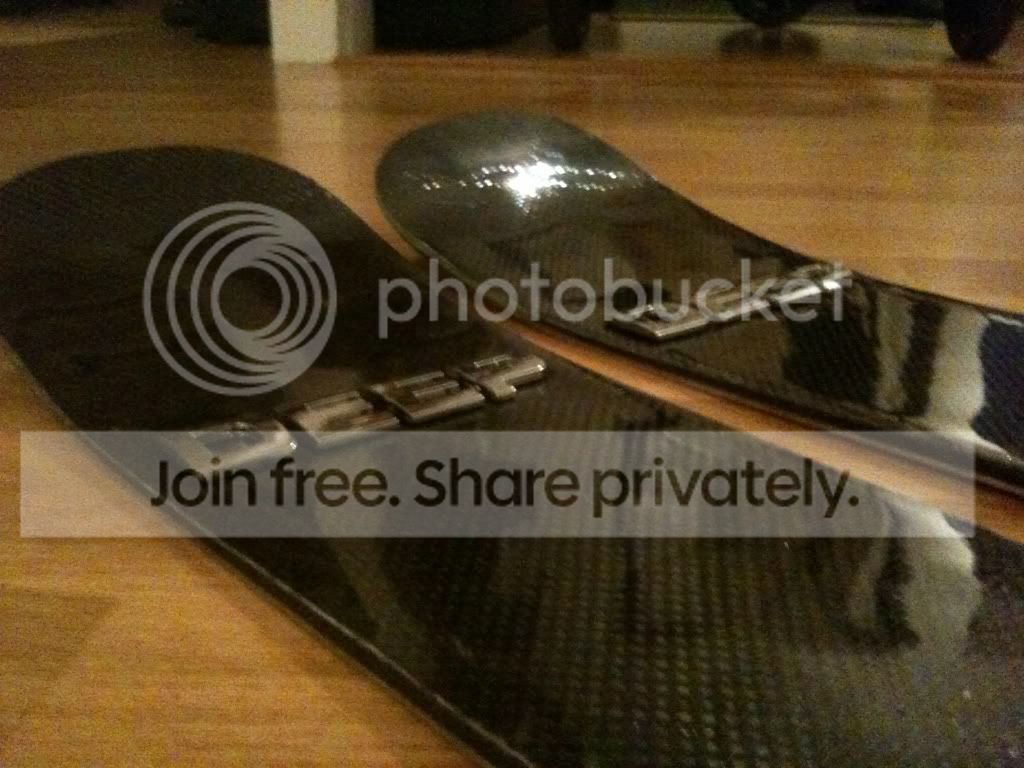
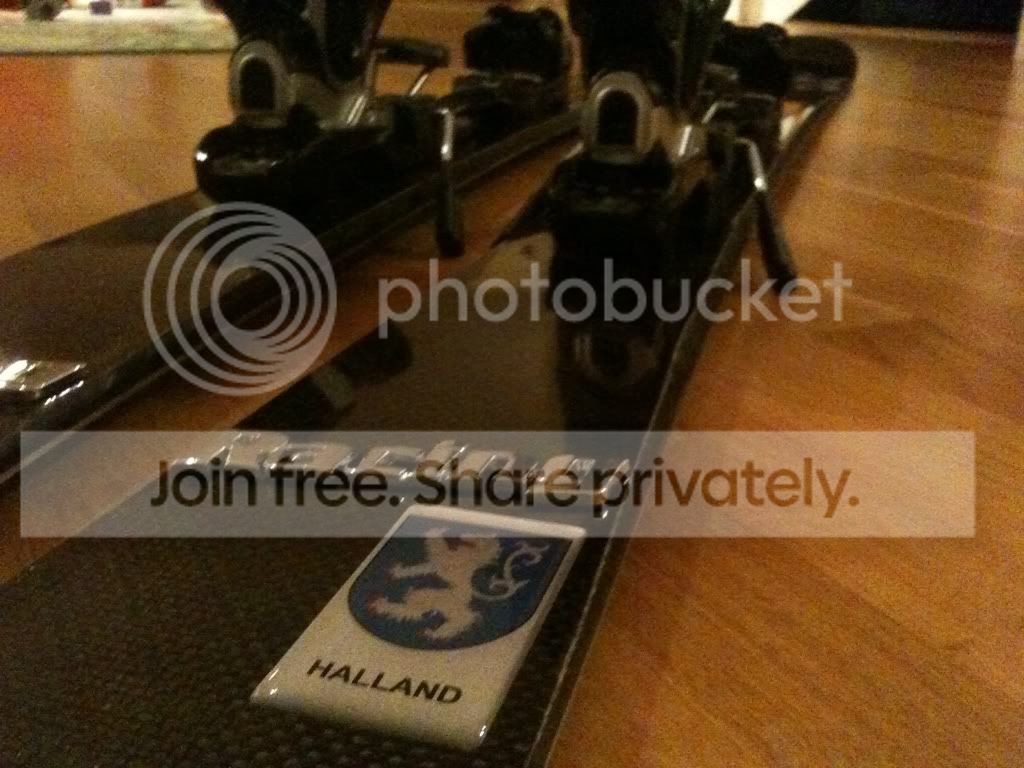
Next pair coming up...
143-112-133 camber 10 mm
2-12-2 Finger joint Ash core
2x600 g triax
Test layup
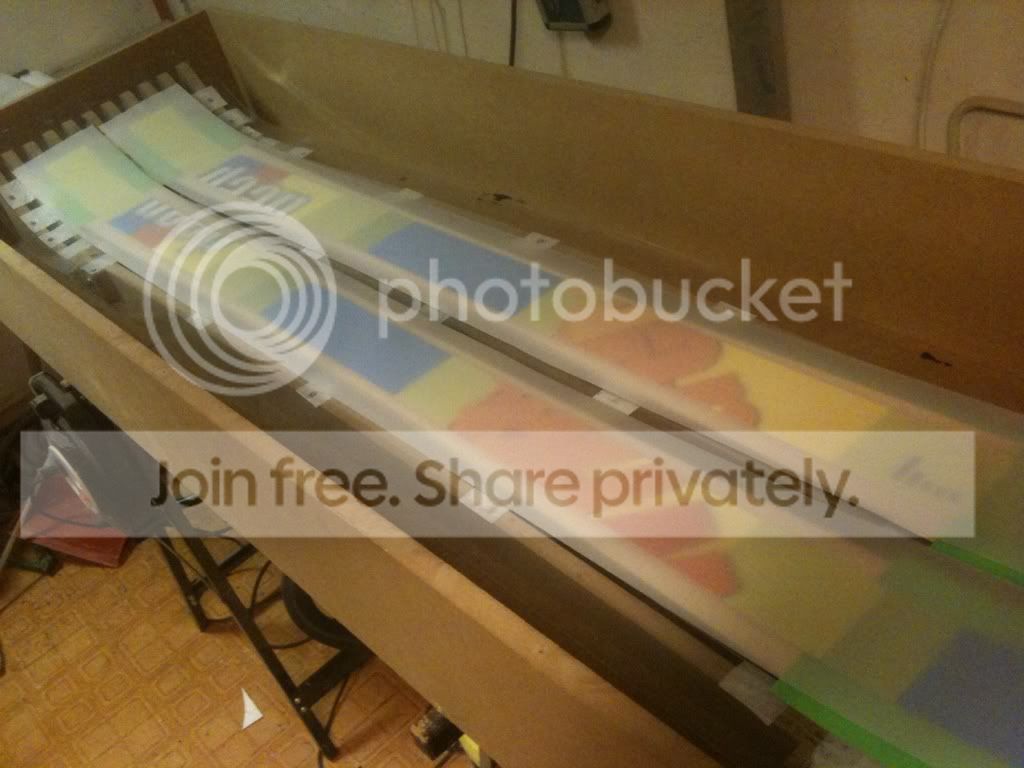
Cheers!
unknownFri Nov 04, 2011 5:00 pm
Nice start! The raised metal logos are a stand out!
unknownSat Nov 05, 2011 8:13 am
Looks good, I'm digging the colorful graphics on the second pair. How did you profile your sidewalls?
unknownSat Nov 05, 2011 2:00 pm
unknownSat Nov 05, 2011 2:09 pm
Thanks Brazen! More pics coming up!
unknownSat Nov 05, 2011 4:35 pm
Thanks Twizzstyle! I think they will look really nice!
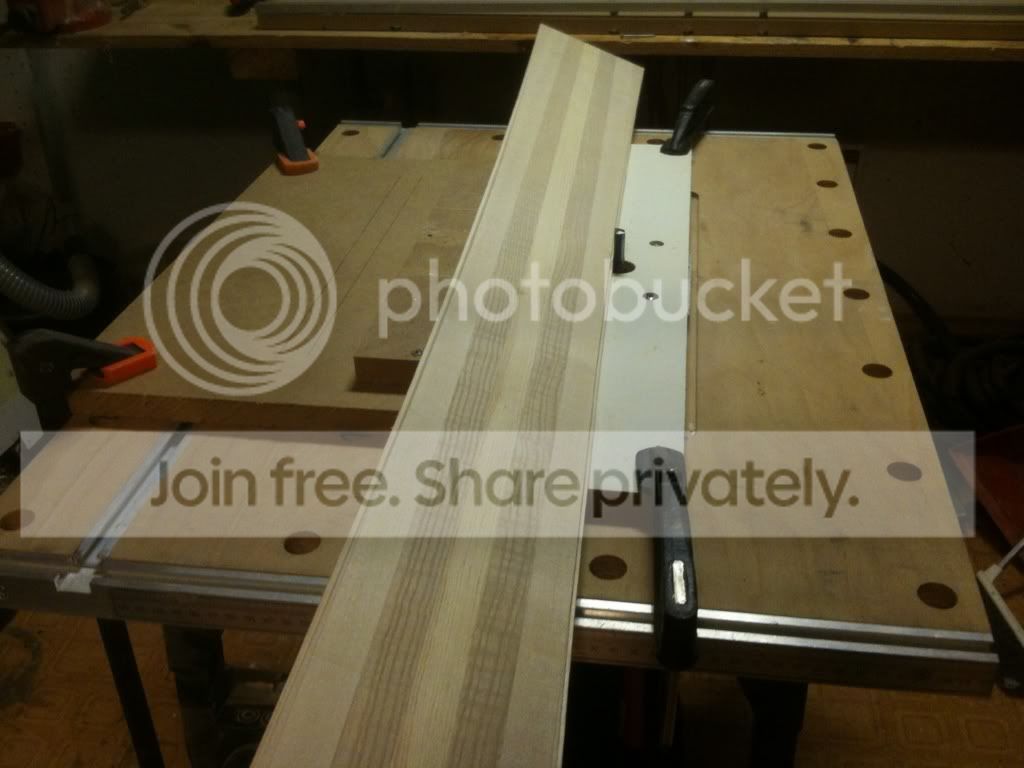
I am using a router table? Simple way to do it. You can also use a 45 degree router bit with base side up.
unknownSun Nov 06, 2011 10:01 am
I like the raised metal logos as well. Where did you have them made?
unknownSun Nov 06, 2011 11:03 am
I was referring to the black sidewalls you have attached to your wood core, and how you cut them to match your core. In your router bridge picture there is only the wood core, no sidewalls. I'm always curious how people profile they're plastic sidewalls cause I've never had good luck with it.
unknownSun Nov 06, 2011 6:43 pm
This picture was just to show you the router table. I will show some more pics later. I cut them about 2 cm wide and the same height as the wood core. Then I attach them to the core using loctite super glue after some sanding and flame treating. After that I use a router to make the profile. The cores on the last pics I used for a cap construction.
On this pic I use epoxy so attach the sidewalls
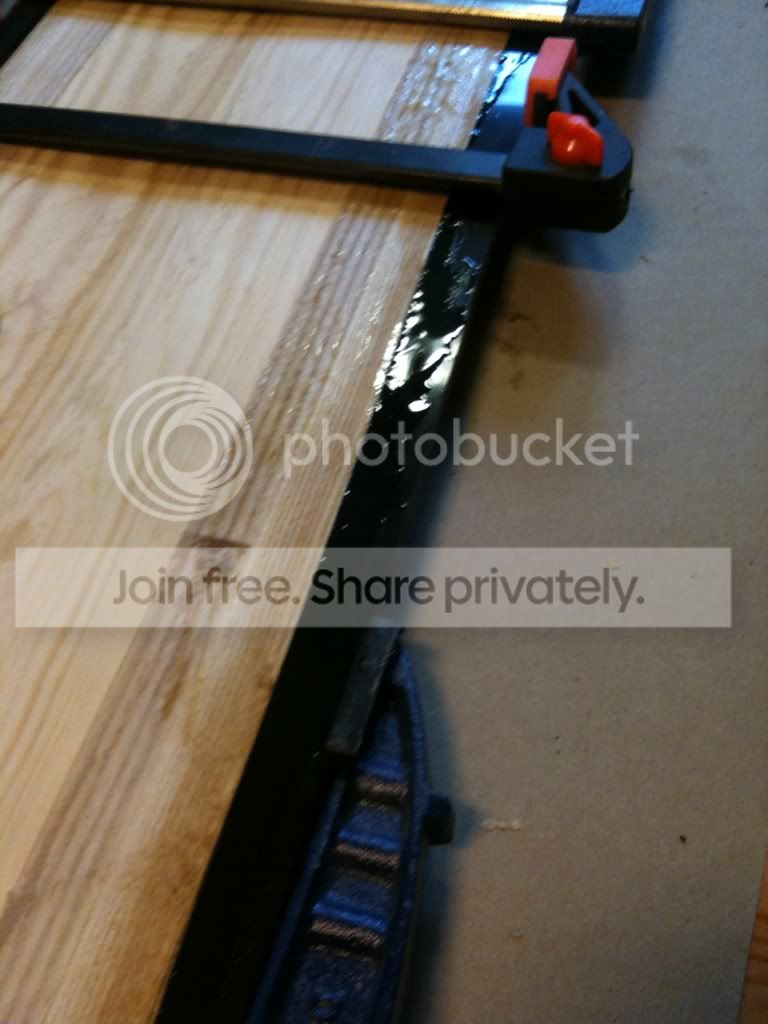
When the ski is pressed I just cut it out and then I use the router table to get the nice angle on the sidewalls.
unknownMon Nov 07, 2011 10:44 am
I am still having trouble with keeping my plastic sidewalls to stay on when on am profiling my cores. (using the planer method) What grit sand paper are you using to sand the wood core sides before you glue on the plastic? Just looking for any tips to make it work.
Also, are you routing down the wood core and then gluing on the sidewalls? If so this seems hard for to make the clamps hold at the 2mm thickness.
Thanks
unknownMon Nov 14, 2011 7:46 am
Hi Neatturns!
The sidewall material has to be sanded and flame treated before you glue it to the sidewalls. Use grit 80. I know some guys also glue one string of wood outside the sidewall to keep it together when they use the planer method. I use a router bridge and as long as its nice and clean when attaching the double sided tape it works just fine. If the core moves its ruined.
First sidewalls, then profiling.
I have also noticed that some skis have really thin sidewalls. like 5-6mm or so. Its like a semi cap construction. Maby I will try that nex time...
unknownMon Nov 14, 2011 11:20 am
Beautiful logo. Aluminum?
unknown
Hi HP!
Its actually chromed plastic.
unknown
This evening I started building my new vacuum press. Inspiration from OAC (Thanks Janne!). It also includes a new mould. Pics below...
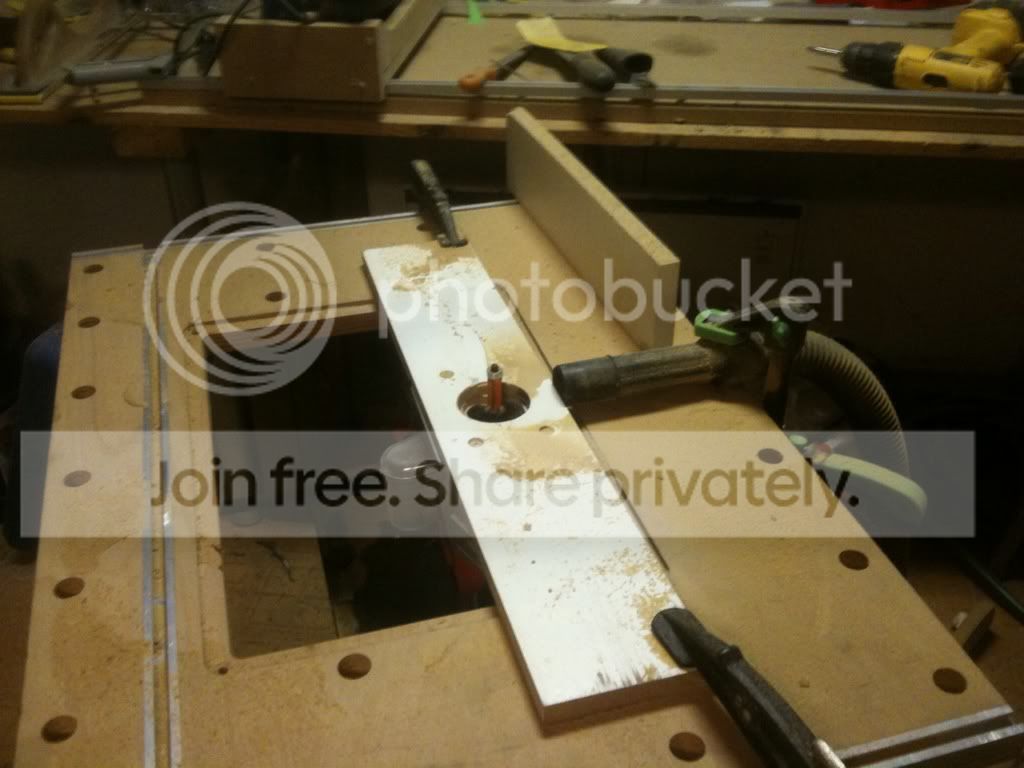

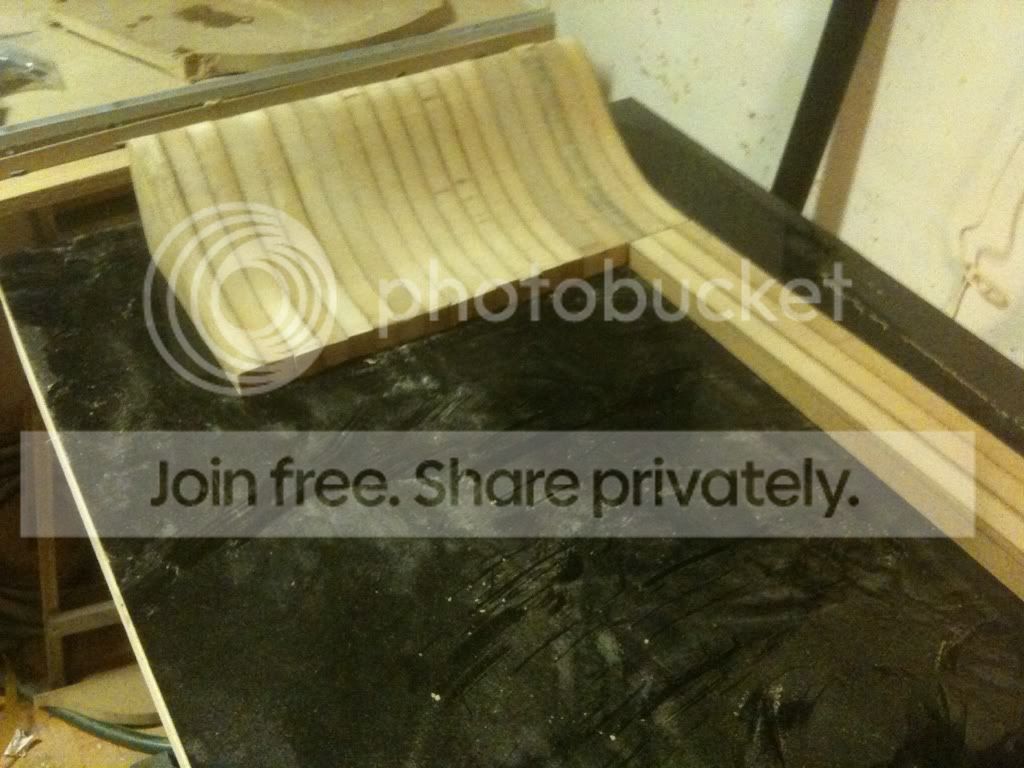
Its always possible to make things better...
unknown
Hey Deep... looks pretty sick! We're just getting started in this madness (ok, it's been a year!) and actually just pressed our first real board on Saturday. We had some serious issues with core profiling. We built a planer crib and ran it through there a million times. We were within 1 mm and almost finished when the planer gobbled up some core and ripped off the sidewall. UHHHHHHH! Just wondering how your profiling works with the router bridge. I think that might be the direction we'll take, but thought I'd ask how you like it and success/failures with it first. Anyway, your stuff looks great. Keep it up and thanks for the pics/ideas.
unknown
Hi Boardergirl!
I am thinking about buying a planer but it will probably only be used to prepair the core for profiling with the router method. The router table is easy to build and easy to use. As long as you are not building for a living its ok.
Make sure the core is absolutly flat. Use really good double sided tape to attach it to the router table. Make sure it sits like a rock. You just need tape were you will run the router. Use a large router bit and work you way clockwise until it looks good.
Good luck!
unknownMon May 14, 2012 9:38 pm
Ha ha
nice!
Only wood sidewalls these days Janne?
unknownMon May 14, 2012 10:31 pm
Yeah, the plastics just makes me negative. Some day...
unknownTue May 15, 2012 4:05 am
It really saves you a lot of time and it looks nice too. Oak is my favorite
The thing is, I have so much sidewall material that not using it would feel wrong... It was really expensive!
unknownThu May 17, 2012 12:00 pm
It's always something...
unknownThu May 17, 2012 2:05 pm
Started up a new project that will keep me busy for a while... Next winter its time for my oldest son to pick up skiing (He loves spending time whith me in the shop) and what would be better than doing it on a pair of deepskis
My son wishing for snow...
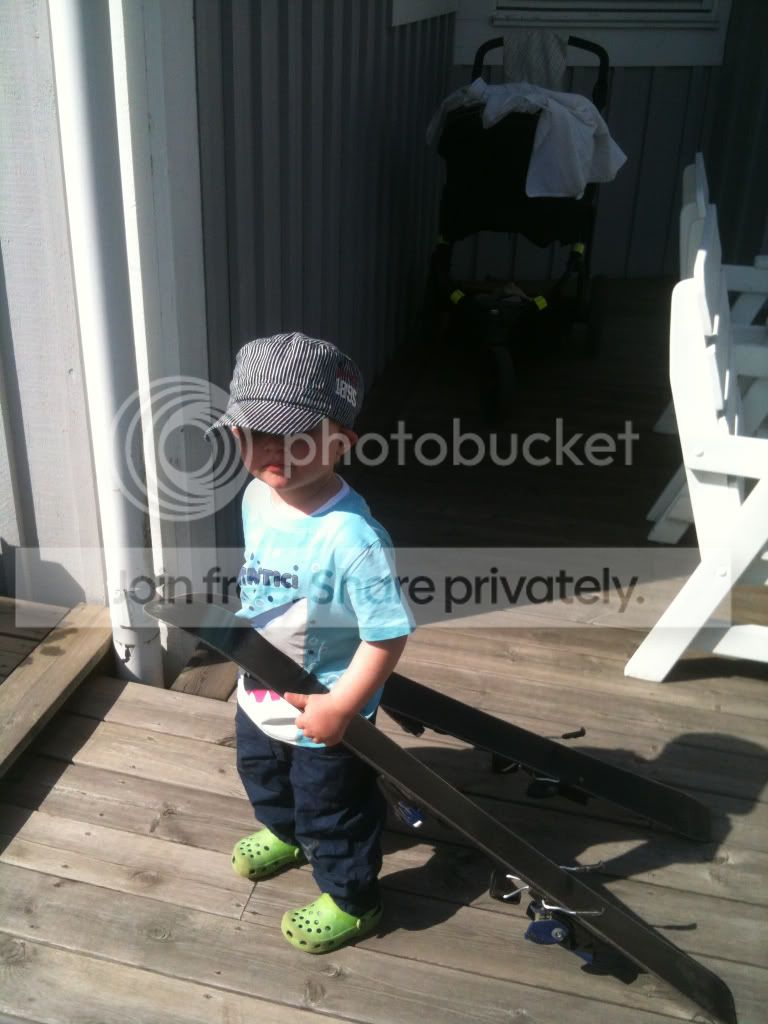
New template. 90 cm twintip..
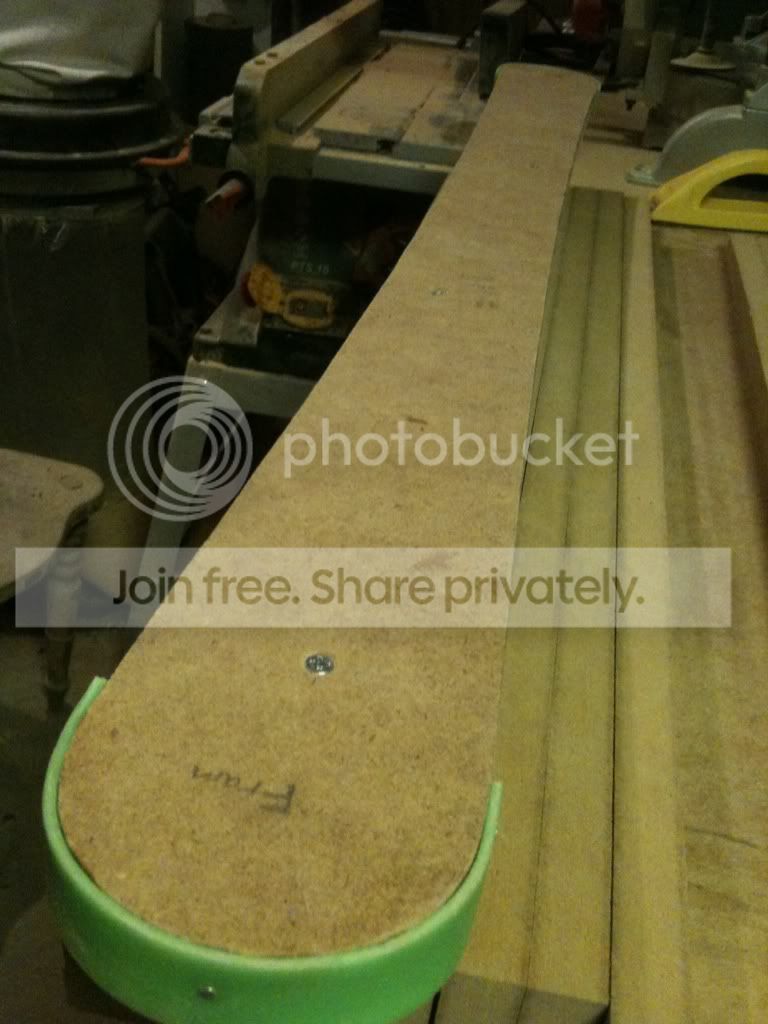
It also requires a very small mould
If you have build kids skiis before, I would love your input
unknownFri May 18, 2012 2:17 am
I think Steve (skidesmond) has done little skis. You could also talk to Brett (Brazen), those goofy things he builds are only big enough for children
Very cute boy, he'll be super proud to use his own custom boards!
unknownFri May 18, 2012 10:28 am
Thanks Twizzstyle! I know I have seen it somewhere.
I am sure Brazen has it all figured out! Those skis he make are really small and good looking!
unknownFri May 18, 2012 1:50 pm
The smallest I've made are 150cm. You'll probably be making 110? I think smaller ones are more difficult to make. The core needs to be thinner but still thick enough to hold binding screw.
Can't wait to see them and the little guy ripping it up!
unknownFri May 18, 2012 7:58 pm
I made a 95cm pair for my kid last season. The core was tough. I used some bamboo that I have left over from a flooring project. The profiling was done by planing the bamboo flat to 9mm and then the rest was with a belt sander only... I know not all that accurate, but they worked fine. He's only really snow plowing anyway...
The core was something like 8mm in the waist and 2-3mm in the tip/tail.
I used my 8mm camber mold and my existing tip and tail molds. The tip rise was a bit low but enough for him to use on groomed trails in a snow plow.
unknownSat May 19, 2012 1:42 am
I have some left over birch that I would like to use. 2.5-8-2.5, 90-65-80 is my plan. I hope that will work fine for snow plowing...
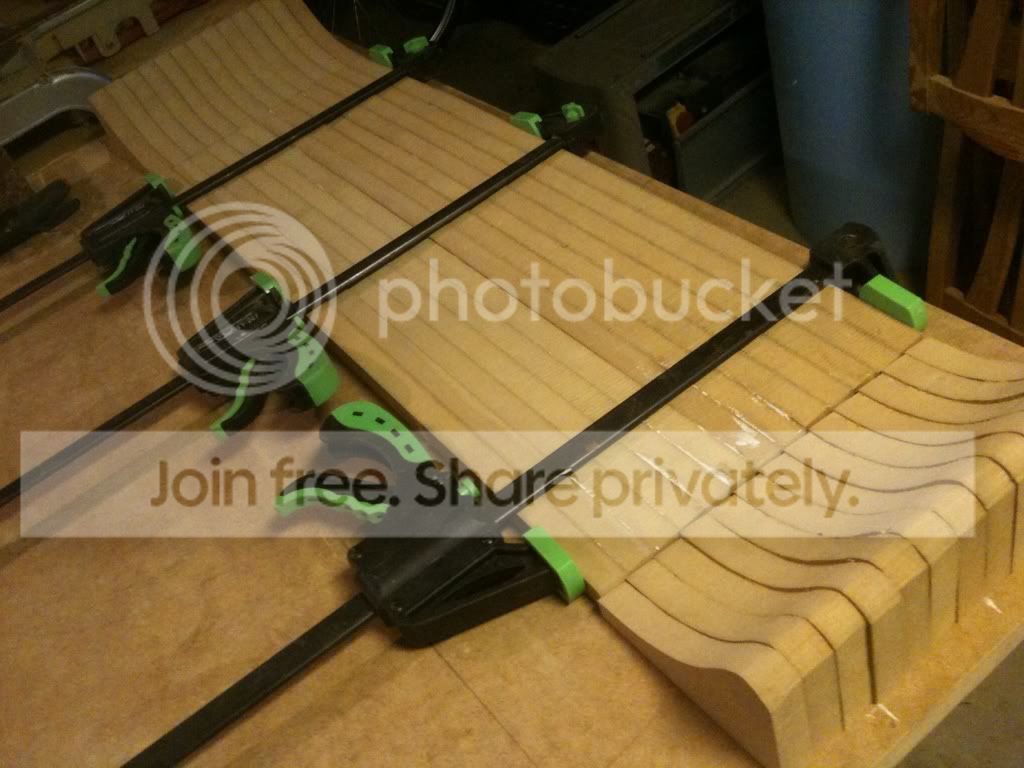
Finished the mould this evening..
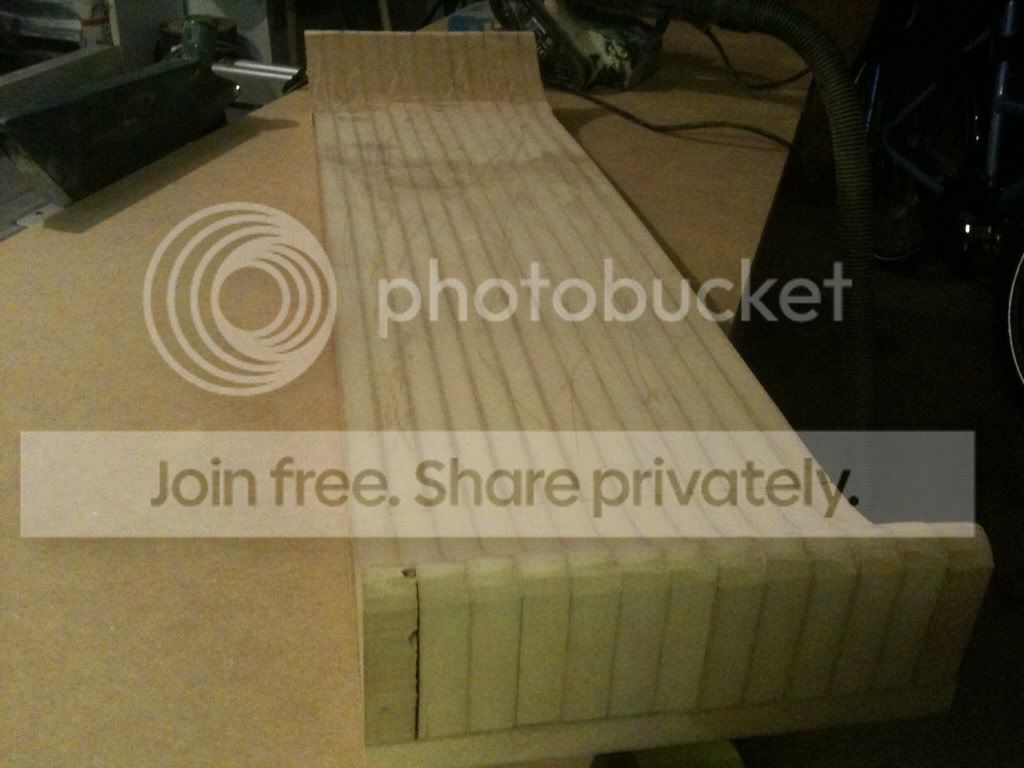
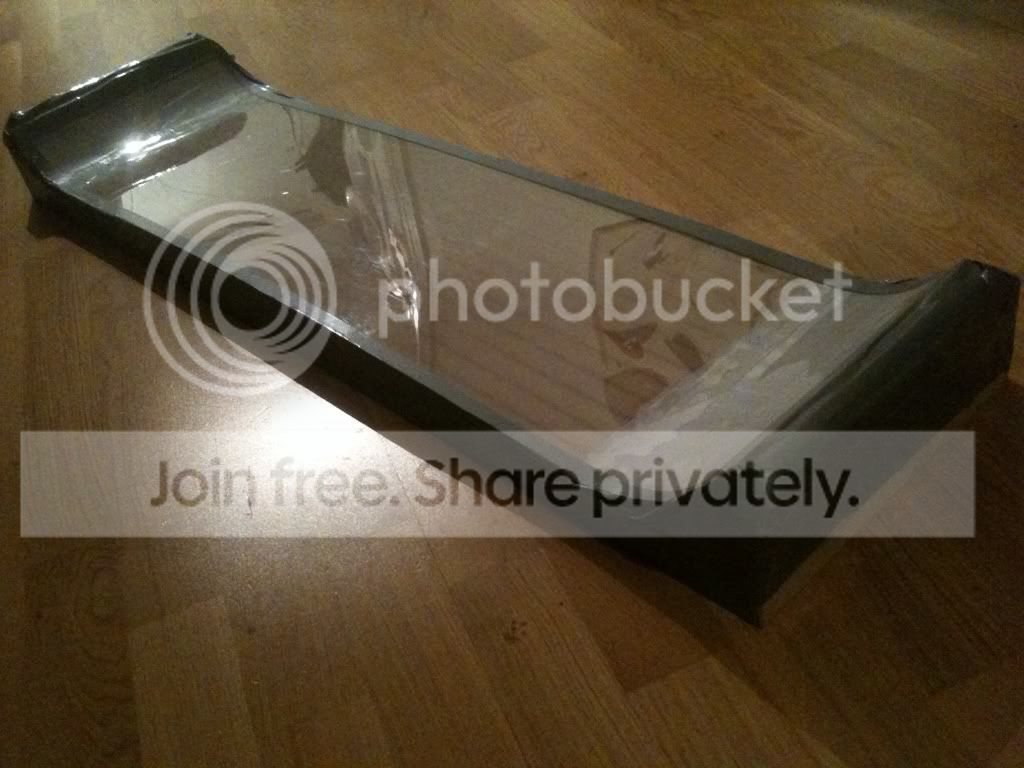
Thanks for your input guys! More pics coming up!
unknownWed Jun 13, 2012 7:03 am
I made a pair for my boy last year.
Cores are always hard
They were 6mm at the waist and tapered to 1.4mm at tip and tail.
I put 2 strings of 24k CF in them and they ended up quite stiff.
Still nowhere near as stiff as his last pair though (rossys)
117cm long 114-85-103 twin tip and rockered tip and tail, flat under foot.
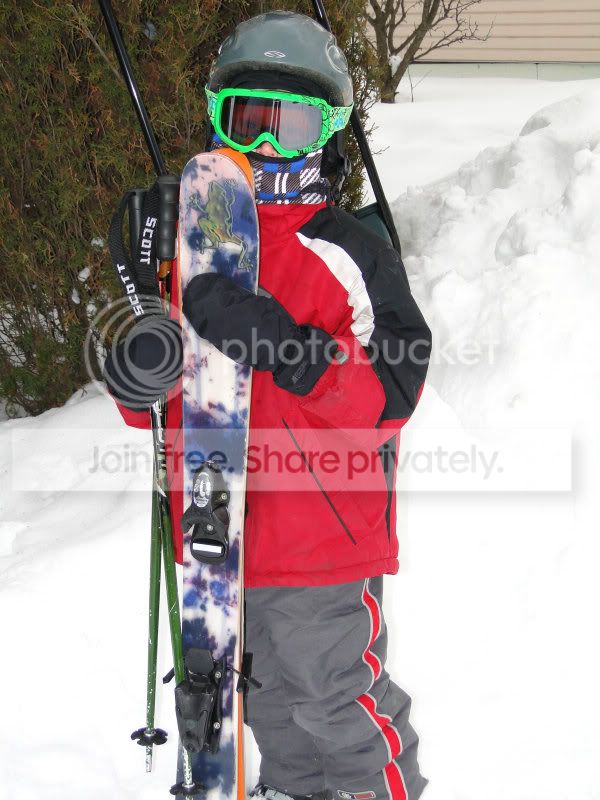
The first pair of skis I ever made was for my girl.
127cm 119-81-104
I think cores were 6mm underfoot down to a hair over 1mm.
Had a nice flex.
They ended up with a really funky camber but she skied the heck out of them for a couple years, proud as heck 'cause her dad made them.
No matter how they turn out your kid will love them!
Be aware though if you make a kids ski too wide it's almost impossible to find brakes to fit.
On the boys skis I ended up taking the belt sander to the sidewalls to get some clearance. You can see it in the pic.
sam
unknownWed Jun 13, 2012 2:52 pm
Thanks Sammer! Nice skis!
I got a old pair of skis from a friend so I took the bindings from them. I also kopied the sidecut so the bindings should be perfect
Starting on the core this evening..
unknownSat Jun 16, 2012 1:58 pm
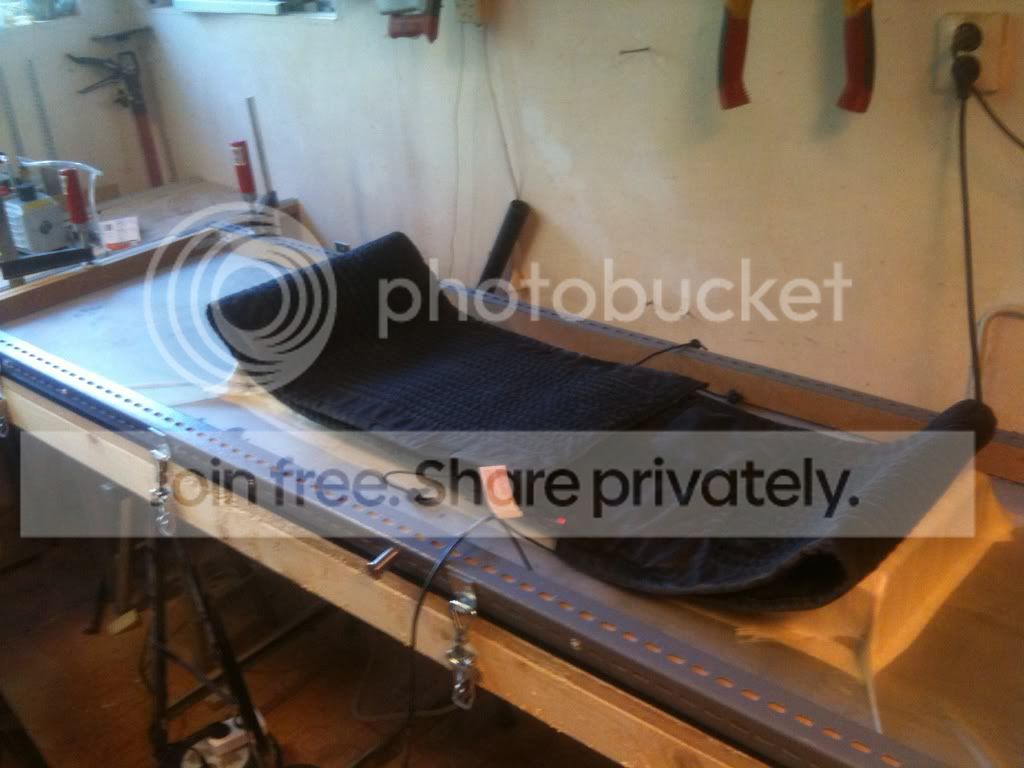
Yesterday I put the kids skis in the press.
This picture is taken just before pressing.
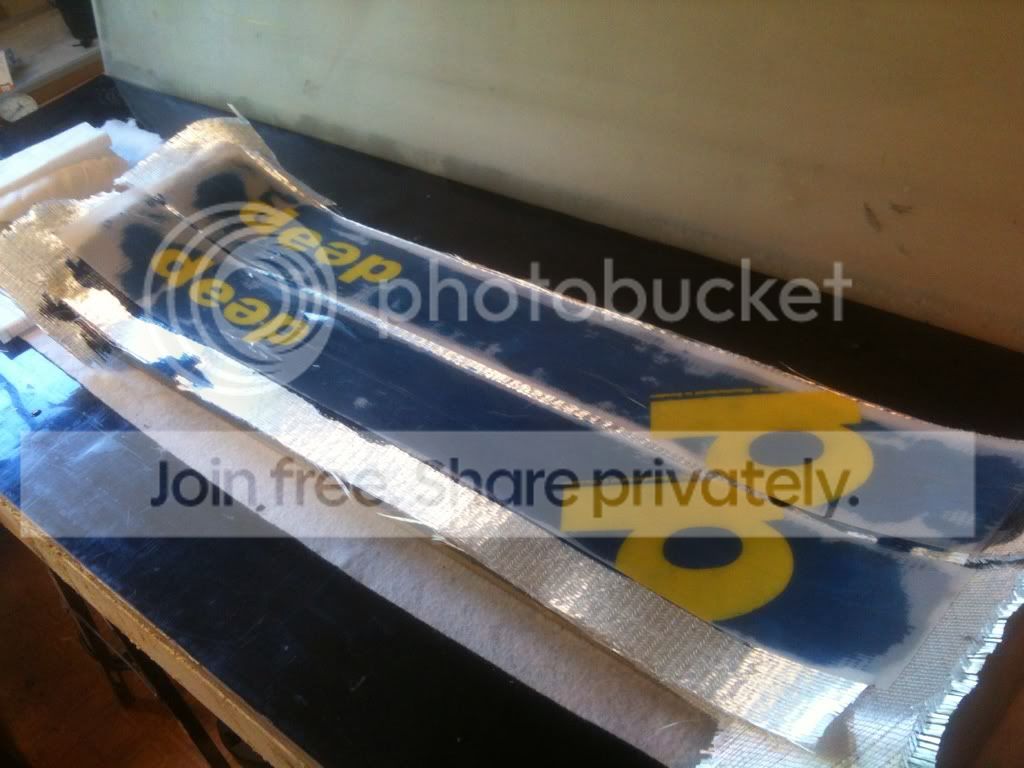
The heat is on...
unknown
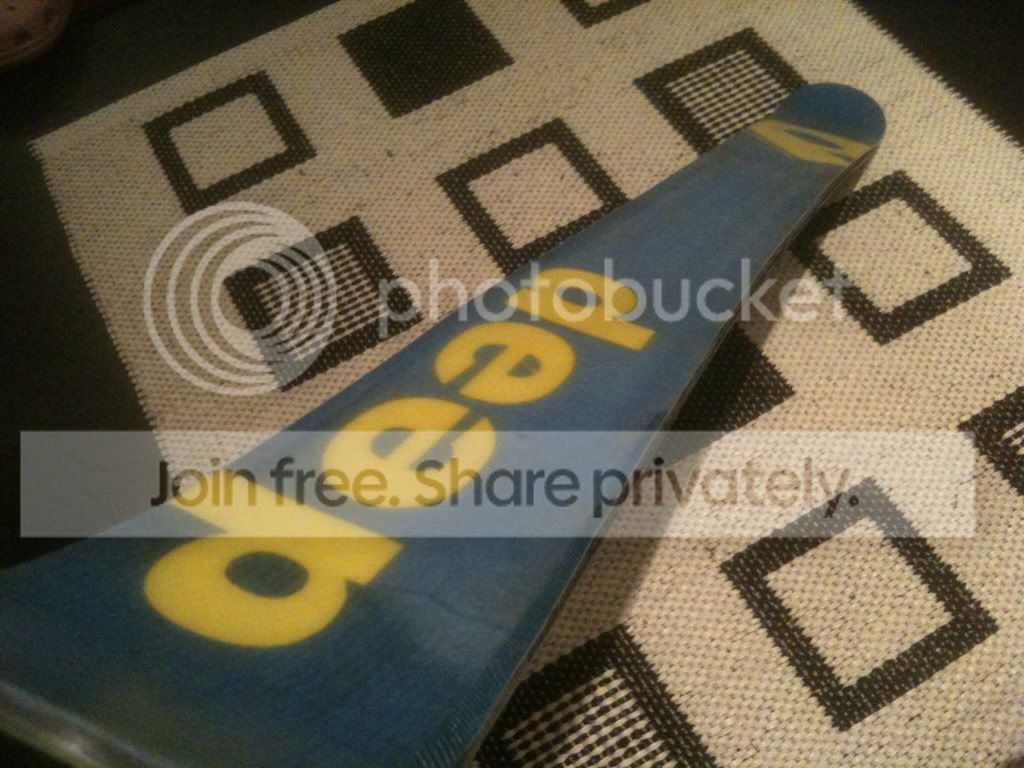
Close to a finished ski for the kid
unknown
My kids skis finally finished
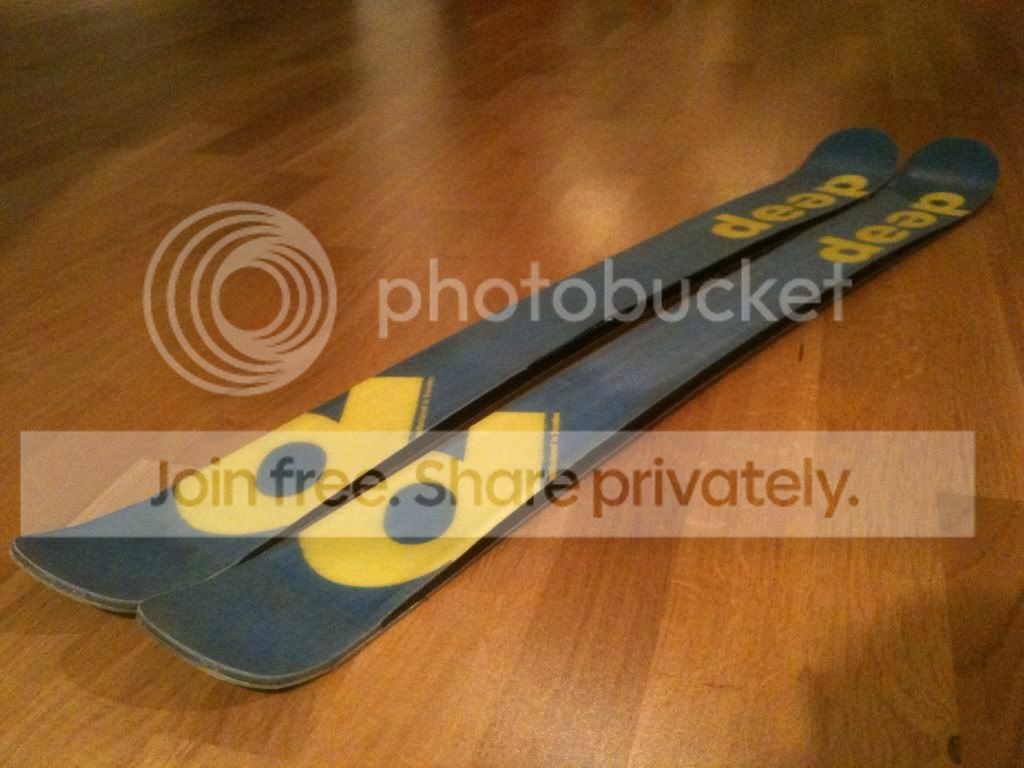
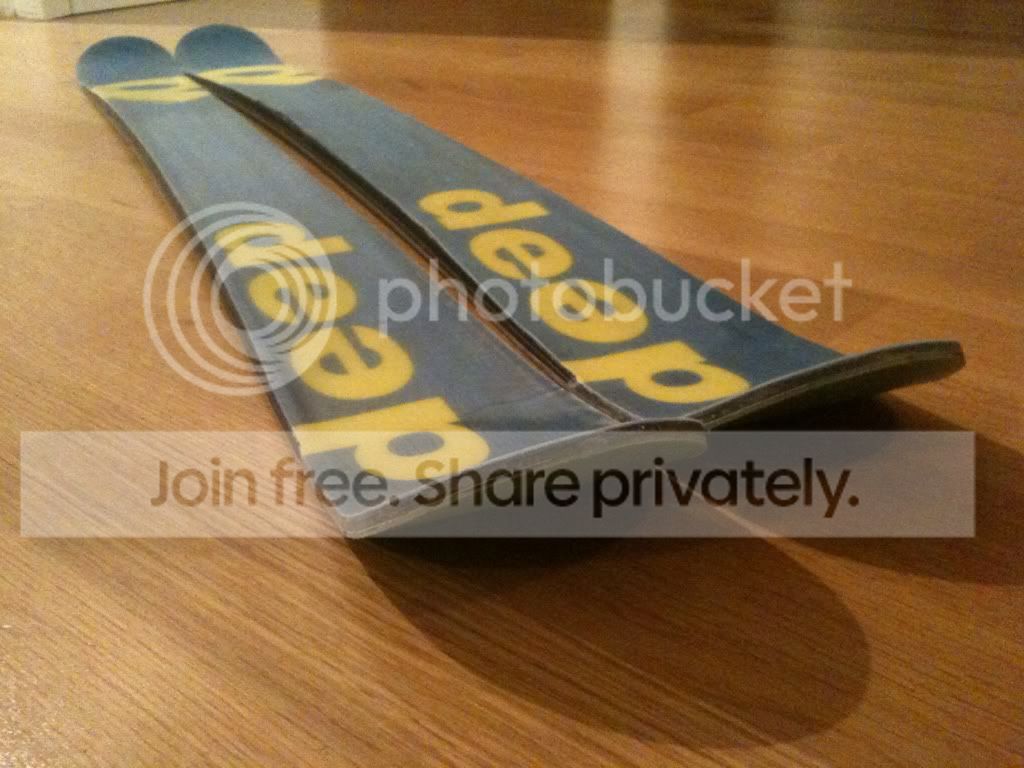
unknownSat Jun 16, 2012 2:13 pm
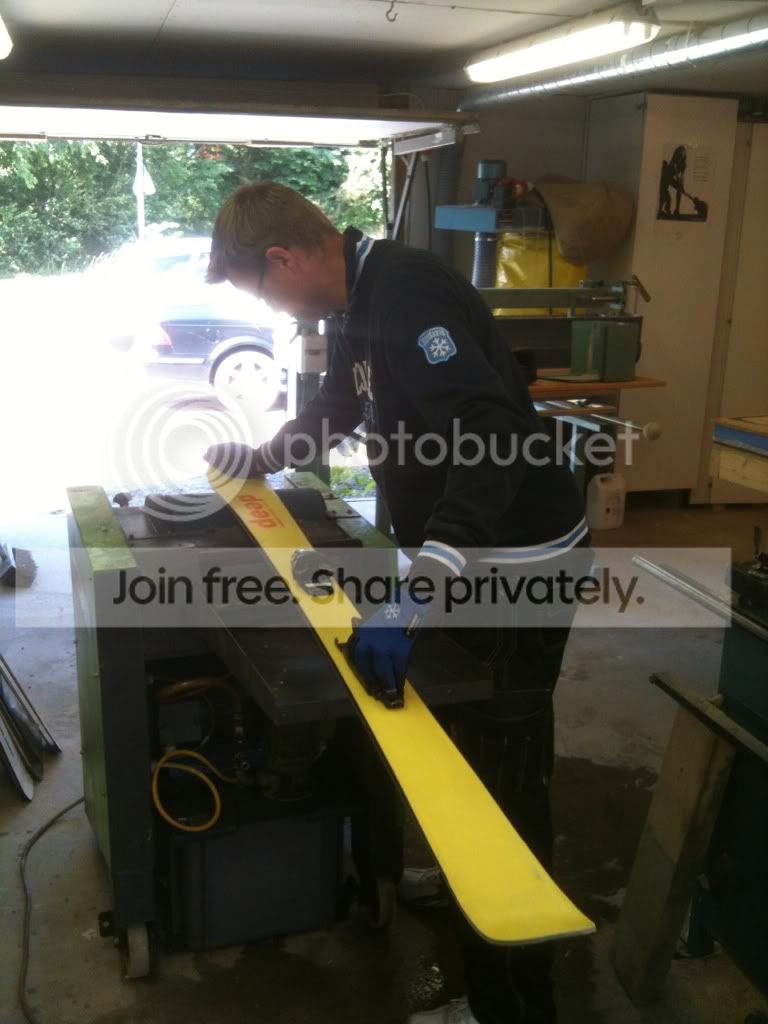
Had a fun day with Jan from OAC skis today! Thanks Janne!
Rolled up 330 meters of steel edge...
Very impressed by Jans engineereing skills!
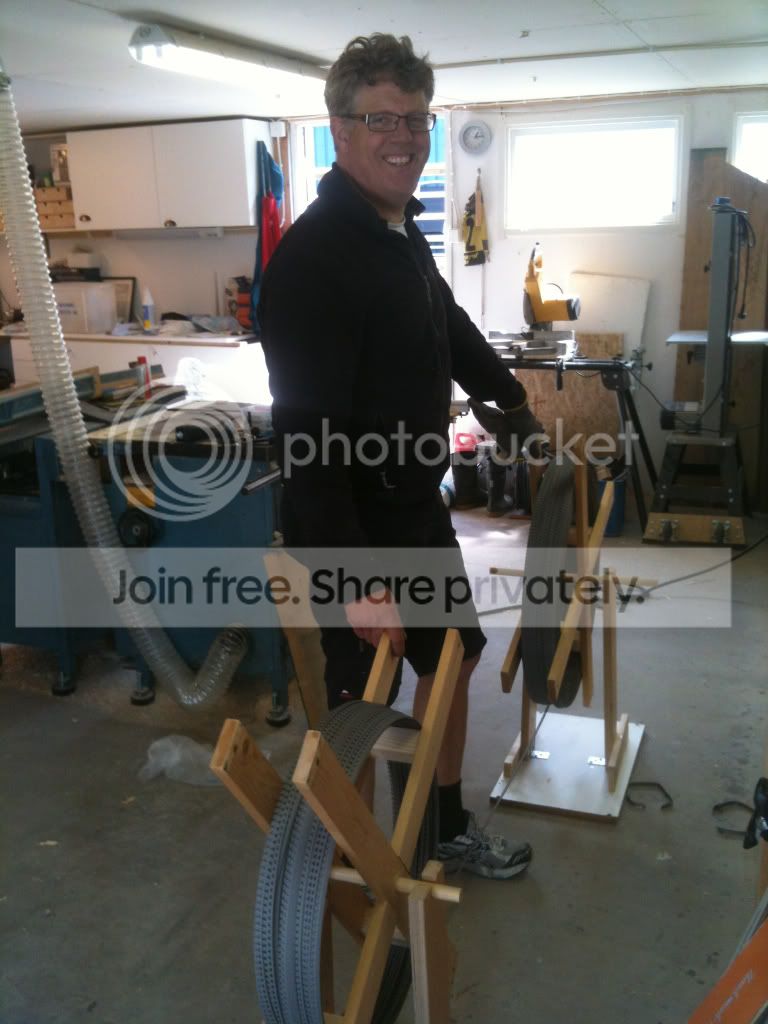
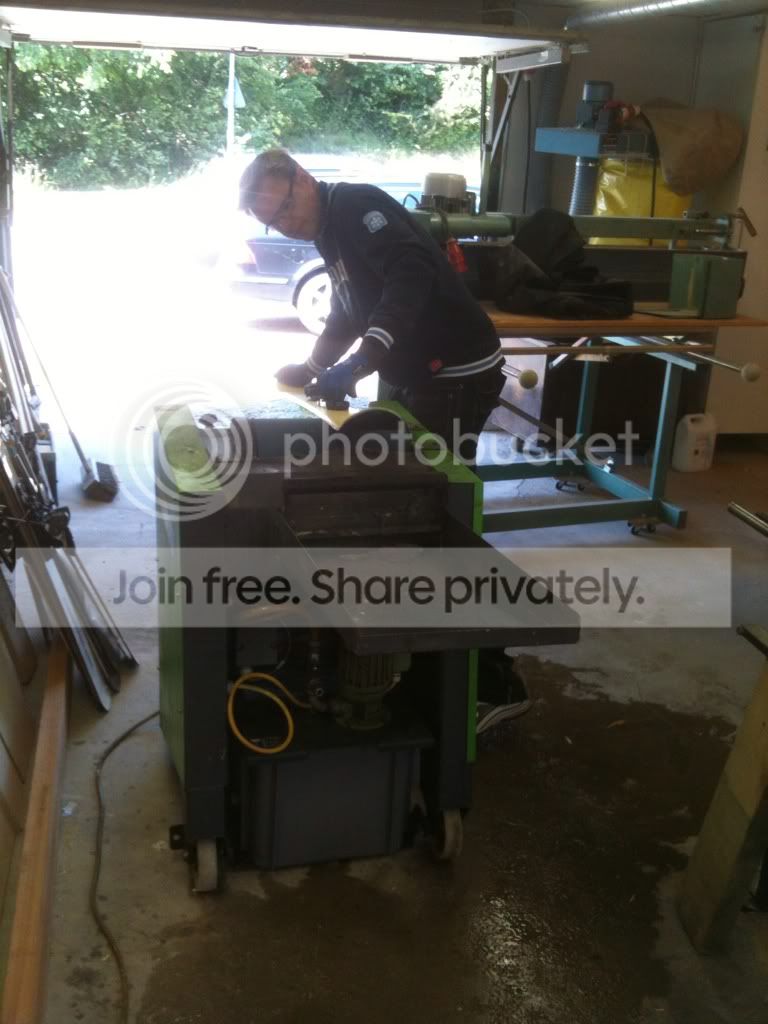
Also tried out his beutiful Wintersteiger.
Very nice piece of machinery!
unknownWed Jul 18, 2012 6:20 pm
Hello deepskis, Im new posting here in Ski Builders, a lot of years looking everything but recently building skis. I have a delam problem with the graphics and top sheet and I was thinking about replace the graphics with 2 layers of CF bid 5oz, is this enough? If I put only one layer of CF this could crack?
Cheers.
Tato
unknownWed Jul 18, 2012 10:42 pm
Hello wutato!
Yes you can replace the topsheet with cf. No problem. Just put it on top of the triax. When the skis are pressed you can screen print on top of the skis. After printing you can protect it with polyrethane
unknownThu Jul 19, 2012 12:28 pm
Exmple with cf
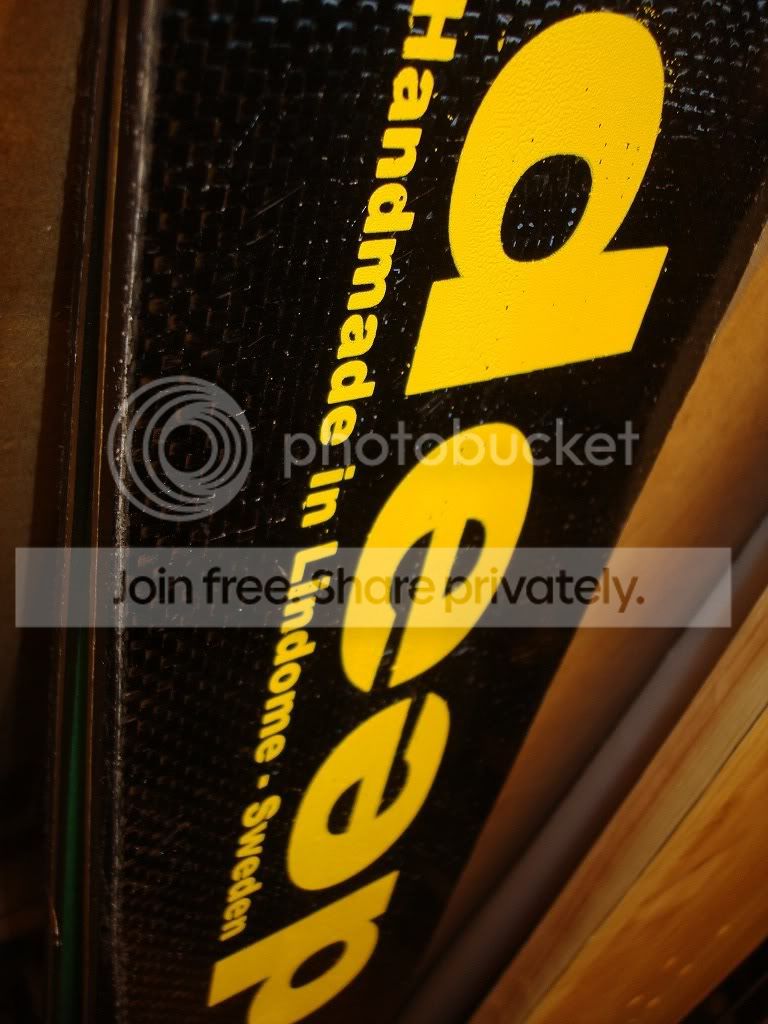
Example with glass over graphics
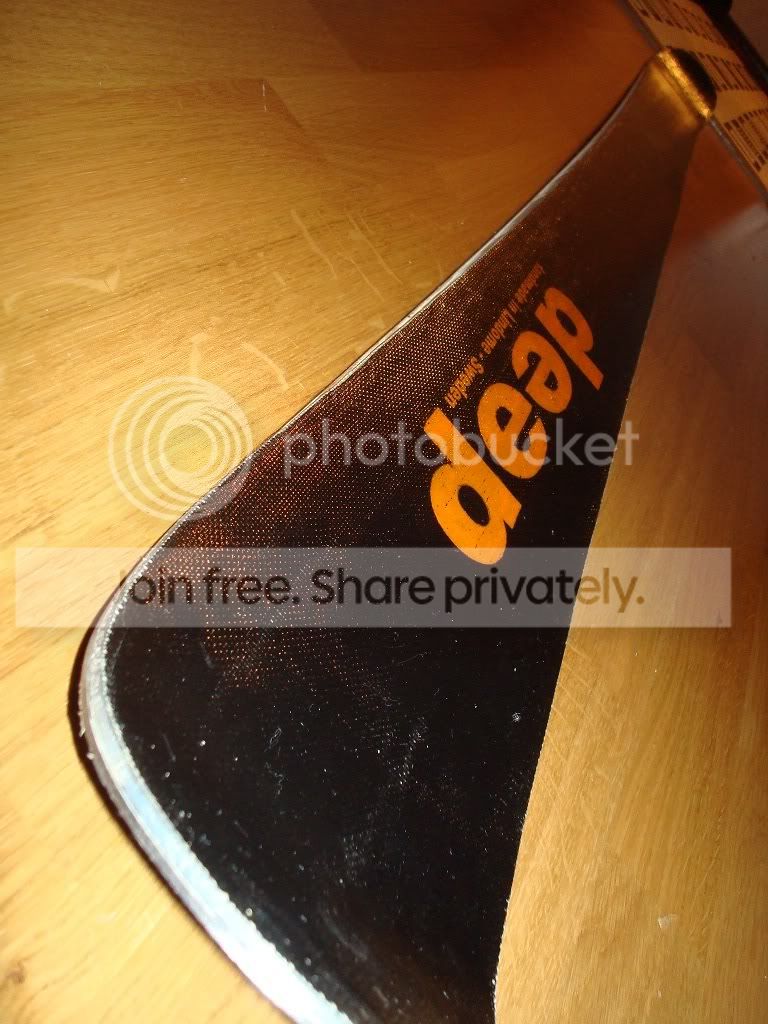
Cheers!
unknownThu Jul 19, 2012 1:57 pm
Thanks a lot Deep, here in Chile its hard to find suppliers and more difficult find someone with the knowledge about. We are going to try it the Cf this night, only two question, how many layers of CF we need to use? work it with only one layer of cf? and, can we use the clear top sheet to protect the CF and epoxy to the UV sun light and scratches without problem?
Thanks again, cheers.
Tato
unknownThu Jul 26, 2012 2:36 pm
As long as you use 22 oz triax under the cf it will be fine. I have only used one layer of cf. Yes the clear topsheet will be a nice protective surface. Print your logo on the back before layup. If you dont keep your skis in the sun when you dont use them you dont need any uv protection...
unknownThu Aug 09, 2012 2:42 pm
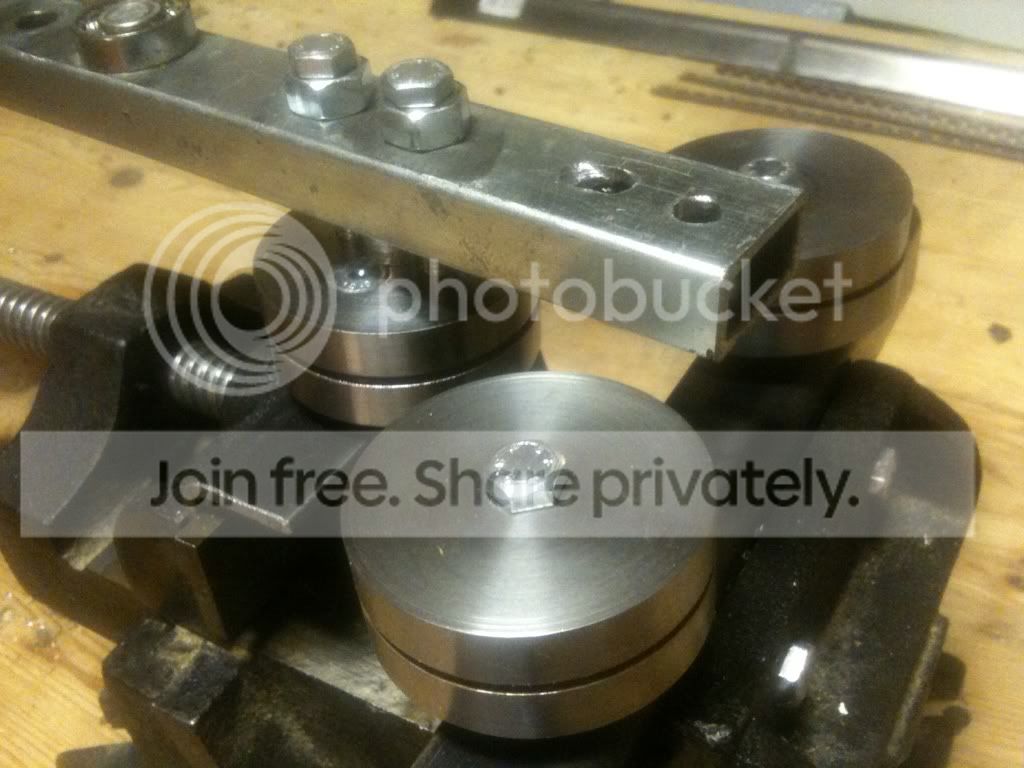
Very proud to present my new edge bender! Works perfect! Saves me so much time!
full wrap=no problem!
unknownFri Aug 10, 2012 3:40 am
New machinery in the shop! Wintersteiger edge and base grinder
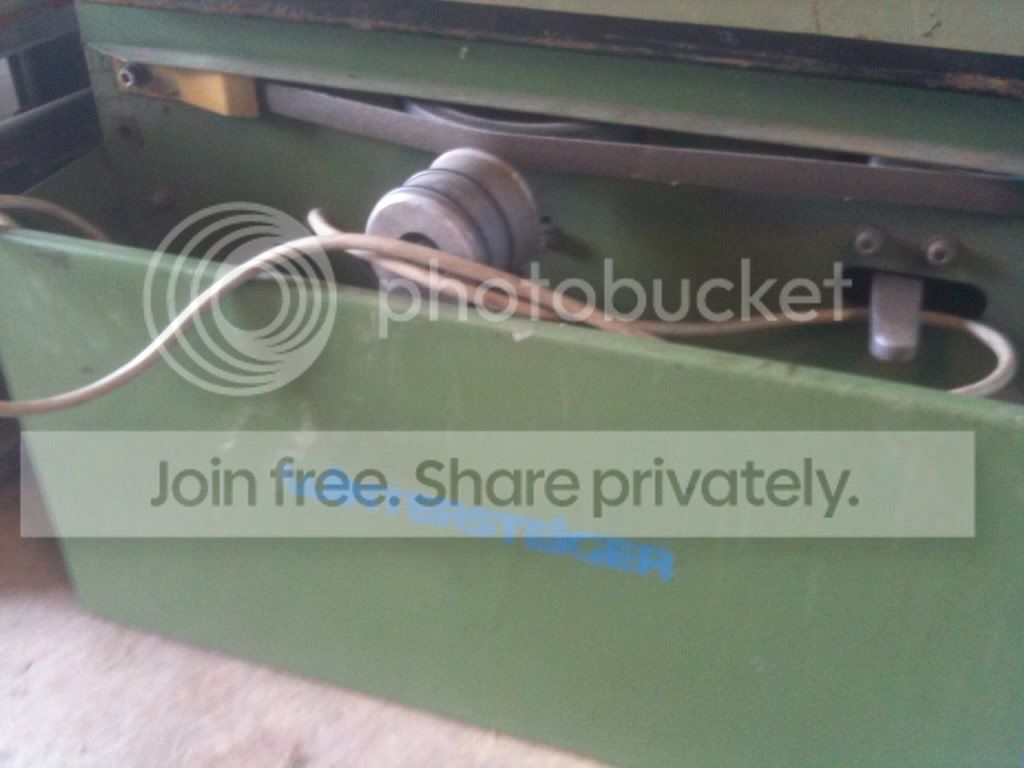
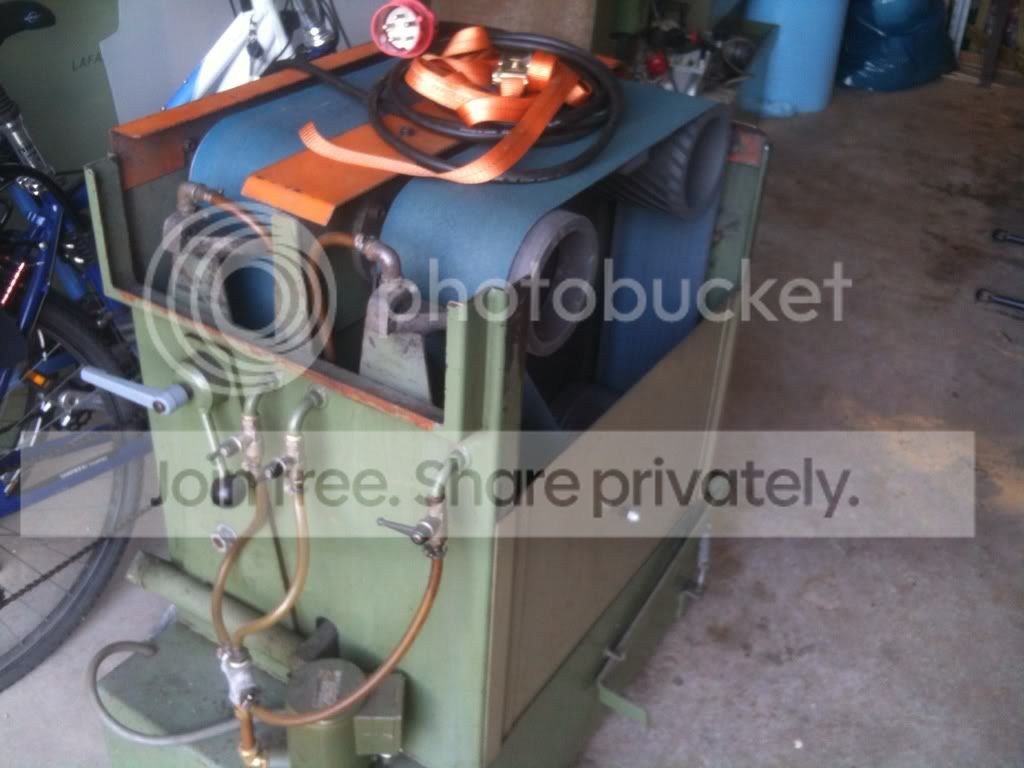
Next mission.. Rebuilding the shop to get some more space!
unknownFri Aug 10, 2012 7:56 am
Love the pics of the build!
I'm really interested in how the edge bender works. Would it be possible to have a short description of how you bend an edge or maybe a couple of photos?
I'm about to build one myself (for snowboards), and came across this the other day: http://www.youtube.com/watch?v=wbjH4pCDk6U
Curious to know how it works with 3 wheels.
Cheers,
Will.
unknownFri Aug 10, 2012 1:57 pm
I've got a thread on here with some drawings for the dies and a description of how to build it. It's an excellent bender with great results! Yours looks great deepskis!
And congrats on the grinder, that thing's beautiful!
unknown
ww! I promised you a video and here it is
http://www.youtube.com/watch?v=crYQ3sKegKI&feature=youtube_gdata_player
And a picture..
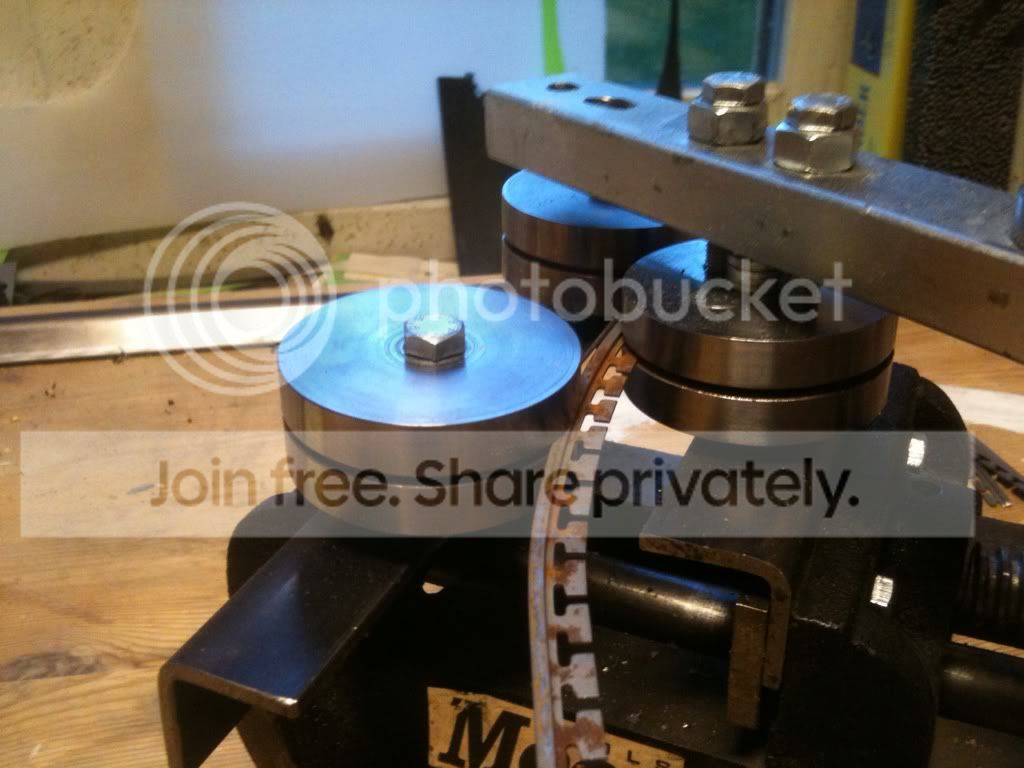
Cheers//M
unknown
Great video and picture Deep! Really inspired to have a go at making my own revision of one of these. I'm curious though, what's the bearing on the top of the box section for?
unknown
Hey Deep, another question about your carbon topsheets... It's uni carbon right? And if so, how do you find the durability along the top of the sidewall?
unknown
Ha ha, just left over garbage
Used the handle for my old edge bender..
unknownSun Aug 12, 2012 1:20 am
Hi More!
Its 0/90 about 10 oz laying over 22 oz triax glass! Looks beutiful
Just for decoration! Tha glass and vds does the job.
unknownSun Aug 12, 2012 2:37 am
Gotcha, thanks.
They do look gorgeous
It must add some
unknownWed Aug 15, 2012 1:02 pm
Yes it does, some stiffness and some weight but not so much.
unknownSun Aug 26, 2012 1:16 pm
I just had to put up a sign...
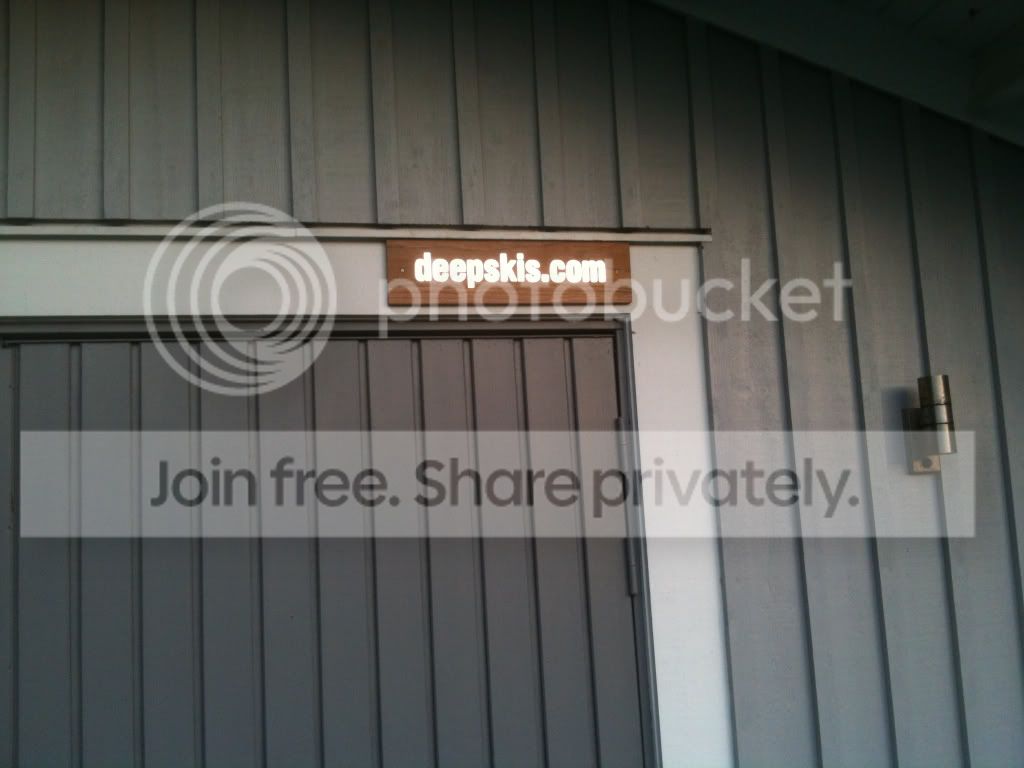
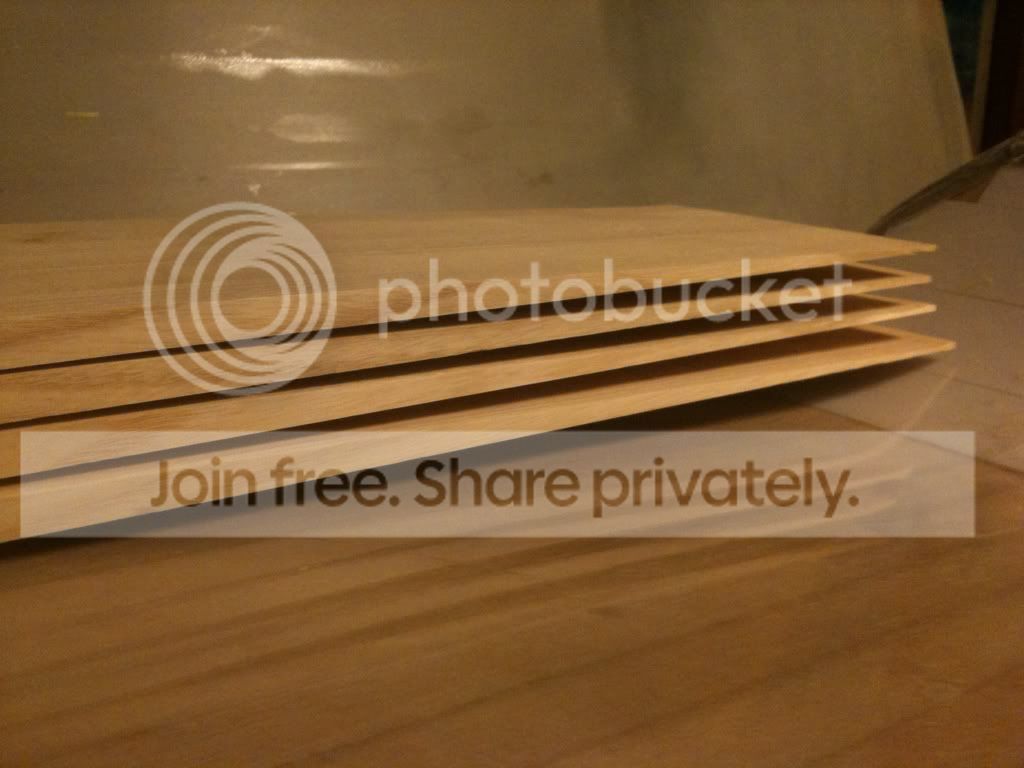
Prepairing cores. Just sold a pair of skis to a guy turning 50. He will get them as a present from his family
unknownThu Nov 01, 2012 3:47 pm
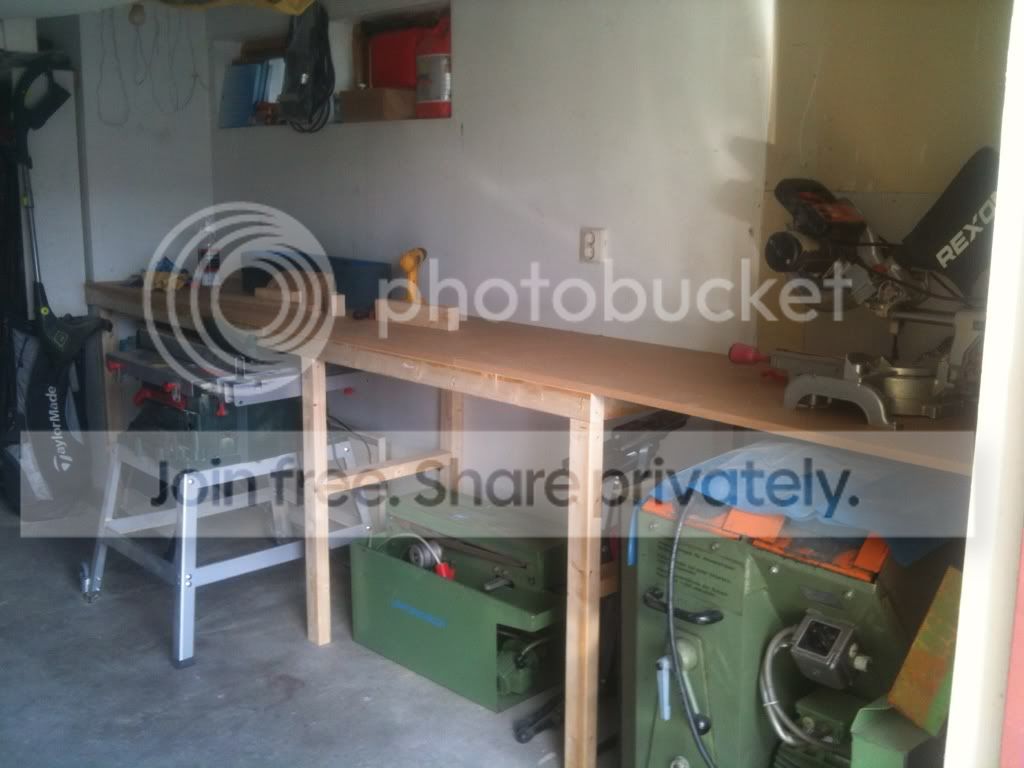
New working space in the shop
Plenty of room for ski building!
Designs 2012-13!



unknownThu Nov 01, 2012 5:46 pm
Tonight I finally pressed some skis. I have 8 pairs that have to be finished within a month. Started up with the "IKEA-design"
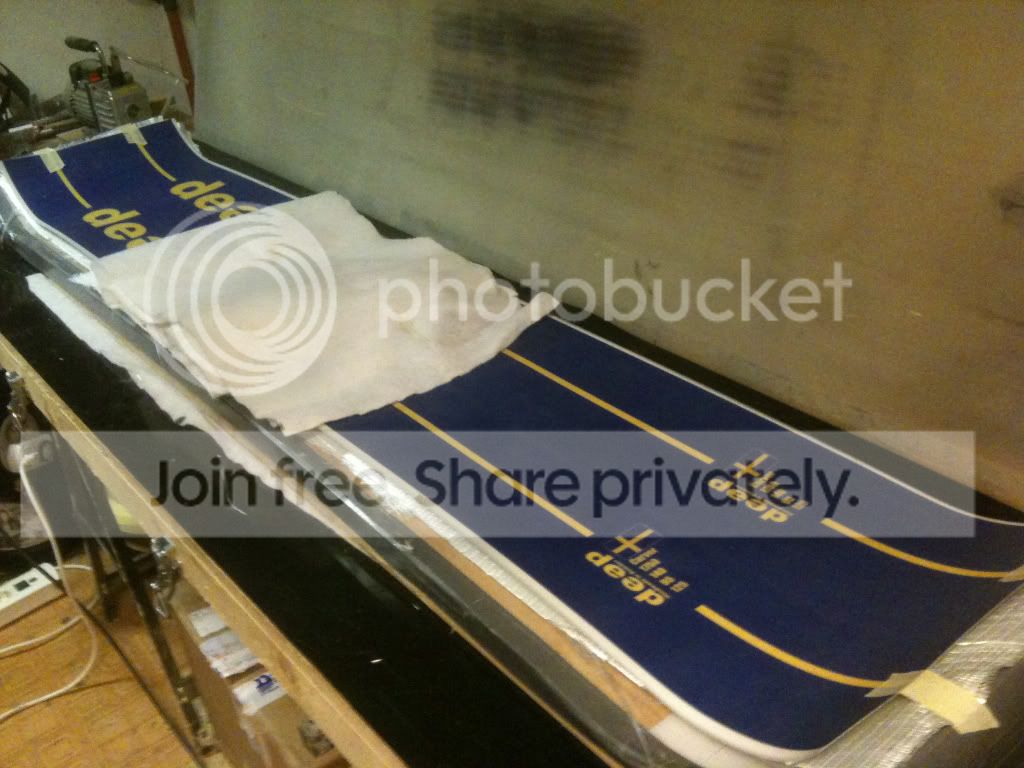
This week we got about 30 cm of snow in Slen were I usually go skiing. Cant wait..
unknownThu Nov 01, 2012 9:28 pm
stayin busy! Awesome!
Looks good too! Like the Ikea throwback
unknownFri Nov 02, 2012 1:59 pm
Skidan "Brje"? :-)
(Jag kommer p studiebesk nndag...)
unknownFri Nov 02, 2012 3:42 pm
Speaking the Ikea language...
Du r vlkommen
Den svenska folkskidan Brje ligger i verkstan och vntar p att sgas ut. Skall bli kul att se resultatet men det ser lovande ut..
unknownWed Nov 07, 2012 2:40 pm
Thanks!
unknownWed Nov 07, 2012 2:48 pm
This is what came out of the press..
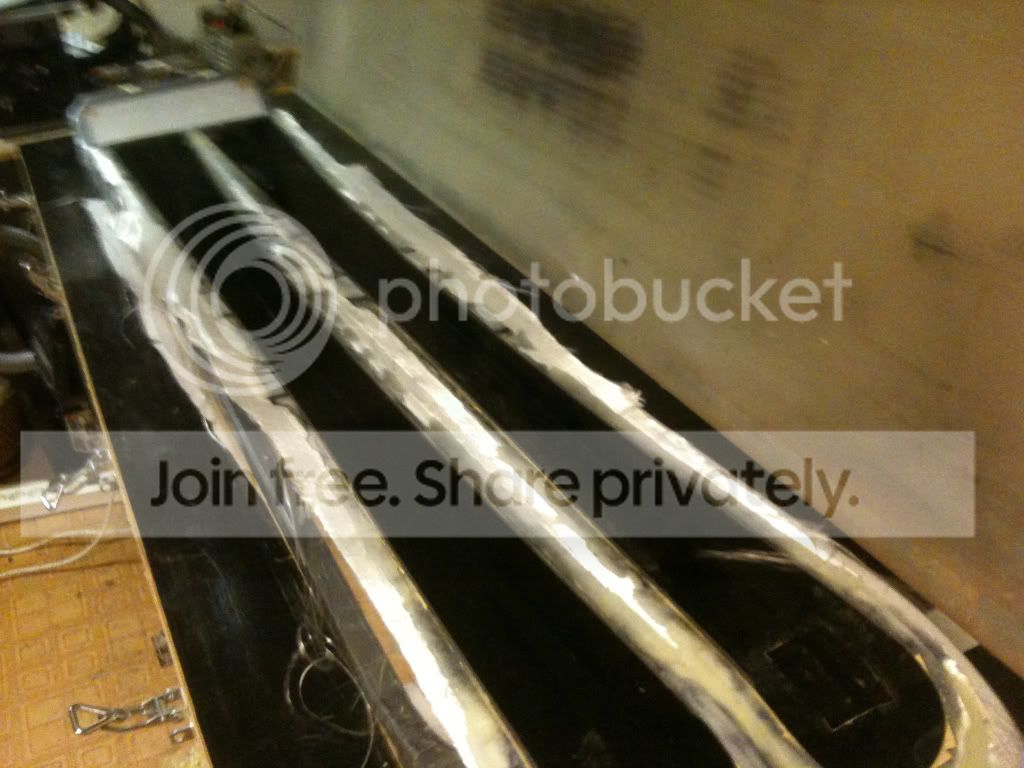
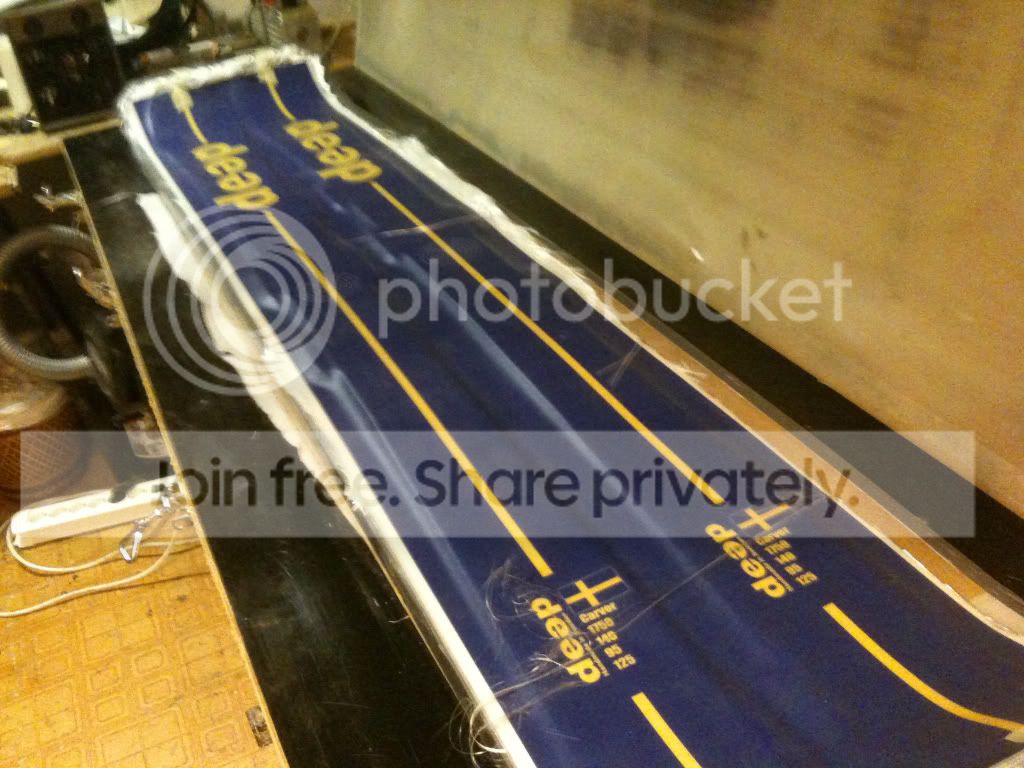
Will be skiing these in about 4 weeks
unknown
I know what you mean... We bought a lot of sidewall material that we are not using...
Have you used oak for sidewalls on many pairs? Do you leave the sidewall untreated or do you seal it? Have you experienced any difference in tendenciew corrosion on the steel edges?
Im about to try oak for sidewall on the two next pairs Im building. Core blanks are ready. I have read that oak will increase corrosion on metal parts due to its tannin(?) (garvesyre for the scandinavians). It makes me a little worried....
Any experiences with oak being a success / failure will be appreciaated:-)
unknown
Hi Halvard!
I have used oak on just a couple of boards and skis and it works fine. i have sealed it with epoxy. Gives a very nice finish. I know OAC use it a lot. Talk to him.
unknown
Here are some pics of the skis I made for my nephew..
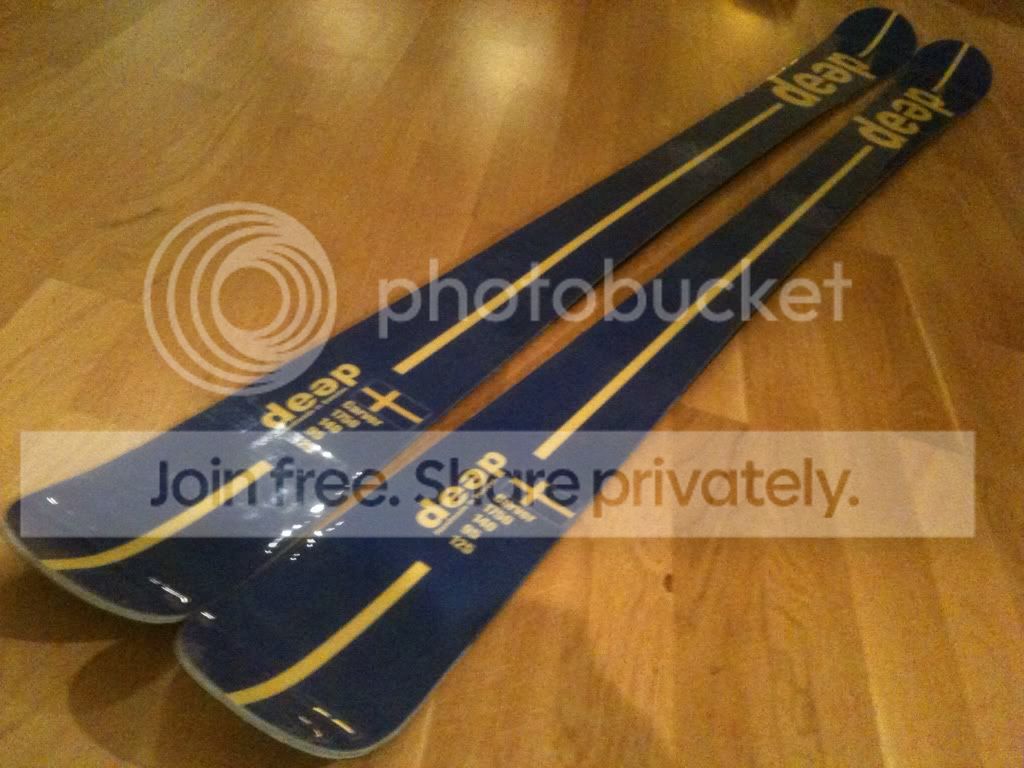

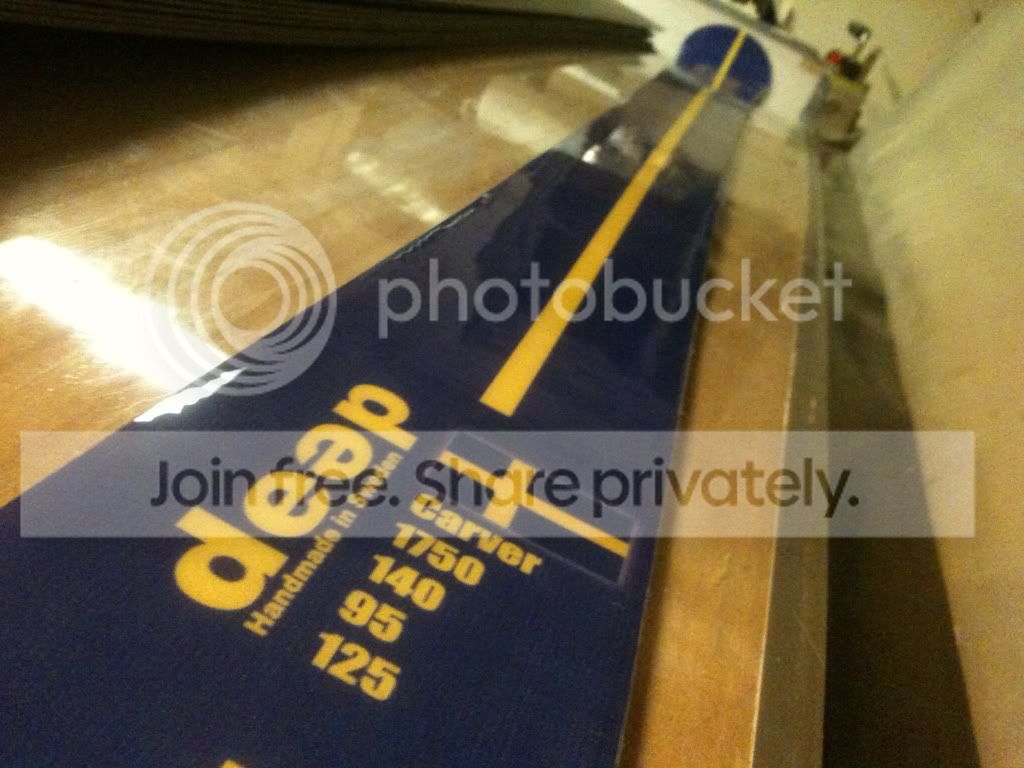
...Damn proud builder. i hope he likes them
unknown
Nice! I'm sure he'll be super proud to ride those boards.
