:: View topic - Kontour
Posts: 47 · 47 posts
unknownSun Dec 06, 2009 8:10 pm
This design was inspired by the many adventures I shared with good friends in the Cascade Pass area.
I finished one pair today with a good friend visiting from Salt Lake City, and then sent him home with a present. I created the artwork using a topo map of Cascade Pass -- the white 'kontour' lines turned out pretty nice. The artwork was printed onto a PBT topsheet by some kind folks I know in town. I'm using white UHMW sidewalls, hand profiled and flamed. The core is made of pine. Inside of the core somewhere between cord center and the tip is a damping sandwich to help keep things quiet. Thin VDS foil rubber is used in all the right places, and the epoxy comes from a good source, QCM.
I'm pretty happy with this pair and the skis have a medium+ish stiffness about them. This week I'll finish up a few more pairs, one of which I'll take out in the new snow we're getting!!!
unknownSun Dec 06, 2009 8:19 pm
Those look sharp. Nice work!
unknownMon Dec 07, 2009 8:07 am
Those are like the nicest looking skis ive ever seen.
unknownMon Dec 07, 2009 8:09 pm
Those are sick! im curious about your top sheet. What material did you use to get that? its very profesh.
unknownMon Dec 07, 2009 8:10 pm
oops. my bad. i should have finished reading
unknownMon Dec 07, 2009 9:06 pm
That is BY FAR the coolest picture I have ever seen. Nice work on the planks.
unknownTue Dec 08, 2009 7:42 am
Super nice looking! I'm inspired.
unknownFri Dec 11, 2009 2:31 pm
WOW those are unreal, loving that topsheet!
unknownTue Dec 15, 2009 5:27 am
Big Kam, those are sweet!
I'm wondering about the "dampening sandwich" dampening has always seemed important, but elusive. care to elaborate?
thanks
nate
unknownFri Nov 19, 2010 4:14 pm
Those are awesome! I wish my skills were as good as yours at making these, ive messed up on quite a few. You should start a small custom ski business
unknownMon Mar 05, 2012 11:54 pm
This 'kontour' lines look pretty good and stylish, not as huge as the previous models i've seen.. i wonder, where is possible to purchase them at a fair price?
unknownMon Mar 05, 2012 12:05 pm
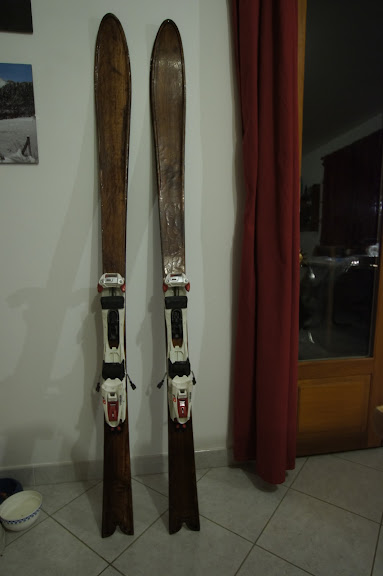
Frenchies are back !
New press more pressure, still water driven (now 7 bars = 100psi).
New skis design, better look, lighter, softer also for better touring ...
New cnc (took me the last 6 months, and probably the next 6 month to finish it properly).
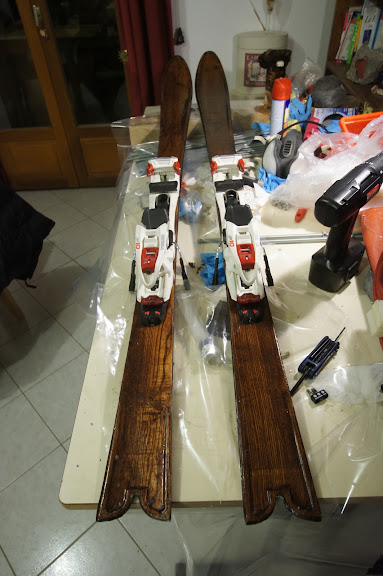
First ski (one by one) Just out of the press !!!
The project : :
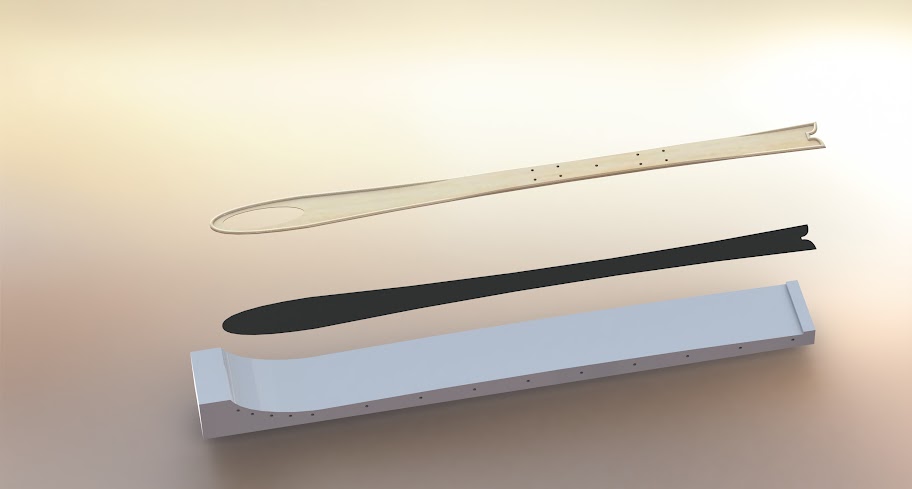
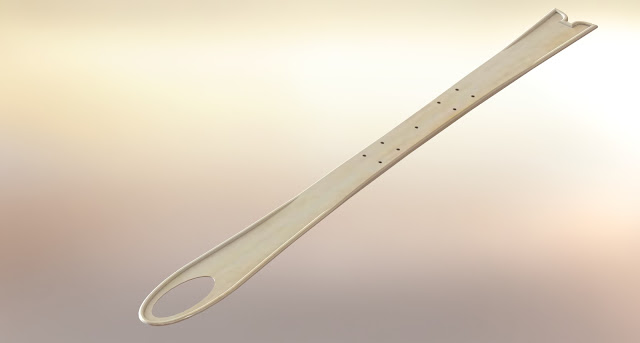
The hole have been removed (or filled in this case).
Water input
Easy for the edges with a cnc ;-)
Cutting the base
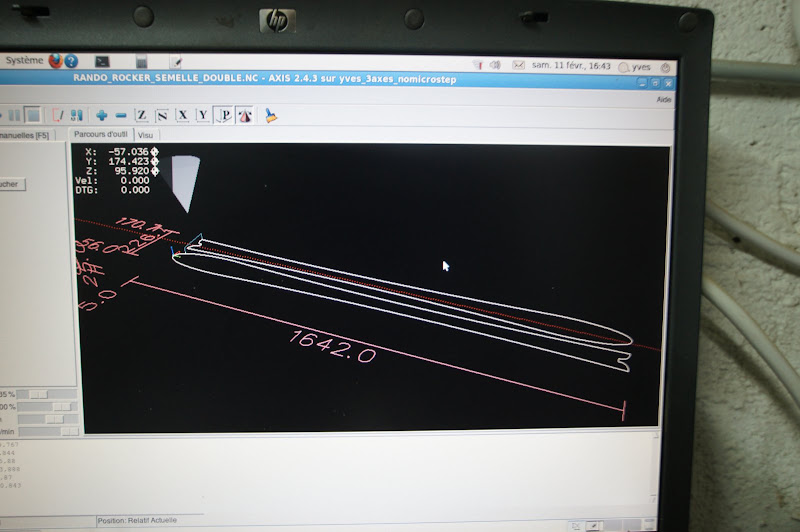
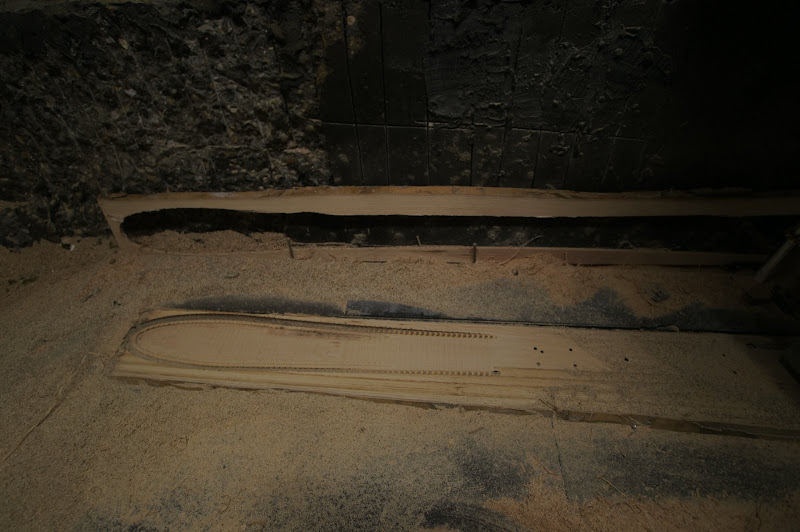
Core profiling (will be improved when machine is finish)
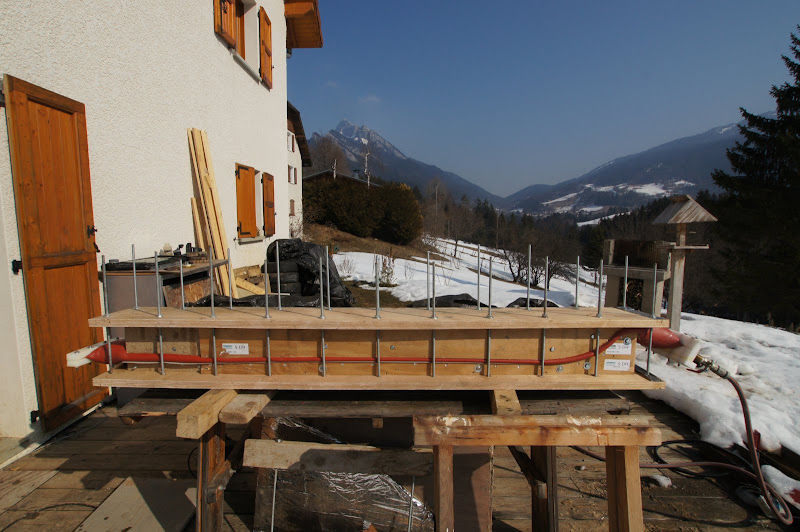
La nouvelle presse ! 7bars !
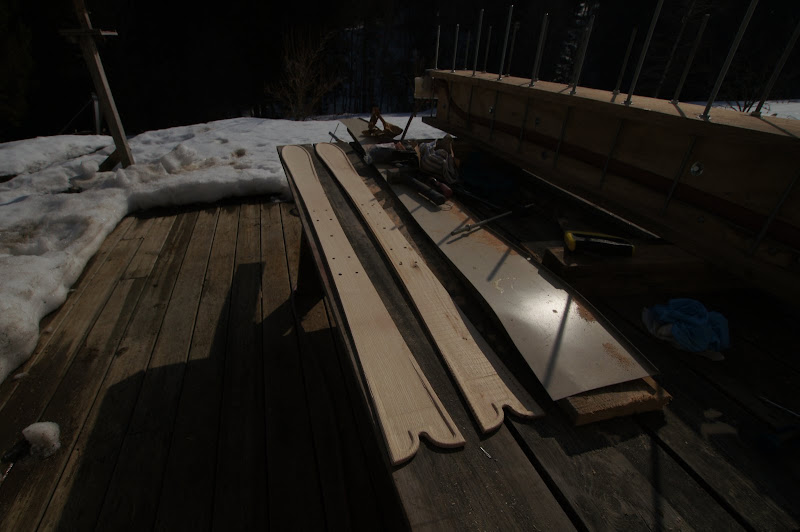
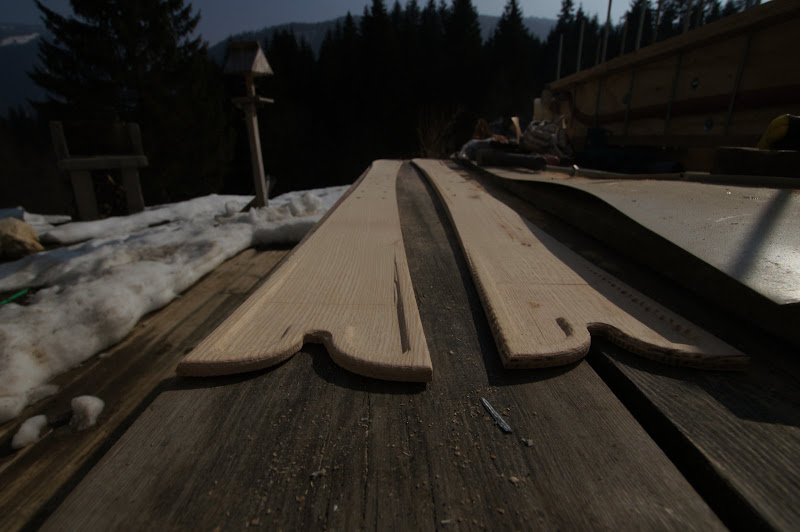
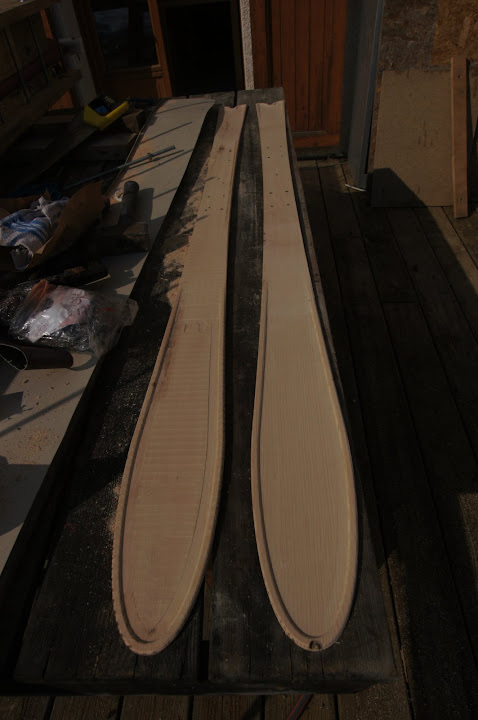
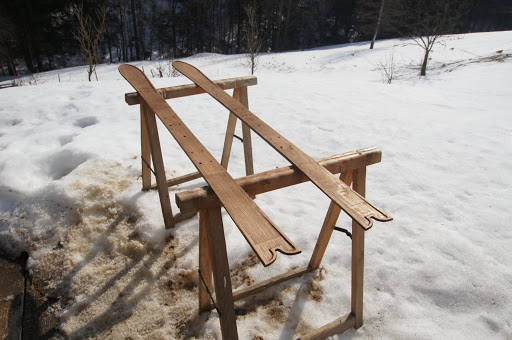
Tainting the cores.
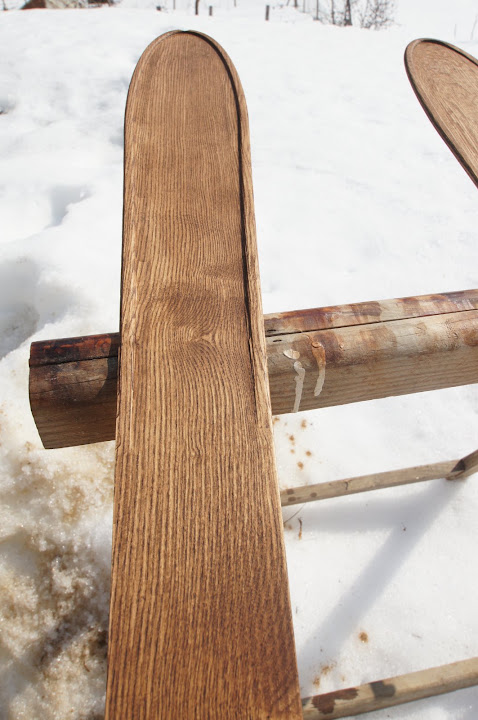
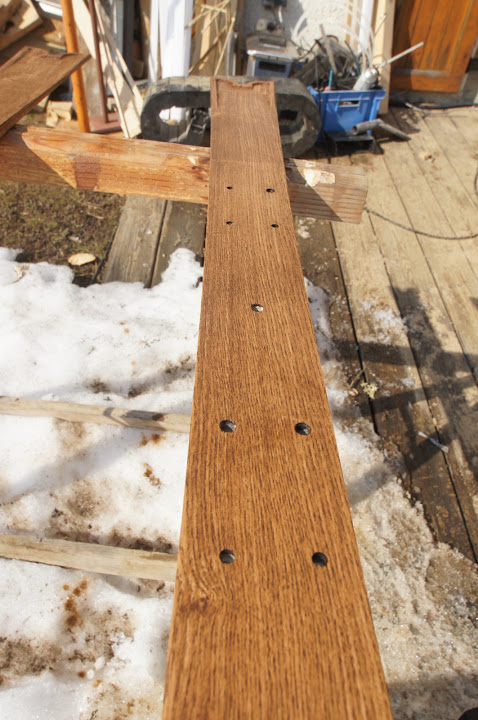
Bindings are ready to be fixed ! Aligned !
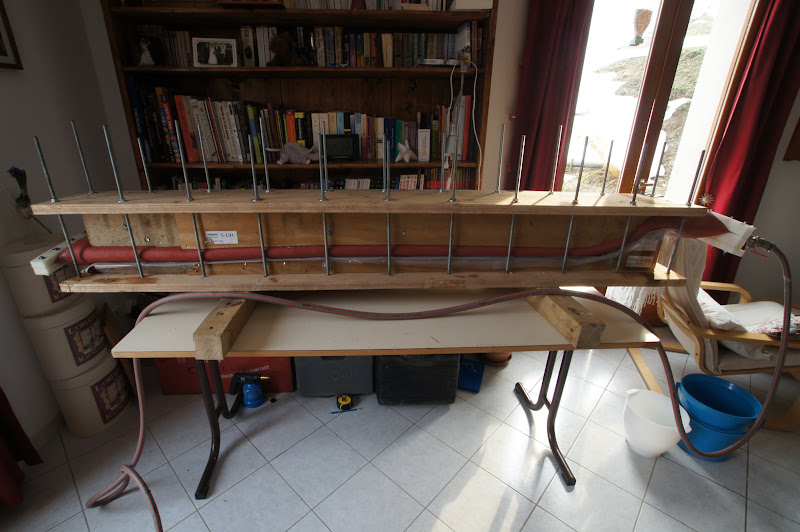
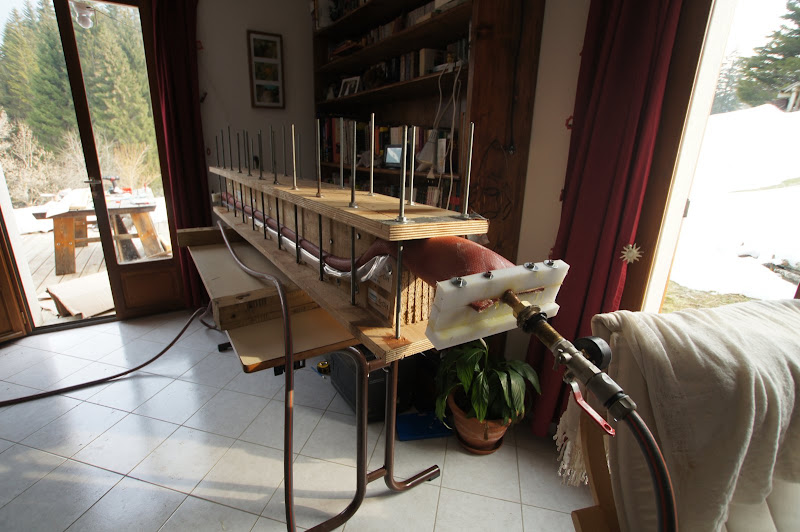
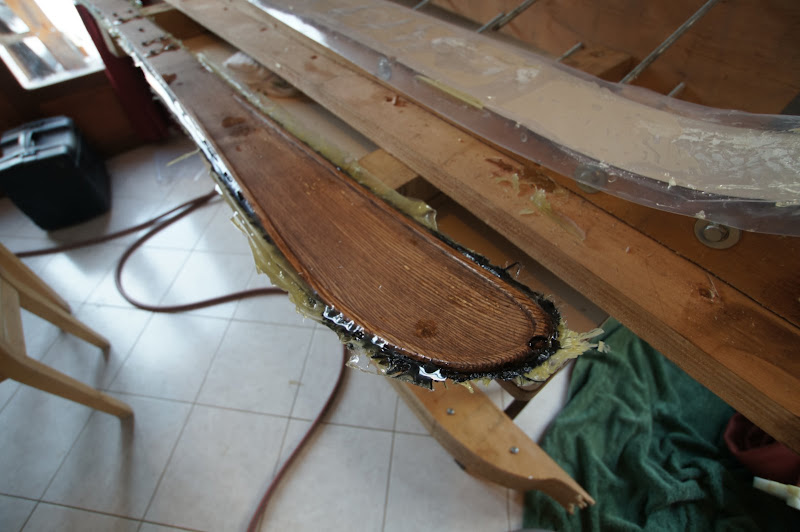
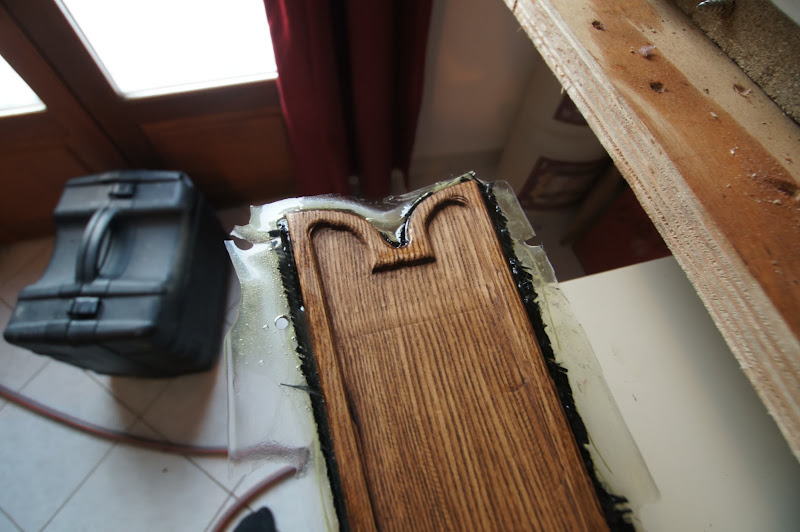
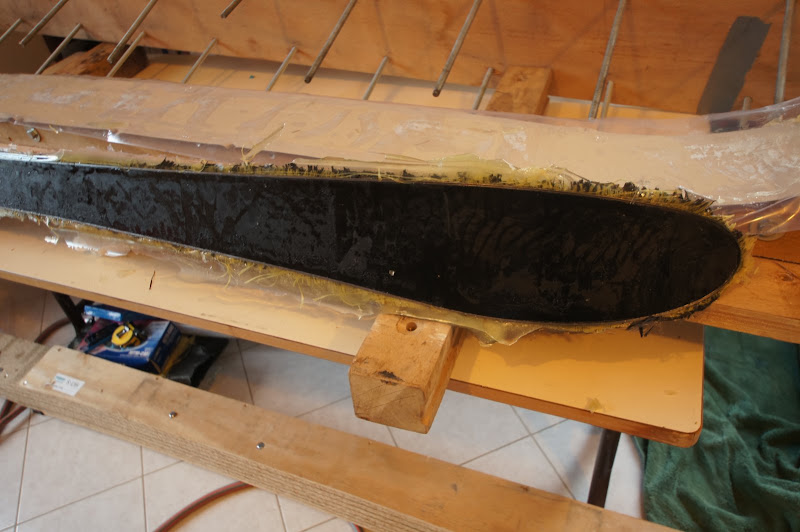
Next soon, next Week end ...
Cheers from chartreuse
Yves,
unknownMon Mar 05, 2012 2:19 pm
I like the core, very interesting... Can you provide more details? Did you use a router bridge to achieve the 3-d cut out? The core looks beefy, what are the tip,midsection and tail thickness? Also what did you use between the base and core, looks like carbon fiber. And lastly how did you manage to keep the base from shifting or core from shifting. Since the core looks like it is in it's finished shape, alignment must have been super critical.
unknownMon Mar 05, 2012 9:33 pm
I like your press!
Can you give details on your layup? It seems you have nothing on top of the core?
unknownTue Mar 06, 2012 1:52 am
unknownTue Mar 06, 2012 12:29 pm
Before that, let me explain the goal of this pair: light + good response + soft
The idea is that when you tour in the alps, it takes a long time to go up (for me!) and I'm tired for the way down.
So lighter => less tired,
good response => less mistakes,
soft => good for my legs.
To achieve that, the theory is, a bit more wood for the response, less fiber for the lightness and the softness.
tip tail thickness = 3mm instead of 2mm (previous pair)
"edge" wood reinforcment thickness 6mm
Midsection 11mm (the same as previous)
Fiber : aramide 220g + Carbon fiber 45/-45 + Carbon UD
Sicomin epoxy.
unknownTue Mar 06, 2012 2:25 pm
Alignemnt is in fact much easier, as you can pinch between your finger the complete layup and realign it if necessary.
Lead block have been use to keep down the layout (the wood especially) while assembling the press.
Yves,
unknownWed Mar 14, 2012 1:45 pm
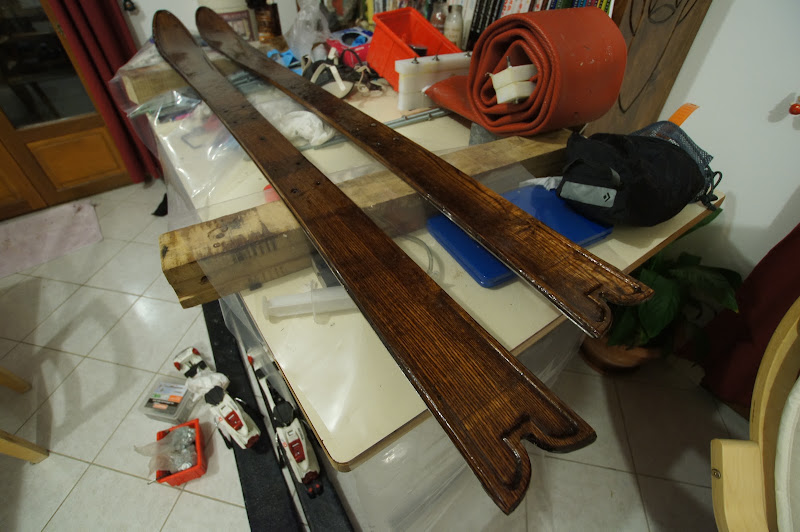
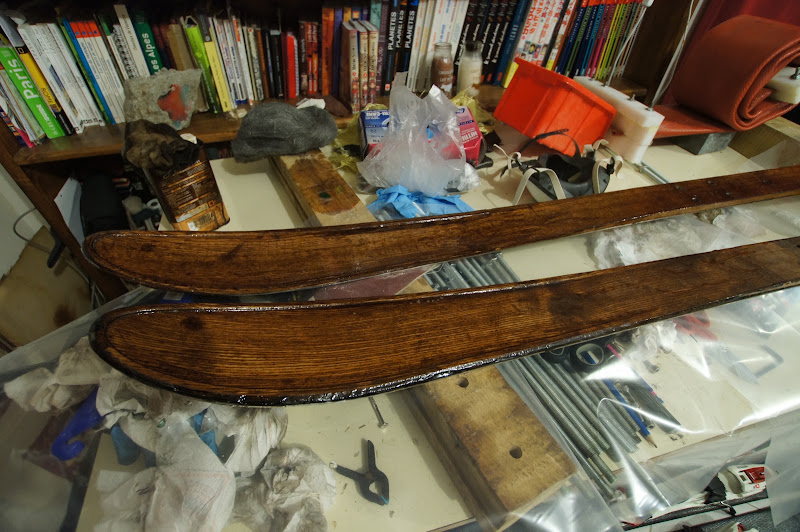
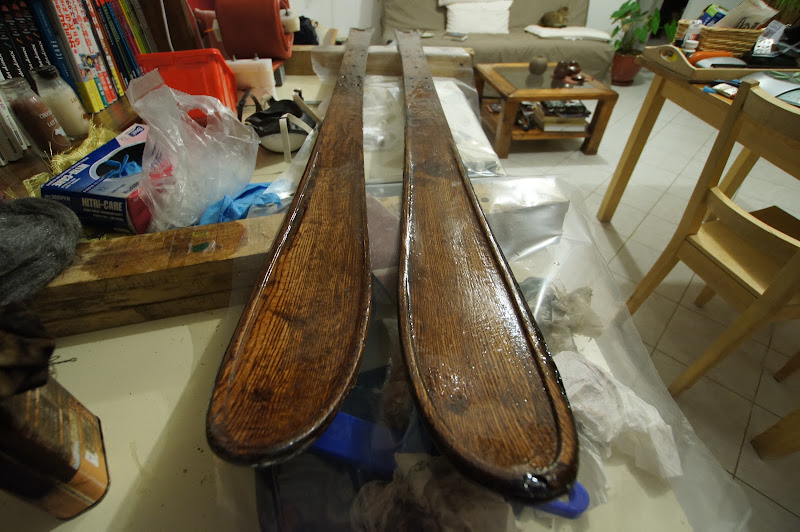
Indeed, surf clear epoxy will be added soon to protect the "core".
If needed (too soft) I will add fiber on top.
unknownWed Mar 14, 2012 2:22 pm
Hold on .. not so fast : )) So how much did that CNC machine cost to build ??? (what I mean to say is, great job and any further information would be appreciated : )
unknownThu Mar 15, 2012 8:08 am
Twice the budget I've allowed myself to spend when I've started it... As usual.
unknownThu Mar 15, 2012 8:48 am
Thanks, I will post a full review when I will have skied them.
The second ski is in the press now !
unknownThu Mar 15, 2012 11:35 am
This is awesome Yves!!!!
I like the simplicity and innovative use of materials in your press and skis.
I am curious about the balance of composite materials in your skis.
Will the composites under the core be balanced by the raised wood areas on the top of your skis or do you anticipate needing to add a layer of carbon or fiberglass to the tops of your skis?
I ask because I made an unbalanced pair of skis with 34oz fiberglass on the bottom of the cores but 18oz on the top. This has lead to enhanced camber but decreases in tip/tail rocker and a very flat tip.
What is the weight of each ski?
unknown
There is first aramide layer, then carbon -45/+45 and UD carbon.
unknown
That's the idea, but if the reality fail, I will add a layer of carbon on top.
unknown
Did it decrease once removed from the press, or after some time skiing it ?
unknown
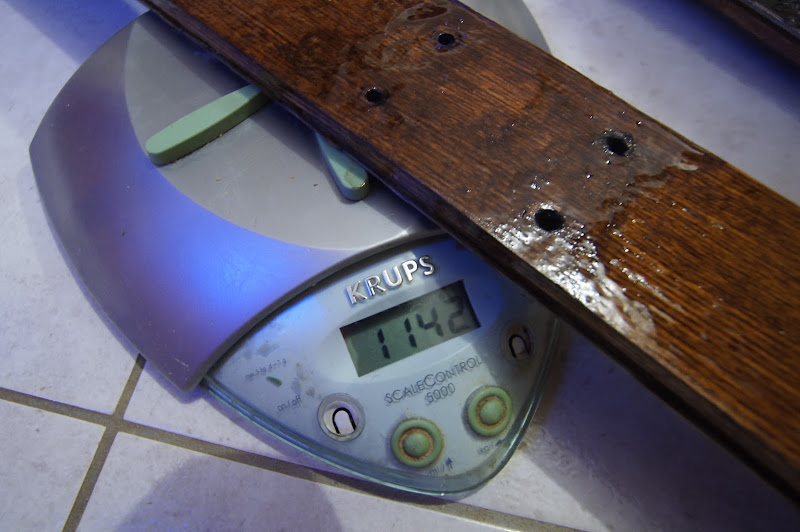
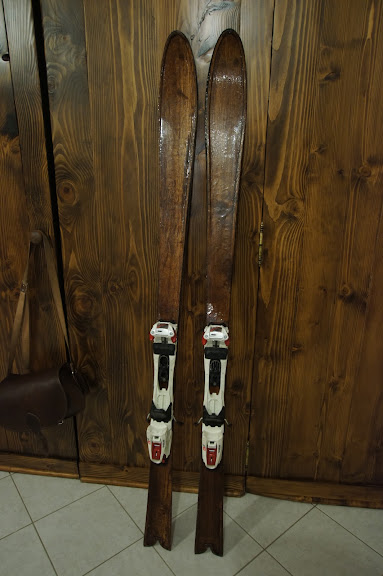
Weight is 1150g per ski. For a 120/68/110 width.
Just mount the binding, will test them hopefully this week end.
unknown
Did it decrease once removed from the press, or after some time skiing it ?
The tip has flattened and the camber has increased slightly since they have been used on snow.
I think that if the tension from one side of the ski to the other is out of balance then the stronger side will win. I also think that this loss of tension will make the ski less lively (mine ski like super G skis). These effects occur over time.
At any rate, I hope you are able to avoid adding any new composites to the tops of your beautiful skis.
unknown
holy shit!
looks like the bindings are mounted in last week!
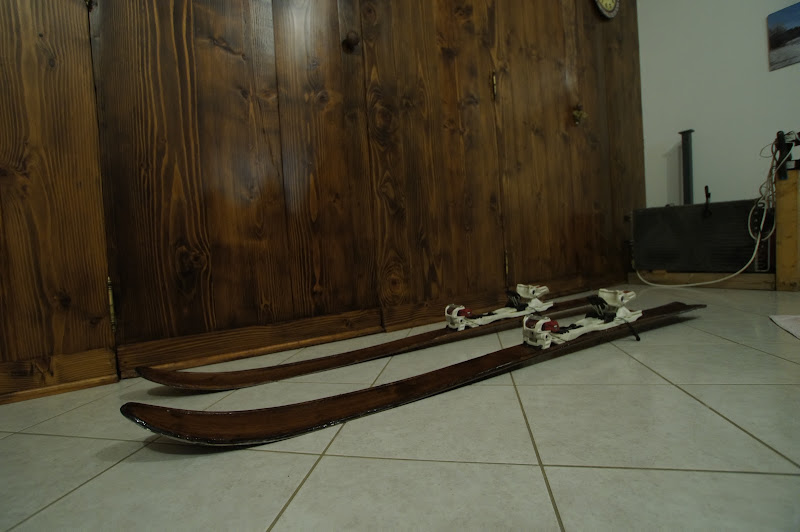
Guess you through out the center of sidecut or ball of foot at 55% or a any thing else for that matter.
unknown
Ha! I was going to say - I think you could have moved the bindings back a few more inches
What did you do for a top coat? Doesn't look so smooth
(I still love the overall idea of the skis though, very cool with no top composites)
unknown
In fact the center of binding is on the center of the run of the ski. Normally I put 15mm more in the back, not this time.
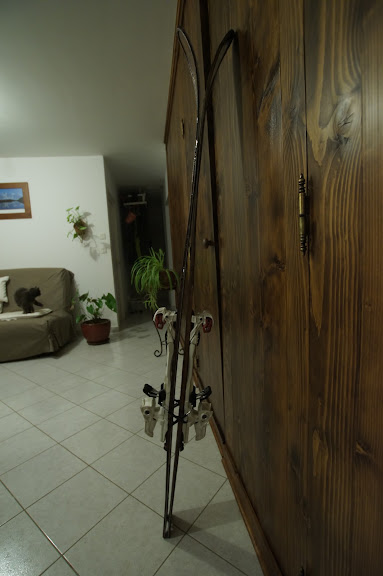
Wide angle picture might be mileading... also the rocker part, quite long, is not part of the run ...
unknown
I'm gonna sand it and redo the top coat properly (epoxy surf clear).
My mistake was to cure the top coat in the oven. It made a sort of werid foam.
Manufacturer said that I should wait 8h at room temperature before curing this epoxy.
I will test the skis first, no need for a perfect finish if I need to put fiber on top ...
unknownFri Sep 30, 2011 7:42 pm
Well, not exactly snowboards yet. But that's the name I'll be using. I've finally faced the reality that my regular job simply won't provide enough capital to kick start this thing. So since everyone has to start somewhere, I'm starting with waxing, tuning and repair. With any luck it'll produce enough revenue to move into full blown board building in a relatively short time period.
I also just bought a house and my band saw didn't survive the move. Maybe that's God's way of telling me not to buy cheap tools from Home Depot but I kinda doubt it. Either way it has to be replaced before I can build more blanks.
The shop is also a disaster as I haven't had time to put it together yet. Maybe this weekend...
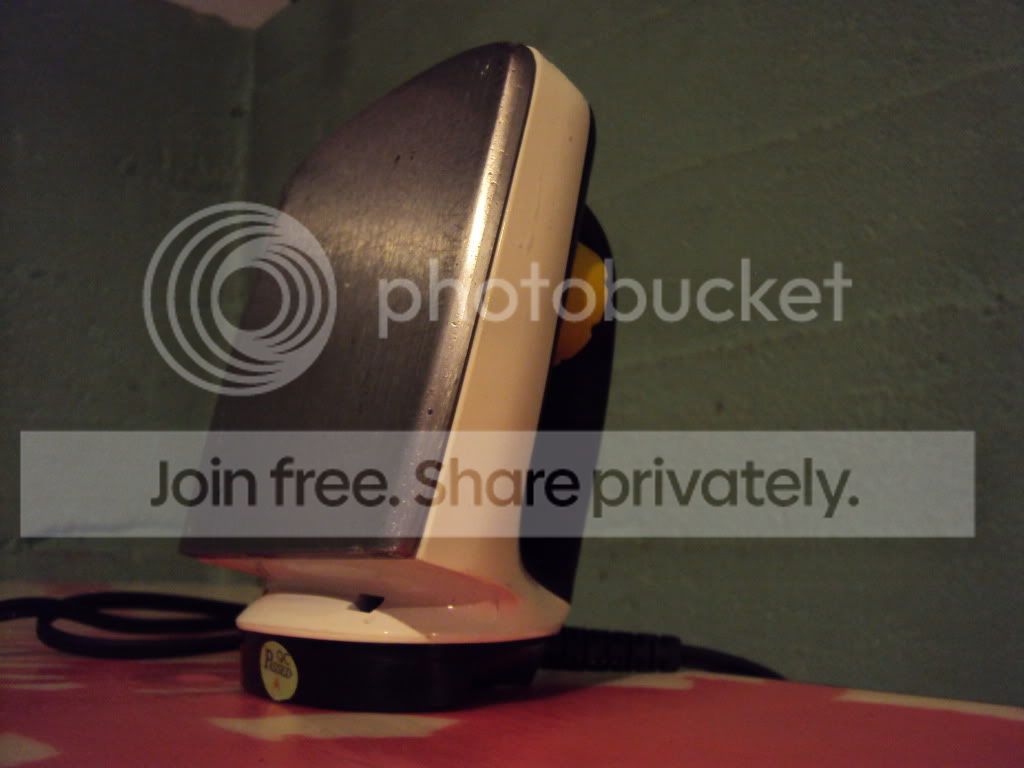
So, without further delay since I know you all want pics, here's my iron!
unknownFri Sep 30, 2011 7:49 pm
my day job pays less than most.
I bet you have more expenses than me so theres that.
You gotta go cheap to get it rolling.
I have never used a bandsaw for over 30 pair.
unknownFri Sep 30, 2011 8:17 pm
Nice to see you back EW. Congrats on the house. Is that a Toko? ;D
unknownSun Nov 06, 2011 5:58 pm
Hey, that's nicer then my iron! I have a walmart special.
unknownMon Nov 07, 2011 1:15 pm
Been futzing around with a new bench. I've never had a good sturdy spot for doing any service work which has been a major irritation.
I went with a removable spoilboard. Its easier to replace the top than trying to clean wax.
Working out a deal with the local Play-it-again sports to do all their service work so hopefully it'll see a lot of use this winter. Snow's commin'!
image no longer available
image no longer available
image no longer available
image no longer available
unknownWed Nov 09, 2011 11:15 am
EricW - That's a great idea to get started. I really should get a real iron too. Mine is a travel iron.
unknownSat Jan 14, 2012 9:30 pm
Loving the brushie, good luck with the venture.
unknownSat Jan 28, 2012 5:09 pm
I hope you can get into this soon. I was following your progress pretty closely around the beginning of last year. I was hoping to have something to show for all my work by last summer. Didn't happen. House disasters and new baby happened. I've been fitting it in here and there though. I'll eventually have something to post in a journal. Good luck with the repair shop. Hopefully it'll bring in enough coin to support the hobby.
unknownMon Feb 27, 2012 12:33 pm
Thanks, for the support. My house has also been getting in the way of any real progress on my endeavors. I'm trying to convince my wife I need heat blankets with our tax return. Pretty sure my definition of "need" is different than hers
unknownMon Feb 27, 2012 1:01 pm
It's been nearly 6 months since we bought the house and the shop is finally looking like something more than a bomb site. It's a small 2 car garage that is nearly 100 years old. It was about 5 inches out of plumb until we pulled it straight with a come-a-long attached to my truck. The floor itself slopes about 5 inches front to back.
The truing lever on my band saw broke during the move. I think I came up with an acceptable fix for now. I may have to upgrade to a grade 8 bolt if this one doesn't hold but for now it seems to be ok.
We added the OSB to keep it straight and have a wall to attach things to. Also added much needed power receptacles. Come spring I'll bury a wire and run a 50 amp sub-panel out there. As it is now. I'm running 1 20 amp circuit and and extension chord from the house on another 20 amp circuit.
The in and out feed tables for the planar are 1 3/4 Oak doors taken out of a hotel that we just replaced with nicer oak doors. The workbench from one of the above posts will serve as an out feed table for the table saw and also for doing layups.
Unfortunately the press isn't much more than a shelf at he moment but it should be cleaned off and put together in a few weeks.
All coming together just in time for the season to end, which is fine. Getting the shop organized has been quite a bit of fun and a lot of work. I hope in about 5 years I will tear the whole thing down and build a 4 car castle. Then my wife will have somewhere to park
image no longer available
image no longer available
image no longer available
image no longer available
image no longer available
image no longer available
unknownMon Feb 27, 2012 7:27 pm
Bummer about your band saw, but I like your fix! Nice work!
When I bought my house, getting my shop all furnished and setup was a huge project in itself. It's a lot of fun having all of your visions come to life though, and you end up with a wonderful space to spend your time. My shop was already finished, it was just a matter of building working surfaces and arranging things... and buying lots of large tools
If I could give one bit of advice from my experience - don't skimp on the lighting. My shop is fully sheetrocked/painted, has an off-white epoxy floor, and lots of the work benches/tables have white tops... I've got five 2-bulb fixed flourescent fixtures, one 4-bulb fixed fixture, and two 2-bulb hanging fixtures... and I still wish I had more lights
unknownMon Feb 27, 2012 8:10 pm
Looks like a workshop to me. Since you're running a new line to the garage don't skimp there either if you can help it. I have 2 dedicated 20amp breakers to my shop plus a 20 amp line that feeds my room and another room in the basement, which is hardly ever used except to gather overflow from my shop and the rest of the house. Lights are on a separate circuit. May need more once I get a heat blanket running, to be determined.
Looks like you have a decent set of tools already.
unknownFri Mar 02, 2012 3:42 pm
Love the idea of having your planner built into the table space, makes for tapering cores alot easier I am sure... our process is a two man job right now... but i may be adapting this method shortly. Keep up the good work on the shop, its a great feeling when it starts to come together.
unknown
Looking good Eric!
I've been in my house for 3 years now and I still have move crap left in my shop...